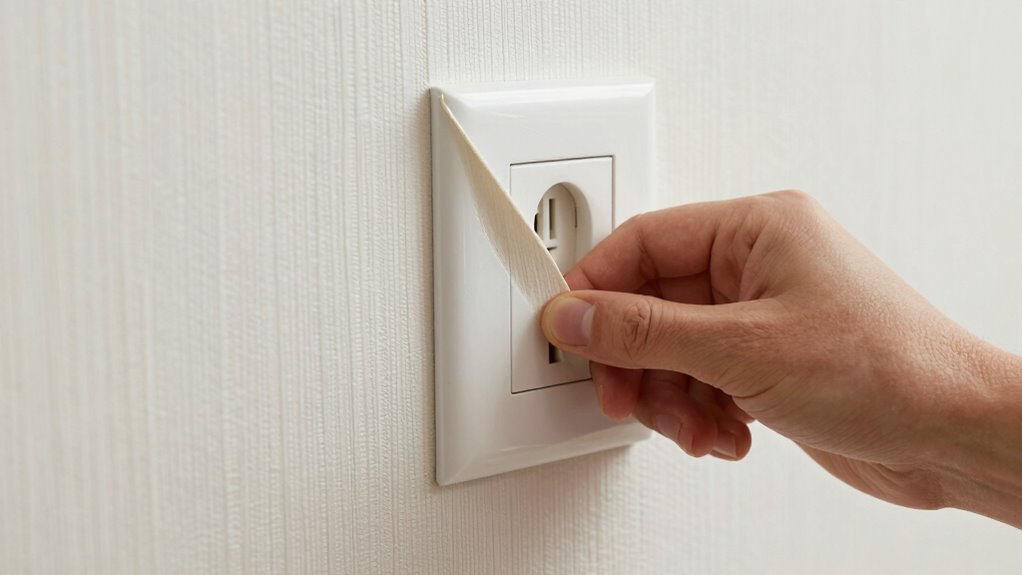

To hang wallpaper around outlets and corners, measure and mark exact positions, then cut small cross-shaped holes for outlets, folding back excess for easier pasting. Carefully apply paste, cut precise strips, and align the paper tightly around outlets, trimming excess for a flush fit. For corners, cut straight edges, fold excess, and trim after applying paste to guarantee seamless connections. Paying attention to seams, edges, and smoothing out bubbles helps achieve a professional look—continue to uncover more detailed tips for perfect finishing.
Key Takeaways
- Measure and cut a small cross-shaped hole in the wallpaper for outlets, ensuring a snug fit around the outlet box.
- Fold back excess wallpaper around outlets and apply paste thoroughly for secure attachment.
- Cut wallpaper in straight lines along corners, then fold or trim excess for seamless edges.
- Use a utility knife to precisely trim wallpaper along outlet and corner edges for a professional finish.
- Smooth out air bubbles and wrinkles, and seal seams with a roller for a tidy, durable appearance.
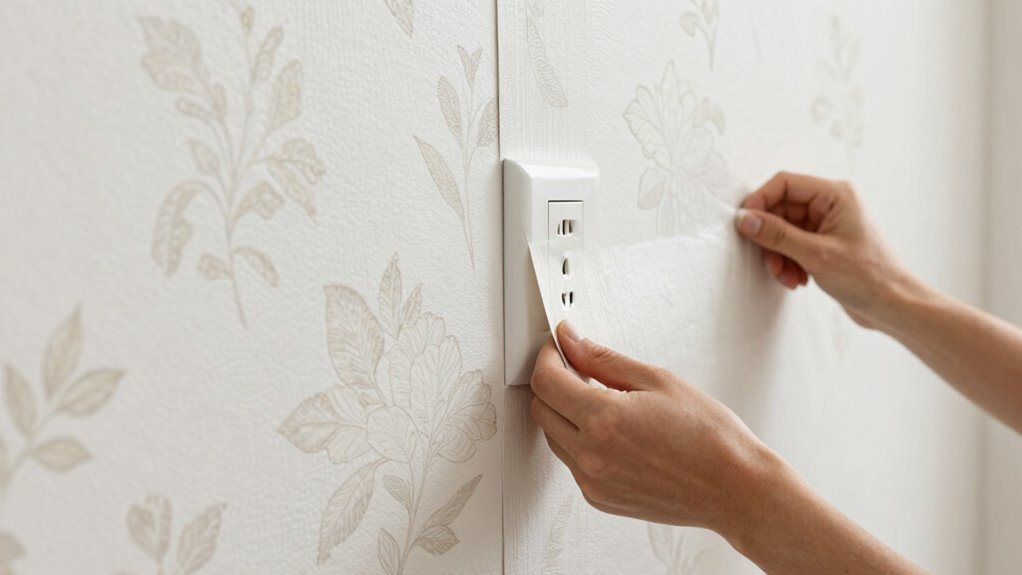
Hanging wallpaper can transform a room, but it requires careful preparation and technique to get it right. When it comes to working around outlets and corners, precision becomes even more important to achieve a clean and professional look. If you’re using removable wallpaper, you have a bit more flexibility, but you still need to handle the edges carefully to prevent peeling or misalignment. Before you start, make sure you have your tools ready—measuring tape, a straightedge, a utility knife, a smoothing tool, and your wallpaper paste if you’re not using peel-and-stick options.
First, measure and mark the positions of outlets, switches, and corners on your wall. When it’s time to cut, do so with extra care. For outlets, cut a small cross-shaped hole in the wallpaper, just large enough to fit over the outlet box. Fold back the excess wallpaper around the hole so you can work around it easily. For corners, it’s best to cut the wallpaper in a straight line that aligns with the corner, allowing you to fold the excess inward or outward, depending on your approach. This guarantees a seamless transition along the edges.
When hanging around outlets, apply wallpaper paste specifically designed for your wallpaper type—whether traditional or removable wallpaper. Use a brush or roller to apply a thin, even layer of paste to the back of the wallpaper, making sure to cover the edges thoroughly. Carefully position the wallpaper over your marked area, aligning it with your measurements. Smooth out any air bubbles or wrinkles from the center outward using a smoothing tool or a clean, dry cloth. For outlets, gently cut the pasted section over the outlet hole with a utility knife, then fold back the excess wallpaper and secure it around the outlet, trimming any excess with your knife for a flush fit. Ensuring proper wall preparation techniques can further improve the final result and durability of your wallpaper.
Corners require a similar approach. When wallpapering around corners, you might choose to cut the wallpaper in a “butt joint” style, where the edges meet precisely at the corner and are smoothed out. Using a sharp utility knife, trim the excess along the corner line after applying the paste. For removable wallpaper, this process is often easier, as you can peel back and reposition if needed. Always ensure the seams are tight and free of gaps. Taking the time to measure accurately can help prevent misalignment and ensure a seamless look. Incorporating proper seam sealing techniques can also help keep the edges secure over time. Additionally, using a seam roller can help secure the edges and seams, making sure they stay flat over time. Remember that proper wall preparation is essential to achieving a durable and professional finish.
With patience and careful handling of outlets and corners, your wallpaper will look smooth and professional, giving your space a fresh, stylish update.
As an affiliate, we earn on qualifying purchases.
Frequently Asked Questions
How Do I Prevent Wallpaper From Tearing Around Outlets?
To prevent wallpaper from tearing around outlets, first turn off the electrical safety switch and carefully remove the outlet covers. Use a sharp utility knife to cut the wallpaper precisely around the outlet, ensuring clean edges. Proper wall preparation is essential; smooth and clean surfaces help the wallpaper adhere better. By handling outlets gently and maintaining good wall prep, you’ll reduce tearing risk and achieve a professional, seamless look.
What Tools Are Best for Trimming Wallpaper Near Outlets?
Like a master artist, you need precise tools to trim wallpaper near outlets. Use a sharp utility knife or a specialized trimming blade, ensuring clean cuts without damaging the paper or outlets. Keep a small, straight-edged ruler handy for pattern matching and clean edges. These tools work seamlessly with your wallpaper adhesives, helping you maintain perfect alignment and seamless finishes, just like a skilled painter blending colors effortlessly.
How Do I Align Patterns Around Corners and Outlets?
To align patterns around corners and outlets, focus on pattern matching and seam alignment. You should carefully match the patterns at the seams, making sure they line up perfectly. When working around outlets, cut the wallpaper slightly larger, then fold back the excess, and trim it for a precise fit. This guarantees seamless pattern continuity and clean edges, giving your wall a professional, polished look.
Can I Use Peel-And-Stick Wallpaper Around Outlets?
Yes, you can use peel-and-stick wallpaper around outlets, but you need to be careful. Choose a wallpaper with a strong adhesive type designed for easy repositioning. When removing wallpaper, especially peel-and-stick, it’s simple to peel it off without damaging the wall or outlets. Make sure to cut around outlets carefully, and if you decide to switch wallpaper later, removal is straightforward, thanks to the adhesive’s gentle nature.
What Should I Do if Wallpaper Wrinkles at Outlets?
If your wallpaper wrinkles at outlets, gently lift the wallpaper near the outlet. Use an outlet extension if needed to create more space. Smooth out the wrinkle with a squeegee or a credit card, working from the center outward. If the wrinkle persists, consider carefully removing that section of wallpaper for reapplication. Sometimes, wallpaper removal and re-hanging with extra care around outlets can prevent future wrinkles.
Conclusion
Hanging wallpaper around outlets and corners may seem tricky, but with patience and the right techniques, you can achieve a flawless look. Remember, over 60% of homeowners find wallpaper installation challenging, yet mastering these tips boosts confidence and transforms your space. Don’t be discouraged by minor imperfections—they’re part of the process. With practice, you’ll enjoy a beautifully decorated home that reflects your style. Keep at it, and soon you’ll be the expert!