
To install peel-and-stick tile neatly, start by thoroughly cleaning and preparing your surface to guarantee good adhesion. Plan your pattern in advance and use spacers to keep gaps even. Carefully peel off the backing and press each tile firmly in place, smoothing out bubbles or wrinkles. Use a level or straight edge to keep tiles aligned and regularly check for straight lines. Attention to detail and patience will give you a professional finish; keep going to discover more tips for perfect results.
Key Takeaways
- Clean and smooth the surface thoroughly to ensure proper adhesion.
- Plan and visualize your pattern before applying tiles to avoid misalignment.
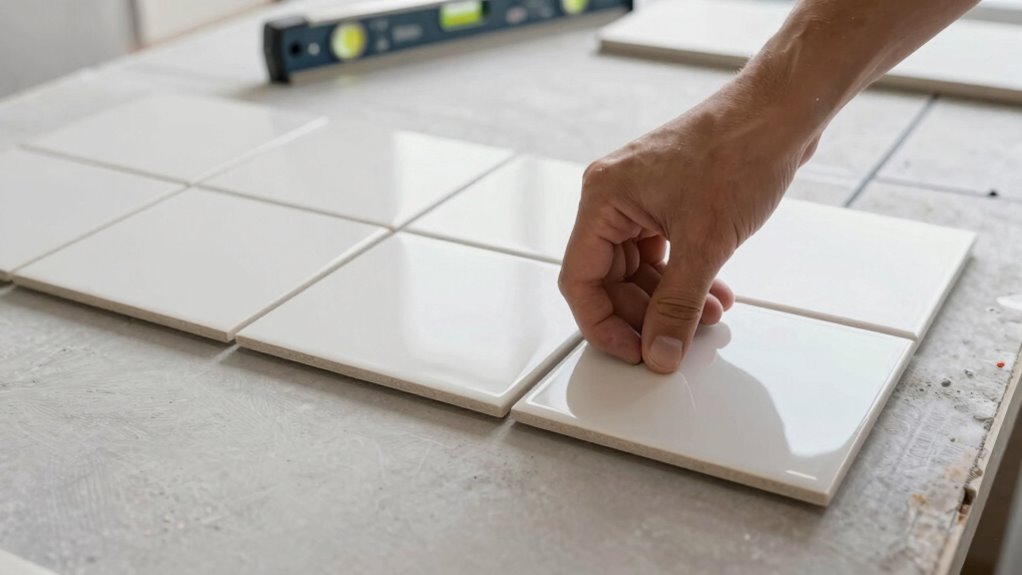
- Use spacers or wedges for consistent gaps and straight lines during placement.
- Press tiles firmly, reseating if necessary, to eliminate air bubbles and ensure adhesion.
- Regularly step back to check alignment and spacing, correcting any misaligned tiles promptly.
Are you wondering how to achieve a clean, professional look when installing peel-and-stick tile? The key lies in paying attention to your tile pattern selection and guaranteeing you use high-quality adhesive. When choosing your tile pattern, consider the size, shape, and color scheme. Opting for a pattern that complements your space can make a significant difference. For example, a simple grid layout works well for a modern, minimalist vibe, while a herringbone pattern adds visual interest to a more traditional room. Before you start, plan out your pattern on paper, especially if your tiles have varied designs or colors. This planning helps you avoid awkward cuts and mismatched edges once the tiles are in place. It also lets you visualize how the final look will come together, giving you confidence in your design choices. Ensuring your surface is properly prepared is fundamental to a neat installation, as surface preparation is a crucial step in effective surface preparation. Additionally, paying attention to adhesive quality can prevent future issues with tile longevity and adherence. Using the right tools, such as a spirit level or a straight edge, can also contribute to a more precise installation. To ensure a long-lasting result, avoid rushing through the process and take your time to double-check your work at each step.
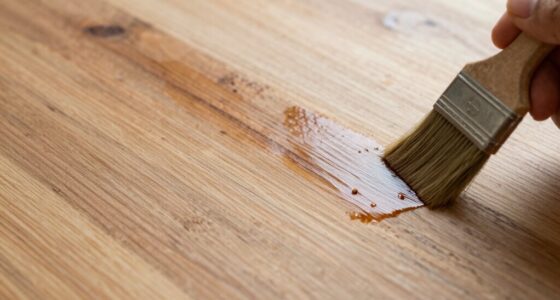
The next step involves paying close attention to the adhesive quality of your peel-and-stick tiles. Not all tiles are created equal, so investing in products with a strong, durable adhesive guarantees your tiles stay securely in place over time. Cheaper adhesives tend to lose stickiness, especially in high-moisture areas like kitchens or bathrooms, leading to tiles peeling or shifting. Before you start installing, check the manufacturer’s recommendations for surface preparation. A clean, smooth surface free of dust, grease, or debris is essential for the adhesive to bond properly. Some tiles come with a protective backing that needs to be peeled off just before placement, so work carefully and peel small sections at a time to maintain control. Press each tile firmly into place, applying even pressure to eliminate air bubbles and ensure maximum contact with the surface. Remember, the correct installation technique is vital to achieving a professional finish and long-lasting results. Also, consider the environmental conditions, such as humidity and temperature, as they can impact adhesive performance and tile adhesion.
As you lay your tiles, take your time to align each piece carefully, especially if you’re working with a pattern that requires precise placement. Use spacers or small wedges if needed to maintain consistent gaps between tiles for grouting later. Regularly step back and inspect your progress, checking for straight lines and even spacing. If a tile isn’t adhering properly, gently lift it and reseat it, ensuring the adhesive makes good contact with the surface. Remember, patience is essential—rushing your installation can lead to misaligned tiles or gaps that are difficult to fix later. By carefully selecting a suitable pattern and guaranteeing the adhesive quality is top-notch, you’ll create a neat, professional-looking finish that not only looks great but also lasts for years. Paying attention to proper surface preparation ensures your tiles will adhere well and remain looking pristine over time.

Art3d Smoothing Tool Kit for Applying Peel and Stick Wallpaper, Vinyl Backsplash Tile
- Complete tool set: Includes craft knife, smoothers, measuring tape
- Effective smoothing tools: Red and blue squeegees remove bubbles and creases
- Versatile application: Suitable for wallpaper, backsplash, trim, and film
As an affiliate, we earn on qualifying purchases.
As an affiliate, we earn on qualifying purchases.
Frequently Asked Questions
Can Peel-And-Stick Tiles Be Used Outdoors?
Peel-and-stick tiles can be used outdoors, but not all types are suitable. For outdoor durability, choose tiles specifically designed for weather resistance, like those made from robust materials such as porcelain or vinyl. These tiles withstand elements like rain, sun, and temperature changes better than indoor-only options. Always check the manufacturer’s outdoor recommendations to guarantee your chosen peel-and-stick tiles will hold up against weather conditions and provide long-lasting beauty.
How Do I Remove Peel-And-Stick Tiles Without Damage?
To remove peel-and-stick tiles without damage, start by peeling a corner gently. Use a hairdryer to heat the adhesive, softening it for easier removal. Carefully lift the tile, and if adhesive residue remains, apply adhesive removal products or a mixture of warm water and mild soap. Always guarantee proper surface preparation afterward to prevent damage, and gently clean the area to restore it to its original condition.
What Tools Are Best for Cutting Peel-And-Stick Tiles?
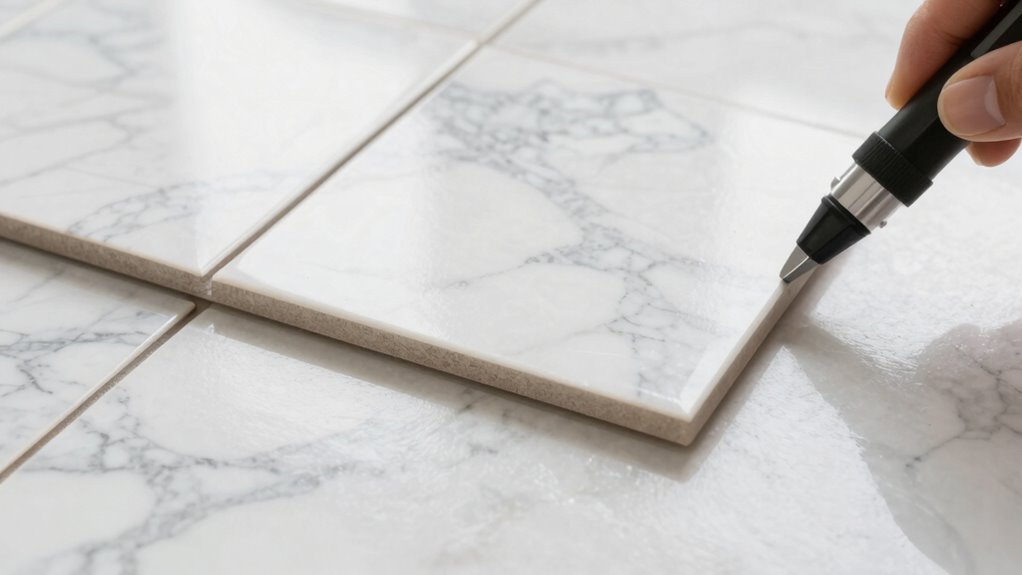
You should use sharp cutting tools like a utility knife or a pair of scissors to cut peel-and-stick tiles. A utility knife with a fresh blade offers precise cuts, especially for straight edges, while scissors work well for smaller or detailed cuts. Make certain to score the tile’s adhesive backing carefully. Using these tools guarantees clean, neat edges, making your installation look professional and polished.
Are Peel-And-Stick Tiles Suitable for Bathrooms?
You’re likely wondering if peel-and-stick tiles suit bathrooms. They do, especially with their waterproof qualities and strong adhesive strength that keeps them in place despite humidity. Picture choosing a tile pattern that complements your bathroom’s style while knowing the adhesive will hold even in steamy conditions. These tiles are a practical, easy-to-install option that withstands moisture, making your bathroom renovation both stylish and durable.
How Long Do Peel-And-Stick Tiles Last?
Peel-and-stick tiles typically last between 5 to 10 years, depending on the tile design and installation tips you follow. To maximize longevity, make sure your surface is thoroughly cleaned and dry before applying, and press each tile firmly into place. Proper installation helps prevent peeling or damage over time. Regular maintenance and avoiding excessive moisture also contribute to extending the lifespan of your peel-and-stick tiles.
Conclusion
Now that you know the secrets to installing peel-and-stick tile neatly, your project will turn out so flawless, it’ll make even professional installers do a double take! Just take your time, stay precise, and don’t rush the process. Remember, patience is your best tool—think of it as a magic wand that transforms your space into a stunning masterpiece. With a little effort, you’ll create a beautiful, sleek surface that will wow everyone for years to come!