Decor
When to Put up Halloween Decor

I love the spooky season, but when should I start putting up my Halloween decorations? It’s a question that many of us ask ourselves each year.
In this article, I will guide you through the best time to start decorating for Halloween. We’ll explore factors to consider, tips for planning ahead, and even some last-minute ideas.
So, grab your pumpkins and let’s dive into the world of Halloween decor!
Key Takeaways
- Beginning of October allows ample time for planning and execution of Halloween decorations
- Considering factors such as weather and personal preferences can help determine the right date for putting up Halloween decorations
- Planning ahead, creating a budget, and incorporating DIY projects are important for successful Halloween decoration setup
- The timing of Halloween decor is subjective and depends on personal preference, with some opting for early decorations and others waiting for a bigger impact
Best Time to Start Decorating for Halloween
I think the best time to start decorating for Halloween is at the beginning of October. This allows for ample time to plan and execute your spooky vision.
When it comes to planning strategies, it’s important to first decide on a theme or concept. Whether you prefer a haunted graveyard or a witch’s lair, having a clear vision will make the decorating process much smoother.
Once you’ve your theme in mind, it’s time to get creative with DIY decorations. From crafting paper bats to carving pumpkins, the possibilities are endless. You can also incorporate everyday items, like mason jars and old sheets, to create eerie ambiance.
Starting early in October gives you plenty of time to gather materials, perfect your DIY skills, and ensure your Halloween decor is the talk of the neighborhood.
Factors to Consider When Choosing the Right Date for Halloween Decorations
Considering factors such as weather and personal preferences, it’s important to choose the right date to start displaying spooky decorations for Halloween.
There are a few key factors to consider when determining the best time to put up your Halloween decor. First, think about the weather in your area. If you live in a place with unpredictable weather, it might be best to wait until closer to Halloween to avoid any damage to your decorations.
Second, consider your personal preferences. Some people love getting into the Halloween spirit early and enjoy having their decorations up for the entire month of October. Others prefer to wait until closer to Halloween to create a bigger impact.
Ultimately, the timing of your Halloween decorations is a personal choice, but taking these factors into consideration can help you make the right decision.
Tips for Planning Ahead and Setting Up Halloween Decorations
When planning ahead for spooky decorations, it’s essential to establish a timeline and gather all necessary materials. Here are some planning tips and creative ideas to help you get started:
- Start by brainstorming themes and concepts for your Halloween decorations. Whether you prefer a classic haunted house or a more modern and whimsical approach, having a clear vision will make the planning process easier.
- Make a list of the decorations and props you’ll need for each area of your home. This will help you stay organized and ensure you don’t forget anything.
- Set a budget for your Halloween decorations. It’s easy to get carried away, but having a budget will help you prioritize and make smart purchasing decisions.
- Create a timeline for when you want to start and finish setting up your decorations. This will give you a sense of direction and help you stay on track.
- Don’t forget to incorporate DIY projects into your Halloween decorations. Not only will this save you money, but it will also add a personal touch to your haunted abode.
Now that you’ve your planning tips and creative ideas in place, let’s discuss how early is too early to put up Halloween decor.
How Early Is Too Early to Put up Halloween Decor
As an avid Halloween enthusiast, I wonder if there’s a specific date that’s considered too early for decorating. When it comes to Halloween decor, timing is everything. While some people may argue that it’s never too early to start getting into the spooky spirit, others believe that putting up decorations too early can take away from the excitement closer to Halloween.
However, with the recent Halloween decor trends and an abundance of DIY Halloween decoration ideas, it’s no surprise that people are eager to start decorating earlier than ever. From elaborate outdoor displays to creepy indoor accents, the options are endless.
Last-Minute Halloween Decorating Ideas
I’m excited to share some quick and easy ideas for sprucing up your space just in time for Halloween if you’re a last-minute decorator. Halloween is right around the corner, and it’s never too late to add some spooky touches to your home.
Here are some easy DIY Halloween decorations that will transform your space into a haunted haven:
-
Create a creepy spiderweb using white yarn or string. Simply stretch it across a corner of a room or drape it over furniture.
-
Make ghostly luminaries by placing battery-operated tea lights inside white paper bags. Draw ghost faces on the bags and scatter them along your walkway or porch.
-
Use black construction paper to cut out bat shapes and attach them to your windows or walls for a spooky effect.
-
Fill glass jars with water and add red food coloring to create a blood-like effect. Place a flickering LED candle inside for an eerie display.
-
Hang a witch’s broom and hat on your front door for a fun and festive welcome.
With these easy DIY Halloween decorations and a little creativity, you can transform your space into a haunted wonderland. Get ready to spook your guests and enjoy a wickedly good time this Halloween!
Frequently Asked Questions
What Are Some Popular Halloween Decoration Trends for This Year?
Some popular Halloween decoration trends for this year include unique DIY projects for spooky home decor and creative ways to incorporate Halloween decorations into your party theme.
Are There Any Safety Precautions to Keep in Mind When Setting up Halloween Decorations?
When it comes to Halloween decoration safety, there are a few tips to keep in mind. Avoid tripping hazards, secure decorations properly, and always be mindful of fire hazards. Stay spooky and safe!
How Can I Incorporate Halloween Decorations Into My Outdoor Space?
I love finding creative ways to incorporate Halloween decorations into my outdoor space. From spooky wreaths to pumpkin displays, there are endless possibilities for transforming small spaces into festive Halloween havens.
Are There Any DIY Halloween Decoration Ideas That Are Easy to Make?
Creating DIY Halloween crafts can be a fun and budget-friendly way to decorate. From spooky wreaths to eerie lanterns, there are plenty of easy ideas to try. Get creative and let your home come alive with Halloween spirit!
Are There Any Specific Guidelines or Restrictions for Decorating Apartments or Rental Properties for Halloween?
For Halloween decorations in rental properties, there may be specific guidelines and restrictions. It’s important to check with your landlord or property management for any limitations. However, there are still plenty of creative Halloween decoration ideas for apartments.
Conclusion
In conclusion, it’s never too early to start getting into the Halloween spirit! With the right planning and creativity, you can have your decorations up and ready to spook in no time.
Remember to consider factors like weather, personal preference, and neighborhood norms when choosing the perfect date.
Whether you’re a fan of elaborate setups or prefer last-minute touches, embrace the magic of Halloween and let your creativity shine!
So grab your broomstick and start haunting your home with ghoulish delights.
- About the Author
- Latest Posts
Meet Katherine, the creative enthusiast at ByRetreat who infuses her boundless passion for design into every remote workspace she crafts. With an innate sense of creativity and an eye for unconventional beauty, Katherine brings a unique and inspiring perspective to the team.
Katherine’s love for design is infectious, and her ability to think outside the box sets her apart. She believes that true artistry lies in embracing a variety of styles and mixing them harmoniously to create captivating spaces. By combining different textures, colors, and patterns, Katherine weaves a tapestry of creativity that breathes life into each remote workspace.
Decor
Repurpose Old Dresser: DIY Transformation
Pair discarded dressers with creative vision to uncover hidden potential and transform them into functional, one-of-a-kind masterpieces.
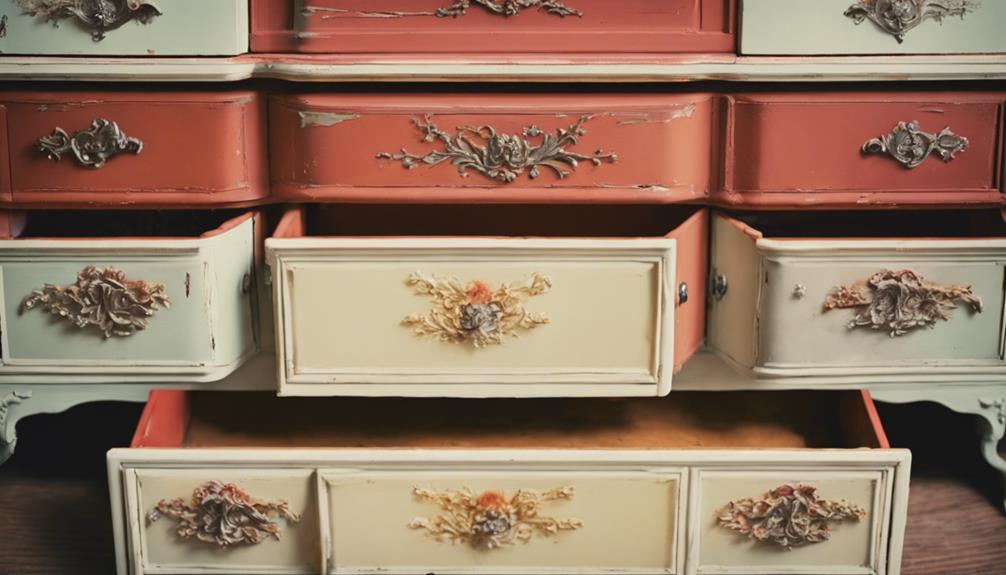
We breathe new life into old, discarded dressers, transforming them into functional and stylish pieces that not only reduce waste but also reflect our personal style. Repurpose old dressers into storage benches, TV stands, or kitchen islands for added storage and workspace. Convert drawers into shelves, tool chests, or craft supply shelves for organized storage. With a little creativity, old dressers can be reinvented into unique furniture pieces, such as pet beds or bookshelves. By exploring creative projects and considering functionality, we can tap into the potential of an old dresser and create a one-of-a-kind piece that complements our home decor – and discover even more innovative ways to do so.
Key Takeaways
• Upcycle an old dresser into a storage bench for added seating and storage, perfect for entryways or mudrooms.
• Transform a dresser into a sleek TV stand or media center for a modern entertainment solution.
• Repurpose dresser drawers into shelving units, wall shelves, or storage bins for organized and stylish storage.
• Consider the dresser's condition and plan for repurposing into new furniture, researching creative ideas online for inspiration.
• Evaluate the desired aesthetic style and functionality needs, ensuring a seamless integration of the repurposed dresser into the desired layout.
Transforming Old Dresser Ideas
When it comes to transforming old dresser ideas, we're spoiled for choice, and the possibilities are endless, from functional storage benches to stylish TV stands.
One of our favorite repurposed furniture projects is upcycling an old dresser into a storage bench. Not only does it provide additional seating, but it also offers a convenient storage solution for our cluttered entryways or mudrooms.
For a more modern take, we can transform an old dresser into a sleek TV stand or media center, perfect for a unique entertainment solution.
Alternatively, we can get creative with DIY projects, such as converting dresser drawers into shelving units or wall shelves for decorative display.
If we're feeling ambitious, we can even repurpose the dresser into a kitchen island or buffet, adding valuable storage and workspace to our kitchens.
Whatever our vision, an old dresser offers a blank canvas waiting for our imagination and creativity to shine.
Creative Storage Solutions Found
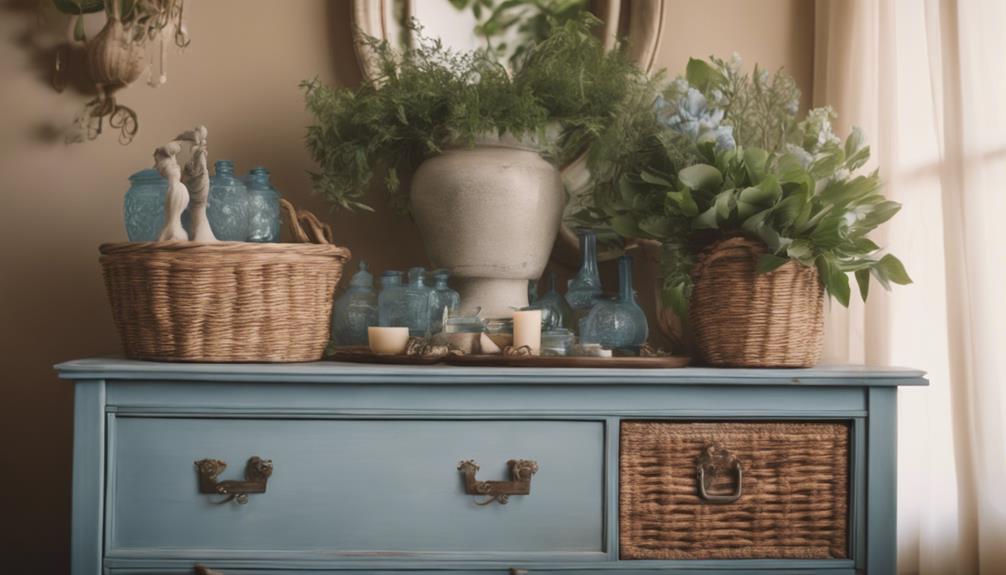
We've discovered that old dressers can be repurposed into a multitude of creative storage solutions, from craft supply shelves to tool chests, that help us stay organized and clutter-free. By breathing new life into an old dresser, we can create functional and stylish storage spaces that cater to our specific needs.
Here are some examples of creative storage solutions we've found:
| Repurposed Dresser | Storage Space |
|---|---|
| Craft Supply Shelf | Organized storage of art materials |
| DIY Tool Chest | Efficient organization of tools |
| Organizer for Small Items | Storage for jewelry or office supplies |
| Bookshelf | Creative storage and display of books or decorative items |
These creative storage solutions not only help us stay organized but also add a touch of personality to our living or working spaces. With a little creativity, an old dresser can be transformed into a functional and stylish storage solution that meets our unique needs.
Upcycling Old Dresser Drawers

By repurposing the drawers, we can access a treasure trove of upcycling opportunities that not only reduce waste but also add a touch of creativity to our living spaces.
Upcycling old dresser drawers can involve transforming them into shelves, storage bins, or even planters for a creative and functional use. We can repurpose them into unique furniture pieces like benches, tables, or even pet beds, adding a personalized touch to our home decor.
By doing so, we can save money on new furniture purchases while reducing waste and contributing to a more sustainable lifestyle. Repurposing dresser drawers allows us to showcase our creativity and exhibit our DIY skills by giving new life to something old and unused.
Additionally, repurposing drawers into practical storage solutions or decorative accents can add character and charm to our living space, making it more organized and visually appealing. With a little creativity, old dresser drawers can become functional and stylish pieces of repurposed furniture that reflect our personal style.
Giving New Life to Dressers
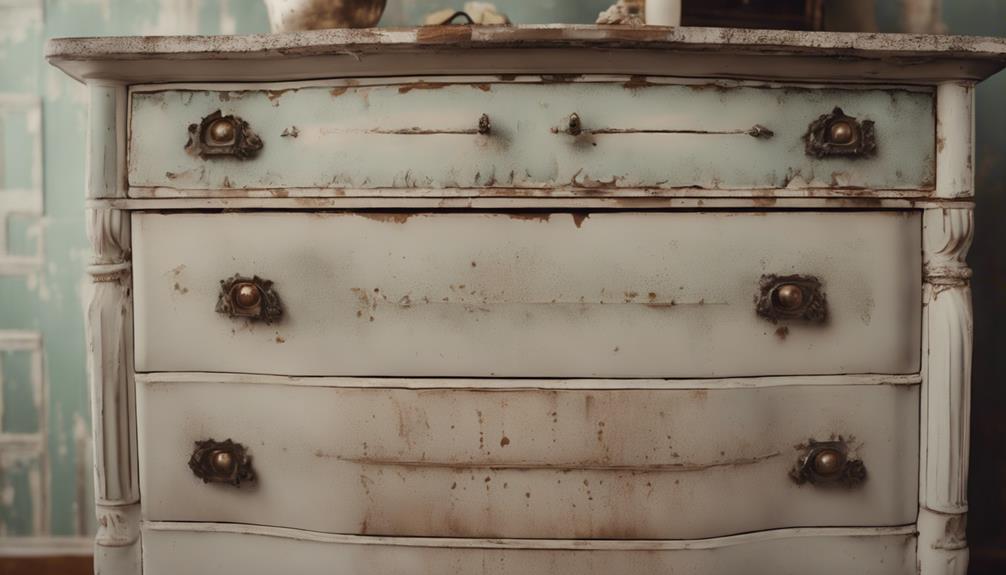
As we explore the art of giving new life to dressers, we're excited to examine the transformative process that turns an old, worn-out piece into a stunning, functional work of art.
We'll take a closer look at the dramatic before-and-after results, showcasing the incredible potential of upcycling old dressers.
Before the Makeover
What potential does our old dresser hold, and how can we reveal its hidden value?
As we begin on this DIY transformation, we must evaluate the dresser's condition, identifying any damage or structural issues that may impact our design plans.
We consider the dresser's design and style to determine the best approach, taking measurements to plan for repurposing into a new furniture piece.
We assess the functionality and potential use of the dresser in its new transformed state, envisioning it as a repurposed furniture piece, such as a chest or Kids Storage Bench.
Researching and gathering inspiration from creative ideas online, we explore various dresser ideas, from upcycled home decor to functional storage solutions.
By understanding the dresser's limitations and possibilities, we can discover its full potential, giving new life to this old dresser.
As we move forward, we're excited to see the transformation unfold, revealing a unique and functional piece that's both stylish and functional.
After the Revamp
With our creative vision realized, we've transformed the old dresser into a one-of-a-kind masterpiece that exudes character and functionality. The repurposed furniture now serves as a statement piece, showcasing our ingenuity and creative flair.
By upcycling this old dresser, we've not only reduced waste but also created a unique piece that adds personality to any space.
Some of the benefits of our revamped dresser include:
- Sustainable decor: Our revamped dresser promotes eco-friendliness by reusing and recycling old materials, reducing the need for new resources and waste.
- Personalized style: Our unique piece reflects our personality and taste, making it a one-of-a-kind addition to our home decor.
- Functional art: Our revamped dresser serves as both a functional storage unit and a work of art, adding visual interest to our space.
Our revamped dresser is a representation of the power of upcycling and repurposing old furniture. By giving new life to discarded pieces, we can create unique, functional, and eco-friendly statement pieces that elevate our home decor.
DIY Dresser Makeover Projects
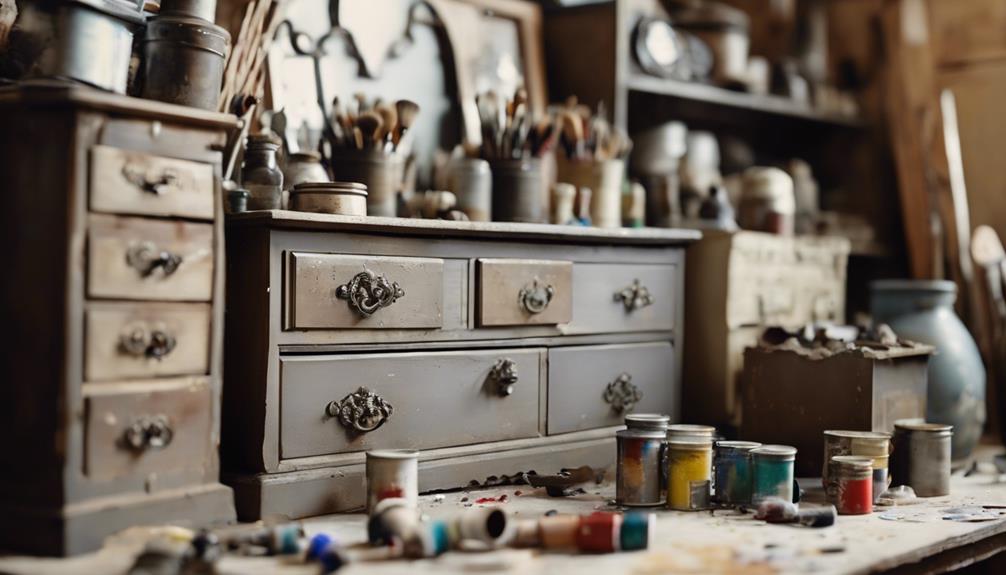
We've all been there: staring at an old dresser, wondering what to do with it, until we stumble upon the perfect DIY dresser makeover project that sparks our creativity. This is where the magic begins, as we transform an old chest of drawers into a stunning piece of repurposed furniture.
DIY dresser makeover projects offer endless possibilities, from upcycling old dressers into benches, shelves, or storage solutions to creating unique pet-related items. By embracing this sustainable approach to home decor, we can reduce waste, save money, and showcase our creativity.
The beauty of DIY dresser makeovers lies in their customizability, allowing us to tailor our creations to our personal style and needs. From entertainment centers to planters and kitchen islands, the options are endless.
Repurposed Dresser Design Ideas
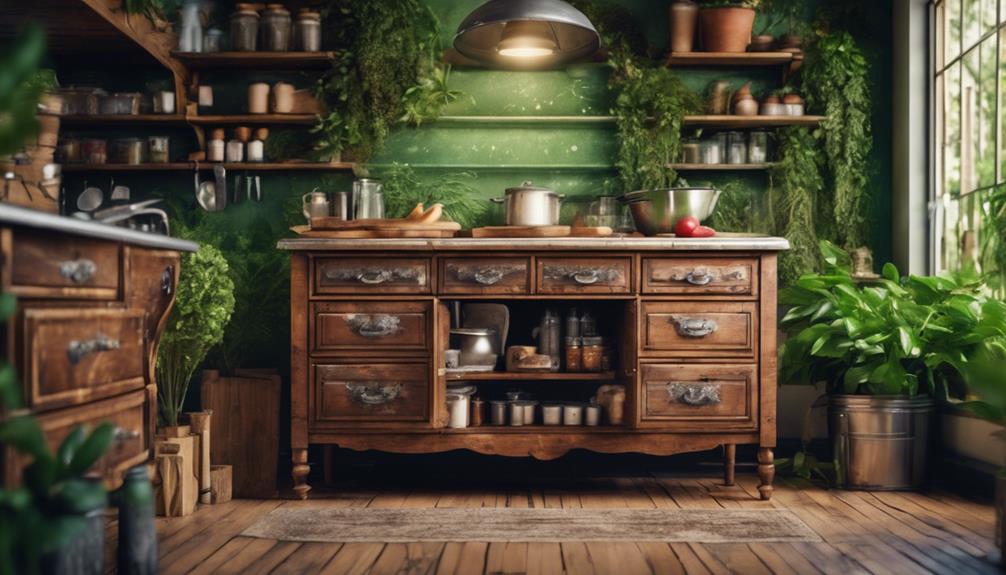
By embracing our creative sides, we can discover new possibilities in old dressers and transform them into functional pieces that reflect our unique style and meet our specific needs. Repurposing old dressers allows us to think outside the box and create one-of-a-kind furniture pieces that not only add character to our homes but also provide functional storage solutions.
Some creative ideas for repurposed dresser design include:
- Transforming an old dresser into a stylish bench with built-in storage for shoes, bags, or linens
- Upcycling a dresser into a bookshelf or entertainment center that adds a touch of vintage charm to any room
- Converting a dresser into a pet bed or a planter for a whimsical touch
With a little creativity, we can breathe new life into old dressers and turn them into functional pieces that reflect our personal style.
Turning Dresser Into Functional Space
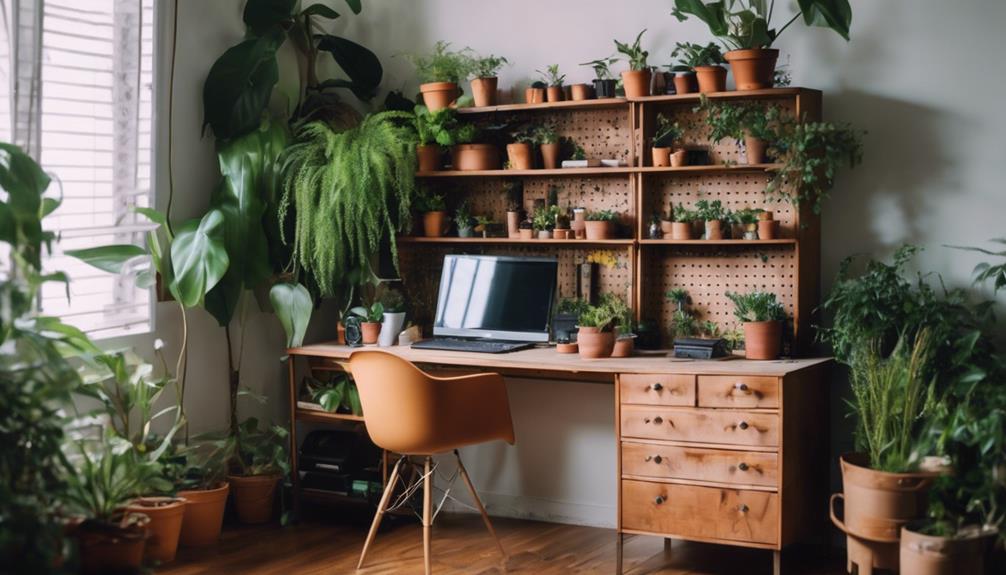
As we explore the possibilities of turning an old dresser into functional space, we're considering how to maximize the available area and create a storage solution that meets our needs.
We're thinking about the dresser's original structure and how it can be repurposed to provide additional seating, workspace, or shelving.
Dresser Space Planning
When starting on this journey to give our dresser a new life, we must consider the functionality we need, such as extra storage, seating, or display. Our desired aesthetic style or theme will also guide our transformation process and materials selection. This important step guarantees our repurposed dresser seamlessly integrates into our desired layout.
To guarantee a harmonious blend of form and function, we should:
- Sketch out a basic layout or design concept to visualize our repurposed dresser in the space
- Measure and plan for any additional materials or accessories required to complete the transformation effectively
- Evaluate the available space dimensions to secure a seamless fit within the designated area
Storage Solution Ideas
Converting an old dresser into a functional storage space offers a multitude of creative possibilities, allowing us to tailor our design to our specific needs and preferences.
We can repurpose a dresser into a craft supply shelf, where we can store art supplies and materials in an organized manner.
Alternatively, we can convert it into a DIY tool chest, efficiently storing and accessing various tools and equipment.
Another option is to transform it into a bookshelf, providing an upcycled storage solution for books and decorative items.
We can also use a repurposed dresser as a buffet, stylishly storing dining essentials and serving dishes.
Moreover, we can repurpose a vintage dresser into closet storage, creating an organized and accessible arrangement for clothing and accessories.
Drawers used in these transformations can be refinished or repainted to match our desired aesthetic.
Frequently Asked Questions
How to Turn an Old Dresser Into Something New?
We're often faced with the question of how to turn an old dresser into something new. This query arises when we're enthusiastic to breathe new life into a piece of furniture that's no longer serving its original purpose.
How Do You Make an Old Wooden Dresser Look Modern?
We update an old wooden dresser to make it look modern by applying a fresh coat of trendy paint, such as navy blue or charcoal gray.
Next, we swap outdated hardware with sleek, modern handles or knobs in finishes like brushed nickel or matte black.
To add a contemporary touch, we incorporate geometric patterns or metallic accents, and opt for a minimalist design by removing excessive detailing.
How Do You Revamp an Old Chest of Drawers?
We revamp an old chest of drawers by revitalizing its rustic roots, replacing worn-out weariness with radiant refreshment.
First, we sand down the surface to smooth out imperfections, then update the hardware with modern fixtures for a sleek look.
Next, we apply a fresh coat of paint or stain to match our desired aesthetic, adding decorative elements for a unique touch.
How Do You Upgrade a Boring Dresser?
We upgrade a boring dresser by giving it a fresh coat of paint or stain to revitalize its appearance.
We also swap out outdated hardware for modern or decorative knobs and pulls, adding a stylish touch.
To take it to the next level, we consider adding unique designs or patterns using wallpaper, contact paper, or stencils.
Conclusion
As we close the lid on this DIY journey, we're left with a treasure trove of transformed dressers, each one a demonstration of the power of creativity and resourcefulness.
Like a masterful conductor, we've orchestrated a symphony of upcycling, repurposing, and redesign, breathing new life into discarded furniture.
The result? A harmonious blend of form and function, where once-forgotten dressers now shine as functional works of art, their beauty and utility in perfect harmony.
- About the Author
- Latest Posts
Introducing Ron, the home decor aficionado at ByRetreat, whose passion for creating beautiful and inviting spaces is at the heart of his work. With his deep knowledge of home decor and his innate sense of style, Ron brings a wealth of expertise and a keen eye for detail to the ByRetreat team.
Ron’s love for home decor goes beyond aesthetics; he understands that our surroundings play a significant role in our overall well-being and productivity. With this in mind, Ron is dedicated to transforming remote workspaces into havens of comfort, functionality, and beauty.
Decor
Transform Thrifted Glass Globes Into DIY Vintage Candle Holders
Ignite your creativity and breathe new life into discarded treasures by upcycling thrifted glass globes into unique, luxurious DIY vintage candle holders.
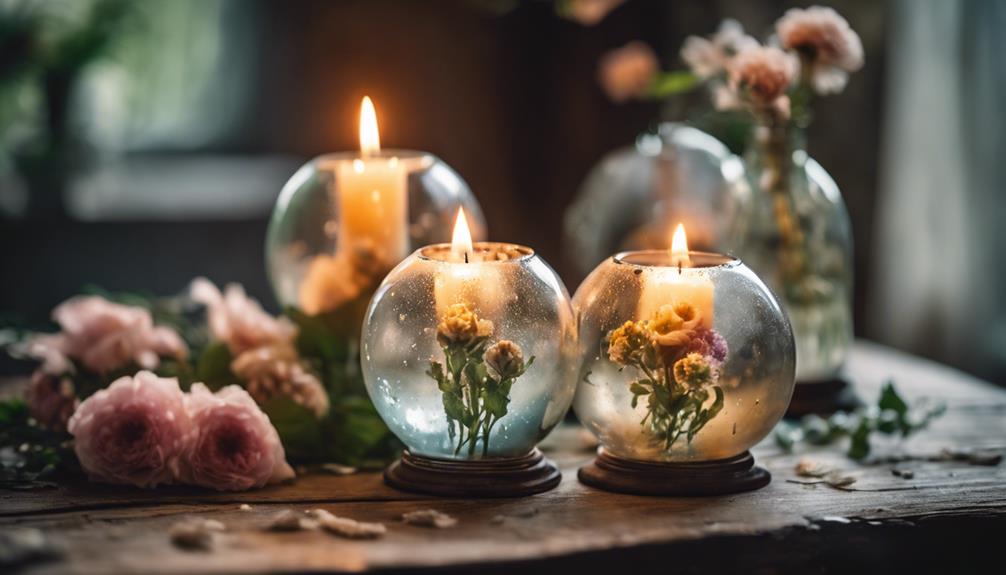
We're transforming neglected treasures into stunning DIY vintage candle holders. We scour thrift stores for unique glass globes, then prep them for a makeover by cleaning and removing any attachments. With a blank canvas ready, we add decorative elements like iridescent sparkle or coastal-themed decor to fit our desired aesthetic. We attach the globe to a sturdy base using strong adhesive, add a luxurious touch with gold leaf gilding wax, and display our creations on a wooden shelf or table. Now, get ready to elevate your home decor with these one-of-a-kind candle holders – and the best part is, there's more to discover.
Key Takeaways
• Scour thrift stores for unique, retired light fixtures with glass globes that fit your desired aesthetic for a DIY vintage candle holder project.
• Clean and prepare the glass globes by removing attachments, cleaning, and drying them to create a smooth surface for decoration.
• Add decorative elements to the candle holders, such as jewel-toned accents, iridescent sparkle, or coastal-themed decor, to match your home aesthetic.
• Assemble the candle holder by attaching the glass globe to a sturdy base using strong adhesive and adding a chalk-painted makeover for a vintage look.
• Finish the project with gold leaf gilding wax for a luxurious touch and display the candle holders on a wooden shelf or table for a rustic, vintage ambiance.
Gathering Materials and Supplies
We scour thrift stores and our own homes for retired light fixtures with glass globes that fit our desired aesthetic. We're on the hunt for unique pieces that will become the foundation of our DIY vintage candle holders. When we spot the perfect globe, we envision the stunning centerpiece it will become.
We gather our finds, along with some essential supplies, to start crafting something new. Our shopping list includes spray paint in various hues, stencils for added design, and paintbrushes in different sizes. We also grab some candles to complete the transformation. At home, we collect glass vases or containers to complement our new candle holders.
Before we begin, we make sure our globes are spotless and free of any attachments. With our materials ready, we're prepared to bring new life to these thrift store treasures. By repurposing these glass globes, we're not only reducing waste but also creating one-of-a-kind candle holders that reflect our personal style.
Preparing the Glass Globes

After scouring thrift stores and our own homes, we've gathered a collection of unique glass globes, and now it's time to prep them for their transformation into stunning candle holders.
The first step is to remove any attachments or hardware from the globes, making sure they're free from any obstructions.
Next, we give the globes a thorough cleaning to remove any dust and debris that may have accumulated. This guarantees a smooth surface for our chosen paint or decoration method. We take our time to meticulously clean every nook and cranny, making sure the globes sparkle like new.
Once clean, we let the globes dry completely, ensuring they're ready for the crafting process.
We now have a blank canvas, so to speak, to express our creativity. We can choose a suitable paint or decoration method to give our globes a personalized touch.
With our globes prepped and ready, we're one step closer to turning them into beautiful, one-of-a-kind candle holders.
Adding Decorative Elements
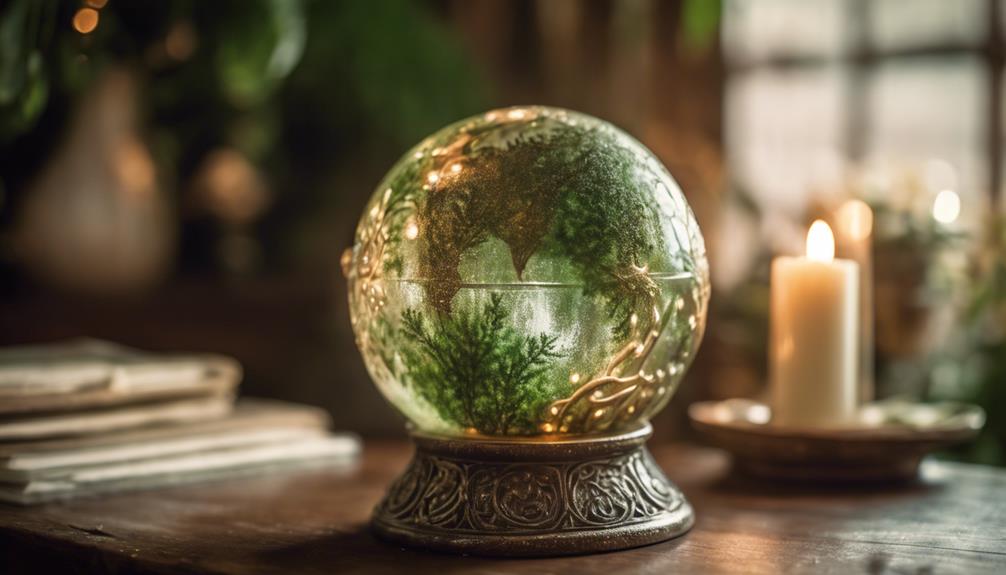
With our globes now sparkling clean and dry, it's time to express our creativity and add decorative elements that reflect our personal style. We can enhance our candle holders with decorative elements that give them a unique, vintage vibe.
Here are a few ideas to get us started:
- Jewel-toned accents: Add a touch of luxury with jewel border stickers or rhinestones that catch the light.
- Vintage charm: Paint our glass globes with off-white paint to give them a distressed, vintage look that's perfect for a rustic or farmhouse-themed decor.
- Iridescent sparkle: Apply iridescent glitter using Mod Podge for a subtle, shimmering effect that adds depth and visual interest.
We can also experiment with different decor styles and themes to match our home aesthetic. For a coastal-themed decor, we might add starfish or other ocean-inspired elements. The key is to have fun and get creative!
Assembling the Candle Holder

Now that our decorative elements are in place, it's time to bring our vintage candle holders to life by attaching the glass globe to a sturdy base. We'll use a strong adhesive like E6000 glue to guarantee a secure attachment.
Before we start, let's prep our base by giving it a chalk-painted makeover to match our vintage decor style. You can find affordable candle holder bases at the Dollar Tree or use an old store candle holder.
Once our base is ready, we'll apply a generous amount of adhesive to the top of the base and attach the glass globe. Make sure to hold the globe in place for a few seconds to establish a strong bond. Let the glue dry completely before placing a candle inside to ensure stability and safety.
With our candle holder assembled, we're just a step away from having a unique and vintage decor piece that adds ambiance to any room.
Finishing Touches and Display

We add a luxurious touch to our vintage candle holders by applying gold leaf gilding wax, which instantly elevates their elegance and sophistication. The gilding wax application process is simple and can be done with our fingers in a circular motion for a smooth and even look. This gold leaf finish gives our candle holders a brand new appearance, making them perfect for display.
Here are some ideas for displaying our revamped candle holders:
- Rustic Farmhouse Charm: Place them on a wooden shelf or table in your rustic farmhouse-style home to add a touch of elegance.
- Tree Candle Centerpiece: Use them as a centerpiece for your dining table, surrounded by evergreen branches and pinecones, for a beautiful winter wonderland setting.
- Vase Fall Arrangement: Arrange them with some fall-themed vases and decorations to create a stunning autumn-inspired tablescape.
We're thrilled to have transformed our thrift store finds into stunning candle holders. Whether you're displaying them in your home, giving them as gifts, or selling them at a local store, these vintage candle holders are sure to impress.
Frequently Asked Questions
Can You Use Glasses as Candle Holders?
We often wonder, can we use glasses as candle holders? The answer is yes! In fact, upcycling old glasses or globes is a great way to create unique candle holders that add a personal touch to our homes.
With a little creativity, we can transform ordinary glasses into stunning candle holders that reflect our personal style. So, go ahead, dig out those old glasses, and let your creativity shine!
How to Decorate Glass Jars for Candles?
You might be wondering: 'I'm not artistic, can I still decorate glass jars for candles?'
Absolutely! We've got simple steps to follow. Start by applying off-white paint in multiple coats for a clean base.
Then, add decorative elements like jewel border stickers to give your jar lid a personal touch.
How Do You Tint a Glass Candle Holder?
We're thrilled to explore tinting glass candle holders!
To achieve a unique look, we mix glass paint or stain with a small amount of paint thinner or water.
Then, we use a brush or sponge to apply the tinted mixture to the inside or outside of the glass.
After it dries, we're left with a one-of-a-kind, personalized candle holder that adds a touch of elegance to our space.
How Do You Paint Glass Candle Holders?
As we explore the world of glass decoration, we inquire: how do we paint these delicate holders?
We start by selecting a glass-friendly paint, like enamel or glass paint, to guarantee a durable finish.
Next, we thoroughly clean the glass to make certain of a strong bond.
Thin, even coats are key to avoiding drips and achieving a smooth finish.
Conclusion
As we step back to admire our handiwork, the soft glow of the candle within the transformed globe casts a warm, nostalgic ambiance, evoking memories of forgotten eras.
The delicate dance of light and shadow resurrects the beauty of the past, infusing our spaces with the essence of vintage charm.
Our DIY vintage candle holders now breathe new life into forgotten treasures, illuminating the beauty in the discarded and the elegance of simplicity.
- About the Author
- Latest Posts
Introducing Ron, the home decor aficionado at ByRetreat, whose passion for creating beautiful and inviting spaces is at the heart of his work. With his deep knowledge of home decor and his innate sense of style, Ron brings a wealth of expertise and a keen eye for detail to the ByRetreat team.
Ron’s love for home decor goes beyond aesthetics; he understands that our surroundings play a significant role in our overall well-being and productivity. With this in mind, Ron is dedicated to transforming remote workspaces into havens of comfort, functionality, and beauty.
Decor
All You Need to Know About Making Your Own Table Risers
Fix your workspace woes with a DIY table riser, but first, discover the essential materials and steps to create the perfect elevated surface.
We've found ourselves stuck with a table that's too low or cluttered, wishing for a simple solution to elevate our workspace or display area. Making our own table risers offers a convenient and customizable answer to our decorative and functional needs. To get started, we need to choose the right materials, considering sturdy wood like 2X12 pine or scrap wood for cost-effectiveness. We'll then design our riser, thinking about height, size, and personalization. From there, we'll cut and sand the wood, assemble the riser, and add legs and finishing touches. As we explore these steps, we'll uncover the details that will take our DIY project to the next level.
Key Takeaways
• Choose sturdy and durable wood, considering scrap wood for cost-effectiveness and selecting the right thickness for desired height.
• Design your table riser considering functionality, size, and style, and personalize it with handles, cuts, or paint.
• Cut and sand the wood correctly, using the right saw and sandpaper, and round edges for a polished look and safety.
• Assemble the table riser securely, ensuring even spacing and alignment, and consider painting or staining for a customized look.
• Add the right legs and finishing touches, selecting a suitable finish, sanding with different grits, and assembling with pocket hole screws for stability.
Choosing the Right Materials
When building our table risers, we opt for sturdy and durable wood like 2X12 pine, as it provides the necessary stability and support for elevating our items.
We've found that this type of wood is perfect for creating a farmhouse-style table riser that adds a touch of rustic charm to our home.
For a DIY project, using scrap wood can be a cost-effective and eco-friendly option, but we make sure to choose pieces that are still sturdy and durable.
When selecting wood, we consider the thickness to achieve the desired height for our table risers.
We avoid using materials that may compromise the stability of the risers when elevating our items.
Wood glue is also an essential component in our DIY project, as it helps to bond the wood pieces together securely.
By choosing the right materials, we can create a table riser that's both functional and aesthetically pleasing.
With careful planning and attention to detail, we can build a beautiful and sturdy table riser that complements our home decor.
Designing Your Table Riser
With our materials selected, we turn our attention to designing a table riser that fits our needs and complements our home decor. When designing our DIY table risers, we consider the height and size to make sure it fits our needs.
We choose a design that complements our existing decor or adds a unique touch to our space. To make our table riser functional and personalized, we incorporate handles or intricate cuts. We also experiment with different leg options, such as wooden blocks, spindles, or repurposed items, to create a one-of-a-kind piece.
To add a customized look, we use stencils, painter's tape, or paint to add decorative elements to our table riser. By taking these design elements into account, we can create a table riser that not only serves its purpose but also enhances the aesthetic of our home.
With a well-designed table riser, we can elevate our workspace or dining area, creating a more functional and stylish space.
Cutting and Sanding the Wood
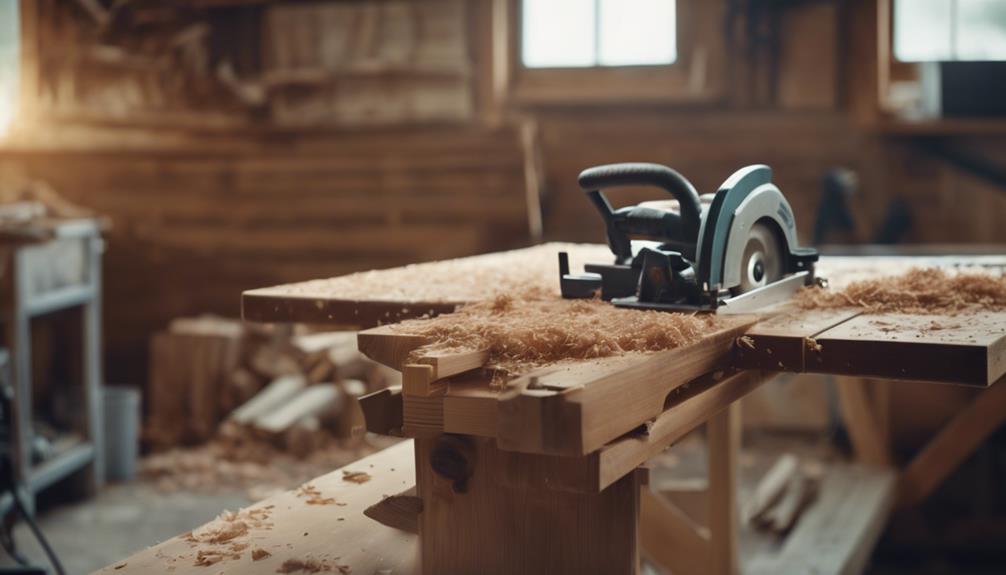
We immerse ourselves in the hands-on process of cutting and sanding the wood, transforming our design into a tangible reality.
When cutting wood for our table risers, we make sure to use a saw that's suitable for the thickness of the wood. For intricate cuts, we opt for a jig saw, taking care to keep our fingers away from the saw blade at all times to prevent accidents.
Once the wood is cut, we move on to sanding. We use 220 grit sandpaper to create a smooth surface for our table risers. To add a touch of finesse, we consider rounding the edges of the wood to prevent splinters and achieve a more polished look.
Safety is paramount, so we wear safety goggles to protect our eyes from debris while cutting and sanding. With patience and attention to detail, we're able to bring our design to life, one cut and sand at a time.
As we work, we're one step closer to creating functional and stylish table risers that will elevate our workspace or dining area.
Assembling the Table Riser
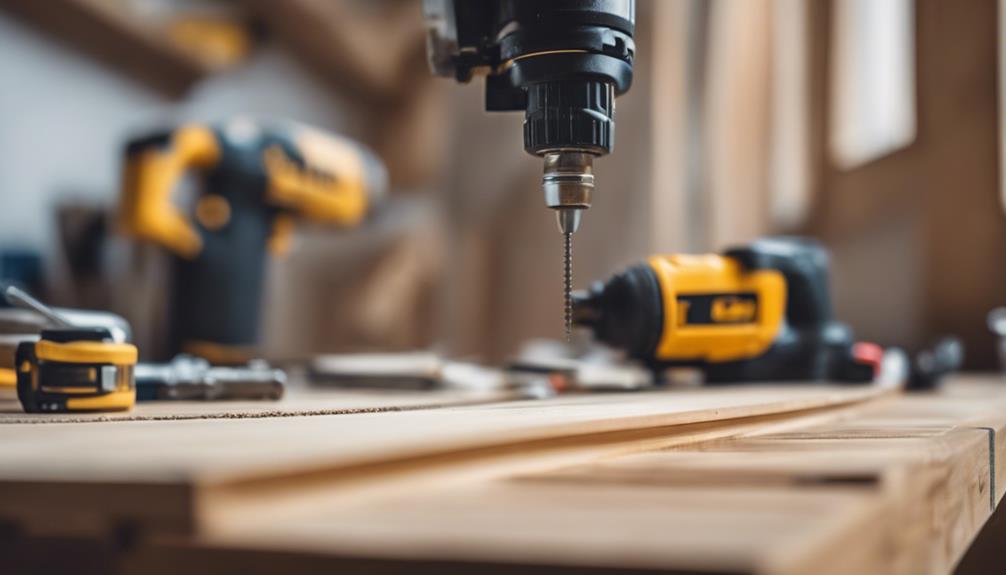
By attaching the legs to the table riser using wood glue or screws, we create a sturdy base that guarantees stability and even weight distribution. This secure hold assures our table riser won't wobble or collapse under the weight of our items.
We make sure the legs are evenly spaced and aligned to provide maximum stability to the riser. To double-check, we use a level to confirm the table riser sits flat and doesn't wobble.
With our legs securely attached, we can consider painting or staining the table riser to give it a customized look that matches our decor. Once assembled, we test the table riser by placing it under a table or display to make sure it elevates items effectively.
With a little patience and effort, we can create a sturdy and functional table riser that meets our needs. By following these simple steps, we can create a beautiful and functional table riser that perfectly complements our home or office decor.
Adding Legs and Finishing Touches
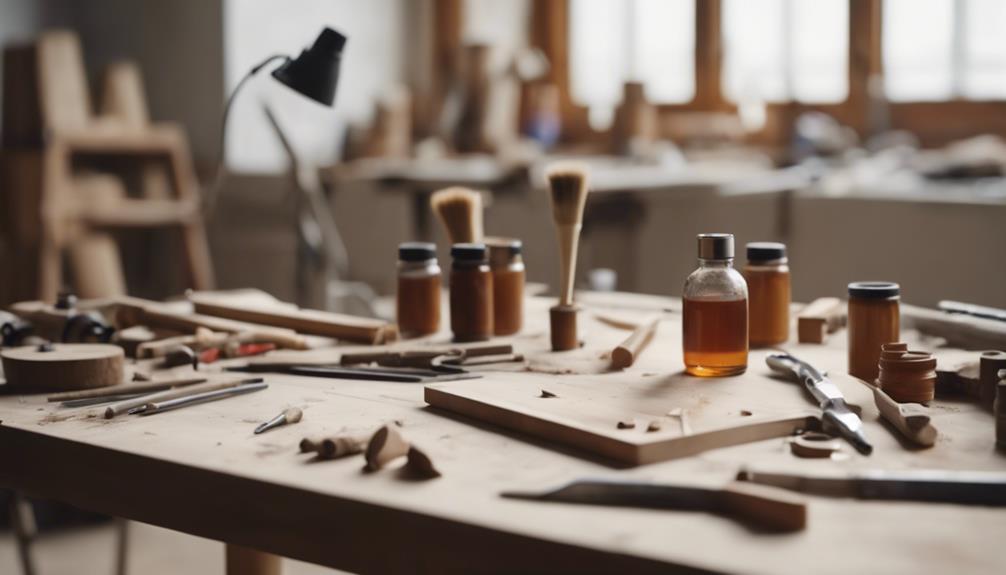
Now that our table riser's frame is assembled and stable, we're ready to add the legs that will elevate it and provide a sturdy base, while also considering the finishing touches that will enhance its overall appearance.
When it comes to adding legs, we're contemplating using wood furniture legs or iron pipe flanges for sturdy support. We want to guarantee our risers are stable and secure, after all.
Next, we'll choose a suitable finish for our table risers, such as stain, paint, or wax, to enhance the overall look. Before adding the legs, we'll sand the risers with different grits of sandpaper (80, 120, 220) for a smooth and polished finish.
We assembled our table risers using pocket hole screws, ensuring a secure and stable construction. By customizing the size and design of our table risers, we can add a personalized touch to match our decor style.
With the right finish and sturdy legs, our table risers won't only be functional but also visually appealing.
Styling and Decorating Your Riser
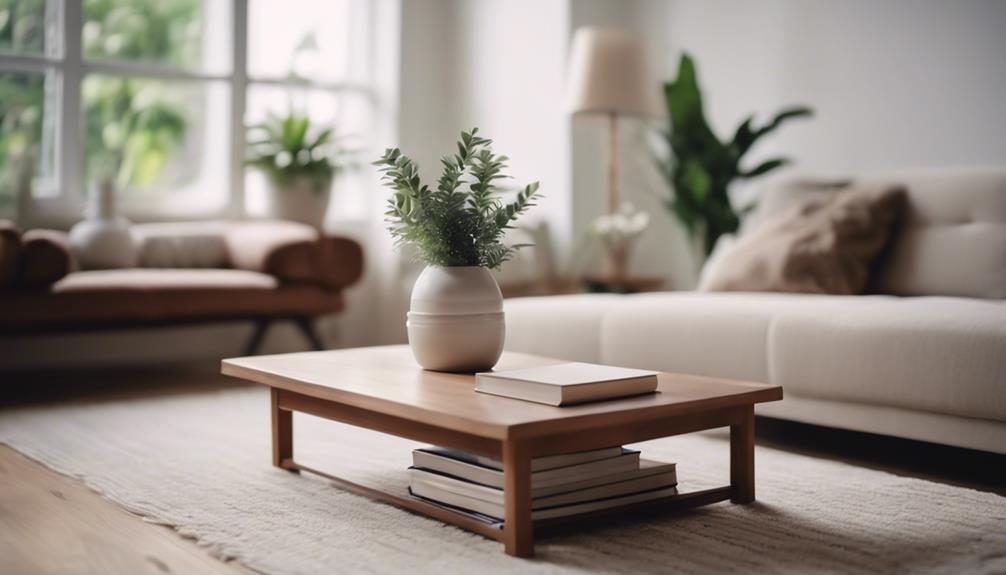
With our table risers constructed and finished, it's time to get creative and explore the endless possibilities of styling and decorating them to elevate our home decor. We can use them to create visually appealing displays by elevating centerpieces, candles, or decorative items. Experimenting with different heights and designs of table risers can add depth and interest to our decor.
| Styling Options | Decorating Ideas | DIY Tips |
|---|---|---|
| Elevate centerpieces | Add candles or greenery | Paint or stain to match your aesthetic |
| Create levels in displays | Group decorative items | Add decorative elements, like ribbons or bows |
| Use in different rooms | Experiment with heights and designs | Customize with photos or personal items |
Frequently Asked Questions
How to Make Table Risers?
We're going to make table risers, and we're excited to share the process with you!
First, we choose the right wood board, like a 2X12 pine, for stability and height.
Next, we use a saw, like a jig saw, for intricate cuts, and sandpaper for a smooth finish.
Then, we securely attach legs to the riser using wood glue or a pin nailer.
How to Make Your Own Risers?
We're about to explore the world of DIY table risers!
To make your own risers, we start by selecting the right wood board, like 2X12 pine, for stability and height.
Next, we shape the board using a saw, sand it smooth, and round the edges for a polished finish.
Then, we attach legs using wood glue or a pin nailer for a secure hold.
What Can I Use for Table Risers?
We've found that we can repurpose various materials to create unique table risers. For instance, we can use wood boards, circle plaques, or even wood doll heads as the base.
Additionally, we've discovered that wood spools can serve as sturdy legs. By getting creative with materials, we can design table risers that reflect our personal style and add a touch of elegance to any room.
How to Make a Table Taller Diy?
We're excited to tackle the DIY project of making a table taller!
To start, we'll need a wood board, which we'll measure and cut to our desired dimensions.
Next, we'll attach legs to the bottom using wood glue or screws for added stability.
After sanding the edges for a smooth finish, we can consider painting or staining to match our decor style.
Conclusion
We've covered the basics of creating our own table risers, from selecting the perfect materials to adding those final flourishes.
With a little patience and some TLC, we can elevate our spaces – literally! – and add some much-needed visual interest.
By following these steps, we can create a beautiful, functional piece that's uniquely ours.
Now, go ahead and get creative – and don't be afraid to experiment and make it your own!
- About the Author
- Latest Posts
Introducing Ron, the home decor aficionado at ByRetreat, whose passion for creating beautiful and inviting spaces is at the heart of his work. With his deep knowledge of home decor and his innate sense of style, Ron brings a wealth of expertise and a keen eye for detail to the ByRetreat team.
Ron’s love for home decor goes beyond aesthetics; he understands that our surroundings play a significant role in our overall well-being and productivity. With this in mind, Ron is dedicated to transforming remote workspaces into havens of comfort, functionality, and beauty.
-

 Vetted5 days ago
15 Best Printers of 2024: Top Picks and Expert Reviews
-
 Vetted7 days ago
15 Best Tile Sealers for Long-Lasting Protection and Shine
-

 Vetted2 weeks ago
15 Best Smelling Floor Cleaners That Will Leave Your Home Fresh and Inviting
-

 Vetted1 week ago
14 Best Power Scrubbers for Showers That Will Transform Your Cleaning Routine
-

 Vetted2 days ago
15 Best LED Dimmer Switches With No Flicker: Ultimate Guide for a Flicker-Free Lighting Experience
-

 Vetted2 days ago
15 Best Evergreen Plants for Shade Gardens: A Complete Guide
-

 Mardi Gras Decoration4 days ago
What Do the Symbols of Mardi Gras Mean?
-

 Appliances7 days ago
5 Best Energy-Efficient Stainless Steel Fridges 2023


