
Yes, a Raspberry Pi Zero can run Home Assistant, making it a compact and budget-friendly option for basic smart home management. It supports seamless integration with various devices and allows you to control them from your web browser. However, keep in mind that the Pi Zero has limited resources, which may lead to sluggish performance, especially with multiple integrations. If you're planning to expand your setup or need better performance, you might want to explore alternatives like the Raspberry Pi 4. There's a lot more to discover about optimizing your Home Assistant experience and hardware choices ahead.
Key Takeaways
- The Raspberry Pi Zero can run Home Assistant for small-scale smart home setups, but performance is limited due to its hardware constraints.
- With only 512MB RAM and a single-core CPU, the Pi Zero may experience sluggish operation and long installation times.
- Home Assistant is suitable for monitoring environmental sensors and controlling single devices when using a Raspberry Pi Zero.
- For better performance, consider upgrading to a Raspberry Pi 4 or similar alternatives with more powerful specifications.
- The Pi Zero's low power consumption makes it ideal for basic functionalities, but advanced features may require more capable hardware.
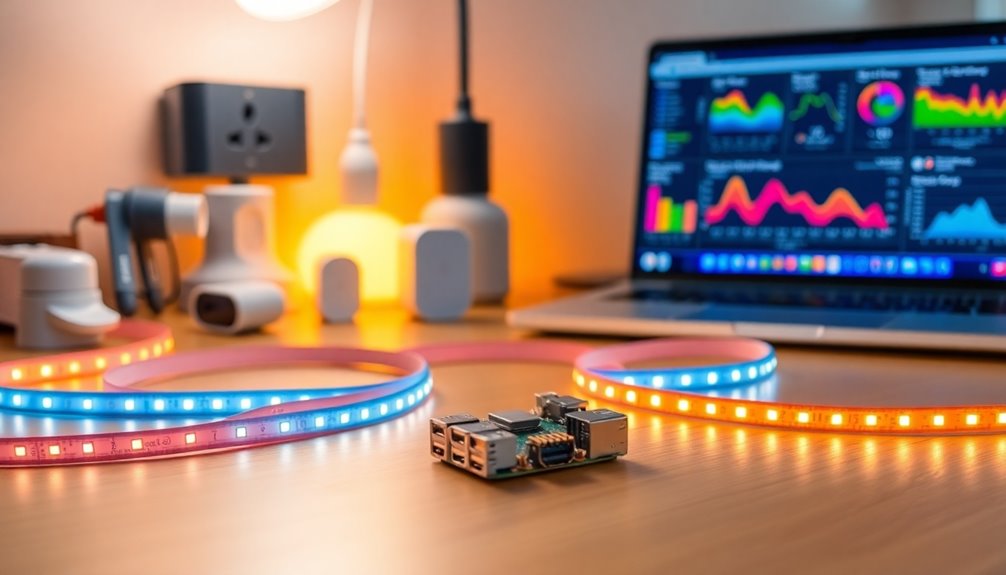
Overview of Home Assistant
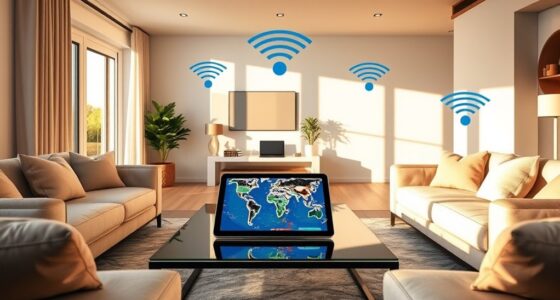
Home Assistant is a versatile open-source platform that lets you manage and automate your smart home devices from a single interface.
Whether you're a beginner or an advanced user, it offers a user-friendly setup that makes controlling everything from lights to security systems a breeze. You can seamlessly integrate devices from various manufacturers, ensuring your smart home operates harmoniously.
One of the coolest features is that Home Assistant can run on various hardware, including the Raspberry Pi Zero, making it accessible for DIY enthusiasts.
Plus, you can access and configure your system via a web browser, so you can manage your home from any device connected to the same network. It really puts you in control of your smart environment!
Setting Up Home Assistant
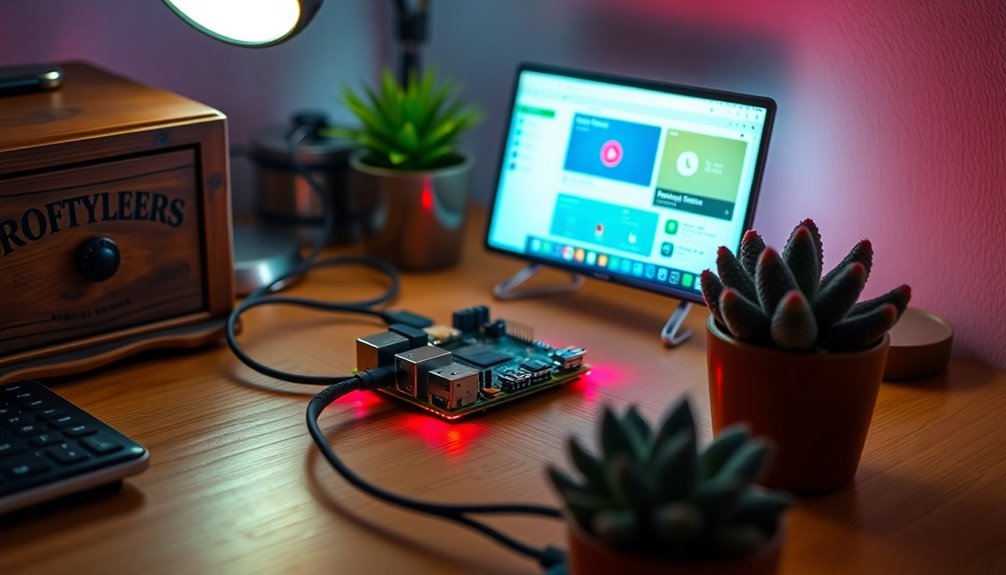
To set up Home Assistant on your Raspberry Pi Zero, you'll need a few essential hardware components like a 16GB MicroSD card and a reliable power supply.
Once you've gathered everything, you'll follow a straightforward series of installation steps to get the software running.
After that, you'll jump into the initial configuration process to personalize your smart home experience.
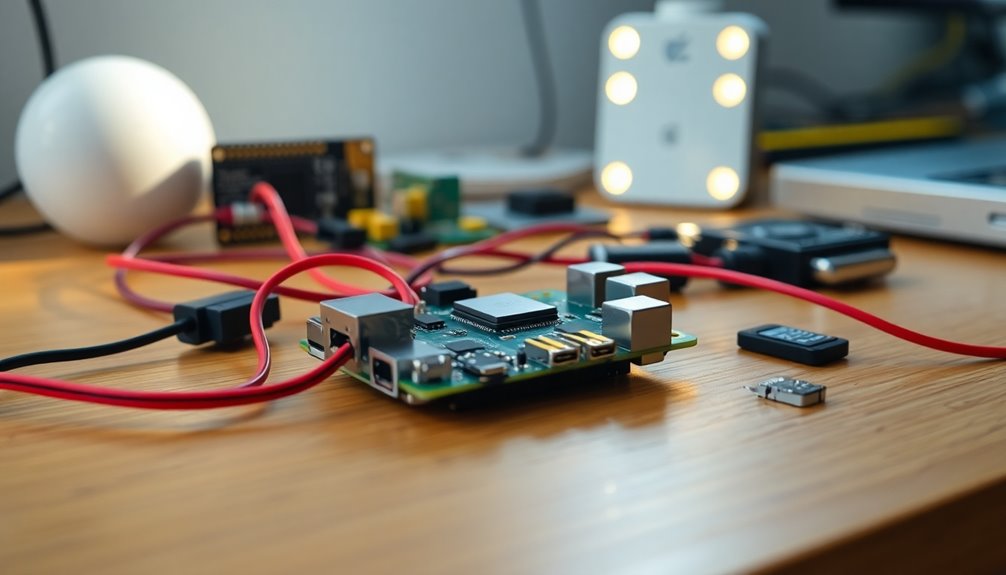
Required Hardware Components
Setting up Home Assistant on a Raspberry Pi Zero 2 W requires specific hardware components to secure peak performance.
First, you'll need a minimum of a 16GB MicroSD card to store the operating system and software. A reliable 5V/2A power supply is essential for stable operation during Home Assistant's demanding processes.
For connectivity, make sure you have an internet connection, which the Pi Zero 2 W supports through built-in Wi-Fi. Additionally, it's wise to use a Micro USB to USB adapter to connect peripherals like a keyboard or mouse during the initial setup.
Finally, download the Home Assistant OS image from the official website and flash it onto the MicroSD card using tools like Balena Etcher for proper installation.
Installation Steps Overview
After gathering the necessary components, you're ready to start the installation process for Home Assistant on your Raspberry Pi Zero 2 W. Follow these installation steps to get everything set up smoothly:
- Feel the excitement of turning your tech dreams into reality.
- Experience the thrill of creating your smart home hub.
- Enjoy the satisfaction of mastering new tech skills.
- Embrace the simplicity of managing devices from one interface.
- Discover the power of customization at your fingertips.
Begin by downloading the Home Assistant OS image and flashing it onto your MicroSD card using Balena Etcher.
Insert the card into your Pi, connect the peripherals, and power it on.
Once booted, access Home Assistant via your web browser at http://homeassistant.local:8123 to begin your journey!
Initial Configuration Process
Once you've powered on your Raspberry Pi Zero 2 W, you'll need to complete the initial configuration of Home Assistant to get it up and running.
First, make sure you've got a compatible MicroSD card (16GB or larger) and a stable internet connection. Download the Home Assistant OS image from the official website, then use Balena Etcher to flash it onto the MicroSD card.
After that, create a 'wpa_supplicant.conf' file in the boot directory to set up your Wi-Fi by including your SSID, password, and country code.
Insert the MicroSD card into your Raspberry Pi, connect the peripherals, and power it on.
Finally, access Home Assistant by directing to http://homeassistant.local:8123 in your browser to complete the setup.
Performance and Limitations

When you consider running Home Assistant on a Pi Zero, you'll quickly notice the resource constraints at play.
Installation times can stretch into hours, and the limited processing power means you might face sluggish performance, especially with multiple integrations.
Ultimately, the Pi Zero shines in basic tasks, but it's not the best choice for a robust home automation setup.
Resource Constraints Overview
While the Raspberry Pi Zero W offers a compact and cost-effective solution for various projects, its resource constraints can pose significant challenges for running Home Assistant.
With only 512MB of RAM and a single-core CPU, you'll likely face frustrating performance issues, including:
- Slow installation and update times
- Complicated setup processes
- Compromised real-time processing
- Delays in automation tasks
- Community warnings against using the Pi Zero
These limitations make it difficult to effectively run Home Assistant, leading many users to seek alternative Raspberry Pi models for a smoother experience.
If you're considering the Pi Zero for this purpose, be prepared for a bumpy ride and think twice about whether it's the right choice for your smart home ambitions.
Installation Time Delays
Given the Raspberry Pi Zero's limited hardware capabilities, you may find that installing Home Assistant can be a time-consuming process. Installation time delays can stretch from 12 to 24 hours, largely due to its single-core CPU and 512MB RAM. Users often experience long loading times, which can diminish your overall satisfaction.
| Stage | Typical Time | Notes |
|---|---|---|
| Initial Setup | 6-12 hours | Dependent on network speed |
| First Boot | 1-2 hours | May require multiple attempts |
| Updates | 4-8 hours | Larger updates take longer |
| Integrations | 2-4 hours | Sluggish performance possible |
| Final Configuration | 1-2 hours | Complexity affects time |
These factors can lead to frustration, especially when handling multiple integrations. Additionally, the credit card debt crisis in the U.S. emphasizes the importance of budgeting for devices that may have unexpected setup costs.
Processing Power Comparison
Although the Raspberry Pi Zero 2 W boasts a quad-core 1 GHz processor, its 512MB RAM still limits its ability to handle demanding tasks like running Home Assistant effectively.
You might find that the Pi Zero struggles with multiple integrations and complex automations, leading to frustrating delays and a compromised experience.
- Slow performance during setup
- Extended installation times (12-24 hours)
- Significant delays in responsiveness
- Limited functionality with automations
- Frequent crashes and errors
To truly enjoy the benefits of Home Assistant, consider upgrading to more capable hardware like the Raspberry Pi 4.
While the Pi Zero can run Home Assistant, it often leaves users feeling dissatisfied due to its performance limitations. Additionally, understanding investment diversification can help in planning for better hardware upgrades that enhance overall system performance.
Integration Use Cases
When you're looking to integrate devices into your smart home, the Raspberry Pi Zero 2 W stands out as an effective option for specific use cases. This compact device can run a full Home Assistant installation, making it perfect for small-scale setups.
You can monitor environmental sensors or control single smart devices thanks to its low power consumption. While the Pi Zero W handles basic functionalities, it's best suited for simple tasks instead of complex automations.
You can also take advantage of its GPIO pins for direct integration with various sensors and actuators, allowing for customized solutions.
Just remember to use a Micro SD card to store your Home Assistant setup and guarantee smooth operation.
Troubleshooting Common Issues

Troubleshooting common issues with your Raspberry Pi Zero running Home Assistant can be straightforward if you know where to look.
Begin by identifying potential problems that could hinder your experience. Here are some common issues to take into account:
- Slow performance? Check for resource-heavy add-ons.
- Connectivity issues? Confirm you have a strong Wi-Fi signal or switch to a wired connection.
- Communication failures? Verify your MQTT settings and broker status.
- Glitches? Try re-flashing the firmware and review the logs for insights.
- Regularly monitor system performance to avoid bottlenecks.
Alternatives to Raspberry Pi Zero
If you're looking for alternatives to the Raspberry Pi Zero for running Home Assistant, there are several options that can enhance your home automation experience.
The Raspberry Pi 4 is a top choice, offering a quad-core processor and up to 8GB of RAM for better performance.
You might also consider single-board computers like the Odroid C4 or ASUS Tinker Board, which provide robust specifications for more demanding tasks.
If you prefer a mini PC, the Intel NUC series delivers impressive processing capabilities.
For a hassle-free experience, dedicated hardware like Home Assistant Blue comes pre-configured.
Finally, cloud-based solutions such as Home Assistant Cloud allow you to manage your setup without hardware constraints, making them viable alternatives to Raspberry Pi Zero. Additionally, integrating your system with heat pump technology can optimize energy efficiency in your home automation setup.
Frequently Asked Questions
Can a Pi Zero Run Home Assistant?
You can technically run Home Assistant on a Pi Zero W, but it's not the best choice.
You'll face performance issues due to its limited RAM and CPU power. Installation and updates can take ages, often up to 24 hours.
Plus, the system isn't officially supported on this model, leading to instability.
For a smoother experience, consider using a Raspberry Pi 4; it offers the processing power you need for effective automation.
What Are the Limitations of Raspberry Pi Zero?
The Raspberry Pi Zero has several limitations you should consider.
With only 512MB of RAM and a low-power CPU, it struggles with multitasking and resource-heavy applications. You might find installation processes taking 12-24 hours, which can be frustrating.
Additionally, compatibility issues often arise due to the lack of support for certain operating systems.
If you're planning on complex projects, it's better to opt for a more powerful alternative like the Raspberry Pi 4.
Is a Raspberry Pi Powerful Enough for Home Assistant?
You might think a Raspberry Pi could handle Home Assistant, but its limitations can surprise you.
With only a single-core CPU and 512MB of RAM, it struggles under the weight of extensive automations.
While it's technically possible to run, you'll likely face slow performance and long updates.
For a smoother experience, consider upgrading to a Raspberry Pi 4, which can manage multitasking and complex tasks much better.
You'll thank yourself later!
Can Raspberry Pi Zero Run GUI?
Yes, a Raspberry Pi Zero can run a GUI, but it's best for simple tasks.
You'll want to use a lightweight operating system like DietPi or Raspbian Lite to optimize performance.
While you can access a GUI remotely via VNC, keep in mind that complex applications may slow things down.
For a smoother experience, consider higher-spec models like the Raspberry Pi 4, especially for more demanding graphical interfaces.
Conclusion
To sum up, running Home Assistant on a Raspberry Pi Zero is not just possible; it's a game-changer for your smart home setup. With its compact size and impressive capabilities, you can transform your living space into a tech-savvy haven without breaking the bank. Just keep in mind the performance limitations, and you're set for a fantastic experience. Immerse yourself, and watch your home come alive with automation like never before!