
To calibrate your home theater as a beginner, start by understanding your components like the receiver, speakers, and display. Optimize your viewing space with proper seating and lighting, and use test patterns to adjust brightness, contrast, and color for the best picture. Fine-tune your audio with speaker placement and calibration tools to achieve balanced sound. If you want to make your setup truly immersive, there’s more to explore below.
Key Takeaways
- Familiarize yourself with all home theater components and ensure proper wiring for optimal performance.
- Use test patterns and calibration discs to adjust display settings like brightness, contrast, and color accuracy.
- Fine-tune audio by balancing speaker levels, adjusting EQ, and using calibration tools for clear, even sound.
- Optimize your viewing environment by controlling lighting, minimizing glare, and seating at recommended distances.
- Regularly maintain and update system settings, check speaker placement, and revisit calibration for sustained quality.
Understanding Your Home Theater System Components
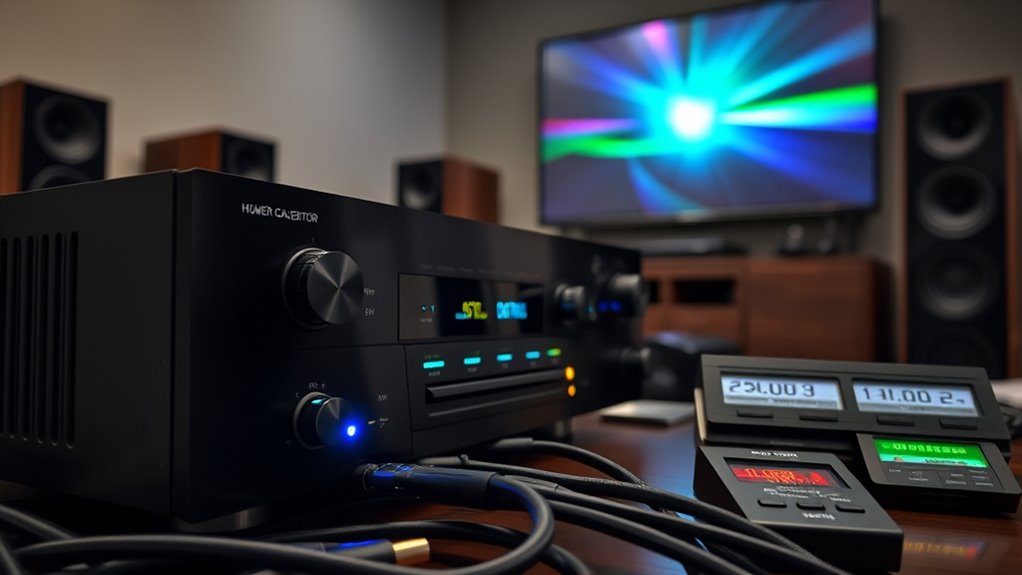
To effectively calibrate your home theater, you need to understand its key components. Start with speaker wiring, which guarantees your audio signals reach each speaker correctly. Proper wiring prevents sound interruptions and phase issues, giving you clear, balanced audio. Next, pay attention to display resolution, as it directly impacts picture quality. Higher resolutions, like 4K or 8K, offer sharper images and more detail, enhancing your viewing experience. Knowing how your system’s components connect and work together helps you identify potential issues early. Familiarize yourself with your receiver, speakers, display, and source devices. This foundational knowledge allows you to make precise adjustments during calibration, guaranteeing optimal sound and picture quality tailored to your space and preferences. Additionally, understanding color accuracy can help you fine-tune your projector settings for more vibrant and true-to-life images.
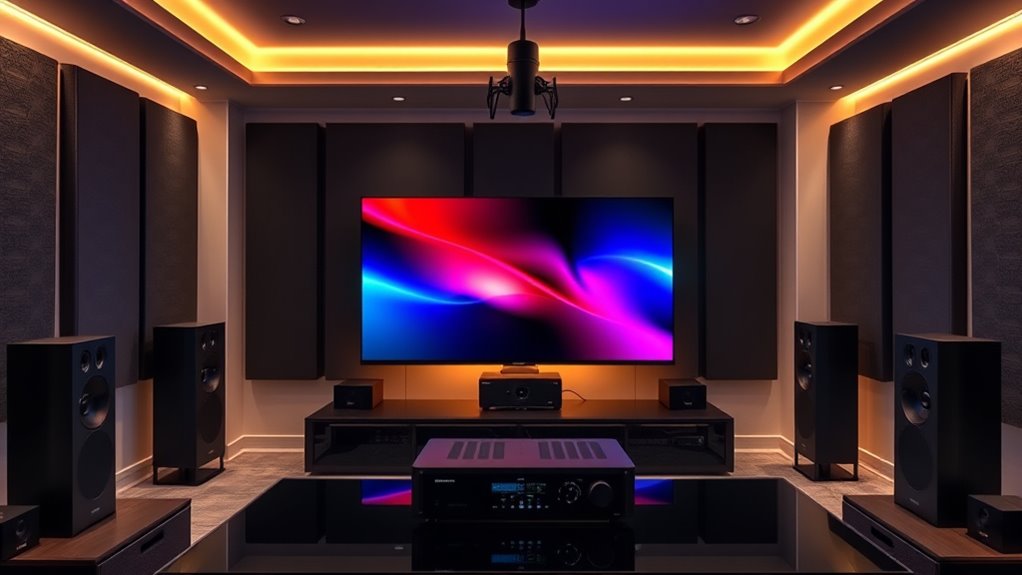
Setting Up Your Viewing Environment for Optimal Image Quality

Creating the right viewing environment starts with controlling your lighting and choosing ideal seating. You want minimal glare and reflections to guarantee the picture looks its best, so consider blackout curtains or dimmable lights. Position your seats where you can enjoy the screen without straining or blocking the view for others. To enhance your setup, explore different crochet styles for locs to add a personal touch to your space.
Lighting Control Strategies
Have you ever noticed how ambient light can ruin an otherwise perfect home theater experience? Managing lighting is essential for ideal image quality. To control ambient lighting, consider using automated controls that adjust lights based on the movie scene or time of day. This helps reduce glare and reflections on your screen. You can also:
- Install dimmable switches for manual control
- Use blackout curtains to block outside light
- Incorporate soft, indirect lighting for mood
- Choose lighting with adjustable color temperature
- Implement motion sensors for automatic lighting adjustments
- Automation technology can further streamline lighting adjustments for a seamless viewing experience.
These strategies create a controlled environment, minimizing distractions and enhancing contrast. Automated controls simplify the process, ensuring consistent image quality without manual intervention. Proper lighting control transforms your space into a true home theater.
Optimal Seating Placement
Proper seating placement can make all the difference in achieving the best possible image quality in your home theater. To optimize your viewing experience, position your seats at the right seating distance from the screen—usually about 1.5 to 2.5 times the screen’s diagonal size. This ensures you’re close enough to see fine details without feeling overwhelmed. Additionally, pay attention to your viewing angle; ideally, you should sit so that your eyes are level with the center of the screen, typically around a 30-degree angle. This reduces distortion and preserves color accuracy. Adjusting your seating to meet these guidelines enhances image clarity, color accuracy, and overall immersion, making your home theater experience more enjoyable and true to the intended picture quality.
Calibrating Your Display Settings for Brightness, Contrast, and Color

To achieve the best viewing experience, you need to calibrate your display settings for brightness, contrast, and color. Proper calibration guarantees color accuracy and brightness optimization, making images look natural and vibrant. Start by adjusting the brightness so blacks appear deep without losing detail. Next, set contrast to enhance whites and prevent color washout. For color, fine-tune the hue and saturation to match real-world tones. Keep these tips in mind: color accuracy is essential for a true home theater experience. Use a calibration disc or test pattern for reference. Avoid oversaturating colors for natural results. Ensure contrast isn’t causing loss of shadow details. Adjust brightness to match ambient lighting. Focus on achieving balanced, lifelike images.
These steps help you optimize your display for a true home theater experience.
Using Test Patterns and Calibration Tools Effectively

Using test patterns and calibration tools is essential for achieving accurate display settings, as they provide objective references to guide adjustments. To do this effectively, you need to focus on test pattern interpretation, understanding what each pattern reveals about your display’s performance. Carefully analyze the patterns to identify issues with color, contrast, and grayscale tracking. When selecting calibration tools, choose those compatible with your equipment and designed for beginners, ensuring ease of use. Proper calibration tool selection simplifies the process and improves accuracy. Remember, patience is key; take your time interpreting each pattern and making incremental adjustments. This approach ensures your home theater display is optimized for the best picture quality, providing a more immersive viewing experience. Additionally, understanding juice cleansing concepts can help you better comprehend the importance of precise calibration, as both processes aim to optimize performance and health through careful adjustments.
Adjusting Audio Settings for Clear and Balanced Sound
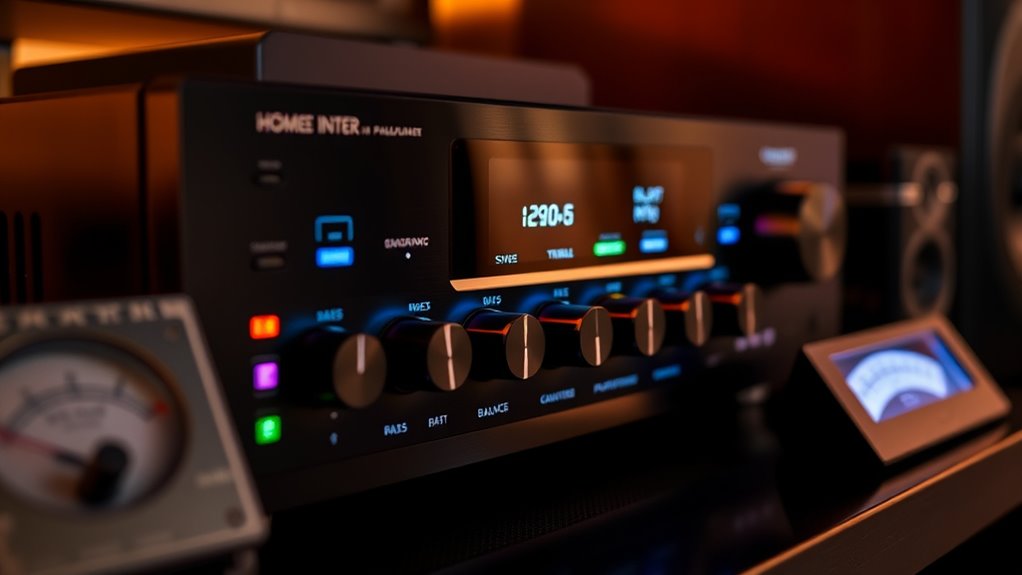
To achieve clear and balanced sound, you need to fine-tune your equalization settings and adjust your speaker levels. Properly tuning these parameters guarantees that dialogue, music, and effects come through clearly without overpowering each other. Focus on matching your speaker balance and EQ to your room’s acoustics for the best listening experience. Additionally, professional equipment can significantly improve the quality of your calibration process.
Equalization Settings Tuning
Equalization settings play a crucial role in achieving clear and balanced sound in your home theater. By fine-tuning your EQ, you can enhance bass and adjust treble for ideal clarity. Start by increasing bass enhancement slightly to add depth without overpowering. Then, make treble adjustments to brighten vocals and details. Focus on these key points:
- Boost bass carefully to avoid muddiness
- Reduce midrange if sounds are harsh
- Increase treble for clearer dialogue
- Use a flat response as a reference
- Fine-tune based on your room’s acoustics
Speaker Balance Adjustment
After fine-tuning your equalization settings, balancing the individual speakers guarantees that your home theater sounds cohesive and natural. Begin by adjusting the speaker phase to ensure each speaker plays in sync, preventing muddiness or hollow audio. Proper speaker placement also plays a vital role; position speakers at ear level and equidistant from your listening spot. Use your receiver’s calibration tools or manually tweak volume levels for each speaker, ensuring no one component overpowers the others. Focus on creating a balanced soundstage where dialogue, music, and effects blend seamlessly. Remember, small adjustments matter—correct speaker phase and placement can notably improve clarity and immersion, making your home theater experience more enjoyable and authentic. Additionally, utilizing calibration tools can help optimize overall sound quality and achieve the best possible balance.
Fine-Tuning Sound Using Speaker Placement and Calibration

Proper speaker placement and calibration are essential steps in fine-tuning your home theater sound. Correct placement ensures sound reaches your ears evenly, creating a balanced, immersive experience. Use calibration techniques like adjusting speaker angles and distances to optimize audio clarity. Here are some tips to help you get started:
- Position front speakers at ear level and equidistant from your listening spot
- Angle speakers toward the listening area for better sound focus
- Keep subwoofers close to walls for deeper bass response
- Use a calibration microphone for accurate measurements
- Adjust speaker levels and delays based on calibration results
These steps help you achieve a well-balanced soundstage, making your home theater more enjoyable. Fine-tuning speaker placement and calibration techniques guarantees you get the best audio performance possible.
Common Calibration Mistakes to Avoid

Even with the best intentions, common calibration mistakes can substantially compromise your home theater sound quality. One mistake is neglecting room acoustics, which can cause uneven sound distribution and muddy audio. Ignoring this aspect leads to poor immersion despite proper speaker placement. Another mistake is incorrect color calibration, especially for projectors or TVs, which affects picture quality and can distract from the viewing experience. Rushing through calibration without thorough testing often results in imbalanced sound or visuals. Additionally, relying solely on auto-calibration tools can overlook subtle issues, so manual fine-tuning is essential. Proper placement of speakers and room acoustics can significantly enhance sound clarity and balance. Avoid these pitfalls by paying attention to your room’s acoustics, double-checking your display’s color settings, and taking your time during calibration. Properly addressing these mistakes ensures a balanced, immersive home theater experience.
Maintaining Your Calibrated System for Long-Term Performance
To guarantee your home theater continues to deliver ideal sound and picture quality, regular maintenance of your calibrated system is essential. Keep your system performing at its best by staying current with software updates, which can improve functionality and fix bugs. Use remote control management to easily adjust settings without disrupting calibration. Regularly check and clean your equipment to prevent dust buildup that may affect performance. Revisit your calibration periodically, especially after hardware changes or updates. Consider creating a maintenance schedule to ensure consistency. Also, back up your settings so you can restore them if needed. Staying proactive will extend your system’s lifespan and preserve your viewing experience. Proper maintenance is key to long-term performance and ensuring your home theater remains immersive. Additionally, monitoring calibration settings can help identify when adjustments are necessary to maintain optimal quality.
Frequently Asked Questions
How Often Should I Recalibrate My Home Theater System?
You should recalibrate your home theater system every 6 to 12 months to maintain ideal sound and picture quality. Calibration frequency depends on how often you make changes or notice issues. Regular maintenance tips include checking for software updates, inspecting cables, and adjusting settings as needed. Keep an eye on audio and video performance, and recalibrate when you experience noticeable differences or after significant upgrades for the best viewing experience.
Can I Calibrate My System Without Professional Tools?
Yes, you can do DIY calibration without professional tools by using your smartphone. Many apps are available that help you adjust your audio and video settings for better quality. While it might not be as precise as professional calibration, using your smartphone for basic adjustments can substantially improve your setup. Just follow the app instructions carefully, and you’ll see noticeable improvements without needing expensive equipment.
What Are Signs My System Is Improperly Calibrated?
If your system is improperly calibrated, you might notice audio distortion during movies or music, making sounds harsh or muddy. You could also experience uneven sound levels, where dialogue is hard to hear while background effects are overpowering. These signs indicate your system needs calibration. Adjust your settings to balance audio and reduce distortion, ensuring a clearer, more immersive experience. Proper calibration improves overall sound quality and enjoyment.
How Do Room Acoustics Affect Calibration Results?
Did you know that over 60% of sound issues stem from room acoustics? Room reflections and speaker placement greatly influence calibration results. If reflections bounce off walls or furniture, they can distort sound and make calibration tricky. Proper speaker placement minimizes these reflections, ensuring clearer audio. By adjusting your speaker positions and managing room reflections, you’ll achieve a more accurate calibration, resulting in better sound quality and an immersive home theater experience.
Are There Specific Calibration Settings for Different Content Types?
You might wonder if there are specific calibration settings for different content types. Yes, you should make content-specific adjustments based on your viewing environment considerations. For movies, aim for a balanced picture with enhanced contrast, while for music or gaming, prioritize clarity and color accuracy. Adjust settings like brightness, contrast, and sound levels accordingly, ensuring the calibration complements the content you’re enjoying in your space.
Conclusion
With your home theater now finely tuned, you’re the captain steering a ship through a sea of stunning visuals and crisp sound. Remember, calibration is an ongoing journey, not a one-time voyage. Keep your settings sharp and your environment cozy, so every movie feels like a private screening. Stay attentive, tweak when needed, and enjoy a cinematic experience that’s as vibrant and immersive as your imagination allows—your perfect home theater adventure awaits.