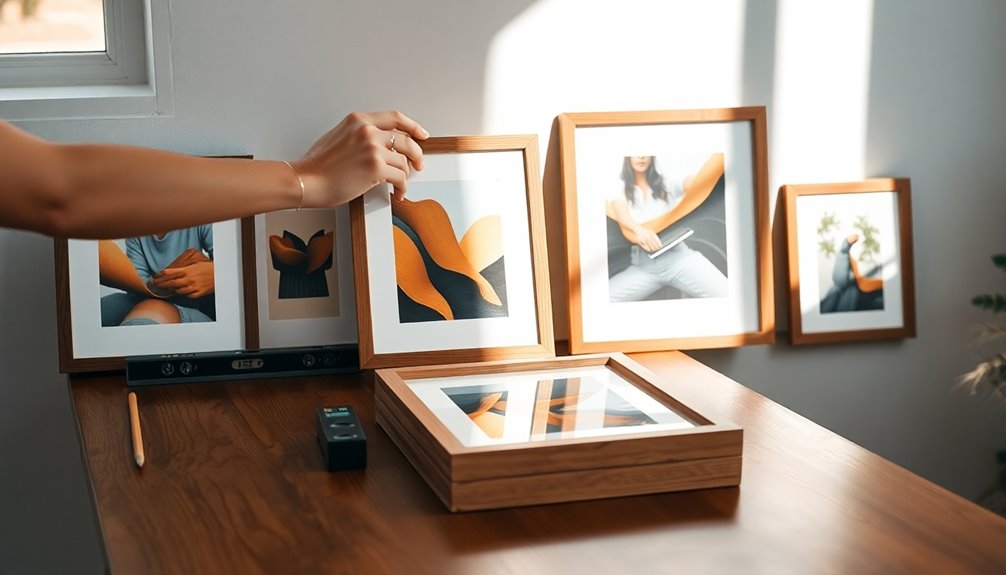
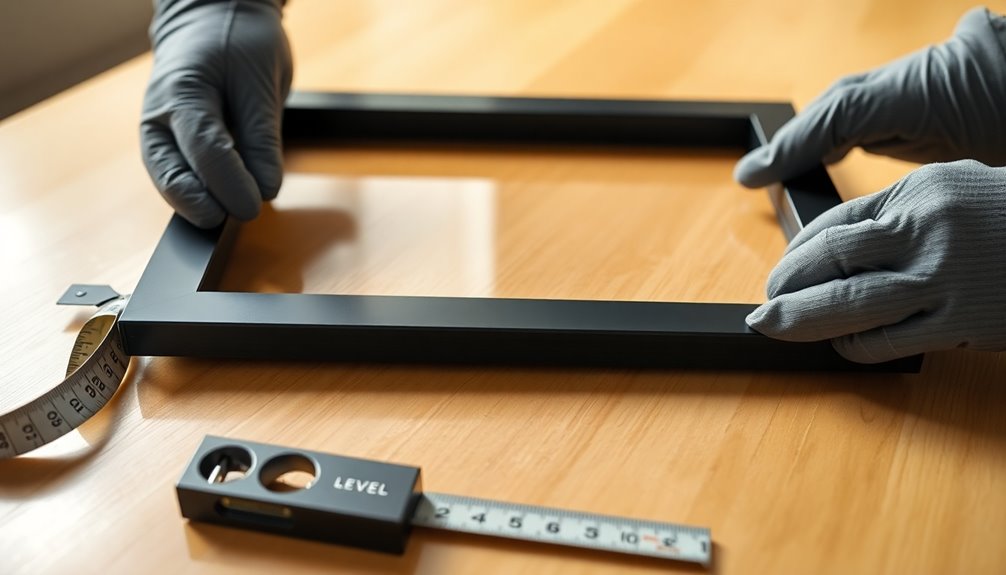
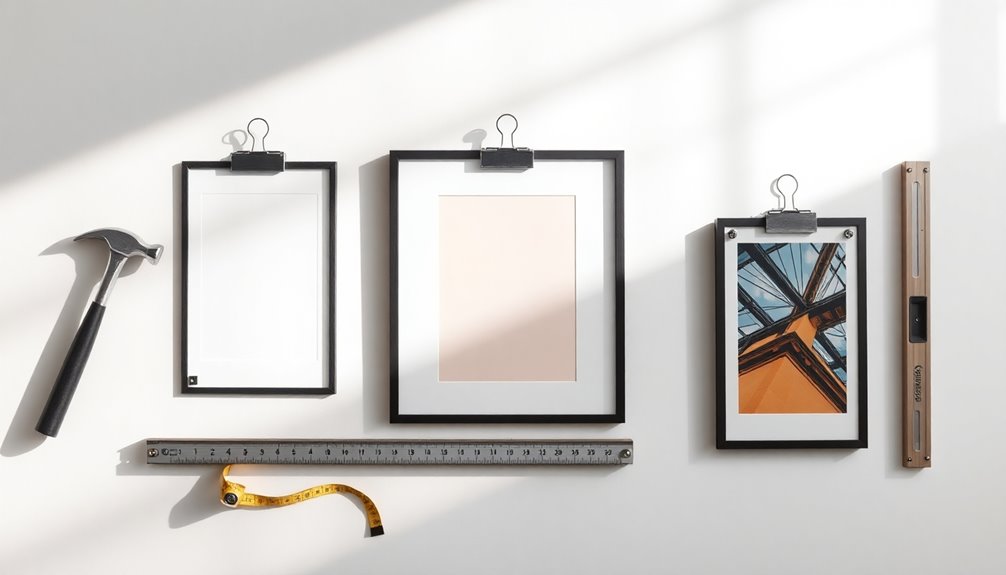
To hang studio decor clip frames, start by choosing the right hanging fixtures, like D-rings or slide-on hangers. Position your hangers about a third from the top for even weight distribution. If using D-rings, secure screws in the deepest part of the frame's molding for stability. Tape the back of the frame to avoid damage during installation. Run the hanging cord through the loops of the slide-on hangers and tie it securely. Make final adjustments to guarantee your frames hang straight and securely. Stick around to discover additional tips for achieving a flawless presentation for your artwork!
Key Takeaways
- Select appropriate hanging fixtures like D-rings or slide-on hangers for secure installation of clip frames.
- Position hangers about one-third from the top of the frame for optimal weight distribution.
- Securely attach D-rings or slide-on hangers, ensuring even placement for straight hanging.
- Use a hanging cord, running it through the hangers, and tie it securely for added stability.
- Consult video tutorials or installation guides for detailed steps and tips during the hanging process.
Understanding Hanging Fixtures

When it comes to hanging your studio decor clip frames, understanding the various types of hanging fixtures is vital.
You've got options like D-rings and screws, slide-on hangers, and specific hangers for wood frames. For D-rings, install screws about a third from the top on each side for ideal weight distribution.
If you prefer slide-on hangers, they're perfect for thinner molding and allow adjustments until the cord's securely tied.
No matter which type you choose, it's important to place hangers securely to prevent any movement of the frame once your artwork's up.
I hope you found this information helpful in selecting the right fixtures for a stable and beautiful display in your space.
Preparing Your Frame

With your hanging fixtures selected and securely in place, it's time to prepare your frame for hanging. If you're using D-rings, tape up the back of the frame for a neat finish.
For ideal balance, position your slide-on hangers about a third from the top of the frame. If you're opting for D-rings, install screws directly into the deepest part of the molding for secure attachment.
Make sure to fit slide-on hangers on both sides of the frame before attaching your artwork; this prevents any movement once it's hung. Proper placement and securing of your hangers are essential for a successful and stable frame hanging, so take your time with this step to guarantee everything's just right.
Installing D-rings

To achieve a balanced and secure hang, start by positioning the D-rings about a third from the top on each side of the frame. Use screws to secure the D-rings directly into the deepest part of the molding for a strong hold. After installing the D-rings, verify that the cord passes through them before tying it securely to prevent movement. It's also a good idea to tape up the back of the frame to protect the artwork and provide a clean finish. Finally, confirm that the placement of D-rings is even on both sides so your frame hangs straight.
| Step | Action |
|---|---|
| Position D-rings | About a third from the top |
| Secure with screws | Into the deepest part of the molding |
| Pass the cord | Through the D-rings before tying |
| Tape the back | Protects artwork and verifies a clean finish |
Installing Slide-on Hangers

Although installing slide-on hangers may seem straightforward, ensuring they're positioned correctly is essential for a secure and balanced display.
Start by placing the slide-on hangers on both sides of the frame; this will provide balanced support for your artwork. Make sure they fit snugly, as proper fitting now will save you from adjustments later.
Once the hangers are secured, run the hanging cord through the loops created by them for added stability. Check that the final positioning prevents any sliding, ensuring your frame stays securely in place on the wall.
With these steps, you'll have a sturdy setup that showcases your artwork beautifully without the worry of it falling.
Positioning Your Frame

How do you guarantee your frame is positioned perfectly? Start by placing the hangers about a third from the top on each side. This guarantees stability and balance once your frame is hung.
If you're using D-rings, secure them in the deepest part of the molding for peak support, which helps prevent any tilting. For slide-on hangers, make certain they're properly fitted on both sides before attaching your artwork to minimize movement.
To protect your artwork and maintain a clean installation, tape up the back of the frame when using D-rings and screws. Finally, double-check the final positioning of all hangers to prevent any sliding when the cord is tied securely. This way, your frame stays exactly where you want it.
Securing the Cord

Securing the cord is essential for guaranteeing your frame hangs safely and stays in place. After installing the D-rings or slide-on hangers, thread the cord through them to create a reliable hanging method.
Make sure to tie the cord securely to prevent any slipping once the frame is on the wall. Here are a few tips to keep in mind:
- Use a cord length that allows for slight tension when pulled up, especially with D-rings.
- Guarantee the cord is snugly fitted within the loops if you're using slide-on hangers.
- Always double-check the tightness of the knots before hanging to ensure stability.
Following these steps will help your frame remain securely in position.
Final Adjustments

Now that you've secured everything, it's time for those final adjustments.
Check that your frame is level and make sure it's securely placed on the wall.
A little tweaking can go a long way in achieving that polished look you want.
Leveling the Frame
Achieving a perfectly level frame is essential for a polished look in your studio decor.
To guarantee your frame is level, follow these simple steps:
- Place a spirit level on top of the frame and check for evenness.
- If it's not level, gently tap the lower corner on the wall or adjust the hanging hardware.
- Step back and visually inspect from different angles to confirm it looks straight.
For added accuracy, measure the distance from the floor to the bottom of the frame on both sides to confirm equal height.
After leveling, make sure to secure any loose hanging fixtures to prevent shifting, guaranteeing your frame stays perfectly in place over time.
Ensuring Secure Placement
To guarantee your clip frames are securely placed, start by positioning the D-rings or slide-on hangers about a third from the top of the frame.
After attaching the hangers, double-check that they're fastened tightly and won't slide. If you're using D-rings, confirm the cord is tightly tied and runs through both rings for added stability.
For slide-on hangers, verify they fit snugly and that the cord loops correctly to prevent slippage.
Once everything's in place, conduct a thorough final inspection of the frame and hanging setup.
Make sure all components are aligned and secure before you display your decor. This attention to detail will guarantee your artwork stays safely in place and looks great on your wall.
Additional Resources

To make your hanging process easier, Easy Frame offers video tutorials that guide you through frame taping and artwork fitting.
You'll also find extensive support for frame assembly, ensuring you can install your hanging fixtures with confidence.
These resources are designed to help you achieve the best results for your studio decor.
Video Tutorials Available
While hanging your studio decor clip frames may seem challenging, Easy Frame offers a range of video tutorials that simplify the process.
These tutorials cover everything you need for a successful hanging experience, so you won't feel lost. You'll learn about various hanging fixtures, including:
- D-rings for reliable support
- Slide-on hangers for easy adjustments
- Step-by-step installation techniques to guarantee stability
Each tutorial emphasizes the importance of following detailed instructions for ideal results.
Plus, you can engage with other viewers through comments, creating a supportive community where you can share tips and ask questions.
With these resources at your fingertips, you'll feel confident and well-equipped to hang your frames beautifully!
Frame Assembly Support
As you commence on the journey of assembling your clip frames, Easy Frame guarantees you have all the necessary resources at your disposal. They provide video tutorials that clearly demonstrate how to tape the back of frames and fit artwork securely. Additionally, you'll find guides for installing various hanging fixtures, ensuring a seamless experience.
Engage with the community by leaving feedback in the comments section of the tutorials; shared experiences can enhance your learning. Remember, following the provided instructions is vital for achieving ideal results and stability. Here's a quick overview of the support available:
| Resource Type | Description | Access Method |
|---|---|---|
| Video Tutorials | Step-by-step assembly instructions | Easy Frame Website |
| Installation Guides | Hanging fixture installations | Easy Frame Website |
| Community Support | Viewer feedback and shared tips | Comments Section |
Tips for Best Results

Achieving the perfect look for your clip frames requires careful attention to detail during installation. To guarantee best results, keep these tips in mind:
- Use the right hanging fixtures, like D-rings or slide-on hangers, that suit your clip frame type.
- Position the hangers about a third from the top to distribute weight evenly and prevent tilting.
- Tape the back of the frame before attaching hangers to protect the surface from damage.
After securing the hangers, run the cord through and tie it securely for stability.
Take your time and refer to any tutorials or videos if needed. This careful approach will help you avoid common mistakes and achieve a professional look for your decor.
Frequently Asked Questions
How Do You Hang Clip Frames?
To hang clip frames, you'll want to start by choosing the right height and position on your wall.
Use suitable hanging fixtures like D-rings or slide-on hangers, depending on your frame's design. For D-rings, attach screws about a third from the top on each side.
If you opt for slide-on hangers, place them on both sides.
Finally, verify everything's secure and stable to keep your frames from shifting or moving.
How Do You Hang Studio Decor Frames?
Did you know that 70% of people feel more inspired in a well-decorated space?
To hang Studio Decor frames, start by using D-rings or slide-on hangers for secure placement. Position the D-rings about a third from the top for balance.
If you opt for D-rings, secure the screws deep in the molding. For slide-on hangers, make sure they fit tightly.
Taping the back of the frame keeps things neat and protected.
How Do You Hang a Picture Frame Step by Step?
To hang a picture frame step by step, start by selecting the right hanging hardware, like D-rings or slide-on hangers.
If you're using D-rings, install screws on each side about a third from the top. For slide-on hangers, position them on both sides and secure the cord.
Once everything's attached, check the frame's level before placing it on the wall. Adjust as needed to guarantee it's secure and looks great.
How to Attach Clips to a Picture Frame?
To attach clips to a picture frame, start by aligning them evenly along the top edge.
Make certain they're spaced out for balanced support.
Use small screws or nails to secure each clip, drilling into the frame's molding for a sturdy hold.
If necessary, pre-drill holes to avoid splitting the frame.
Finally, check that the clips are tight enough to hold your artwork without slipping, tugging gently to verify they're secure.
Conclusion
Now that you know how to hang studio decor clip frames, you can transform your space with ease! Did you know that well-displayed art can increase your home's perceived value by up to 15%? By following these steps, you've not only enhanced your surroundings but also made a smart investment. Remember to regularly check the stability of your frames, and don't hesitate to switch things up for a fresh look. Happy decorating!


