
You can easily achieve the rich look of wood without the hefty price tag. Start with a solid base coat in a neutral color like Tobacco Brown. Once it dries, apply a decorative glaze using brushes or sponges to add depth and texture. Don't forget proper surface prep—cleaning and caulking any gaps will guarantee a smooth finish. High-quality gel stains, like Varathane Dark Walnut, can enhance your project further. Experiment with different techniques to find what works best for you. If you want to explore more tips and techniques, there's plenty more to discover on faux finishing.
Key Takeaways
- Use high-quality base coat paint like Behr Smokestack for a solid foundation and realistic wood appearance.
- Apply gel stains such as Varathane Dark Walnut to mimic authentic wood tones without the expense.
- Experiment with various glazing and sponging techniques to achieve unique wood textures and depths.
- Ensure thorough surface preparation, including cleaning and filling gaps, for optimal paint adhesion and finish.
- Engage with community forums and social media to share techniques and enhance your faux wood painting skills.
As an affiliate, we earn on qualifying purchases.
Overview of Faux Wood Techniques

Faux wood techniques can breathe new life into surfaces, making them look like genuine wood without the hefty price tag. You can transform materials like MDF, laminate, and plywood into stunning pieces with the right combination of paint, glazes, and primers.
Start with a solid base color, perhaps a rich Tobacco Brown or Aged Mahogany, to lay the foundation for your faux wood look. Then, layer on decorative glaze using brushes, sponges, or rollers to create depth and texture.
Experimenting with various techniques, including glazing and sponging, will allow you to achieve unique wood tones tailored to your project. With creativity and the right tools, you can achieve an impressive faux finish that rivals real wood.
Preparation Steps for Success

To achieve a stunning faux wood finish, you need to start with proper preparation.
Clean the surface thoroughly to guarantee the paint adheres well, fill any gaps with backer rods and caulk, and don't forget to protect edges with painter's tape.
These steps are essential for creating a flawless and professional-looking result.
Surface Cleaning Importance
Preparation is key when it comes to achieving a flawless finish with faux wood paint. Start with thorough surface cleaning to remove dirt, grease, and residue, which is essential for ideal paint adhesion.
Use a pre-paint cleaner like Krud Kutter or a TSP substitute to guarantee your surface is properly prepared. After addressing any damaged areas with wood filler, let it dry completely before sanding lightly with a 100 or 120 grit sanding sponge.
This step creates a flush finish that enhances paint application. Finally, don't skip cleaning the furniture with a tack cloth after sanding. This extra step removes dust and assures a clean surface, setting you up for painting success. Additionally, ensure that your workspace has proper airflow to prevent dust accumulation during the painting process.
Filling Gaps Effectively
While filling gaps may seem like a minor detail, it plays an important role in achieving a polished faux wood finish.
Start by using backer rods and caulk to fill gaps between ceiling beams and other surfaces. This guarantees a smooth and seamless appearance that enhances your overall project.
Before you paint, make certain to clean edges and surfaces completely dry with a wet rag to eliminate any dust or debris that could interfere with adhesion.
Proper preparation is vital, so take your time to verify all surfaces are completely dry before diving into the faux wood painting process. Additionally, understanding effective preparation can greatly enhance your project outcomes.
With these steps, you'll set yourself up for a successful, professional-looking finish that mimics the beauty of real wood.
Protecting Edges With Tape
After ensuring your surfaces are clean and gaps are filled, it's time to protect your edges.
Use painter's tape to mask off the areas where you don't want paint, ensuring clean lines and preventing any bleeding during the faux wood application.
Apply the tape carefully, pressing down firmly to seal the edges and keep paint from seeping underneath.
Before taping, wipe the surfaces with a wet rag to remove any dirt that could interfere with adhesion.
For best results, let the base coat dry completely before applying the tape.
When you're ready to remove it, do so while the paint is still slightly wet to avoid peeling off any dried paint along with it.
Base Coat Application Process
Start your faux wood project by applying a solid base coat in a neutral color, like Behr Smokestack. This base coat provides an important foundation for your wood finish.
Use a high-quality paintbrush or roller to guarantee even coverage, making sure no areas are missed. Depending on your desired final wood tone, you can choose a lighter or darker neutral base.
It's vital to let the base coat dry completely—typically around one hour—before moving on to the gel stain application. This drying time prevents any mixing with the subsequent layers, securing a clean finish.
Properly applying the base coat sets you up for success in achieving that realistic faux wood look you want.
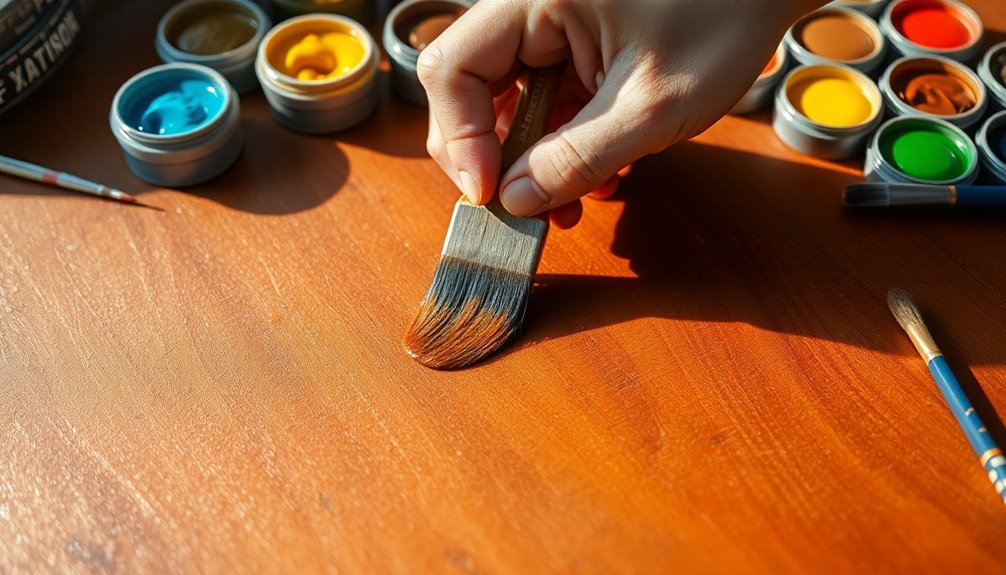
Gel Stain Application Method

To achieve a realistic faux wood finish, you'll want to apply gel stain with precision and care. Use a foam brush or a lint-free rag for even coverage, working in manageable sections to prevent drying before blending.
For added texture, utilize a dry chip brush to enhance the depth of your faux wood appearance. Lightly apply the gel stain to maintain a subtle finish; over-application can create an unrealistic look.
After you've achieved the desired effect, allow the gel stain to dry completely before adding additional layers or finishes. Don't hesitate to experiment with different application techniques, like brushing or dabbing, to find the wood effect that best suits your project.
Your creativity will guide you!
Essential Products for Your Project
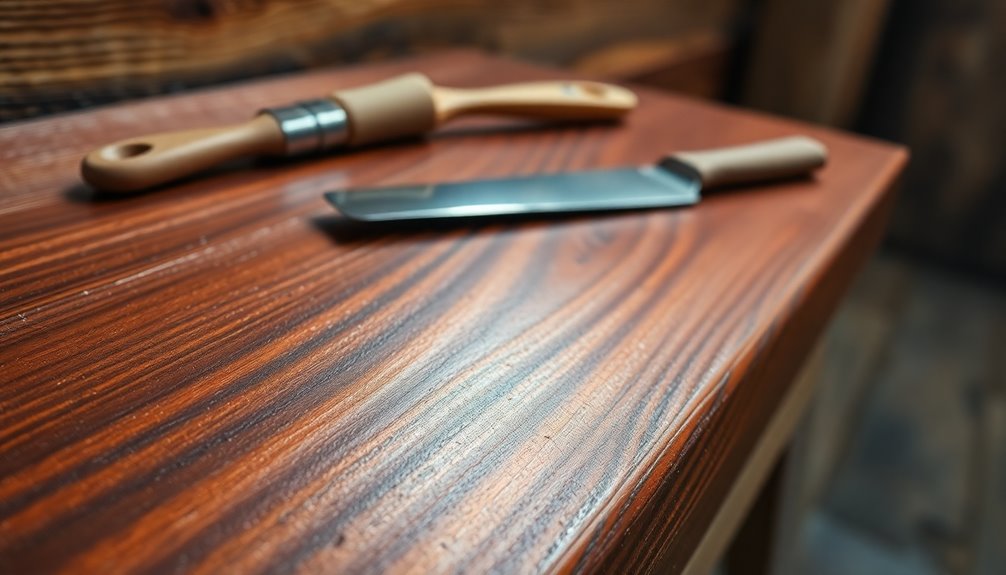
Achieving the perfect faux wood finish relies not only on technique but also on the right materials. Start with a high-quality base coat paint, like Behr Smokestack, to lay a neutral foundation for your wood effect.
Next, use gel stains, such as Varathane Dark Walnut, to create that realistic wood appearance. Apply these stains with foam brushes or lint-free rags for the best results.
A dry chip brush is essential for adding texture; it lets you manipulate the glaze for a customized look. Don't forget backer rods and caulk to fill any gaps between beams for a clean finish.
Finally, keep painters tape and lint-free rags handy to protect surrounding areas and guarantee a professional outcome.
Tips for Effective Faux Finishing
While mastering faux wood finishing requires practice, a few key tips can elevate your results considerably. Experiment with different glaze colors and application techniques, like sponging or brushing, to create unique wood tones. Always test these techniques on scrap materials first to avoid mistakes. Darkening the edges of your project with dark brown colorant adds depth, making your finish look more realistic. Ultimately, keep your surface clean and use sealants like polycrylic to maintain your faux wood finish.
| Technique | Purpose |
|---|---|
| Glaze Variations | Enhance color depth |
| Sponging | Create texture |
| Edge Darkening | Add dimension |
| Regular Cleaning | Preserve finish quality |
User Experiences and Community Engagement

You've probably seen the stunning transformations people achieve with faux wood paint on social media.
These platforms not only showcase project sharing but also spark inspiration and allow you to exchange tips and techniques with fellow DIYers.
Engaging with this community can lead to new ideas and help you refine your own projects.
Project Sharing Platforms
How can project sharing platforms enhance your faux wood painting experience?
These platforms, including social media and DIY forums, let you showcase your projects and get valuable feedback from a supportive community. You can share before-and-after photos that highlight your transformations, inspiring others to immerse themselves in faux wood painting.
By exchanging tips and tricks with fellow DIY enthusiasts, you'll discover preferred products and application methods that elevate your finishes. Engaging with others fosters collaboration, allowing you to learn from shared experiences and experiment with new techniques.
The ongoing interactions create a sense of belonging, motivating you to share both your successes and challenges as you aim for realistic wood finishes. Join the conversation and watch your skills flourish!
Community Inspiration Exchange
As you immerse yourself in the world of faux wood painting, engaging with a community of like-minded enthusiasts can spark your creativity and elevate your projects.
Platforms like social media and forums are vibrant spaces where you can share your successful projects and receive invaluable feedback.
You'll find inspiration in the diverse techniques others use, from experimenting with different glaze colors to unique application methods that create stunning wood tones and textures.
Participating in community challenges and collaborative projects not only enhances your skills but also allows you to document your process.
As you connect with fellow DIYers, you'll discover a wealth of tutorials and resources that deepen your understanding and confidence in faux finishing techniques.
Tips and Techniques交流
While diving into the world of faux wood painting, sharing your experiences and tips with others can greatly enhance your skills. Engaging with the DIY community on social media lets you explore various techniques and wood grain effects. Here's a quick overview to inspire your projects:
| Technique | Tip |
|---|---|
| Glazing | Experiment with colors |
| Application Methods | Try different brushes |
| Documentation | Record your process |
Frequently Asked Questions
Is There a Way to Make Paint Look Like Wood?
Yes, you can make paint look like wood! Start by applying a neutral base coat, then use a gel stain to enhance the wood-like effect.
Use a soft brush to apply decorative glazes, employing techniques like dabbing and spreading to create texture.
Don't forget to prep your surface by cleaning, sanding, and priming it well for the best results.
With the right products and techniques, you'll achieve a realistic wood finish effortlessly.
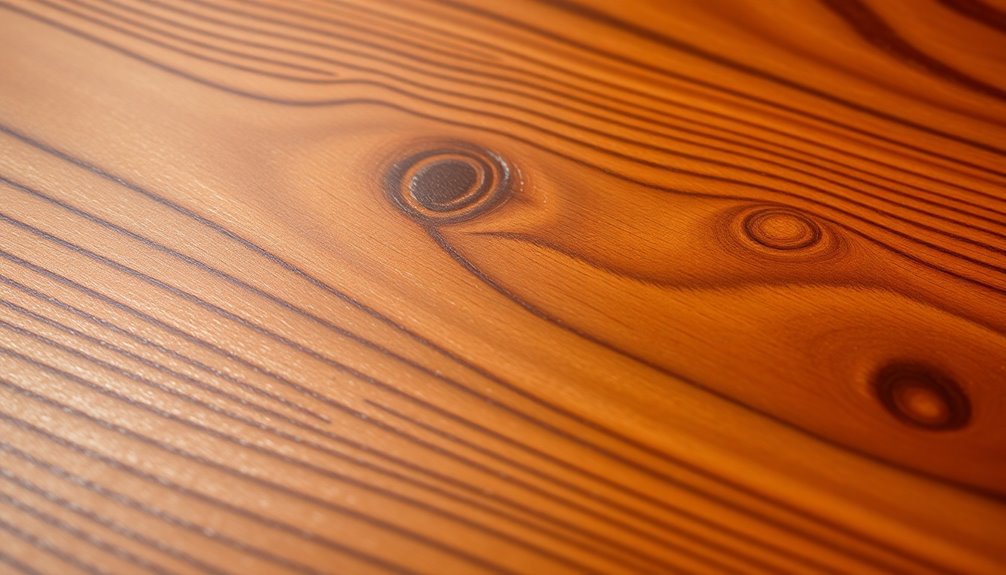
How Do You Create the Woodgrain Effect?
Wondering how to create that stunning woodgrain effect? Start with a neutral base coat like Behr Smokestack as your canvas.
Then, grab some gel stain—Varathane Dark Walnut works wonders! Apply it with a foam brush, letting your creativity flow.
But don't stop there! Use a dry chip brush to add texture.
Finally, layer in glazes like Java Brown for that depth. Just remember to let each layer dry completely before moving on.
What Is the Best Paint for Fake Wood?
When you're looking for the best paint for fake wood, high-quality chalk paints like Sherwin Williams or Modern Masters work wonders.
Mixing them with a paint transformer boosts adhesion, giving you a more durable finish.
Gel stains, such as Varathane Dark Walnut, can add depth over a neutral base coat.
Don't forget about Rust-Oleum Decorative Glaze for that authentic wood grain effect.
Finally, seal it all with Minwax polyacrylic for lasting beauty.
How to Make Laminate Furniture Look Like Wood?
To make laminate furniture look like wood, start by cleaning the surface with a pre-paint cleaner to remove any grease or residue.
Repair any damage with wood filler for a smooth finish.
Apply a neutral base coat and let it dry completely.
Next, use a gel stain for an even wood appearance, applying it with a foam brush.
Finally, seal the faux wood finish with a clear polycrylic top coat for protection and enhancement.
Conclusion
In the world of DIY, faux wood paint is your secret weapon, transforming ordinary surfaces into rich, warm textures without breaking the bank. By mastering these techniques, you're not just painting; you're weaving a tapestry of elegance and charm in your space. Embrace your creativity, and let each brushstroke whisper tales of rustic beauty. With a little practice and the right tools, you'll craft a stunning finish that'll leave your guests in awe, just like nature intended.