Decor
How to Make a Pallet Wall Decor
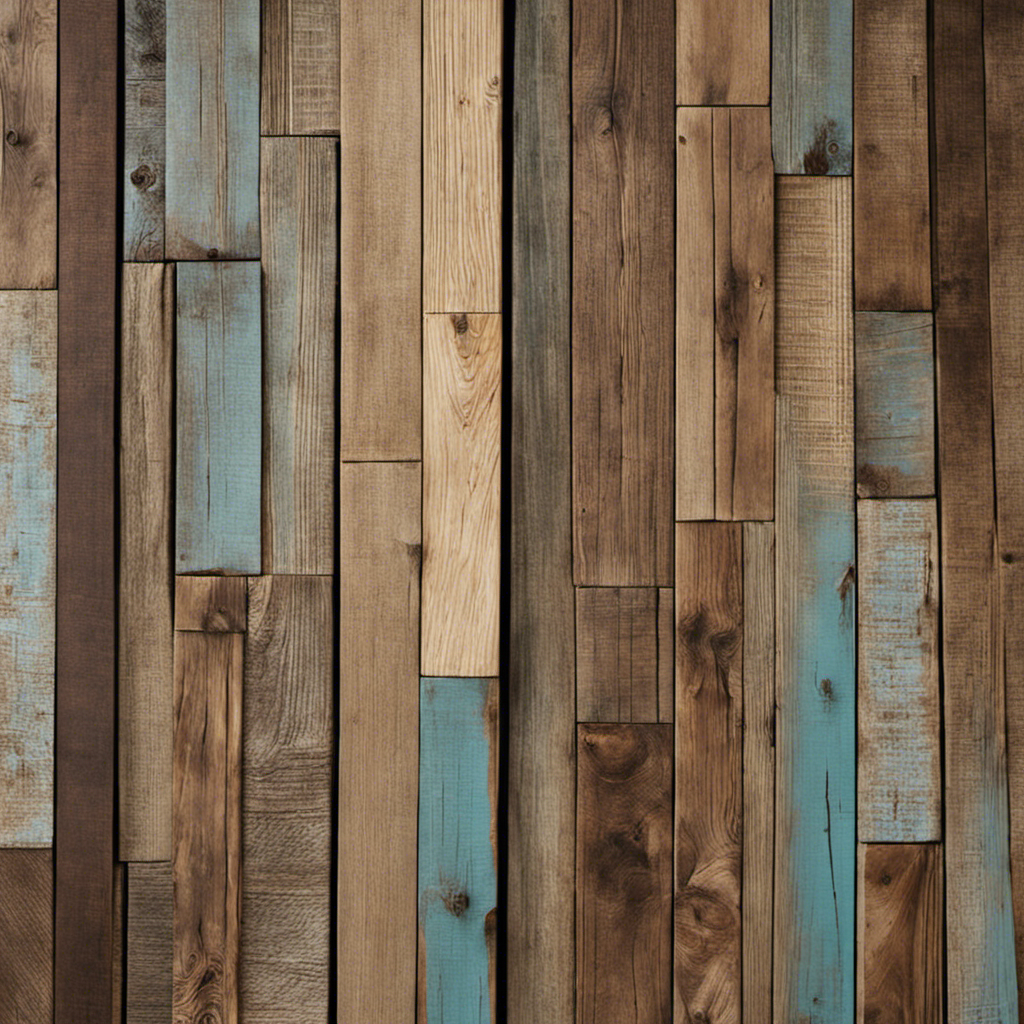
I never thought I could transform a simple wooden pallet into a stunning piece of wall decor. But here I am, ready to share my secrets with you.
In this article, I’ll guide you through the process of making your own pallet wall decor, step by step. From choosing the right pallets to adding decorative elements, I’ll cover it all.
Get ready to unleash your creativity and turn your walls into works of art. Let’s dive in!
Key Takeaways
- Choose sturdy and good condition pallets from reliable suppliers
- Measure, plan, and design the layout for a visually appealing and balanced design
- Ensure proper wall installation by attaching pallet planks securely to wall studs
- Disassemble the pallets carefully and repurpose the wood for your project
Choosing the Right Pallets
When choosing the right pallets, it’s important to look for ones that are sturdy and in good condition. There are various types of pallets to choose from, such as Euro pallets, block pallets, and stringer pallets.
It’s essential to consider the specific requirements of your project and select the appropriate pallet type accordingly. To find reliable pallet suppliers, you can start by searching online or asking for recommendations from friends or colleagues who have used pallets before.
It’s crucial to ensure that the suppliers you choose can provide high-quality pallets that meet your needs. Once you have chosen the right pallets, the next step is to prepare them for use. This involves cleaning, sanding, and possibly painting or staining the pallets to create the desired look for your pallet wall decor.
Preparing the Pallets for Use
When it comes to preparing the pallets for use in my DIY project, there are two key steps that shouldn’t be overlooked: cleaning and sanding.
Cleaning the pallets is essential to remove any dirt, grime, or potential contaminants that might be hiding on the surface. I usually use a mixture of warm water and vinegar to scrub them down, ensuring they are squeaky clean before moving on to the next step.
Once the pallets are clean, the next step is sanding them to create a smooth and even surface. This not only helps improve the overall appearance of the finished project but also ensures that there are no rough edges or splinters that could pose a safety risk.
Cleaning the Pallets
Before you start, make sure you’re wearing gloves to protect your hands while cleaning the pallets. Cleaning the pallets is an important step in preparing them for use in your pallet wall decor project.
There are various cleaning techniques you can use to remove dirt and grime from the pallets. One effective method is to use a mixture of warm water and dish soap. Simply dip a scrub brush into the soapy water and scrub the pallets thoroughly, paying special attention to any stubborn stains.
Another option is to use a pressure washer to blast away dirt and debris. Whichever method you choose, be sure to allow the pallets to dry completely before moving on to the next step of sanding.
Sanding the pallets will help create a smooth surface for painting or staining.
Sanding the Pallets
To achieve a smooth surface for painting or staining, you’ll need to sand the pallets thoroughly. Sanding is an essential step in preparing the pallets for your wall decor project.
There are a few sanding techniques you can use to get the best results. Start by using coarse grit sandpaper to remove any roughness or splinters from the pallets. Then, switch to a finer grit sandpaper to smooth out the surface even more. Be sure to sand in the direction of the wood grain to avoid creating scratches.
Once you’ve finished sanding, you can choose from various finishing options for your pallet wall decor, such as painting, staining, or leaving the natural wood exposed.
Now that the pallets are smooth and ready, it’s time to move on to measuring and planning the design.
Measuring and Planning the Design
Choosing the right measurements is crucial when planning to create a pallet wall decor. It ensures that the final result will fit perfectly in the desired space.
Designing the perfect layout involves carefully arranging the pallets to create a visually appealing and balanced design.
And finally, ensuring proper wall installation is essential for the longevity and stability of the pallet wall, making sure it stays securely in place.
Choosing the Right Measurements
Once you’ve got the right measurements, it’s time to start cutting the pallet wood. This step is crucial in creating a stunning pallet wall decor. To ensure accuracy and precision, here are some measuring techniques I recommend:
- Use a tape measure to measure the length and width of the wall.
- Consider the height of the room and decide how high you want the pallet wall to go.
- Take into account any obstacles like windows or outlets.
- Plan the layout by visualizing how the pallets will fit together.
- Choose materials that complement the overall design of the room.
By carefully measuring and choosing the right materials, you’ll be one step closer to designing the perfect layout for your pallet wall decor.
The next section will guide you through the exciting process of bringing your vision to life.
Designing the Perfect Layout
Now that you have the right measurements and materials, it’s time to start planning the perfect layout for your pallet wall.
Designing the layout requires careful consideration of both aesthetic and practical aspects. Begin by using your measuring techniques to determine the dimensions of your wall space. This will help you visualize how the pallet planks will fit together.
Next, think about color coordination. Decide on a color scheme that complements your existing decor or adds a pop of personality to your space. Consider using a variety of wood tones or even painting the pallet planks in different colors to create a unique and eye-catching design.
Remember to take into account the size and shape of the pallet planks when arranging them to ensure a visually pleasing pattern.
Once you have finalized your layout, you can move on to ensuring proper wall installation without compromising the structural integrity of your space.
Ensuring Proper Wall Installation
To ensure your pallet wall is properly installed, you’ll need to carefully attach each plank to the wall studs using screws or nails. It’s important to follow these steps for proper wall maintenance and troubleshooting wall installation:
- Take your time: Rushing through the installation process can result in an unstable wall that may not withstand the test of time.
- Measure twice, cut once: Accurate measurements ensure that the planks fit together seamlessly and create a cohesive look.
- Use a level: Keeping the wall level is crucial for a professional and visually appealing finish.
- Secure the planks: Ensure each plank is securely attached to the wall studs to prevent any movement or instability.
- Inspect for gaps: After installation, check for any visible gaps or loose planks that may require readjustment.
Now that the pallet wall is securely installed, let’s move on to disassembling the pallets without causing any damage.
Disassembling the Pallets
First, you’ll need to gather your tools for disassembling the pallets. This step is crucial in repurposing the wood for your pallet wall decor.
To begin, grab a crowbar or a pry bar to carefully remove the nails from the pallet boards. Start at one end and gently pry the boards away from the support beams. Be cautious not to split or damage the wood while doing so.
Another technique you can use is to cut through the nails using a reciprocating saw or a hacksaw blade. This method requires precision and safety precautions, so make sure to wear gloves and protective eyewear.
Once you have disassembled the pallets, you can move on to the next stage of sanding and cleaning the wood.
Sanding and Cleaning the Wood
After disassembling the pallets, you’ll need to sand and clean the wood before moving on to the next step. Sanding is an important step to ensure a smooth and even surface. Start by using coarse-grit sandpaper to remove any rough spots or splinters. Then, switch to a finer-grit sandpaper to achieve a polished finish. Don’t forget to wear safety goggles and a dust mask to protect yourself from flying debris.
Once the sanding is complete, it’s time to clean the wood. Here are some cleaning supplies you’ll need:
- A bucket of warm water
- Mild soap or wood cleaner
- Soft-bristle brush or sponge
- Clean cloth or towel
With these supplies, gently scrub the wood to remove any dirt, grease, or stains. Rinse with clean water and let it dry completely.
Now that the wood is sanded and cleaned, we can move on to staining or painting the pallets for a personalized touch.
Staining or Painting the Pallets
Once the wood is sanded and cleaned, it’s time to decide whether you want to stain or paint the pallets.
Staining the pallets can enhance the natural beauty of the wood, giving it a rustic and warm look. There are various staining techniques you can try, such as wiping on the stain with a cloth or using a brush for a more even application. You can choose from a range of stain colors, from light and natural to dark and rich.
On the other hand, painting the pallets allows you to add a pop of color and customize the look to match your decor. You can experiment with different paint color options, whether it’s a bold and vibrant hue or a soft and subtle shade.
Once you’ve decided on the staining or painting technique, you can move on to arranging and attaching the pallets to the wall, creating a stunning focal point in your space.
Arranging and Attaching the Pallets to the Wall
When it comes to creating a stunning pallet wall, there are a myriad of design options to choose from. From a classic horizontal arrangement to a unique herringbone pattern, the possibilities are endless.
However, it’s not just about the design; proper pallet attachment is crucial to ensure the wall is stable and secure. In order to achieve this, there are specific tools that will come in handy during the installation process, such as a nail gun, a level, and a miter saw.
Pallet Wall Design Options
To explore different design options for your pallet wall decor, consider incorporating unique patterns or arranging the pallets in various orientations. The possibilities are endless when it comes to creating a stunning and personalized pallet wall. Here are some ideas to inspire you:
-
Bold and Vibrant: Paint your pallets in vibrant colors like teal, yellow, or red for a bold and eye-catching look.
-
Rustic Charm: Embrace the natural beauty of the wood by leaving it unpainted and adding a weathered finish for a rustic and cozy feel.
-
Geometric Patterns: Arrange the pallets in geometric shapes such as herringbone or chevron patterns to add a modern and artistic touch to your wall.
-
Mixed Materials: Combine pallets with other materials like metal or glass to create a unique and eclectic design.
-
Vertical Gardens: Attach small planters to your pallet wall to transform it into a living work of art, bringing nature indoors.
With these creative pallet wall designs, you can turn any space into a visual masterpiece. Now, let’s move on to the next section and discuss the proper pallet attachment techniques.
Proper Pallet Attachment
For proper attachment of pallets, it’s important to securely fasten them to the wall using screws or nails. This ensures that the pallets stay in place and provide a sturdy foundation for your wall decor.
When installing pallets, there are a few techniques to keep in mind. First, make sure to locate the wall studs before attaching the pallets. This will provide additional support and prevent the pallets from shifting or falling off the wall. Additionally, it’s crucial to evenly distribute the weight of the pallets across the wall to avoid any strain on the fasteners. Use multiple screws or nails to secure each pallet, ensuring a strong and secure installation.
By following these proper pallet attachment techniques, you can create a beautiful and durable pallet wall decor.
Now, let’s move on to the tools you’ll need for the installation.
Tools for Installation
Now that we know how to properly attach the pallets, let’s move on to the next step: installing the pallet wall.
To begin, there are a few necessary tools that you’ll need:
- Power drill: This will be your trusty companion for drilling pilot holes and securing the pallets to the wall.
- Screwdriver: A screwdriver is essential for tightening screws and ensuring the pallets are securely fastened.
- Level: To achieve a straight and even pallet wall, a level is crucial for checking the alignment as you go.
- Measuring tape: Precise measurements are vital for a professional-looking finish, so don’t forget your trusty measuring tape.
- Safety goggles: Safety should always be a priority. Protect your eyes from any debris or flying particles.
With these tools in hand, we’re ready to move on to the fun part: adding decorative elements to our pallet wall.
Adding Decorative Elements
You can easily enhance the look of your pallet wall decor by incorporating decorative elements such as fairy lights or framed artwork. These additions can bring a touch of personality and style to your space, making it truly unique. When choosing the right decorative elements for your pallet wall decor, consider the color scheme you want to achieve. A well-coordinated color scheme can create a cohesive and visually appealing look. To help you in the decision-making process, here is a table showcasing some popular color combinations for pallet wall decor:
| Color Combination | Description |
|---|---|
| Navy and Gold | A sophisticated and elegant combination |
| Mint Green and Coral | A fresh and vibrant pairing |
| Gray and Blush Pink | A soft and romantic duo |
Securing the Pallet Wall Decor
To ensure the stability of your pallet wall decor, it’s important to firmly attach it to the wall using screws or nails. This will prevent any accidental falls and keep your decor securely in place. Here are some securing methods and hanging techniques you can use:
- Use a stud finder to locate the wall studs for maximum support.
- Pre-drill holes in the pallet wood to prevent splitting.
- Use screws or nails that are long enough to penetrate both the pallet and the wall.
- Place screws or nails at regular intervals along the pallet to distribute the weight evenly.
- Consider using wall anchors or brackets for added support.
By following these securing methods and hanging techniques, you can be confident that your pallet wall decor will stay in place and provide a beautiful focal point in your space.
Now, let’s move on to applying a protective finish to ensure its longevity and durability.
Applying a Protective Finish
Once you’ve secured the pallet wall decor, it’s time to apply a protective finish to preserve its longevity and enhance its durability.
Choosing the right finish product is crucial to achieve the desired results. There are various options available, such as polyurethane, varnish, or wax. Consider the type of wood used for your pallet wall decor and the look you want to achieve.
Polyurethane is a popular choice as it provides a clear and glossy finish, protecting the wood from moisture and wear. Varnish offers a more natural look and can enhance the wood’s beauty while providing protection. Wax, on the other hand, gives a matte finish and brings out the wood’s natural texture.
Whichever product you choose, make sure to follow the manufacturer’s instructions for application and drying time.
Once your protective finish is applied and dried, you can move on to styling and enjoying your pallet wall decor seamlessly, adding a touch of personality and charm to your space.
Styling and Enjoying Your Pallet Wall Decor
When styling and enjoying your pallet wall decor, consider incorporating other elements like plants or artwork to create a cohesive and personalized space.
Here are some styling tips to enhance the beauty of your DIY project:
-
Add a touch of green: Place small potted plants on shelves or hang them in macrame planters to bring life and freshness to your pallet wall.
-
Play with textures: Mix and match different textures by adding a woven wall hanging or a textured tapestry to create visual interest.
-
Layer with artwork: Hang your favorite artwork or photographs on the pallet wall to add personality and charm.
-
Illuminate with lights: Incorporate string lights or fairy lights to create a cozy and magical atmosphere in the evening.
-
Display sentimental objects: Showcase sentimental objects like vintage trinkets or family heirlooms on floating shelves to tell a story and create a sense of nostalgia.
Frequently Asked Questions
Can I Use Any Type of Pallet for This Project?
Yes, you can use different pallet sizes for this project. However, it’s important to take pallet safety precautions such as checking for any damage or splinters before starting.
How Long Does It Take to Disassemble a Pallet?
Disassembling pallets is a crucial step in repurposing them for projects like pallet wall decor. It’s a time-consuming process that typically takes me around 20-30 minutes per pallet, depending on its condition.
Is It Necessary to Sand the Wood Before Staining or Painting?
Should I prime the wood before staining or painting? Can I skip sanding and still achieve a good finish? Sanding is crucial to ensure a smooth surface for optimal paint or stain adhesion. Skipping it may result in an uneven and less professional-looking finish.
What Types of Decorative Elements Can I Add to the Pallet Wall Decor?
Adding lights and shelves are great ways to enhance the beauty and functionality of your pallet wall decor. Lights can create a cozy ambience, while shelves provide a practical space for displaying decorative items or storing books.
How Do I Secure the Pallet Wall Decor to the Wall Without Causing Damage?
To secure pallet wall decor without causing damage, I recommend using alternative mounting options. Consider using adhesive hooks, removable adhesive strips, or picture hanging strips. These options provide a secure hold while allowing for easy removal without damaging the wall.
Conclusion
As I step back and admire my newly finished pallet wall decor, I can’t help but feel a surge of pride and satisfaction.
It’s amazing how a simple wooden pallet can be transformed into a stunning piece of art that adds warmth and character to any space.
Like a phoenix rising from the ashes, this pallet wall decor has breathed new life into my room, creating a cozy and inviting atmosphere.
It’s a true testament to the power of creativity and DIY projects.
So go ahead, unleash your inner artist and let your imagination run wild with pallets!
You’ll be amazed at the masterpiece you can create.
- About the Author
- Latest Posts
Meet Katherine, the creative enthusiast at ByRetreat who infuses her boundless passion for design into every remote workspace she crafts. With an innate sense of creativity and an eye for unconventional beauty, Katherine brings a unique and inspiring perspective to the team.
Katherine’s love for design is infectious, and her ability to think outside the box sets her apart. She believes that true artistry lies in embracing a variety of styles and mixing them harmoniously to create captivating spaces. By combining different textures, colors, and patterns, Katherine weaves a tapestry of creativity that breathes life into each remote workspace.
Decor
Pergola Remodeling: The Ultimate Guide
Learn how to transform your outdoor space into a stunning oasis with our comprehensive guide to pergola remodeling, from planning to maintenance.
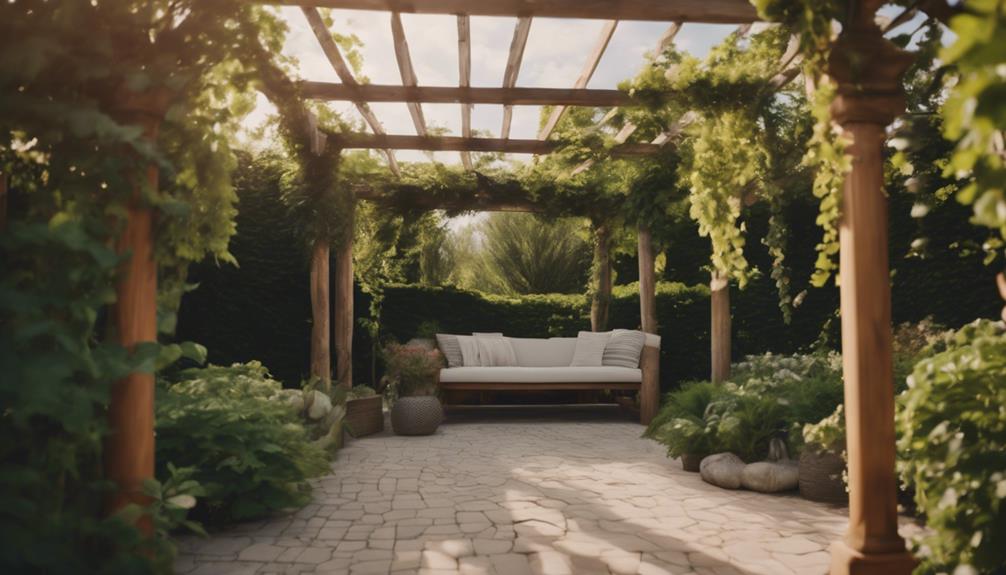
As we begin this ultimate guide to pergola remodeling, we'll cover everything from planning and design to materials, placement, functionality, and maintenance. We'll explore the different types of pergola structures, including gabled roof and arched top designs, and how to choose the perfect materials for your project. From selecting the ideal location and designing for functionality to outdoor lighting essentials and maintenance tips, we'll delve into the details to help you transform your outdoor space. As we delve into this, you'll discover the secrets to creating a stunning oasis that's both beautiful and functional – and we're just getting started.
Key Takeaways
• Assess the current pergola's structure, size, and location to determine the scope of the remodel and create a budget accordingly.
• Choose a pergola design that complements the surrounding environment, considering factors like climate, sunlight, and soil type.
• Select materials that fit the desired look and functionality, such as wood, vinyl, aluminum, composite, or fiberglass, and consider factors like cost and durability.
• Plan for functionality by incorporating features like seating, lighting, and accessories that fit the intended use of the pergola, such as outdoor dining or lounging.
• Ensure a smooth remodel by verifying local building regulations, obtaining necessary permits, and preparing the site before construction begins.
Planning Your Pergola Design
As we begin planning our pergola, we need to take into account the size and location of this outdoor structure to assess the design possibilities based on our space and needs.
We want to create a functional and aesthetically pleasing outdoor space that caters to our lifestyle and preferences. To achieve this, we need to contemplate the location of our pergola and how it will interact with the surrounding environment. We should ponder the climate, sunlight, and soil type to select plants that will thrive in our outdoor space.
Effective planning is key to creating a cohesive look and ensuring our pergola serves its purpose. We should consult with a landscape designer to get expert advice on how to create cozy sitting areas, playgrounds, or lawns within our outdoor space.
Types of Pergola Structures

As we explore the world of pergola structures, we're excited to examine the various types that can elevate our outdoor spaces.
From gabled roof pergolas that add a touch of classic charm to arched top designs that bring a sense of elegance, we'll explore the unique characteristics of each style.
Next, we'll take a closer look at column styles that can add a pop of personality to our pergola design.
Gabled Roof Pergolas
We often choose gabled roof pergolas for their timeless charm and functional advantages, which make them a popular choice for enhancing outdoor spaces. These traditional pergola structures feature a sloping roof with two sides meeting at a ridge, providing a classic look that complements any outdoor setting.
One of the significant benefits of gabled roof pergolas is their ability to provide better rain and snow runoff compared to flat roofs, ensuring the structural integrity of our outdoor space. This design also allows for increased air circulation and ventilation, making them ideal for creating a comfortable and inviting atmosphere.
As we explore the Ultimate Guide to Pergola, it's essential to consider the functional benefits of gabled roof pergolas, which make them a popular choice for homeowners. By incorporating a gabled roof pergola into our outdoor space, we can create a beautiful and functional area that's perfect for relaxation and entertainment.
With their classic appeal and practical advantages, it's no wonder gabled roof pergolas remain a popular choice for outdoor remodeling projects.
Arched Top Designs
Beyond traditional flat-top designs, arched top pergolas bring a touch of sophistication to outdoor spaces with their elegantly curved rooflines. We love how these structures add architectural interest and visual appeal to our outdoor areas.
The arched top design provides a softer, more graceful aesthetic compared to traditional flat-top pergolas, making them a great choice for those seeking a unique look. One of the best benefits of arched top pergolas is the additional shade and protection they offer.
The curved roof design provides a sense of enclosure, making outdoor spaces feel cozier and more inviting. Plus, the distinctive aesthetic of arched top pergolas is sure to elevate our outdoor spaces, making them perfect for entertaining or relaxation.
When considering a pergola remodel, we highly recommend incorporating arched top designs for a sophisticated and elegant look. With their curved roof design, arched top pergolas are sure to bring a touch of elegance to any outdoor space, making them a great choice for homeowners looking to upgrade their outdoor areas.
Column Styles
When selecting the perfect pergola design, choosing the right column style is essential, as it sets the tone for the entire structure and can greatly impact the overall aesthetic of our outdoor space.
We want to choose the right column style that complements our outdoor decor and personal taste. Traditional pergola columns include Tuscan, Doric, Ionic, and Corinthian styles, which evoke a classic and timeless feel.
On the other hand, modern pergola designs feature sleek and minimalist column structures that exude a sense of sophistication. We can also customize our column styles to match the overall design theme of our pergola.
Round, square, tapered, or fluted columns can be used to enhance the pergola's aesthetic. The materials we can choose from are just as varied, ranging from wood, fiberglass, aluminum, to composite materials.
With so many options available, we can easily find the perfect column style that fits our vision and budget. By considering these factors, we can create a stunning pergola that becomes the focal point of our outdoor space.
Choosing the Right Materials
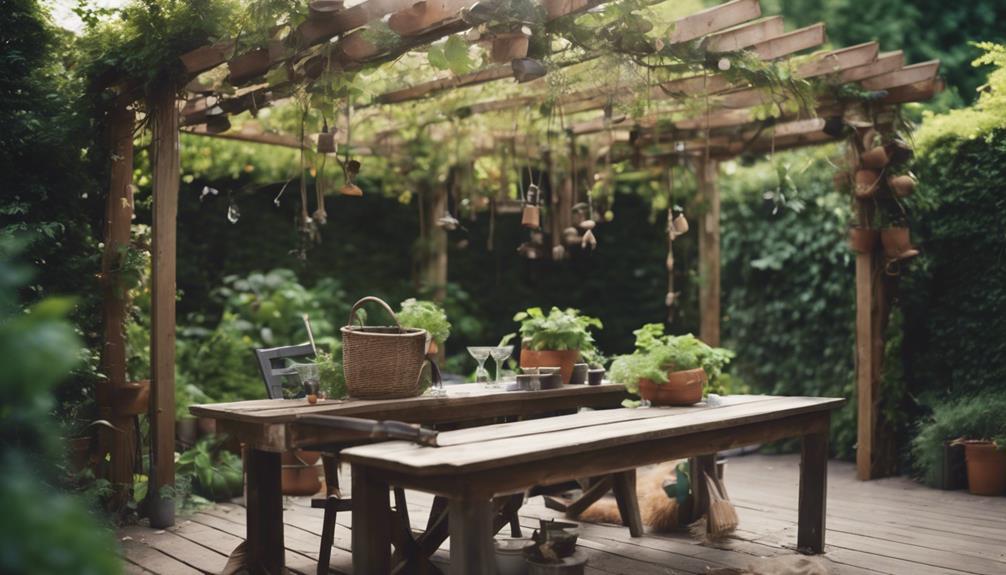
As we start building our dream pergola, selecting the right materials is essential for achieving the desired look and functionality. We need to choose materials that fit our budget, climate, and personal style.
When deciding on materials, we've several options to ponder. For a traditional look, we might choose wood, which can cost between $2,000-$5,000, depending on the type of wood.
Vinyl is another option, offering low maintenance and resistance to decay and insects, with a price range of $3,000-$5,000. Aluminum pergolas are durable and require minimal upkeep, costing between $3,000-$6,000.
If we're looking for a modern aesthetic, composite materials might be the way to go. Additionally, we could opt for fiberglass, which offers a sleek finish and comes with a higher price tag of $4,000-$8,000.
Pergola Location and Placement
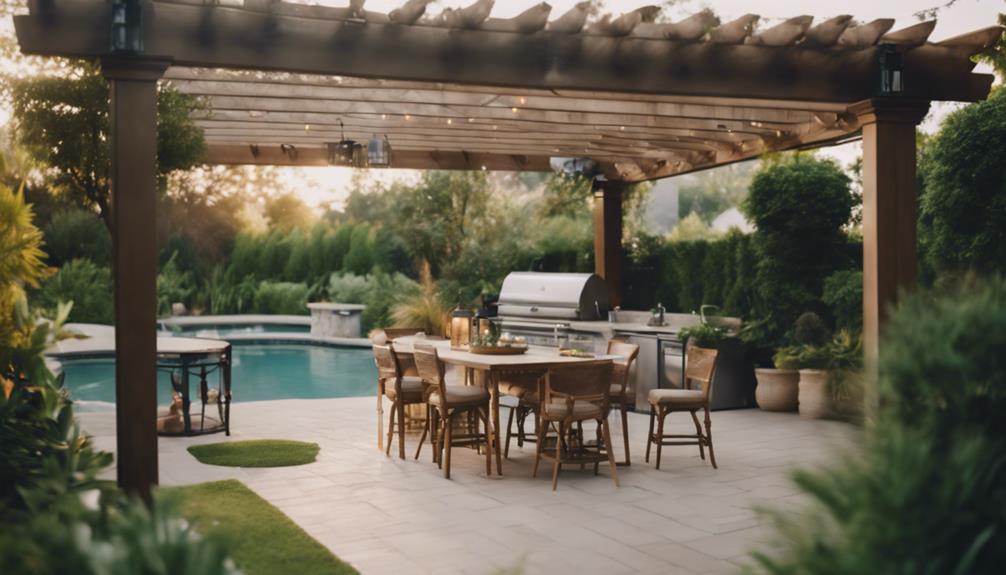
We must carefully ponder the location and placement of our pergola to guarantee it serves its intended purpose and complements our outdoor space. When selecting the right location, we need to take into account factors such as the sun's path and wind direction in our backyard. This ensures our pergola receives the right amount of sunlight and remains stable.
We should also assess the area in our yard to determine the ideal placement, taking into account our goals for the pergola, such as extending living space or providing shade. Proper placement can enhance our outdoor space and create a comfortable and inviting area for relaxation or entertainment.
To guarantee stability, we should take precise measurements using tools like StruXures PergolaX and Professional Building Services. By doing so, we can identify the perfect size and location for our pergola, aligning with our architectural features and overall aesthetic.
Designing for Functionality
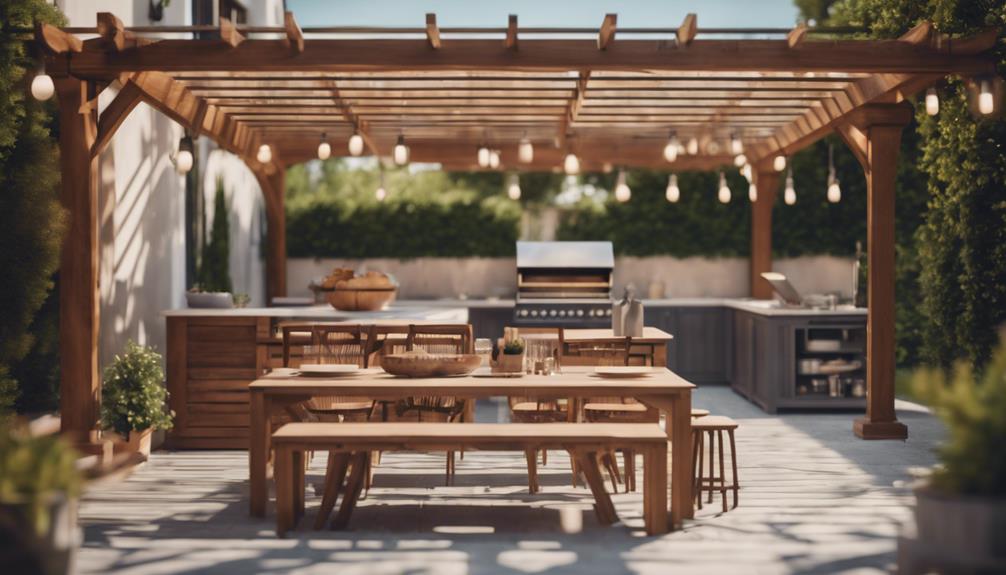
Designing a pergola that serves its purpose requires careful consideration of its intended use, whether we're creating an intimate dining area, a lounging oasis, or an entertainment hub. As we plan our pergola, we need to think about how we'll be using the space. Will we be hosting outdoor dining parties or relaxing with a good book? This will help us choose the right materials, accessories, and features to make our pergola a functional addition to our outdoor space.
| Intended Use | Key Features | Benefits |
|---|---|---|
| Outdoor Dining | Tables, benches, lighting | Protection from the elements, comfortable seating |
| Lounging Oasis | Soft seating, shade, greenery | Relaxing atmosphere, connection to nature |
| Entertainment Hub | Sound system, bar, seating | Fun, social atmosphere, extended living space |
| Intimate Gathering | Fire pit, seating, greenery | Cozy atmosphere, connection to nature |
| General Use | Adjustable louvers, screens, seating | Versatility, protection from elements |
Selecting the Perfect Plants

By considering our climate, sunlight, and soil type, we can handpick the perfect plants to thrive in our pergola, ensuring a lush and inviting atmosphere.
When selecting plants for our pergola remodel, we should prioritize low-maintenance options that fit our care preferences. This way, we can enjoy the beauty of our outdoor space without breaking a sweat.
By choosing plants that align with our care habits, we're more likely to nurture them properly, ensuring their health and vigor. The right plants can greatly impact the aesthetics and maintenance of our pergola area.
We should select plants that thrive in our local climate and soil type, reducing the need for excessive watering or pruning. By doing so, we'll create an outdoor oasis that's both beautiful and easy to maintain.
With our selected plants, we can sit back, relax, and enjoy the fruits of our labor. By making informed plant choices, we'll be well on our way to creating a stunning pergola that's perfect for relaxation and entertainment.
Outdoor Lighting Essentials

A well-lit pergola can be transformed into an enchanting retreat, perfect for evening gatherings or romantic dinners, with the strategic placement of outdoor lighting. We've found that outdoor lighting enhances the ambiance and usability of pergolas, making them perfect for nighttime use. To create a warm atmosphere, we recommend using layered lighting, which creates different moods and atmospheres in the outdoor space.
| Lighting Type | Benefits | Placement Ideas |
|---|---|---|
| Solar-Powered Lights | Eco-friendly, energy-efficient | Along walkways, stairs, or around seating areas |
| String Lights | Creates a warm, cozy ambiance | Wrapped around beams or draped across the pergola |
| Spotlights | Highlights key features of the pergola design | Focused on architectural details or plants |
| Pathway Lights | Guides guests through the outdoor space | Along pathways, stairs, or around seating areas |
Pergola Installation Checklist
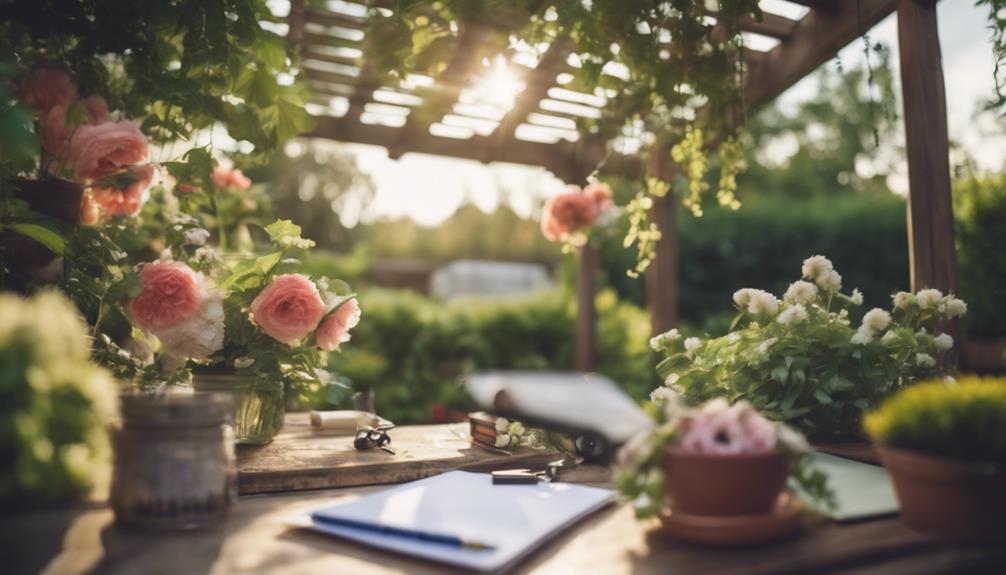
We've set the ambiance with outdoor lighting, and now we're ready to tackle the nuts and bolts of bringing our pergola to life, starting with a thorough installation checklist.
Before we begin, we'll need to verify local building regulations and obtain the necessary permits to avoid any delays or complications. It's also crucial to confirm compliance with zoning codes to guarantee a smooth installation process.
Next, we'll prepare the site by clearing vegetation, marking the pergola perimeter, and using concrete footings or anchors for stability. Then, we'll construct the pergola by securely installing posts, attaching support beams and rafters, and following design plans for proper assembly.
As we build, we'll add decorative elements to enhance the beauty and functionality of our pergola. By following this checklist, we'll be able to enjoy our new outdoor space in no time.
With careful planning and execution, our pergola installation will be a success, and we'll be able to relax and enjoy the fruits of our labor.
Maintaining Your Pergola
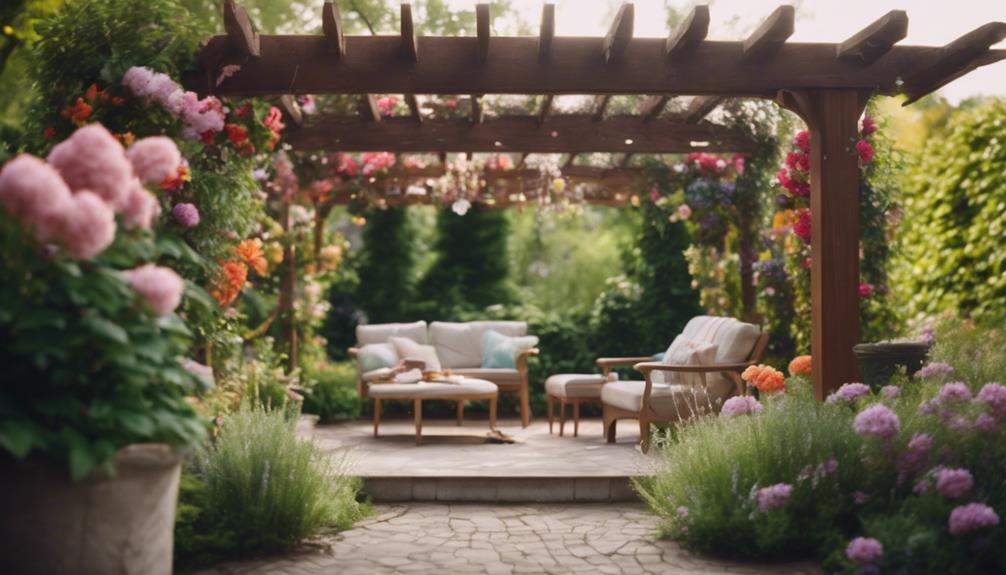
Now that our pergola is built, let's focus on preserving its beauty and structural integrity through regular maintenance. We understand that maintenance requirements can be overwhelming, but trust us, it's worth the effort.
To start, we clean our pergola structure with a mild soap solution to remove dirt and debris. We also make it a habit to tighten any loose hardware or connections to guarantee stability and safety.
Every 2-3 years, we apply a fresh coat of paint or stain to protect the wood from weather damage. Additionally, we trim back any overgrown vines or plants to prevent damage and maintain the pergola's structural integrity.
Finally, we inspect our pergola regularly for signs of rot, mold, or pest infestations, and address them promptly to prevent further damage. By following these simple steps, we can enjoy our pergola for years to come.
Frequently Asked Questions
What Is the Golden Ratio for a Pergola?
When designing a pergola, we aim for a visually pleasing structure. The golden ratio comes into play here.
We follow a 1:1.6:2.6 ratio for the width, height, and depth, creating a balanced and harmonious design. This timeless principle guarantees our pergola's proportions are optimized for aesthetic appeal and symmetry.
How Do I Make My Pergola Look Pretty?
We want our pergola to look pretty, and we're not alone! To achieve that, we incorporate climbing plants like wisteria or jasmine for a natural touch.
We add string lights or lanterns for a cozy ambiance in the evenings.
Hanging curtains or outdoor fabric panels add color and texture.
Does a Pergola Add Value to Property?
We've got a question on our minds: does a pergola add value to our property?
The answer is a resounding yes! A well-designed pergola can increase our property value by up to 20%. It's an attractive feature that enhances curb appeal, creating an appealing outdoor living space that potential buyers love.
Quality construction and design can greatly boost our property's value, making it more desirable to buyers and increasing its resale value.
What Is the Best Wood for an Outdoor Pergola?
As we step into the great outdoors, we crave a haven that's both beautiful and durable.
When it comes to choosing the best wood for an outdoor pergola, we're spoiled for choice. Cedar, with its natural resistance to decay and insects, is a top contender.
Redwood, with its striking appearance, is another strong option.
If budget is a concern, pressure-treated pine or Douglas fir can provide a sturdy solution.
Conclusion
As we reflect on our pergola remodeling journey, it's amazing how a simple coincidence – stumbling upon an old gardening book – sparked a passion project that transformed our backyard oasis.
From planning to installation, we've covered it all. By following these guidelines, you'll create a stunning pergola that's both functional and beautiful.
Remember, with careful planning and attention to detail, your outdoor space can become a serene retreat that brings joy for years to come.
- About the Author
- Latest Posts
Introducing Ron, the home decor aficionado at ByRetreat, whose passion for creating beautiful and inviting spaces is at the heart of his work. With his deep knowledge of home decor and his innate sense of style, Ron brings a wealth of expertise and a keen eye for detail to the ByRetreat team.
Ron’s love for home decor goes beyond aesthetics; he understands that our surroundings play a significant role in our overall well-being and productivity. With this in mind, Ron is dedicated to transforming remote workspaces into havens of comfort, functionality, and beauty.
Decor
Vintage Mid Century Modern Plant Stand
Yearning for a blast from the past, discover the essence of retro style with vintage mid century modern plant stands that exude nostalgia and sophistication.

We're drawn to vintage mid century modern plant stands because of their sleek, minimalist designs, often featuring hairpin legs and geometric shapes that evoke an atomic-inspired aesthetic. These stands typically boast clean lines, showcasing a blend of functionality and style. While some are handcrafted, offering unique, one-of-a-kind pieces, others are mass-produced, providing an affordable option. When choosing a stand, consider the size, weight capacity, and material durability, ensuring it complements your existing decor. By exploring these factors, you'll find the perfect stand to infuse your space with nostalgia and sophistication. As we explore further, we'll uncover more nuances of these retro-inspired gems.
Key Takeaways
• Vintage Mid Century Modern plant stands often feature sleek lines, minimalist designs, and geometric shapes.
• Look for unique, handcrafted pieces with attention to detail, showcasing artisanal skills.
• Consider mass-produced options for affordability and consistency in design and quality.
• Choose a stand that complements your existing room decor and has the right size and weight capacity.
• Add a touch of nostalgia and sophistication with a vintage-inspired plant stand that infuses your space with retro flair.
Design Elements and Features
In addition to exploring the design elements and features of vintage mid-century modern plant stands, we're struck by the prevalence of sleek, clean lines and minimalist designs that epitomize the era's aesthetic.
These plant stands often incorporate hairpin legs, geometric shapes, and atomic-inspired motifs, which contribute to their retro charm. The use of materials like metal, wood, and wire is also characteristic of vintage mid-century modern plant stand construction.
We notice that some plant stands from this era may exhibit Scandinavian or Danish design influences, adding a touch of Nordic flair to their overall design. Moreover, retro color palettes, such as teak, brass, and avocado green, are prevalent in vintage mid-century modern plant stand designs, evoking a sense of nostalgia and retro appeal.
These design elements and features work together to create a distinctive visual language that's quintessentially mid-century modern. By understanding these design elements, we can appreciate the unique characteristics that make vintage mid-century modern plant stands so iconic and desirable.
Popular Styles and Materials
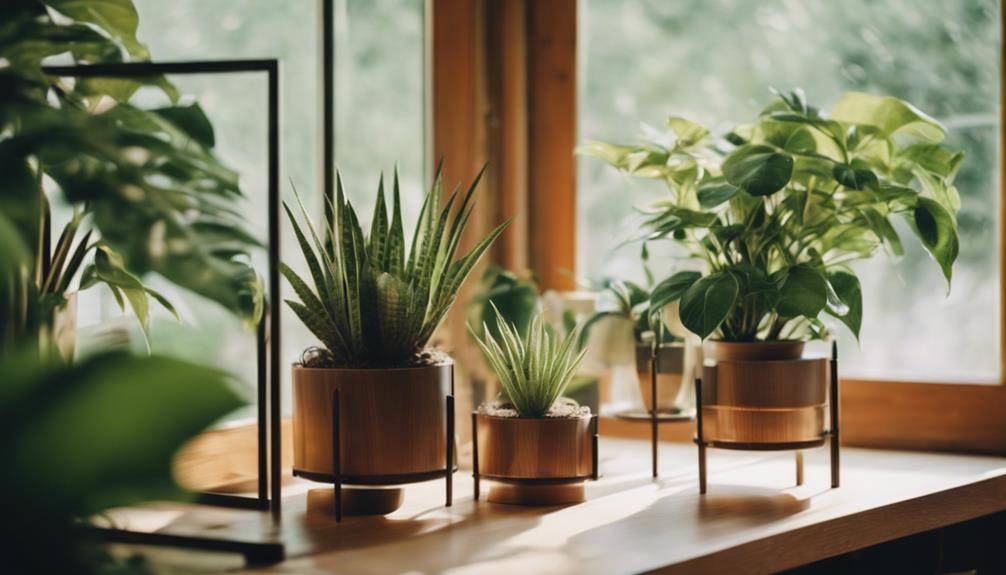
We turn our attention to the popular styles and materials that define vintage mid-century modern plant stands. Sleek lines, geometric shapes, and minimalist designs come together in a harmonious blend of form and function. These plant stands often showcase unique craftsmanship and iconic design elements from the 1950s and 1960s, reflecting the era's focus on simplicity and functionality.
Common materials used in vintage mid-century plant stands include wood, metal, and wire, which provide a sturdy base for showcasing small or large plants. The retro charm of these plant stands lies in their ability to blend seamlessly into modern home decor, adding a touch of nostalgia to any room.
As collectors and enthusiasts, we appreciate the timeless appeal of vintage mid-century modern plant stands, which exude a sense of minimalist sophistication. Whether made from wood, metal, or a combination of materials, these plant stands embody the essence of mid-century modern design, characterized by clean lines, geometric shapes, and a focus on functionality.
Handcrafted Vs Mass-Produced

We explore the dichotomy of handcrafted and mass-produced mid-century modern plant stands, highlighting the distinct characteristics that set them apart.
Handcrafted plant stands are truly unique and one-of-a-kind, showcasing artisanal skills and attention to detail. Each piece is carefully crafted, often with slight variations in design, adding to their charm and individuality. However, this labor-intensive process comes at a cost, making handcrafted plant stands more expensive.
On the other hand, mass-produced plant stands are often more affordable and readily available in larger quantities. Factory-produced using standardized processes, they guarantee consistency in design and quality. While they may lack the individuality of handcrafted pieces, they offer an affordable option for those who want to incorporate mid-century modern style into their decor.
Ultimately, the choice between handcrafted and mass-produced plant stands depends on personal preference and budget. If you're looking for a truly unique piece with artisanal flair, handcrafted may be the way to go. But if you're on a tighter budget, mass-produced options can still provide a stylish and affordable solution.
Decorating With Vintage Flair
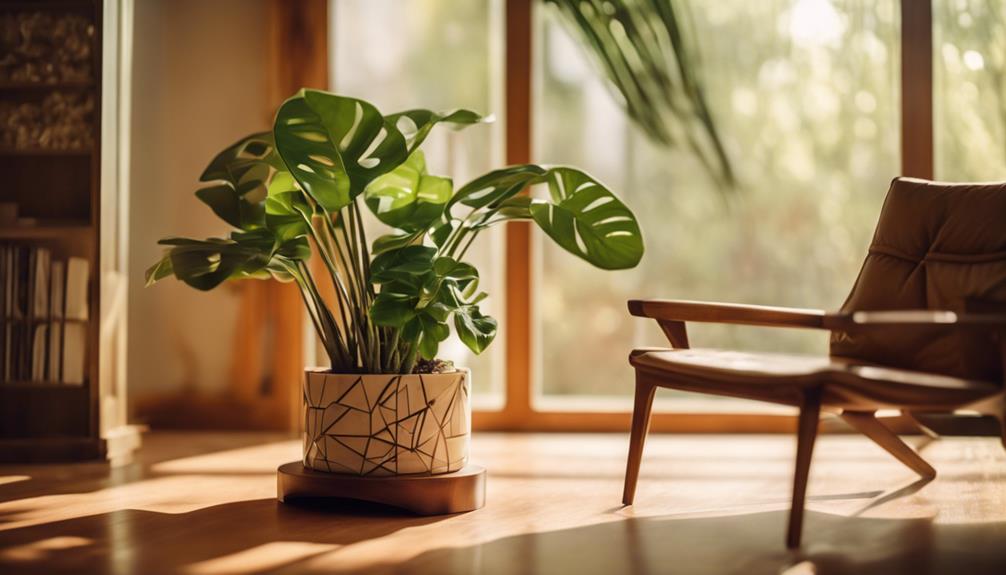
We're drawn to vintage mid-century modern plant stands because they infuse our spaces with a unique blend of nostalgia and sophistication. These retro pieces add a touch of flair to any room, and their distinctive designs from the 1950s and 1960s make them a standout decorative element.
| Style | Era | Characteristics |
|---|---|---|
| Rockabilly | 1950s | Bold, colorful, and eclectic |
| German | 1960s | Colorful, geometric patterns, and minimalist |
| Mid-Century Modern | 1950s-60s | Simple, organic shapes, and an emphasis on function |
| Retro | 1950s-60s | Playful, ornate, and nostalgic |
| Minimalist | 1960s | Simple, clean lines, and an emphasis on negative space |
When decorating with vintage flair, it's essential to consider the overall aesthetic you want to achieve. By incorporating a vintage plant stand into your decor, you can add a touch of sophistication and whimsy to any room. Whether you're drawn to the bold, colorful style of rockabilly or the sleek, minimalist design of German plant stands, there's a vintage mid-century modern plant stand to suit your unique taste.
Choosing the Right Stand

As we search for the perfect vintage mid-century modern plant stand, selecting the right one involves more than just falling in love with its retro charm. We need to take into account the size and weight capacity of the stand to make sure it can support our plants. A sturdy stand with durable materials like wood or metal is crucial for longevity. The design should complement our existing room decor, so we should pick a stand that enhances the aesthetic of our space.
We must also examine the dimensions of the plant stand to make sure it fits in the desired location. Opting for a vintage mid-century modern plant stand with unique features can add character to our room. For instance, a stand with a geometric pattern or a bold color can be a great conversation starter.
Frequently Asked Questions
Can Vintage Plant Stands Be Refinished or Repurposed?
We've wondered, can vintage plant stands be refinished or repurposed? The answer is yes! With some TLC, these antique pieces can regain their former glory. Sanding, staining, and polishing can revitalize worn wood, while a fresh coat of paint can modernize metal frames.
Repurposing ideas abound, from turning planters into unique coffee tables to transforming them into quirky bookshelves. With a little creativity, vintage plant stands can be reborn, blending nostalgic charm with modern functionality.
How Do I Clean and Maintain My Vintage Plant Stand?
Recognizing the importance of maintaining our beloved vintage plant stands, we take care to clean them gently.
To keep them looking their best, we lightly dust with a soft-bristled brush or a dry cloth.
For tougher dirt or grime, we prepare a mixture of mild soap and warm water, which we then apply with a soft cloth before wiping clean.
Regularly applying a gentle wood wax or oil also helps to preserve the finish.
Are Vintage Plant Stands Still Sturdy and Durable?
As we explore the world of plant stands, a pressing question arises: are vintage plant stands still sturdy and durable?
The answer lies in their construction. Many vintage plant stands were built with quality materials, such as solid wood or wrought iron, ensuring their durability. With proper care, these stands can withstand the test of time.
In fact, some vintage plant stands can last for decades with minimal maintenance.
Can I Use a Vintage Plant Stand Outdoors or in a Humid Space?
When considering outdoor or humid space use, we need to assess the material and construction of the plant stand. If it's made of metal, rust-resistant coating or galvanization is essential. Wooden stands require waterproofing or a durable finish to withstand moisture.
We should also confirm the stand's stability on uneven or slippery surfaces. If our stand meets these conditions, we can confidently use it outdoors or in humid areas, but regular maintenance is still necessary to prolong its lifespan.
Are Vintage Plant Stands a Good Investment or Just a Trend?
We often wonder if vintage items are a worthwhile investment or just a fleeting trend.
In general, antiques and vintage pieces can appreciate in value over time, making them a solid investment. However, their value is heavily dependent on factors like condition, rarity, and demand.
If we're talking about high-quality, unique, or limited-edition items, they can increase in value. But if it's a mass-produced or common item, its value may stagnate or even decrease.
Conclusion
As we weave through the world of vintage mid-century modern plant stands, we find ourselves in a lush forest of design, where functionality and aesthetics entwine like the tender shoots of a well-tended plant.
Like a master gardener, we've pruned away misconceptions, revealing the beauty of handcrafted and mass-produced pieces, popular styles, and materials.
Now, armed with the knowledge of how to choose the perfect stand, we can cultivate our own vintage oasis, where plants thrive and style flourishes.
- About the Author
- Latest Posts
Introducing Ron, the home decor aficionado at ByRetreat, whose passion for creating beautiful and inviting spaces is at the heart of his work. With his deep knowledge of home decor and his innate sense of style, Ron brings a wealth of expertise and a keen eye for detail to the ByRetreat team.
Ron’s love for home decor goes beyond aesthetics; he understands that our surroundings play a significant role in our overall well-being and productivity. With this in mind, Ron is dedicated to transforming remote workspaces into havens of comfort, functionality, and beauty.
Decor
5 Stunning Ideas for a Blue Shiplap Accent Wall
Make a bold design statement and unlock the potential of blue shiplap accent walls in your home with these 5 inspiring ideas.
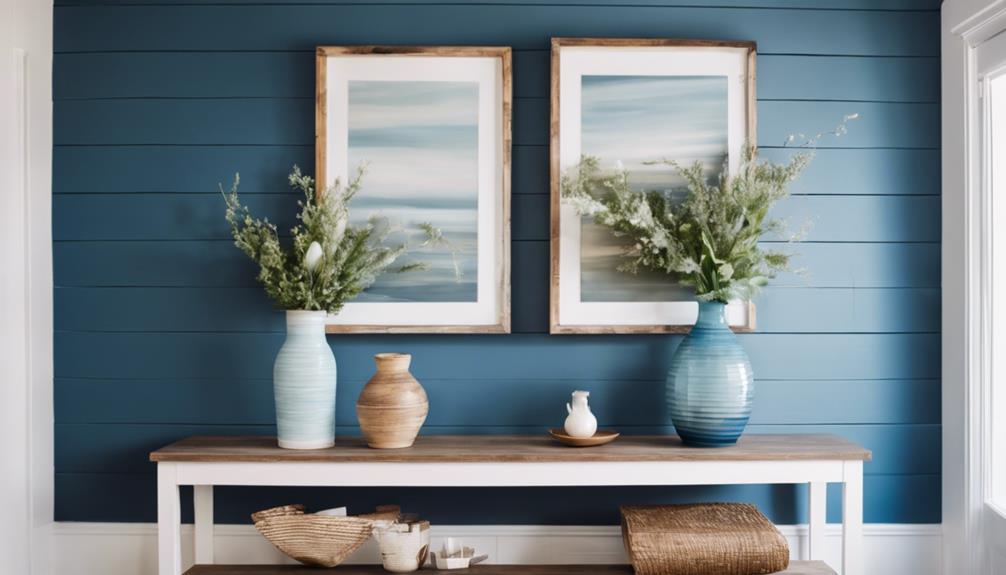
We've discovered five remarkable ways to incorporate blue shiplap accent walls into various rooms, showcasing their versatility and style. From creating a serene coastal chic bedroom oasis to making a bold statement in a living room, blue shiplap accent walls can elevate any space. They can also transform a bathroom into a calming retreat, add sophistication to a dining area, or create a soothing reading nook. Whether you're looking for relaxation, tranquility, or a trendy design element, blue shiplap accent walls have got you covered. Let's explore these stunning ideas in more detail to uncover the possibilities.
Key Takeaways
• Create a coastal chic bedroom oasis with a serene blue shiplap accent wall that evokes relaxation and tranquility.
• Add a bold statement to your living room with a vibrant blue shiplap accent wall that sets the mood and ambiance.
• Transform your bathroom into a calming retreat with a blue shiplap accent wall that adds sophistication and trendiness.
• Anchor a modern coastal dining room with a blue shiplap accent wall that adds touch of sophistication and tranquility.
• Create a soothing reading nook with a blue shiplap accent wall that adds depth and texture with a calming presence.
Coastal Chic Bedroom Oasis
By incorporating a serene blue shiplap accent wall into our bedroom design, we can instantly transport ourselves to a coastal chic oasis, where relaxation and tranquility await. This calming atmosphere is perfect for unwinding after a long day, and the light blue hue of the shiplap wall evokes a sense of relaxation and tranquility.
To enhance the coastal theme, we can complement the blue shiplap accent wall with beach-inspired decor, creating a cohesive look that transports us to a seaside retreat. By incorporating white elements and natural wood accents, we can add texture and visual interest to the space, creating a calming and serene atmosphere.
The blue shiplap accent wall becomes a focal point in the room, drawing our attention to the calming ambiance it creates. With its soothing color and rustic texture, it's the perfect addition to our coastal chic bedroom oasis.
Bold Statement Living Room
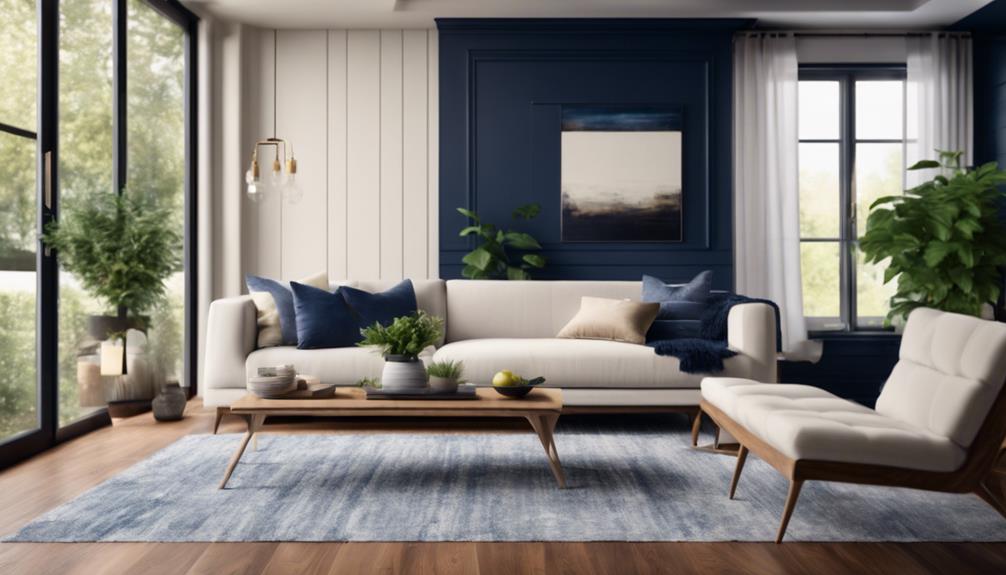
We can instantly elevate our living room's style and personality with a bold blue shiplap accent wall that makes a statement and adds a vibrant pop of color. This trendy design element creates a focal point in the room, drawing attention to key features like a fireplace or entertainment center.
By incorporating a blue shiplap accent wall, we can tie together our color scheme, especially when coordinated with other blue decor elements. Experimenting with different shades of blue allows us to set the mood and ambiance of the living room.
A cost-effective way to break up the room, a blue shiplap accent wall introduces a stylish and trendy design element. Whether we opt for a calming light blue or a bold navy, this accent wall adds a stylish touch to our living room.
Calming Blue Bathroom Retreat
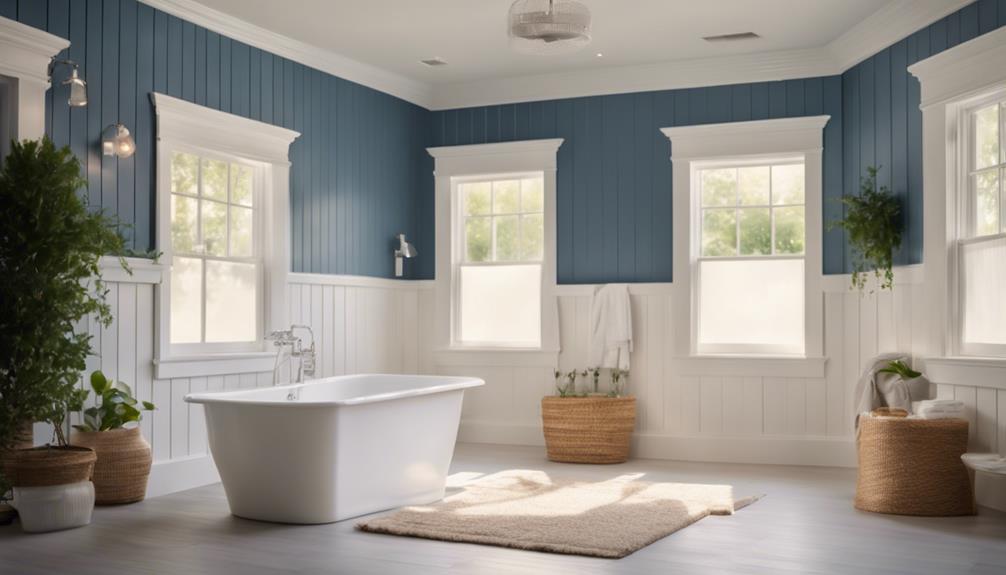
Transforming our bathroom into a calming retreat, a blue shiplap accent wall strategically placed behind the sink or bathtub creates a spa-like atmosphere, making us feel like we're on vacation.
This clever design element evokes feelings of relaxation and tranquility, turning our bathroom into a serene oasis. By incorporating a blue shiplap accent wall into our bathroom design, we can create a sense of calm and serenity, perfect for unwinding after a long day.
To enhance the overall aesthetic, we can coordinate our towels and mats with the blue accent wall, creating a cohesive and calming space. The sea blue theme adds a touch of sophistication, making our bathroom appear larger and on-trend.
With a blue shiplap accent wall, we can transform our bathroom into a calming retreat that feels like a luxurious getaway, every day. By incorporating this design element, we can create a space that exudes relaxation and tranquility, making our bathroom a true oasis.
Modern Coastal Dining Delight
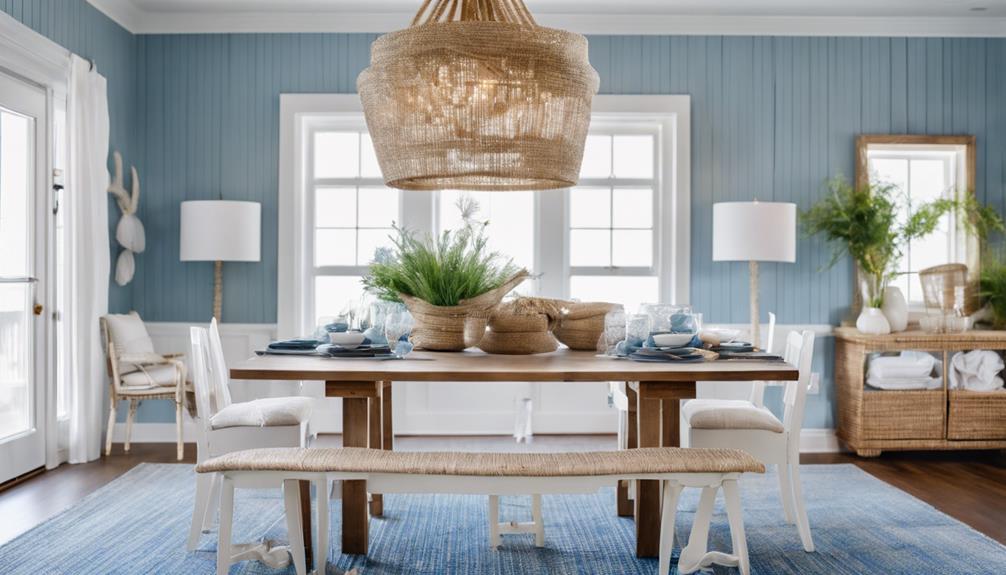
As we design our dining room, a blue shiplap accent wall becomes the perfect anchor for a modern coastal vibe. This stylish element adds a touch of sophistication and tranquility to the space, creating a calming ambiance that's perfect for relaxing with family and friends.
To complement the blue shiplap accent wall, we incorporate white furniture and natural wood elements, which enhance the coastal decor and bring a sense of harmony to the room.
Here are some key benefits of incorporating a blue shiplap accent wall in our dining room:
- Creates a modern coastal vibe that's perfect for a dining room
- Becomes a focal point in the room, drawing the eye towards the beautiful blue shiplap
- Combines perfectly with white furniture and natural wood elements for a cohesive look
- Enhances the ambiance of the room, creating a sense of tranquility and relaxation
- Adds a touch of sophistication and style to the dining room, making it perfect for entertaining
Soothing Accent Wall Nook
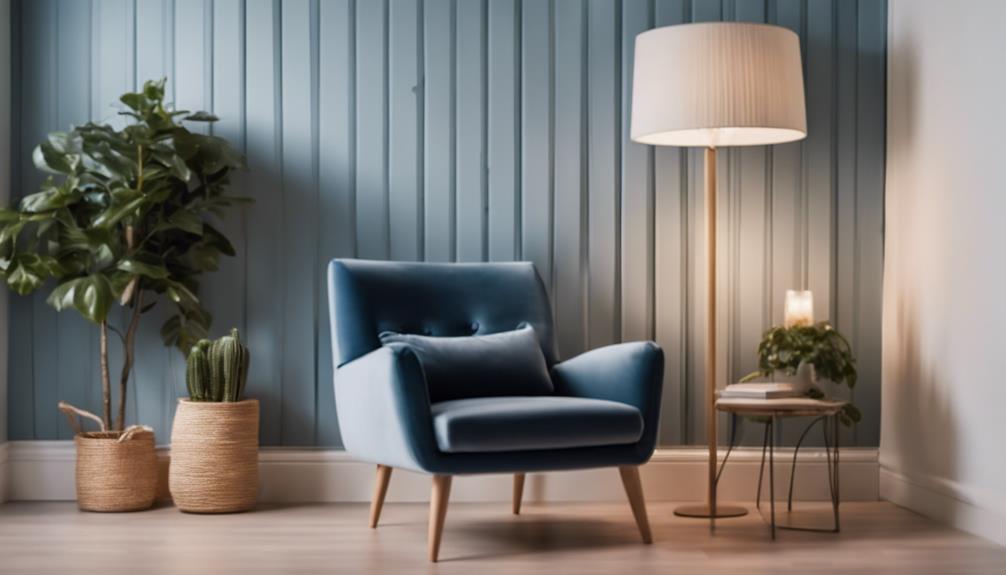
By incorporating a soothing blue shiplap accent wall into a cozy corner, we can create an inviting reading nook that beckons relaxation.
This corner space, once plain and uninviting, is now transformed into a relaxing retreat where we can unwind and escape the hustle and bustle of daily life.
The soothing blue shiplap accent wall adds depth and texture to the space, drawing us in with its calming presence.
To complete the cozy reading nook, we can place a comfortable chair and rug against the wall, creating an intimate and inviting atmosphere.
The stand-out accent wall adds character and charm to the previously unused space, making it a true showstopper.
With its unique blend of soothing color and rustic texture, the blue shiplap accent wall becomes the focal point of the room, drawing our attention and inviting us to linger.
Frequently Asked Questions
What Is the Best Color for Shiplap Accent Wall?
When choosing a color for a shiplap accent wall, consider several factors:
- The room's natural light
- Existing decor
- Desired mood
While personal preference plays a significant role, also weigh the color's impact on the space's ambiance and visual appeal.
Ultimately, the best color for a shiplap accent wall depends on your specific design goals and the atmosphere you want to create.
How to Make Shiplap Look Elegant?
As we explore the art of elevating shiplap to an elegant level, we discover that it's not just about the material itself, but how we choose to style it.
We've found that incorporating metallic accents, like gold or brass, can instantly add sophistication. Additionally, pairing shiplap with light-colored furniture and wooden elements can create a harmonious blend of textures and tones, ultimately resulting in a refined and polished look.
Can Shiplap Be Used as an Accent Wall?
We find that shiplap can indeed be used as an accent wall, and it's a great way to add texture and visual interest to a room.
By incorporating shiplap as an accent wall, we can create a unique design element that breaks up the room's color scheme and adds a pop of color.
This versatile design option works well in various spaces, from bedrooms to home offices, offering a customizable solution to enhance the ambiance of any room.
What Goes Good With Shiplap?
We find that shiplap pairs well with a variety of elements to create a cohesive look. White or light gray furniture provides a fresh and airy feel, while natural wood elements like oak or pine add warmth.
Brass or gold accents introduce elegance, and navy blue shiplap creates a cozy atmosphere. Additionally, incorporating pops of color through decor items like throw pillows or rugs enhances the overall aesthetic.
Conclusion
To sum up, incorporating a blue shiplap accent wall can elevate any space to a whole new level of sophistication. With these 5 stunning ideas, you'll be spoiled for choice – from a coastal chic bedroom oasis to a soothing accent wall nook.
And, let's be honest, who wouldn't want to wake up every morning feeling like they're floating on cloud nine? With blue shiplap, the possibilities are endless, and your space will be transformed into a serene retreat that's simply a million times more relaxing.
- About the Author
- Latest Posts
Introducing Ron, the home decor aficionado at ByRetreat, whose passion for creating beautiful and inviting spaces is at the heart of his work. With his deep knowledge of home decor and his innate sense of style, Ron brings a wealth of expertise and a keen eye for detail to the ByRetreat team.
Ron’s love for home decor goes beyond aesthetics; he understands that our surroundings play a significant role in our overall well-being and productivity. With this in mind, Ron is dedicated to transforming remote workspaces into havens of comfort, functionality, and beauty.
-

 Vetted6 days ago
15 Best Printers of 2024: Top Picks and Expert Reviews
-
 Vetted1 week ago
15 Best Tile Sealers for Long-Lasting Protection and Shine
-
 Vetted2 weeks ago
15 Best Smelling Floor Cleaners That Will Leave Your Home Fresh and Inviting
-

 Vetted10 hours ago
14 Best Lawn Tractors of 2024 – Ultimate Guide for Your Yard Maintenance
-

 Vetted1 week ago
14 Best Power Scrubbers for Showers That Will Transform Your Cleaning Routine
-

 Vetted3 days ago
15 Best Evergreen Plants for Shade Gardens: A Complete Guide
-

 Vetted3 days ago
15 Best LED Dimmer Switches With No Flicker: Ultimate Guide for a Flicker-Free Lighting Experience
-

 Mardi Gras Decoration5 days ago
What Do the Symbols of Mardi Gras Mean?


