Decor
How to Clip Hydrangea Blooms for Decor
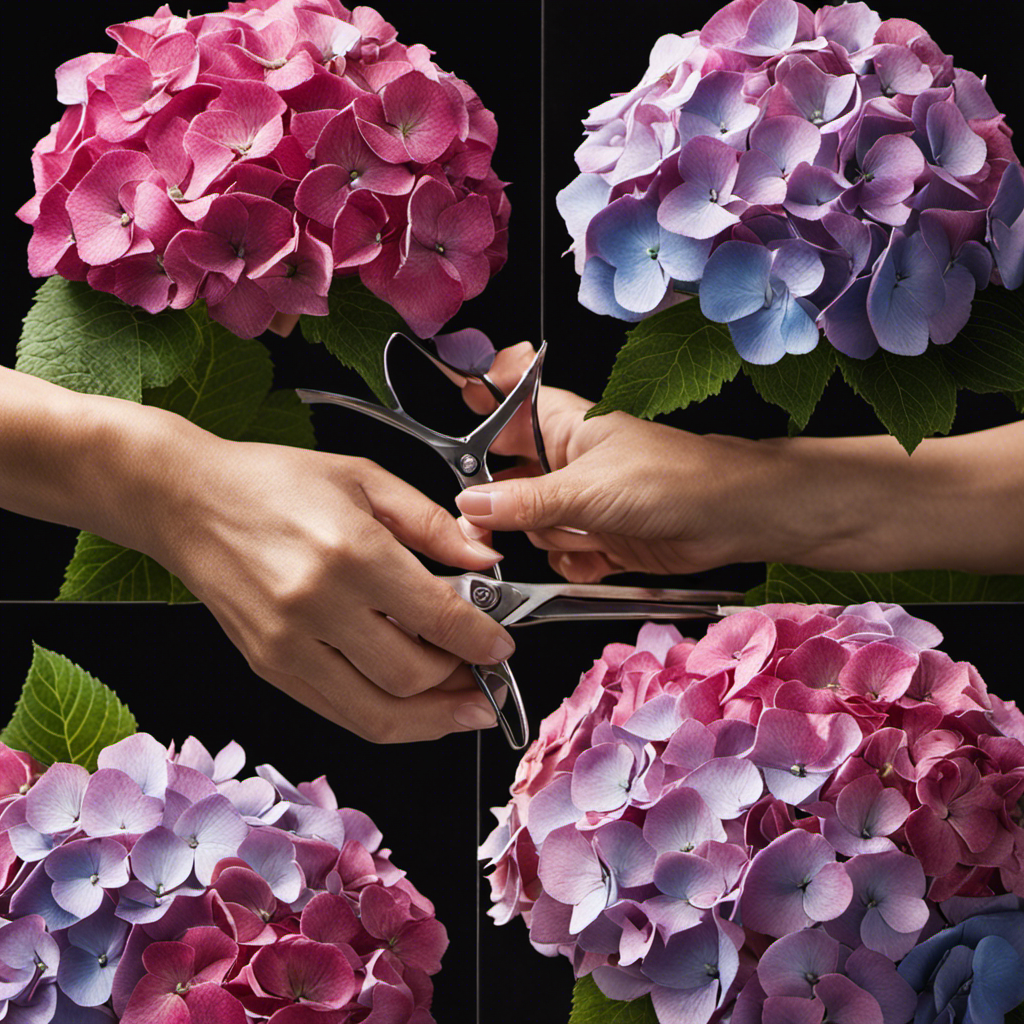
I’ve always been captivated by the beauty of hydrangea blooms, and I’ve discovered a simple yet rewarding way to bring that beauty indoors. In this article, I’ll share my tried and true techniques for clipping hydrangea blooms for decor.
With just a few tools and some careful timing, you can create stunning arrangements that will brighten up any space. Follow along as I guide you through the process, from selecting the best blooms to choosing the perfect vase.
Let’s get started!
Key Takeaways
- Choose the largest and most vibrant hydrangea blooms
- Use sharp pruning shears to cut stems at a 45-degree angle
- Remove wilted blooms and those with brown spots
- Hang stems upside down in a cool, dry, and well-ventilated area for drying
Selecting the Best Blooms
You’ll want to choose the largest and most vibrant hydrangea blooms for your decor. When it comes to selecting the best hydrangea blooms, there are various colors and varieties to consider.
Hydrangeas come in a stunning array of colors, including pink, blue, white, and even shades of purple. Each color adds a unique touch to your decor. Some popular hydrangea bloom varieties to look out for are the mophead hydrangeas, lacecap hydrangeas, and oakleaf hydrangeas.
Mophead hydrangeas have large, round clusters of blooms, while lacecap hydrangeas have flat, delicate blooms with a ring of larger flowers around the edges. Oakleaf hydrangeas have elongated, cone-shaped blooms that add a touch of elegance to any arrangement.
Tools and Materials Needed
To complete this task, gather the necessary tools and materials. You will need a pair of sharp pruning shears, a clean bucket filled with water, and a pair of gardening gloves to protect your hands. The pruning shears should have a clean and sharp blade to ensure clean cuts and prevent damage to the plant.
When selecting the best blooms, look for flowers that are fully open and have vibrant colors. Avoid blooms that are wilted or have brown spots. It’s also important to choose blooms that have strong stems, as these will hold up better in floral arrangements.
Timing and Seasonality
Timing and seasonality play a crucial role in determining the optimal moment to gather the necessary tools and materials for creating stunning floral arrangements. When it comes to clipping hydrangea blooms for decor, understanding the right time to harvest and the proper drying techniques is key.
Here are some important points to keep in mind:
-
Harvesting Methods: To ensure the best results, it is important to clip hydrangea blooms when they are at their peak. Look for blooms that have fully opened and have vibrant colors. Use sharp gardening shears to cut the stems at an angle, removing any excess foliage.
-
Drying Techniques: Once the blooms are harvested, it is important to dry them properly to maintain their color and shape. Hang the stems upside down in a cool, dry, and well-ventilated area. Avoid direct sunlight, as it can cause the blooms to fade. Allow the blooms to dry completely before using them in your floral arrangements.
Proper Technique for Clipping
When it comes to clipping hydrangea blooms, there are a few key points to keep in mind.
First, the ideal stem length should be about 12 to 18 inches long. This length allows for the blooms to be showcased in a vase or arrangement without crowding.
Secondly, choosing the right blooms is crucial for creating a stunning display. Look for blooms that are fully open and have vibrant colors.
Lastly, after the blooms have finished flowering, it’s important to prune the hydrangea plant to promote healthy growth and future blooming.
Ideal Stem Length
The ideal stem length for hydrangea blooms is typically around 12 inches. This length allows for a balanced and visually appealing arrangement when using hydrangea blooms in decor.
When clipping hydrangea blooms, there are a few pruning tips to keep in mind:
- Use sharp, clean pruning shears to minimize damage to the plant.
- Cut the stem at a 45-degree angle to encourage water absorption.
- Remove any leaves that will be below the waterline in the vase.
After harvesting the blooms, it’s important to provide proper post-harvest care to ensure their longevity. Here are some post-harvest care tips:
- Immediately place the stems in a bucket of water to keep them hydrated.
- Keep the blooms in a cool, shaded area to prevent wilting.
- Change the water every two days and recut the stems to maintain water uptake.
Choosing the Right Blooms
Now that we know the ideal stem length for clipping hydrangea blooms, let’s talk about choosing the right blooms for your decor. Hydrangeas come in a variety of colors, and understanding their bloom color guide can help you create stunning arrangements.
To make things easier, here is a helpful table outlining some popular hydrangea varieties and their bloom colors:
| Hydrangea Variety | Bloom Color |
|---|---|
| Endless Summer | Pink or blue |
| Annabelle | White |
| Nikko Blue | Blue |
| Twist-n-Shout | Pink or purple |
When selecting hydrangeas for your decor, consider the overall theme and color scheme. If you want a romantic touch, go for the soft pinks or purples. For a classic and elegant look, choose white hydrangeas. And if you want a vibrant pop of color, opt for the blue blooms.
Pruning After Blooming
To keep your hydrangea plants healthy and encourage future blooms, make sure to prune them after they have finished flowering. Proper pruning techniques and post-bloom care are essential for maintaining the health and beauty of your hydrangeas.
Here are some tips to help you with the process:
- Remove any dead or diseased branches to prevent the spread of infection.
- Cut back old wood to encourage new growth and promote better flowering next season.
- Trim back any overgrown branches to maintain the desired shape and size of the plant.
Remember to use sharp, clean tools when pruning and make clean cuts just above a set of healthy buds.
Preparing the Blooms for Arranging
When it comes to preparing hydrangea blooms for arranging, there are a few key points to keep in mind.
First, it’s important to use the best cutting techniques to ensure the longevity of the blooms. This includes cutting the stems at a 45-degree angle and removing any excess leaves.
Second, the length of the stems is crucial for creating a visually appealing arrangement.
Best Cutting Techniques
First, gather your tools and choose a sharp pair of pruning shears for the best cutting technique.
When it comes to preserving hydrangea blooms, it’s important to use the right pruning techniques to ensure the longevity of your flowers. Here are some tips to help you get the best results:
- Cut at a 45-degree angle: This helps the stem absorb water more effectively, keeping the blooms fresh for longer.
- Choose the right time: Prune in the morning or late afternoon when the temperature is cooler and the plant is hydrated.
- Remove dead or damaged stems: This allows the plant to focus its energy on healthy growth and vibrant blooms.
By following these best pruning techniques, you can ensure that your hydrangea blooms stay beautiful and fresh for as long as possible.
Happy clipping!
Length and Stem Care
After learning about the best cutting techniques for hydrangea blooms, let’s now focus on the length and care of the stems. When trimming the stems, it’s important to choose a length that suits your vase or container. Generally, a stem length of around 12 to 18 inches works well for most arrangements. However, you can adjust the length based on your personal preference or the size of your vase.
To ensure the longevity of your hydrangea blooms, proper stem care is crucial. Start by cutting the stems at a 45-degree angle, which allows for better water absorption. Remove any leaves or foliage that may be submerged in water to prevent bacterial growth. Placing the stems in a clean vase filled with lukewarm water is essential. Hydrangeas are thirsty flowers, so make sure to check the water level daily and replenish as needed.
Now that we know how to trim the stems and meet their water requirements, let’s move on to choosing the right vase or container for our hydrangea arrangements.
Choosing the Right Vase or Container
To showcase your freshly clipped hydrangea blooms, you’ll want to find a vase or container that complements their size and color. The right choice can enhance the beauty of your arrangement and make it truly stand out. Here are some options to consider:
-
Glass vases: These transparent vessels provide a classic and elegant look, allowing the vibrant hues of your hydrangea blooms to shine through.
-
Ceramic pots: These come in various shapes, sizes, and colors, offering a more rustic and earthy feel to your arrangement.
-
Decorative jars: If you’re looking for a unique and whimsical touch, consider using vintage or repurposed jars. They add character and charm to any floral display.
By carefully selecting the perfect vase or container, your clipped hydrangea blooms will become a stunning centerpiece that will capture everyone’s attention.
Now, let’s move on to how to care for these beautiful flowers to ensure their longevity and freshness.
Caring for Clipped Hydrangea Blooms
When caring for your clipped hydrangea blooms, it’s important to keep them hydrated by regularly changing the water in the vase. This not only ensures their freshness but also helps in preserving their vibrant colors.
Hydrangeas are known for their stunning hues, ranging from deep blues to soft pinks and everything in between. To care for wilted blooms, gently remove any leaves that may be submerged in the water and trim the stems at an angle. This allows for better water absorption.
Fill the vase with fresh water, ensuring that it covers at least half of the stem length. Adding flower food or a teaspoon of sugar can also prolong their lifespan. Remember to place the vase in a cool spot away from direct sunlight or drafts.
Creative Ways to Display Hydrangea Blooms
If you’re looking for creative ways to showcase your beautiful hydrangea flowers, consider arranging them in a unique and unexpected vase or container. Here are three alternative arrangements that will make your hydrangea blooms really stand out:
-
Hanging Globes: Use clear glass globes with a small opening at the top. Cut the hydrangea stem short and place it inside the globe, allowing the bloom to hang freely. Hang these globes at different lengths to create a stunning display.
-
Vintage Tea Cups: Find vintage tea cups or small mason jars and fill them with water. Cut the hydrangea stem short and place it inside the cup or jar. This will give your blooms a charming and nostalgic look.
-
Wine Bottles: Collect empty wine bottles and remove the labels. Fill them with water and place a single hydrangea bloom inside. Line up these bottles on a windowsill or mantel for a rustic and elegant display.
Longevity and Maintenance Tips
Maintaining the longevity of your hydrangea arrangements is important. So, be sure to regularly check the water levels and remove any wilted flowers.
Hydrangeas are known for their stunning blooms. And with a few simple maintenance tricks, you can keep them looking fresh and vibrant for longer.
One tip is to trim the stems at an angle before placing them in a vase filled with water. This allows for better water absorption and keeps the flowers hydrated.
Another trick is to mist the blooms with water every few days to mimic their natural environment.
Additionally, make sure to keep the arrangement away from direct sunlight and drafts. These can cause the flowers to wilt faster.
Frequently Asked Questions
Can I Use the Same Technique to Clip Different Types of Hydrangea Blooms?
Yes, you can use the same technique to clip different types of hydrangea blooms. It’s important to know the best time to clip hydrangea blooms for each variety to ensure optimal results.
How Long Do Clipped Hydrangea Blooms Typically Last Before Wilting?
When it comes to preserving hydrangea blooms, timing is crucial. Clipped hydrangea blooms typically last about 1-2 weeks before wilting. To extend their lifespan, try drying them using various techniques like air-drying or using silica gel.
Can I Use a Regular Pair of Scissors Instead of Pruning Shears to Clip Hydrangea Blooms?
I find that using regular scissors instead of pruning shears to clip hydrangea blooms can work well. It’s important to be careful and make clean cuts to preserve the color of the clipped blooms.
Are There Any Special Tips for Preserving the Color of Clipped Hydrangea Blooms?
Preserving the color of clipped hydrangea blooms requires a few tips and tricks. To ensure long-lasting blooms, keep them in a cool, shaded area, change the water regularly, and add a few drops of lemon juice or vinegar to maintain their vibrant hues.
What Are Some Alternative Methods for Displaying Hydrangea Blooms Besides Using a Vase or Container?
I love getting creative with hydrangea blooms! There are so many alternative display methods that can really make them stand out. From hanging them upside down to arranging them in a wreath, the possibilities are endless!
Can I Use Sprinkles to Decorate Hydrangea Blooms?
When it comes to decorating cupcakes with sprinkles, creativity knows no bounds. However, can the same concept be applied to hydrangea blooms? Unfortunately, sprinkles are not suitable for decorating hydrangea blooms as they are meant for culinary purposes. Instead, explore other floral decorations that enhance the beauty of these stunning flowers.
Conclusion
In conclusion, clipping hydrangea blooms for decor is a delightful and rewarding task. By following the proper techniques and using the right tools, you can ensure the longevity and beauty of these gorgeous flowers.
Remember to select the best blooms, time your clipping correctly, and care for them properly. Get creative with how you display your hydrangea blooms, whether it’s in a vase, hanging from a chandelier, or even using them to create a stunning wreath.
With a little bit of effort and creativity, you can enjoy the beauty of hydrangea blooms all year round. So go ahead and start clipping those blooms, and watch your decor come to life with an explosion of vibrant colors and timeless elegance.
- About the Author
- Latest Posts
Meet Katherine, the creative enthusiast at ByRetreat who infuses her boundless passion for design into every remote workspace she crafts. With an innate sense of creativity and an eye for unconventional beauty, Katherine brings a unique and inspiring perspective to the team.
Katherine’s love for design is infectious, and her ability to think outside the box sets her apart. She believes that true artistry lies in embracing a variety of styles and mixing them harmoniously to create captivating spaces. By combining different textures, colors, and patterns, Katherine weaves a tapestry of creativity that breathes life into each remote workspace.
Decor
How to Make Your Own Antique Corbels and Shelf in 10 Steps
Bring a touch of vintage charm to your home with this step-by-step guide to crafting unique antique corbels and shelf from scratch.

We're excited to create our own antique corbels and shelf from scratch. First, we'll gather materials like plain corbels, wood stain, and paint. Next, we'll prepare our corbels for painting, applying a base coat and adding distressed finishing touches. We'll seal our corbels with a wax coating for a vintage look. After assembling our corbels and shelf, we'll attach the shelf to the corbels securely. Then, we'll add decorative paint and finishing touches. Finally, we'll style and display our beautiful shelf. By following these easy steps, we'll have a stunning, one-of-a-kind antique corbel and shelf to showcase in our home. Now, let's get started and uncover the details that will bring our design to life.
Key Takeaways
• Prepare materials, including plain corbels, wood stain, paint, and furniture wax, and ensure a clean workspace and tools for a smooth finish.
• Apply a base coat of paint using a foam brush, followed by distressing techniques to achieve an antique look.
• Use furniture wax to seal and protect the corbels, enhancing their color and vintage charm.
• Assemble the shelf by cutting and staining the wood, then attaching the corbels securely to the wall using brackets and shims.
• Add decorative paint and finishing touches, focusing on intricate details, to complete the antique corbel and shelf design.
Gather Materials for Corbel Creation
We'll start by gathering the necessary materials for creating our antique corbels, since having the right tools and supplies is crucial to achieving an authentic, aged look.
Plain corbels are the foundation of our project, and we'll need those to create our shelf. To give our corbels a distressed, aged appearance, we'll need wood stain. This will help us achieve the worn, vintage look we're going for.
For painting, we'll require two colors of chalk or latex paint, which will add depth and character to our corbels. To apply the stain and paint, we'll need a foam brush and a regular paintbrush.
Finally, furniture wax will be used to protect and enhance the finished corbels, giving them a rich, subtle sheen. With all these materials in hand, we'll be well on our way to creating beautiful, antique-inspired corbels that will add a touch of elegance to our shelf.
Prepare Corbels for Painting
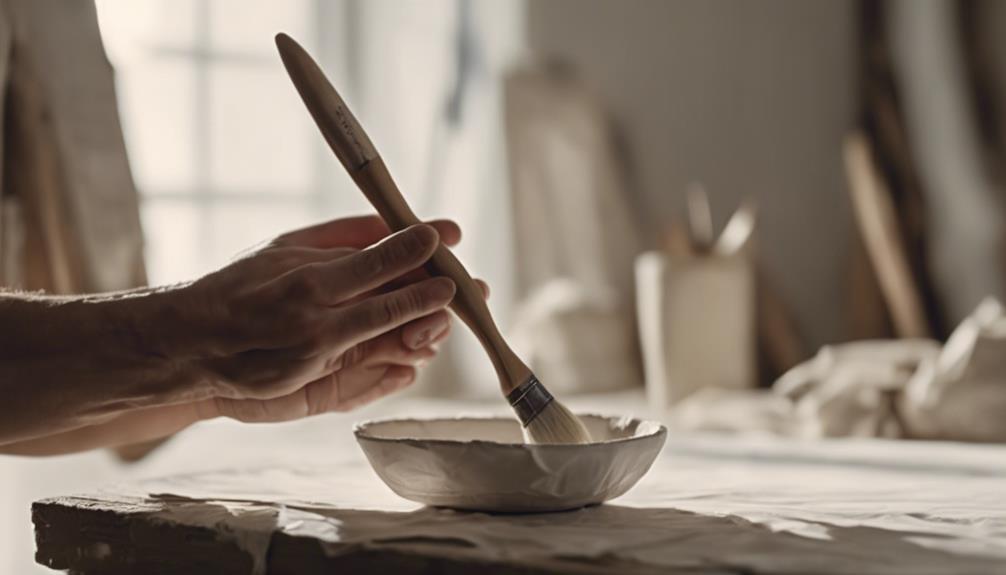
With our materials gathered, we're ready to prep our corbels for painting, starting with a thorough sanding to guarantee smooth paint application and remove any existing finish. We'll use a fine-grit sandpaper to gently remove any imperfections, dust, or old wax residue that might affect paint adhesion.
After sanding, we'll wipe down the corbels with a damp cloth to remove any dust or debris. If our corbels have a glossy finish, we might need to apply a primer to make sure better paint adhesion and coverage. We'll choose a primer specifically designed for our corbel material, whether it's wood, metal, or resin.
Once our primer is dry, we'll be ready to move on to the next step. Remember to clean our workspace and tools to prevent any contamination or paint transfer. By properly preparing our corbels, we'll secure a beautiful, long-lasting finish that will make our antique-inspired corbels look stunning.
Apply Base Coat of Paint

We're ready to bring our corbels to life with a base coat of paint that sets the tone for the final look. This is where the magic happens, and our plain corbels start to transform into stunning antique pieces.
To get started, we'll use a foam brush to apply an even coat of paint to our corbels. It's crucial to make sure that the base coat covers all areas of the corbels, creating a solid foundation for the finish.
Here are some key considerations to keep in mind:
- Choose a paint color that complements the overall aesthetic you want to achieve with the corbels.
- Make sure to cover all areas of the corbels for a solid foundation.
- Allow the base coat to dry completely before moving on to additional painting or distressing steps.
Add Distressed Finishing Touches

As we move forward with adding distressed finishing touches to our corbels, we're going to focus on creating an authentic, aged appearance.
To achieve this, we'll employ various aging wood techniques that will give our corbels a worn, weathered look.
Aging Wood Techniques
We'll add distressed finishing touches to our corbels by employing aging wood techniques that mimic the wear and tear of time. To achieve an authentic vintage look, we'll intentionally distress our corbels using various methods.
- Sand areas that would naturally wear down on the corbels using a medium/coarse grit sanding block for a distressed look.
- Embrace imperfections in the finish, as imperfections and drips in the paint application are welcome to enhance the aged effect on the corbels.
- Apply furniture wax (such as antiquing wax) to sanded areas to deepen colors and add an authentic aged appearance to the corbels.
We'll use a clean cloth to apply the furniture wax evenly on the corbels, avoiding waxing in intricate nooks if desired.
Worn, Weathered Look
Using a medium/coarse grit sanding block, we distress the corbels by sanding areas that would naturally wear down, like the edges and corners, to achieve a worn, weathered look. This process gives our corbels a distressed, aged appearance that adds character to our antique-inspired shelf.
We're not looking for perfection here; imperfections and drips in the paint job are welcome to enhance the aged effect. As we sand, we make sure to eliminate any sand bits to guarantee a smooth distressed finish. We're embracing imperfections in the finish to add character and authenticity to the corbels.
To avoid inhaling dust particles, we work in an outdoor or well-ventilated area when distressing the corbels. By distressing the corbels, we're creating a unique, one-of-a-kind piece that looks like it's been around for centuries. The worn, weathered look adds a touch of elegance and sophistication to our antique-inspired shelf.
With these distressed finishing touches, our corbels are transformed into a stunning piece of art that exudes charm and character.
Seal Corbels With Wax Coating
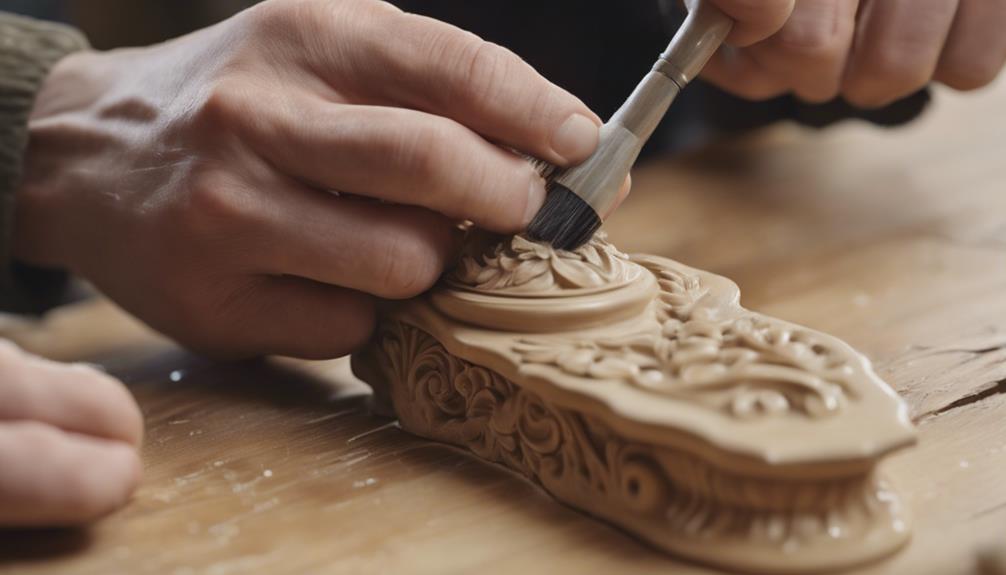
As we progress with our antique corbel project, we're going to explore the importance of sealing our corbels with a wax coating.
We'll discuss the benefits of applying a wax coating, including enhanced appearance and protection, as well as the different types of wax coatings available.
Wax Coating Benefits
We apply a wax coating to our antique corbels to safeguard them from wear and tear, while also amplifying their aesthetic appeal. This process not only protects our corbels but also enhances their beauty.
When using furniture wax, we can achieve a smooth and durable finish that adds an extra layer of authenticity to our antique corbels.
Here are some benefits of using a wax coating on our antique corbels:
- Enhances the colors and finish of the corbels, adding to their vintage charm
- Provides a clear, durable finish that protects the corbels from wear and tear
- Allows for customization with different wax colors, such as brown or black, to create an antiqued effect.
Applying Wax Coating
With our wax coating benefits in mind, we're ready to seal our corbels with a wax coating that will enhance their finish and protect them from wear and tear.
We'll start by applying a clear furniture wax to seal our chalk paint on the corbels, adding an extra layer of durability to the finish. If we want to create an antiqued look, we can use brown or black wax to give our painted corbels a distressed appearance.
It's essential to apply the wax evenly, making sure to cover the entire surface of the corbel. We'll then let it dry completely, following the manufacturer's instructions for the recommended drying time.
Once dry, our corbels will have a beautiful, protected finish that showcases the beauty of our handiwork. The wax coating provides a protective barrier, adding depth to the painted finish of our antique corbels.
Wax Coating Types
Let's explore the various wax coating types that can elevate our antique corbels, from clear furniture wax to darker shades that evoke a sense of vintage charm. When it comes to sealing our corbels, the type of wax coating we choose can greatly impact the final look and feel of our project.
Here are some popular wax coating options to take into account:
- Clear Furniture Wax: A clear, non-yellowing wax that protects and enhances the colors of our corbels without adding any tint or discoloration.
- Brown or Black Wax: Perfect for creating an antiqued look, these darker shades can add a sense of age and character to our corbels.
- Custom Blends: By mixing different wax coatings, we can create a unique, one-of-a-kind finish that sets our corbels apart.
When selecting a wax coating type, it's crucial to apply it evenly using a clean cloth and allowing it to dry completely before handling or displaying our finished antique corbels.
Cut and Prepare Shelf Wood

We'll begin by cutting our sturdy wood material to the measured length marked earlier, guaranteeing a precise fit for our shelf. This will give us a solid foundation for our antique corbels and shelf project.
Once cut, we'll sand the wood to smooth out any rough edges and prepare it for finishing.
Next, we'll decide on a finish for our shelf. We can choose to add a coat of paint or stain to match the desired aesthetic and finish. If we opt for paint, we'll need to gather necessary items like brushes and protective gear to make sure a smooth application. If we prefer a stain, we'll follow the manufacturer's instructions for the best results.
Regardless of our chosen finish, we'll need to prepare the shelf by sanding it again to create a smooth surface. This will ensure a professional-looking finish and help our coat of paint or stain adhere evenly.
Assemble Corbels and Shelf

Now that we've prepared our shelf wood, it's time to bring our corbels and shelf together.
We'll start by assembling the corbels themselves, ensuring a sturdy base for our shelf.
Next, we'll explore how to attach the shelf to the corbels, and finally, we'll finalize our design with some aesthetic touches.
Corbel Assembly Steps
We attach the corbels to the wall, making sure they're securely fastened with brackets. Before doing so, we double-check that they're aligned and level, making any necessary adjustments. To guarantee a sturdy fit, we measure and mark the screw hole locations for the brackets on the corbels.
Here are some key considerations when assembling our corbels:
- We use shims to level the shelf on the corbels, ensuring stability and a secure fit.
- We glue the shims to the corbels, adjusting as needed for a snug fit.
- We make certain the two corbels are evenly spaced and level, providing a sturdy base for our shelf.
Shelf Attachment Methods
After confirming our corbels are securely attached to the wall, we turn our focus to attaching the shelf, a process that demands thoughtful consideration of the attachment method to guarantee a sturdy and level surface.
To accomplish this, we use hanging brackets secured with screws for stability. We make sure to utilize a level to verify the corbels are aligned correctly before attaching the shelf.
Next, we measure and mark the screw hole locations on the corbels for precise attachment. We then securely affix the hanging brackets to the corbels and the wall to support the shelf's weight.
To verify the shelf is level, we use shims to adjust its position on the corbels before gluing them for added stability.
Finalizing the Design
Let's bring our Antique Corbel and Shelf project to life by assembling the corbel components, carefully aligning and attaching the three pieces together using builder's adhesive and finishing nails. This vital step guarantees our corbels are sturdy and ready to support our shelf.
To finalize our design, we'll:
- Measure and mark the screw hole locations on the corbels to accurately install the hanging brackets for shelf support.
- Use a level to align the corbels properly on the wall, ensuring our shelf sits level and securely on the corbels.
- Once the corbels are in place, position the shelf on top, adjusting with shims for stability before attaching it securely to the corbels.
Add Decorative Paint to Shelf
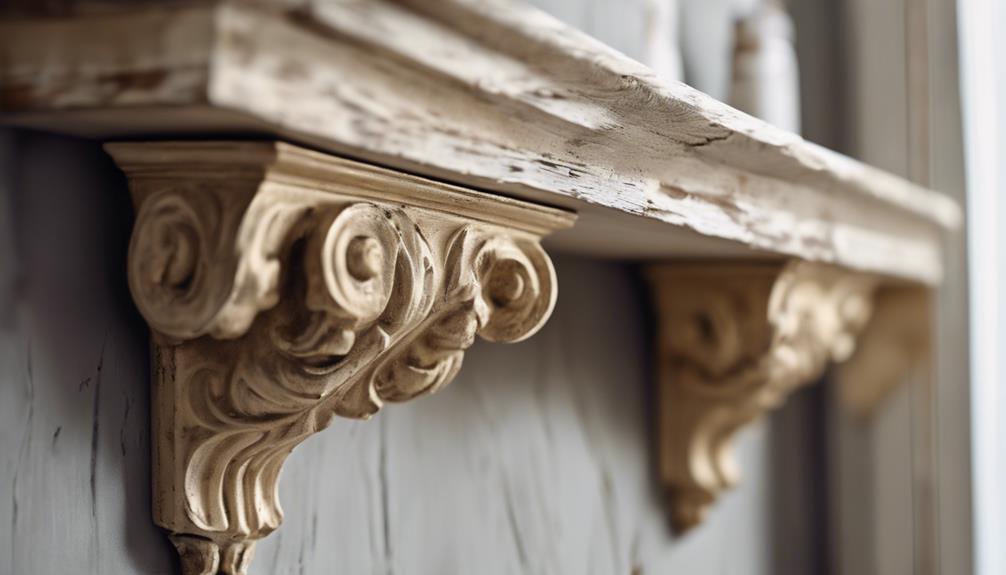
Frequently, we find that adding a decorative paint finish to our shelf is the perfect way to give it an antique look. To achieve this, we use chalk or latex paint in two colors, which will add depth and character to our shelf. We apply the paint using a foam brush, focusing on the intricate details and edges of the shelf. We don't worry too much about imperfections or drips, as they actually add to the antique look we're going for.
Once we've applied the paint, we let it dry completely before moving on to the next step. It's a good idea to wear gloves while painting to avoid getting paint on our skin. We're not looking for a perfect, smooth finish, so we don't need to worry about being too precise. In fact, a slightly rough finish will only add to the shelf's antique charm.
Attach Shelf to Corbels Securely
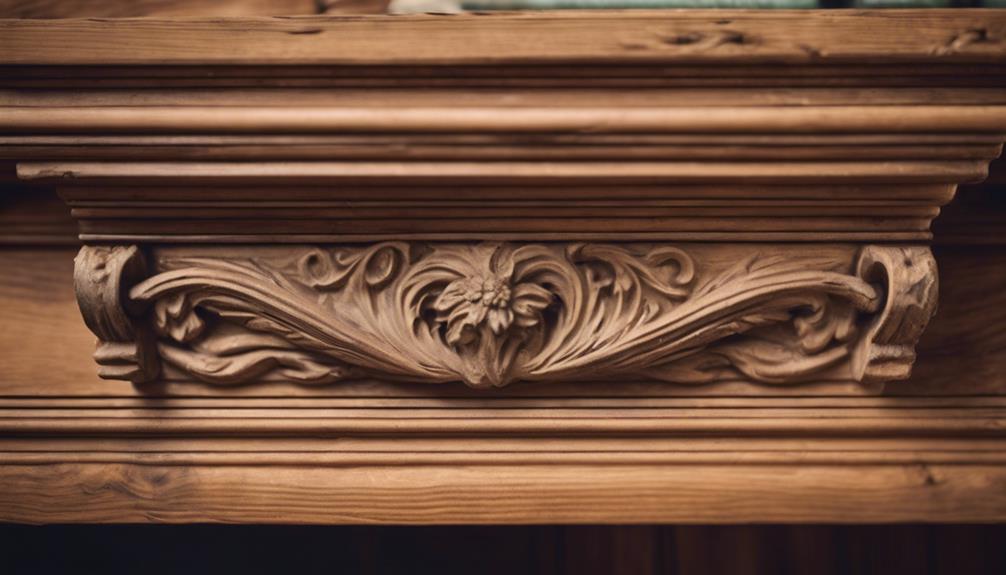
We carefully position the shelf on the corbels, ensuring a secure fit by aligning the screw holes we measured and marked earlier. Now it's time to attach the shelf to the corbels securely.
We make sure the corbels are aligned using a level, and then measure and mark the screw hole locations on both the corbels and the shelf for accurate installation.
To attach the shelf, we:
- Securely attach hanging brackets to the corbels and the wall to support the shelf
- Level the shelf on the corbels using shims for stability and balance
- Glue the shims to the corbels and make final adjustments for a secure fit before finishing the installation
With the shelf securely attached to the corbels, we can now admire our handiwork. We've successfully attached the shelf to the corbels, and it's ready for display.
Style and Display Your Shelf

Now that our shelf is securely attached to the corbels, we can focus on styling and displaying it to showcase our unique, one-of-a-kind antique corbel creation.
We can style our shelf with vintage-inspired corbels for a rustic and decorative touch. By choosing the right corbels, we can enhance the overall aesthetic of the space. To add character and charm to our shelving display, we can incorporate distressed finishes and decorative touches for a unique and aged look.
A trip to Home Depot can provide us with the necessary materials to create a distressed finish, giving our shelf a truly antique feel. By showcasing our shelf with DIY antique corbels, we can create a focal point in our room.
We can arrange decorative items, such as vintage vases or antique books, to add visual interest and personality to our shelf. With a little creativity, we can turn our shelf into a stunning display piece that showcases our unique style and creativity.
Frequently Asked Questions
How to Make Antique Corbels?
We're excited to start creating our own antique corbels! To begin, we'll craft them in 3 pieces using different wood widths.
We'll cut patterns slightly smaller than the wood, using tools like jigsaws or scroll saws. Sanding, assembling with builders adhesive, and finishing nails are essential steps.
We'll fill nail holes with wood putty and add molding for a polished look. Finally, we'll use chalk paint with layered colors and distressing techniques to achieve that aged, antique appearance.
How to Build a Shelf Step by Step?
Did you know that 75% of homeowners consider DIY projects, like building a shelf, a great way to personalize their living space?
Now, let's get started!
To build a shelf step by step, we'll begin by determining the shelf's size and material. We'll cut the wood to size, sand it smooth, and assemble the shelf frame.
Next, we'll attach the shelf boards, add supports if needed, and finally, attach the shelf to the corbels.
How to Use Corbels as Shelf Brackets?
We're excited to explore how to use corbels as shelf brackets! Essentially, we attach corbels to the wall, then place the shelf on top.
It's important to verify the corbels are level and securely fastened to support the weight of the shelf and its contents.
How to Antique a Wood Shelf?
As we commence on this DIY journey, we're reminded of the wise words of Leonardo da Vinci, 'Nature is the source of all true knowledge.'
When it comes to antiquing a wood shelf, we're not trying to recreate nature, but rather, enhance the natural beauty of the wood.
To do this, we start by pre-staining the shelf for even absorption, then apply the stain evenly in the direction of the wood grain, ensuring complete coverage.
Conclusion
With our corbels and shelf now complete, we've crafted a timeless treasure that whispers stories of the past. Like a masterful puzzle, each piece fits together seamlessly, a confirmation of our DIY prowess.
As we step back to admire our handiwork, we're met with a sense of pride and accomplishment, our creation a true work of art that exudes warmth and character.
- About the Author
- Latest Posts
Introducing Ron, the home decor aficionado at ByRetreat, whose passion for creating beautiful and inviting spaces is at the heart of his work. With his deep knowledge of home decor and his innate sense of style, Ron brings a wealth of expertise and a keen eye for detail to the ByRetreat team.
Ron’s love for home decor goes beyond aesthetics; he understands that our surroundings play a significant role in our overall well-being and productivity. With this in mind, Ron is dedicated to transforming remote workspaces into havens of comfort, functionality, and beauty.
Decor
How to Throw a Garden Party on a Budget
Create a stunning garden party on a shoestring budget with these creative DIY decorations, affordable eats, and ambiance-boosting tricks.
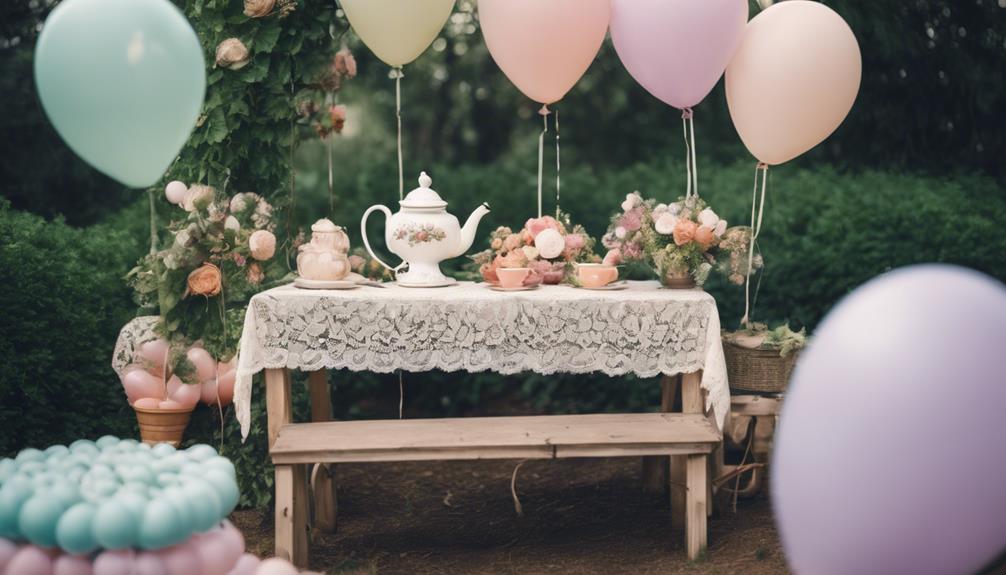
We can throw a stylish garden party on a budget by getting creative with DIY decorations, budget-friendly food and drinks, and affordable ambiance. We can repurpose thrift store finds, use vintage tea cups, and incorporate free garden flowers to create a charming atmosphere. Serving bite-sized delights, cupcakes, and cost-effective drinks like white wine can also help us stay within budget. To create a cozy ambiance, we can use string lights, votive candles, and wire string lights. With a little resourcefulness, we can create an unforgettable garden party without breaking the bank. Now, let's explore more ideas to make our party a memorable one.
Key Takeaways
• Repurpose thrift store finds and vintage items to create unique decorations that fit your garden party theme.
• Focus on budget-friendly food and drinks, such as bite-sized delights, salads, sandwiches, and cupcakes, to save on costs.
• Create a warm ambiance with strategic lighting choices, including string lights, votive candles, and wire string lights in lanterns.
• Set up DIY stations, such as a flower crown station, terrarium-making station, and plant potting station, to keep guests entertained.
• Opt for inexpensive paper plates, napkins, and tableware in fun colors to add a pop of color and create a cozy atmosphere.
DIY Decorations on a Shoestring
We can create a beautiful and unique garden party atmosphere without breaking the bank by repurposing thrift store finds and incorporating affordable decorative elements.
One of the best ways to do this is by utilizing thrift store finds for pots, plant stands, vintage tea cups, and saucers to save on decor costs. We can also incorporate glass decanters for a vintage garden party feel without breaking the budget.
Additionally, using flowery lace fabrics, table runners, and tablecloths can give our party an Anthropologie vibe at a lower cost. To add a floral touch, we can decorate with free garden flowers in small jars or vases for a budget-friendly option.
Finally, choosing inexpensive paper plates and napkins in fun colors can add a pop of color to our party without spending a lot. By incorporating these DIY decorations, we can create a stunning garden party on a shoestring budget.
With a little creativity, we can transform our outdoor space into a beautiful and unique setting that our guests will surely remember.
Budget-Friendly Food and Drinks
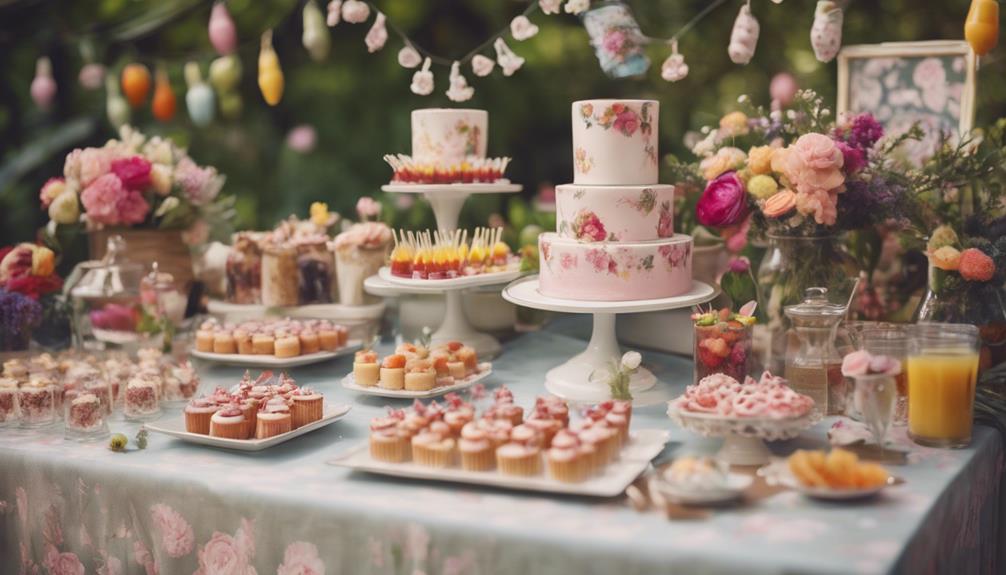
By focusing on bite-sized delights and clever drink concoctions, we can indulge our guests without breaking the bank. To keep food costs down, we opt for budget-friendly finger foods like salads, sandwiches, and petite fours.
For a stylish and affordable dessert option, we feature cupcakes as the main attraction. When it comes to drinks, we stick to cost-effective choices like white wines and Raspberry Beer Vodka lemonade.
To inspire creativity and save money, we provide recipe ideas for a shabby-chic garden party on a budget. By sticking to a simple menu, we reduce stress and focus on enjoying the party without breaking the bank.
With these budget-friendly food and drink options, we can create a memorable and stylish garden party without overspending. By keeping things simple and affordable, we can relax and enjoy the company of our guests, surrounded by the beauty of nature.
Affordable Ambiance and Lighting
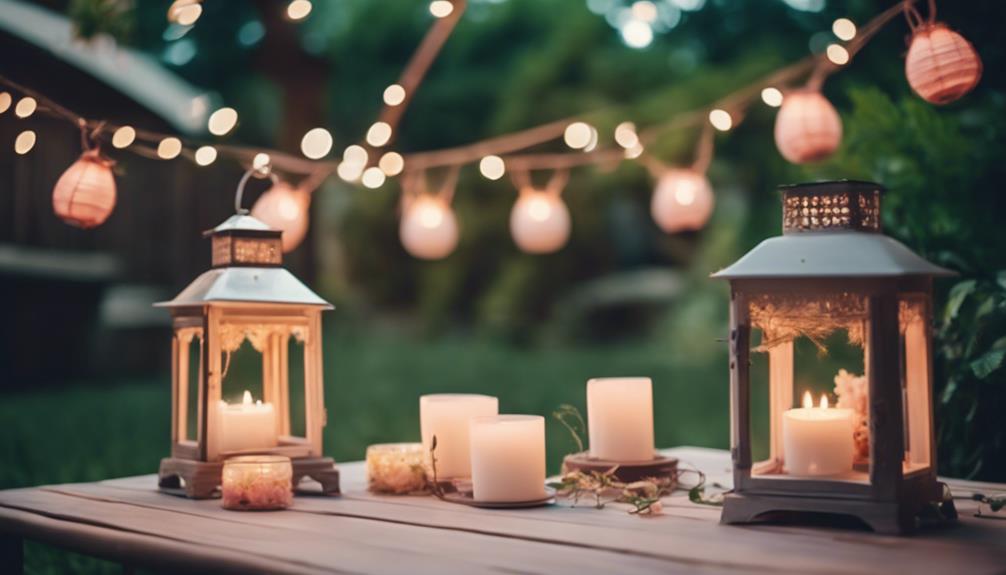
Transforming our outdoor space into a warm and inviting oasis doesn't have to break the bank, as a few strategic lighting choices can make all the difference in setting the tone for our garden party.
We can create a charming atmosphere without overspending by incorporating affordable ambiance and lighting elements. String lights, for instance, can add a warm glow to our garden party without burning a hole in our pockets. We can hang them from the ceiling or wrap them around trees to create a cozy ambiance.
Candles, too, can be used to create a warm and inviting atmosphere. By placing votive candles in glass holders, we can add a touch of elegance to our outdoor space. Additionally, we can use wire string lights in lanterns to provide additional lighting, making our garden party feel more intimate and inviting.
Creative Entertainment Ideas
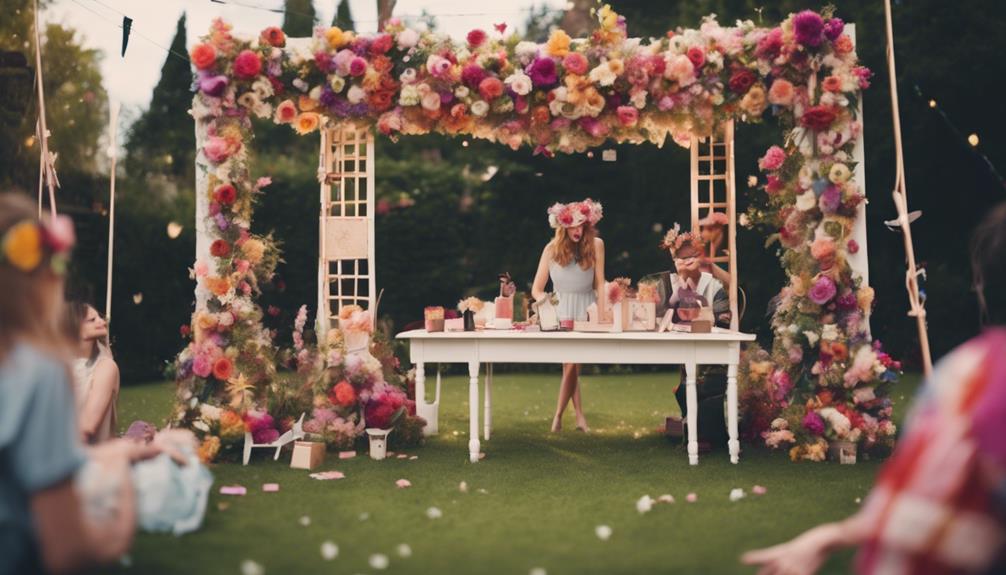
To keep our guests engaged and entertained, let's get creative with activities that are both fun and budget-friendly. Here are some creative entertainment ideas for our outdoor party:
| Activity | Description | Cost |
|---|---|---|
| DIY Flower Crown Station | Create your own floral headpiece | $5/guest |
| Garden Scavenger Hunt | Hidden treasures and clues throughout the outdoor space | $0 (use existing items) |
| DIY Terrarium-Making Station | Create a mini garden using affordable succulents and glass containers | $10/guest |
| Garden-Themed Photo Booth | Props like flower crowns, butterfly wings, and sun hats | $50 (setup) |
| Plant Potting Station | Pot your own plant to take home as a party favor | $5/guest |
These activities will not only keep our guests entertained but also provide a unique and memorable experience. The DIY terrarium-making station, for example, allows guests to take home their creations, making it a thoughtful party favor. By incorporating these creative entertainment ideas, we can create an unforgettable outdoor party on a budget.
Thrifty Tableware and Accessories
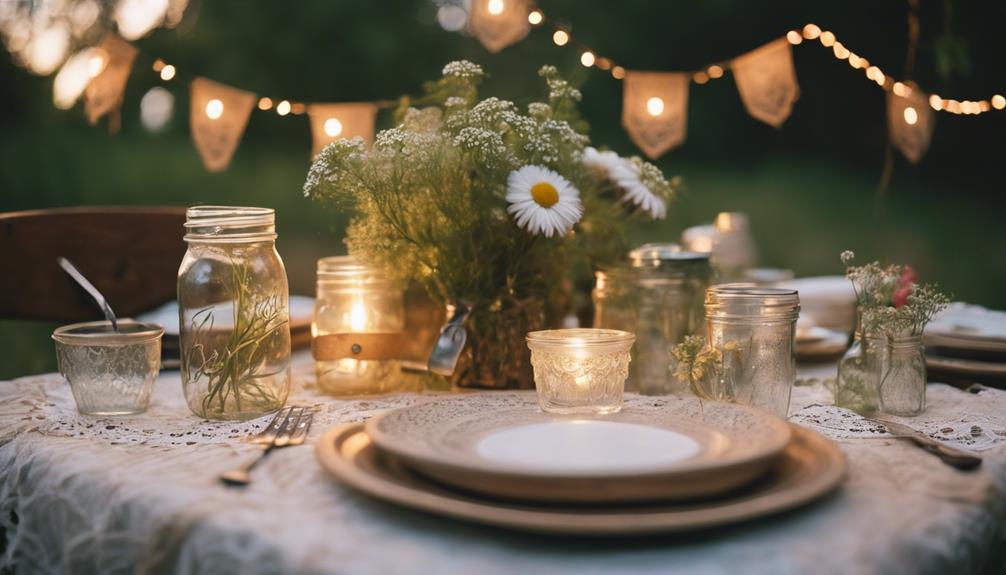
We're setting the scene for our outdoor party with thrifty tableware and accessories that exude style without breaking the bank.
For a garden party on a budget, we opt for inexpensive paper plates and napkins in fun colors to add a pop of color while staying on budget. Using paper products not only saves us money but also reduces waste, making it an eco-friendly choice.
To add a touch of elegance, we use filtered water in a pretty pitcher to serve our guests in style without breaking the bank.
To create a warm and inviting ambiance, we incorporate mood lighting with candles and twinkle lights, reminiscent of a home improvement project that adds a personal touch. Our party theme is all about creating a cozy atmosphere, making our guests feel like they're in a charming backyard oasis, perfect for social media-worthy moments.
By choosing durable and affordable tableware, we make it feel like a luxurious garden party without the hefty price tag.
Our privacy policy ensures we don't process personal data, and we only measure advertising performance to secure our party planning tips reach the right audience.
Frequently Asked Questions
How Do You Throw a Party With Little Money?
We've learned that throwing a party with little money requires creativity and resourcefulness.
We start by repurposing thrift store finds, like vintage tea cups and unique planters, to create unique decor. We opt for affordable paper plates and napkins in fun colors to add a pop of color.
By getting crafty and using free garden flowers, we create a charming ambiance without breaking the bank.
With these simple yet effective tips, we can host an unforgettable party on a shoestring budget.
How to Throw a Party in a Small Backyard?
Recognizing the importance of hosting a party in a small backyard is crucial. Strategic planning is necessary. To start off, we must acknowledge that space is limited, and we need to make the most of what we have.
How Do You Make a Garden Party Fun?
We make a garden party fun by incorporating engaging activities that encourage guest interaction. A hat contest or flower arranging station can be a great way to break the ice and create memorable moments.
We also set the tone with a themed playlist or live music, which helps to create a lively atmosphere.
How Do I Host a Party in My Garden?
We're excited to host a party in our garden, and the first step is to define the party's purpose and scope. Will it be an intimate gathering or a grand affair?
We need to determine the number of guests, preferred date, and time of day. Once we've these details, we can start planning the logistics, such as seating, food, and entertainment, to guarantee a memorable and enjoyable experience for our guests.
Conclusion
As we wrap up our garden party planning, remember, 'when life gives you lemons, make lemonade.' With these budget-friendly tips, you'll be sipping sweet tea and savoring the fruits of your labor in no time.
By getting creative with DIY decor, affordable food, and thrifty tableware, you'll be the host with the most – without breaking the bank.
So, take a deep breath, roll up your sleeves, and get ready to throw a garden party that's the cat's pajamas – on a shoestring budget, of course!
- About the Author
- Latest Posts
Introducing Ron, the home decor aficionado at ByRetreat, whose passion for creating beautiful and inviting spaces is at the heart of his work. With his deep knowledge of home decor and his innate sense of style, Ron brings a wealth of expertise and a keen eye for detail to the ByRetreat team.
Ron’s love for home decor goes beyond aesthetics; he understands that our surroundings play a significant role in our overall well-being and productivity. With this in mind, Ron is dedicated to transforming remote workspaces into havens of comfort, functionality, and beauty.
Carnival Decoration
Ornament Display

When it comes to displaying ornaments, we are often torn between sticking to traditional methods or trying out more creative and unconventional ways. How we choose to showcase our ornaments can really refresh our holiday decorations, so it’s a good idea to explore the different options available.
Whether you're a fan of the classic tree display or interested in trying out a DIY ornament wreath, there are countless ways to elevate your space during the festive season.
Key Takeaways
- Traditional ornament displays evoke nostalgia and reinforce connections to the past and cultural heritage.
- DIY ornament displays allow for individual style and creativity, using various ornaments and materials.
- Floating ornament displays create a balanced and dynamic arrangement, using transparent fishing line for a floating effect.
- Ornament shadow box displays provide protection and organization while showcasing cherished ornaments in a captivating way.
- Ornament garland displays intertwine ornaments with festive garlands, elevating holiday decor and creating a stunning centerpiece.
Traditional Tree Display
We carefully arrange our traditional tree display with cherished ornaments collected over the years, creating a nostalgic and festive focal point in our home.
The annual ritual of adorning the tree with these ornaments brings a sense of joy and tradition to our festive holidays. Each ornament holds a special significance, evoking memories and stories from years past. From handcrafted heirlooms to whimsical store-bought trinkets, every ornament contributes to the tapestry of our family history.
As we engage in this tree decorating tradition, we take the time to appreciate the craftsmanship and sentimental value of each piece. The act of carefully hanging these ornaments isn't merely a decorative exercise; it's a deliberate and meaningful process that reinforces our connection to the past while infusing our home with the spirit of the season.
The traditional decor adorning the tree serves as a visual representation of our family's enduring traditions and provides a tangible link to our cultural heritage. This annual tradition of ornament display is a cherished practice that enriches our holiday celebrations with warmth and nostalgia.
DIY Ornament Wreath

Adorning our doorway with a vibrant and festive DIY ornament wreath offers a creative and personalized touch to our holiday decor. Crafting a unique ornament wreath allows us to showcase our individual style and creativity. When creating our DIY ornament wreath, we can choose from a wide array of creative designs to complement our home's aesthetic and color scheme.
One popular approach is to use a foam or wire wreath base and attach a variety of ornaments in different sizes, textures, and finishes. This allows for a visually dynamic and eye-catching display. Another creative design involves incorporating natural elements such as pinecones, berries, and foliage, adding an organic and rustic charm to the wreath.
Experimenting with unconventional materials like fabric, ribbon, or even small trinkets can also result in a one-of-a-kind ornament wreath. By infusing our personal touch into the design, we can create a meaningful and visually stunning piece of holiday decor that sets our home apart.
Crafting a DIY ornament wreath not only enhances our festive ambiance but also provides an opportunity for artistic expression and innovation.
Floating Ornament Mobile
Crafting a visually captivating floating ornament mobile involves selecting a variety of ornaments and assembling them in a balanced and dynamic arrangement. When creating a hanging mobile, it's essential to consider the weight and size of the ornaments to ensure they can delicately float and move with the slightest breeze.
Start by choosing a mix of ornaments in different shapes, sizes, and colors to add visual interest. Consider incorporating lightweight materials like foam, paper, or plastic to keep the mobile from becoming too heavy.
To assemble, use a sturdy hoop or wire frame as the base and attach the ornaments using transparent fishing line to give the illusion of them floating in the air. Additionally, consider adding a touch of elegance by incorporating LED lights to create a stunning ornament chandelier effect.
The key to a successful floating ornament mobile is to create a balanced composition that allows the ornaments to gently sway and rotate, creating a mesmerizing visual display.
Ornament Shadow Box

With its ability to showcase and preserve cherished ornaments in a captivating display, the ornament shadow box offers a unique and elegant way to highlight and protect precious keepsakes. Ornament storage and preservation are essential considerations for any collector, and the ornament shadow box excels in both aspects. Here's why:
- Protection: The ornament shadow box provides a protective barrier against dust, moisture, and accidental damage, ensuring that your ornaments remain in pristine condition for years to come.
- Organization: By arranging ornaments within the compartments of the shadow box, you can neatly organize and display your collection, making it easier to admire and access your cherished pieces.
- Customization: Many ornament shadow boxes offer customizable features such as adjustable shelves, removable dividers, and background options, allowing you to create a personalized and visually appealing display for your ornaments.
- Visibility: The transparent front panel of the shadow box allows for clear visibility of your ornaments while keeping them safe from external elements, striking a perfect balance between visibility and protection.
Ornament Garland Display
We create a stunning display of our cherished ornaments by intertwining them with a festive garland, elevating the beauty of our holiday decor. The mantel ornament display becomes a holiday centerpiece, drawing attention to the intricate details of each ornament. By carefully weaving the garland through the ornaments, we achieve a cohesive and visually captivating arrangement. The garland adds a touch of greenery and texture, enhancing the overall appeal of the display.
When it comes to outdoor ornament decor, the ornament garland display can be extended to create a whimsical and enchanting atmosphere. Draping the garland adorned with ornaments along the porch or railing brings the festive spirit outdoors, welcoming guests with a magical display. Additionally, the window ornament display can be elevated by incorporating a garland, framing the ornaments and adding a touch of elegance to the window setting.
The ornament garland display offers a versatile and creative way to showcase our ornaments, whether indoors or outdoors. Its ability to complement and enhance the ornaments makes it a valuable addition to our holiday decor repertoire.
Frequently Asked Questions
How Do I Properly Clean and Store Delicate Ornaments After the Holiday Season?
We've found that proper ornament cleaning involves using a soft brush or cloth to gently remove dust and dirt.
For delicate ornament storage, we recommend wrapping each ornament in acid-free tissue paper and placing them in sturdy, lidded containers to protect them from damage.
It's crucial to store them in a cool, dry place to prevent any moisture or temperature fluctuations that could harm the delicate materials.
What Are Some Creative Ways to Incorporate Non-Traditional Ornaments Into My Display?
Incorporating non-traditional ornaments into a display can elevate its appeal. Embracing unconventional materials, vintage finds, and DIY displays enables us to infuse our style and personality into the arrangement.
Are There Any Tips for Displaying Ornaments in a Small or Non-Traditional Living Space?
When it comes to space saving ornament display and creative ornament storage in a small or non-traditional living space, DIY ornament hooks can be a game-changer. By creating custom hooks that securely hang ornaments, you can maximize space and display your collection in an organized and visually appealing way.
Utilizing vertical space, such as hanging ornaments from a decorative branch or creating a tiered display, can also help optimize the use of limited space.
What Are Some Unique Ways to Incorporate Family Heirloom Ornaments Into My Display?
When incorporating family heirloom ornaments into our display, DIY ornament stands can be a creative solution. These stands can showcase each unique piece and add a personal touch to our decor.
Memory-filled displays can also be achieved by arranging the ornaments in a thematic or chronological order, creating a visual narrative of our family history.
This approach not only enhances the aesthetic appeal but also preserves cherished memories for generations to come.
How Can I Prevent My Pets or Young Children From Accidentally Knocking Over or Damaging My Ornament Display?
Pet proofing our homes involves secure storage solutions for delicate items and ornaments. Child friendly displays can be achieved through strategic placement and the use of sturdier, non-breakable ornaments.
We prioritize safety by considering the height and accessibility of the display, choosing unbreakable materials, and securing the display to prevent accidents.
It's crucial to strike a balance between preserving cherished items and ensuring the safety of our pets and children.
Conclusion
As we gather around our ornament displays, we're reminded of the joy and beauty of the holiday season.
The twinkling lights, the delicate ornaments, and the memories they hold create a warm and festive atmosphere in our homes.
Each display tells a unique story and adds a touch of magic to our holiday celebrations.
Let's cherish these special moments and continue to create new memories with our loved ones.
- About the Author
- Latest Posts
Introducing Ron, the home decor aficionado at ByRetreat, whose passion for creating beautiful and inviting spaces is at the heart of his work. With his deep knowledge of home decor and his innate sense of style, Ron brings a wealth of expertise and a keen eye for detail to the ByRetreat team.
Ron’s love for home decor goes beyond aesthetics; he understands that our surroundings play a significant role in our overall well-being and productivity. With this in mind, Ron is dedicated to transforming remote workspaces into havens of comfort, functionality, and beauty.
-

 Vetted5 days ago
15 Best Printers of 2024: Top Picks and Expert Reviews
-
 Vetted1 week ago
15 Best Tile Sealers for Long-Lasting Protection and Shine
-

 Vetted2 weeks ago
15 Best Smelling Floor Cleaners That Will Leave Your Home Fresh and Inviting
-

 Vetted1 week ago
14 Best Power Scrubbers for Showers That Will Transform Your Cleaning Routine
-
 Vetted2 days ago
15 Best Evergreen Plants for Shade Gardens: A Complete Guide
-

 Vetted2 days ago
15 Best LED Dimmer Switches With No Flicker: Ultimate Guide for a Flicker-Free Lighting Experience
-

 Mardi Gras Decoration4 days ago
What Do the Symbols of Mardi Gras Mean?
-

 Appliances1 week ago
5 Best Energy-Efficient Stainless Steel Fridges 2023


