Decor
How to Build Outdoor Halloween Decor

As I step into the crisp autumn air, my mind begins to whirl with visions of spooky delights. Halloween is approaching, and I am determined to transform my outdoor space into a frightful wonderland.
In this guide, I will share my secrets for building the most captivating outdoor Halloween decor. From choosing the right materials to securing and weatherproofing your creations, I will take you on a journey through the eerie process of bringing your darkest fantasies to life.
So, grab your tools and let’s dive into the world of haunted enchantment.
Key Takeaways
- Choose materials that align with your desired theme and atmosphere.
- Incorporate lighting and effects such as dimmed lights, flickering candles, fog machines, and blacklights.
- Create a graveyard and haunted house display using tombstone materials, paint, and decorative elements.
- Use scary props, walkway design, and interactive elements to enhance the scare factor.
Choosing the Right Materials
You’ll need to choose the right materials for your outdoor Halloween decor. When it comes to outdoor decor ideas, there are endless possibilities for DIY Halloween decorations.
To start, consider the type of atmosphere you want to create. Are you going for a spooky haunted house theme or a fun and whimsical vibe? Once you have a theme in mind, think about the materials that will bring it to life.
For a haunted house theme, you might want to use weathered wood, tattered fabric, and flickering candles. If you’re aiming for a whimsical vibe, bright colors, oversized props, and playful signs can do the trick. The key is to choose materials that align with your desired mood and theme.
Now that you have your materials, it’s time to move on to planning your Halloween decor theme.
Planning Your Halloween Decor Theme
Once you’ve decided on a theme for your spooky outdoor setup, it’s time to brainstorm ideas for your Halloween decorations. This is the fun part where you can let your imagination run wild and come up with unique and creepy ideas. To help you get started, here are some brainstorming ideas and sources of inspiration:
| Idea | Description | Inspiration |
|---|---|---|
| Haunted Cemetery | Create a spooky graveyard with tombstones, skeletons, and fog machines. | Classic horror movies like "Night of the Living Dead" |
| Witch’s Lair | Set up a witch’s cauldron, broomsticks, and bubbling potions for a witch-themed display. | Fairy tales and folklore about witches |
| Zombie Apocalypse | Build a scene with broken fences, blood-stained walls, and zombie props to create a post-apocalyptic feel. | Zombie movies and TV shows like "The Walking Dead" |
These ideas will help you kickstart your creative process and find inspiration for your Halloween decorations. Now, let’s move on to creating spooky lighting effects without any delay.
Creating Spooky Lighting Effects
To create an eerie atmosphere, consider using dimmed lights and flickering candles for a spooky lighting effect. This combination of lighting can instantly transform any space into a haunted wonderland.
However, if you want to take your spooky lighting to the next level, here are a few additional ideas:
- Incorporate fog machines to create an eerie mist that adds an element of mystery and suspense.
- Use blacklights to make certain elements glow in the dark, such as eerie skeletons or creepy spiders.
- Hang string lights in the shape of ghosts or bats to add a touch of Halloween whimsy.
- Place LED candles inside jack-o’-lanterns to give them an eerie, flickering effect.
- Consider using colored bulbs or gels to create an otherworldly ambiance.
By using these lighting techniques, you can effectively set the mood for your Halloween display and create a spine-chilling experience for all who dare to visit.
Now, let’s move on to building a creepy graveyard display.
Building a Creepy Graveyard Display
If you want to create a creepy graveyard display, start by gathering old tombstones, fake moss, and skull decorations. Building tombstones is a great way to add a realistic touch to your haunted scene. You can use foam board or plywood to create the base of the tombstone, and then paint it with gray or black paint. To make it look weathered and aged, use a sponge or brush to apply a mixture of gray and brown paint, creating a textured effect. For an extra spooky touch, you can carve designs or epitaphs into the tombstones using a utility knife. To make your graveyard look even more authentic, add some fake moss and skull decorations around the tombstones. This will give the impression of decay and add to the eerie atmosphere.
| Tombstone Materials |
|---|
| Foam board or plywood |
| Gray and black paint |
| Sponge or brush |
| Utility knife |
| Fake moss |
| Skull decorations |
Now that you have your creepy graveyard display set up, it’s time to move on to constructing a haunted house facade.
Constructing a Haunted House Facade
Now that you’ve finished setting up your creepy graveyard display, it’s time to start constructing the haunted house facade. To create an impressive haunted house, consider the following DIY ideas:
- Start by sketching out haunted house blueprints to visualize the design.
- Utilize old wooden pallets to create the exterior walls and add a weathered look.
- Hang tattered curtains in the windows to create an eerie effect.
- Use black paint to create a spooky, aged appearance on the facade.
- Incorporate faux spider webs and strategically place creepy crawlies for added fright.
Constructing a haunted house facade allows you to create a captivating entrance for your Halloween display. Once you’ve completed this step, you can move on to crafting scary outdoor props to enhance the overall ambiance and scare factor of your haunted house.
Crafting Scary Outdoor Props
Once you’ve finished constructing the haunted house facade, you can start adding scary outdoor props to further enhance the spooky atmosphere. To create a truly immersive Halloween experience, consider making DIY costumes for your props and incorporating realistic spider webs into your decorations. Here’s a table to give you some creative ideas for scary outdoor props:
| Prop | Materials Needed | Description |
|---|---|---|
| Graveyard | Styrofoam, paint | Create tombstones and scatter them around your yard |
| Skeleton | PVC pipes, joints | Build a life-sized skeleton and position it in a spooky pose |
| Fog Machine | Fog machine, fog liquid | Set up a fog machine near the entrance for an eerie effect |
Designing a Frightening Walkway
To create a truly spine-chilling walkway, consider using dim lighting and strategically placing creepy props along the path. This will create an eerie atmosphere that will send shivers down your guests’ spines. Here are some ideas to take your walkway to the next level:
-
Spooky Soundtracks: Set the mood with haunting music that adds suspense and anticipation to the experience.
-
Fog Machines: Create an ethereal and mysterious ambiance by using fog machines to fill the air with a dense mist.
-
Glowing Eyes: Place glowing eyes in the bushes or trees to give the illusion of being watched by unseen creatures.
-
Cobwebs and Spiders: Hang realistic cobwebs and spiders along the path to give a creepy and abandoned feel.
-
Motion-Activated Props: Install motion-activated props like jumping skeletons or cackling witches to surprise and frighten your visitors.
Now that your walkway is terrifyingly immersive, let’s move on to making eerie outdoor signs that will guide your guests through the haunted experience.
Making Eerie Outdoor Signs
If you want to create a spooky atmosphere, consider using eerie outdoor signs to guide your guests through the haunted experience.
To start, you can make your own outdoor Halloween wreaths using materials like black mesh, fake spiders, and spooky ornaments. Hang them on your front door or on lampposts to add a touch of creepiness.
Another great DIY project is creating Halloween lanterns. Use old mason jars and paint them with creepy designs like ghosts or witches. Place LED candles inside to give them an eerie glow. These lanterns can be placed along the walkway or hung from trees to create an ominous ambiance.
As your guests follow the signs, the flickering lanterns will guide them deeper into the haunted realm.
Incorporating Sound Effects
Immerse yourself in the spooky atmosphere by incorporating eerie sound effects throughout your haunted experience. The right audio can take your outdoor Halloween decor to the next level, making it truly terrifying for all who dare to enter. Here are some ideas to get you started:
-
Use a variety of sound effects, such as creaking doors, howling wind, and eerie laughter, to create an unsettling ambiance.
-
Place speakers strategically around your yard to create a surround sound effect and enhance the sense of immersion.
-
Utilize fog machines to add an extra layer of mystery and creepiness to your haunted scene.
-
Incorporate motion sensors to trigger spooky sounds when unsuspecting visitors approach certain areas.
-
Consider adding a soundtrack or background music to enhance the overall atmosphere and set the mood.
Now that you have mastered the art of incorporating sound effects, let’s move on to adding animated elements to bring your outdoor Halloween decor to life.
Adding Animated Elements
Enhance your haunted experience by incorporating animated elements that bring life and movement to your spooky scene. One of the best ways to achieve this is by using animatronic decorations or creating your own DIY Halloween automaton.
Imagine a ghostly figure that moves eerily across your yard or a skeleton that dances to spooky music. These animated elements not only add a wow factor to your outdoor decor but also create an immersive experience for your guests.
To create your own animatronic decorations, you can start with simple motorized mechanisms and build upon them using various materials like foam, fabric, and paint. With a little creativity and some basic knowledge of electronics, you can bring your Halloween scene to life.
Once you have your animated elements in place, it’s important to secure and weatherproof your decor to ensure it withstands the elements.
Securing and Weatherproofing Your Decor
Once you’ve placed your animated elements, it’s crucial to make sure your decorations are secured and protected from the weather. To ensure your outdoor Halloween decor stays in place and withstands any rain or wind, here are some essential tips:
- Use sturdy stakes or anchors to secure larger decorations into the ground.
- Consider using heavy-duty tape or zip ties to fasten smaller items to fences or railings.
- Apply a waterproof sealant to any porous decorations to prevent water damage.
- Protect electrical components by using outdoor-rated extension cords and covering them with waterproof enclosures.
- Invest in weather-resistant materials like plastic, metal, or resin for outdoor decorations.
Frequently Asked Questions
How Do I Choose the Perfect Location for My Outdoor Halloween Decor?
Choosing the perfect location for outdoor Halloween decor is crucial. Consider visibility, safety, and accessibility. Utilize different spaces like the front yard, backyard, or porch to create a spooky atmosphere.
What Are Some Creative Ways to Incorporate a Halloween Color Scheme Into My Outdoor Decor?
To create a spooky ambiance with vibrant hues, I’ll share tips for incorporating Halloween colors into your outdoor decor. Get ready for a festive and eerie atmosphere that will surely impress trick-or-treaters.
Are There Any Safety Precautions I Should Consider When Building Outdoor Halloween Props?
When building outdoor Halloween props, it’s important to consider safety precautions. Use sturdy materials designed for outdoor use and ensure props are securely anchored to prevent accidents.
Can I Use Fake Cobwebs and Spiders to Enhance the Spooky Atmosphere of My Outdoor Decor?
Oh, I love using fake cobwebs and spider decorations to create a spooky atmosphere for my outdoor Halloween decor. They add just the right touch of creepy and make it feel like a haunted house!
How Can I Make My Outdoor Halloween Decor Stand Out During the Day as Well as at Night?
During the day, I can make my outdoor Halloween decor stand out by incorporating creative daytime Halloween decor ideas. By using bold colors, oversized props, and eerie sound effects, I can create a spooky ambiance that will captivate visitors.
Conclusion
As the moon casts its eerie glow on my haunted masterpiece, I can’t help but feel a sense of pride and accomplishment. With the right materials and a little creativity, I transformed my humble abode into a frightful wonderland.
From the spine-chilling graveyard display to the hair-raising haunted house facade, every element came together to create a truly unforgettable Halloween experience.
So, as the trick-or-treaters approach, be prepared to be amazed and terrified by the outdoor Halloween decor that awaits. It’s time to embrace the supernatural and let your imagination run wild.
- About the Author
- Latest Posts
Meet Katherine, the creative enthusiast at ByRetreat who infuses her boundless passion for design into every remote workspace she crafts. With an innate sense of creativity and an eye for unconventional beauty, Katherine brings a unique and inspiring perspective to the team.
Katherine’s love for design is infectious, and her ability to think outside the box sets her apart. She believes that true artistry lies in embracing a variety of styles and mixing them harmoniously to create captivating spaces. By combining different textures, colors, and patterns, Katherine weaves a tapestry of creativity that breathes life into each remote workspace.
Decor
Creative Bird Nest Decorating Ideas
Harness the charm of nature with creative bird nest decorating ideas that will transform your space into a cozy retreat.
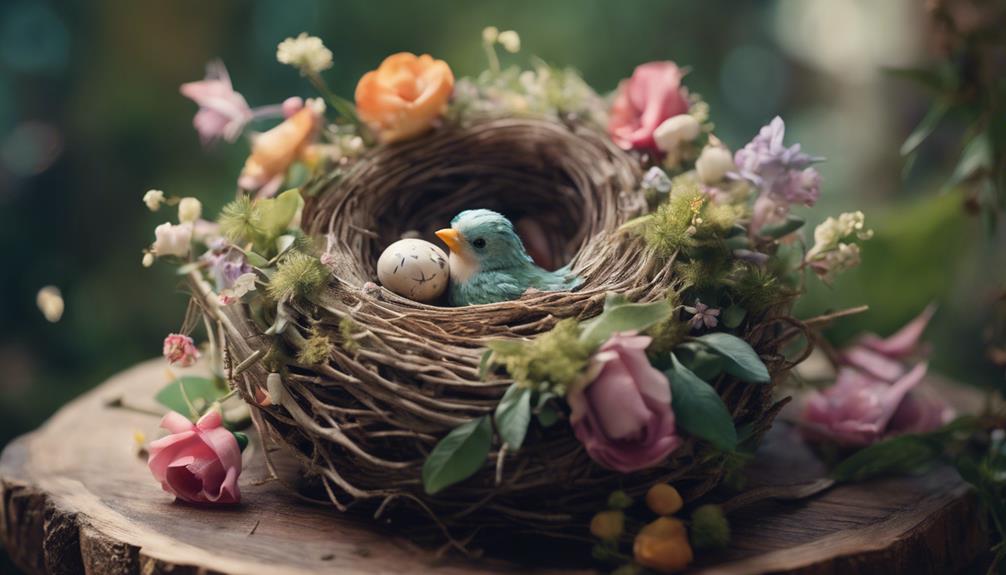
By incorporating bird nests into our home decor, we can tap into the symbolism of new beginnings and growth, while also adding a charming touch of nature-inspired elegance to our spaces. We can use bird nests as seasonal accents, pairing them with spring flowers and eggs for a cohesive look. Alternatively, we can create nature-inspired centerpieces featuring elements like moss and faux eggs, or opt for whimsical displays with twigs, moss, and vintage accents. From elegant vignettes to shelf decor, the possibilities are endless, and we're just scratching the surface of creative bird nest decorating ideas.
Key Takeaways
• Bird nests add a charming touch to spring decor, symbolizing new beginnings and growth, and can be incorporated into various decor styles.
• Pairing nests with spring flowers and eggs creates a cohesive look, and DIY and purchased nests offer customization options.
• Bird nests make ideal focal points for spring centerpieces, featuring natural elements like moss, twigs, and faux eggs.
• Whimsical bird nest displays evoke rustic elegance, enhanced by adding faux birds, flowers, or vintage accents to create a unique look.
• Bird nests can be creatively displayed on shelves, paired with decorative items, baskets, or natural elements like pinecones or twigs for added texture.
Bird Nests as Seasonal Accents
As we welcome the arrival of spring, we often find ourselves looking for ways to refresh our homes with seasonal accents, and bird nests offer a charming and whimsical way to do just that. These natural wonders bring a touch of the outdoors into our living spaces, symbolizing new beginnings and growth.
We can incorporate bird nests into various decor styles, whether rustic, farmhouse, or traditional, making them a versatile seasonal accent. To create a cohesive look, we can pair bird nests with spring flowers, eggs, and other seasonal elements.
For a DIY approach, we can craft our own bird nests using twigs, moss, and other natural materials, adding a personal touch to our decor. Alternatively, we can purchase bird nests or replica nests to achieve a similar look.
Nature-Inspired Centerpieces Ideas
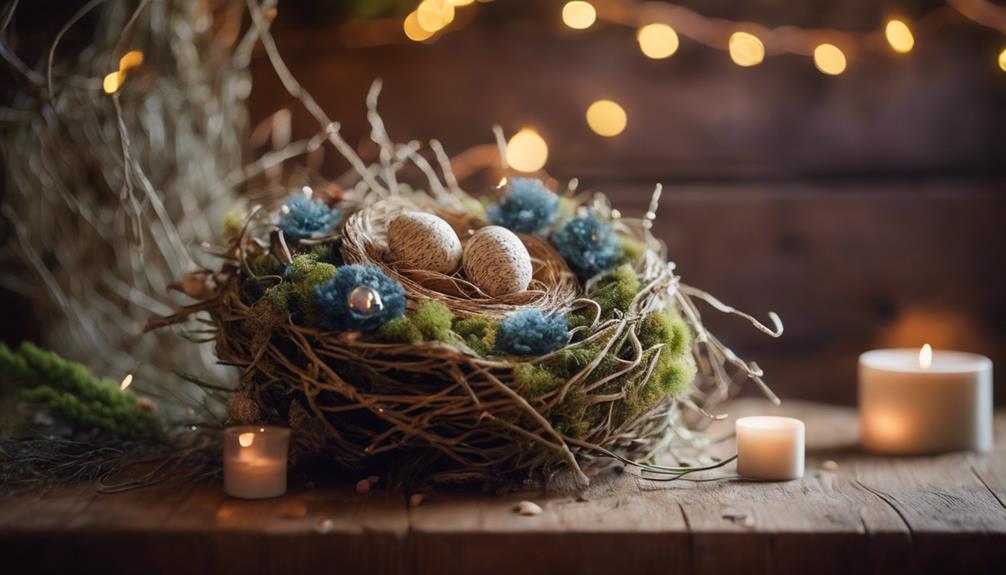
With spring's arrival, we're excited to create nature-inspired centerpieces that capture the essence of the season, and bird nests are the perfect focal point for these charming displays. These centerpieces often feature elements like bird nests, moss, and faux eggs for a rustic and charming look.
We can use them for various occasions such as weddings, spring gatherings, or Easter celebrations. Incorporating natural elements like twigs, branches, and flowers can enhance the beauty of bird nest centerpieces. To add a pop of color, we can pair the nests with candles, greenery, or vintage accents for a more eclectic and whimsical style.
For a budget-friendly option, we can create DIY bird nest centerpieces that offer customization and flexibility. We can place a nest on a bed of green moss, surrounded by tiny flowers and candles, creating a serene and inviting ambiance. By incorporating natural elements, we can create a beautiful and unique centerpiece that captures the essence of the season.
Whimsical Bird Nest Displays
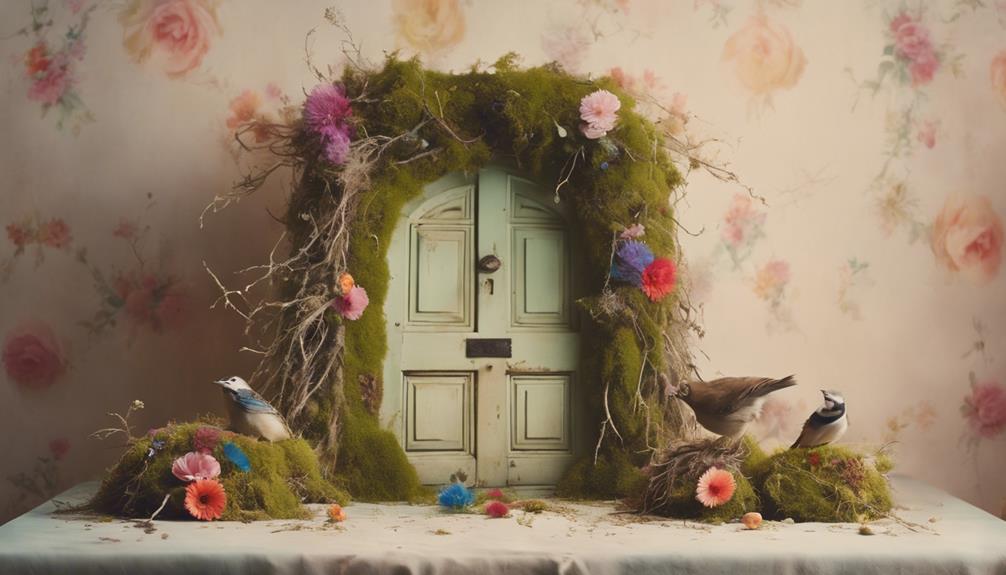
We love creating whimsical bird nest displays that transport us to a world of rustic elegance and new beginnings. These charming displays often feature a combination of natural elements like twigs, moss, and eggs, evoking feelings of warmth, nature, and new beginnings.
As we welcome spring, incorporating bird nests into our home decor can add a touch of rustic elegance, perfect for the season. Whimsical bird nest displays can be used as charming centerpieces for spring and Easter celebrations, adding a unique and creative twist to traditional decor.
To enhance the display, we can add faux birds, flowers, or vintage accents, giving it a whimsical look that's sure to impress. By incorporating bird nests into our home decor, we can create a visually appealing and creative display that celebrates the beauty of nature.
Whether it's a tablescape or a mantel display, whimsical bird nest displays are a great way to add a touch of springtime charm to our homes.
Elegant Vignettes With Bird Nests

One elegant way to showcase bird nests is by creating a vignette that pairs them with vintage books, plants, and other decor items. This arrangement adds a touch of sophistication to any room, especially when combined with seasonal elements like spring flowers or evergreen branches.
We've found that placing bird nests on vintage scales or under bell domes adds a charming touch to the display. The contrast between the natural, earthy tones of the nest and the ornate, antique scales creates a visually appealing combination.
As we incorporate bird nests into our decor, we're reminded of their symbolic significance – they represent life, hope, and new beginnings. By incorporating these elements thoughtfully, we can create a beautiful and meaningful display that celebrates the beauty of nature.
Whether we're decorating for spring or simply wanting to add a touch of elegance to our daily lives, bird nests are a unique and enchanting addition to our decor.
Bird Nest Decor for Shelves
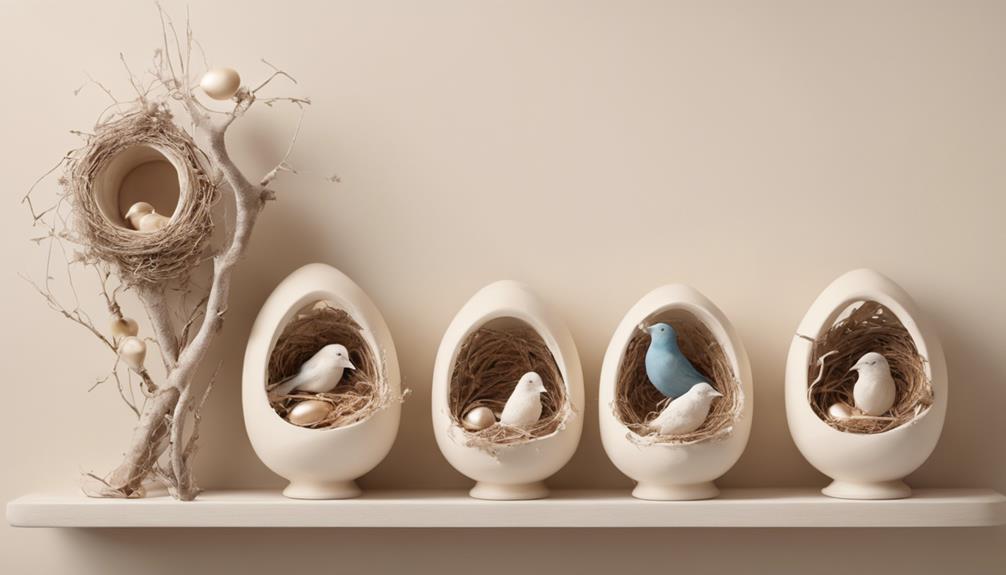
As we move beyond vignettes and explore new ways to showcase bird nests, we find that shelves offer a unique opportunity to add a charming and natural element to our decor. Spring is the perfect time to refresh our home decor, and incorporating bird nests on shelves can create a cozy and inviting atmosphere.
Here are some tips when decorating shelves with bird nests:
- Display nests alongside other decorative items like books, plants, or candles for a cohesive look.
- Place nests in baskets or on trays to add texture and depth to your shelves.
- Pair bird nests with vintage items or greenery for a unique and eye-catching display.
- Group multiple nests together for a dramatic effect.
- Consider adding some natural elements like pinecones or twigs to complement the nests and bring in a touch of the outdoors.
Frequently Asked Questions
How to Decorate a Bird Nest?
When deciding how to decorate a bird nest, we consider the overall aesthetic we want to achieve.
We start by selecting a base decoration, such as a fake nest or a real one, and then add embellishments like moss, twigs, and small flowers to create a natural look.
We can also incorporate personalized elements, like faux eggs or figurines, to give our decoration a unique touch.
How to Display a Real Bird's Nest?
When we want to display a real bird's nest, we consider the delicate balance between showcasing nature's artistry and preserving the environment.
For instance, we might place a nest on a mantel or shelf, highlighting its intricate craftsmanship. However, we must guarantee we've sourced the nest sustainably, avoiding disturbance of natural habitats, which may be protected by laws.
How to Make Nest Art and Craft?
We're excited to explore the world of nest art and craft, where creativity knows no bounds.
To make nest art and craft, we start by gathering materials like twigs, wire, and decorative items. We can use our imagination to create unique pieces, or draw inspiration from vintage bird prints and retro designs available online.
With a little patience and skill, we can craft beautiful DIY twig nests, decorative wreaths, and other stunning pieces of art that showcase our creativity.
How to Make a Faux Bird Nest?
We're thrilled to explore the world of faux bird nests!
To make one, we gather twigs, moss, and a small nest container.
Next, we use a hot glue gun to secure the twigs in a nest shape.
We add moss for a natural look and place faux eggs inside for a realistic touch.
With these simple steps, we can create a beautiful faux bird nest that's easy to customize to fit our unique style.
Conclusion
As we explored the world of creative bird nest decorating ideas, we discovered a universe of possibilities. From seasonal accents to enchanting displays, bird nests added a touch of elegance to any space.
We saw how nature-inspired centerpieces and elegant vignettes showcased their beauty. Whether placed on shelves or used as decorative accents, bird nests proved to be a versatile and alluring decorative element, perfect for adding a hint of natural charm to our homes.
- About the Author
- Latest Posts
Introducing Ron, the home decor aficionado at ByRetreat, whose passion for creating beautiful and inviting spaces is at the heart of his work. With his deep knowledge of home decor and his innate sense of style, Ron brings a wealth of expertise and a keen eye for detail to the ByRetreat team.
Ron’s love for home decor goes beyond aesthetics; he understands that our surroundings play a significant role in our overall well-being and productivity. With this in mind, Ron is dedicated to transforming remote workspaces into havens of comfort, functionality, and beauty.
Decor
How to Make Your Own Antique Corbels and Shelf in 10 Steps
Bring a touch of vintage charm to your home with this step-by-step guide to crafting unique antique corbels and shelf from scratch.

We're excited to create our own antique corbels and shelf from scratch. First, we'll gather materials like plain corbels, wood stain, and paint. Next, we'll prepare our corbels for painting, applying a base coat and adding distressed finishing touches. We'll seal our corbels with a wax coating for a vintage look. After assembling our corbels and shelf, we'll attach the shelf to the corbels securely. Then, we'll add decorative paint and finishing touches. Finally, we'll style and display our beautiful shelf. By following these easy steps, we'll have a stunning, one-of-a-kind antique corbel and shelf to showcase in our home. Now, let's get started and uncover the details that will bring our design to life.
Key Takeaways
• Prepare materials, including plain corbels, wood stain, paint, and furniture wax, and ensure a clean workspace and tools for a smooth finish.
• Apply a base coat of paint using a foam brush, followed by distressing techniques to achieve an antique look.
• Use furniture wax to seal and protect the corbels, enhancing their color and vintage charm.
• Assemble the shelf by cutting and staining the wood, then attaching the corbels securely to the wall using brackets and shims.
• Add decorative paint and finishing touches, focusing on intricate details, to complete the antique corbel and shelf design.
Gather Materials for Corbel Creation
We'll start by gathering the necessary materials for creating our antique corbels, since having the right tools and supplies is crucial to achieving an authentic, aged look.
Plain corbels are the foundation of our project, and we'll need those to create our shelf. To give our corbels a distressed, aged appearance, we'll need wood stain. This will help us achieve the worn, vintage look we're going for.
For painting, we'll require two colors of chalk or latex paint, which will add depth and character to our corbels. To apply the stain and paint, we'll need a foam brush and a regular paintbrush.
Finally, furniture wax will be used to protect and enhance the finished corbels, giving them a rich, subtle sheen. With all these materials in hand, we'll be well on our way to creating beautiful, antique-inspired corbels that will add a touch of elegance to our shelf.
Prepare Corbels for Painting
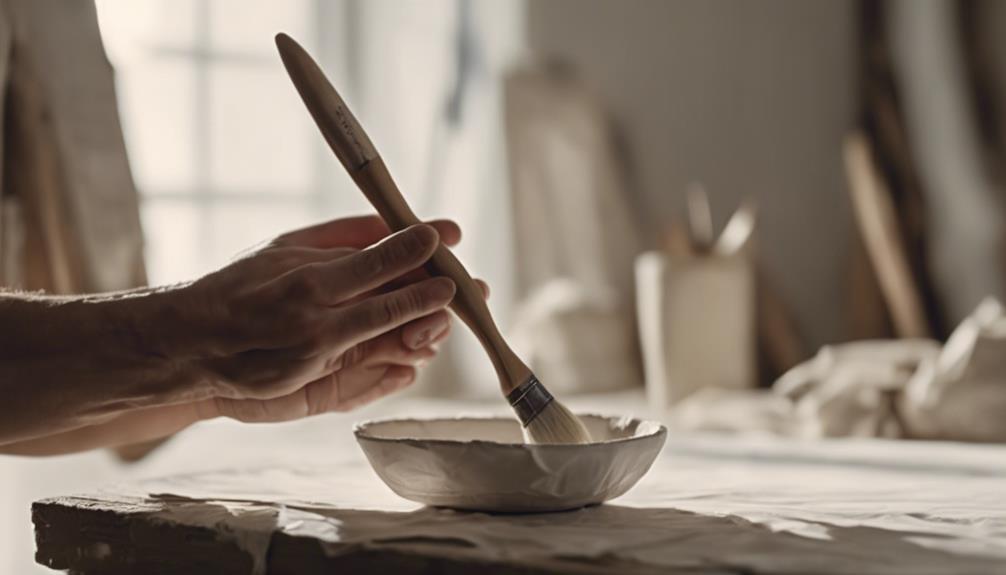
With our materials gathered, we're ready to prep our corbels for painting, starting with a thorough sanding to guarantee smooth paint application and remove any existing finish. We'll use a fine-grit sandpaper to gently remove any imperfections, dust, or old wax residue that might affect paint adhesion.
After sanding, we'll wipe down the corbels with a damp cloth to remove any dust or debris. If our corbels have a glossy finish, we might need to apply a primer to make sure better paint adhesion and coverage. We'll choose a primer specifically designed for our corbel material, whether it's wood, metal, or resin.
Once our primer is dry, we'll be ready to move on to the next step. Remember to clean our workspace and tools to prevent any contamination or paint transfer. By properly preparing our corbels, we'll secure a beautiful, long-lasting finish that will make our antique-inspired corbels look stunning.
Apply Base Coat of Paint

We're ready to bring our corbels to life with a base coat of paint that sets the tone for the final look. This is where the magic happens, and our plain corbels start to transform into stunning antique pieces.
To get started, we'll use a foam brush to apply an even coat of paint to our corbels. It's crucial to make sure that the base coat covers all areas of the corbels, creating a solid foundation for the finish.
Here are some key considerations to keep in mind:
- Choose a paint color that complements the overall aesthetic you want to achieve with the corbels.
- Make sure to cover all areas of the corbels for a solid foundation.
- Allow the base coat to dry completely before moving on to additional painting or distressing steps.
Add Distressed Finishing Touches

As we move forward with adding distressed finishing touches to our corbels, we're going to focus on creating an authentic, aged appearance.
To achieve this, we'll employ various aging wood techniques that will give our corbels a worn, weathered look.
Aging Wood Techniques
We'll add distressed finishing touches to our corbels by employing aging wood techniques that mimic the wear and tear of time. To achieve an authentic vintage look, we'll intentionally distress our corbels using various methods.
- Sand areas that would naturally wear down on the corbels using a medium/coarse grit sanding block for a distressed look.
- Embrace imperfections in the finish, as imperfections and drips in the paint application are welcome to enhance the aged effect on the corbels.
- Apply furniture wax (such as antiquing wax) to sanded areas to deepen colors and add an authentic aged appearance to the corbels.
We'll use a clean cloth to apply the furniture wax evenly on the corbels, avoiding waxing in intricate nooks if desired.
Worn, Weathered Look
Using a medium/coarse grit sanding block, we distress the corbels by sanding areas that would naturally wear down, like the edges and corners, to achieve a worn, weathered look. This process gives our corbels a distressed, aged appearance that adds character to our antique-inspired shelf.
We're not looking for perfection here; imperfections and drips in the paint job are welcome to enhance the aged effect. As we sand, we make sure to eliminate any sand bits to guarantee a smooth distressed finish. We're embracing imperfections in the finish to add character and authenticity to the corbels.
To avoid inhaling dust particles, we work in an outdoor or well-ventilated area when distressing the corbels. By distressing the corbels, we're creating a unique, one-of-a-kind piece that looks like it's been around for centuries. The worn, weathered look adds a touch of elegance and sophistication to our antique-inspired shelf.
With these distressed finishing touches, our corbels are transformed into a stunning piece of art that exudes charm and character.
Seal Corbels With Wax Coating
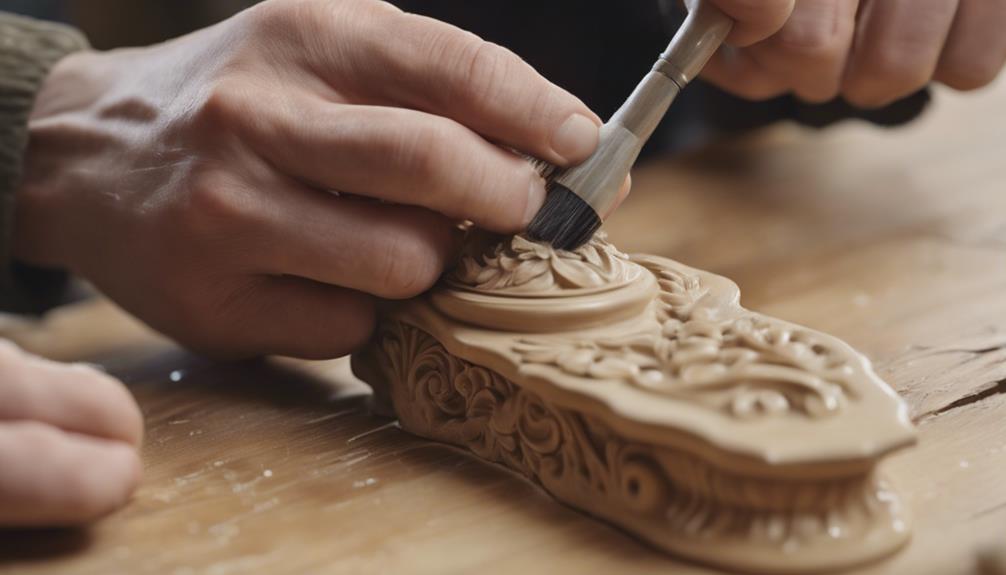
As we progress with our antique corbel project, we're going to explore the importance of sealing our corbels with a wax coating.
We'll discuss the benefits of applying a wax coating, including enhanced appearance and protection, as well as the different types of wax coatings available.
Wax Coating Benefits
We apply a wax coating to our antique corbels to safeguard them from wear and tear, while also amplifying their aesthetic appeal. This process not only protects our corbels but also enhances their beauty.
When using furniture wax, we can achieve a smooth and durable finish that adds an extra layer of authenticity to our antique corbels.
Here are some benefits of using a wax coating on our antique corbels:
- Enhances the colors and finish of the corbels, adding to their vintage charm
- Provides a clear, durable finish that protects the corbels from wear and tear
- Allows for customization with different wax colors, such as brown or black, to create an antiqued effect.
Applying Wax Coating
With our wax coating benefits in mind, we're ready to seal our corbels with a wax coating that will enhance their finish and protect them from wear and tear.
We'll start by applying a clear furniture wax to seal our chalk paint on the corbels, adding an extra layer of durability to the finish. If we want to create an antiqued look, we can use brown or black wax to give our painted corbels a distressed appearance.
It's essential to apply the wax evenly, making sure to cover the entire surface of the corbel. We'll then let it dry completely, following the manufacturer's instructions for the recommended drying time.
Once dry, our corbels will have a beautiful, protected finish that showcases the beauty of our handiwork. The wax coating provides a protective barrier, adding depth to the painted finish of our antique corbels.
Wax Coating Types
Let's explore the various wax coating types that can elevate our antique corbels, from clear furniture wax to darker shades that evoke a sense of vintage charm. When it comes to sealing our corbels, the type of wax coating we choose can greatly impact the final look and feel of our project.
Here are some popular wax coating options to take into account:
- Clear Furniture Wax: A clear, non-yellowing wax that protects and enhances the colors of our corbels without adding any tint or discoloration.
- Brown or Black Wax: Perfect for creating an antiqued look, these darker shades can add a sense of age and character to our corbels.
- Custom Blends: By mixing different wax coatings, we can create a unique, one-of-a-kind finish that sets our corbels apart.
When selecting a wax coating type, it's crucial to apply it evenly using a clean cloth and allowing it to dry completely before handling or displaying our finished antique corbels.
Cut and Prepare Shelf Wood

We'll begin by cutting our sturdy wood material to the measured length marked earlier, guaranteeing a precise fit for our shelf. This will give us a solid foundation for our antique corbels and shelf project.
Once cut, we'll sand the wood to smooth out any rough edges and prepare it for finishing.
Next, we'll decide on a finish for our shelf. We can choose to add a coat of paint or stain to match the desired aesthetic and finish. If we opt for paint, we'll need to gather necessary items like brushes and protective gear to make sure a smooth application. If we prefer a stain, we'll follow the manufacturer's instructions for the best results.
Regardless of our chosen finish, we'll need to prepare the shelf by sanding it again to create a smooth surface. This will ensure a professional-looking finish and help our coat of paint or stain adhere evenly.
Assemble Corbels and Shelf

Now that we've prepared our shelf wood, it's time to bring our corbels and shelf together.
We'll start by assembling the corbels themselves, ensuring a sturdy base for our shelf.
Next, we'll explore how to attach the shelf to the corbels, and finally, we'll finalize our design with some aesthetic touches.
Corbel Assembly Steps
We attach the corbels to the wall, making sure they're securely fastened with brackets. Before doing so, we double-check that they're aligned and level, making any necessary adjustments. To guarantee a sturdy fit, we measure and mark the screw hole locations for the brackets on the corbels.
Here are some key considerations when assembling our corbels:
- We use shims to level the shelf on the corbels, ensuring stability and a secure fit.
- We glue the shims to the corbels, adjusting as needed for a snug fit.
- We make certain the two corbels are evenly spaced and level, providing a sturdy base for our shelf.
Shelf Attachment Methods
After confirming our corbels are securely attached to the wall, we turn our focus to attaching the shelf, a process that demands thoughtful consideration of the attachment method to guarantee a sturdy and level surface.
To accomplish this, we use hanging brackets secured with screws for stability. We make sure to utilize a level to verify the corbels are aligned correctly before attaching the shelf.
Next, we measure and mark the screw hole locations on the corbels for precise attachment. We then securely affix the hanging brackets to the corbels and the wall to support the shelf's weight.
To verify the shelf is level, we use shims to adjust its position on the corbels before gluing them for added stability.
Finalizing the Design
Let's bring our Antique Corbel and Shelf project to life by assembling the corbel components, carefully aligning and attaching the three pieces together using builder's adhesive and finishing nails. This vital step guarantees our corbels are sturdy and ready to support our shelf.
To finalize our design, we'll:
- Measure and mark the screw hole locations on the corbels to accurately install the hanging brackets for shelf support.
- Use a level to align the corbels properly on the wall, ensuring our shelf sits level and securely on the corbels.
- Once the corbels are in place, position the shelf on top, adjusting with shims for stability before attaching it securely to the corbels.
Add Decorative Paint to Shelf
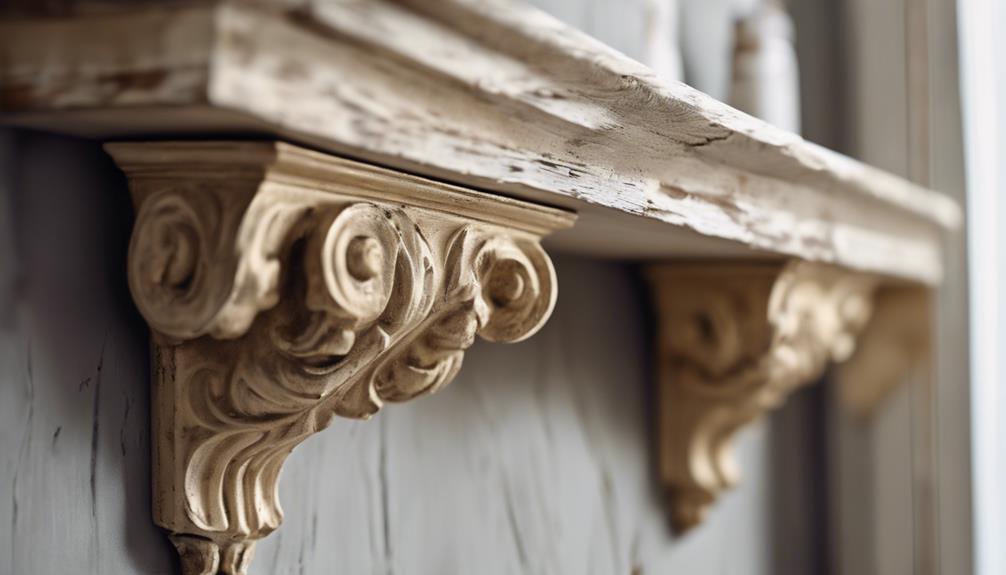
Frequently, we find that adding a decorative paint finish to our shelf is the perfect way to give it an antique look. To achieve this, we use chalk or latex paint in two colors, which will add depth and character to our shelf. We apply the paint using a foam brush, focusing on the intricate details and edges of the shelf. We don't worry too much about imperfections or drips, as they actually add to the antique look we're going for.
Once we've applied the paint, we let it dry completely before moving on to the next step. It's a good idea to wear gloves while painting to avoid getting paint on our skin. We're not looking for a perfect, smooth finish, so we don't need to worry about being too precise. In fact, a slightly rough finish will only add to the shelf's antique charm.
Attach Shelf to Corbels Securely
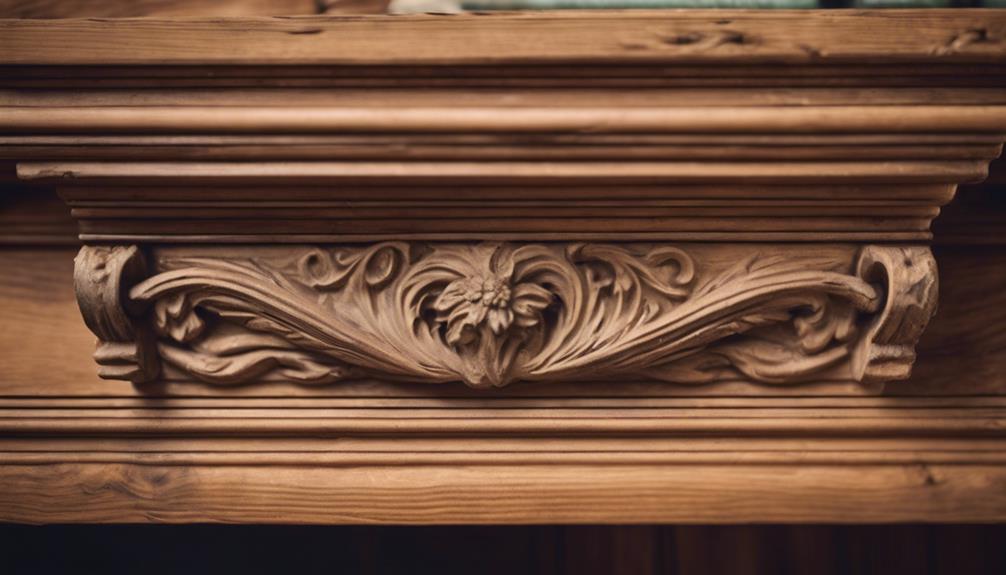
We carefully position the shelf on the corbels, ensuring a secure fit by aligning the screw holes we measured and marked earlier. Now it's time to attach the shelf to the corbels securely.
We make sure the corbels are aligned using a level, and then measure and mark the screw hole locations on both the corbels and the shelf for accurate installation.
To attach the shelf, we:
- Securely attach hanging brackets to the corbels and the wall to support the shelf
- Level the shelf on the corbels using shims for stability and balance
- Glue the shims to the corbels and make final adjustments for a secure fit before finishing the installation
With the shelf securely attached to the corbels, we can now admire our handiwork. We've successfully attached the shelf to the corbels, and it's ready for display.
Style and Display Your Shelf

Now that our shelf is securely attached to the corbels, we can focus on styling and displaying it to showcase our unique, one-of-a-kind antique corbel creation.
We can style our shelf with vintage-inspired corbels for a rustic and decorative touch. By choosing the right corbels, we can enhance the overall aesthetic of the space. To add character and charm to our shelving display, we can incorporate distressed finishes and decorative touches for a unique and aged look.
A trip to Home Depot can provide us with the necessary materials to create a distressed finish, giving our shelf a truly antique feel. By showcasing our shelf with DIY antique corbels, we can create a focal point in our room.
We can arrange decorative items, such as vintage vases or antique books, to add visual interest and personality to our shelf. With a little creativity, we can turn our shelf into a stunning display piece that showcases our unique style and creativity.
Frequently Asked Questions
How to Make Antique Corbels?
We're excited to start creating our own antique corbels! To begin, we'll craft them in 3 pieces using different wood widths.
We'll cut patterns slightly smaller than the wood, using tools like jigsaws or scroll saws. Sanding, assembling with builders adhesive, and finishing nails are essential steps.
We'll fill nail holes with wood putty and add molding for a polished look. Finally, we'll use chalk paint with layered colors and distressing techniques to achieve that aged, antique appearance.
How to Build a Shelf Step by Step?
Did you know that 75% of homeowners consider DIY projects, like building a shelf, a great way to personalize their living space?
Now, let's get started!
To build a shelf step by step, we'll begin by determining the shelf's size and material. We'll cut the wood to size, sand it smooth, and assemble the shelf frame.
Next, we'll attach the shelf boards, add supports if needed, and finally, attach the shelf to the corbels.
How to Use Corbels as Shelf Brackets?
We're excited to explore how to use corbels as shelf brackets! Essentially, we attach corbels to the wall, then place the shelf on top.
It's important to verify the corbels are level and securely fastened to support the weight of the shelf and its contents.
How to Antique a Wood Shelf?
As we commence on this DIY journey, we're reminded of the wise words of Leonardo da Vinci, 'Nature is the source of all true knowledge.'
When it comes to antiquing a wood shelf, we're not trying to recreate nature, but rather, enhance the natural beauty of the wood.
To do this, we start by pre-staining the shelf for even absorption, then apply the stain evenly in the direction of the wood grain, ensuring complete coverage.
Conclusion
With our corbels and shelf now complete, we've crafted a timeless treasure that whispers stories of the past. Like a masterful puzzle, each piece fits together seamlessly, a confirmation of our DIY prowess.
As we step back to admire our handiwork, we're met with a sense of pride and accomplishment, our creation a true work of art that exudes warmth and character.
- About the Author
- Latest Posts
Introducing Ron, the home decor aficionado at ByRetreat, whose passion for creating beautiful and inviting spaces is at the heart of his work. With his deep knowledge of home decor and his innate sense of style, Ron brings a wealth of expertise and a keen eye for detail to the ByRetreat team.
Ron’s love for home decor goes beyond aesthetics; he understands that our surroundings play a significant role in our overall well-being and productivity. With this in mind, Ron is dedicated to transforming remote workspaces into havens of comfort, functionality, and beauty.
Decor
How to Throw a Garden Party on a Budget
Create a stunning garden party on a shoestring budget with these creative DIY decorations, affordable eats, and ambiance-boosting tricks.
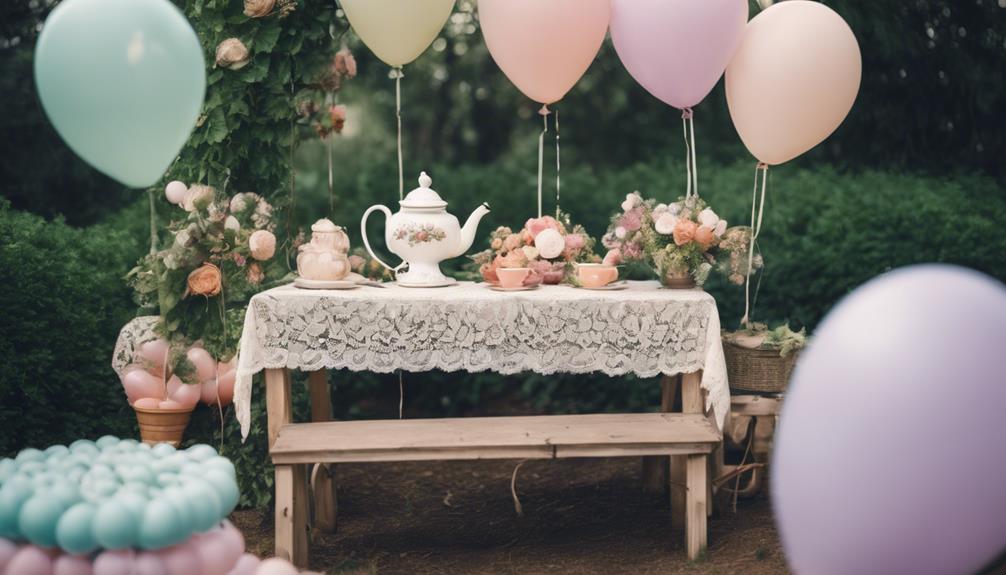
We can throw a stylish garden party on a budget by getting creative with DIY decorations, budget-friendly food and drinks, and affordable ambiance. We can repurpose thrift store finds, use vintage tea cups, and incorporate free garden flowers to create a charming atmosphere. Serving bite-sized delights, cupcakes, and cost-effective drinks like white wine can also help us stay within budget. To create a cozy ambiance, we can use string lights, votive candles, and wire string lights. With a little resourcefulness, we can create an unforgettable garden party without breaking the bank. Now, let's explore more ideas to make our party a memorable one.
Key Takeaways
• Repurpose thrift store finds and vintage items to create unique decorations that fit your garden party theme.
• Focus on budget-friendly food and drinks, such as bite-sized delights, salads, sandwiches, and cupcakes, to save on costs.
• Create a warm ambiance with strategic lighting choices, including string lights, votive candles, and wire string lights in lanterns.
• Set up DIY stations, such as a flower crown station, terrarium-making station, and plant potting station, to keep guests entertained.
• Opt for inexpensive paper plates, napkins, and tableware in fun colors to add a pop of color and create a cozy atmosphere.
DIY Decorations on a Shoestring
We can create a beautiful and unique garden party atmosphere without breaking the bank by repurposing thrift store finds and incorporating affordable decorative elements.
One of the best ways to do this is by utilizing thrift store finds for pots, plant stands, vintage tea cups, and saucers to save on decor costs. We can also incorporate glass decanters for a vintage garden party feel without breaking the budget.
Additionally, using flowery lace fabrics, table runners, and tablecloths can give our party an Anthropologie vibe at a lower cost. To add a floral touch, we can decorate with free garden flowers in small jars or vases for a budget-friendly option.
Finally, choosing inexpensive paper plates and napkins in fun colors can add a pop of color to our party without spending a lot. By incorporating these DIY decorations, we can create a stunning garden party on a shoestring budget.
With a little creativity, we can transform our outdoor space into a beautiful and unique setting that our guests will surely remember.
Budget-Friendly Food and Drinks
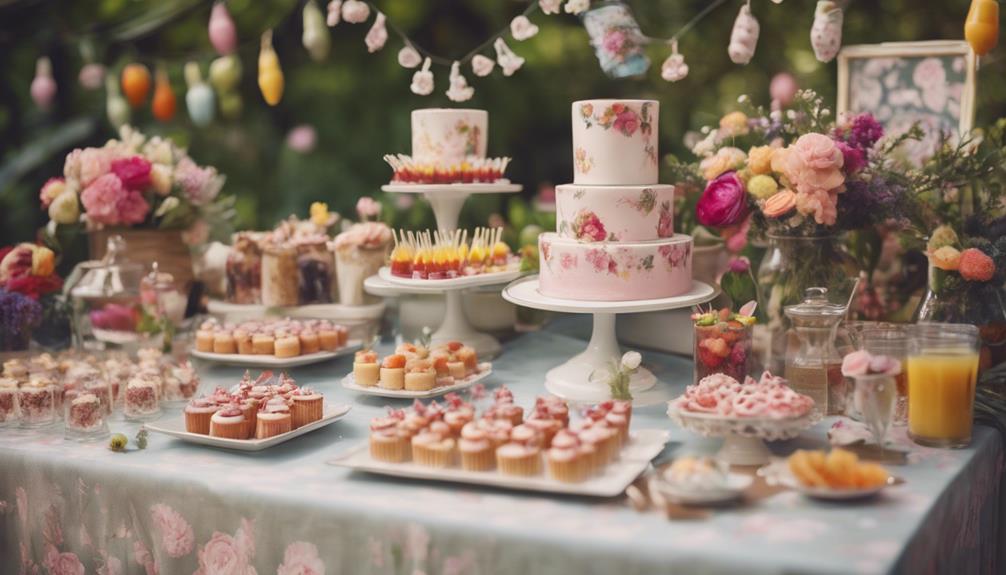
By focusing on bite-sized delights and clever drink concoctions, we can indulge our guests without breaking the bank. To keep food costs down, we opt for budget-friendly finger foods like salads, sandwiches, and petite fours.
For a stylish and affordable dessert option, we feature cupcakes as the main attraction. When it comes to drinks, we stick to cost-effective choices like white wines and Raspberry Beer Vodka lemonade.
To inspire creativity and save money, we provide recipe ideas for a shabby-chic garden party on a budget. By sticking to a simple menu, we reduce stress and focus on enjoying the party without breaking the bank.
With these budget-friendly food and drink options, we can create a memorable and stylish garden party without overspending. By keeping things simple and affordable, we can relax and enjoy the company of our guests, surrounded by the beauty of nature.
Affordable Ambiance and Lighting
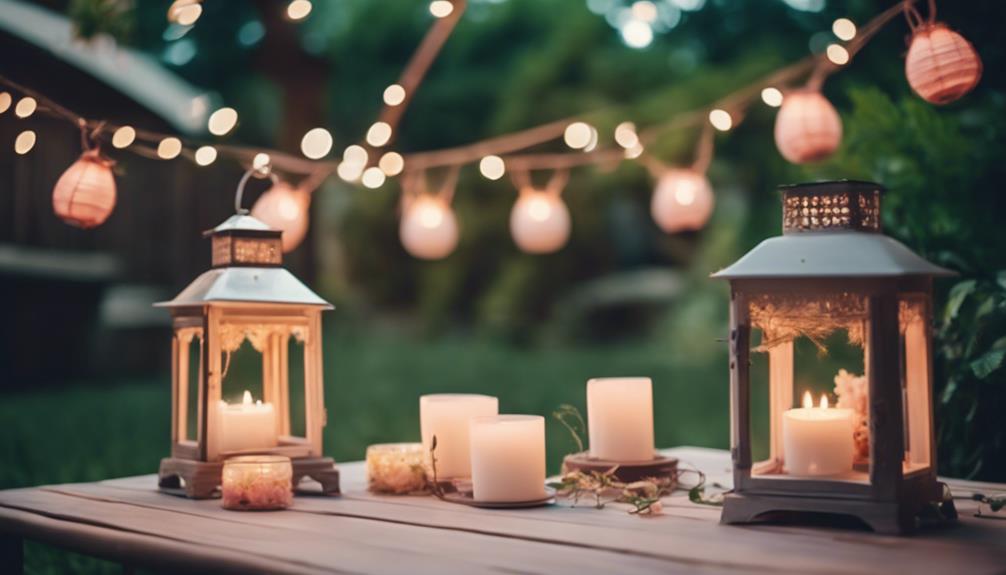
Transforming our outdoor space into a warm and inviting oasis doesn't have to break the bank, as a few strategic lighting choices can make all the difference in setting the tone for our garden party.
We can create a charming atmosphere without overspending by incorporating affordable ambiance and lighting elements. String lights, for instance, can add a warm glow to our garden party without burning a hole in our pockets. We can hang them from the ceiling or wrap them around trees to create a cozy ambiance.
Candles, too, can be used to create a warm and inviting atmosphere. By placing votive candles in glass holders, we can add a touch of elegance to our outdoor space. Additionally, we can use wire string lights in lanterns to provide additional lighting, making our garden party feel more intimate and inviting.
Creative Entertainment Ideas
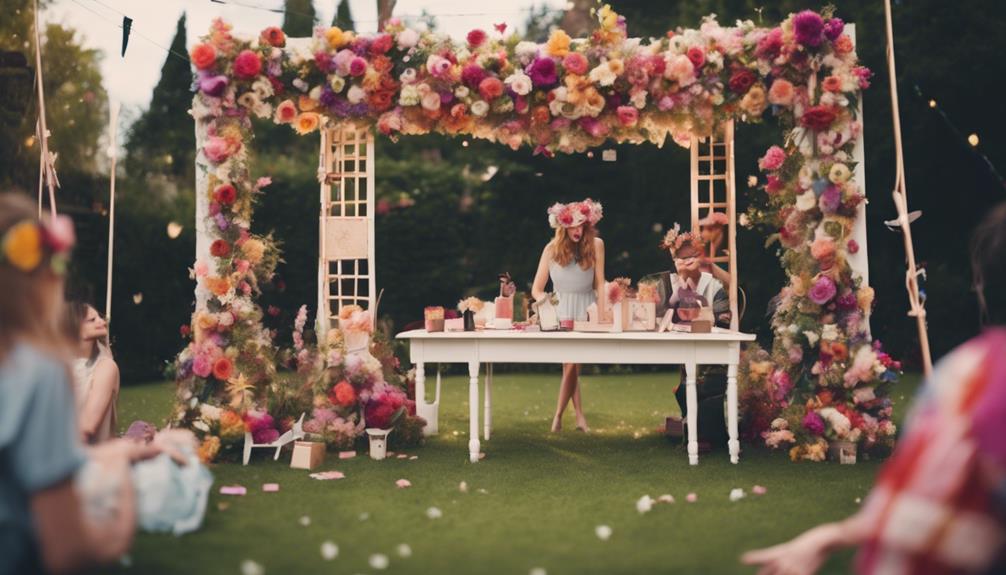
To keep our guests engaged and entertained, let's get creative with activities that are both fun and budget-friendly. Here are some creative entertainment ideas for our outdoor party:
| Activity | Description | Cost |
|---|---|---|
| DIY Flower Crown Station | Create your own floral headpiece | $5/guest |
| Garden Scavenger Hunt | Hidden treasures and clues throughout the outdoor space | $0 (use existing items) |
| DIY Terrarium-Making Station | Create a mini garden using affordable succulents and glass containers | $10/guest |
| Garden-Themed Photo Booth | Props like flower crowns, butterfly wings, and sun hats | $50 (setup) |
| Plant Potting Station | Pot your own plant to take home as a party favor | $5/guest |
These activities will not only keep our guests entertained but also provide a unique and memorable experience. The DIY terrarium-making station, for example, allows guests to take home their creations, making it a thoughtful party favor. By incorporating these creative entertainment ideas, we can create an unforgettable outdoor party on a budget.
Thrifty Tableware and Accessories
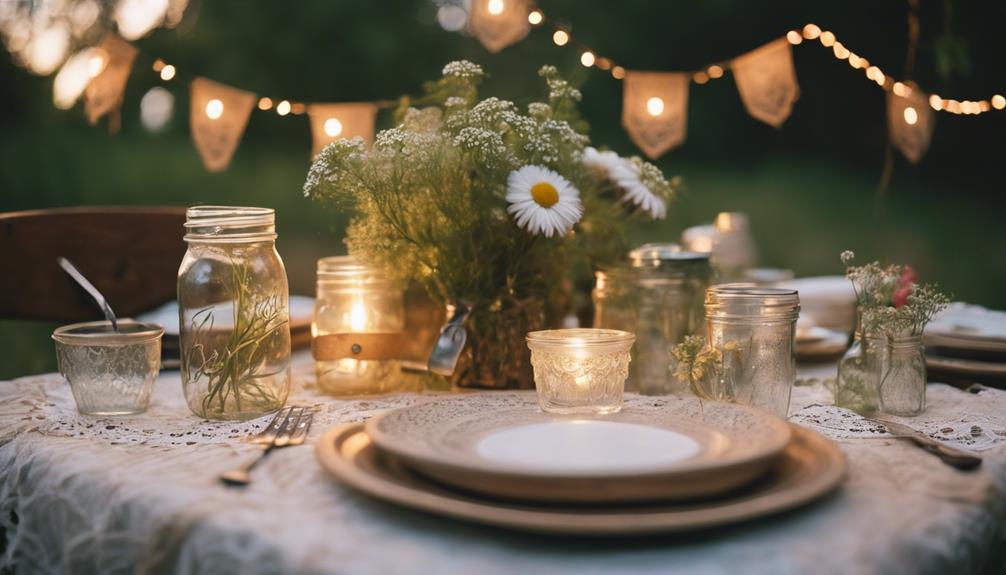
We're setting the scene for our outdoor party with thrifty tableware and accessories that exude style without breaking the bank.
For a garden party on a budget, we opt for inexpensive paper plates and napkins in fun colors to add a pop of color while staying on budget. Using paper products not only saves us money but also reduces waste, making it an eco-friendly choice.
To add a touch of elegance, we use filtered water in a pretty pitcher to serve our guests in style without breaking the bank.
To create a warm and inviting ambiance, we incorporate mood lighting with candles and twinkle lights, reminiscent of a home improvement project that adds a personal touch. Our party theme is all about creating a cozy atmosphere, making our guests feel like they're in a charming backyard oasis, perfect for social media-worthy moments.
By choosing durable and affordable tableware, we make it feel like a luxurious garden party without the hefty price tag.
Our privacy policy ensures we don't process personal data, and we only measure advertising performance to secure our party planning tips reach the right audience.
Frequently Asked Questions
How Do You Throw a Party With Little Money?
We've learned that throwing a party with little money requires creativity and resourcefulness.
We start by repurposing thrift store finds, like vintage tea cups and unique planters, to create unique decor. We opt for affordable paper plates and napkins in fun colors to add a pop of color.
By getting crafty and using free garden flowers, we create a charming ambiance without breaking the bank.
With these simple yet effective tips, we can host an unforgettable party on a shoestring budget.
How to Throw a Party in a Small Backyard?
Recognizing the importance of hosting a party in a small backyard is crucial. Strategic planning is necessary. To start off, we must acknowledge that space is limited, and we need to make the most of what we have.
How Do You Make a Garden Party Fun?
We make a garden party fun by incorporating engaging activities that encourage guest interaction. A hat contest or flower arranging station can be a great way to break the ice and create memorable moments.
We also set the tone with a themed playlist or live music, which helps to create a lively atmosphere.
How Do I Host a Party in My Garden?
We're excited to host a party in our garden, and the first step is to define the party's purpose and scope. Will it be an intimate gathering or a grand affair?
We need to determine the number of guests, preferred date, and time of day. Once we've these details, we can start planning the logistics, such as seating, food, and entertainment, to guarantee a memorable and enjoyable experience for our guests.
Conclusion
As we wrap up our garden party planning, remember, 'when life gives you lemons, make lemonade.' With these budget-friendly tips, you'll be sipping sweet tea and savoring the fruits of your labor in no time.
By getting creative with DIY decor, affordable food, and thrifty tableware, you'll be the host with the most – without breaking the bank.
So, take a deep breath, roll up your sleeves, and get ready to throw a garden party that's the cat's pajamas – on a shoestring budget, of course!
- About the Author
- Latest Posts
Introducing Ron, the home decor aficionado at ByRetreat, whose passion for creating beautiful and inviting spaces is at the heart of his work. With his deep knowledge of home decor and his innate sense of style, Ron brings a wealth of expertise and a keen eye for detail to the ByRetreat team.
Ron’s love for home decor goes beyond aesthetics; he understands that our surroundings play a significant role in our overall well-being and productivity. With this in mind, Ron is dedicated to transforming remote workspaces into havens of comfort, functionality, and beauty.
-

 Vetted5 days ago
15 Best Printers of 2024: Top Picks and Expert Reviews
-
 Vetted1 week ago
15 Best Tile Sealers for Long-Lasting Protection and Shine
-

 Vetted2 weeks ago
15 Best Smelling Floor Cleaners That Will Leave Your Home Fresh and Inviting
-

 Vetted1 week ago
14 Best Power Scrubbers for Showers That Will Transform Your Cleaning Routine
-
 Vetted2 days ago
15 Best Evergreen Plants for Shade Gardens: A Complete Guide
-

 Vetted2 days ago
15 Best LED Dimmer Switches With No Flicker: Ultimate Guide for a Flicker-Free Lighting Experience
-

 Mardi Gras Decoration4 days ago
What Do the Symbols of Mardi Gras Mean?
-

 Appliances1 week ago
5 Best Energy-Efficient Stainless Steel Fridges 2023


