Beginners Guides
How Hot Should a Griddle Be for Pancakes
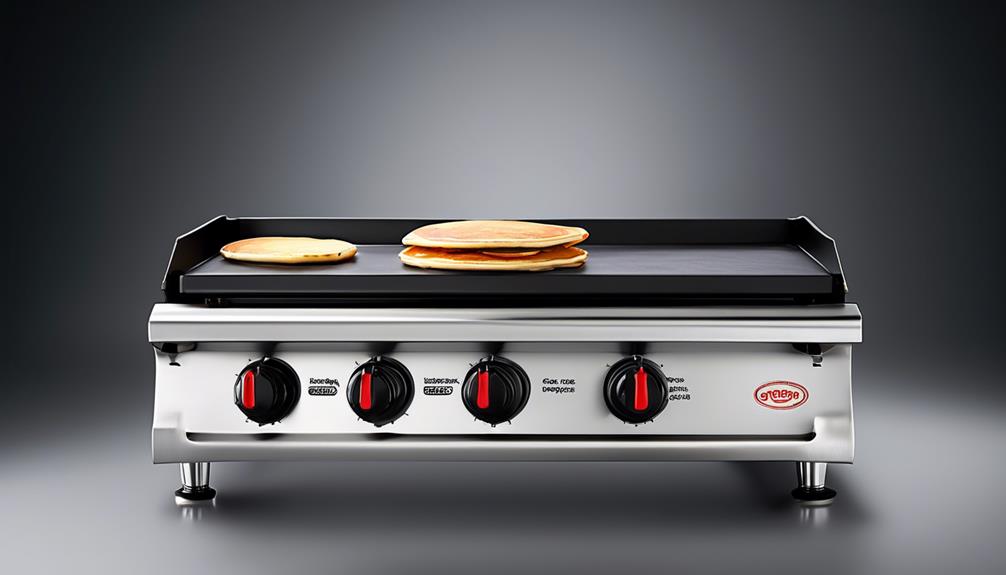
So, there I was, trying to make pancakes on a griddle for the first time, eager to flip those fluffy treats, only to wind up with a batch that was either burnt or undercooked.
It turns out, the secret to perfect pancakes lies in the temperature of the griddle. But how hot should it really be? Well, that's what we're here to uncover. Finding the ideal griddle temperature for pancakes can make all the difference between a golden-brown stack and a disappointing mess.
Stick around to discover the sweet spot and some handy tips for testing griddle heat, because nobody wants a pancake flop on their hands.
Key Takeaways
- Proper griddle temperature ensures evenly cooked pancakes with a golden-brown exterior and fluffy interior.
- The ideal griddle temperature for perfect pancakes is around 375°F (190°C).
- Mastering pancake making involves understanding the impact of griddle temperature on texture and consistency.
- Adjusting heat for different pancake types and ingredients is crucial for achieving optimal results.
The Importance of Griddle Temperature
Maintaining the proper griddle temperature is crucial for achieving perfectly cooked pancakes with a golden-brown exterior and a fluffy interior. Temperature control is the key to ensuring that pancakes cook evenly and develop the ideal texture.
When the griddle is too cold, the batter spreads too much before setting, resulting in thin and uneven pancakes. On the other hand, if the griddle is too hot, the exterior of the pancakes may burn before the interior is fully cooked. To achieve the perfect griddle temperature, it's essential to preheat the cooking surface to around 375°F (190°C). This temperature allows the pancakes to cook through without burning while still achieving a beautifully golden exterior.
The cooking surface of the griddle plays a critical role in maintaining the desired temperature. A heavy-duty, well-seasoned cast-iron griddle is ideal for retaining heat and distributing it evenly, ensuring consistent cooking. It's essential to monitor the griddle temperature throughout the cooking process and make adjustments as needed to maintain the optimal heat level.
Finding the Sweet Spot: Ideal Temperature Range
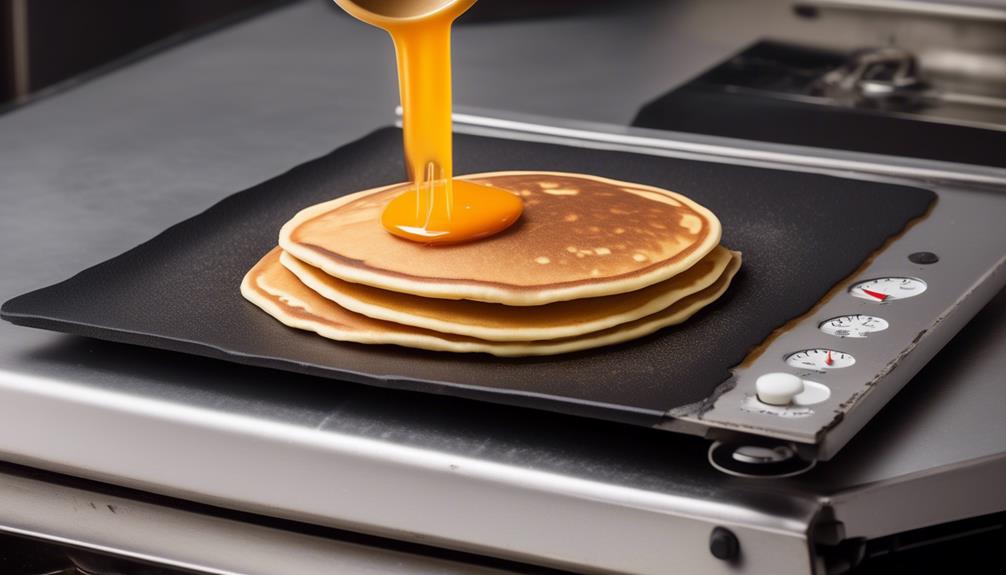
After experimenting with various griddle temperatures, we found the sweet spot for perfect pancakes is around 375°F (190°C). Achieving the ideal pancake texture and heat consistency depends on hitting this temperature range consistently. Here's what we learned:
- Pancake Texture: The 375°F (190°C) griddle temperature creates the perfect environment for pancakes to develop a golden-brown crust while ensuring the inside remains fluffy and fully cooked. Lower temperatures result in pale, soggy pancakes, while higher temperatures can cause the outside to burn before the inside is fully cooked.
- Heat Consistency: Maintaining a consistent griddle temperature is crucial for achieving uniform pancake texture. Fluctuations in temperature can lead to uneven cooking, resulting in pancakes that are overdone on the outside and undercooked on the inside. Using a griddle with even heat distribution and making minor adjustments to the temperature as needed can help maintain the desired consistency.
- Mastery: Mastering the art of pancake making involves understanding the impact of griddle temperature on texture and consistency. By honing your ability to control and maintain the griddle temperature within the optimal range, you can consistently create pancakes that are perfectly cooked with a delightful texture.
Finding the sweet spot for griddle temperature is a crucial step towards achieving pancake perfection.
Tips for Testing Griddle Heat
How can you ensure that your griddle has reached the ideal temperature for making perfect pancakes? Achieving the perfect griddle heat is crucial for evenly cooked, golden brown pancakes. To ensure uniform heat distribution and accurate testing, consider the following methods:
| Testing Method | Description | Advantages |
|---|---|---|
| Water Droplet Test | Drop a small amount of water onto the griddle surface. If the water droplets dance and evaporate quickly, the griddle is ready. | Quick, simple, and effective. |
| Flour Test | Sprinkle a pinch of flour evenly over the griddle. If the flour browns within 60 seconds, the griddle is at the right temperature. | Provides a visual cue for heat level. |
| Infrared Thermometer | Use an infrared thermometer to measure the surface temperature of the griddle. Aim for a temperature between 375°F to 400°F (190°C to 204°C) for pancakes. | Offers precise temperature readings. |
Adjusting Heat for Different Pancake Types
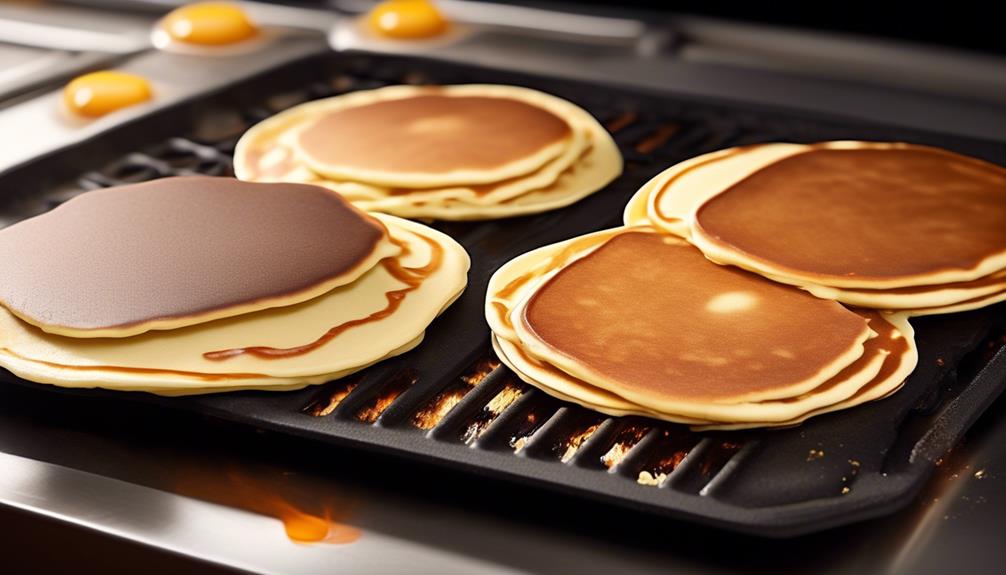
To achieve optimal results when making various types of pancakes, consider adjusting the griddle heat based on the specific characteristics of each type. Cooking techniques and batter consistency play a crucial role in determining the ideal heat level for different pancake varieties.
Here's a guide to adjusting griddle heat for various pancake types:
- Cooking Techniques and Batter Consistency: For thin and delicate crepes, a lower heat setting is preferred to ensure even cooking without burning. Thicker pancakes, like buttermilk or oatmeal varieties, benefit from a slightly higher heat to cook through without becoming dense.
- Ingredient Variations: Different ingredients, such as chocolate chips, fruits, or nuts, can affect the optimal heat levels. Ingredients with high sugar content can cause quicker browning, requiring lower heat to prevent burning. On the other hand, pancakes with added protein or fiber may need a slightly higher heat setting to ensure thorough cooking.
- Optimal Heat Levels: Experiment with heat adjustments based on the specific pancake recipe and ingredients. Understanding the impact of ingredients and batter consistency on cooking time and browning will help you determine the optimal griddle heat for different pancake types.
Common Mistakes and How to Avoid Them
Adjusting griddle heat for various pancake types is essential to avoid common mistakes that can affect the overall quality of the pancakes.
One common mistake is burning the pancakes due to excessive heat. To avoid burning, ensure that the griddle is preheated to the correct temperature for the specific type of pancake being cooked. Additionally, keep an eye on the pancakes while they cook, adjusting the heat as needed to prevent burning.
Another common mistake is achieving uneven browning. This can happen if the griddle heat isn't distributed evenly, or if the batter isn't spread out uniformly. To achieve even browning, make sure the griddle is heated evenly before pouring the batter. Furthermore, use a ladle or measuring cup to pour the batter onto the griddle, allowing it to spread naturally into a round shape. Avoid pouring too much batter in one spot, as this can result in uneven cooking and browning.
Frequently Asked Questions
Can I Use a Griddle for Pancakes on an Electric Stove?
Yes, we can use a griddle for pancakes on an electric stove. When using an electric stove, it's important to preheat the griddle on medium heat to ensure even cooking and prevent the pancakes from sticking.
A helpful tip for pancake flipping is to wait until bubbles form on the surface before flipping, ensuring they're cooked through.
This method on the electric stove yields perfectly cooked pancakes.
How Long Should I Preheat the Griddle Before Cooking Pancakes?
Before cooking pancakes, we usually preheat the griddle for about 10-15 minutes to ensure the surface reaches the optimal temperature. This also helps with griddle maintenance, as it allows for even heat distribution.
It's crucial for achieving the perfect pancake flipping technique and ensuring the batter consistency is just right.
Once cooked, we love experimenting with various pancake toppings and presentation ideas.
If you're interested, we also have some amazing gluten-free pancake recipes to share!
Is It Better to Use a Non-Stick Griddle or a Cast Iron Griddle for Making Pancakes?
When deciding between non-stick and cast iron griddles for pancakes, the best temperature is around 350-375°F.
Both types have their benefits; non-stick griddles are easy to clean and require less oil, while cast iron griddles offer even heat distribution and durability.
For health concerns, some prefer non-stick for low oil use, while others worry about potential non-stick coating chemicals.
Ultimately, it's about personal preference and maintenance.
Should I Use Butter, Oil, or Cooking Spray to Grease the Griddle for Cooking Pancakes?
We've found that using butter, oil, or cooking spray to grease the griddle can greatly affect the outcome of your pancakes.
Each option has its pros and cons. Butter adds a rich flavor but has a lower smoke point. Oil has a higher smoke point, but may not provide the same flavor as butter. Cooking spray is convenient but can leave a slight residue.
For the best temperature, aim for 375°F for a golden brown, evenly cooked pancake.
Can I Use a Griddle for Making Other Breakfast Foods, Like Eggs or Bacon, at the Same Temperature Used for Pancakes?
When it comes to the cooking temperature, it's important to adjust it when making different breakfast options on a griddle.
For eggs, a lower temperature works best to avoid burning and ensure even cooking.
Bacon, on the other hand, benefits from a slightly higher heat for that perfect crispiness.
It's all about finding that sweet spot to achieve delicious results with each breakfast item.
What’s the Ideal Griddle Temperature for Cooking Perfect Pancakes?
The ideal pancake griddle temperature is around 375°F to 385°F. This allows for nice browning on the outside while ensuring the inside cooks through. It may take some trial and error to find the perfect temperature for your specific griddle, but aiming for this range is a good starting point.
Conclusion
So, there you have it – finding the perfect griddle temperature for making pancakes is like finding the perfect balance in a dance.
It's all about that sweet spot where the batter sizzles and sizzles just right, creating golden, fluffy pancakes that make your taste buds do a happy little jig.
With a little practice and some temperature testing, you'll be flipping out perfect pancakes in no time.
Happy cooking!
- About the Author
- Latest Posts
Introducing Ron, the home decor aficionado at ByRetreat, whose passion for creating beautiful and inviting spaces is at the heart of his work. With his deep knowledge of home decor and his innate sense of style, Ron brings a wealth of expertise and a keen eye for detail to the ByRetreat team.
Ron’s love for home decor goes beyond aesthetics; he understands that our surroundings play a significant role in our overall well-being and productivity. With this in mind, Ron is dedicated to transforming remote workspaces into havens of comfort, functionality, and beauty.
Beginners Guides
Tips for Painting a Couch

Here are some crucial pointers, whether you are painting a sofa or altering its color. It is essential to utilize only high-quality paint. Paint composed of low-quality materials will not yield the same results and will likely crack once dried. For upholstery, it is recommended to use fabric paint for optimal results. This will provide a seamless finish without making the sofa feel stiff.

Chalk paint on a couch
Before applying chalk paint on a couch, it is important to prepare the surface. To remove paint, use Goo Gone and wash the surface with warm water. Dry the piece completely. Lightly sand any areas that are rough with 220 grit paper. The entire couch doesn’t have to be sanded.
After you have prepared the surface you can paint the couch. A spray bottle or a brush are the best tools for applying the paint. This will allow the paint to penetrate fabric fibers. Even after multiple coats, it will last for years. To reach into buttons and crevices, you can use a paintbrush. Between coats, let the fabric dry completely. To protect your couch, apply a clear wax.
Oil-based paint
If you are looking for a long-lasting finish, oil-based paint is the best choice. It adheres to most surfaces and leaves a rich, lacquer-like appearance. This is the best option for high-traffic areas like a couch. You can also get this type of paint in flat, satin, or glossy finishes.
Before you start painting, be sure to understand the differences between oil and water-based paints. Water-based paint won’t stick well to oil-based paintings. Use rubbing alcohol to test the paint’s adhesion. Dip a white cloth in rubbing alcohol, and rub the wall with it. Water-based paints will transfer to a clean cloth easily, while oil-based paints will not.
Use fabric paint
If you want to paint your couch using fabric paint, you will need some basic tools. To paint the upholstery with fabric paint, you will need a nylon paintbrush, a drop cloth and a paint container. To add durability and prevent the paint from peeling, you may use sealing wax. To ensure that the paint spreads evenly, you may want to dampen your fabric with plain water.
After you’ve painted your couch, allow it to dry completely before applying the second layer. You should wait no more than an hour between each coat to ensure the paint does not dry too quickly.
Sanding
These are some helpful tips for painting a couch. Preparing furniture for painting is as simple as sanding. This is essential as you will want to inspect the final product before you start. It is important that you see the finished piece before you start painting.
Sanding furniture is crucial to ensure paint adheres properly. This will ensure that your new coat of paint will adhere to the furniture with a smooth and even finish. The furniture can be sanded with either an orbital or hand sander, depending on its condition. You will need 150-grit Sandpaper for this step. You can also use sanding blocks to reach hard-to-reach places.
Use a tack cloth
You can make your own tackcloth if you don’t have enough money to purchase a professional painter’s cloth. The basic cloth should measure approximately twelve by twenty-four inches. It doesn’t matter what size you choose. Just soak it in water, then dry it. Fold it in multiple layers.
It is not difficult to choose a tackcloth, but it is essential to do your research. It is crucial to make sure that the tackcloth doesn’t leave wax residue after drying, and doesn’t bleed paint. Tack cloths are suitable for small projects but professionals might prefer them for larger surfaces.
Use milk paint to cover a couch
Milk paint is a great way to give your couch a distressed appearance. Milk paint, which is thinner than regular paint, leaves the wood grains visible. This allows you to layer and distress. This can be applied to a sofa or couch with ease.
The first coat may appear streaky. Apply another coat to even out the color. Remember that milk paint can be porous so it must be sealed. It’s easy and shouldn’t take too much time.
Oil-based paint for leather couches
Oil-based paints can stain leather couches. There are methods to clean it. First, you need to dissolve the oil in the paint with a special solvent. This should remove most of the stain. Hydrogen peroxide can also be used to remove stubborn stains.
It is harder to remove oil-based paint than water-based. It is important to remove all paint from your couch. It’s not difficult if you act quickly. Once the paint dries, it will be more difficult to remove. Most paint stains can be removed with olive oil and soap. If you have a stubborn stain you can use an edged tool.
- About the Author
- Latest Posts
Introducing Ron, the home decor aficionado at ByRetreat, whose passion for creating beautiful and inviting spaces is at the heart of his work. With his deep knowledge of home decor and his innate sense of style, Ron brings a wealth of expertise and a keen eye for detail to the ByRetreat team.
Ron’s love for home decor goes beyond aesthetics; he understands that our surroundings play a significant role in our overall well-being and productivity. With this in mind, Ron is dedicated to transforming remote workspaces into havens of comfort, functionality, and beauty.
Beginners Guides
Craft Paint Storage
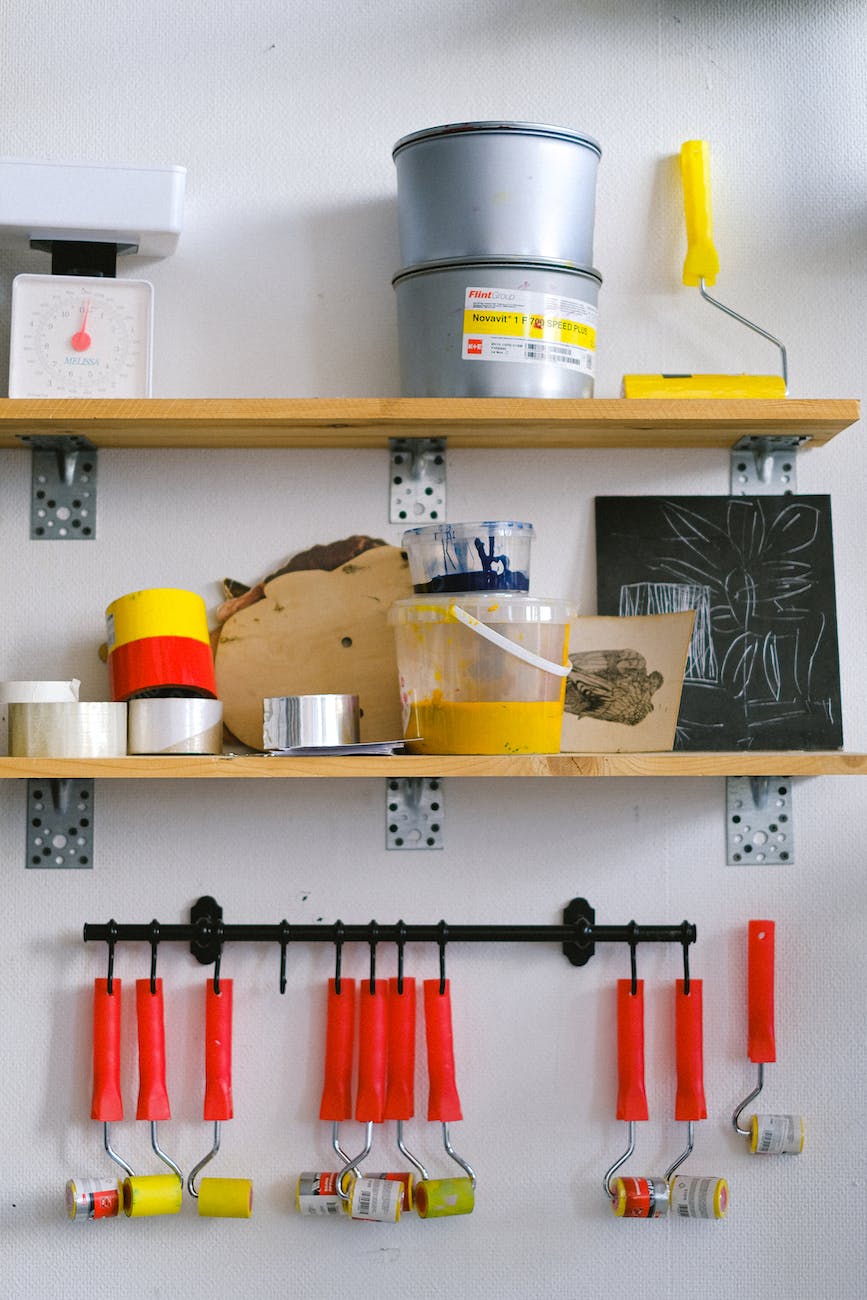
You should maintain the quality of your craft paints by storing them in a designated paint storage unit. A rotating organizer like the Craft Smart Paint Storage Spinner is an ideal choice. These units assist in organizing your paints for easy access and help in keeping them dry, which is crucial for preserving their quality.
Plydolex Army Painter
The Plydolex Army Painting Rack is a great storage solution and can store a variety of art supplies. It can store up to 74 paint bottles and 14 paint brushes. The organizer’s solid wood construction makes it durable and will last for many years. The Plydolex army painting wooden paint storage rack is a better option if you need a permanent solution to your paint and art supplies.
The right size Plydolex army paint rack is crucial. There are many sizes available so that you don’t run out paint storage space. The large holes make it easy to store larger bottles of paint, while the smaller holes can hold smaller ones.
The corner Plydolex storage rack for paint has 18 large holes to hold larger paint bottles. You can also use the fourteen smaller holes to store dropper-style paint containers. The rack’s design makes it easy to find paints and keeps them organized.
Citadel army painter
Dropper bottles are a great option for those looking to store their Citadel army colors. Dropper bottles work better than pots, and they will keep your paints from leaking, especially if your cat likes to mess up whenever he can. This paint storage solution has another advantage: It is compact. The 5mm thick PVC is light, waterproof, anti-corrosion and water-resistant. Although it is an excellent storage solution, it may not be compatible with all paints.
The Citadel paint set includes 48 pots of paint in three ranges: Shade, Layer, and Base. A sturdy plastic box holds two racks of twenty-one paints each. The lid has a handy tray that makes it easy for you to pick up and place the paints after use.
Citadel provides a paint storage system that is suitable for army painters. Modular design of the paint station allows you to store 30 different paints. The kit also comes with 7 paint brushes and a water bottle. The package also contains a painting guide. It is important to note that Citadel paint storage units may not be the only option on the market.
Citadel army paints are available in many gaming shops around the world. However, messy paints can result from pouring the paint into the pot. The paints will dry quicker if this is done. This is not recommended to paint large buildings or vehicles. This can cause more mess and dry paints faster.
- About the Author
- Latest Posts
Introducing Charles, the Editor in Chief at ByRetreat, whose passion for interior design and editorial excellence elevates every remote workspace to new heights. With his keen eye for detail, impeccable taste, and expertise in design, Charles brings a wealth of knowledge and creativity to the ByRetreat team.
As the Editor in Chief of a renowned lifestyle blog, Charles has honed his skills in curating captivating content and staying up-to-date with the latest trends in interior design. His deep understanding of aesthetics and the power of storytelling through design enables him to create remote workspaces that are not only visually stunning but also rich in personality and meaning.
Beginners Guides
How to Distress Your Kitchen Cabinets With Chalk Paint
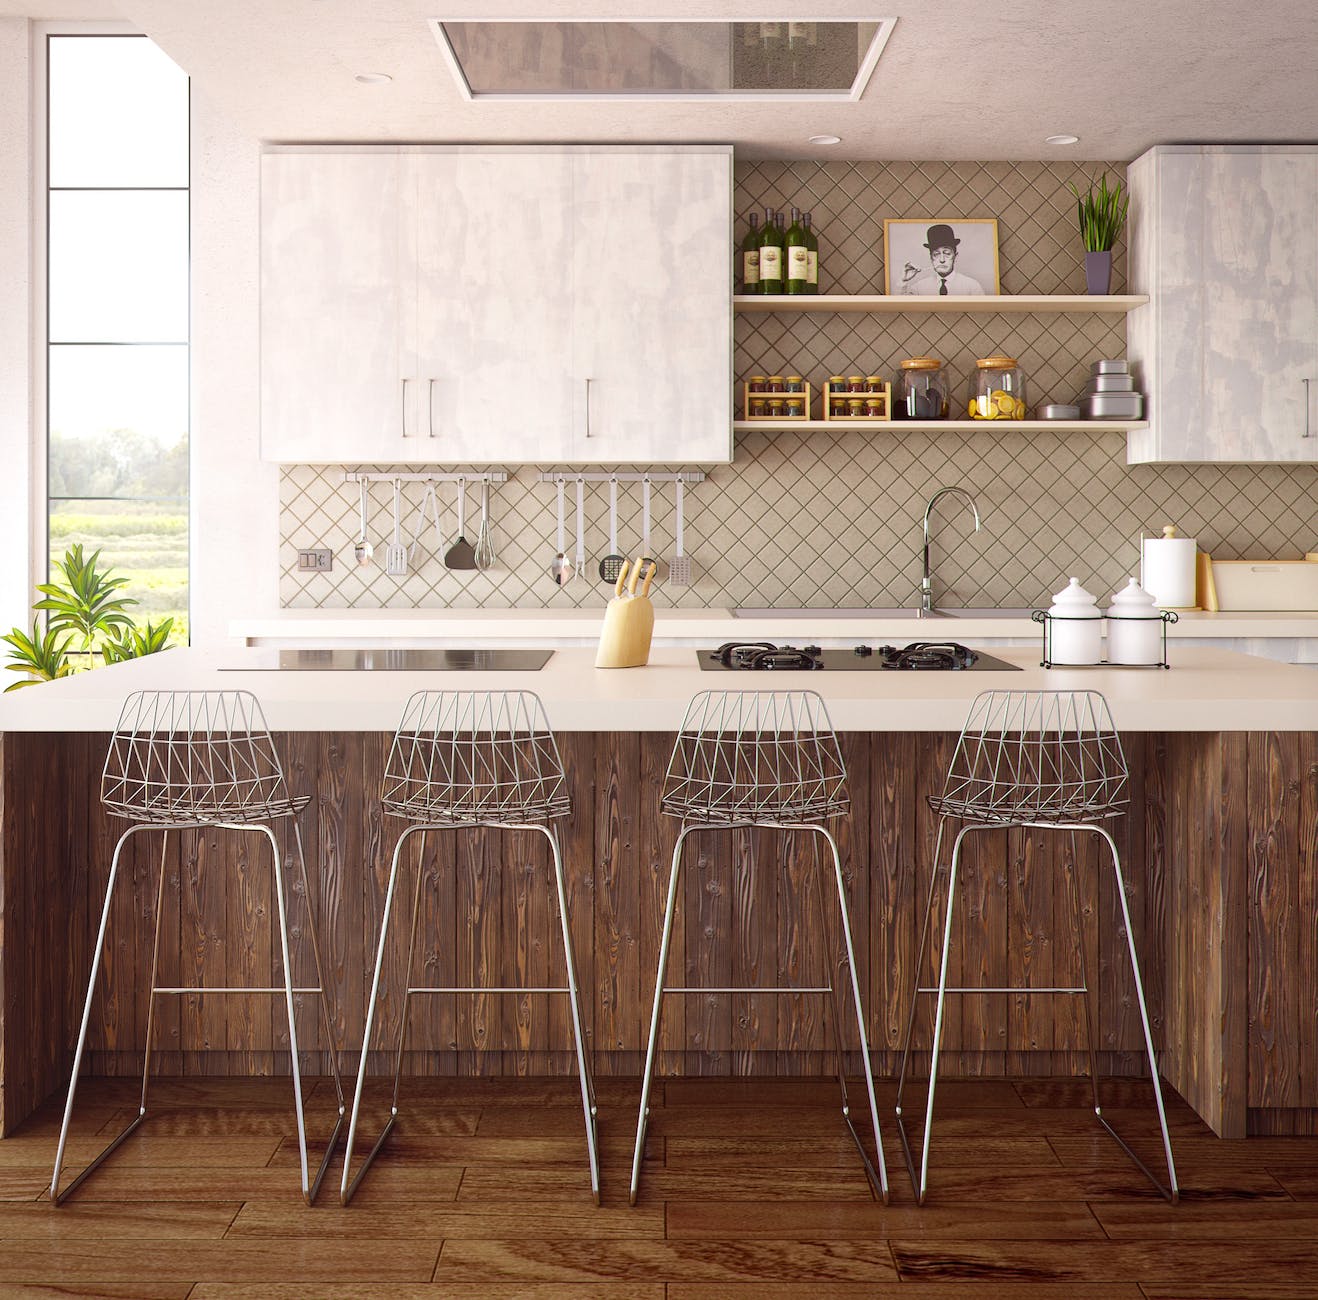
Chalk paint is the top option for achieving a distressed look on your kitchen cabinets. This environmentally-friendly, low VOC paint is simple to clean and can be applied with a sprayer or brush in a variety of colors.
You can distress your kitchen cabinets with chalk paint

You can distress your kitchen cabinets with Chalk Paint. This is a great method to update your kitchen decor. Chalk paint is a special type of flat paint that sticks to almost all surfaces. After the painting is complete, you’ll need to apply a protective coat. Varathane Water-based Top Coat Matte is an option to achieve a matte look.
Preparing your cabinets for painting is important. Wash them with soap and water before you start. If you find any areas that are not showing through, spot-priming might be required. You will need to paint two to three coats. To achieve distressed effects, you can layer more than one colour.
You can distress your kitchen cabinets using chalk paint to give them a matte finish. However, you should seal them with a protective wax. It will protect them from staining or scratching. This protects paint but needs to be maintained. Wax is not heat resistant so you may need to reapply it occasionally.
Preparation
Before you paint your kitchen cabinets with chalk paint, it is important to prepare them. The paint will dry completely in approximately two weeks. Before applying the second coat, it is important that the first coat has dried completely. You can seal the paint with a lacquer, or clear wax if you prefer a traditional mellow finish.
Clean the surface before you begin chalk paint kitchen cabinets preparation. Although you can apply the paint to almost any surface, it’s best to have a smooth one. Sand the cabinet surface before you apply the paint. Fill in any gaps. Prime any areas not covered by paint. Apply two coats or more of paint to cover the entire area. To prevent chipping, you can add a wax topcoat after the paint dries.
You may need to fill in any gouges or scratches that are deep and rough if the surface is bare. You can cover small imperfections because chalk paint is thicker and more durable than regular paint. The paint will leave a rough finish.
Dry time
It is important to understand the drying time of chalk paint before you begin to paint your kitchen cabinets. It’s likely that the first coat will be streaky, so use it as a primer before you apply the second coat.
Chalk paint can be used on kitchen cabinets easily. It is easy to transform your kitchen’s appearance without spending too much. You can select from multiple colors and apply multiple layers. To achieve a distressed look, you can also use milk paint.
You must clean your cabinets thoroughly before applying chalk paint. You can’t let the paint show through if you don’t clean your cabinets well. You can use a degreasing product to clean the cabinets. You can wipe the cabinets clean using shop cloths. Repeat this process several times.
Sealing
To ensure that chalk paint kitchen cabinets lasts a long time, it is important to seal them. You can paint your cabinets to create an elegant farmhouse appearance or practical reasons. You should sand any damaged or patched areas before applying the sealer.
To seal your cabinets, you can use wax or polycrylic. Although wax is not as durable as acrylic, it will not yellow over time. If you decide to stick with wax, you will need to apply it again every few months. If you live in an area with high traffic, polycrylic is the best choice.
To preserve the new look, seal them with clear wax or lacquer after the chalk paint has been applied. Waxes provide a warm and tactile finish. Water-based polycryics, however, are more flexible. Before applying the second coat, let the polycryics dry completely.
- About the Author
- Latest Posts
Introducing Ron, the home decor aficionado at ByRetreat, whose passion for creating beautiful and inviting spaces is at the heart of his work. With his deep knowledge of home decor and his innate sense of style, Ron brings a wealth of expertise and a keen eye for detail to the ByRetreat team.
Ron’s love for home decor goes beyond aesthetics; he understands that our surroundings play a significant role in our overall well-being and productivity. With this in mind, Ron is dedicated to transforming remote workspaces into havens of comfort, functionality, and beauty.
-
 Vetted5 days ago
15 Best Boxwood Varieties for Thriving in Full Sunlight
-

 Decor12 hours ago
Are Home Decor Stores Profitable?
-

 Vetted1 week ago
15 Best Ways to Label Clothes for Nursing Home Residents – Stay Organized and Efficient
-

 Vetted7 days ago
15 Best Dryer Vent Hoses to Keep Your Laundry Room Safe and Efficient
-

 Vetted7 days ago
15 Best Spider Sprays to Keep Your Home Arachnid-Free
-
 Vetted6 days ago
14 Best Cleaners for Aluminum Surfaces – Shine Bright Like a Diamond
-

 Vetted6 days ago
15 Best Nightstand Charging Stations to Keep Your Devices Organized and Ready to Go
-
 Vetted2 days ago
15 Best Ways to Waterproof Wood for Ultimate Protection and Longevity


