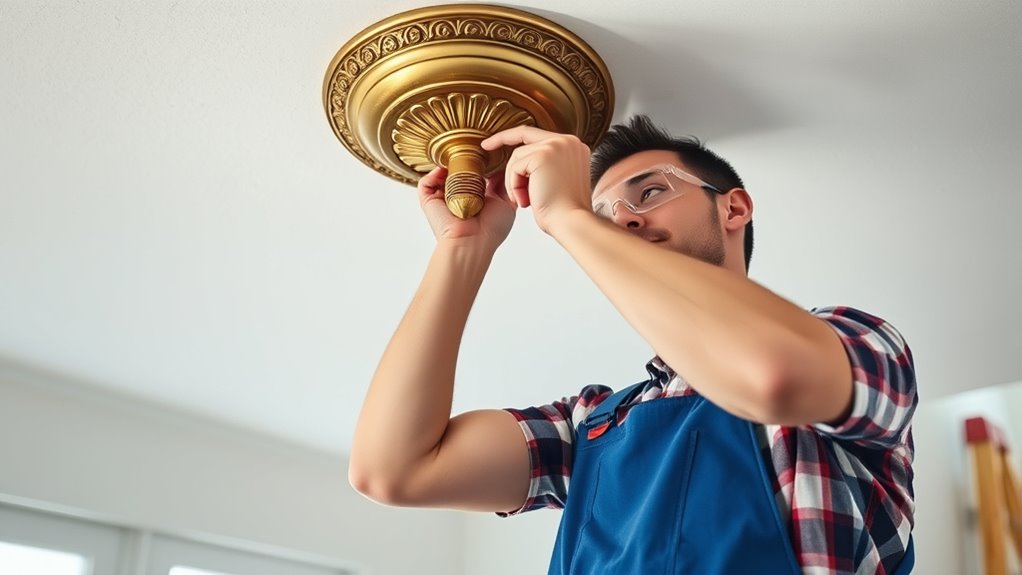

To replace a light fixture safely, first turn off the power at the circuit breaker and use a voltage tester to confirm it’s off. Carefully remove the old fixture, noting wiring connections or taking a photo for reference. Follow the manufacturer’s instructions to install the new fixture, guaranteeing all wires are securely connected and insulated. Once everything is in place, turn the power back on and test the fixture. Continue to ensure safety and correct procedure for a trouble-free installation.
Key Takeaways
- Turn off the circuit breaker and verify power is off with a voltage tester before removing the old fixture.
- Use insulated tools and handle wires carefully, avoiding contact with exposed conductors.
- Photograph or note wiring connections before removal to ensure correct installation of the new fixture.
- Secure all wire connections with wire nuts and mount the fixture firmly per manufacturer instructions.
- Turn the power back on and test the fixture, rechecking connections if it doesn’t operate properly.
Replacing a light fixture is a straightforward project that can instantly update the look of any room. However, it’s essential to prioritize safety and choose the right tools before beginning. Taking a few precautions ensures your project goes smoothly and safely. First, turn off the power at the circuit breaker. Never attempt to work on electrical fixtures without cutting the power; this prevents the risk of electric shock. Use a voltage tester to double-check that the circuit is de-energized before touching any wires. This small step can save you from potential injury.
Always turn off the power and verify with a voltage tester before working on electrical fixtures.
Next, think about your tool selection. You’ll need a sturdy ladder if the fixture is ceiling-mounted, along with basic hand tools like a screwdriver, wire strippers, and possibly pliers. Choose screwdrivers that fit the screws properly to avoid stripping them. If your fixture has a decorative cover or complex wiring, having a voltage tester and possibly wire nuts on hand is wise. For safety and efficiency, opt for insulated tools designed for electrical work—they provide extra protection against accidental shocks. If you’re working with a more complex fixture or unfamiliar wiring, consider having a multimeter to verify connections. Proper tool selection minimizes risks and makes the process smoother.
Before you start removing the old fixture, verify the power remains off. Remove any bulbs and fixtures carefully, taking note of how the wiring is connected. It’s helpful to take a photo for reference when installing the new fixture. When handling the wires, avoid touching exposed conductors, and keep the workspace dry. If your fixture is heavy or awkward to handle, ask someone to assist you to prevent accidents. Always keep your workspace organized—lay tools within reach and keep the area clear of clutter to avoid tripping hazards. Additionally, understanding air purifier maintenance can help you recognize the importance of proper care and safety considerations for your home appliances.
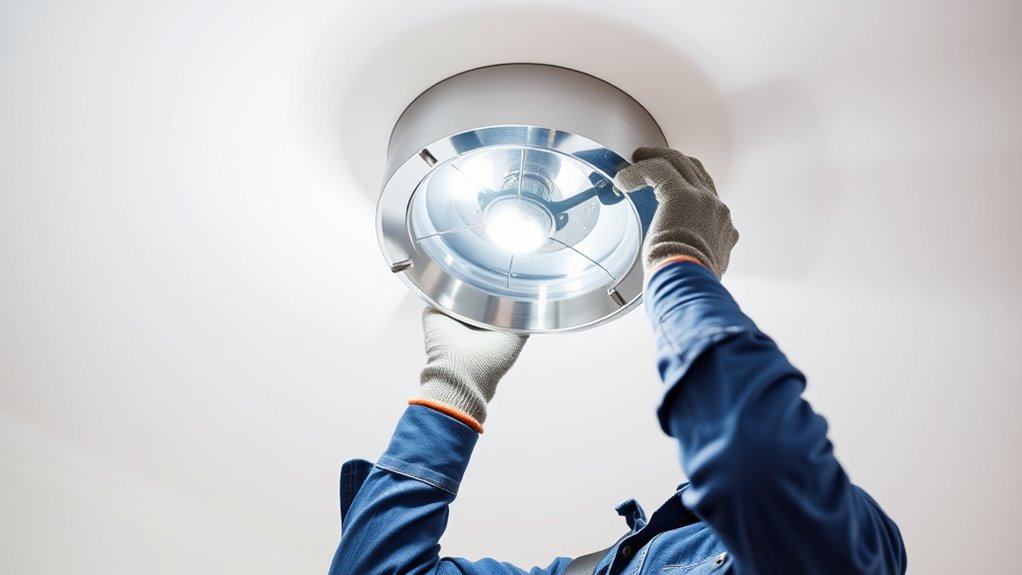
Once you’ve disconnected the old fixture and prepared the wiring, proceed with installing the new one. Follow the manufacturer’s instructions carefully, ensuring all wire connections are secure and properly insulated with wire nuts. Double-check that the fixture is mounted firmly and that no wires are exposed. After installation, turn the power back on at the circuit breaker and test the fixture. If it doesn’t light up, turn the power off and recheck your connections. Remember, if you’re unsure about any step or encounter unexpected wiring, it’s wise to consult a professional electrician.
Frequently Asked Questions
Can I Replace a Light Fixture Without Turning off the Power?
You shouldn’t replace a light fixture without turning off the power because electrical safety is essential. Working on DIY lighting projects with the power still on risks electrical shock or fire. Always switch off the circuit breaker before starting, and double-check that the power is off using a tester. Taking these precautions guarantees your safety while you upgrade or replace your light fixture.
What Tools Are Necessary for Replacing a Light Fixture?
Like a craftsman with a toolkit, you’ll need a few essentials to replace a light fixture. Grab a wire stripper to carefully remove insulation from wires, and a voltage tester to verify power’s off before you begin. A screwdriver is vital for loosening and tightening fixtures, while pliers can help with gripping wires. With these tools in hand, you’ll confidently replace your fixture and brighten your space safely.
How Do I Identify the Correct Wattage for a New Fixture?
You identify the correct wattage for your new fixture by checking the fixture labeling, which clearly states the maximum wattage allowed. Always make certain wattage compatibility with your existing electrical system to prevent hazards. If the label isn’t clear, consult the manufacturer’s guidelines or a professional. Staying within the specified wattage protects your fixture, wiring, and overall safety, so always double-check before installing.
Is It Safe to Replace a Fixture if I Have Limited Electrical Knowledge?
Think of electrical safety as steering a river—you need the right skills to stay afloat. If your electrical knowledge is limited, it’s best not to attempt DIY installation, as mistakes can be dangerous. You might save time now, but risking electrical hazards isn’t worth it. For your safety and peace of mind, hire a professional to replace your fixture. They understand wiring and make certain the job’s done safely and correctly.
What Should I Do if the Fixture’s Wires Are Damaged or Corroded?
If you find wire damage or corrosion, don’t ignore it. You should cut back corroded wires, strip the ends properly, and apply corrosion repair products if needed. For damaged wires, replace or repair them securely, ensuring all connections are tight. If you’re unsure about handling corrosion repair or wire damage, it’s best to hire a licensed electrician. Safety comes first—never compromise on proper repair techniques.
Conclusion
Now that you’ve replaced your light fixture, imagine the warm glow spreading across the room, casting soft shadows and brightening every corner. You’ve successfully swapped out the old for the new, creating a safer, more inviting space. With the flick of the switch, you control the ambiance, transforming your home one light at a time. Feel the satisfaction of a job well done, knowing you’ve made your space brighter and safer for everyone who steps inside.