
To fix squeaky floors from above, start by pinpointing noisy spots with careful footsteps and listen for shifting sounds. Tighten loose fasteners or add screws to secure the subfloor, and insert shims or blocks between joists if needed. You can also apply powdered graphite or talcum powder between the boards to reduce friction. For more effective and lasting results, discovering additional tips and techniques will help you silence your squeaks efficiently.
Key Takeaways
- Apply powdered graphite or talcum powder between floorboards to reduce friction and eliminate squeaks.
- Secure loose floorboards from above by driving finishing nails or screws through the surface into the joists.
- Use adhesive caulk or construction adhesive along seams to bond boards and prevent movement.
- Install shims or small blocks under loose or squeaky sections from above to stabilize the flooring.
- Add additional nails or screws into joists from above to tighten and secure the subfloor.
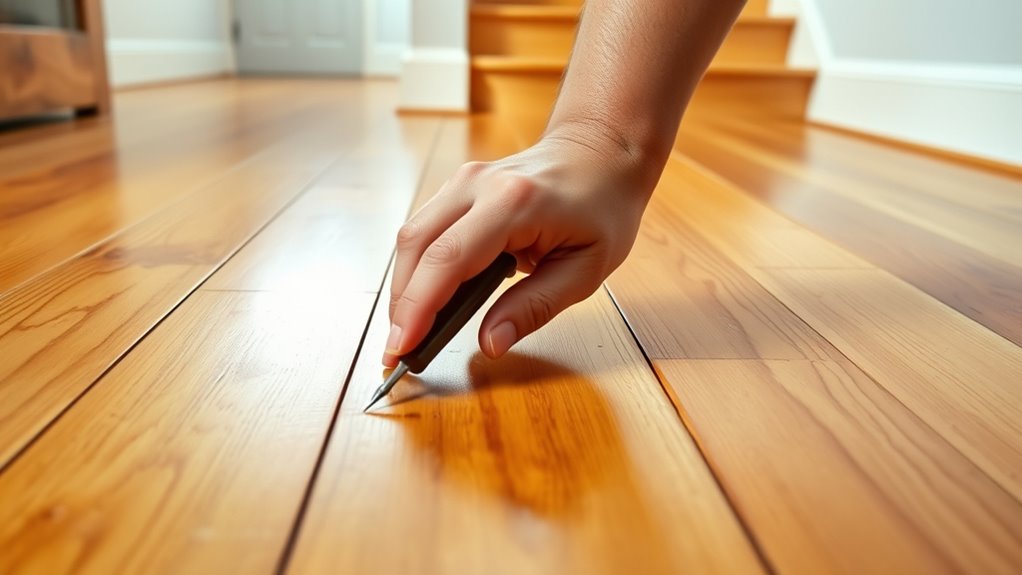
Squeaky floors can be annoying, but you don’t have to tear up the entire space to fix them. Often, the squeaks happen because floorboards rub against each other or because the underlying structure shifts. To resolve this from above, your first step is to focus on stabilizing the floor joists and reinforcing the drywall beneath. These actions can considerably reduce movement and eliminate the squeaks without invasive demolition.
Start by identifying the squeaky spots. Walk across the floor and listen carefully. When you pinpoint the noisy area, check if the floorboards move or shift when you step on them. This movement indicates loose connections or gaps between the joists and the boards. To stabilize the floor joist system, you can use shims or wood blocks. Slide shims between the joists and the subfloor to fill gaps and tighten the structure. For larger gaps, you might need to secure the joists using screws or nails driven through the subfloor into the joists, ensuring they’re tightly fastened together. This process helps prevent the joists from shifting and reduces the friction that causes squeaks.
Identify squeaky spots and tighten loose floorboards with shims or fasteners to reduce movement and squeaks.
Next, reinforce the drywall beneath the squeaky area. This step not only helps with soundproofing but also adds structural support, limiting any further movement. Apply drywall reinforcement by installing additional drywall screws or using specialized drywall screws for added grip. For more durability, you can add a layer of drywall adhesive behind the existing drywall before screwing it in. This adhesive helps to bond the drywall to the framing, minimizing vibrations and squeaks transmitted through the wall. Additionally, ensuring that all fasteners are properly tightened can prevent future squeaks caused by loose connections.
If the squeak persists, consider applying a powdered graphite or talcum powder between the floorboards. These powders act as lubricants, reducing friction where the boards rub against each other. Use a brush or a squeeze bottle to work the powder into the seams between the boards, then walk over the area to work it in further. Sometimes, this simple fix can dramatically quiet squeaks caused by movement between the boards. Incorporating auditory cues such as listening carefully to pinpoint problem areas can greatly improve your effectiveness in locating and fixing squeaks.
As an affiliate, we earn on qualifying purchases.
Frequently Asked Questions
Can I Fix Squeaky Floors Without Removing the Flooring?
Yes, you can fix squeaky floors without removing the flooring. Try inserting wood shims or screws between the floor and joists to tighten the structure. Using repair alternatives like adhesive or talcum powder can also reduce squeaks. This approach often costs less than replacing flooring, saving you repair costs. Just be careful to identify the squeaky spots accurately, so your fixes last and don’t cause more issues.
How Long Does It Take to Fix Squeaky Floors From Above?
They say “patience is a virtue,” and fixing squeaky floors from above takes time, usually a few hours to a day depending on the extent. You’ll need to use squeak prevention techniques like adding shims or applying floor joist reinforcement to stop the noise. Carefully access the joists, tighten loose nails, and secure the subfloor to eliminate squeaks efficiently, ensuring a quieter, more stable floor.
Are DIY Methods Effective for All Types of Squeaks?
DIY methods can be effective for many squeaks, especially with proper floor joist reinforcement and squeak prevention techniques. You can use methods like adding shims or applying powdered graphite, but some squeaks require more advanced fixes. Keep in mind, not all squeaks are the same, so if the noise persists despite your efforts, it might be time to consult a professional for a thorough assessment and repair.
What Tools Are Necessary for Fixing Squeaky Floors From Above?
Think of your tools as the orchestra that turns squeaks into silence. To fix squeaky floors from above, you’ll need a drill, screws, a screwdriver, and a pry bar. Focus on floor joist reinforcement and precise screw installation techniques to secure the subfloor. These tools help you tighten the structure, making the floor stable and quiet. With patience and proper tools, you can restore peace under your feet.
Will Fixing From Above Damage the Existing Flooring?
Fixing from above typically won’t cause significant floor damage if you’re careful. You might need to lift or remove some sections for above floor repairs, but using proper tools and techniques minimizes any harm. Be gentle and precise, and you can avoid unnecessary damage to the existing flooring. This approach allows you to repair squeaks effectively without compromising the integrity of your floors.
Conclusion
Tackling squeaky floors from above is a straightforward fix that saves you time and money. With the right tools and a bit of patience, you can silence those annoying noises yourself. Why live with the constant squeak when a simple repair can restore peace and quiet? So go ahead, grab your supplies, and enjoy a squeak-free floor—because your home should be a place of comfort, not noise. Ready to get started?