
To install a peel-and-stick backsplash, start by cleaning and drying your wall to guarantee good adhesion. Measure the area carefully and plan your layout, marking the starting point with a pencil. Peel back a small section of the backing paper and press the tile firmly onto the wall, using a level to keep it straight. Continue peeling, sticking, and smoothing out air bubbles. For tricky spots, use a utility knife for precise cuts. Keep going; you’ll discover helpful tips for a perfect finish.
Key Takeaways
- Measure the wall area and plan your layout before starting, marking the starting point with a pencil.
- Clean, dry, and smooth the surface; lightly sand or prime if necessary for better adhesion.
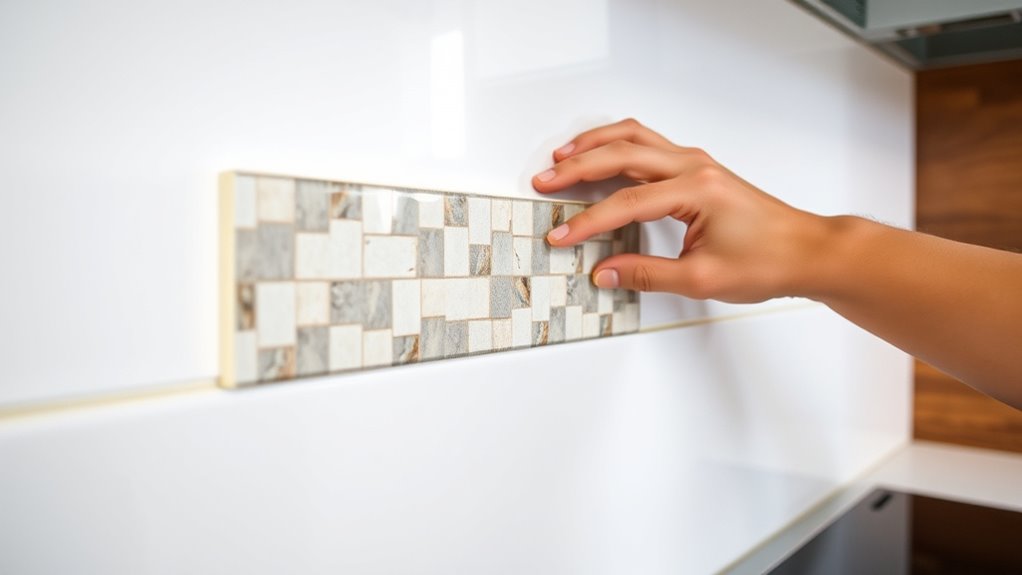
- Peel back a small section of the backing paper and press the tile firmly onto the wall, using a level for straight alignment.
- Continue peeling and sticking tiles, pressing out air bubbles with your hand or a squeegee for a seamless look.
- Cut tiles around outlets and edges with a utility knife for a precise fit, ensuring the pattern remains consistent.
Installing a backsplash peel-and-stick is an easy and budget-friendly way to refresh your kitchen’s look. Before you get started, gather the tools needed, which typically include a utility knife, a straight edge or ruler, a level, a pencil, and a measuring tape. Having these tools on hand makes the process smoother and ensures your installation looks professional. The first step is surface preparation. You want your walls to be clean, dry, and smooth to ensure the adhesive sticks properly. Use a damp cloth to wipe down the area, removing any grease, dust, or residue. If your wall has a glossy or uneven surface, lightly sanding it or applying a primer can help the peel-and-stick tiles adhere better. Skipping surface prep can lead to tiles peeling or bubbling over time, so don’t rush this step.
Once your surface is prepped, measure the area carefully to determine how many tiles you’ll need. Use your measuring tape and pencil to mark the starting point. For a professional look, it’s best to align the tiles from the center or a focal point of your wall, working outward. Lay out the peel-and-stick tiles on a flat surface to plan your pattern, especially if the tiles have different designs or colors. When you’re ready to install, peel back a small section of the backing paper and press the tile firmly onto the wall, starting from your designated starting point. Use a level to ensure each tile is straight, especially if you’re installing in a line. As you go, peel and stick, pressing each tile firmly to eliminate air bubbles and ensure a good bond.
To ensure your tiles stay in place over time, it’s important to consider adhesion properties, which can be enhanced with proper surface prep and careful installation. For tiles that need to be cut to fit around outlets, corners, or edges, measure carefully and cut with a utility knife along a straight edge. Take your time to make clean, precise cuts, which will improve the overall look. When the installation is complete, go over the entire backsplash with your hand or a squeegee to press out any air pockets. This step helps maximize adhesion and gives your backsplash a seamless appearance. With a little patience and attention to detail, you’ll have a stylish, easy-to-maintain backsplash that transforms your kitchen without the mess or expense of traditional tile.
Frequently Asked Questions
Can Peel-And-Stick Backsplash Be Used Outdoors?
Yes, you can use peel-and-stick backsplash outdoors, but make sure it has good outdoor durability and UV resistance. These features help the material withstand weather conditions, sunlight, and moisture. Before installation, clean and dry the surface thoroughly. Keep in mind that not all peel-and-stick tiles are designed for outdoor use, so check the product specifications to verify it’s suitable for outdoor durability and UV resistance.
How Do I Remove the Peel-And-Stick Backsplash Without Damage?
Imagine peeling away the stubborn tape, revealing smooth walls beneath. To remove your peel-and-stick backsplash without damage, start with gentle heat from a hairdryer to loosen adhesive. Then, use removal techniques like plastic scrapers or dental floss to lift edges carefully. Prepare the wall by cleaning any residual adhesive, ensuring it’s smooth and intact. Patience and gentle actions protect your surface while giving you a clean, damage-free finish.
What Tools Are Necessary for Installation?
You’ll need a measuring tape to guarantee accurate placement and proper cutting. A level helps you keep the backsplash straight, while a utility knife is essential for trimming the peel-and-stick panels. For better adhesive strength, consider a squeegee or a plastic putty knife to smooth out air bubbles and secure the adhesive. These tools make installation easier, ensuring your backsplash stays in place and looks professional.
Is It Suitable for Textured Wall Surfaces?
Did you know textured surfaces can be challenging for peel-and-stick backsplashes? You might find that adhesive compatibility varies with wall textures, making installation tricky. For best results, guarantee the material has strong, flexible adhesive that can conform to uneven surfaces. If your wall is highly textured, consider smoothing it out first or using a different backsplash type to prevent peeling or bubbling over time.
How Long Does a Peel-And-Stick Backsplash Typically Last?
A peel-and-stick backsplash usually lasts about 5 to 10 years, but durability concerns depend on your maintenance. To extend its lifespan, avoid harsh cleaning agents and excessive moisture, which can cause peeling or damage. Regularly clean gently and make certain the surface stays dry. Proper installation, especially on textured walls, also helps prevent early wear. With good care, your backsplash can stay vibrant and intact for many years.
Conclusion
Once you’ve successfully installed your peel-and-stick backsplash, you’ll notice how effortlessly it transforms your space—almost like it was meant to be. Sometimes, the right upgrade finds you at just the right moment, turning a simple project into a satisfying achievement. Remember, small changes often lead to big surprises. As you step back and admire your work, you realize that these little touches can unexpectedly brighten your home—and your day.