
Fixing a big hole for your light fixture is easier than you might think. Start by ensuring the power's off to avoid shocks. Use a blowout patch for larger holes, and fill gaps with non-shrinking spackle for a smooth finish. After applying the joint compound, sand the area to blend it with your ceiling's texture. Don't forget to prime before you paint for the best adhesion. This DIY project can save you money while enhancing your space's look. If you're curious about more tips and tricks for a perfect finish, there's plenty more to explore.
Key Takeaways
- Use a blowout patch for larger holes to provide necessary backer support before applying finishing compounds.
- Fill imperfections with non-shrinking spackle and apply multiple coats of joint compound for a smooth finish.
- Sand the repaired area to match the surrounding ceiling texture, ensuring a seamless blend.
- Always turn off power at the circuit breaker and use a voltage tester before handling any electrical components.
- Consider using small black goof rings to discreetly cover exposed mounting holes for a clean look.

Scotch Felt Pads 162 PCS Beige, Felt Furniture Pads for Protecting Hardwood Floors, Round, Assorted Sizes Value Pack, Self-Stick design, Protecting from nicks, dents and scratches (SP845-NA)
- Suitable for Various Furniture: Protects chair legs, tables, and more
- Easy to Install: Peel and stick for quick setup
- Universal Surface Protection: Safeguards hardwood, tile, laminate, vinyl
As an affiliate, we earn on qualifying purchases.
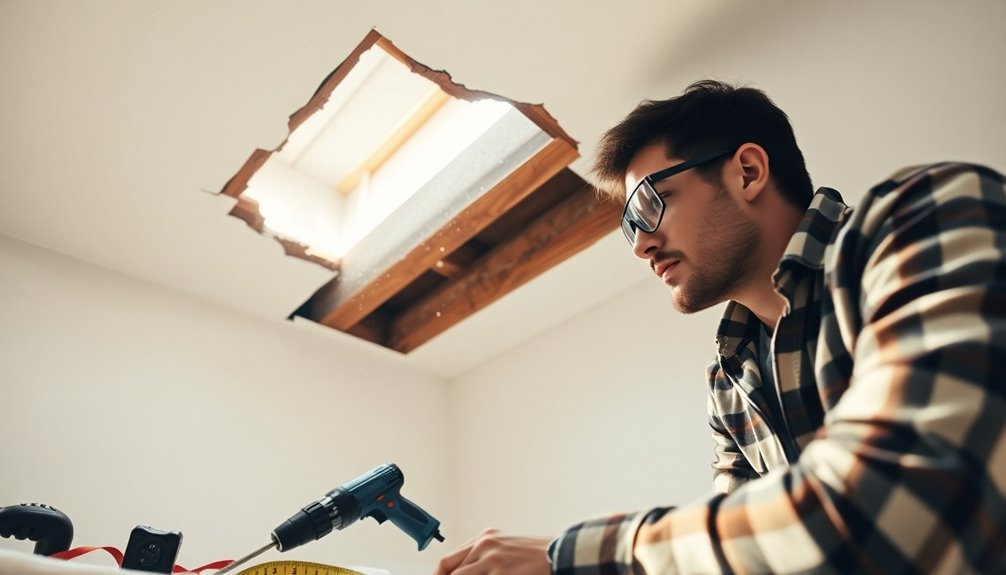
Problem Identification

When you replace a ceiling light fixture, you might end up with a larger hole than you expected, which can be both unsightly and unsafe. This is especially true if the new fixture's dimensions differ from the old one, leaving gaps that are hard to ignore.
Commonly, you might find openings around 2 inches in length and 5/8 inch in width, particularly in popcorn-textured ceilings. Identifying these issues is critical; if you see exposed holes, it's a clear sign that a repair is necessary.
Accessing the area above the ceiling can help you patch and fill these gaps more effectively. Addressing these problems early on will guarantee your ceiling looks clean and safe, while also preventing future complications.
Suggested Repair Techniques

To effectively repair holes left by a replaced light fixture, several techniques can help restore your ceiling's appearance.
For larger holes, consider using a blowout patch, which adds backer support and fills the gap with a patching compound. If you're looking for a quick fix, a small black goof ring can discreetly cover exposed mounting holes.
For a smooth finish, non-shrinking spackle is ideal, as it won't lose volume while drying. Apply multiple coats of joint compound, ensuring each coat is smoothed out for a seamless blend.
If you have a textured ceiling, use popcorn patch products that match the existing texture, but be prepared for some challenges in achieving a perfect match.
Material Recommendations

After you've selected your repair technique, choosing the right materials can greatly impact the quality of your repair.
For filling large gaps around the light fixture, consider using hot mud like Durabond for its quick-setting properties. Once that's done, apply regular joint compound for a smooth finish that's easy to sand and paint.
Don't forget to use high-quality caulk around the edges to enhance adhesion and flexibility, which helps prevent future cracking.
If your ceiling has a popcorn texture, look into popcorn patch products for texture matching, but be prepared to practice for a seamless blend.
- Hot mud (Durabond) for quick repairs
- Regular joint compound for finishing layers
- High-quality caulk for flexibility
- Popcorn patch for texture matching
Cost Considerations
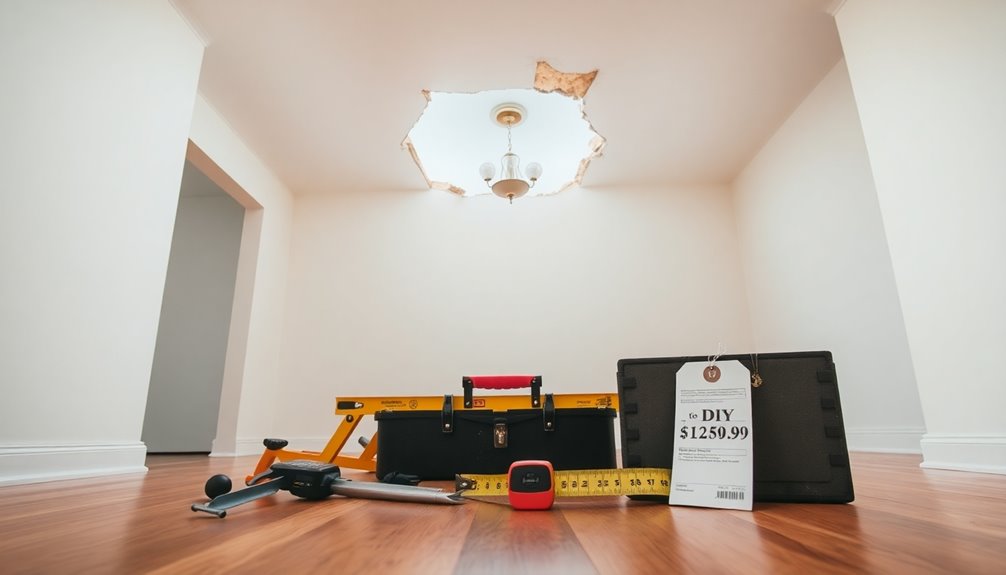
While you might be tempted to hire a professional for your light fixture repair, considering the costs involved can lead to significant savings with a DIY approach. A new ceiling light fixture can cost around $30, while quality repair materials like spackle or joint compound range from $5 to $20. Utilizing budget-friendly solutions, such as a plastic or paper plate as a temporary fix, is another great way to keep costs low. Just remember, while DIY repair methods can save money upfront, the long-term implications on aesthetics and functionality could lead to future expenses if not done properly.
| Option | Estimated Cost |
|---|---|
| New Ceiling Light Fixture | $30 |
| Quality Repair Materials | $5 – $20 |
| Temporary Fix Solutions | Minimal cost |
Professional Insights

Taking into account the potential pitfalls of DIY repairs, gaining insights from professionals can greatly enhance your light fixture installation skills.
Understanding proper installation techniques helps you avoid common errors, like cutting too large a hole during light fixture replacements. Learning from your mistakes can improve repair quality and solidify your reputation.
Engaging with community forums provides a wealth of advice and diverse solutions.
Here are some tips to reflect upon:
- Use the right joint compound or spackle for seamless repairs.
- Think about mechanical solutions, such as ceiling medallions, for aesthetic appeal.
- Guarantee structural durability when covering imperfections.
- Consider integrating smart home devices to enhance functionality and convenience in your lighting setup.
- Share your experiences in community forums to learn and grow.
Repair Process Overview
Before you start repairing the ceiling, make certain to turn off the power at the circuit breaker for your safety.
Once you've done that, you can carefully remove the damaged section and begin reinforcing the area.
Finally, you'll finish the job by applying joint compound and paint to guarantee everything looks great.
Safety Precautions First
When tackling any electrical repair, prioritizing safety is vital to avoid accidents and injuries.
Start by turning off the power at the circuit breaker to prevent any electrical hazards. It's important to use a voltage tester to confirm that the power is truly off before you handle any wires or fixtures.
Don't skip wearing protective gear, like safety goggles and gloves, to shield yourself from dust and sharp edges.
When you're ready to work, carefully remove damaged sheetrock or plaster to maintain a clean area for your repairs.
Finally, regularly inspect all electrical connections and junction boxes to verify they're secure and compliant with local building codes. Additionally, consider using an air purifier to reduce airborne pollutants that may be released during the repair process.
- Turn off the power at the circuit breaker
- Use a voltage tester to confirm power is off
- Wear protective gear for safety
- Inspect electrical connections and junction boxes
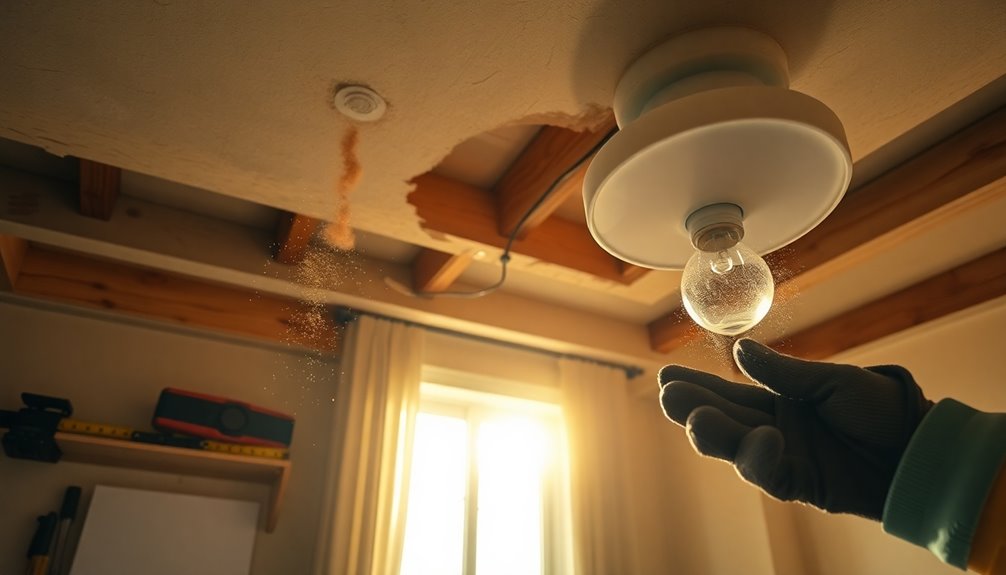
Repairing the Ceiling
Start by ensuring the power is off at the circuit breaker, then tackle the repair of your ceiling with confidence.
Carefully remove the damaged sheetrock or plaster around the hole to create a clean edge. Check for any underlying issues, like a loose ceiling junction box, and replace it if necessary. Make sure the new junction box is flush or slightly recessed into the ceiling surface for a neat fit.
Next, fill the hole with joint compound, applying multiple coats for a smooth finish. After sanding the area to match the existing ceiling texture, you'll be ready to prime and paint. This will help seamlessly blend the repair with the surrounding ceiling, ensuring your light fixture installation is secure and visually appealing. Regular preventive maintenance can also help avoid future electrical issues that may arise from improper installations.
Finishing and Painting
After you've successfully repaired the ceiling, it's time to focus on finishing and painting the area for a flawless look.
First, verify the joint compound is completely dry, then lightly sand the surface for smoothness.
Use a drywall primer to seal the repair, which helps the paint adhere better and prevents uneven absorption.
When you paint, opt for a roller for larger areas and a brush for edges to achieve a seamless finish that matches your existing ceiling color.
If your ceiling has texture, consider applying a popcorn texture spray or a texture mat for consistency.
Finally, choose a quality ceiling paint resistant to yellowing and suitable for your room's conditions. Additionally, consider incorporating energy-efficient designs that minimize electricity consumption in your bathroom projects.
- Lightly sand for smoothness
- Use drywall primer for sealing
- Roll for large areas, brush for edges
- Choose durable ceiling paint
Finishing Touches
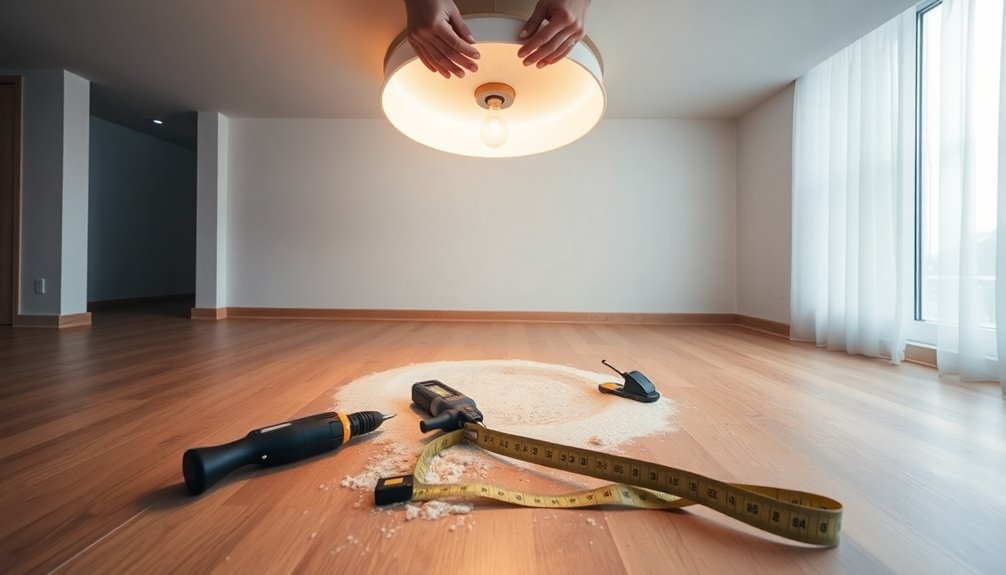
To achieve a polished look for your repaired ceiling, make sure the junction box is flush or slightly recessed into the surface. Use finishing compounds to fill any imperfections, applying multiple coats for a smooth finish. Sand the area until it levels with the surrounding texture, matching it if needed.
Next, apply a primer to guarantee proper adhesion before painting. This step is vital for color matching and longevity. Finally, test the light fixture installation to confirm it's securely mounted and functions correctly.
| Step | Action | Purpose |
|---|---|---|
| Fill imperfections | Use finishing compounds | Create a smooth finish |
| Sand the area | Match texture | Blend with the ceiling |
| Apply primer | Prepare for painting | Guarantee adhesion |
Safety Considerations

Prioritizing safety is essential when repairing a light fixture in your ceiling. Start by turning off the power at the circuit breaker to avoid electrical shocks. Use a voltage tester to verify the power is indeed off before you touch any wires or fixtures.
Always wear protective gear, including gloves and safety goggles, to protect yourself from injuries while working.
Here are some key safety tips:
- Confirm power is off before working on wiring connections.
- Regularly inspect fixtures for signs of wear or damage.
- Verify all wiring connections comply with local electrical codes.
- Keep your workspace organized to prevent accidents.
Following these guidelines will help you stay safe and complete your project without issues.
Frequently Asked Questions
What to Do if a Recessed Light Hole Is Too Big?
If you've got a recessed light hole that's too big, don't worry; you can still achieve a polished look.
Consider using a decorative ceiling medallion or a goof ring to cover the excess space.
Alternatively, fill the hole with a combination of plaster patching compound and cardboard backing for support.
Just remember to turn off the power before you start, and apply multiple coats of joint compound for a smooth finish.
How to Cover a Hole From a Light Fixture?
Did you know that over 60% of homeowners face ceiling repair issues at some point?
To cover a hole from a light fixture, consider using a ceiling medallion or decorative ring that matches your room.
If you need a quick fix, a goof ring works well to hide gaps while supporting the fixture.
For larger holes, apply plaster patching compound and sand it smooth before painting for a seamless finish.
What Can You Use to Cover a Hole in the Ceiling?
To cover a hole in the ceiling, you've got several options.
A circular ceiling medallion can add flair while hiding larger gaps. If you need a quick fix, consider using a Goof Ring or even a plastic plate.
For a more polished look, try a white trim piece that enhances your ceiling's aesthetic.
Finally, you can fill the hole with non-shrinking spackle before painting to achieve a seamless finish around the repair.
How to Fix Ceiling Light Holes?
To fix ceiling light holes, start by turning off the power at the breaker for safety.
You can use a circular medallion or a goof ring to cover the gap.
Apply a hot mud compound for the initial fill, then follow up with a regular joint compound, smoothing each layer.
Once it's dry, sand it down, then prime and paint to match the ceiling.
This guarantees a clean and finished look.
Conclusion
So, you've bravely tackled that gaping hole in your ceiling, turning your home into a modern art exhibit — "The Abyss of Light Fixtures." With your newfound skills, just remember: if you ever find yourself contemplating whether a chandelier might be too ambitious, go for the nightlight instead. After all, it's better to illuminate your space with a soft glow than to risk a DIY disaster worthy of a reality show. Happy fixing!