
To update your cabinet hardware placement correctly, start by measuring carefully and deciding on a new position—whether higher, lower, or centered—based on your aesthetic goals. Use painter’s tape to mark spots and guarantee symmetry before drilling new holes. Attach the hardware securely without overtightening, and check for alignment and stability. Paying attention to details like placement and tools ensures a polished look. Keep going to discover more tips for achieving a perfect finish.

Get furniture and decor delivered free with Prime
- Fast, free delivery on millions of items
- Prime Video, Amazon Music and more included
- Member-only deals all year
Key Takeaways
- Measure and mark new handle positions accurately using painter’s tape and a level for symmetry.
- Decide on a new placement height to influence cabinet size perception before marking.
- Use appropriate tools to drill new holes, ensuring proper alignment and avoiding damage.
- Attach hardware securely, tightening screws without overtightening to prevent damage.
- Step back and evaluate the placement for symmetry, making adjustments as needed for a polished look.
Updating the placement of your cabinet hardware is a straightforward way to refresh your kitchen or bathroom’s look. By repositioning handles and knobs, you can create a new aesthetic without the need for a full remodel. When doing this, consider how different decorative hardware styles can influence the overall vibe. Modern, minimalist designs lend a sleek, contemporary feel, while vintage or ornate styles add charm and personality. Choose hardware that complements your existing decor or sets a new tone for the space.
Repositioning cabinet hardware instantly updates your space’s style and vibe.
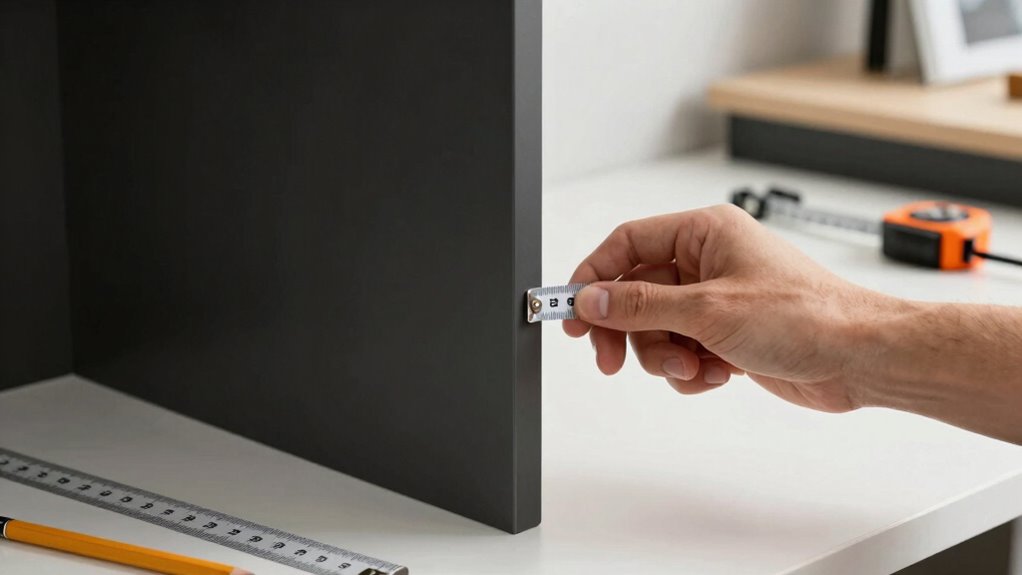
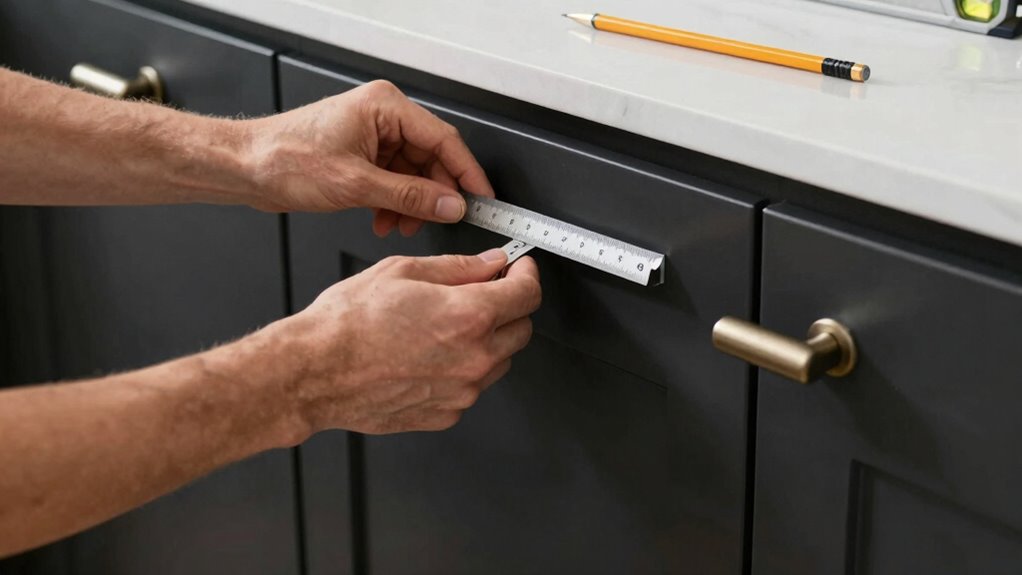
Before you start, measure carefully. Decide whether you want to keep the hardware in its original position or shift it for a different visual effect. For example, placing handles higher or lower can make cabinets look larger or smaller, and aligning knobs or pulls consistently across all doors and drawers creates a unified look. Use painter’s tape to mark your new placement spots, ensuring symmetry and accuracy before drilling. This step helps prevent mistakes that could lead to uneven holes or misaligned hardware. Incorporating accurate measurements from the start ensures a professional-looking finish. Additionally, considering hardware styles can help guide your choices to match the new placement and overall design aesthetic.
When selecting cabinet hardware materials, think about durability and style. Metal finishes like chrome, brass, or matte black are popular because they’re sturdy and versatile. If you prefer a softer, warmer touch, wood or ceramic hardware might suit your space better. The right material and style work together to enhance your cabinet doors and drawers while reflecting your personal taste. Keep in mind that decorative hardware styles can range from sleek, contemporary designs to intricate, vintage-inspired details, so choose what resonates most with your overall decor. Additionally, considering biodiversity and sustainability in your hardware choices—such as opting for eco-friendly materials—can support environmentally conscious living. Using sustainable options can also add an extra layer of meaning and character to your space.
When attaching your hardware, use the appropriate tools—typically a drill, screwdriver, and measuring tape. Be cautious with your measurements to prevent misalignment, and tighten screws firmly without overtightening, which can crack delicate materials or strip threads. If you’re switching from a different style or material, consider replacing existing hardware entirely, but make sure the new pieces fit the pre-drilled holes or be prepared to drill new ones. This step ensures your hardware is securely attached and maintains its aesthetic appeal over time.
Finally, step back and evaluate your work. Adjust if needed, ensuring all hardware is aligned and securely fastened. Updating cabinet hardware placement is a simple change that can make a significant impact on your space’s overall look. By paying attention to decorative hardware styles and cabinet hardware materials, you’ll create a cohesive, polished appearance that reflects your style and refreshes your kitchen or bathroom effortlessly.
cabinet hardware installation kit
As an affiliate, we earn on qualifying purchases.
As an affiliate, we earn on qualifying purchases.
Frequently Asked Questions
How Do I Measure for New Hardware Placement Accurately?
To measure for new hardware placement accurately, start by determining whether you’re installing decorative knobs or drawer pulls. Use a tape measure or ruler to mark the center point of the existing hardware or desired location. For drawer pulls, measure the distance between screw holes and replicate that spacing on your cabinet. Double-check your measurements before drilling to guarantee your decorative knobs and pulls sit perfectly and evenly.
What Tools Are Essential for Updating Cabinet Hardware?
You’ll need basic tools like a drill, screwdriver, measuring tape, and a pencil. To update decorative knobs and cabinet pulls, use the drill to create new holes if necessary. A level guarantees even placement, while a pencil marks precise spots. Having a ruler or measuring tape helps align hardware correctly. These tools make installing new cabinet hardware straightforward, giving your cabinets a fresh, updated look effortlessly.
Can I Change Hardware Placement Without Damaging the Cabinets?
Yes, you can change hardware placement without damaging your cabinets. Carefully remove the existing decorative knobs or handle types using a screwdriver, then fill the old holes with wood filler if needed. When installing new hardware, measure precisely to avoid misalignment. Take your time to guarantee the new placement aligns perfectly, and use gentle pressure to prevent scratches or dents, keeping your cabinets looking great.
How Do I Choose the Best Hardware Style for My Cabinets?
Choosing the best hardware style for your cabinets involves considering current design trends and material options. You should pick a style that complements your overall decor, like sleek, modern handles or vintage knobs. Explore various materials such as brass, stainless steel, or matte black finishes to match your cabinets’ color and texture. Trust your personal taste, but also make certain the hardware enhances functionality and stays in sync with your home’s aesthetic.
What Is the Average Cost to Update Cabinet Hardware?
Like the painter’s palette, your budget influences your cabinet hardware update. On average, you’ll spend between $2 to $8 per hardware piece, totaling around $50 to $200 for a standard kitchen. Consider your design inspiration and choose hardware that fits your style without overspending. Keep in mind, higher-end options may cost more, but they can elevate your space, making your investment worthwhile.
Conclusion
So, as you carefully measure and align your cabinet hardware, you might find that the perfect placement unexpectedly reveals itself, almost like a fortunate coincidence. Sometimes, the smallest adjustments lead to the most satisfying results, transforming your space with just a little effort. When you take the time to get it right, you’ll notice how these subtle details make your kitchen feel more personalized and polished—proof that even the tiniest tweaks can make a big difference.
Fall Picks
fall essentials
As an affiliate, we earn on qualifying purchases.