
To make a DIY rope basket from dollar store finds, gather sturdy ropes, ribbons, and embellishments, choosing eco-friendly options if possible. Start by preparing your materials, then create the base with tight weaving and secure each layer with glue. Build up the sides, reinforce the edges, and add personal touches like decorative ribbons. For lasting durability, consider protective finishes and proper storage. Keep exploring for step-by-step tips to craft a stylish, functional basket you’ll love.
Key Takeaways
- Select durable, eco-friendly ropes and ribbons from dollar stores, cutting ribbons into strips for wrapping around the rope.
- Create the basket base with tight, circular weaving secured with hot glue, reinforcing with additional layers or cardboard.
- Secure the top edge and rim with hot glue, tucking loose ends inside for a neat finish and added durability.
- Attach decorative accents like ribbons or fabric strips, and add handles for easier transport and aesthetic appeal.
- Store the finished basket in a dry, cool place, regularly inspecting and reinforcing weak spots to ensure longevity.
Gathering Your Dollar Store Supplies

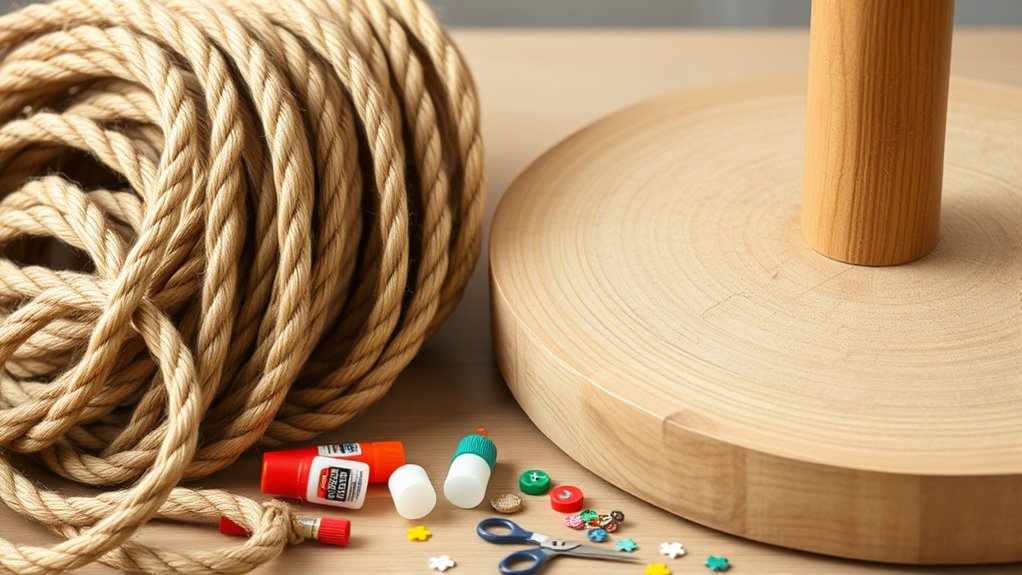
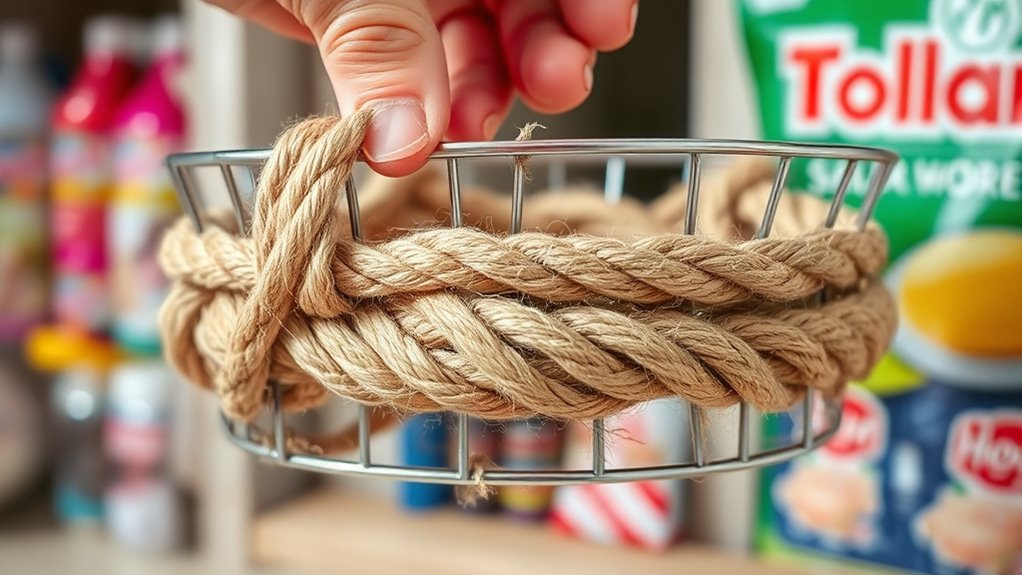
Before you begin crafting your DIY rope basket, you’ll want to gather all the supplies you’ll need from the dollar store. Think of this as your chance to find creative storage solutions and decorative accents that suit your style. Look for sturdy rope, which can serve as the main structure of your basket. You might also pick up paint, ribbons, or embellishments to add a personal touch. Don’t forget a hot glue gun and scissors to secure everything in place. Items like baskets or foam bases can serve as your foundation. Using eco-friendly materials, such as recycled products, can make your project more sustainable and environmentally conscious. By collecting these affordable supplies now, you set the stage for a functional, eye-catching piece that doubles as decorative accents around your home. This step guarantees you’re ready to start building your stylish, homemade storage basket.
Preparing the Rope and Base Materials
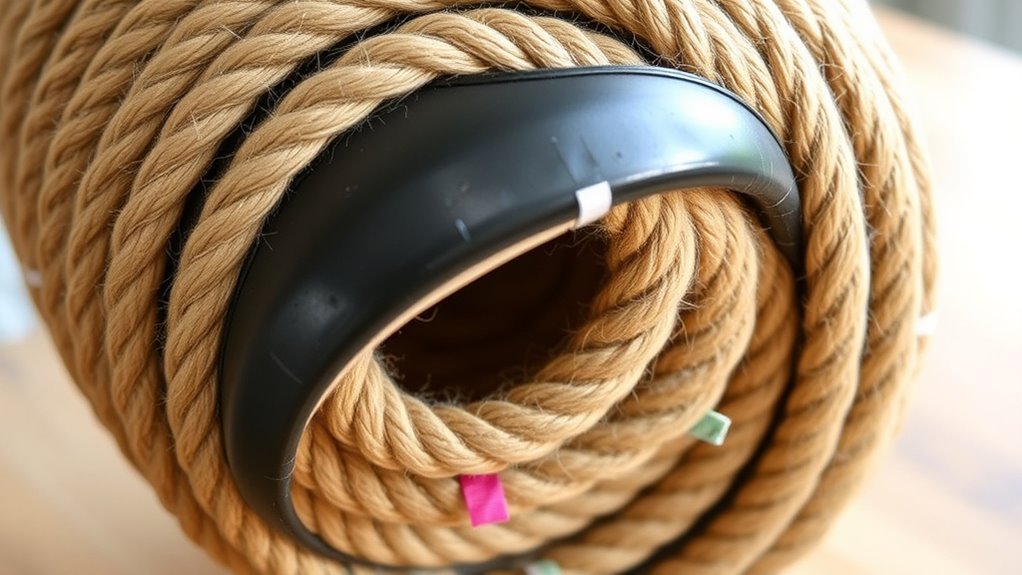
Now that you’ve gathered your supplies, it’s time to prepare the rope and base materials to guarantee your basket holds together securely. Start by choosing the right ribbon selection; opt for sturdy, flexible ribbons that complement your desired color coordination. Cut the ribbons into strips suitable for wrapping around the rope, ensuring they are long enough for secure bonding. If you’re using multiple colors, plan your color scheme in advance to create a cohesive look. Before assembling, loosen any frayed ends on the rope. This will help the ribbon adhere better and prevent unraveling. Proper preparation ensures your basket will be both durable and visually appealing, with a polished finish that matches your style. Additionally, understanding the importance of best materials for durability can help you select the most suitable supplies for your project.
Creating the Basket Base
Have you considered how to create a sturdy, flat base for your rope basket? Starting with woven patterns is key to providing strong structural support. Begin by arranging your materials in a tight, circular pattern, weaving the rope over and under in consistent intervals. Use hot glue or a strong adhesive to secure each layer, ensuring it stays flat and stable. For extra support, add a few layers, reinforcing the base’s strength. You might also consider incorporating a sturdy core material, like cardboard or a plastic disc, under the woven pattern for added rigidity. Focus on maintaining even tension and precise weaving to prevent gaps or uneven surfaces. This foundation will keep your basket balanced and durable as you build upward. Additionally, spiritual symbolism can inspire the design choice, bringing meaningful energy into your craft.
Building Up the Sides of the Basket
To build sturdy sides, you’ll want to layer your ropes carefully for added stability. Make sure to secure each edge tightly as you go to prevent slipping. This approach keeps your basket strong and maintains its shape as it grows upward. Using compact designs can help ensure your basket remains easy to handle and store.
Layering Techniques for Stability
Building up the sides of your rope basket with layered techniques helps guarantee it stays stable and holds its shape. Start by adding successive layers of rope, ensuring each layer overlaps slightly with the previous one. To enhance stability, vary the placement slightly with each layer, creating a slight zigzag pattern. Use color coordination by mixing different shades or matching them for a cohesive look, which also guides your layering process. Incorporate texture contrast by combining smooth and rough ropes or different thicknesses to strengthen the structure and add visual interest. Consistent, even tension while layering prevents gaps and wobbling. Additionally, focusing on stability and durability during construction ensures your basket maintains its form over time. By thoughtfully combining these layering techniques, your basket becomes more durable, stable, and visually appealing, serving as a practical and stylish storage solution.
Securing Rope Edges
Securing the edges of your rope basket is essential to guarantee its sides stay upright and maintain their shape. To achieve this, use hot glue or strong craft adhesive along the top edge as you build up the sides. Press the rope firmly into place, ensuring a secure bond that prevents fraying or collapsing. This step is crucial for interior styling, as it gives your basket a clean, polished look. A well-secured edge also enhances its durability, making it perfect for storage solutions around your home. Take your time to reinforce the rim, especially where the sides curve or turn. Proper skincare patch placement can also ensure the basket remains sturdy and visually appealing. Once set, your basket will stand sturdy, offering both aesthetic appeal and practical storage for blankets, toys, or accessories.
Securing and Finishing the Edges

As you near the completion of your rope basket, ensuring the edges are secure and neatly finished is essential for both durability and appearance. To achieve clean edge finishing, tuck the loose ends neatly inside the basket or use a hot glue gun to seal them securely. This prevents fraying and maintains the basket’s shape. For a polished look, consider adding decorative accents like a ribbon or a strip of fabric along the top edge. These accents not only hide any rough edges but also elevate the overall design, making your basket look more intentional and stylish. Take your time to double-check all seams and edges, reinforcing them if needed. Proper edge finishing guarantees that your DIY project is both sturdy and visually appealing. Additionally, understanding the value of your craft can help you appreciate the effort and creativity involved in making something unique.
Adding Personal Touches and Decorations
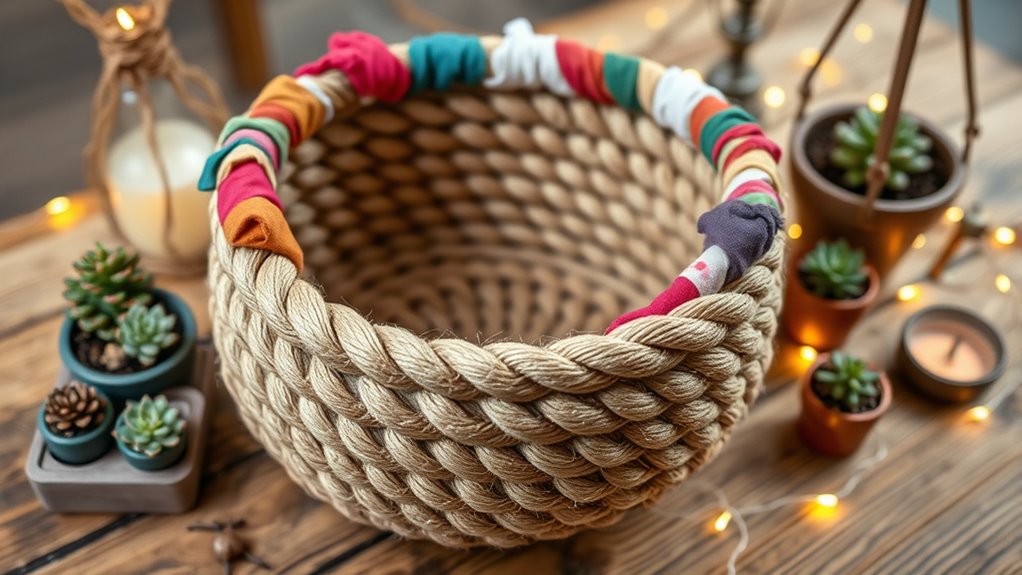
Once you’ve finished securing and finishing the edges of your rope basket, it’s time to add your personal touch to make it uniquely yours. You can explore various personalization options, such as painting or staining the exterior for a pop of color or a rustic look. Adding decorative accents like ribbons, fabric strips, or small charms can enhance its style. Consider attaching a monogram or a meaningful symbol with hot glue or fabric adhesive. You might also incorporate washi tape or decorative washi washi tape around the rim for a fun, casual vibe. These touches reflect your personality and complement your home decor. Keep it simple or go bold—your DIY rope basket should feel special and truly yours. Incorporating timeless classics and innovative touches can elevate your project and make it stand out.
Tips for Maintaining and Using Your Rope Basket

To keep your rope basket looking its best and functioning well, regular maintenance is essential. Here are some cleaning tips and storage solutions to help you maintain it:
- Dust regularly to prevent dirt buildup and keep the fibers looking fresh.
- Spot clean with a damp cloth and mild soap for stains or spills.
- Avoid overloading to prevent stretching or misshaping your basket.
- Store in a dry place to prevent mold or mildew, especially if it’s in a humid environment.
- Consider material durability when choosing storage locations to prolong the lifespan of your basket.
Frequently Asked Questions
Can I Customize the Basket Size Beyond the Standard Dimensions?
You can definitely customize the basket size beyond standard dimensions by adjusting the dimensions during your craft. To create a custom size option, simply modify the length of your rope and the size of your mold or form. For larger or smaller baskets, just increase or decrease the number of rope strands or layers. This way, you have full control over your basket’s size, making it perfect for your specific needs and space.
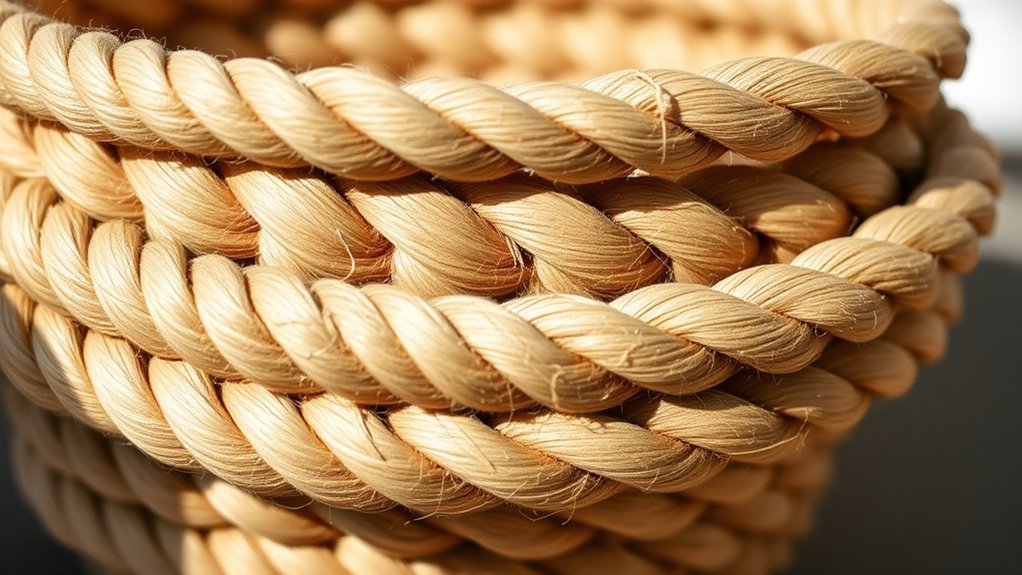
What Types of Rope Are Best for Durability and Flexibility?
When choosing rope for your project, you want fiber options that balance durability and flexibility. Look for ropes with high tensile strength, like nylon or hemp, which resist breaking under tension. These materials are flexible enough to work into shapes but sturdy enough to last. Avoid lightweight or thin ropes, as they may not hold up over time. Selecting the right fiber option guarantees your basket remains strong and adaptable.
How Do I Prevent the Rope From Unraveling Over Time?
Sure, preventing unraveling might seem trivial, but it’s essential. You’ll want to use glue sealing along the edges and ends of your rope to keep fibers in place. Tight wrapping of the rope during assembly also helps lock strands together, enhancing durability. Ironically, the simplest solutions—like good adhesive and firm wrapping—make your basket last longer, saving you from future frustration and the need for constant repairs.
Are There Eco-Friendly or Biodegradable Options for the Supplies?
You’re wondering if there are eco-friendly or biodegradable options for your project. You can choose biodegradable materials like jute, hemp, or organic cotton instead of synthetic ropes. Eco-friendly alternatives include recycled or sustainably sourced fibers that break down naturally over time. By selecting these options, you help reduce environmental impact and create a more sustainable craft, ensuring your basket remains both functional and eco-conscious.
Can This Project Be Completed in Under an Hour?
While it might seem like a tall order, completing your project in under an hour is quite achievable with some quick assembly tricks. Focusing on simple, easy-to-handle materials and streamlined steps helps you save time. Efficient material sourcing guarantees you don’t waste precious minutes searching. By organizing your supplies beforehand and following straightforward instructions, you can enjoy a satisfying, swift craft session without feeling rushed.
Conclusion
Now that you’ve crafted your own rope basket, it’s like giving new life to simple dollar store finds. With each stitch and twist, you’ve woven together not just a storage solution, but a piece of your creativity. Think of it as a sturdy hug for your belongings—practical, unique, and full of personality. Keep it close, and let your handmade basket be a reminder that beauty and function can bloom from everyday treasures.