If you’re new to cabinet refinishing, gel stain is a great choice because it’s easy to work with and forgiving. It has a thick consistency that prevents drips and helps you control the application, resulting in a smooth, professional look. To get started, prep your surfaces properly and use thin, even coats, allowing each layer to dry thoroughly. Keep practicing these steps, and you’ll be surprised at how stunning your cabinets can become. More tips await you as you explore further.
Key Takeaways
- Choose a suitable gel stain color that complements your decor and test on small areas first.
- Prepare cabinets by cleaning, sanding lightly, and removing dust for optimal stain adhesion.
- Apply gel stain with a high-quality brush or lint-free cloth in thin, even coats following the wood grain.
- Allow each coat to dry completely, then add additional layers for a darker, richer finish.
- Let the final coat cure for at least 24 hours before handling or sealing to ensure durability.
If you’re looking to transform your cabinets with a rich, professional finish, gel stain is an excellent option for beginners. It’s user-friendly, thick enough to prevent drips, and offers a smooth application process. Before diving in, understanding color matching is vital. You want your cabinets to complement your space, so take the time to pick a gel stain that aligns with your existing decor. Bring home some sample swatches and test them on a small, inconspicuous area of your cabinet to see how they look in different lighting. Remember, gel stain tends to deepen in color as it dries, so choose a shade slightly lighter than your desired finish. This way, you avoid ending up with a darker tone than intended.
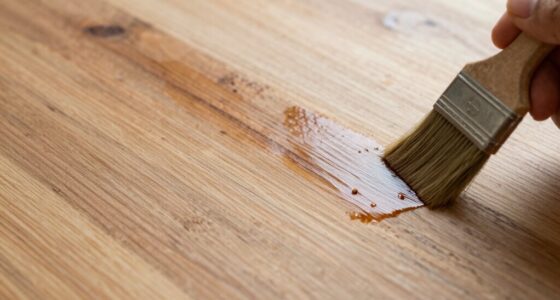
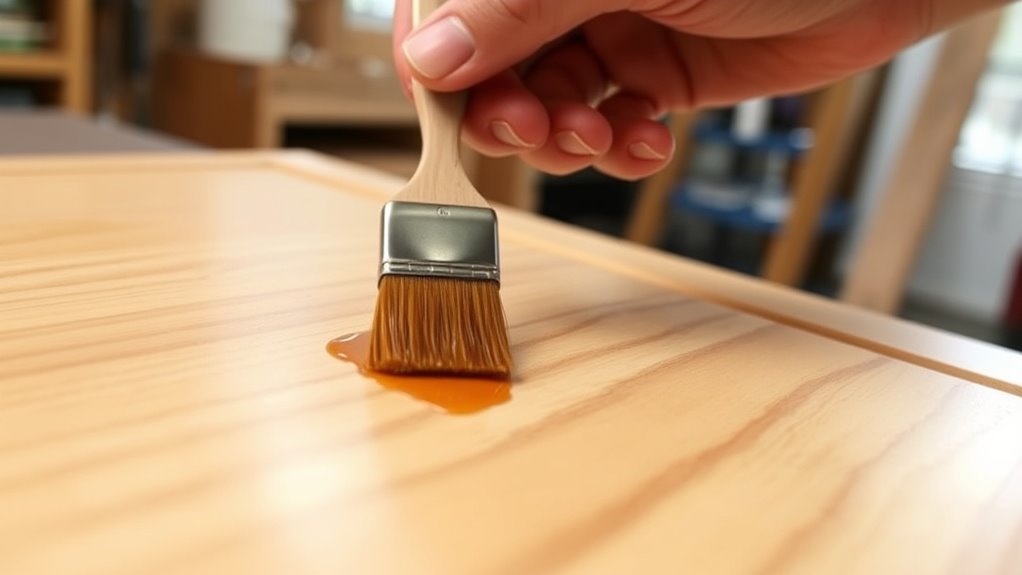
When it comes to application techniques, preparation is key. Start by thoroughly cleaning your cabinets to remove grease, dust, and grime. Sand the surfaces lightly to help the gel stain adhere better and create a smooth base. Wipe away any dust with a tack cloth before applying the stain. Using a high-quality brush or a lint-free cloth, apply the gel stain evenly, working in manageable sections. Because gel stain is thicker than traditional stain, it’s easier to control and reduces the risk of streaks or blotches. Apply in thin, even coats and follow the grain of the wood for a consistent look. If you want a darker finish, add additional coats once the first layer dries completely, usually after a few hours.
One essential tip for successful color matching is to remember that gel stain can be layered or mixed to achieve custom shades. If you’re unsure about how a particular color will look, test blending small amounts of different shades on a scrap piece of wood first. This helps you visualize the final result and prevents costly mistakes. Also, pay attention to drying times; patience ensures a more professional appearance. After applying the final coat, let it cure for at least 24 hours before handling or sealing with a clear finish.
Frequently Asked Questions
Can Gel Stain Be Used on Outdoor Cabinets?
Yes, you can use gel stain on outdoor cabinets, but you need to guarantee good weather resistance. Start with thorough surface preparation—clean, sand, and prime if necessary—to promote adhesion. Choose a gel stain formulated for exterior use or add a protective topcoat to guard against moisture and UV damage. Proper preparation and sealing will help your outdoor cabinets look great and last longer.
How Long Does Gel Stain Typically Last?
Like a timeless masterpiece, gel stain can last for several years if you consider durability factors. Typically, it lasts 3-5 years outdoors, but proper maintenance tips—such as sealing and cleaning—extend its life. Sun exposure, weather, and wear influence longevity, so regularly inspect and reapply a protective coat when needed. With care, your cabinets can maintain their rich appearance, making your investment truly stand the test of time.
Is Ventilation Necessary During Gel Stain Application?
Yes, ventilation safety is important during gel stain application. You should guarantee good airflow to manage the strong odor and reduce inhalation risks. Open windows and use fans to promote proper odor management, which also helps the stain dry faster. Wearing a mask is a good idea if you’re sensitive to fumes. Proper ventilation not only keeps you safe but also improves the overall application process.
Can Gel Stain Be Applied Over Existing Paint?
Imagine the dawn of a new day—just like fresh beginnings, you can apply gel stain over existing paint if you properly prepare the surface. First, remove any loose or peeling paint through paint removal. Then, sand the surface to improve adhesion, ensuring a smooth finish. Remember, surface preparation is key to a successful stain job, so don’t skip these essential steps before applying gel stain over painted cabinets.
How Do I Fix Uneven Gel Stain Coverage?
If your gel stain coverage is uneven, start by lightly sanding the area to smooth out imperfections. Then, use a clean cloth to remove dust. For color correction, apply a thin layer of stain and let it dry. If needed, layer additional coats to even out the color. Stain layering helps achieve a consistent finish, while careful blending minimizes uneven spots and enhances the overall look.
Conclusion
Now that you’ve learned how to apply gel stain on your cabinets, you’re practically a DIY superhero ready to transform your space. With patience and a steady hand, your project will turn out stunningly beautiful—better than you ever imagined! Remember, every brushstroke brings you closer to a dream kitchen that’ll outshine even the brightest stars. So go ahead, plunge in confidently—you’re about to create a masterpiece that’ll wow everyone who steps inside!