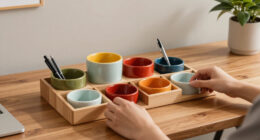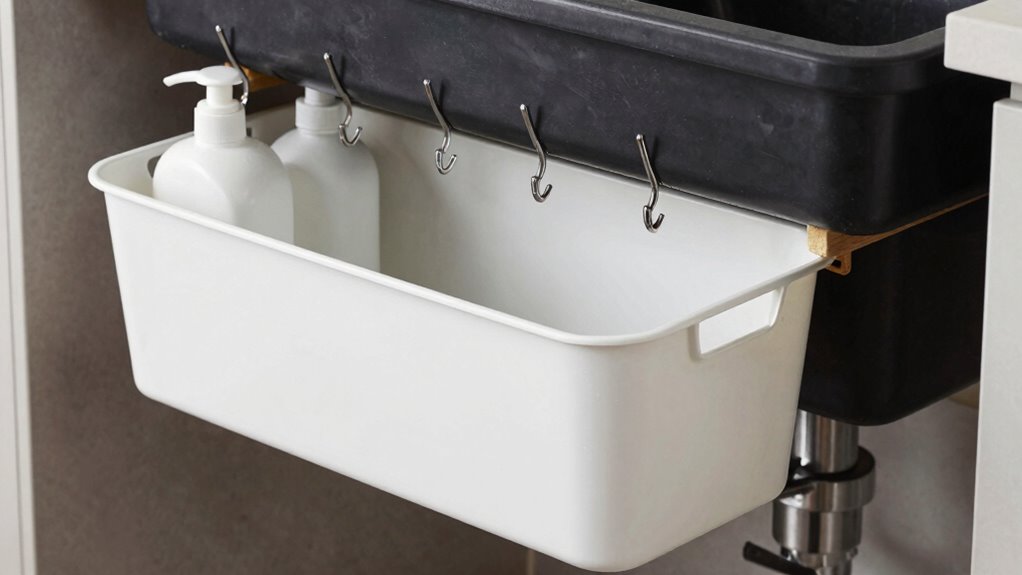

To build a simple under-sink organizer, start by measuring your space and selecting lightweight, durable materials like plywood or reclaimed wood. Use a drill, saw, measuring tape, and square to cut and assemble the pieces, ensuring precise angles. Secure everything with screws and use clamps for stability. Smooth edges with sandpaper for safety. For a finished look, consider pre-finished or laminated wood. Follow these steps, and you’ll discover more tips to perfect your organizer.
Key Takeaways
- Measure the under-sink space accurately to determine the size of the organizer components.
- Cut plywood or MDF to the measured dimensions using a saw and square for precise edges.
- Assemble the frame with screws or brackets, securing pieces firmly with clamps during assembly.
- Sand edges smoothly and finish with a protective coating or laminate for durability and a polished look.
- Place the organizer under the sink, ensuring it fits snugly and provides accessible storage for cleaning supplies.

If you’ve ever struggled with clutter under your sink, building a simple organizer can make a big difference. The first step is understanding what tools you’ll need and where to find the right materials. When it comes to tool selection, you want to keep it straightforward. A drill with screwdriver bits, a saw (hand or power), a measuring tape, a level, and some clamps are your essentials. These tools allow you to cut and assemble pieces precisely and securely. You might also want a utility knife, sandpaper, and a square to ensure smooth edges and accurate angles. Choose tools that you’re comfortable using, and if you’re new to DIY projects, a basic power drill can save time and effort. Additionally, understanding basic conservation principles can help you select eco-friendly materials and methods for your project. Being mindful of material durability can also ensure your organizer remains functional over time. Considering material sustainability can further enhance the eco-friendliness of your build.
Next, consider your material sources carefully. For a budget-friendly project, you can visit your local hardware store, where you’ll find a variety of suitable materials like plywood, MDF, or even sturdy plastic bins. Plywood is lightweight, easy to cut, and holds up well over time. If you prefer a more polished look, you might opt for pre-finished or laminated wood. For a more eco-friendly approach, look into reclaimed wood or repurposed materials from other projects. When sourcing materials, measure the dimensions of your under-sink space first, so you know exactly what size pieces to buy. Don’t forget to pick up screws, brackets, and adhesive if needed—these will help secure your organizer and make it stable. Being mindful of material selection can also contribute to a more sustainable project. Remember, choosing the right materials can significantly impact the overall stability and longevity of your organizer.

PXRACK Under Sink Organizer, Adjustable Height, 2 Tier Pull Out Under Cabinet Organizer, Slide Out Thickened Metal Under Sink Storage for Kitchen Bathroom Laundry Pantry Cabinet, White, Large-2-Pack
- Space-Saving C-Shaped Design: Fits under sink without hitting plumbing
- Two-Tier Sliding Drawers: Smooth guide rails for easy access
- Adjustable Height: 5 levels from 13.6" to 16.9"
As an affiliate, we earn on qualifying purchases.
As an affiliate, we earn on qualifying purchases.
Frequently Asked Questions
What Tools Are Needed for Assembly?
You’ll need a basic tool list for assembly, including a screwdriver (Phillips or flat-head), a drill for making holes if necessary, and a measuring tape to guarantee correct placement. Follow the assembly instructions carefully, which often specify the tools required. Having these tools ready makes putting together your under-sink organizer smoother and quicker, ensuring each piece fits perfectly and securely in place.
How Can I Customize the Organizer Size?
Think of your organizer as a blank canvas, ready for your personal touch. You can customize its size by adjusting the dimensions of the shelves and dividers to fit your space perfectly. Add decorative accents or paint in your favorite colors for a unique look. Just measure carefully, cut to size, and incorporate color customization to match your style. This way, your organizer becomes a functional masterpiece tailored just for you.
Is the Material Waterproof?
Yes, the material is water-resistant, making it suitable for under-sink environments. You’ll find that the durable material withstands moisture and spills effectively, preventing damage and mold growth. Its high material durability guarantees it stays intact over time, even with frequent exposure to water. This combination of water resistance and sturdy construction means your organizer will remain functional and look good longer, giving you peace of mind in a damp, often cluttered space.
How Do I Prevent Mold Growth?
To prevent mold growth under your sink, focus on mold prevention by keeping the area dry and well-ventilated. Regularly clean with a mixture of vinegar and water or a mold-inhibiting cleaner. Make certain you wipe up spills immediately and avoid leaving damp items or standing water. Follow cleaning tips like using a brush or cloth to reach tight spots. These steps help maintain a dry environment, discouraging mold development.
Can I Add Extra Compartments Later?
Think of your organizer as a flexible puzzle. Yes, you can add extra compartments later, thanks to its modular design. Like pieces fitting together seamlessly, expandable compartments let you customize your space as needs grow. You start with a basic setup and, over time, you can easily expand or reconfigure it. This adaptability makes your under-sink storage both practical and fun, ensuring everything stays organized as your collection expands.
Conclusion
Now, as you step back and admire your organized under-sink space, it’s almost amusing how a simple project can unexpectedly streamline your daily routine. Sometimes, the smallest DIY efforts reveal a hidden sense of order and satisfaction—not to mention a little coincidence that the right tools and a bit of effort can turn chaos into clarity. With your new organizer in place, you’ll find it easier to access what you need, making your kitchen feel a bit more like home.