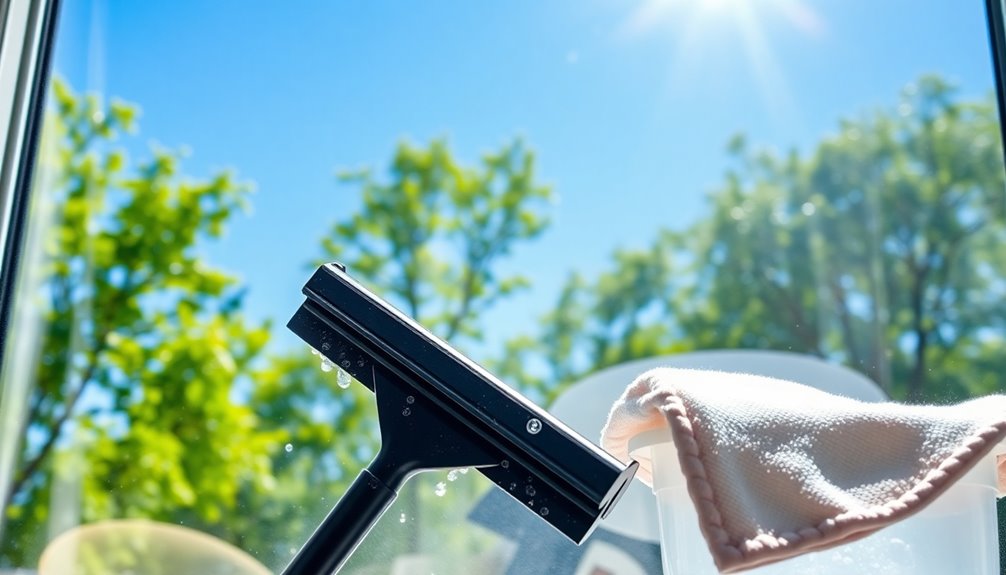
To get a streak-free shine on your outside windows, aim to clean on a cloudy day. Use a DIY solution of one part vinegar to ten parts warm water, adding a drop of dish soap for extra cleaning power. Gather a high-quality squeegee, microfiber cloth, and a bucket for your supplies. Clean using a top-to-bottom zig-zag pattern, wiping the squeegee blade after each stroke. Avoid ammonia-based cleaners, as they attract dust. For tricky spots or hard-to-reach areas, consider a reliable extension pole. Stick around, and you'll uncover more helpful tips for a flawless finish.
Key Takeaways
- Clean windows on cloudy days to prevent quick evaporation and streaking from direct sunlight.
- Use a homemade solution of equal parts vinegar and water for effective cleaning without streaks.
- Employ a top-to-bottom zig-zag pattern with a high-quality squeegee for even coverage and clarity.
- Wipe the squeegee blade with a clean cloth after each stroke to maintain a streak-free finish.
- Ensure no rain is expected within 24 hours post-cleaning for optimal drying and results.
Optimal Cleaning Conditions

When you plan to clean your outside windows, consider the weather conditions to achieve the best results.
The ideal conditions for window cleaning are on a cloudy day. This helps prevent the quick evaporation of your cleaning solution, avoiding streaks and residue. You'll want to avoid cleaning in direct sunlight, as it causes the cleaner to dry too fast, leading to unsightly marks.
Warm temperatures are perfect since they guarantee the solutions work effectively without freezing. Additionally, steer clear of windy conditions that can blow debris onto your freshly cleaned surfaces.
Aim for early morning or late afternoon when temperatures are milder, allowing for better visibility of any streaks and guaranteeing a thorough, streak-free shine.
Essential Cleaning Supplies
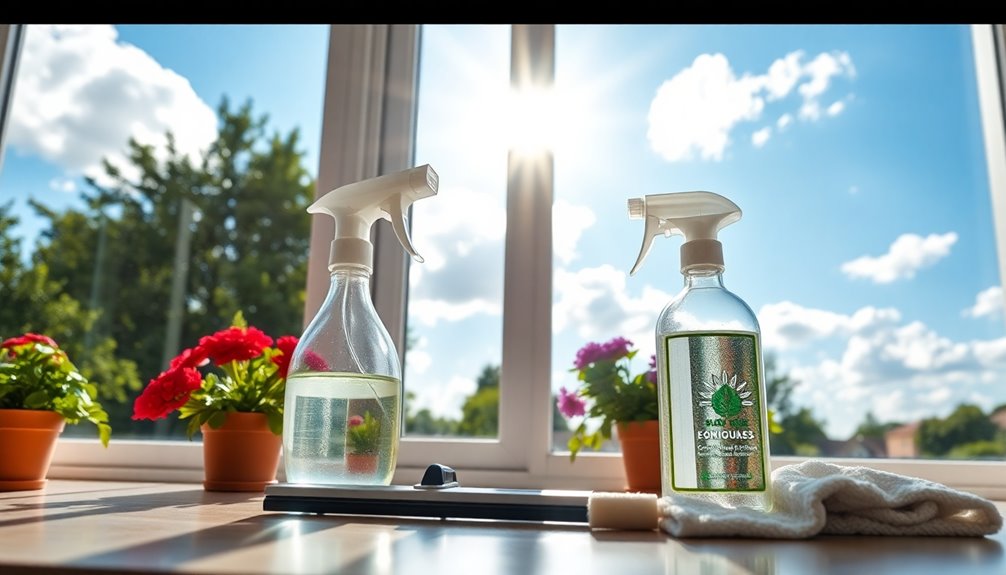
Cleaning outdoor windows requires the right tools to achieve that crystal-clear finish. To get started, you'll need some essential cleaning supplies that guarantee efficiency and effectiveness.
Here's what you should gather:
- A high-quality squeegee for that streak-free finish
- A sturdy ladder or extension pole for hard-to-reach windows
- A reliable microfiber cloth for drying and buffing
Additionally, prepare a cleaning solution using 1 part distilled vinegar to 10 parts warm water. This mixture effectively breaks down grime without leaving streaks.
Don't forget a scrub brush or sponge to apply the solution and loosen dirt. Finally, a spray nozzle attached to a hose helps rinse away any residual cleaning solution, guaranteeing your windows sparkle!
DIY Window Cleaning Solution
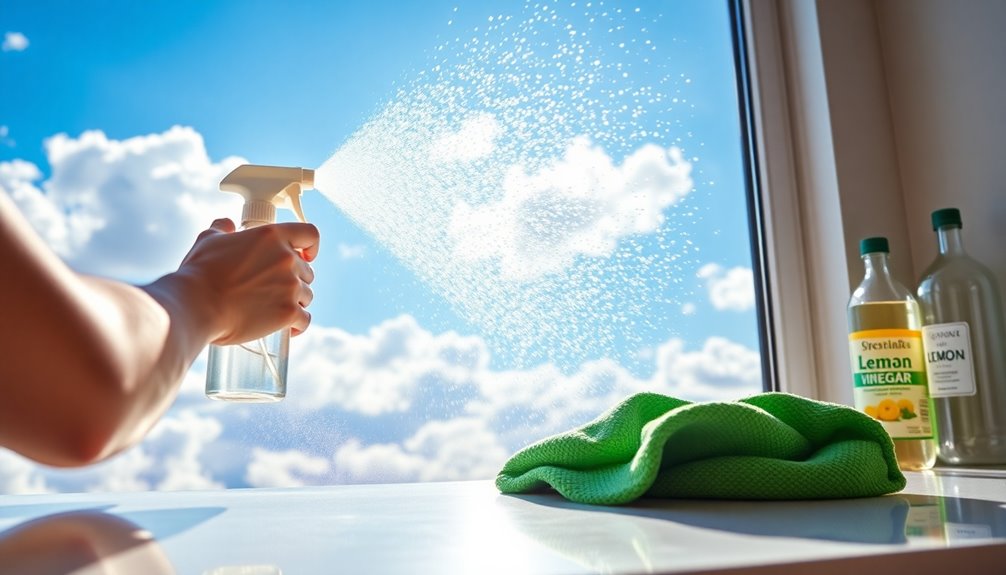
Creating your own window cleaning solution is simple and effective.
You'll want to mix the right ingredients in the right proportions to tackle grime and achieve that streak-free shine.
Let's explore the best components and tips for making your DIY cleaner.
Effective Ingredients for Cleaning
For a sparkling finish on your windows, you can whip up a highly effective DIY cleaning solution using simple ingredients.
This homemade cleaning solution combines the power of distilled vinegar and warm water to break down window film and dirt and grime. Adding a few drops of dish soap enhances its streak-free capabilities, making it perfect for cleaning purposes.
You can also mix in rubbing alcohol to tackle stubborn spots.
- Distilled vinegar: Cuts through grime effortlessly.
- Dish soap: Boosts cleaning power without streaks.
- Rubbing alcohol: Tackles tough spots and enhances shine.
Additionally, using this eco-friendly solution can help reduce your overall utility bills by minimizing the need for commercial cleaners.
With these ingredients, you'll achieve a streak-free shine every time, leaving your windows looking crystal clear!
Mixing Proportions and Tips
While you might think that window cleaning requires commercial solutions, you can achieve impressive results with a simple DIY mixture. For streak-free windows, mix 1 part distilled vinegar and 10 parts warm water. To boost cleaning power, add a few drops of Dawn dish soap. If you're tackling stubborn spots, consider incorporating rubbing alcohol into your vinegar and water solution. Avoid ammonia-based cleaners, as they can leave streaks and attract dust. For a pleasant scent, add a drop or two of essential oils like lemon oil. Here's a quick reference table for your homemade window cleaner:
| Ingredient | Proportion | Purpose |
|---|---|---|
| Distilled Vinegar | 1 part | Breaks down grime |
| Water | 10 parts | Dilutes the solution |
| Dawn Dish Soap | A few drops | Enhances cleaning power |
| Rubbing Alcohol | A splash (optional) | Tackles tough spots |
| Essential Oils | A drop or two | Adds pleasant aroma |
Preparing Your Windows

Before you start, check the weather forecast to pick a calm, cloudy day for your window cleaning.
Gather all your supplies like a bucket, squeegee, and cleaning solution to keep things efficient.
This prep work sets you up for a successful cleaning session without unexpected interruptions.
Gather Cleaning Supplies
To achieve sparkling clean windows, you'll need to gather a few essential cleaning supplies.
This process is key to effective window washing and ensuring a streak-free finish. Here's what you should collect:
- Microfiber cloths for a lint-free polish
- A homemade cleaning solution (1 part distilled vinegar to 10 parts warm water) for an eco-friendly option
- A squeegee and scrubber to tackle dirt effectively
Make sure to also have a sturdy ladder or extension pole for those hard-to-reach spots.
Avoid ammonia-based cleaners; they can leave streaks and attract dust.
With the right cleaning supplies, you're one step closer to achieving that flawless shine on your windows!
Assess Weather Conditions
Evaluating the weather conditions is essential for achieving streak-free, sparkling windows. Start by checking the weather forecast for rain or strong winds, as these can affect your cleaning efforts.
Aim to clean windows on cloudy days; this prevents the cleaning solution from evaporating too quickly, which can lead to streaks. The ideal temperatures for window cleaning are between 50°F and 70°F, so try to clean during the cooler parts of the day, like early morning or late afternoon.
Finally, confirm there's no rain expected within 24 hours after cleaning, allowing your windows to dry properly and maintain their clarity. By reviewing weather conditions, you'll set yourself up for a successful window-cleaning experience.
Washing Window Frames
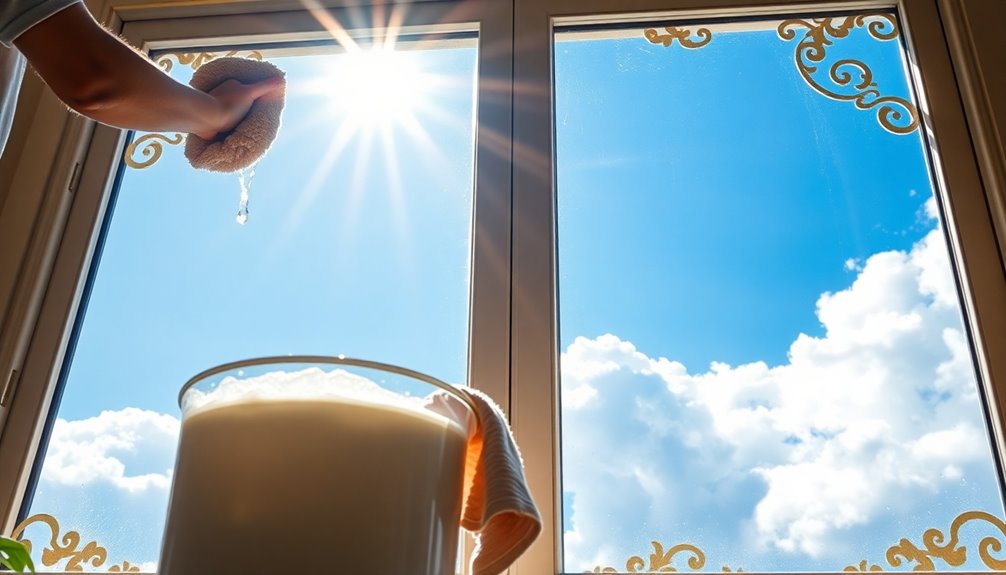
Cleaning your window frames is just as important as washing the glass itself. Regularly cleaning these areas helps prevent dirt buildup and keeps your windows looking their best.
Here's how to do it effectively:
- Use warm, soapy water with a non-abrasive cloth or sponge for a gentle clean.
- For stubborn stains, try a mild cleaning solution like Pine-Sol® or mineral spirits.
- Always dry the frames afterward to eliminate moisture and prevent mold growth.
Don't forget to handle the frames with care to avoid scratches or discoloration.
For dust removal, a gentle vacuum with a brush attachment works wonders.
Keeping your window frames clean guarantees a polished finish that complements your streak-free glass! In addition to enhancing the overall appearance of your home, clean window frames allow for natural light to flood your interior spaces, creating a bright and inviting atmosphere. This attention to detail can significantly elevate the aesthetic value of your property, much like cupolas and their architectural significance, which serve both functional and decorative purposes in various designs. By ensuring that every element of your windows is well-maintained, you contribute to a cohesive look that showcases your commitment to quality and style.
Cleaning Glass Techniques

Achieving a streak-free shine on your outside windows can be simple with the right techniques.
Start by mixing equal parts vinegar and water in a spray bottle. This solution cuts through grime, leaving your windows sparkling.
Use a microfiber cloth or a squeegee to clean windows; these tools minimize lint and help avoid streaks. When cleaning, work from top to bottom in a zig-zag pattern, allowing drips to fall onto unclean areas.
Remember to wipe your squeegee blade with a clean cloth after each stroke to prevent streaks.
Consider a two-bucket system—one for soapy water and another for rinse water—to keep dirt from redistributing, eliminating pesky water spots on your freshly cleaned windows.
Vacuuming Window Screens

When you're vacuuming window screens, using the right upholstery brush attachment is key to removing dust without damaging them.
Regular maintenance is important, so aim to clean your screens every few months for better airflow and a refreshed look.
Remember to handle the screens gently to avoid bending or damaging them during the process.
Proper Vacuum Attachment Use
To effectively vacuum window screens, grab your upholstery brush attachment—it's your best tool for removing dust and dirt without risking damage.
Here's how to guarantee a thorough cleaning:
- Use your vacuum cleaner on a low suction setting to prevent bending delicate screens.
- Regularly vacuum at least twice a year to maintain peak airflow and prevent build-up.
- For greasy spots on kitchen window screens, follow up with a damp sponge and mild detergent.
After cleaning, always allow screens to dry completely before reinstallation to prevent mold and mildew growth.
Regular Maintenance Importance
Cleaning your window screens regularly is crucial for maintaining both their functionality and your home's appearance.
By using a vacuum cleaner with an upholstery brush attachment, you can easily remove dirt and pollen that accumulate over time, obstructing your view and airflow. Aim to clean your window screens at least twice a year, especially before seasonal changes.
This regular maintenance not only enhances their look but also guarantees they work effectively. For grease spots on kitchen screens, a sponge with hot water and mild detergent will do the trick.
Finally, make certain your screens are completely dry before reinstalling or storing them to prevent mold. Clean screens contribute to a streak-free shine when you clean your windows. Additionally, using a vacuum with powerful suction capabilities can help ensure a thorough clean, similar to the effectiveness seen in electric pool vacuums.
Dusting Blinds and Shades
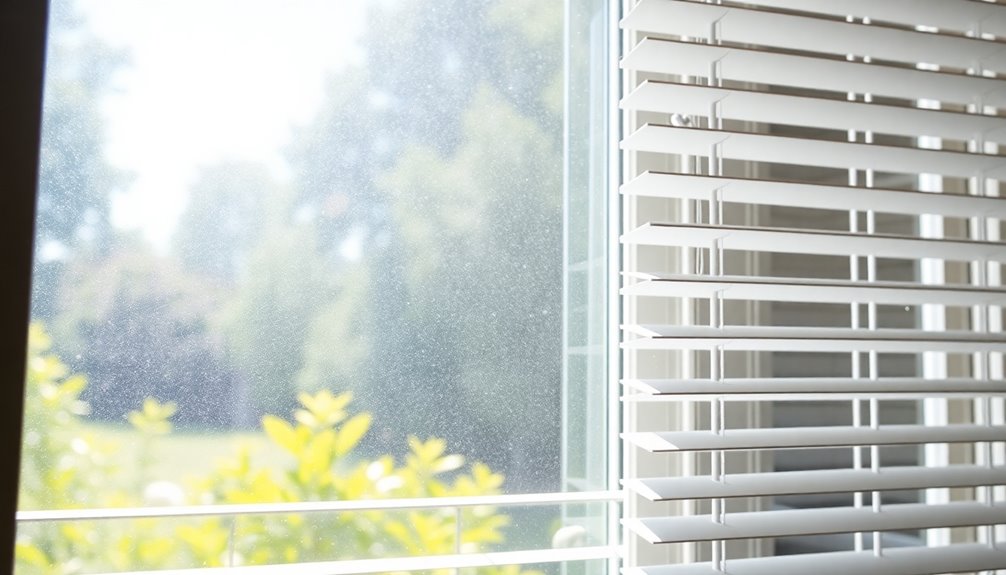
Dusting blinds and shades is essential for maintaining a fresh and clean appearance in your home. Regular cleaning not only enhances your decor but also prevents dust buildup.
Here are some quick tips to keep in mind:
- Use a vacuum with a soft brush attachment for wood blinds.
- For plastic and metal blinds, immerse them in lukewarm water with mild detergent.
- Vacuum fabric blinds with a drapery brush attachment and wipe smudges with a damp cloth.
Always avoid using excessive water, as it can cause moisture damage.
Regularly dust your blinds and shades, ideally twice a year, to keep them looking their best. If needed, consider a professional cleaning service for heavy-duty cleaning.
Tips for Hard-to-Reach Windows
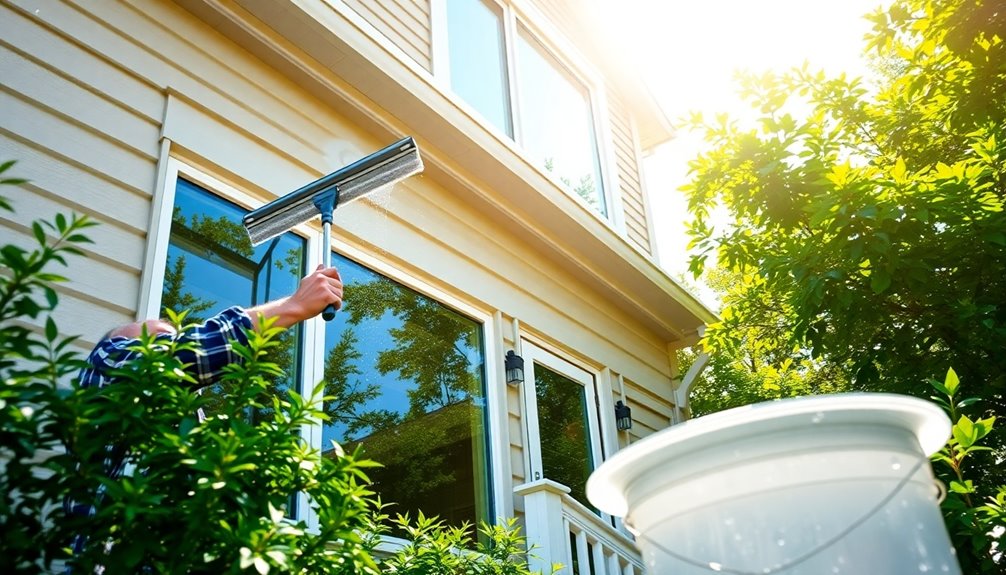
When faced with hard-to-reach windows, using the right tools and techniques can make the task much easier and safer.
A sturdy extension pole with a squeegee or scrubber attachment is a great investment, allowing you to clean high areas without a ladder. If you do use a ladder, verify it's stable on a flat surface and avoid overreaching.
Opt for cloudy days to clean, as the reduced sunlight helps prevent quick evaporation of your cleaning solutions, leading to a streak-free shine.
Utilize a two-bucket system: one for soapy water and another for rinsing.
Regular maintenance every few months will help you manage dirt and grime, making each cleaning session less intimidating and more effective.
Benefits of Professional Services
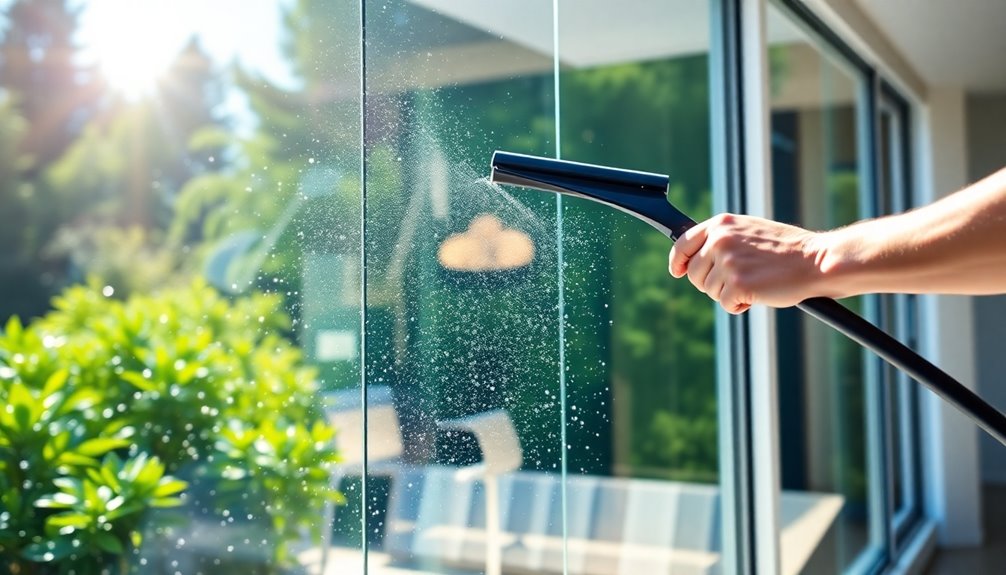
Opting for professional window cleaning services not only guarantees a sparkling finish but also brings peace of mind.
You'll enjoy the benefits of having trained technicians who use specialized equipment and eco-friendly solutions, ensuring a thorough, streak-free finish that DIY methods often miss.
- Extend the lifespan of your windows by preventing buildup of dirt and grime.
- Stay safe with experienced professionals who can handle multi-story buildings without risk.
- Choose inclusive packages that may include additional services like pressure washing and gutter cleaning.
- Many professional services also offer seasonal scheduling to accommodate varying weather conditions, ensuring optimal cleaning times.
Frequently Asked Questions
What Is the Best Way to Clean Outside Windows Without Streaking?
To clean outside windows without streaking, start by mixing equal parts distilled white vinegar and warm water.
Choose a cloudy day to prevent quick evaporation. Use a squeegee, moving from top to bottom, and wipe the blade with a clean cloth after each stroke.
For buffing, opt for lint-free microfiber cloths or non-glossy newspapers.
Consider a two-bucket system to keep your cleaning solution dirt-free, ensuring a clearer shine on your windows.
Why Do My Windows Always Have Streaks After Cleaning?
Streaky surfaces make your windows look worse than they are!
If you're always finding streaks after cleaning, it could be due to too much solution or soap, which leaves residue. Cleaning in direct sunlight causes the solution to evaporate too fast, and using paper towels can add lint.
Hard water might also be leaving mineral deposits. To combat this, use a clean squeegee with each stroke for a clearer finish.
What Do Professional Window Cleaners Use to Clean Windows?
Professional window cleaners use a few essential tools and solutions to achieve that spotless shine.
They often mix distilled water with vinegar for an effective cleaning solution. You'll see them using squeegees for smooth removal of the cleaning solution, and they typically employ a two-bucket system to keep their water clean.
For detailing, they rely on microfiber cloths, which absorb moisture and minimize streaks.
Safety is key, so they use ladders or extension poles for hard-to-reach areas.
How to Make the Best Streak-Free Window Cleaner?
To make the best streak-free window cleaner, mix equal parts distilled white vinegar and warm water in a spray bottle.
For tougher grime, add a few drops of dish soap.
To reduce streaks, include a small amount of rubbing alcohol; it helps the solution evaporate quickly.
Avoid ammonia-based cleaners, as they attract dust.
Use a lint-free microfiber cloth or squeegee for application to achieve that smooth, streak-free finish you desire.
Conclusion
You deserve sparkling windows that let in the light and brighten your home. By choosing the right time to clean, using quality supplies, and following these steps, you'll achieve a streak-free shine every time. Remember, it's not just about the view; it's about the warmth of sunlight filling your space, the joy of a clear perspective, and the satisfaction of a job well done. Embrace the shine, enjoy the clarity, and let your windows reflect your beautiful world.
