Appliances
Troubleshooting Tips: Why Ceiling Fan Is Shaking
2025
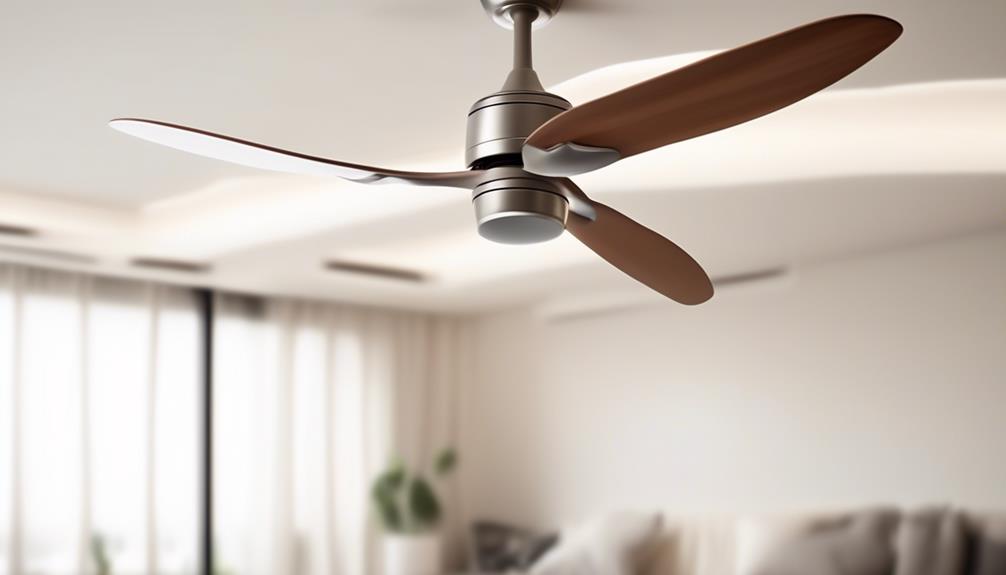
Regarding ceiling fans, various factors might cause them to wobble. These include loose fixtures, unbalanced blades, aging or malfunctioning motors, improper setup, and significant accumulation of dust.
As professionals, we understand the importance of a stable and functional ceiling fan. In this article, we will explore these potential causes and provide solutions to help you address the shaking problem effectively.
By identifying the root cause and taking appropriate action, you can enjoy the cooling breeze of your ceiling fan without any unwanted vibrations. So, let's delve into the reasons why your ceiling fan might be shaking and find the best solutions to restore its stability.
Key Takeaways
- Loose mounting brackets and imbalanced fan blades are common causes of ceiling fan shaking.
- Regular cleaning and maintenance can prevent dust buildup, which can lead to imbalance and damage to the fan motor.
- If shaking persists after tightening screws and cleaning blades, it is recommended to consult a professional for further assistance.
- Proper installation, including correct wiring and mounting on a sturdy surface, is crucial for preventing shaking and maintaining the fan's balance.
Loose Mounting Brackets
Our first concern when it comes to a ceiling fan shaking is the possibility of loose mounting brackets. This is a common issue that can cause a wobbly fan and create an unsettling experience. To address this problem, it's important to check and tighten the screws that secure the fan to the ceiling. Over time, these screws can become loose due to vibrations or improper installation. By tightening them, we can restore stability to the fan and reduce any shaking or wobbling.
To begin, locate the mounting brackets on the ceiling. These brackets are usually attached to a metal plate that's secured to the electrical box. Using a screwdriver or a wrench, carefully tighten the screws that connect the fan to the brackets. Make sure to check all the screws and ensure they're securely fastened.
Once the screws are tightened, turn on the fan and observe any improvements in its stability. If the shaking persists, it may be necessary to consult a professional for further inspection and repair. Remember, a properly mounted ceiling fan shouldn't wobble or shake excessively. By addressing loose mounting brackets promptly, we can maintain a safe and enjoyable environment in our homes.
Imbalanced Fan Blades
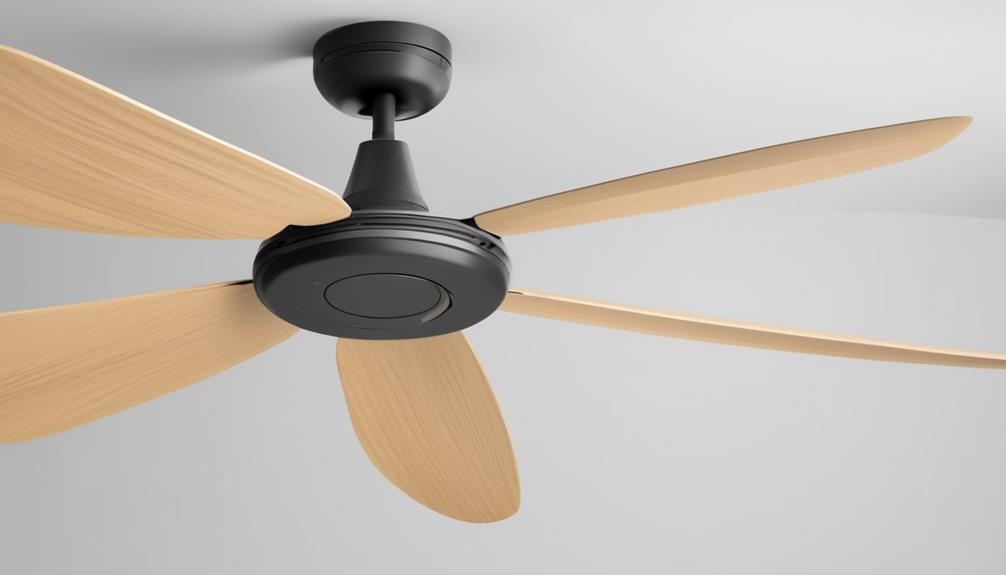
After addressing any issues with loose mounting brackets, the next potential cause of a ceiling fan shaking is imbalanced fan blades. Fan maintenance is crucial to ensure smooth and efficient operation. Here are some troubleshooting tips to help you resolve the issue of imbalanced fan blades:
- Check for dust and debris accumulation on the fan blades. Use a soft cloth or a vacuum cleaner to remove any dirt that may have accumulated over time.
- Tighten any loose screws or bolts that secure the fan blades to the motor housing. Ensure that they're snugly fastened to prevent wobbling.
- Use a fan blade balancing kit to identify and correct any imbalances. These kits typically include adhesive weights that can be attached to the blades to counterbalance any uneven weight distribution.
- Inspect the fan blades for any signs of damage or warping. If any blades are bent or warped, they should be replaced to maintain proper balance.
- Consider professional assistance if the issue persists. A skilled technician can diagnose the problem and provide the necessary repairs or replacements.
Worn-Out or Damaged Motor
If your ceiling fan is shaking consistently even after addressing other potential causes, it's possible that the motor is worn-out or damaged. Proper motor maintenance is crucial for the smooth functioning of your ceiling fan.
Over time, the motor may wear out due to continuous use or lack of maintenance. In some cases, the motor may also get damaged due to power surges or electrical issues.
To troubleshoot a worn-out or damaged motor, start by checking for any visible signs of damage such as burnt wires or loose connections. If you notice any, it's recommended to seek professional help for repairs. Additionally, you can try cleaning the motor to remove any accumulated dust or debris, as this can also affect its performance.
If cleaning doesn't resolve the issue, it may be necessary to replace the motor altogether. When doing so, make sure to purchase a motor that's compatible with your ceiling fan model. It's advisable to consult the manufacturer or a professional electrician for guidance.
Regular motor maintenance is essential to prolong the lifespan of your ceiling fan. Follow the manufacturer's recommendations for cleaning and lubricating the motor, and ensure that it's kept free from dust and debris.
Incorrect Fan Installation
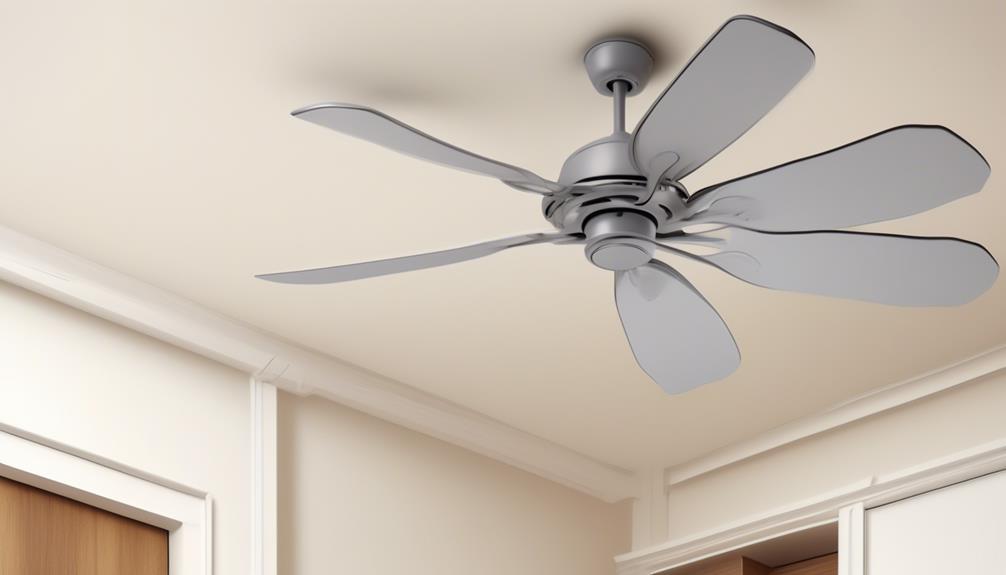
Installing a ceiling fan incorrectly can lead to various issues, including shaking and instability. It's crucial to ensure that the installation process is done correctly to avoid these problems. Here are some common mistakes that can occur during ceiling fan installation:
- Electrical wiring issues: Incorrectly connecting the electrical wires can lead to a variety of problems, including fan malfunction and potential electrical hazards. It's essential to follow the manufacturer's instructions and consult a professional electrician if needed.
- Improper fan speed control: Using the wrong type of fan speed control can cause the fan to shake. Ceiling fans are designed to work with specific speed controls, and using incompatible ones can disrupt the fan's balance and stability.
- Incorrect mounting: Mounting the fan on an unstable or improper surface can result in shaking. It's crucial to use a sturdy ceiling box and ensure that it's securely attached to the ceiling joist.
- Unbalanced fan blades: If the fan blades aren't properly balanced during installation, it can cause the fan to wobble. Ensuring that all blades are aligned and balanced is essential for smooth operation.
- Loose connections: Failing to tighten all screws and connections properly can lead to shaking. It's important to double-check all connections, including the blade brackets, downrod, and motor housing, to ensure they're secure.
Excessive Dust Buildup
Excessive accumulation of dust can contribute to various issues with a ceiling fan. Regular maintenance and the importance of cleaning can't be overstated when it comes to keeping your ceiling fan in optimal condition.
Dust buildup on the blades can cause the fan to become unbalanced, resulting in the fan shaking or wobbling during operation. This can lead to excessive noise, decreased efficiency, and even potential damage to the fan motor.
To prevent excessive dust buildup, it's essential to clean your ceiling fan regularly. Start by turning off the fan and ensuring it comes to a complete stop. Use a soft, microfiber cloth or a duster with an extendable handle to gently wipe the dust off the blades, motor housing, and other accessible parts.
For hard-to-reach areas, you can use a vacuum cleaner with a brush attachment. Avoid using harsh detergents or water, as they can damage the fan's electrical components.
Could a Ceiling Fan Reversing Cause It to Shake?
Ceiling fan reversing explained: Reversing the direction of a ceiling fan can cause it to shake if it is not properly balanced. When the fan blades spin in reverse, it can create a different airflow pattern, which may lead to wobbling and shaking. Checking and adjusting the fan’s balance can resolve this issue.
Frequently Asked Questions
How Do I Tighten Loose Mounting Brackets on My Ceiling Fan?
To tighten loose mounting brackets on a ceiling fan, we need to follow a few steps.
Firstly, turn off the power to the fan.
Then, locate the bracket screws and use a screwdriver to tighten them securely.
If the shaking persists, check for any loose screws on the fan blades and tighten them as well.
Lastly, ensure that the fan is properly balanced by using a balancing kit.
Can Imbalanced Fan Blades Cause the Entire Fan to Shake?
Imbalanced fan blades can indeed cause the entire fan to shake. When the blades aren't properly balanced, they can create vibrations that affect the stability of the entire fan.
To address this issue, you can use a balancing kit to adjust the weight distribution of each blade. By following the proper steps to balance your ceiling fan, you can eliminate the shaking and ensure smooth operation.
What Are the Signs of a Worn-Out or Damaged Motor in a Ceiling Fan?
When it comes to a worn-out or damaged motor in a ceiling fan, there are a few signs to look out for. These include the fan not turning on or running at a slower speed than usual. If you notice any strange noises coming from the motor, such as grinding or squeaking, that could also indicate damage.
Replacing a ceiling fan motor can be done by following the manufacturer's instructions or seeking professional help if needed.
What Are Some Common Mistakes Made During the Installation of a Ceiling Fan That Could Lead to Shaking?
Common ceiling fan installation mistakes can often lead to a wobbly fan. But fear not, as we've the knowledge to fix it!
From improper mounting to unbalanced blades, there are several factors that can cause your fan to shake. By ensuring proper installation techniques, like securing the mounting bracket tightly and using a balancing kit, you can eliminate any wobbling and enjoy a smooth, stable ceiling fan.
How Can Excessive Dust Buildup Affect the Performance of a Ceiling Fan and Potentially Cause It to Shake?
Excessive dust buildup can have a detrimental effect on the performance of a ceiling fan, potentially causing it to shake. Regular maintenance is crucial to prevent this issue.
When dust accumulates on the fan blades, it can disrupt the balance, leading to vibrations and shaking during operation. By regularly cleaning the fan, we can ensure optimal performance and prevent any unwanted shaking.
Therefore, it's important to prioritize regular maintenance for ceiling fans to avoid these problems.
Conclusion
In conclusion, when it comes to a shaking ceiling fan, it's important to address the underlying causes to ensure smooth and safe operation.
Whether it's loose mounting brackets, imbalanced fan blades, a worn-out motor, incorrect installation, or excessive dust buildup, taking the necessary steps to fix these issues will help restore tranquility and comfort to your space.
So, don't let a wobbly fan ruin your peace of mind, take action and enjoy a calm and serene environment.
- About the Author
- Latest Posts
Introducing Ron, the home decor aficionado at ByRetreat, whose passion for creating beautiful and inviting spaces is at the heart of his work. With his deep knowledge of home decor and his innate sense of style, Ron brings a wealth of expertise and a keen eye for detail to the ByRetreat team.
Ron’s love for home decor goes beyond aesthetics; he understands that our surroundings play a significant role in our overall well-being and productivity. With this in mind, Ron is dedicated to transforming remote workspaces into havens of comfort, functionality, and beauty.
Garage Door Opener
Install a Keypad Garage Door Opener: 7 Easy Steps
Start your journey to effortless garage access with seven simple steps to installing a keypad opener – discover the first step now!
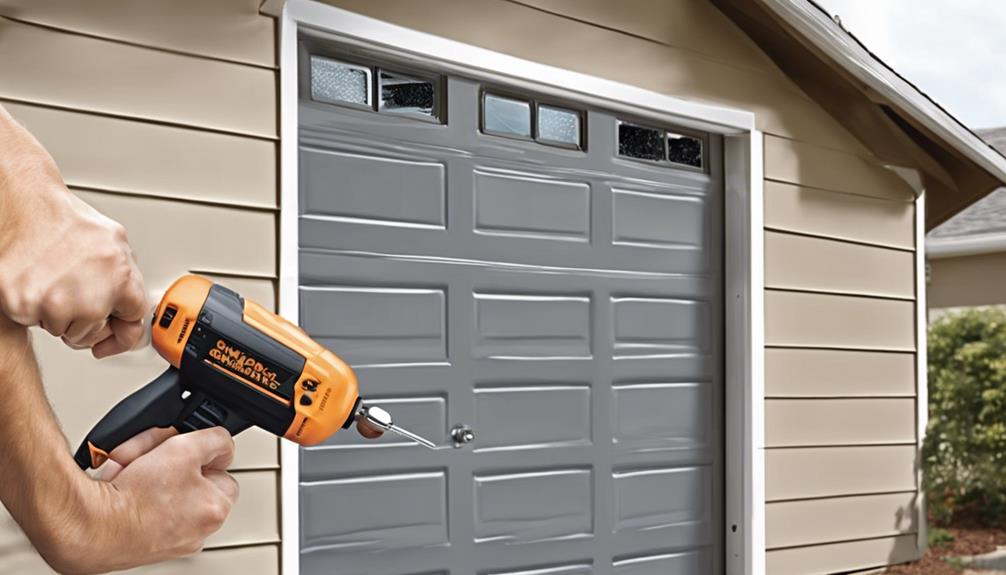
When it comes to setting up a keypad garage door opener, we have you covered with seven simple steps to follow.
From selecting the right keypad to troubleshooting any potential issues that may arise, each step is designed to make the process seamless and efficient.
By taking the time to carefully walk through each of these steps, you'll be able to enjoy the convenience and peace of mind that a keypad garage door opener can offer.
Key Takeaways
- Choose an ideal, accessible location for keypad placement near the garage door.
- Ensure compatibility and securely mount the keypad for optimal functionality.
- Program a unique, secure PIN for the keypad and test functionality thoroughly.
- Maintain security by changing the code periodically, monitoring battery levels, and keeping the keypad clean.
Gather Necessary Tools and Materials
To begin the installation process of a keypad garage door opener, gather the necessary tools and materials, ensuring you have everything required for a successful installation. For this project, you'll need a wireless keyless entry pad, stainless steel screws, a tape measure, sharpened pencil, and a level. Additionally, a cordless drill, 3/32 drill bit, Philips head screwdriver, and a step stool will be necessary to complete the installation efficiently.
Proper measurement and marking the center of the garage door jam are crucial steps to ensure accurate keypad placement. Once you have determined the ideal location, secure the keypad using the provided screws and check alignment with a level to guarantee a professional finish.
Programming the keypad is the next vital step. Follow the specific instructions provided, such as pressing the yellow learn button on the garage door opener and entering a four-digit code. This process is essential to ensure that your garage door keypad operates smoothly and securely.
Locate the Ideal Placement
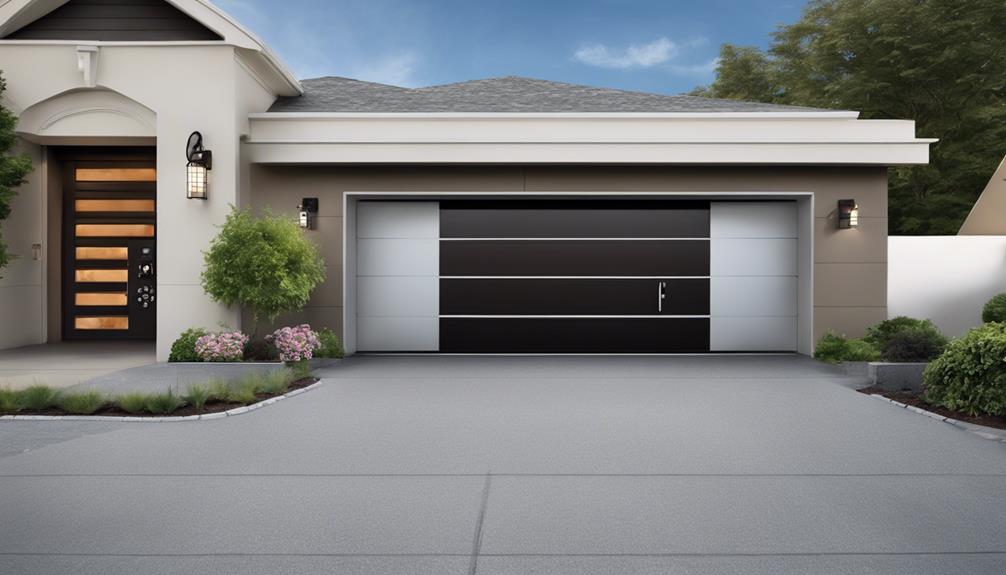
When positioning a keypad garage door opener, we must carefully select an optimal location that balances accessibility and security concerns.
Placing the keypad near the garage door ensures convenient access while avoiding direct sunlight exposure to prevent premature wear.
Additionally, choosing a discreet location that isn't easily visible from public view enhances the overall security of the system.
Choose Optimal Position
For optimal functionality, place the keypad in a location near the garage door that balances accessibility and security. When choosing the optimal position for your garage door opener keypad, consider the following:
- Proximity to the Garage Door: Ensure the keypad is within easy reach when you need to enter the garage quickly.
- Sunlight Exposure: Avoid installing the keypad in direct sunlight to prevent potential damage and ensure longevity.
- Visibility: Select a spot that isn't easily visible from the street to enhance the security of your garage.
- Signal Strength: Test the signal strength in the chosen location to confirm that it's suitable for reliable operation.
Following these guidelines will help you find the perfect spot for your keypad opener for convenient and secure access into your garage.
Consider Accessibility Factors
Considering the optimal placement for your keypad garage door opener, position it strategically near the garage entrance to ensure convenient access and smooth operation. This placement allows for quick entry without having to walk too far from your vehicle. To help you visualize the ideal positioning, refer to the table below:
| Location | Accessibility |
|---|---|
| Near Garage Entrance | Convenient Access |
| Avoid Sunlight Exposure | Prevents Keypad Damage |
| Not Visible from Street | Enhances Security |
Prepare the Garage Door Opener
Before proceeding with the keypad installation, it's crucial to ensure compatibility between the garage door opener and the keypad.
Gather all the required tools as specified in the manual or manufacturer's guidelines.
Clear the workspace around the garage door opener to facilitate a smooth and efficient installation process.
Check Opener Compatibility
To ensure a seamless integration, our first step involves verifying the compatibility of the keypad with your specific garage door opener model. Here are the key aspects to consider when checking opener compatibility:
- Manufacturer Guidelines: Refer to the manufacturer's guidelines to ensure the keypad is suitable for your specific garage door opener.
- Programming Requirements: Verify the keypad's frequency and programming requirements to match your garage door opener's settings.
- Security Features: Confirm the keypad's compatibility with the security features of your garage door opener for smooth operation.
- Adapter Compatibility: Research any additional adapters or accessories needed to connect the keypad to your garage door opener effectively.
Gather Required Tools
After ensuring the compatibility of the keypad with your specific garage door opener, the next step is to gather the required tools for preparing the garage door opener.
To install the wireless keypad, you'll need stainless steel screws (#6 x 1 inch) to securely mount it. Ensure precision by measuring and marking the center of the garage door jam for accurate placement. Use a 3/32 drill bit to create pilot holes before attaching the keypad with the screws.
Align the keypad using a level to guarantee it's positioned correctly before the final installation. These steps are crucial to ensure a smooth and successful button installation process on your garage door.
Clear Workspace Area
Let's ensure the workspace is clear and optimized for the installation of the keypad garage door opener by removing any clutter or obstacles near the garage door opener.
- Clear the Area: Remove any tools, boxes, or items that could hinder the installation process.
- Ensure Ample Space: Make sure there's enough room to work comfortably around the garage door opener.
- Organize Tools: Arrange your tools neatly within reach to streamline the keypad installation.
- Check for Obstructions: Inspect the area for any potential obstacles that could impede the process.
A clutter-free workspace area not only facilitates the installation of the keypad garage door opener but also enhances efficiency and safety during the installation process.
Mount the Keypad
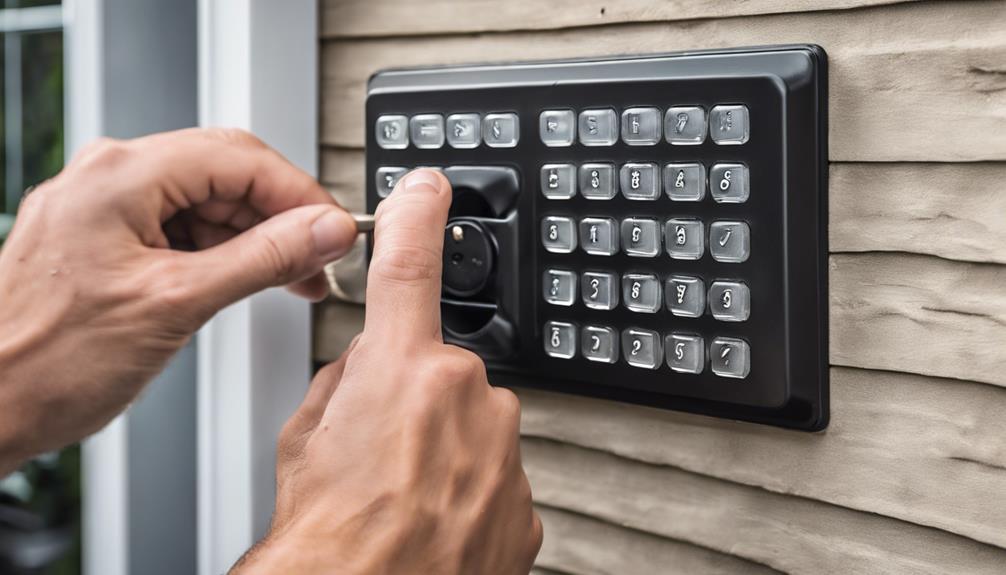
Position the keypad at a comfortable height for access, typically around 5 feet from the ground, ensuring it is straight using a level on the garage door jamb. To securely mount the keypad, follow these steps:
| Steps | Actions |
|---|---|
| 1. Mounting Height | Position keypad at 5 feet for easy access. |
| 2. Alignment | Ensure keypad is straight using a level. |
| 3. Screw Placement | Secure keypad using screws provided in the kit. |
| 4. Avoid Damage | Do not over-tighten screws to prevent damage. |
| 5. Functionality | Test keypad post-installation for proper usage. |
Mounting the keypad correctly is crucial for convenient access and functionality. Once you've securely attached the keypad, be sure to test its functionality to ensure it's working correctly. By following these steps, you'll have your keypad mounted at a comfortable height, ready to make accessing your garage a breeze.
Connect Wiring (If Applicable)
Having securely mounted the keypad at the appropriate height, the next step is to connect any wiring necessary for its operation, following safety precautions and manufacturer guidelines. Before proceeding, ensure the power is off to prevent any electrical hazards. Here are some essential steps to successfully connect the wiring:
- Follow Manufacturer's Instructions: Refer to the manufacturer's guidelines for the specific wiring configurations to prevent any damage to the keypad or garage door opener system.
- Use Proper Tools: Utilize wire strippers to prepare the ends of the wires and connectors to make a secure connection between the keypad and the garage door opener.
- Secure Wiring: Connect the colored wires to the matching terminals on the garage door opener, utilizing the second screw to secure each wire in place.
- Test Keypad Functionality: Once the wiring is connected, test the keypad to ensure it's functioning correctly before completing the final installation.
Program the Keypad
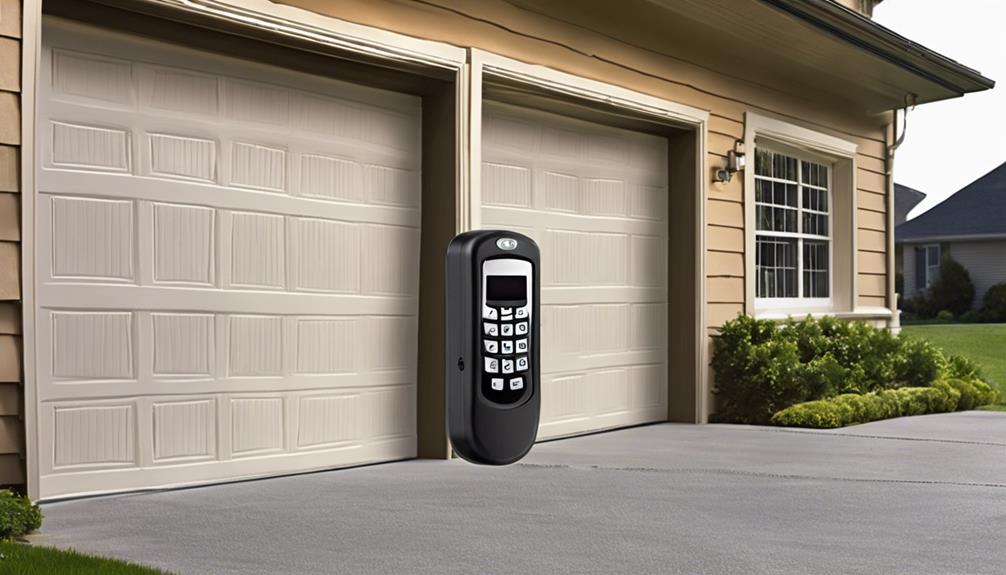
To successfully program the keypad for your garage door opener, initiate the process by pressing and releasing the 'Learn' button on the motor unit. Once you've completed this step, the motor unit's lights will illuminate, indicating it's ready for programming.
Now, enter a unique four-digit PIN on the remote keypad for your garage door within 30 seconds and hold the 'ENTER' key. It's crucial to ensure all required fields are marked accurately during this process. After entering the code, release the 'ENTER' button.
If the programming is successful, you'll observe the motor unit lights blinking or hear two clicks. This confirms that the code has been successfully set. Remember, picking a code that's easy for you to remember but hard for others to guess is essential for security.
If needed, you can always change the code later to maintain the safety of your garage.
Test and Adjust for Proper Function
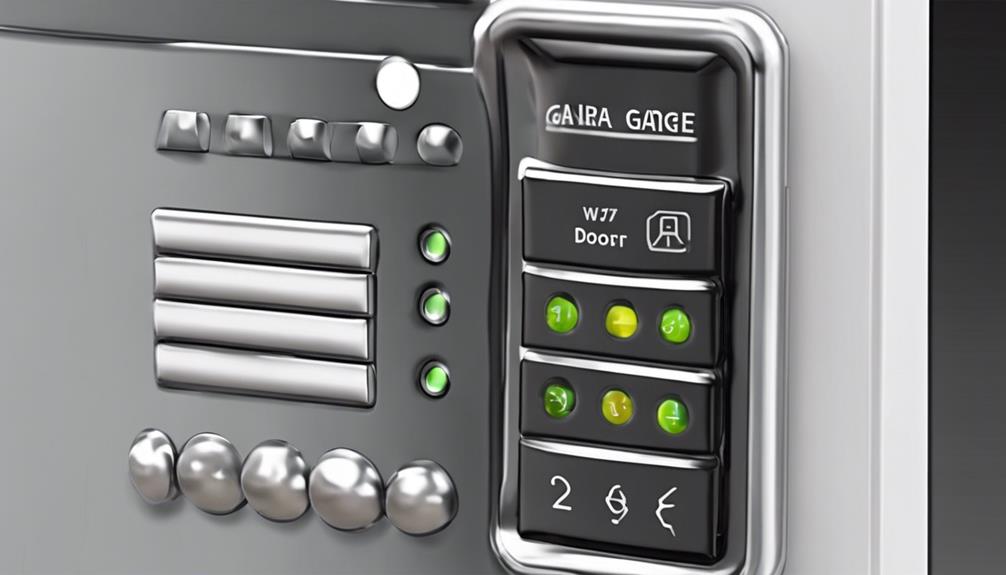
After successfully programming the keypad for your garage door opener, the next step is to test and adjust for proper function to ensure optimal performance.
- Test the Keypad: Enter the programmed code and observe how the garage door responds. This will confirm that the keypad is communicating effectively with the opener.
- Check Battery Power: Ensure the keypad has sufficient battery power for proper functioning. Low battery levels can lead to connectivity issues.
- Adjust Position: If the signal strength is weak or there are connectivity problems, consider repositioning the keypad. This can improve communication with the garage door opener.
- Secure Installation: Verify that the keypad is securely mounted to prevent any movement that could affect its operation. A stable installation is crucial for consistent performance.
Frequently Asked Questions
How Do You Install a Garage Door Opener Keypad?
We install a garage door opener keypad by:
- Determining compatibility with our opener
- Choosing a convenient location
- Programming a secure PIN
- Testing functionality
- Following manufacturer guidelines for proper installation
It's essential to ensure the keypad operates effectively with the door. By following these steps, we guarantee a smooth installation process and optimal performance for our garage door opener keypad.
Can You Add a Keypad to an Existing Garage Door Opener?
Yes, we can definitely add a keypad to an existing garage door opener. It's a straightforward process that enhances security and convenience. By entering a unique code, we can easily open and close the garage door without relying on traditional remote controls.
Keypads are a great alternative, offering easy access to our garage. This upgrade is a simple way to make our garage more accessible and user-friendly.
What Is the Easiest Garage Door Opener to Install?
We find that the Liftmaster 877LM Wireless Keyless Entry is the easiest garage door opener to install. It's compatible with most Liftmaster, Chamberlain, and Sears Craftsman models. Programming is straightforward by pressing the 'learn' button and entering a unique four-digit code.
This keypad provides convenient access without needing a remote control. For those seeking a DIY project, the Liftmaster 877LM with its simple installation process and user-friendly programming is a top choice.
Which Is Better Wired or Wireless Garage Door Keypad?
When deciding between wired or wireless garage door keypads, we prefer wireless for its ease of installation and flexibility in placement. Wireless keypads are generally simpler to set up and can be relocated with minimal effort.
While wired keypads offer a more stable connection, they require additional expertise for installation. Consider factors like convenience, range, and compatibility with your opener before making a decision.
Conclusion
In conclusion, installing a keypad garage door opener is a breeze with these 7 easy steps.
With just a few tools and materials, you can enhance the accessibility and security of your garage in no time.
By following our detailed guide, you'll be able to program the keypad and ensure it functions flawlessly.
Say goodbye to fumbling for your keys and hello to the convenience of a keypad garage door opener!
- About the Author
- Latest Posts
Introducing Ron, the home decor aficionado at ByRetreat, whose passion for creating beautiful and inviting spaces is at the heart of his work. With his deep knowledge of home decor and his innate sense of style, Ron brings a wealth of expertise and a keen eye for detail to the ByRetreat team.
Ron’s love for home decor goes beyond aesthetics; he understands that our surroundings play a significant role in our overall well-being and productivity. With this in mind, Ron is dedicated to transforming remote workspaces into havens of comfort, functionality, and beauty.
Garage Door Opener
5 Easy Steps to Program Your Toyota Highlander Garage Door Opener
Open the door to seamless integration between your Toyota Highlander and garage – discover the effortless 5-step process now!
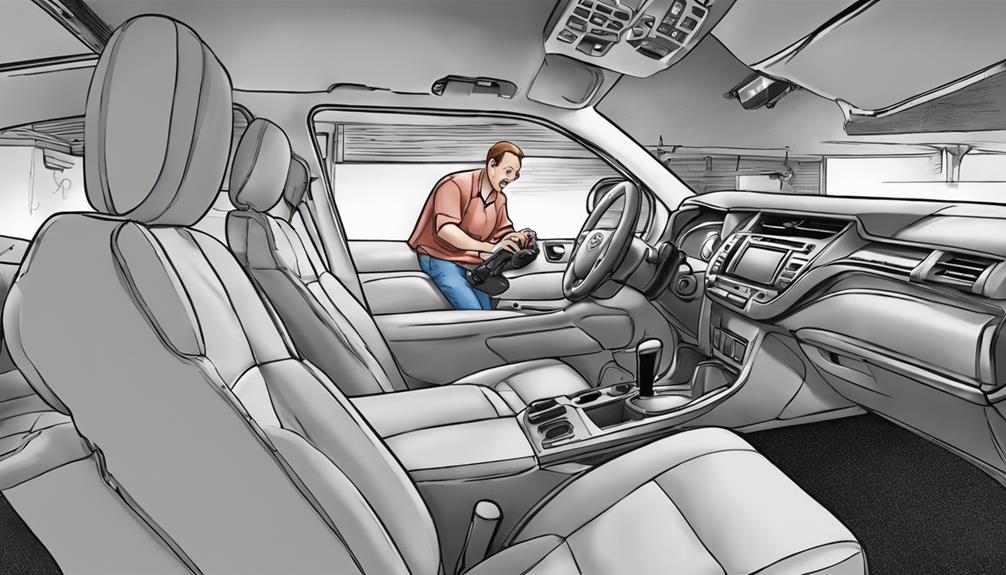
When it comes to syncing the garage door opener on your Toyota Highlander, the process is as simple as a leisurely Sunday drive.
But what if I told you there's a way to make it even simpler?
By following these 5 easy steps, you can effortlessly program your garage door opener without any hassle.
So, why not discover how to seamlessly integrate your vehicle with your home's security system in just a few simple steps?
Key Takeaways
- Locate HomeLink buttons on overhead console or rearview mirror.
- Clear existing programming by holding two outside buttons.
- Pair by selecting programming option 2 and holding desired buttons.
- Test connection for smooth operation, finalize by confirming successful programming.
Locate the HomeLink Buttons
To begin programming your Toyota Highlander garage door opener, make sure to locate the HomeLink buttons on the overhead console or integrated into the rearview mirror. These buttons are easily identifiable by the symbol of a house or three dots, ensuring convenient access for the driver. The strategic placement of the HomeLink buttons in the Highlander guarantees easy visibility and accessibility for programming the garage door opener.
When looking for the HomeLink buttons, you'll find them ideally positioned within arm's reach, allowing for effortless interaction while maintaining focus on the road. Whether located on the overhead console or integrated into the rearview mirror, the design ensures that your garage door opener programming process is seamless and user-friendly.
Clear Existing Programming
Before proceeding with reprogramming the garage door opener on your Toyota Highlander, it's essential to clear any existing programming to ensure a smooth setup process.
To clear the existing programming, follow these steps:
- Hold down the two outside buttons on the Homelink system simultaneously.
- Keep holding the buttons until the indicator light starts flashing rapidly.
- Once the light flashes rapidly, the previous programming is successfully erased, indicating that you can now proceed with reprogramming your garage door opener.
Clearing existing programming is a crucial step as it removes any previous settings that could potentially cause conflicts during the new programming process. By following these simple steps, you can quickly clear the existing programming on your Toyota Highlander garage door opener, setting the stage for a successful setup.
Pair With Garage Door Opener
Pair your Toyota Highlander's Homelink Garage Door Opener effortlessly by following these straightforward steps. To begin, ensure your vehicle is parked outside the garage with the ignition on.
Select programming option 2 on the Homelink system, then simultaneously press and hold the desired Homelink button and the button on your garage door opener. The indicator light on the Homelink system will flash slowly, then rapidly. Keep both buttons pressed until the light changes from rapid to solid. This process may take up to 30 seconds.
It's crucial to place the garage door opener within a few inches of the Homelink system during pairing for optimal results. Once the pairing is successful, the Homelink system will control your garage door, providing a seamless and integrated experience.
Say goodbye to separate remote controls as your Toyota Highlander gains a new level of convenience and functionality.
Test the Connection

Upon successfully programming the Homelink system in your Toyota Highlander, the next step is to test the connection to ensure seamless functionality. To do this, follow these steps:
- Confirm Homelink Light: Make sure that the Homelink indicator light in your vehicle is flashing rapidly, indicating that the programming was successful.
- Test Garage Door Opener: Press the button in the vehicle that you programmed to operate your garage door. This action should prompt the garage door to either open or close, demonstrating that the connection is working correctly.
- Verify Smooth Operation: Ensure that the garage door responds promptly and smoothly to the commands sent from your Toyota Highlander. If there are any issues with the operation, you may need to troubleshoot by reprogramming or checking compatibility with the garage door opener.
Testing the connection is crucial to guarantee that your Toyota Highlander's Homelink system effectively controls your garage door, providing you with the convenience and security you desire.
Finalize the Programming
To ensure the seamless operation of your Toyota Highlander's Homelink system with your garage door opener, the next step is to finalize the programming process. Once you've successfully programmed the Homelink buttons according to the manufacturer's instructions, it's crucial to confirm the programming by observing the garage door opener's LED light. The LED light should flash rapidly, indicating that the programming was successful.
After confirming the programming, it's essential to test the Homelink system by pressing the programmed button to operate the garage door. If the garage door responds appropriately to the Homelink system's command, congratulations! You can now enjoy the convenience of opening and closing your garage door effortlessly from your Toyota Highlander.
In the event that the garage door doesn't respond to the Homelink system, don't worry. You can simply repeat the programming process to ensure accuracy. If programming issues persist despite multiple attempts, feel free to contact Toyota customer support for further assistance. With these final steps, your Toyota Highlander's garage door opener programming should be successfully completed.
Frequently Asked Questions
How Do I Program My Garage Door Opener on My Highlander?
To program your garage door opener on your Highlander, we need to select programming option 2. Place the opener near the Homelink system, then press both system buttons simultaneously.
Wait for the rapid flashing light, indicating successful programming. Enjoy the convenience of opening and closing your garage door with your Highlander's Homelink system.
These steps are simple and quick, ensuring seamless operation of your garage door opener with your vehicle.
How Do I Sync My Garage Door Opener to My Car?
To sync your garage door opener to your car, follow these steps:
- Hold your opener remote close to the Homelink buttons.
- Simultaneously press and hold both the garage door opener and Homelink buttons until the light flashes rapidly.
- Your opener is now synced to your vehicle.
Enjoy the ease of opening and closing your garage door with your Toyota Highlander's Homelink system.
How Do I Clear My Toyota Garage Door Opener?
To clear your Toyota garage door opener, follow these steps:
- Press and hold the two outside buttons on the Homelink system until the indicator light flashes rapidly.
- Continue holding until the light changes from a slow to a rapid flash.
- Once the light flashes rapidly, indicating the programming has been cleared, release the buttons.
Now, your Toyota garage door opener is reset and ready for new programming.
Why Won't My Garage Door Opener Program to My Car?
We've encountered the frustration when our garage door opener won't sync with the car.
It's essential to verify compatibility, follow precise programming steps, and ensure proper battery function.
Don't forget to eliminate any potential obstacles during the process.
If the issue persists, reaching out to Toyota support or a professional is the next step for assistance.
Conclusion
In conclusion, we've successfully programmed our Toyota Highlander garage door opener in just 5 easy steps. Our Homelink system is now synced with the garage door opener, providing us with the convenience and security we desire.
With this simple integration, we can effortlessly open and close our garage door using our vehicle. Say goodbye to the days of manually operating your garage door, and embrace the future of technology with your Toyota Highlander.
- About the Author
- Latest Posts
Introducing Ron, the home decor aficionado at ByRetreat, whose passion for creating beautiful and inviting spaces is at the heart of his work. With his deep knowledge of home decor and his innate sense of style, Ron brings a wealth of expertise and a keen eye for detail to the ByRetreat team.
Ron’s love for home decor goes beyond aesthetics; he understands that our surroundings play a significant role in our overall well-being and productivity. With this in mind, Ron is dedicated to transforming remote workspaces into havens of comfort, functionality, and beauty.
Garage Door Opener
Clearance Garage Door Opener Installation Guide
Navigate the complexities of installing a garage door opener with ample overhead clearance, uncovering the key steps for a seamless setup.
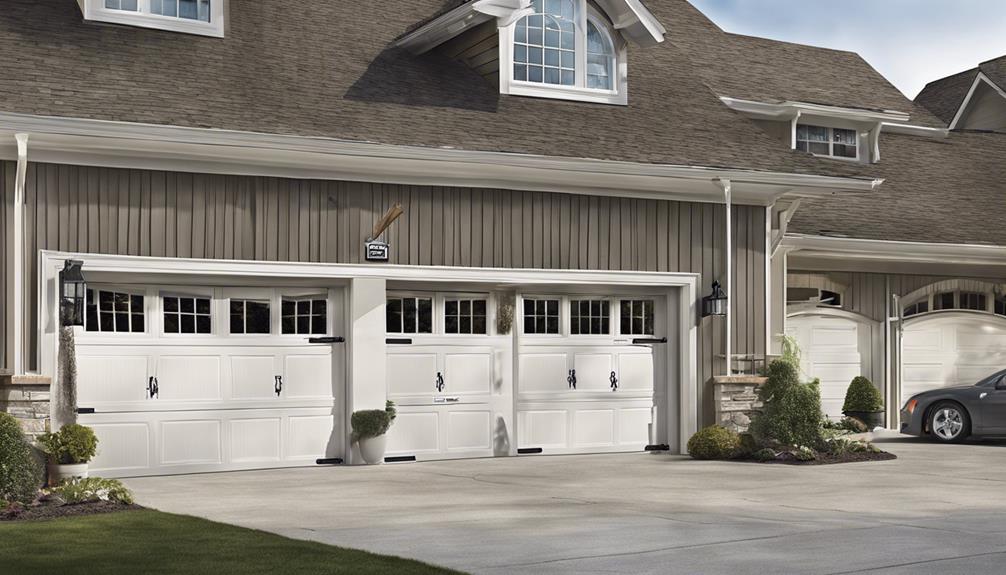
Have you ever thought about the details involved in installing a garage door opener with enough overhead clearance? How difficult is it to make sure the installation is smooth and guarantees the best performance? Well, don’t worry, as we will walk you through the necessary steps for getting your garage door opener set up.
From measuring overhead space to selecting the right opener and testing its functionality, our discussion will equip you with the necessary knowledge to tackle this task effectively. Let's unravel the secrets to a successful garage door opener installation together.
Key Takeaways
- Accurate measurement and ample clearance space are crucial for smooth installation.
- Choose a low-profile opener for limited headroom, featuring modern connectivity and quiet operation.
- Prepare a clutter-free workspace with proper lighting for efficient installation.
- Test functionality thoroughly, adjusting as needed for safe and optimal garage door operation.
Measure Overhead Clearance Space
To ensure proper installation of the garage door opener, it's crucial to accurately measure the overhead clearance space between the top of the garage door and the ceiling. The vertical space is essential for the garage door opener and its components to operate smoothly and without any hindrances.
When measuring the overhead clearance, take into account the drive garage door opener's specifications provided by the manufacturer. These specifications will outline the required vertical space needed for the specific model being installed. Additionally, consider any extra accessories or modifications that may impact the overhead clearance space, ensuring that there's ample room for safe and efficient operation.
Select Low-Profile Garage Door Opener
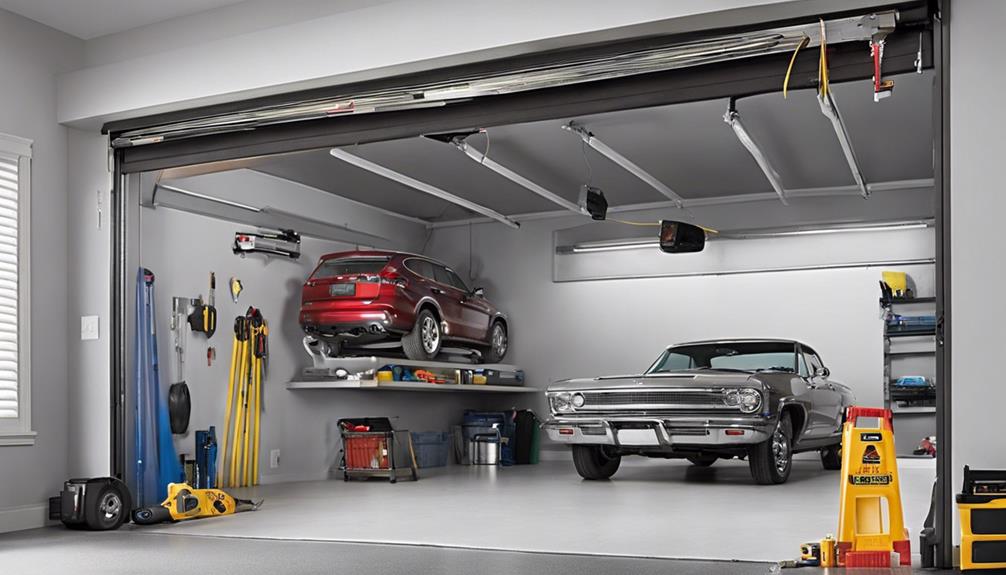
Having ensured the adequate overhead clearance space for the garage door opener installation, the next step is to carefully select a low-profile garage door opener that fits snugly in tight spaces while offering advanced features and compatibility with various door types.
Low-profile garage door openers are specifically designed to accommodate limited headroom situations, making them perfect for garages with space constraints. Their compact and sleek design allows for discreet installation without occupying much room. These openers often come equipped with modern conveniences like smartphone connectivity, battery backup, and quiet belt drive operation for a seamless user experience. Additionally, their compatibility with a range of garage door sizes and types provides installation flexibility.
Energy efficiency is another advantage, as low-profile garage door openers can help reduce electricity consumption, leading to potential long-term cost savings. When choosing a low-profile garage door opener, consider factors such as the size of your garage door and the desired features for optimal performance.
Prepare Workspace for Installation
Clearing the area around the garage door opener is essential to provide ample space for a smooth installation process. Before beginning the installation of the garage door opener, it's crucial to ensure that there are no obstructions or clutter that may hinder the process.
By creating a clean and organized workspace, you can work efficiently and safely. Remove any tools or items that may interfere with the installation of the garage door opener to streamline the process. Keeping the workspace well-lit and free from distractions will allow you to focus on the installation tasks at hand.
Install Opener According to Manual
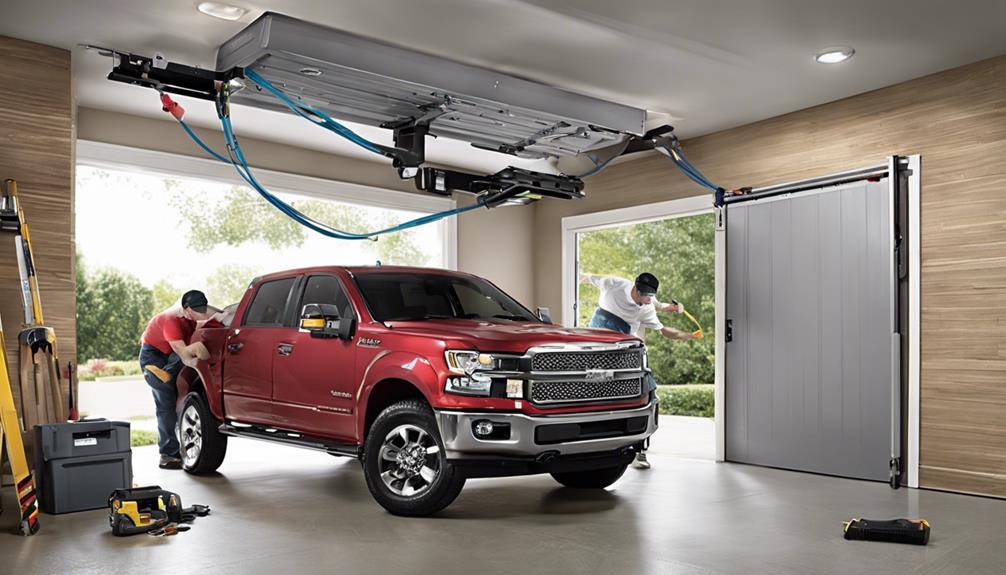
Following the manufacturer's manual meticulously is crucial for the precise installation of the garage door opener. To ensure a successful installation, our team recommends the following steps:
- Positioning Components: Properly position and secure all garage door opener components as instructed in the manual. This ensures the safe and efficient operation of the opener.
- Connecting Wiring: Connect all wiring and mechanisms according to the manual's specifications. Proper connection is vital to prevent malfunctions and ensure smooth functioning of the garage door.
- Adhering to Guidelines: Adhere strictly to the manual's guidelines for installing the opener. These guidelines are designed by professional garage door experts to guarantee a correct and secure installation.
Test Functionality and Adjust if Needed
To ensure the garage door opener functions smoothly and safely, thorough testing and potential adjustments are essential. Begin by testing the garage door's opening and closing functionality multiple times to guarantee a seamless operation.
Listen for any unusual sounds and watch out for jerky movements or obstructions that may impede the door's movement. If any issues arise, consider adjusting the opener's settings to enhance the door's operation and clearance within the garage space.
It's crucial to verify that the door clears the opening without any problems or interference. Additionally, confirm that the safety sensors are operational and don't hinder the door's movement in any way, ensuring a safe and efficient garage door operation.
Frequently Asked Questions
How Much Clearance Do You Need to Install a Garage Door Opener?
We need a minimum of 2 inches of clearance above the garage door for installing most openers. It's crucial to check the manufacturer's specifications for the exact clearance required by your specific opener model.
Taller doors or special opener features may demand more clearance. The needed space can vary depending on the opener type, like chain-drive, belt-drive, or screw-drive.
Adequate clearance ensures smooth opener operation and prevents door movement interference.
What Is the Minimum Clearance Above a Garage Door for an Opener?
We need at least 2 inches of clearance above a garage door for an opener to work effectively. Some models might require up to 3 inches, depending on their design. Too little space can lead to operational issues and potential damage.
It's crucial to measure accurately before installing to avoid problems. Always refer to the manufacturer's guidelines for the specific opener model to ensure the right clearance.
How Much Does Lowes Charge to Install a Garage Door Opener?
We love the convenience of Lowe's garage door opener installation services, starting at $127, with pricing varying based on installation complexity.
Extra charges may apply for services like removing old openers or installing new electrical outlets. Remember, the installation cost doesn't include the price of the garage door opener itself, which must be purchased separately.
Rest assured, Lowe's provides professional installation by licensed and insured contractors for peace of mind.
How Close Do You Have to Be for Garage Door Opener?
We need to be within 25-35 feet for the garage door opener to work.
Sensors should be placed 4-6 inches above the floor to detect obstacles.
Some models offer Wi-Fi connectivity, enabling remote access.
Advanced features like battery backup ensure operation during power outages.
These key factors influence how close we must be for the garage door opener to function effectively.
Conclusion
In conclusion, installing a low-profile garage door opener is like fitting a key into a lock – precise, smooth, and essential for seamless operation.
By following the detailed steps in the clearance garage door opener installation guide, you can ensure your opener functions flawlessly and efficiently.
Remember to test the functionality and make any necessary adjustments for optimal performance.
With proper installation and maintenance, your garage door opener will open up a world of convenience for you.
- About the Author
- Latest Posts
Introducing Ron, the home decor aficionado at ByRetreat, whose passion for creating beautiful and inviting spaces is at the heart of his work. With his deep knowledge of home decor and his innate sense of style, Ron brings a wealth of expertise and a keen eye for detail to the ByRetreat team.
Ron’s love for home decor goes beyond aesthetics; he understands that our surroundings play a significant role in our overall well-being and productivity. With this in mind, Ron is dedicated to transforming remote workspaces into havens of comfort, functionality, and beauty.
-

 Decor2 weeks ago
Maximalist Decor Explained: Embrace More Style
-

 Vetted2 weeks ago
15 Best Foot Massagers for Neuropathy to Soothe Your Feet and Relieve Discomfort
-

 Vetted3 weeks ago
15 Best Sports Laundry Detergents for Keeping Your Activewear Fresh and Clean
-

 Vetted3 weeks ago
15 Best Tall Toilets for Seniors That Combine Comfort and Safety
-

 Vetted4 weeks ago
15 Best Dish Scrubbers to Keep Your Kitchen Sparkling Clean
-
 Vetted4 days ago
15 Best Cleaners for Fiberglass Showers to Keep Your Bathroom Sparkling Clean
-

 Decor4 weeks ago
What Is Eclectic Home Decor
-

 Vetted1 week ago
15 Best Organic Pest Control Solutions for a Naturally Pest-Free Home


