
Clowns are a staple at both carnivals and circuses, with origins dating back to ancient cultures. They evolved from theatrical performers in Egypt and Greece, becoming core figures in the circus during the 18th century. The iconic role of clowns, especially popularized by Joseph Grimaldi, brought character-driven humor into the spotlight. While they bring joy and laughter, clowns also evoke fear in many, thanks to portrayals in horror films and media. This duality makes them fascinating figures in entertainment. If you're curious about how these lively characters developed their complex legacy, there's much more to uncover.
Key Takeaways
- Clowns have historically been integral to circus performances since the 18th century, entertaining audiences alongside acrobats and animal acts.
- The evolution of clowning includes characters from Commedia dell'arte, influencing modern circus clown archetypes like Harlequin and Pierrot.
- Clowns symbolize both joy and fear, mirroring societal anxieties through their dual roles in entertainment and commentary.
- The rise of horror films featuring clowns has contributed to the scary clown phenomenon, impacting public perception and invoking coulrophobia.
- Clowns continue to engage audiences at carnivals and community events, balancing humor and fear while challenging negative stereotypes.
Historical Origins of Clowns
Clowns have entertained audiences for centuries, with their origins tracing back to ancient civilizations like Egypt and Greece, where they often served as humorous social commentators.
In ancient Rome, clowns took on various roles, such as the Stupidus, known for slapstick humor, and Sannio, who cleverly satirized society.
The term "clown" evolved during Shakespeare's time, derived from the Danish word "Klunni," highlighting their comedic essence.
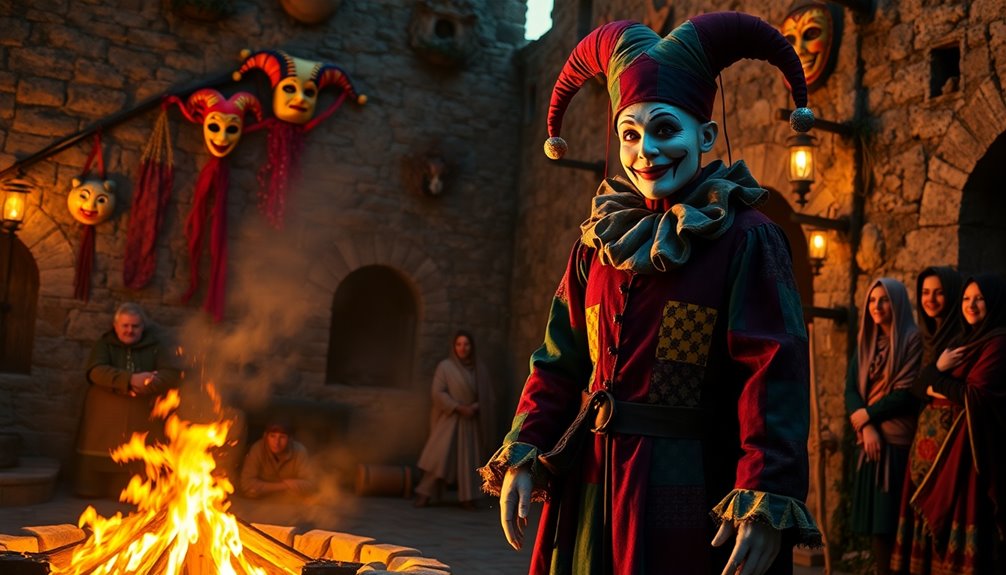
By the 14th century, the professional jester emerged, replacing traditional fools in royal courts, providing on-demand humor.
The Italian Commedia dell'arte in the 1700s pushed clowning further, introducing improvisational comedy that influenced the first modern circus.
These historical entertainers laid the groundwork for the vibrant performances we associate with clowns today.
Clowns in Ancient Cultures
While many think of clowns as modern entertainers, their roots stretch deep into ancient cultures, where they played essential roles in society.
In Ancient Greece, clowns were fundamental to theatrical performances, often dressed in exaggerated costumes. Ancient Rome further developed this tradition with characters like Sannio and Stupidus, who used slapstick humor to satirize societal norms.
Here are three key aspects of clowns in ancient cultures:
- Ancient Egypt: African Pygmies entertained royalty with dance and mimicry around 2400 B.C.
- Theatrical Influence: Clowns added humor and complexity to plays, poking fun at serious characters.
- Jesters in Royal Courts: Emerging in the 14th century, jesters wielded influence while providing wit and entertainment.
Evolution of Circus Clowns

As the circus gained popularity in the 18th century, it became a vibrant stage for the evolution of clowning. Early forms of clowns, rooted in ancient cultures like Egypt and Greece, changed dramatically through history.
Influenced by the Italian Commedia dell'arte, characters like Harlequin and Punch shaped modern clown archetypes. Philip Astley, a pioneer of the circus, integrated clowns into performances, making them essential alongside acrobats and animals.
Joseph Grimaldi revolutionized clowning by using makeup instead of masks, emphasizing character-driven humor. Over time, clowning evolved from adult entertainment to a beloved aspect of American folklife, though it later faced challenges from the rise of the "scary clown" trope in popular culture, altering perceptions of these once joyful entertainers.
The Impact of Media
Media has dramatically shaped the image of clowns over the years, influencing how audiences perceive these performers. The portrayal of clowns has evolved from jovial figures to a scary phenomenon, affecting public perception profoundly.
Here are three key impacts of media on clowns:
- Shift from Joy to Fear: Clowns acted as cheerful entertainers, but horror films transformed them into sinister figures.
- Commercialization: Characters like Ronald McDonald promoted consumer products, embedding clowns in the entertainment industry.
- Social Commentary: Clowns have served as social commentators, with figures like Krusty from *The Simpsons* satirizing societal norms.
This evolution reflects a complex relationship between clowns and negative stereotypes, showing how media continues to shape their legacy in modern history.
Modern Clowning Trends

Modern clowning is all about blending traditional skills with fresh performance styles that captivate today's audiences.
With social media amplifying their reach, clowns can share their unique acts and connect in ways that were once unimaginable.
However, they also have to navigate the tricky balance between humor and the fear often associated with clown imagery in pop culture.
Evolving Performance Styles
While traditional clowning often relied heavily on slapstick humor and visual gags, today's clowns are embracing a range of performance styles that blend physical comedy with rich storytelling and theatrical elements.
This evolution showcases the artistry of contemporary clowns as they engage audiences in new ways.
Here are three key trends:
- Character-Driven Narratives: Clowns now focus on storytelling, presenting relatable characters that resonate with spectators.
- Improvisation: Modern performances often incorporate improvisation, allowing clowns to adapt in real-time and connect dynamically with their audience.
- Theatrical Integration: By merging traditional skills with contemporary performance art, clowns enhance their acts, showcasing versatility and creativity.
These evolving performance styles highlight the exciting transformation of clowning into a multifaceted art form. From traditional slapstick to contemporary interpretations that incorporate elements of theater and physical comedy, clowns are redefining their roles in entertainment. Just as a wedding can be made unique with thoughtful details, such as round table wedding decoration tips that bring a personal touch, clowning can also flourish through innovative creativity that resonates with modern audiences. The blend of humor, emotional depth, and artistry continues to engage people of all ages, ensuring that this ancient craft remains relevant and vibrant. As clowns embrace new techniques and themes, they also draw inspiration from various cultural elements, enriching their performances with diverse narratives and aesthetics. This fusion leads to unique creations that captivate audiences, much like carnival cake design inspirations that showcase bold colors and intricate patterns, transforming a simple dessert into a spectacle. Ultimately, the dynamic evolution of clowning not only preserves its classic roots but also invites fresh perspectives, ensuring that laughter remains a universal language that connects generations.
Impact of Social Media
The rise of social media has considerably reshaped the landscape of clowning, offering contemporary performers new avenues to connect with audiences. Platforms like TikTok and Instagram are essential for showcasing performances, while viral trends spark a resurgence in clown culture among younger generations.
| Traditional Clowns | Scary Clowns |
|---|---|
| Happy personas and comedic acts | Darker themes and horror elements |
| Family-friendly performances | Influenced by media and social trends |
| Emphasizes joy and laughter | Amplified by social media's reach |
Clowns now utilize social media for marketing and personal branding, with some becoming influencers. Online communities foster collaboration, allowing clowns to share techniques and support each other in maneuvering the challenges of modern clowning. This evolution mirrors the trend of AI tools that enhance user interaction and content personalization across various platforms.
Balancing Humor and Fear
As audiences increasingly crave diverse entertainment experiences, clowns find themselves maneuvering the fine line between humor and fear.
Modern clowning trends reflect this duality, especially with the rise of scary clowns in popular media. To balance these contrasting elements, clowns today focus on:
- Evolving Techniques: They blend traditional clowning techniques with contemporary performance art.
- Audience Engagement: By incorporating improvisation, clowns create relatable experiences that resonate with evolving audience tastes.
- Community Engagement: Clowns are actively participating in their communities, fostering connections that challenge public perception of clowning as merely comedic.
This balancing act helps clowns maintain their relevance while addressing societal anxieties, ensuring they remain a fascinating presence in entertainment. Additionally, the impact of parental infidelity on children can also influence societal views on trust and relationships, which may reflect in the themes explored in clown performances.
Cultural Significance of Clowns
Clowns play an essential role in cultural expression, often serving as social commentators who use humor to challenge societal norms and provoke thought. Their cultural significance is evident in festivals and parades, where they symbolize joy and playfulness, enhancing community celebrations.
Significantly, clowns have appeared in remarkable literary works, like Shakespeare's plays, portraying wisdom and folly while critiquing society. As performance arts evolve, clowning techniques adapt from physical comedy to improvisation, showcasing their ongoing relevance.
However, your perception of clowns can vary; they oscillate between joy and fear. While some portray the happy clown archetype, others explore the scary clown phenomenon, reflecting the complex relationship between entertainment and the emotions they evoke.
Frequently Asked Questions
What Is the True Origin of Clowns?
The true origin of clowns dates back to ancient civilizations, where they entertained royalty, as seen in Egyptian hieroglyphics from around 2400 B.C.
You'll find that the term "clown" likely comes from the Old Norse word "klunni," meaning "clumsy person."
As you explore further, you'll discover that clowns evolved through roles in Ancient Greece and the Italian Commedia dell'arte, shaping the comedic styles we recognize today.
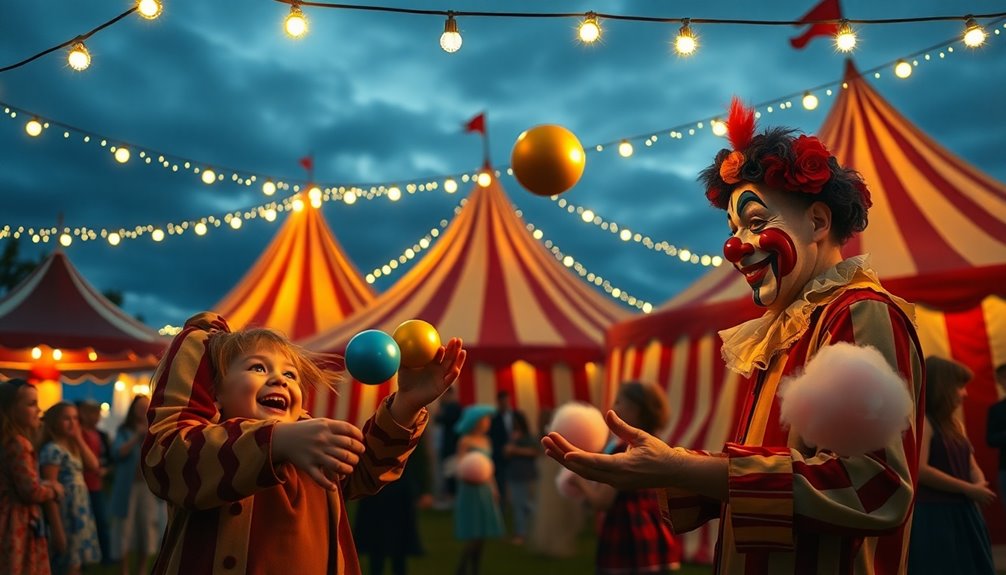
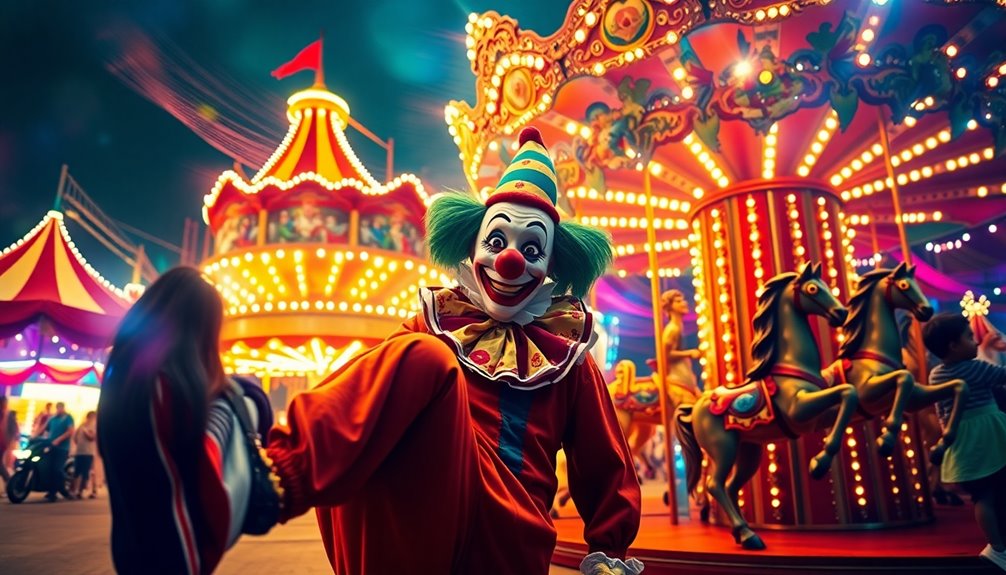
Are Clowns at Carnivals or Circus?
When you think about clowns, you might picture them at carnivals or circuses, bringing laughter and joy.
At carnivals, they engage you with games and lively antics, while in circuses, they perform scripted acts that showcase their unique talents.
Whether you enjoy the spontaneous fun of a carnival clown or the structured comedy of a circus performer, both offer a delightful experience that brightens your day and sparks your imagination.
What Is the History of the Circus Clown?
The history of the circus clown is fascinating!
You'll find that clowns evolved from ancient performers in Egypt, entertaining royalty with their antics. By the late 18th century, Joseph Grimaldi popularized the use of makeup, shaping modern clowning.
As circuses developed in the 19th century, clowns became essential, blending humor with acrobatics.
Over time, they shifted from traditional roles to more complex characters, reflecting changing societal attitudes toward humor and performance.
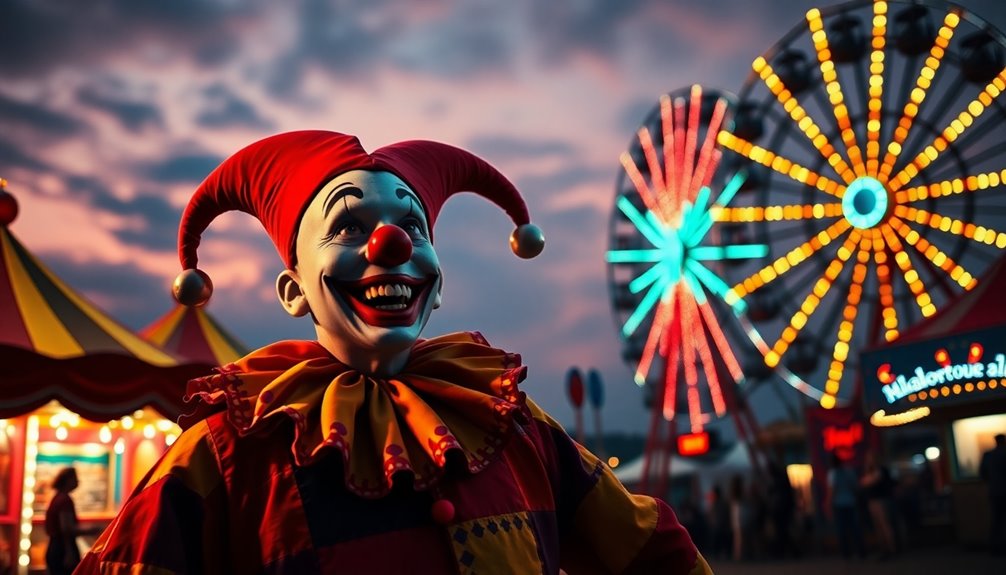
Where Did the Idea of Clowns Being Scary Come From?
Imagine scrolling through your feed and seeing a creepy clown meme.
The idea of clowns being scary really gained traction in the mid-1980s, thanks to Stephen King's *It* and films like *Killer Klowns from Outer Space*.
These portrayals flipped the script on traditional clowning, blending humor with horror.
Cultural shifts also played a role, as people began to see clowns not just as entertainers, but also as figures of fear lurking beneath the paint.
Conclusion
As you explore the fascinating world of clowns, you'll discover their rich history and cultural significance. Did you know that about 74% of people report feeling a mix of joy and fear when they see clowns? This duality reflects the complexity of clowning, blending fun with a hint of fright. Whether at carnivals or circuses, clowns continue to evolve, enthralling audiences and sparking curiosity. So next time you see one, remember the layers behind that colorful facade!