
To make your DIY finishing area cleaner and more efficient, organize tools and materials with labeled bins and wall-mounted racks for easy access. Create a dedicated workspace for finishing tasks, and keep it tidy by sweeping regularly and cleaning brushes after use. Use bright, adjustable lighting and safety gear to work safely and comfortably. Establish a routine for cleanup and inspections, and you’ll streamline your process. Keep exploring to get even more tips for a smooth, effective workspace.
Key Takeaways
- Designate a specific finishing zone with organized storage for tools and materials to streamline workflow.
- Implement regular cleaning routines to remove dust, debris, and spills from surfaces and equipment.
- Use labeled storage bins and wall-mounted racks for quick access and reduced clutter.
- Ensure proper lighting and ventilation to improve visibility and safety during finishing tasks.
- Conduct routine inspections and maintenance of tools to prevent malfunctions and ensure efficient operation.
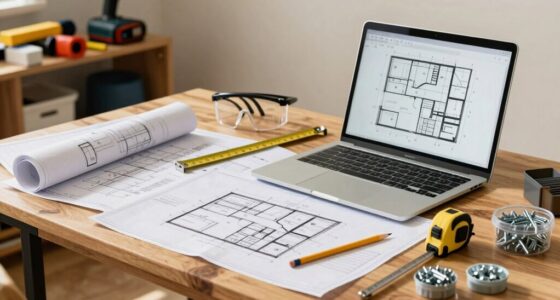
Have you ever wondered how to create a dedicated space for finishing your projects at home? Setting up a DIY finishing area isn’t just about clearing a corner—it’s about designing a space that promotes efficiency and safety. To start, prioritize safety precautions. Make sure your workspace is well-ventilated, especially if you’re working with paints, stains, or chemicals. Use protective gear like gloves, masks, and eye protection to avoid accidents or health issues. Keep a fire extinguisher nearby if you’re working with flammable materials, and verify your workspace is free of clutter that could cause trips or falls. Good lighting is essential, so install bright, focused lights that help you see details clearly and reduce eye strain.
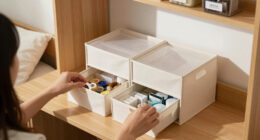
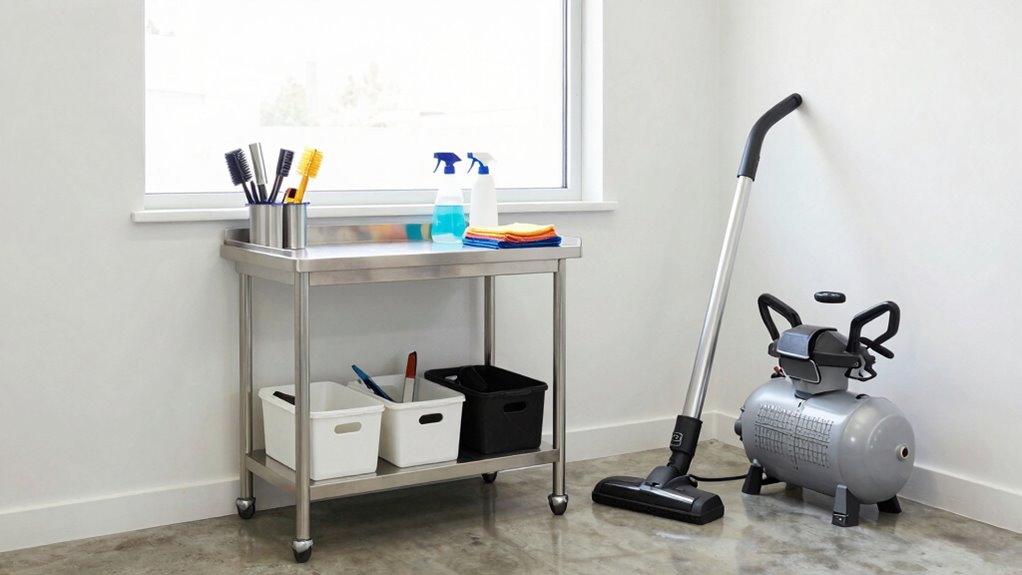
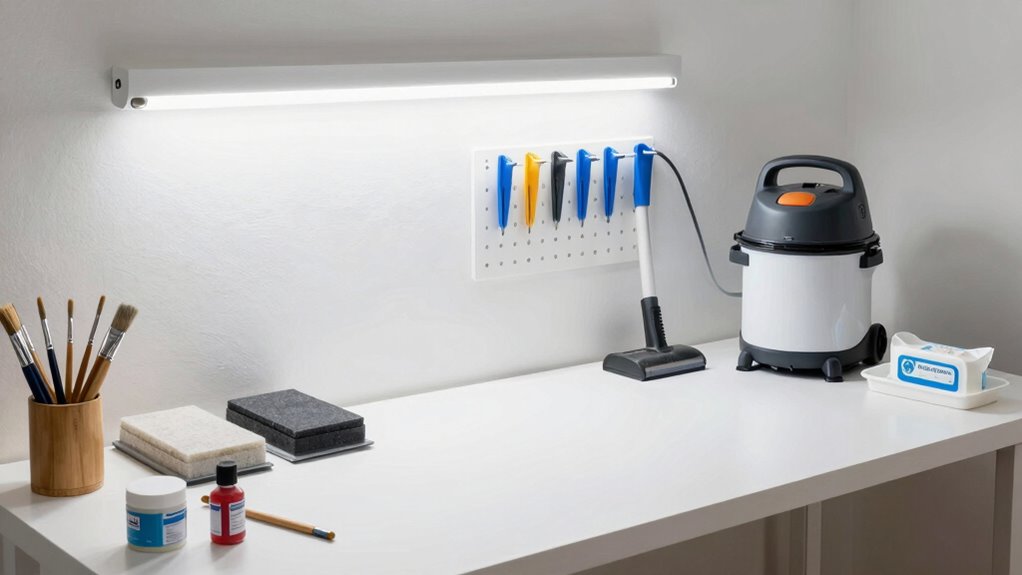
Next, focus on organizing your tools and materials. A tidy workspace minimizes distractions and saves you time searching for supplies. Store frequently used items within arm’s reach, and consider wall-mounted racks or pegboards to keep tools accessible yet out of the way. Label your storage bins to quickly identify paints, brushes, or hardware. This way, you can work smoothly without interruptions. Additionally, maintaining your tools regularly improves safety and extends their lifespan. Clean brushes and sprayers after each use, sharpen blades as needed, and check power tools for loose parts or frayed cords. Proper tool maintenance reduces the risk of accidents and ensures your equipment performs at its best. Incorporating proper tool organization practices can further streamline your workflow.
Keep tools organized, clean regularly, and maintain equipment to ensure safety and efficiency in your finishing space.
Lighting plays a vital role in making your finishing area more efficient. Invest in adjustable task lighting that allows you to illuminate your work surface precisely. Good lighting helps you spot imperfections early, reducing the need for rework. Also, set up a dedicated workspace that minimizes distractions and allows you to focus on your projects. Use a sturdy worktable with a smooth surface so finishing tasks like sanding or applying coats are easier. Keep your workspace clean throughout your project—regularly sweep or wipe down surfaces to prevent dust or debris from settling on your work. Incorporating smart lighting solutions can further enhance visibility and energy efficiency in your workspace. Creating a dedicated finishing zone tailored to your workflow can significantly boost your productivity and safety. Establishing a designated workspace helps reinforce a consistent finishing process that leads to better results. Additionally, consider using appropriate safety gear consistently to protect yourself during various tasks.
Finally, establish a routine for cleaning and tool maintenance. After each project, clean your workspace thoroughly and inspect your tools for damage. Keeping everything in good shape not only makes your finishing process smoother but also keeps your area safer. Regularly replacing worn-out supplies and lubricating tools can prevent malfunctions and extend their lifespan. Keeping everything in good shape not only makes your finishing process smoother but also keeps your area safer. With proper safety precautions and diligent tool maintenance, your DIY finishing space will become a more efficient, enjoyable environment. The combination of organization, safety, and regular upkeep makes all the difference in creating a finishing area that inspires creativity while keeping you safe and productive.
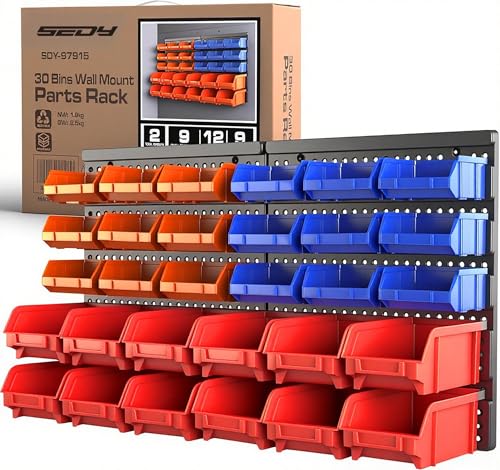
SEDY 30-Bin Wall-Mounted Storage Rack System – Heavy-Duty Garage Tool Organizer for Screws, Nuts, Bolts, Nails, Beads, and Small Hardware Parts – Easy Installation and Customizable
- Multifunctional Storage: Organizes screws, nuts, bolts, and small parts
- Wall-Mount Design: Includes 2 durable peg boards for customizable storage
- Easy to Install: Simple setup with detailed instructions
As an affiliate, we earn on qualifying purchases.
As an affiliate, we earn on qualifying purchases.
Frequently Asked Questions
What Safety Equipment Is Essential for DIY Finishing Areas?
You need essential safety equipment like personal protective gear to stay safe in DIY finishing areas. Wear gloves, goggles, and a mask to protect your skin, eyes, and lungs from chemicals and dust. Prioritize chemical safety by using respirators when handling fumes or sprays. Always make certain proper ventilation and keep a first aid kit nearby. These precautions help prevent accidents and keep your workspace safe while you work efficiently.
How Often Should I Clean My Finishing Tools?
You should clean your finishing tools after every use to keep them in top shape. Regular tool maintenance prevents buildup and guarantees smooth application. Establishing a consistent cleaning schedule, especially when switching between different finishes, is essential. Don’t wait until grime becomes stubborn; staying proactive keeps your tools performing at their best and your workspace cleaner. The key is to act quickly—your finishing projects will thank you with flawless results every time.
What Are the Best Ventilation Practices for Finishing Areas?
You should guarantee proper ventilation by using effective air filtration and exhaust systems. Keep air filtration units running to remove airborne fumes and dust, and install exhaust fans or hoods to vent fumes outside. Regularly check and maintain these systems to keep the air clean. Good ventilation minimizes health risks, improves workspace safety, and enhances finishing quality, making your DIY area safer and more efficient.
How Can I Reduce Dust in My Finishing Workspace?
To reduce dust in your finishing workspace, implement dust containment solutions like plastic barriers or dust curtains to limit spread. Use high-quality air filtration systems to trap airborne particles effectively. Regularly clean surfaces with a damp cloth, and vacuum with a HEPA filter to prevent dust buildup. Keep tools and materials organized, and work in well-ventilated areas to maintain a cleaner, safer finishing environment.
What Are Eco-Friendly Cleaning Options for Finishing Areas?
You can choose eco-friendly cleaning options like biodegradable cleaners and eco-friendly solvents to keep your finishing area clean. These products break down naturally, reducing environmental impact. Use biodegradable cleaners for surface wiping and eco-friendly solvents for tougher residues. Always follow the manufacturer’s instructions, and consider switching to reusable cleaning cloths to minimize waste. These choices help maintain a healthy workspace while protecting the environment.
Conclusion
By keeping your DIY finishing area tidy and organized, you turn chaos into a well-oiled machine, making your projects flow smoothly like a gentle river. When tools are easy to find and surfaces are spotless, you’ll work more efficiently and enjoy the process even more. Remember, a clean finishing space isn’t just about looks — it’s the foundation for your creativity to flourish without getting bogged down by clutter. Keep it neat, and let your craftsmanship shine.