To fix cracks in plaster walls, start by cleaning the area thoroughly and widening the crack slightly. Then, apply mesh or fiberglass tape over the crack to reinforce the repair, pressing it firmly into place. Use high-quality joint compound or plaster to fill the crack, feathering the edges for a seamless blend. Once dry, sand lightly and prime if needed, then finish with paint. For long-lasting results, proper prep and reinforcement are key—learn more to guarantee professional-looking repairs.
Key Takeaways
- Clean and prepare the cracked area, removing loose debris and dust for better adhesion.
- Reinforce cracks with mesh or fiberglass tape to prevent future movement.
- Apply multiple thin layers of high-quality joint compound, feathering edges for seamless blending.
- Sand lightly after drying to achieve a smooth, level surface without damaging surrounding plaster.
- Prime and paint the repaired area, feathering edges to ensure a seamless, durable finish.
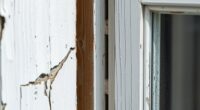
Cracks in plaster walls can be unsightly and may indicate underlying issues that need attention. Before jumping into repairs, you should understand that proper surface preparation is essential. This step ensures the repair adheres well and lasts over time. Begin by cleaning the cracked area thoroughly, removing any loose debris, dust, or crumbling plaster. Use a wire brush or a putty knife to scrape away loose material and create a rough surface for better bonding. If the crack is large or deep, consider widening it slightly with a utility knife; this provides a better key for the repair material.
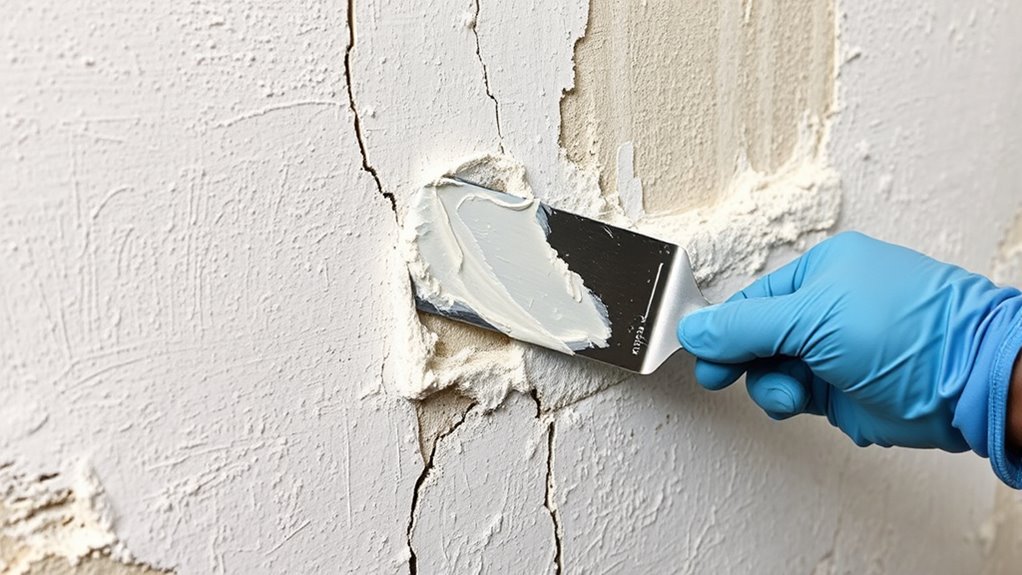
Once the surface is clean and prepared, focus on joint reinforcement. If the crack is wide or has a tendency to reopen, embedding a mesh or fiberglass tape over the crack before applying plaster or joint compound can prevent future movement. This reinforcement acts as a bridge across the crack, providing additional strength and stability to the wall. Press the tape firmly into the crack, ensuring it is fully embedded and free of air bubbles. Overlapping the tape slightly beyond the crack edges helps secure the repair and prevents the crack from reappearing at the edges.
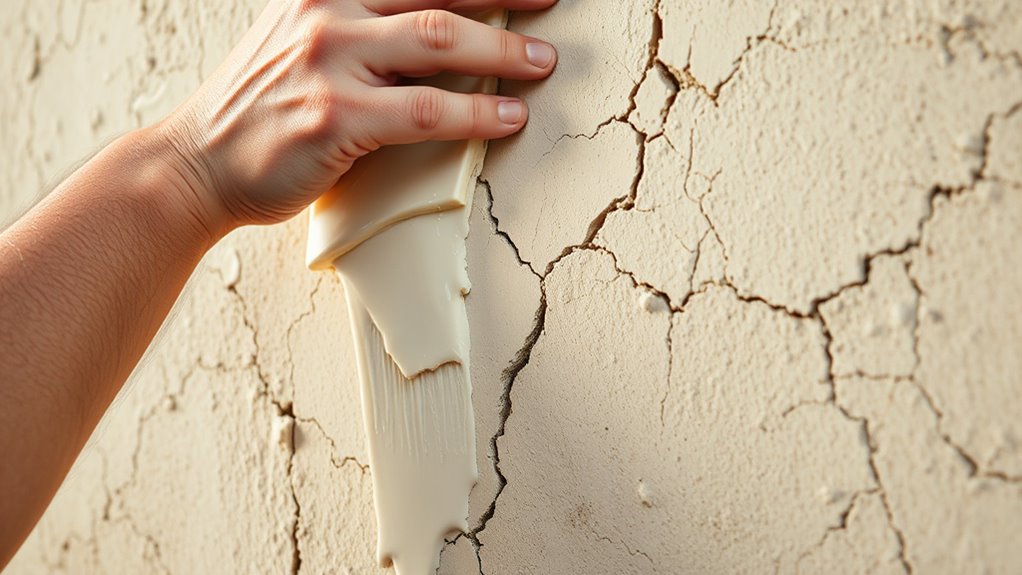
Next, apply a suitable patching material over the reinforced crack. Use a high-quality joint compound or plaster designed for walls. Apply it with a putty knife, spreading it smoothly over the tape and feathering out the edges to blend seamlessly with the surrounding wall. Multiple thin layers are better than one thick layer, so let each coat dry thoroughly before applying the next. Lightly sand the patched area once dry to achieve a smooth, even surface. Be careful not to sand too aggressively, as you could damage the surrounding plaster. Additionally, understanding the importance of surface preparation can significantly improve the durability of the repair.
Achieving a seamless repair also depends on proper surface preparation of the surrounding wall. Make sure the area is free of dirt, grease, or any loose paint that might interfere with adhesion. If needed, prime the patched section before painting to ensure color consistency and prevent flashback. When painting, feather the edges of the repaired area to blend it into the existing wall, avoiding obvious patches. With patience and attention to detail, your wall will regain its smooth appearance, and the crack will be effectively sealed. Remember, addressing cracks early and with proper surface preparation and reinforcement minimizes future problems and restores your wall’s integrity.
Frequently Asked Questions
How Long Does a Plaster Crack Repair Typically Last?
A plaster crack repair typically lasts 10 to 20 years, depending on the plaster’s durability and how well you perform the repair. If you use quality materials and guarantee proper application, your repair can be quite durable. Keep in mind that ongoing movement or shifting might affect the repair’s longevity. Regular maintenance can help extend the life of your plaster, making your walls look good for years to come.
Can I Fix Cracks in Plaster Walls Myself?
Why leave cracks to grow like cracks in a dam? You can definitely fix cracks in plaster walls yourself with DIY methods, but remember, professional repairs often provide a longer-lasting solution. If the crack is small, you might get away with simple patching and sanding. However, larger or more complex cracks may require expert attention to prevent future issues. So, assess the damage carefully before deciding whether to DIY or call in a pro.
What Tools Are Essential for Plaster Crack Repairs?
For plaster crack repairs, you’ll need vital tools like a putty knife, a drywall scraper, and a sanding block for proper tools selection. A chisel and hammer help widen cracks for better adhesion, while a mixing bowl and plaster or patching compound are essential for repair techniques. Don’t forget a damp sponge to smooth the surface. These tools guarantee you can effectively fill, smooth, and finish the cracks for a seamless look.
Are There Safety Precautions for Repairing Large Cracks?
Yes, you should prioritize plaster safety by wearing goggles and a dust mask during repairs. Before starting, perform a thorough wall inspection to identify structural issues or hidden damage. Keep the area well-ventilated, and handle tools carefully to avoid injury. If cracks are large or indicate underlying problems, consider consulting a professional. These precautions guarantee your safety while effectively repairing large cracks.
How Do I Prevent Cracks From Forming Again?
Oh, the irony—your perfect wall, once cracked, now crumbles again! To prevent future cracks, you should focus on reinforcing wall stability by controlling moisture, avoiding sudden temperature changes, and using quality materials. Regularly inspect your walls and address minor issues early. Proper reinforcement, like adding drywall or reinforcement mesh, helps keep cracks at bay. With these steps, you’ll maintain a sturdy, crack-free wall for years to come.
Conclusion
Now that you know how to fix cracks in plaster walls, don’t let small damage turn into big problems. With just a few steps, you can restore your wall’s smooth look and prevent further issues. Imagine walking into your room, admiring that flawless finish, and feeling proud of your handiwork. It’s easier than you think—so go ahead, tackle those cracks today, and enjoy a fresh, seamless wall that lasts for years to come.