
Start by thoroughly cleaning and patching your walls to create a smooth surface. Once that’s done, apply a high-quality primer and let it dry completely. Choose the right paint and tools, stirring thoroughly before use. Use even, consistent strokes and maintain a wet edge for seamless coverage. Allow each coat to dry fully before applying the next, and finish with proper curing. For detailed tips, just follow along as you continue, and you’ll get perfect results.
Key Takeaways
- Prepare walls by cleaning, filling holes, sanding, and removing debris for a smooth surface.
- Apply a high-quality primer evenly and allow it to dry completely.
- Choose and stir high-quality paint, then use proper tools to apply with smooth, even strokes.
- Let each coat dry fully, lightly sand between coats if needed, and apply additional coats for coverage.
- Allow final coat to cure fully, then clean tools and inspect for a smooth, professional finish.
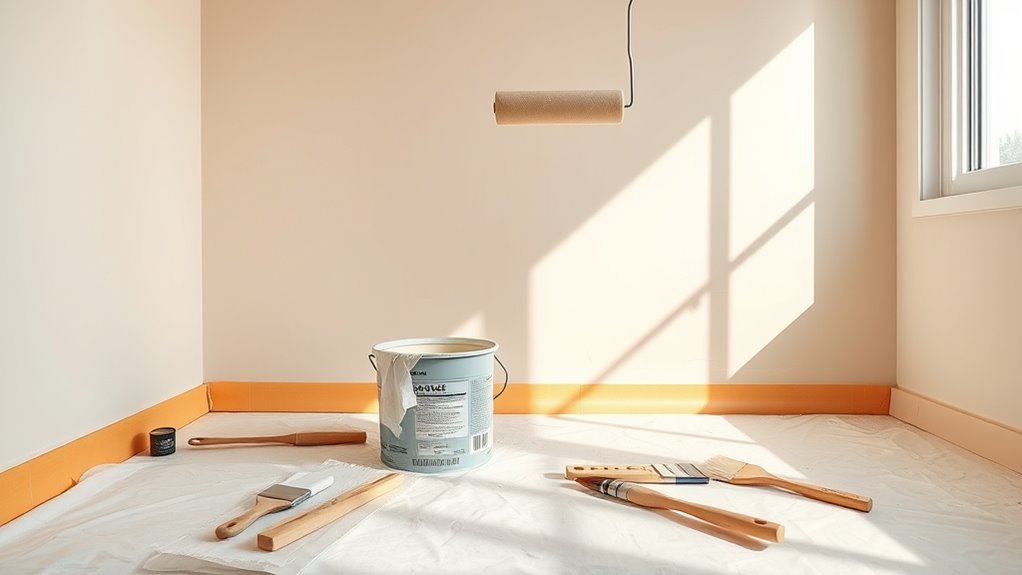
Thinking about giving your space a fresh look? Starting with the right steps makes all the difference, especially when it comes to painting a room that looks professional and lasts. First, you want to prepare your walls properly, and that begins with primer application. Applying primer is a vital step because it helps create a smooth, uniform surface that guarantees your paint adheres well and looks even. Before you start, clean the walls thoroughly to remove dust, dirt, and grease. Fill any holes or cracks with spackle and sand down rough patches so the surface is as smooth as possible. Once your walls are prepped, apply a high-quality primer using a roller for efficiency. Use a brush for edges and corners, but switch to a paint roller for the large, flat surfaces. When applying primer, roll in a “W” or “M” pattern, then fill in the gaps without lifting the roller, to avoid streaks. Make sure to overlap each pass slightly to maintain an even coat. Allow the primer to dry completely, following the manufacturer’s recommended time, before moving on to painting. This step guarantees your final coat will go on smoothly and look flawless.
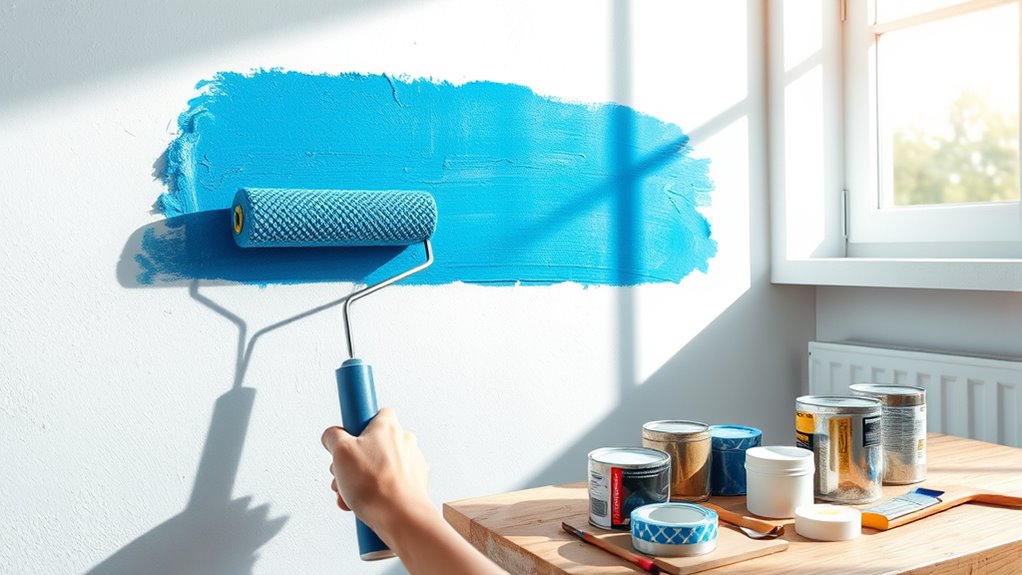
Once the primer is dry, it’s time to choose your paint and prepare your tools. Use high-quality paint suited for your room’s purpose and lighting. Before you begin applying the paint, stir it thoroughly and pour it into a clean paint tray. When it’s time to paint, load your roller with an adequate amount of paint—don’t overload it, or you’ll end up with drips and uneven coverage. Using your paint roller, work in sections, starting from the top and working down. Apply the paint with long, even strokes, maintaining consistent pressure. To achieve a smooth finish, use paint roller techniques like cross-hatching—rolling in one direction, then crossing over it with perpendicular strokes. This helps distribute the paint evenly and minimizes roller marks. Keep a wet edge to blend each section seamlessly into the next, avoiding lap marks. If you notice areas that need more coverage, add a second coat once the first coat is dry. Be patient and let each coat cure before applying the next, ensuring color depth and durability. Between coats, lightly sand any imperfections and clean your tools thoroughly.

Zinsser Peel Stop Triple Thick High Build Binding Primer
Stops peeling paint
As an affiliate, we earn on qualifying purchases.
As an affiliate, we earn on qualifying purchases.
Frequently Asked Questions
How Long Should I Wait Between Coats of Paint?
You should wait about 2 to 4 hours between coats, but always check the drying time on your paint can. If the paint feels dry and has a consistent, smooth appearance, it’s ready for the next coat. Keep in mind that a thicker or more uneven paint consistency might require longer drying times. Rushing can cause issues like uneven coverage or peeling, so give it enough time to dry properly.
What Type of Primer Is Best for Walls?
Like choosing the right dial-up modem, selecting the best primer is essential. For walls, opt for a high-quality, stain-blocking primer if you’re covering dark colors or repairing damage. If your walls are smooth and in good condition, a basic primer works fine. Proper wall preparation means cleaning and sanding, then applying the primer evenly. This guarantees the paint adheres well and your finish looks professional.
Can I Paint Over Wallpaper Without Removing It?
You can paint over wallpaper, but it’s not always the best idea. If the wallpaper is loose or damaged, it’s better to remove it first, which is called wallpaper removal. Painting over wallpaper without proper preparation may cause bubbling or peeling later. To guarantee a smooth finish, clean and prime the wallpaper properly. If you decide to paint over it, use a high-quality primer designed for this purpose to improve adhesion.
What Tools Are Essential for a Professional Finish?
Imagine a smooth, flawless wall radiating color—you’re equipped with essential tools. You’ll need high-quality brushes for precise brush techniques, ensuring clean edges and even coverage. A sturdy paint storage container keeps your paint fresh and accessible. Add a roller for large areas, painter’s tape for crisp lines, and a putty knife for imperfections. With these tools, you’ll achieve a professional finish that transforms your space effortlessly.
How Do I Fix Uneven Paint or Drips?
To fix uneven paint or drips, start by lightly sanding the affected area with fine-grit sandpaper. Use a clean, dry brush to feather out brush strokes and blend imperfections. For drips, gently remove excess paint with a putty knife or a damp cloth. Make certain your roller selection matches the wall surface, and apply even, consistent brush techniques to prevent future issues. Patience and careful touch-ups restore a smooth, professional finish.

Rhibak Paint Roller Kit with Extension Pole, 27 Piece Set, 2 to 4 Ft Pole, 4"9" Paint Rollers, Paint Brushes Set for Professional Painting,House Paint Roller for All Latex and Oil Paints & Stains
【All IN ONE 】Great painting tool kit with 4 Inch paint roller cover *6 , 9 Inch paint…
As an affiliate, we earn on qualifying purchases.
As an affiliate, we earn on qualifying purchases.
Conclusion
As you step back, you see your room transformed—walls gleaming with fresh color, a space renewed. The smooth, even coat catches the light, casting a warm glow that invites you in. Every brushstroke and careful detail now comes together to create a peaceful haven. With patience and attention, you’ve painted more than just walls—you’ve added a splash of life and a sense of pride. Your room now radiates the vibrant energy you brought to each step.

BONCART 8.6oz Drywall Patch Repair Kit – Professional All-in-1 Tool Set (Scrapers/Sandpaper/Texture Sponge/Gloves/Putty Knife) for Fast Wall Hole Repair
All-in-One Repair Solution:BONCART Wall Mending Agent combines patching and priming in one step, eliminating multiple product purchases. Perfect…
As an affiliate, we earn on qualifying purchases.
As an affiliate, we earn on qualifying purchases.

Nicpro 30pcs Paint Brush Set, Professional Paintbrushes with Paint Spatula and Cloth Roll, Craft Paint Brushes for Acrylic Painting, Oil, Watercolor, Gouache, Art Supplies for Artists and Beginners
Paint Brush Set in Various Shapes: 30 pieces acrylic paint brushes including 8 x Flat Tip (#6, #4,…
As an affiliate, we earn on qualifying purchases.
As an affiliate, we earn on qualifying purchases.