Decor
What Is Best Color for Airbnb Room Decor
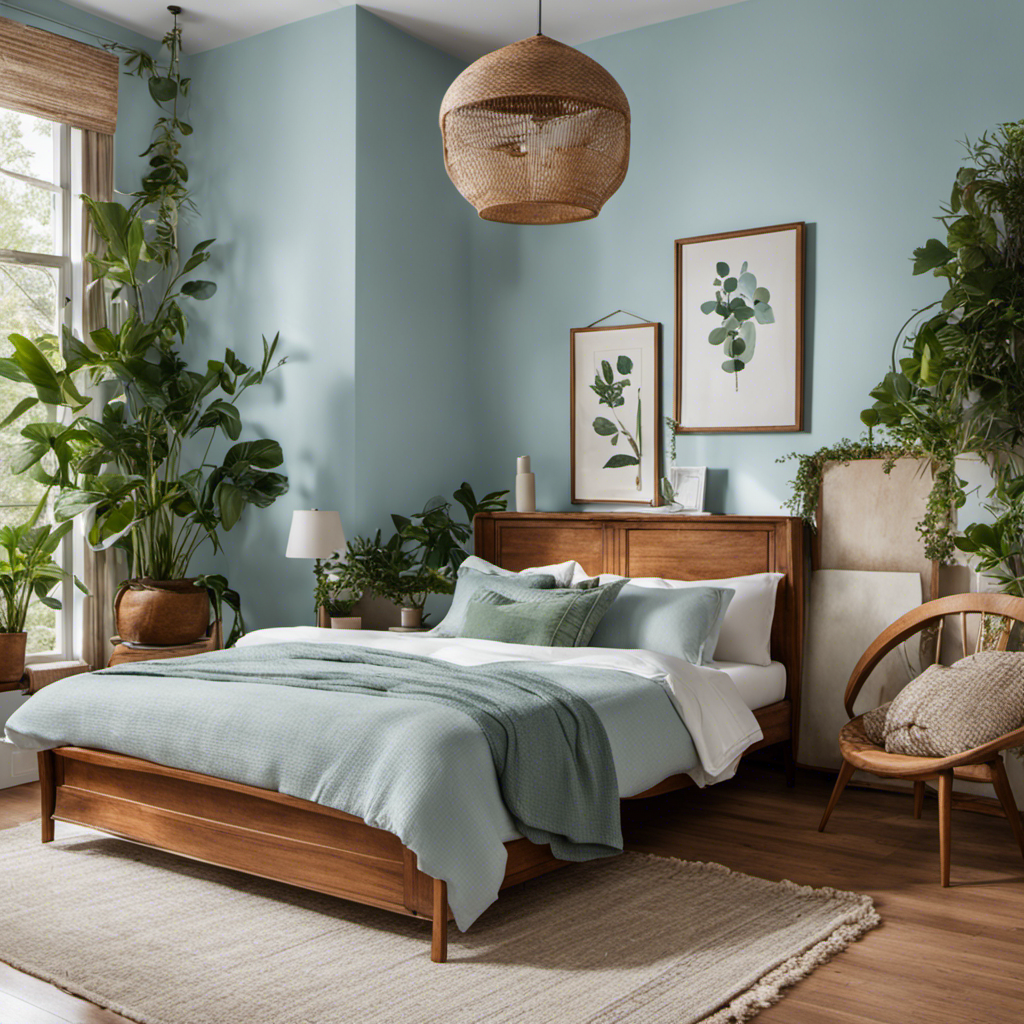
Have you ever wondered what color can do for your Airbnb room decor? Imagine walking into a space that instantly relaxes you, sets the mood, and leaves a lasting impression on your guests.
In this article, I will delve into the impact of color on Airbnb room design and share expert tips on choosing the perfect color scheme.
Whether you want to create a cozy atmosphere with warm colors or a serene experience with cool tones, color is the key to enhancing your Airbnb space.
Key Takeaways
- The color of a room has a significant impact on guests’ emotions and perception of a space.
- Warm colors like red and orange create a cozy and intimate ambiance, while cool colors like blue and green evoke calmness and relaxation.
- Selecting the right color palette for Airbnb room decor is essential in enhancing the overall experience for guests.
- Incorporating neutral colors in room decor creates a serene atmosphere, offers versatility for easy changes, provides a timeless appeal, and gives the impression of cleanliness and sophistication.
The Impact of Color on Airbnb Room Decor
If you want to create a welcoming and inviting atmosphere for your Airbnb guests, you should consider the impact of color on your room decor.
Understanding color trends and the psychology of color in hospitality is key to designing a space that will make your guests feel comfortable and at home.
Color has a profound effect on our emotions and can greatly influence our mood and perception of a space.
For example, warm colors like red and orange can create a cozy and intimate ambiance, while cool colors like blue and green can evoke a sense of calm and relaxation.
By carefully selecting the right colors for your Airbnb room, you can enhance the overall experience for your guests and leave a lasting impression.
Moving forward, let’s delve deeper into understanding color psychology in Airbnb room design.
Understanding Color Psychology in Airbnb Room Design
When it comes to designing an Airbnb room, color choices play a crucial role in creating the desired ambiance for guests.
The impact of color on our emotions and perceptions cannot be underestimated, as different hues can evoke various moods and feelings.
Understanding guest preferences and perceptions is essential in selecting the right color palette to ensure a memorable and enjoyable stay for visitors.
Impact of Color Choices
The impact of color choices on Airbnb room decor is significant. Color has the power to influence our mood and emotions, making it a crucial element in interior design. When designing an Airbnb room, it is essential to consider the psychological effects of color on guests. To convey a deeper understanding, let’s take a look at the table below:
| Color | Mood | Description |
|---|---|---|
| Blue | Calm | Creates a sense of tranquility and relaxation |
| Yellow | Happy | Evokes feelings of joy and positivity |
| Green | Refreshed | Symbolizes nature and promotes a sense of rejuvenation |
| Red | Energetic | Increases energy levels and stimulates excitement |
| Gray | Neutral | Provides a calm and sophisticated atmosphere |
Creating Desired Ambiance
By selecting the appropriate colors, you can effortlessly establish the desired ambiance in your Airbnb room. When it comes to color schemes, it’s important to consider the overall mood you want to create.
For a relaxing and tranquil atmosphere, opt for cool tones like blues and greens. These colors have a calming effect and can help your guests unwind after a long day of traveling.
On the other hand, if you want to create a vibrant and energetic space, warm tones like reds and oranges can do the trick.
Additionally, don’t underestimate the power of lighting options. Soft, warm lighting can make a room feel cozy and inviting, while bright, white lights can create a more modern and fresh ambiance.
By carefully selecting both colors and lighting, you can ensure that your Airbnb room is a welcoming and comfortable space for your guests.
Now, let’s delve into guest preferences and perceptions.
Guest Preferences and Perceptions
Consider what your guests prefer and how they perceive the ambiance you create in order to ensure a positive and enjoyable stay.
When it comes to guest preferences, color combinations play a crucial role in setting the mood and atmosphere of your Airbnb space. Different colors evoke different emotions and can greatly impact the overall experience of your guests.
Warm colors like reds and oranges create a cozy and inviting atmosphere, perfect for relaxation. Cool colors like blues and greens promote a sense of calmness and tranquility. Neutral colors such as whites and grays provide a clean and modern look.
How to Choose the Perfect Color Scheme for Your Airbnb Space
When choosing the perfect color scheme for your Airbnb space, it’s important to consider the overall atmosphere you want to create.
Choosing color schemes is an essential part of interior design, as colors have the power to evoke emotions and set the mood in a room. By understanding color psychology in interior design, you can make informed decisions about the colors you use in your Airbnb space.
For example, if you want to create a cozy and inviting atmosphere, warm colors like earthy browns and soft oranges can do the trick. On the other hand, if you want to create a bright and energetic space, vibrant colors like yellows and blues can be great choices.
By carefully selecting your color scheme, you can create a space that aligns with your desired atmosphere and leaves a lasting impression on your guests.
Now, let’s explore the best colors for creating a relaxing atmosphere in your Airbnb.
The Best Colors for Creating a Relaxing Atmosphere in Your Airbnb
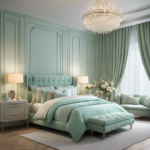
To create a relaxing atmosphere in your Airbnb, you should go for calming colors like soft blues or soothing greens. Color psychology plays a significant role in setting the mood of a space, and these colors are known for their calming effects. Soft blues evoke a sense of tranquility and serenity, perfect for helping guests unwind after a long day of travel. Soothing greens, on the other hand, promote a feeling of harmony and balance, creating a peaceful environment.
When it comes to guest preferences, these colors are universally appealing and are often associated with relaxation and rejuvenation. By incorporating these calming hues into your Airbnb, you can create a serene and inviting space that will leave a lasting impression on your guests.
As we explore using color to enhance the ambiance of your Airbnb room, we’ll delve deeper into how different colors can evoke specific emotions and create unique atmospheres.
Using Color to Enhance the Ambiance of Your Airbnb Room
After understanding the importance of creating a relaxing atmosphere in your Airbnb room, it’s time to delve into the psychology of color in interior design. Choosing the right color palette for your space can greatly enhance the ambiance and leave a lasting impression on your guests.
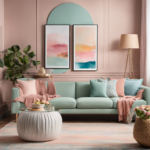
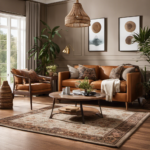
Colors have the power to evoke specific emotions and set the tone for a room. For example, calming blues and greens can promote relaxation and tranquility, while warm earth tones like browns and beiges create a cozy and inviting feel. Vibrant colors like reds and yellows can inject energy and excitement into the space.
When selecting your color palette, consider the purpose of the room. Is it meant to be a serene bedroom or a lively living area? Additionally, take into account the natural lighting and size of the space. Lighter colors can make a room appear larger, while darker hues add depth and intimacy.
Now, let’s explore the next step in creating a versatile Airbnb room decor by incorporating neutral colors…
Incorporating Neutral Colors for Versatile Airbnb Room Decor
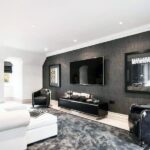
Incorporating neutral colors into your Airbnb room’s decor can create a versatile and timeless aesthetic. When it comes to color psychology, neutral tones have a calming effect on guests, promoting relaxation and tranquility. This can greatly contribute to guest satisfaction, as they will feel more at ease during their stay.
Here are four reasons why incorporating neutral colors is a smart choice for your Airbnb room:
-
Serenity: Soft beiges and gentle grays create a serene atmosphere, allowing guests to unwind and escape the stresses of daily life.
-
Versatility: Neutral colors serve as a blank canvas, allowing you to easily switch up accessories and accents without having to completely overhaul the room.
-
Timelessness: Neutral colors never go out of style, ensuring that your Airbnb room will remain attractive and appealing to guests for years to come.
-
Cleanliness: Neutral colors, especially whites and creams, give an impression of cleanliness and freshness, making guests feel comfortable and at home.
With the right combination of neutral colors, your Airbnb room will exude sophistication and charm, setting the stage for a memorable stay.
Now, let’s explore bold and vibrant colors for Airbnb rooms that make a statement.
Bold and Vibrant Colors for Airbnb Rooms That Make a Statement
Looking to make a bold statement in your Airbnb space? Try incorporating vibrant colors that will instantly catch your guests’ attention and create a memorable experience.
Bold color choices can transform a room from ordinary to extraordinary, adding an energetic and dynamic touch. Consider using vibrant room accents like rich reds, vibrant blues, and striking yellows to bring life to your space. These bold colors can be incorporated through accent walls, furniture pieces, or even artwork.
The key is to balance the vibrant colors with neutral tones to create a cohesive and visually appealing space. By utilizing bold color choices, you can create a unique and eye-catching Airbnb room that will leave a lasting impression on your guests.
Now, let’s explore how to create a cozy and inviting atmosphere with warm colors in your Airbnb without writing ‘step’.
Creating a Cozy and Inviting Atmosphere With Warm Colors in Your Airbnb
After exploring bold and vibrant colors for Airbnb rooms, let’s now focus on creating a cozy and inviting atmosphere with warm colors. When it comes to guest preferences, warm colors can evoke feelings of comfort, relaxation, and intimacy.
Utilizing color psychology, we can transform our Airbnb rooms into tranquil havens that guests will love. Here are four ways warm colors can enhance the ambiance and create a welcoming space:
- Rich and earthy tones like deep oranges and terracottas can bring warmth and a sense of grounding.
- Soft and muted shades of yellow can create a cheerful and uplifting vibe.
- Shades of red, such as burgundy or deep maroon, can add a touch of luxury and elegance.
- Warm neutrals like creamy off-whites and warm greys can provide a soothing and calming effect.
Now, let’s transition into exploring cool and calming colors for a serene Airbnb room experience.
Cool and Calming Colors for a Serene Airbnb Room Experience
When it comes to creating a serene and tranquil atmosphere in your Airbnb room, two colors that come to mind are blue and green. Blue has long been associated with relaxation and calmness, making it the perfect choice for creating a soothing environment for your guests.
On the other hand, green is known for its tranquil and refreshing qualities, making it an excellent color to incorporate into your Airbnb’s decor. By using these colors strategically, you can enhance your guests’ experience and provide them with a space where they can unwind and rejuvenate.
Blue for Relaxation
If you want to create a calming atmosphere in your Airbnb room, go for blue decor to promote relaxation. Blue is not only visually soothing, but it also has numerous benefits for productivity and creativity. Here are four reasons why blue is the perfect color choice for your Airbnb room:
-
Boosts productivity: Studies have shown that blue stimulates the mind, helping you stay focused and productive. It creates a sense of tranquility, enabling you to work efficiently and stay on task.
-
Enhances creativity: Blue is known to inspire creativity and innovation. It encourages out-of-the-box thinking and encourages the flow of ideas. So, if you’re looking to spark your guests’ creative juices, blue decor is the way to go.
-
Promotes relaxation: Blue has a calming effect on the body and mind. It lowers blood pressure and heart rate, making it an ideal color for creating a serene and peaceful environment in your Airbnb room.
-
Evokes a sense of trust: Blue is often associated with trustworthiness and reliability. By incorporating blue elements in your room, you can build trust with your guests and make them feel comfortable and secure during their stay.
Now, let’s transition into discussing the next color choice for your Airbnb room decor: green for tranquility.
Green for Tranquility
To create a tranquil atmosphere in your Airbnb space, consider incorporating green elements into your decor. Green is known for its calming and relaxing properties, making it an ideal color choice for creating a peaceful environment. Whether you choose to paint the walls in a soft shade of green or add pops of green through accessories and plants, it can greatly enhance the overall ambiance of your space. Green is often associated with nature and growth, evoking a sense of tranquility and harmony. It can help reduce stress and anxiety, allowing your guests to feel more at ease during their stay. By incorporating green into your Airbnb decor, you can create a soothing and inviting space that promotes relaxation and rejuvenation for your guests.
| Ideas for Incorporating Green in Airbnb Decor | |
|---|---|
| 1 | Paint the walls in a calming shade of green |
| 2 | Add green accents through pillows, curtains, and rugs |
| 3 | Incorporate plants and greenery into the space |
| 4 | Use artwork or photographs featuring green landscapes |
By incorporating these green elements, you can create a tranquil atmosphere that will leave a lasting impression on your guests.
Now, let’s explore the influence of color on guest perception in Airbnb room decor.
The Influence of Color on Guest Perception in Airbnb Room Decor
Choosing the right colors for your Airbnb room decor can significantly impact how guests perceive their stay. Color psychology in interior design plays a crucial role in creating a welcoming and comfortable atmosphere. Here are four ways in which the impact of color on guest satisfaction can be maximized:
-
Warm and Inviting Hues: Using warm colors like shades of red and orange can create a cozy and inviting ambiance, making guests feel at home.
-
Serene Blues and Greens: Incorporating shades of blue and green can evoke a sense of tranquility and relaxation, providing a soothing environment for guests to unwind.
-
Energizing Yellows and Oranges: Vibrant hues like yellow and orange can stimulate positivity and energy, creating a lively and cheerful atmosphere.
-
Neutral Elegance: Opting for neutral colors like beige or gray can create a timeless and sophisticated look, appealing to a wide range of guests.
By understanding the impact of color on guest satisfaction, you can enhance the overall experience and leave a lasting impression on your Airbnb guests.
Now, let’s explore some tips and tricks for successfully incorporating color in your Airbnb space.
Tips and Tricks for Successfully Incorporating Color in Your Airbnb Space
When creating a welcoming and comfortable atmosphere in your Airbnb space, consider using warm and inviting hues, serene blues and greens, energizing yellows and oranges, or neutral elegance. Guest preferences and color psychology play a significant role in creating a positive experience for your guests. Understanding the impact of colors can help you choose the best color scheme for your Airbnb room decor.
Here is a table that showcases the different colors and their effects on guests:
| Color | Effect |
|---|---|
| Warm and inviting hues | Creates a cozy and inviting atmosphere |
| Serene blues and greens | Promotes relaxation and tranquility |
| Energizing yellows and oranges | Adds a burst of energy and positivity |
| Neutral elegance | Provides a sophisticated and timeless ambiance |
Frequently Asked Questions
What Are Some Popular Color Schemes for Airbnb Room Decor?
Color schemes for Airbnb room decor should consider color psychology and its impact on guest experience. To create a cohesive and visually appealing palette, choose colors that evoke desired emotions, complement each other, and align with the overall theme and ambiance of the space.
How Can Color Impact the Overall Ambiance of an Airbnb Space?
The psychological impact of color in Airbnb room decor is immense. Choosing the perfect color palette for your space can create a welcoming and relaxing ambiance that guests will love. It’s all about understanding the emotions that different colors evoke.
Are There Any Colors That Should Be Avoided When Designing an Airbnb Room?
When designing an Airbnb room, it’s important to avoid colors that can be overwhelming or off-putting. By carefully selecting a color palette that is soothing and inviting, guests will feel relaxed and comfortable during their stay.
How Can I Incorporate Color Into My Airbnb Space Without Overwhelming Guests?
Incorporating color into my Airbnb space without overwhelming guests is crucial. Understanding color psychology and how different colors evoke specific emotions is key. Using accent colors strategically can add depth and interest to the room.
Can Color Choices in Airbnb Room Decor Affect Guest Reviews and Ratings?
Color choices in Airbnb room decor can significantly impact guest satisfaction and experience. By using warm, inviting colors like soothing blues and earthy tones, you can create a welcoming atmosphere that enhances their stay.
Is Trending Home Decor Colors a Good Choice for Airbnb Room Decor?
Yes, using trending home decor colors for Airbnb room decor can be a good choice. By incorporating popular and stylish colors, you can create an inviting and aesthetically pleasing space for guests. It shows that you are current and on-trend, which can attract more visitors to your property.
Can Dr Who Room Decor Wall Murals Be Incorporated into Airbnb Room Decor?
Yes, Dr Who wall murals can definitely be incorporated into Airbnb room decor. The iconic images and vibrant colors of Dr Who wall murals can add a unique and exciting touch to any room. Guests will surely appreciate the fun and creative atmosphere that these wall murals create.
Conclusion
In conclusion, choosing the right colors for your Airbnb room decor can have a significant impact on the overall guest experience.
According to a study conducted by Airbnb, rooms with warm and inviting color schemes receive 40% more positive reviews than those with cooler tones. This statistic highlights the importance of creating a cozy and welcoming atmosphere through the careful selection of colors.
By understanding color psychology and incorporating the right hues, you can enhance the ambiance of your Airbnb space and leave a lasting impression on your guests.
So, don’t underestimate the power of color when it comes to creating a memorable stay for your Airbnb guests.
- About the Author
- Latest Posts
Meet Katherine, the creative enthusiast at ByRetreat who infuses her boundless passion for design into every remote workspace she crafts. With an innate sense of creativity and an eye for unconventional beauty, Katherine brings a unique and inspiring perspective to the team.
Katherine’s love for design is infectious, and her ability to think outside the box sets her apart. She believes that true artistry lies in embracing a variety of styles and mixing them harmoniously to create captivating spaces. By combining different textures, colors, and patterns, Katherine weaves a tapestry of creativity that breathes life into each remote workspace.
Decor
How to Create a Navy Blue Shiplap Wall in 3 Easy Steps
Journey through the transformation of a dull wall into a stunning navy blue shiplap feature wall in just three easy steps.
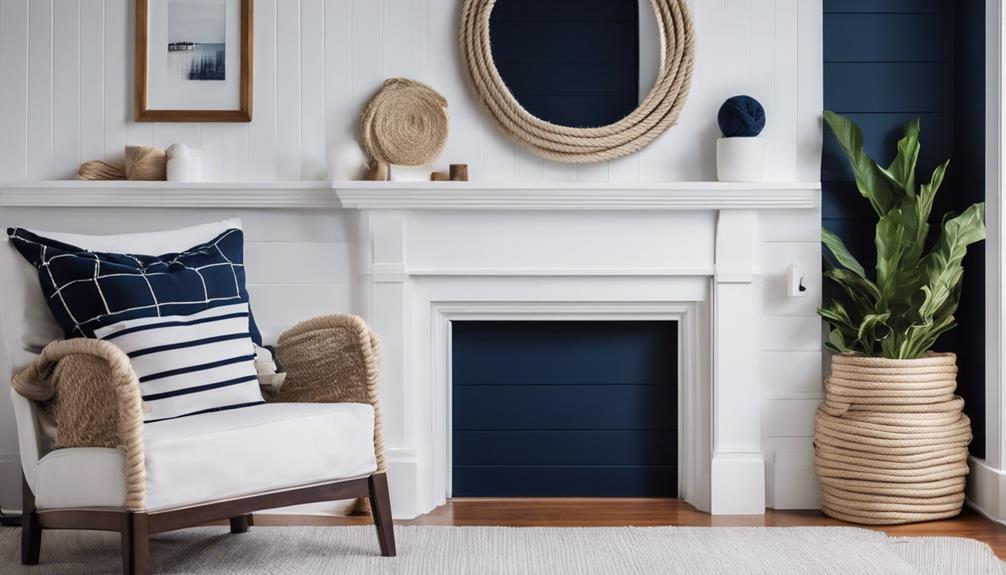
We're transforming our walls into a stunning navy blue shiplap feature wall in just three easy steps. First, we measure and cut our shiplap boards to precision, ensuring accurate fits around corners and edges. Next, we paint the boards a rich navy blue, applying multiple coats with a high-quality paint suitable for wood surfaces. Finally, we install the boards, staggering them randomly for a modern look and securing them with a nail gun and construction adhesive. With these steps, we're well on our way to creating a mesmerizing navy blue shiplap wall – and there's more to explore in this design journey.
Key Takeaways
• Measure the wall area accurately and cut shiplap boards to desired lengths using a table saw or circular saw.
• Paint the boards with high-quality navy blue paint, applying multiple coats and allowing each to dry completely.
• Install the painted boards with a nail gun and construction adhesive, staggering them randomly for a modern look.
Measure and Cut Shiplap Boards
We start by measuring the wall area where we want to install the shiplap boards, using a tape measure to get an accurate reading. This is important in determining how many boards we'll need and guaranteeing a seamless fit.
Once we've the measurements, we mark them on each plywood board using a pencil. Before cutting, we double-check the measurements to ensure accuracy and avoid any errors.
We then cut the plywood boards to the desired lengths using a table saw or circular saw, depending on the complexity of the cut. When cutting, we make sure to maintain precision, especially when dealing with angles for corners or edges of the wall. This attention to detail ensures that our shiplap boards fit together perfectly, creating a beautiful, seamless look.
With our boards cut to size, we're ready to move on to the next step in creating our navy blue shiplap wall.
Paint Boards Navy Blue
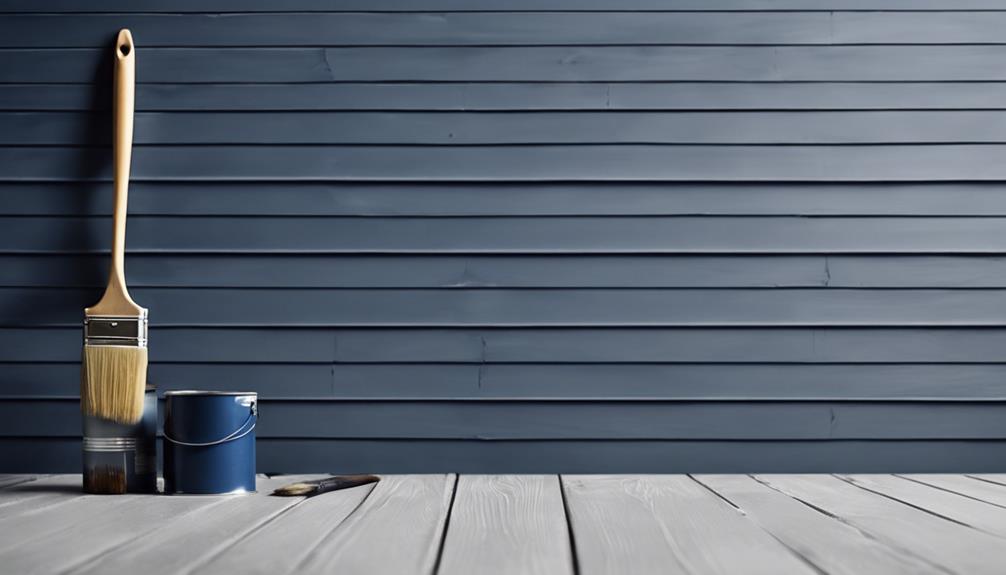
Now that our shiplap boards are cut to size, it's time to bring our navy blue vision to life by applying a rich, vibrant coat of paint.
We choose a navy blue paint color that complements our room's decor and style, guaranteeing a cohesive look. For our DIY project, we select a high-quality paint suitable for wood surfaces to make certain of a smooth and long-lasting finish.
To achieve a deep, rich color, we apply multiple coats of navy blue paint to our shiplap boards, allowing each coat to dry completely before applying the next to avoid streaks or uneven coverage. This patient approach pays off, as our boards transform into a stunning navy blue hue.
Finally, we consider adding a protective top coat or sealant to our navy blue painted shiplap wall for added durability and easy maintenance.
With our boards now beautifully painted, we're one step closer to creating a stunning navy blue shiplap wall that adds a touch of sophistication to our room.
Install Shiplap Boards

With our navy blue shiplap boards beautifully painted, it's time to bring our design to life by securely attaching them to the wall. We'll start by measuring and cutting the boards to the desired lengths using a miter saw for precision. If needed, we can use a jigsaw to cut around any outlets or obstacles.
Here's a checklist to guarantee a successful installation:
- Secure the boards: Use a nail gun and construction adhesive to attach the shiplap boards to the wall, making sure to space them evenly with spacers.
- Stagger the boards: Randomly stagger the boards to create a modern, visually appealing look.
- Use the right materials: Apply underlayment plywood to the wall before installing the shiplap boards for added durability.
- Finish with care: Fill any nail holes with spackling compound and sand smooth to create a seamless paint line.
At Home Depot, we can find all the necessary materials, including Brad Nails and construction adhesive. By following these steps, we'll have a stunning navy blue shiplap wall that adds a touch of sophistication to any room.
Frequently Asked Questions
How Do You Make a Homemade Shiplap Wall?
We create a homemade shiplap wall by cutting plywood into planks, which we then paint to achieve our desired color.
Next, we secure the planks to the wall using a nail gun and spacers to maintain even spacing.
How Do You Start the First Row in Shiplap?
As we commence our shiplap journey, the first hurdle we face is starting that essential first row. It's like laying the foundation of a skyscraper – get it right, and the rest will follow.
We begin by measuring and marking the top and bottom of the wall, ensuring a straight first row. Then, we use a level to draw a horizontal line, and nail the first board, making sure it's level and flush against the wall.
What Is the New Trend Instead of Shiplap?
We've noticed a shift away from traditional shiplap designs, with many opting for alternative styles instead.
Vertical paneling, for instance, offers a sleek, modern look, while board and batten adds a touch of classic elegance.
Tongue and groove paneling provides a seamless appearance, and geometric patterns like hexagons or diamonds create a unique focal point.
Chevron and herringbone designs are also gaining popularity as a contemporary alternative to shiplap.
Is Shiplap Still in Style in 2024?
We're happy to report that shiplap remains a staple in interior design, still trending in 2024. Its timeless appeal lies in its versatility, allowing it to seamlessly blend with various aesthetics.
The fact that it can be painted in different colors, including navy blue, has contributed to its enduring popularity. As seen in home renovation shows and social media, shiplap continues to captivate homeowners and designers alike, solidifying its status as a sought-after design element.
Conclusion
With our navy blue shiplap wall complete, we've added a touch of sophistication to our space. According to a National Association of Home Builders survey, 65% of homebuyers consider outdoor and interior design features, such as accent walls, essential or desirable.
By following these three easy steps, we've not only elevated our room's aesthetic but also increased its appeal to potential buyers.
Our navy blue shiplap wall is now ready to make a lasting impression.
- About the Author
- Latest Posts
Introducing Ron, the home decor aficionado at ByRetreat, whose passion for creating beautiful and inviting spaces is at the heart of his work. With his deep knowledge of home decor and his innate sense of style, Ron brings a wealth of expertise and a keen eye for detail to the ByRetreat team.
Ron’s love for home decor goes beyond aesthetics; he understands that our surroundings play a significant role in our overall well-being and productivity. With this in mind, Ron is dedicated to transforming remote workspaces into havens of comfort, functionality, and beauty.
Decor
Do You Know All You Need for Making Your Own Table Risers?
Learn the essential materials and design considerations to create custom table risers that elevate your home decor and add a personal touch.

We've got the essentials for making our own table risers! First, we'll need wood planks, screws, wood glue, sandpaper, and wood stain. Next, we'll consider the design, thinking about height, stability, and our home decor style. We can choose from various wood types, like poplar, oak, pine, cedar, or maple, depending on our desired look and durability. Then, we'll build the legs, using materials like wooden blocks, spindles, or even tuna cans and ketchup lids. Finally, we'll add finishing touches, like table runners, centerpieces, and plants. And if we want to get creative, we can customize our riser with paint, stencils, or embellishments.
Key Takeaways
• Consider essential materials like wood planks, screws, wood glue, sandpaper, and wood stain for your table riser project.
• Choose the right wood type, such as poplar, oak, pine, cedar, or maple, based on durability, strength, and aesthetic appeal.
• Design your table riser with considerations for height, stability, and home decor complementarity, and incorporate scrap wood for a unique look.
• Assemble the leg components securely using wood glue and nails or a glue gun, and customize with paint or rustic finishes.
• Add finishing touches with table runners, centerpieces, and accessorizing with plants to create a welcoming atmosphere.
Essential Materials for Table Risers
We'll need a list of essential materials to get started on our table riser project, including:
- Wood planks
- Screws
- Wood glue
- Sandpaper
- Wood stain
These basics will form the foundation of our table, and we can't skimp on quality. The wood planks will serve as the tabletop, while the legs will provide stability and support. We'll use wood glue to bond the legs to the table, guaranteeing a sturdy structure. Sandpaper will come in handy to smooth out any rough edges or surfaces, giving our table a polished finish. Lastly, wood stain will enhance the wood's natural beauty, adding a touch of elegance to our creation.
With these materials in hand, we'll be well on our way to crafting a beautiful and functional table riser.
We'll need to carefully select our wood planks, considering factors like durability and aesthetic appeal. By choosing the right materials, we'll set ourselves up for success and make our table riser turns out exactly as envisioned.
Designing Your Table Riser Project

Now that we've gathered our materials, let's get creative and start designing our table riser project. We need to consider the height and stability required to achieve our desired look and functionality. As DIY enthusiasts, we aim to ensure our design complements our home decor and serves its purpose. We can incorporate scrap wood to add a personal touch and reduce waste.
When designing our table riser, we must think about the overall aesthetic we wish to achieve. Do we prefer a modern, sleek appearance or a more rustic, vintage vibe? Experimenting with different leg options, placement, and finishes can help us create a unique piece that reflects our personal style.
To ensure our table riser is sturdy and functional, we must consider the weight capacity and balance. Utilizing online tutorials or DIY guides can provide inspiration and guidance on turning our design into reality.
Choosing the Right Wood Type
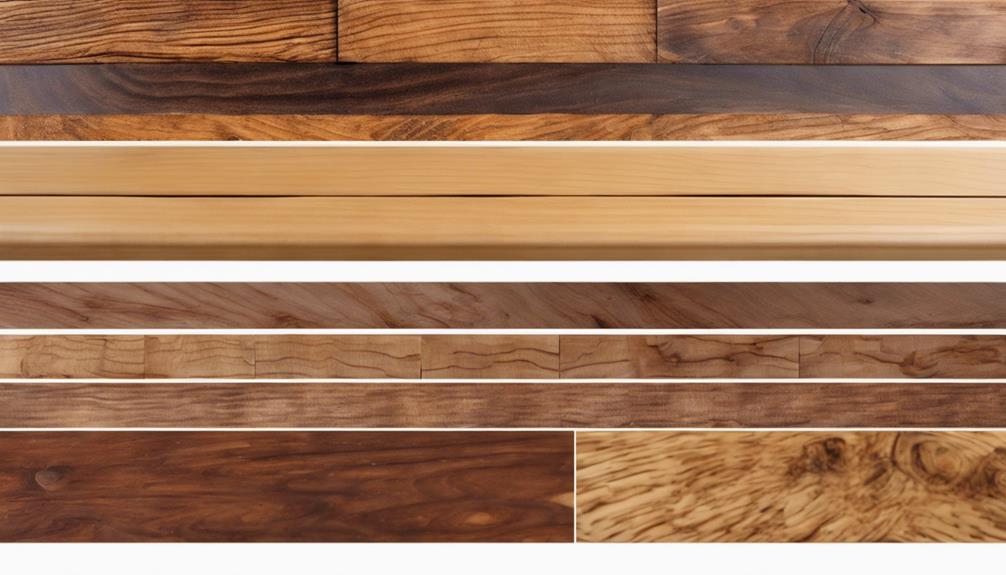
Let's explore the world of wood types, where the right choice can make all the difference in our table riser project. We're spoiled for choice, but each type has its unique characteristics that can make or break our project.
Poplar wood, for instance, is a popular choice due to its durability and affordability. Oak wood is another excellent option, known for its strength and attractive grain patterns.
If we're going for a rustic look, Pine wood is a great choice, being easy to work with and offering a natural, distressed appearance. Cedar wood, on the other hand, is a great option if we want a wood type that's naturally resistant to decay and insects.
And for a high-quality finish, Maple wood is the way to go, valued for its durability and beautiful finish. We need to take into account factors like budget, desired look, and durability when selecting the right wood type for our table riser project.
Building the Table Riser Legs

As we build our table riser legs, we'll consider the materials we want to use, taking into account factors like durability and aesthetic appeal.
Next, we'll design the leg structure, thinking about the overall shape and stability of our riser.
Leg Materials Considered
We consider a variety of materials for our table riser legs, from wooden blocks and craft beads to spindles, tuna cans, and ketchup lids. The possibilities are endless, and it's exciting to experiment with different leg materials to achieve a unique and personalized design for our table risers.
When choosing leg materials, we consider the desired height, stability, and overall look of our table risers. Here are some key factors to keep in mind:
- Stability: Wooden blocks and spindles provide a sturdy base for our table risers, while craft beads can add a touch of whimsy.
- Height: Tuna cans and ketchup lids can be stacked to achieve the perfect height for our table risers.
- Aesthetics: Mixing and matching different leg materials can create a one-of-a-kind design for our DIY table risers.
Designing Leg Structure
We're constructing our table riser legs by combining our chosen materials in creative ways to achieve the perfect structure and design. For our DIY table risers, we're experimenting with unique leg structures using wooden blocks, craft beads, spindles, tuna cans, or ketchup lids.
We're placing the legs strategically near the edges or center of the base to achieve the desired aesthetic. To guarantee stability and support for our table riser, we're securing the legs with nails, staples, or a glue gun.
We're customizing the leg design by adjusting positions and combining various wooden spindle parts for a personalized look. We're also considering painting or leaving a rustic finish to enhance the overall design of the table riser.
Assembling Leg Components
Let's get our DIY project underway by attaching the leg components to the table riser base, establishing a sturdy foundation for our creation. This essential step requires attention to detail to guarantee our table riser is stable and durable.
To assemble the leg components, we'll focus on three key aspects:
- Secure attachment: Use wood glue to bond the legs to the table riser base, ensuring a strong and long-lasting connection.
- Proper alignment: Align the legs carefully to ensure stability and balance. A pin nailer can provide additional reinforcement for extra security.
- Consistency is key: Ensure all legs are identical in size and placement to maintain the overall stability and durability of the table riser.
Adding Finishing Touches and Decor
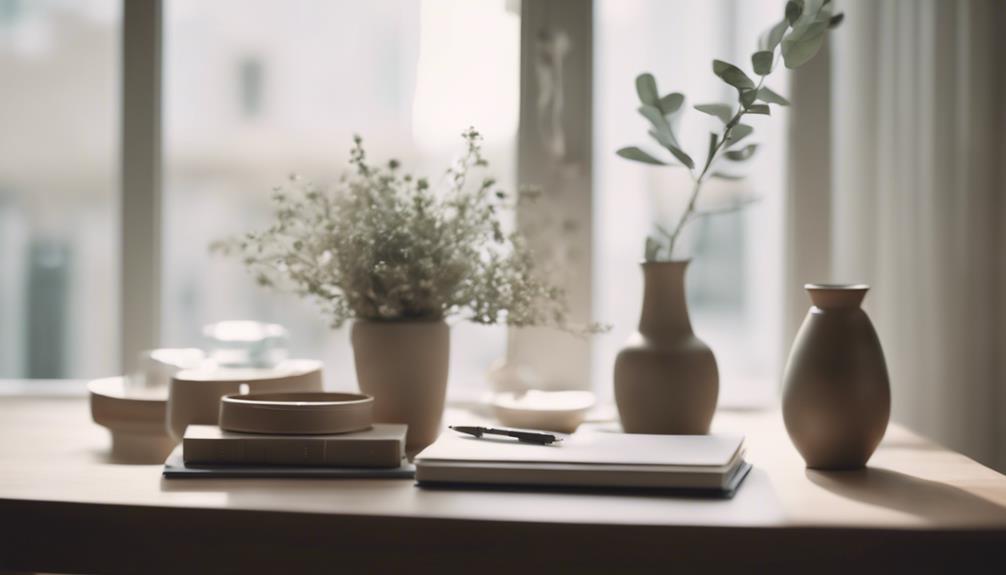
Now that our table risers are built, we're excited to add some personality to them.
We'll explore some creative ways to make our risers shine, from choosing the perfect table runner to displaying beautiful centerpieces and even adding some greenery with plants.
Table Runner Options
With a wide range of materials and styles to choose from, we can easily find a table runner that complements our unique taste and decor. Whether we're going for a rustic farmhouse look or a modern home decor vibe, there's a table runner to match. We can opt for cotton, linen, burlap, or silk, each offering a distinct texture and aesthetic.
Here are some tips to keep in mind when choosing a table runner:
- Seasonal style: Switch up your table runner to match the season or holiday.
- Layer it up: Use a table runner with a tablecloth for a more elaborate look.
- Get creative: DIY a table runner using fabric, ribbon, or repurposed materials for a one-of-a-kind touch.
When building our DIY table, including a table riser, we want to make sure our decor is on point. A well-chosen table runner can elevate our DIY farmhouse table from simple to stunning. By selecting the right material, style, and design, we can create a warm and inviting atmosphere that reflects our personal taste and complements our home decor.
Centerpiece Ideas Found
Incorporating decorative elements into our table riser centerpiece allows us to add a personal touch and create a warm, inviting atmosphere that reflects our unique style. We can experiment with different heights and sizes of table risers to create visual interest and dimension in our centerpiece display. Mixing and matching textures, colors, and materials can create a cohesive and eye-catching arrangement on our DIY table riser.
Here are some centerpiece ideas to get us started:
| Centerpiece Idea | Description |
|---|---|
| Seasonal Delight | Use themed or seasonal items like pumpkins, pinecones, or ornaments to create a festive centerpiece |
| Candle Glow | Add ambiance with candles in mercury glass holders or apothecary jars |
| Floral Fusion | Combine fresh flowers or greenery with decorative vases or containers |
We can also consider using a table runner, placemats, or a decorative tray to enhance the overall look of our table setting. By adding personalized decorations, we can create a one-of-a-kind centerpiece that showcases our style and flair. With a little creativity, our DIY table riser can become a stunning focal point in any room.
Accessorizing With Plants
We can take our table riser decor to the next level by adding some greenery, which not only freshens up the space but also brings a touch of natural elegance to our centerpiece. Adding plants to our table risers can create a welcoming and lively atmosphere in our living space.
Here are some tips to keep in mind when accessorizing with plants:
- Choose the right plants: Select plants that complement the style and color scheme of your room for a cohesive look. Succulents, air plants, or small potted herbs are great options for tabletop plant decor.
- Elevate with hanging plant brackets: Consider using hanging plant brackets to elevate your plants on the table risers, adding visual interest and depth to your decor.
- Keep it simple: Don't overcrowd your table risers with too many plants. A simple, minimalist approach can be just as effective in adding a touch of elegance to your space.
Tips for Customizing Your Riser

We can create a truly one-of-a-kind table riser by experimenting with different materials, shapes, and sizes that reflect our personal style.
To customize our table riser, we can choose from various materials like wood, metal, or repurposed items that fit our decor. We can also experiment with different shapes and leg designs to create a unique look.
Painting, staining, or distressing our riser can give it a customized finish that matches our home decor. Adding decorative elements like stencils, decals, or embellishments can further personalize our riser.
We shouldn't be afraid to mix and match different components to achieve a one-of-a-kind design.
Frequently Asked Questions
How to Make Your Own Table Risers?
We're excited to start creating our own table risers! To get started, we'll gather materials like wood planks, screws, a drill, and stain or paint.
We'll sand and stain or paint the wood plank to achieve the desired look.
Next, we'll attach hanging plant brackets securely to the wood plank using screws, drilling pilot holes to guarantee stability.
With these simple steps, we'll create sturdy and functional table risers that elevate our workspace or decor.
How to Make a DIY Riser?
We're excited to start creating our own DIY riser! To get started, we'll need some essential materials like wood planks, screws, a drill, and stain or paint.
We'll sand and stain the wood to give it a personalized touch, then attach plant hanging brackets securely using provided screws.
What Can I Use for Riser Legs?
We're getting creative with our table riser legs! We can repurpose wooden blocks, craft beads, spindles, tuna cans, or even ketchup lids as unique legs.
We'll secure them with nails, staples, or a glue gun for stability. Experimenting with leg placements near edges or the center of the base will give us a one-of-a-kind look.
We can even paint or distress the legs to match our decor style. The possibilities are endless, and we can't wait to see our personalized risers come to life!
What Can You Use for Risers?
We can use a variety of materials for our table risers. We're not limited to traditional options – we can repurpose old items like picture frames, cutting boards, or spindles for unique risers.
We can also explore unconventional materials like tuna cans, ketchup lids, or wooden blocks for a creative touch. Additionally, we can salvage parts like bed posts, antique door pieces, or vintage elements for a rustic feel.
The possibilities are endless!
Conclusion
Now that we've walked through the process of creating our own table risers, we can confidently say that building one is like baking a cake – it requires the right ingredients, a clear recipe, and a dash of creativity.
With the essential materials, a well-designed plan, and some TLC, we can craft a sturdy and stylish table riser that elevates our workspace or dining area.
By following these steps, we can create a functional piece that's both beautiful and functional, and that's the icing on the cake!
- About the Author
- Latest Posts
Introducing Ron, the home decor aficionado at ByRetreat, whose passion for creating beautiful and inviting spaces is at the heart of his work. With his deep knowledge of home decor and his innate sense of style, Ron brings a wealth of expertise and a keen eye for detail to the ByRetreat team.
Ron’s love for home decor goes beyond aesthetics; he understands that our surroundings play a significant role in our overall well-being and productivity. With this in mind, Ron is dedicated to transforming remote workspaces into havens of comfort, functionality, and beauty.
Decor
Pergola Remodel
Outdoor oases await as we delve into the world of pergola remodels, revealing secrets to elevate functionality, style, and property value.
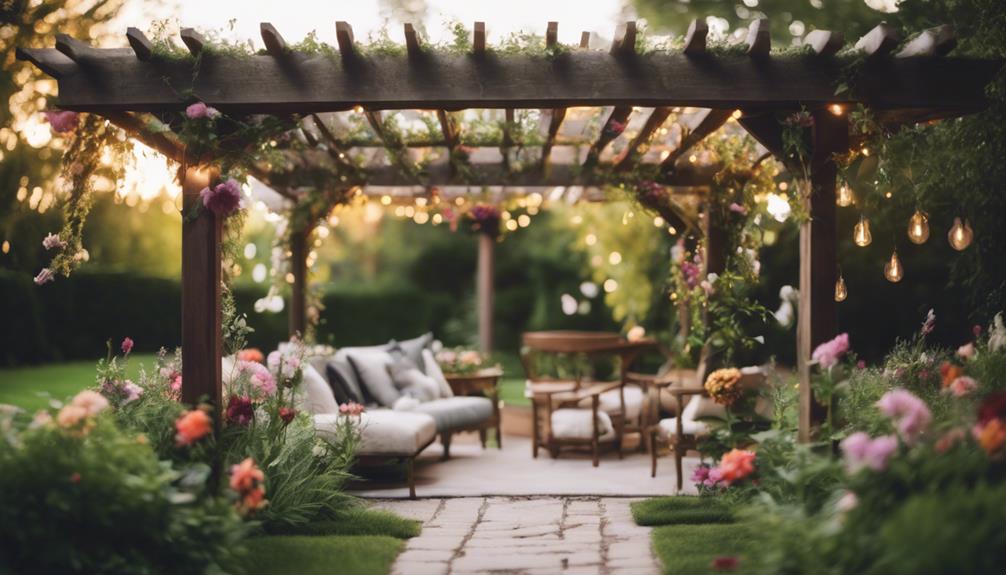
We undertake pergola remodels to elevate our outdoor spaces, with a staggering 70% of homeowners citing a desire for improved functionality and aesthetic appeal. To achieve this, we consider the purpose of the pergola, define necessary amenities, and think about the overall aesthetic. We choose materials that withstand the elements, incorporating durable options like redwood or cedar, and consider eco-friendly alternatives. By designing for functionality, incorporating modern features, and adding aesthetic appeal, we can create an inviting outdoor space that increases our property value. As we explore pergola remodels further, we'll uncover more ways to transform our outdoor living spaces.
Key Takeaways
• Define the pergola's purpose and necessary amenities to create a functional and inviting space that increases property value.
• Choose durable, weather-resistant materials like redwood, cedar, or eco-friendly options that balance aesthetics, durability, and cost-effectiveness.
• Incorporate functional features like built-in seating, retractable shades, and lighting fixtures to enhance outdoor living and entertainment.
• Add aesthetic appeal with design elements, stain or paint colors, climbing plants, and lighting fixtures that complement the home's exterior.
• Consider modern features like aluminum, composite materials, smart technology, and contemporary designs to create a sleek and functional oasis.
Planning Your Pergola Remodel
As we begin our pergola remodel, let's pause to assess how we envision using this outdoor space, ensuring our design aligns with our needs and desires.
A wooden pergola can be a stunning addition to our backyard, but we must consider its purpose before starting the project. Will it serve as a relaxation area, a dining space, or an entertainment hub? By defining its function, we can determine the necessary amenities, such as lighting, seating, and storage.
We should also think about the overall aesthetic we want to achieve, taking into account the style of our home and the surrounding landscape. By doing so, we can create a cohesive and inviting space that complements our property.
A well-planned pergola remodel won't only enhance our outdoor living experience but also increase our property's value. By taking the time to plan and prioritize our needs, we can create a beautiful and functional wooden pergola that exceeds our expectations.
Choosing the Right Materials
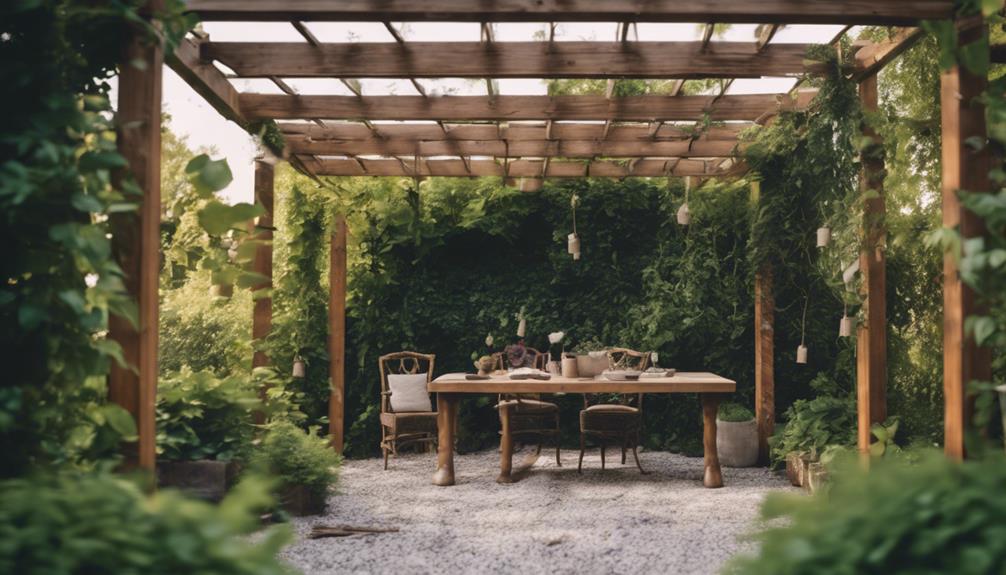
With our purpose and aesthetic in mind, we're ready to select the materials that will bring our pergola remodel to life.
As we're creating an outdoor living space, it's important to choose materials that can withstand the elements. We're considering durable options like redwood or cedar for a long-lasting pergola renovation.
Alternatively, weather-resistant materials such as aluminum or vinyl offer minimal maintenance, making them an attractive choice. It's vital to select materials that complement our home's exterior design for a cohesive look.
We're also exploring eco-friendly options like reclaimed wood or composite materials to reduce our environmental footprint. Ultimately, we're looking for materials that strike a balance between aesthetics, durability, and cost-effectiveness.
Designing for Functionality
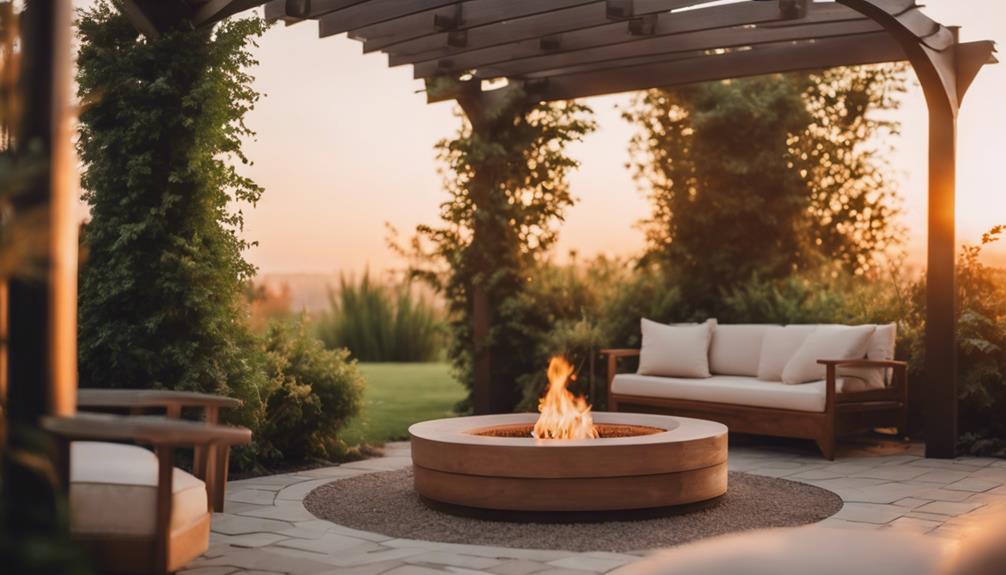
We're now turning our attention to designing our pergola for functionality, ensuring it seamlessly integrates into our outdoor living space. When it comes to functionality, we want our pergola to be more than just a pretty face. We want it to be a hub for outdoor dining, relaxation, and entertainment.
| Functionality Feature | Description |
|---|---|
| Built-in Seating | Incorporate benches or seating areas for comfortable lounging |
| Retractable Shades | Add shades or curtains for sun and rain protection |
| Lighting Fixtures | Install lights to extend functionality into evening hours |
| Durable Materials | Choose weather-resistant materials for longevity |
| Storage Solutions | Add storage for outdoor accessories and decor |
Adding Aesthetic Appeal
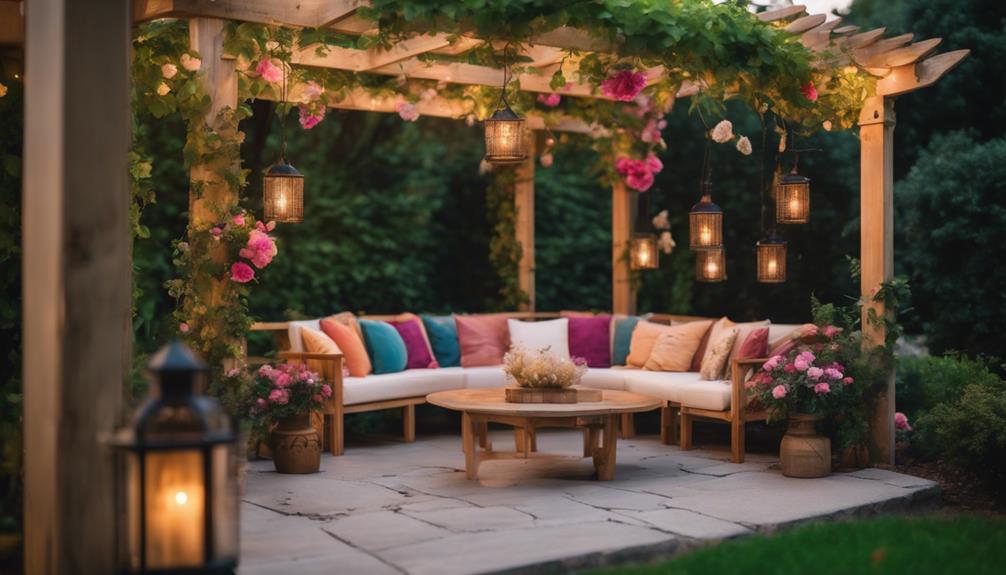
In addition, optimizing our pergola for functionality is essential, but now let's shift our focus to adding aesthetic appeal. We can incorporate design elements that elevate its visual appeal and create an inviting atmosphere.
When it comes to adding aesthetic appeal, the devil is in the details. Incorporating design elements like lattice work and decorative braces can add visual interest to the pergola, making it a stunning focal point in our outdoor space. We can also choose a stain or paint color that complements our home's exterior, tying the pergola into the overall design.
Adding climbing plants or vines can create a lush and inviting atmosphere, making our pergola feel like a serene oasis. Moreover, utilizing lighting fixtures or hanging lanterns can enhance the ambiance of the pergola during evening gatherings, making it the perfect spot to relax and socialize.
Incorporating Modern Features

As we move forward with our pergola remodel, we're excited to explore the modern features that can elevate our outdoor space.
We'll examine how incorporating contemporary materials and designs can transform our pergola into a sleek and functional oasis.
From modern materials like aluminum and composite wood to smart technology integrations, we'll discuss how these elements can come together to create a truly modern pergola.
Modern Materials Matter
By incorporating modern materials like aluminum and composite wood into our pergola remodel, we can create a structure that's not only visually stunning but also incredibly durable. These modern materials matter because they offer a range of benefits that enhance the overall pergola design.
For instance, aluminum is a sleek and minimalist material that can be used to create a modern pergola's framework. Composite wood, on the other hand, provides a durable and low-maintenance alternative to traditional wood. By combining these materials, we can create a pergola that's both stylish and long-lasting.
Moreover, modern materials allow us to integrate advanced features like automated louvers and integrated speakers, which elevate the functionality and convenience of our pergola. With modern materials, we can seamlessly blend indoor and outdoor spaces, creating a cohesive and modern design.
Contemporary Designs Shine
We're drawn to contemporary pergola designs that incorporate modern features, which transform outdoor spaces into sophisticated retreats that seamlessly blend function and style.
These designs often include advanced features like automated louvers and integrated speakers, creating a unique and luxurious ambiance. By incorporating matching design elements, modern pergolas can blur the boundaries between indoor and outdoor spaces, creating a cohesive look.
Rooftop pergolas, in particular, can serve as private sitting areas shielded from the elements, creating urban oases in the midst of bustling cities.
Advanced materials like aluminum are used in contemporary pergola designs, providing a sleek and modern look. Additionally, vine-covered pergolas can create a seamless connection between different areas, enhancing the overall living experience.
Transforming With Color
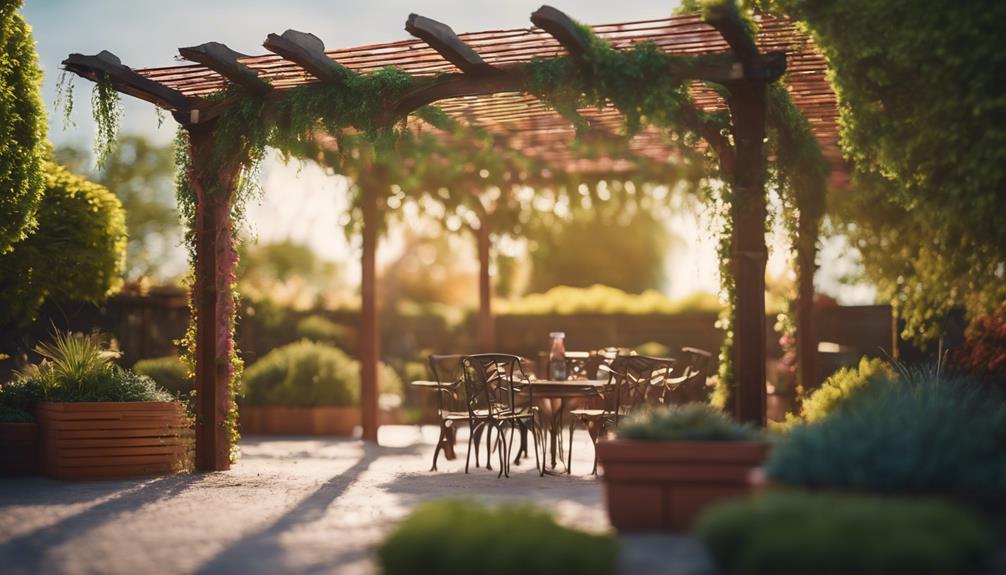
What if a simple splash of color could elevate your pergola from ordinary to extraordinary? We're excited to explore the transformative power of color in our pergola remodel.
When it comes to patio ideas, adding a pop of color can completely revamp the ambiance of our outdoor space. Take, for instance, a soothing sky blue hue that creates a serene and calming atmosphere, perfect for relaxation.
By experimenting with paint colors, we can add personality and style to our pergola design. A blue-painted pergola can beautifully complement the surrounding greenery and nature in our outdoor area.
On the other hand, vibrant colors can create a fun and inviting space for relaxation. The possibilities are endless, and we're excited to see how a simple coat of paint can transform our pergola into a stunning focal point.
With a little creativity, we can turn our ordinary pergola into an extraordinary oasis that reflects our unique style and personality.
Blending Indoors and Outdoors

As we remodel our pergola, we're looking to create a seamless connection between our indoor and outdoor spaces. We want to blur the lines between the two areas, creating a sense of continuity that makes our outdoor living extensions feel like a natural part of our home.
Seamless Transitions
By intentionally designing our pergola with matching elements, we can effortlessly merge our indoor and outdoor spaces, creating a seamless flow between the two. This harmonious blend is essential in crafting a cohesive atmosphere that flows effortlessly from one area to another.
A well-designed seating area, for instance, can be a perfect spot to relax and enjoy the outdoors while still being connected to the indoors. To achieve this, we can incorporate design elements that match our indoor decor into our pergola, ensuring a smooth connection between different areas.
A vine-covered pergola, for example, can create a cohesive link between indoor and outdoor areas, blurring boundaries and enhancing the sense of continuity. Additionally, using natural wood in our pergola can add an organic feel, connecting us to nature.
Outdoor Living Extensions
We're taking our living experience to the next level with outdoor living extensions like pergolas that seamlessly merge our indoor and outdoor spaces. By incorporating design elements that match our indoor spaces, we can blur the boundaries between indoors and outdoors, creating a cohesive living experience.
In Los Angeles, where outdoor living is a staple of the lifestyle, pergolas have become a popular choice for extending the functionality of indoor areas into the outdoors. Vine-covered pergolas, in particular, create a natural shift between indoor and outdoor living spaces, making it difficult to distinguish where one ends and the other begins.
Creating a Private Oasis
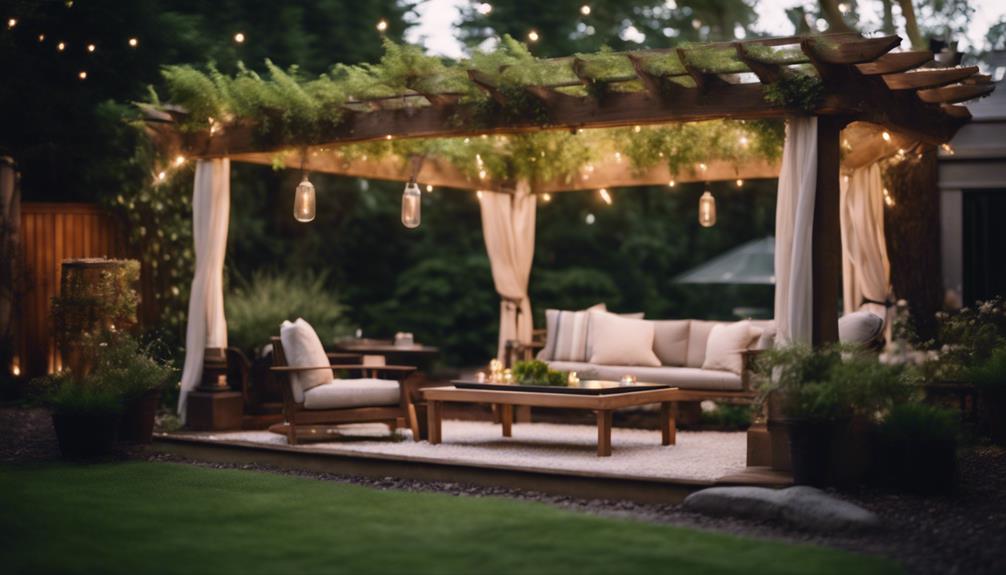
With flowing drapes, canopies, and climbing plants, we can transform our pergola into a secluded retreat that's all our own. By incorporating these elements, we can create a private oasis in our backyard.
For instance, adding flowing drapes can block out the outside world, providing an intimate atmosphere. A canopy can provide abundant shade, making our pergola feel like a secluded hideaway. Additionally, incorporating climbing plants like grapevines and ivy can enhance privacy, making our pergola feel like a secluded retreat.
If you're looking to take your pergola to the next level, contact us to explore your options. We can help you design a private oasis that's tailored to your needs. Whether you're looking to create a romantic getaway or a peaceful escape, we can help you achieve your vision.
Enhancing Outdoor Living
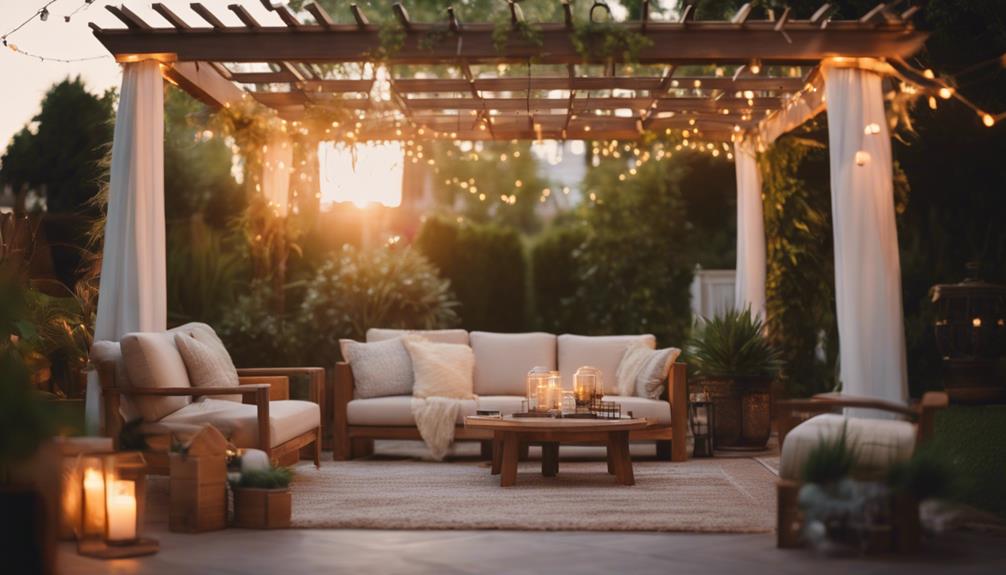
As we step out of our private oasis, we can further enhance our outdoor living experience by incorporating pergola remodels that seamlessly blend functionality and style. By doing so, we can create an inviting atmosphere that's perfect for relaxation and entertainment.
A well-designed pergola can transform our outdoor space into a cozy retreat, providing shade and privacy while amplifying the aesthetic appeal of our backyard. Whether we're looking to host outdoor gatherings or simply unwind after a long day, a pergola remodel can help create an idyllic setting.
Additionally, upgrading or renovating a pergola can increase our home's value and curb appeal, making it a worthwhile investment for homeowners. By incorporating a pergola into our outdoor space, we can maximize its full potential, turning it into an extension of our living area.
As we continue to enhance our outdoor living experience, we can reap the benefits of a beautifully designed pergola that complements our home and lifestyle.
Frequently Asked Questions
Is It Cheaper to Build or Buy a Pergola?
When considering a pergola, we often wonder: is it cheaper to build or buy one? The answer depends on several factors.
Building a pergola can be cost-effective, with DIY materials ranging from $1,500 to $3,000. However, purchasing a pre-made pergola can cost between $2,000 to $5,000 or more, depending on size and materials.
Labor costs for building a pergola add to the expense, while DIY projects save on installation fees.
How Do You Upgrade a Pergola?
We often assume that upgrading a pergola means replacing it entirely, but that's not necessarily true. In reality, upgrading can be as simple as adding new support legs or a lattice design to enhance stability and aesthetics.
We can also refresh the look with a new stain or paint color, or boost shade coverage with additional slats or a canopy.
How Do You Refurbish a Pergola?
When refurbishing a pergola, we start by inspecting the structure to identify areas that need improvement. We replace old or rotten wood with durable materials like Redwood lumber to guarantee longevity.
Next, we update the shade canopy by adding new rafters and slats for better coverage.
Does a Pergola Add Value to Property?
Imagine a for-sale sign on a property that screams 'buy me!' – that's what a pergola can do.
We've got the stats to back it up: according to the National Association of Realtors, a pergola can increase property value by up to 20%!
It's no wonder why; these structures add visual appeal, create extra living space, and boost curb appeal.
Conclusion
As we conclude our pergola remodel journey, we're reminded that 75% of homeowners consider outdoor living spaces a top priority. It's no wonder, given the transformative power of a well-designed pergola.
By choosing the right materials, designing for functionality, and incorporating modern features, we can create a seamless blend of indoors and outdoors.
With a focus on aesthetics, color, and privacy, our pergola remodel becomes a serene oasis, perfect for relaxation and connection.
- About the Author
- Latest Posts
Introducing Ron, the home decor aficionado at ByRetreat, whose passion for creating beautiful and inviting spaces is at the heart of his work. With his deep knowledge of home decor and his innate sense of style, Ron brings a wealth of expertise and a keen eye for detail to the ByRetreat team.
Ron’s love for home decor goes beyond aesthetics; he understands that our surroundings play a significant role in our overall well-being and productivity. With this in mind, Ron is dedicated to transforming remote workspaces into havens of comfort, functionality, and beauty.
-

 Vetted6 days ago
15 Best Printers of 2024: Top Picks and Expert Reviews
-
 Vetted1 week ago
15 Best Tile Sealers for Long-Lasting Protection and Shine
-
 Vetted2 weeks ago
15 Best Smelling Floor Cleaners That Will Leave Your Home Fresh and Inviting
-

 Vetted1 week ago
14 Best Power Scrubbers for Showers That Will Transform Your Cleaning Routine
-
 Vetted3 days ago
15 Best Evergreen Plants for Shade Gardens: A Complete Guide
-
 Vetted3 days ago
15 Best LED Dimmer Switches With No Flicker: Ultimate Guide for a Flicker-Free Lighting Experience
-

 Mardi Gras Decoration5 days ago
What Do the Symbols of Mardi Gras Mean?
-

 Appliances1 week ago
5 Best Energy-Efficient Stainless Steel Fridges 2023


