Appliances
What Causes Ceiling Fans to Make Noise
2025
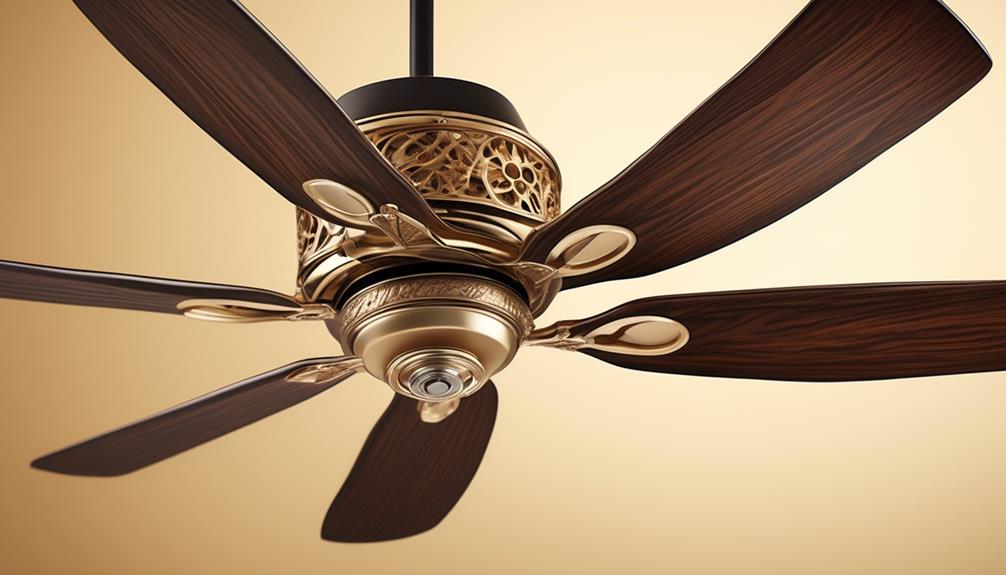
Have you ever been aware of the comforting buzz coming from a smoothly operating ceiling fan? It seamlessly moves air around, offering both ease and serenity within our living spaces. Nevertheless, there are times when these cherished appliances begin to emit annoying sounds, disturbing the serene atmosphere.
Understanding the reasons behind these noises is crucial in maintaining a serene living space. In this article, we will explore the various factors that can cause ceiling fans to make noise. From loose screws and misaligned blades to worn-out motor bearings and accumulated dust, there are several culprits that may be responsible for the unwelcome sounds.
By identifying and addressing these issues, we can restore our ceiling fans to their former, noiseless glory. So, let's delve into the world of ceiling fan noise and discover how to bring back the serenity to our living spaces.
Key Takeaways
- Loose or damaged parts and connections, such as loose screws or frayed wires, can cause noise in ceiling fans. Inspect and tighten any loose parts and ensure proper installation and alignment to reduce noise.
- Worn-out or damaged motor bearings can also lead to noise in ceiling fans. Promptly address motor bearing issues, lubricate bearings regularly, and prevent motor overheating to minimize noise.
- Misaligned fan blades can cause excessive noise and vibrations. Regularly tighten blade screws, check for damage, and use a level tool to ensure blades are straight and balanced. Consider using a blade balancing kit to correct misalignment.
- Incorrect installation and electrical issues can result in noise. Choose the appropriate fan size for the room, securely mount and balance the fan, and follow manufacturer's instructions for correct wiring and installation. Clean the fan regularly to prevent debris accumulation and maintain optimal performance.
Loose Screws or Connections
Sometimes, ceiling fans can make noise due to loose screws or connections. If you're experiencing fan noise, troubleshooting techniques can help identify and resolve the issue.
One common culprit for noisy ceiling fans is loose screws. Over time, the vibrations caused by the fan's movement can loosen the screws that hold its components together. To address this, turn off the fan and carefully inspect each screw. Use a screwdriver to tighten any loose screws you find, being careful not to overtighten and damage the fan.
Another possible cause of fan noise is loose connections. Check the wiring connections between the fan and the electrical supply. Ensure that all connections are secure and free from any loose or frayed wires. If you find any issues, it's essential to turn off the power before attempting to fix them.
Worn-Out or Damaged Motor Bearings
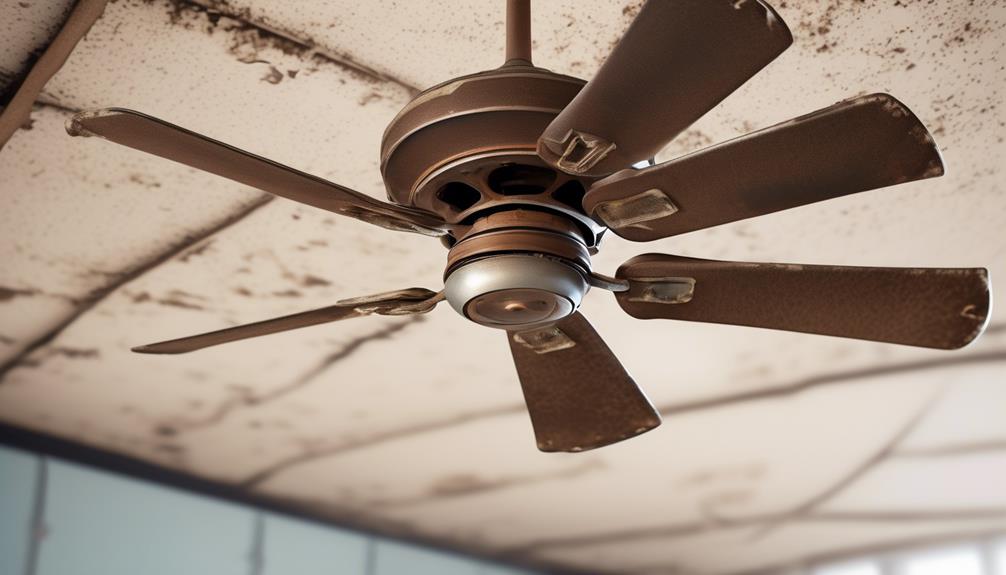
When it comes to ceiling fans making noise, worn-out or damaged motor bearings can be a common culprit.
Motor bearing deterioration can have a significant impact on fan performance, causing excessive noise and reduced efficiency.
It's important to address this issue promptly to ensure smooth operation and prevent further damage to the fan.
Motor Bearing Deterioration
Motor bearing deterioration can cause ceiling fans to make noise. When the motor bearings of a ceiling fan wear out or become damaged, they can create a variety of sounds, such as grinding, squeaking, or rattling noises. These noises are typically an indication that the motor bearings need to be replaced.
One of the most common signs of motor bearing deterioration is an increase in the noise level produced by the fan. This can occur gradually over time or suddenly, depending on the extent of the damage. Other signs may include excessive vibration, wobbling blades, or difficulty in starting the fan.
If you notice any of these signs, it's important to address the issue promptly by contacting a professional for motor bearing replacement.
Impact on Fan Performance
After noticing the signs of motor bearing deterioration, addressing the issue promptly is crucial as it can significantly impact the performance of the ceiling fan. Worn-out or damaged motor bearings can lead to excessive fan noise and reduced efficiency.
As the bearings wear down, they can cause the fan to wobble or vibrate, resulting in an annoying humming or buzzing sound. This noise can be distracting and disrupt the peaceful environment you desire.
Moreover, worn-out bearings can also affect the overall performance of the fan, causing it to operate at a slower speed or produce less airflow. This can be particularly problematic during hot summer days when you rely on your fan to provide adequate cooling.
Therefore, it's important to address motor bearing issues promptly to ensure optimal fan performance and minimize any performance impact.
Misaligned Fan Blades
Let's talk about misaligned fan blades and the problems they can cause.
When the blades of a ceiling fan aren't properly aligned, it can lead to excessive noise and vibrations. These issues can be quite bothersome and disrupt the comfort of a room.
Fortunately, there are ways to fix misaligned blades and restore the smooth and quiet operation of your ceiling fan.
Blade Misalignment Causes
Blade misalignment causes can lead to noisy ceiling fans. When the fan blades aren't properly aligned, it can disrupt the smooth flow of air and create vibrations, resulting in irritating noises. Here are some common causes of blade misalignment:
- Loose or worn-out blade screws: Over time, the screws that hold the blades in place can become loose or worn out, causing the blades to shift and become misaligned.
- Warped or bent blades: If the fan blades have been damaged or exposed to excessive heat or moisture, they may warp or bend, leading to misalignment.
- Improper installation: Incorrect installation of the fan blades can also cause misalignment, especially if the blades aren't securely attached to the motor.
To prevent blade misalignment and ensure a quiet operation, follow these blade alignment tips:
- Tighten the blade screws regularly.
- Inspect the blades for any signs of damage.
- Carefully follow the installation instructions provided by the manufacturer.
Fan Noise Problems
One of the main culprits behind the annoying noises coming from ceiling fans is when the blades become misaligned. When the fan blades aren't properly aligned, they can create a wobbling motion that results in noisy vibrations.
To troubleshoot this issue, it's important to ensure that all the blades are securely attached and aligned in the correct position. Using a level tool can help in determining whether the blades are straight and balanced. If misalignment is detected, gently adjust the blades until they're aligned properly.
Regular maintenance, such as tightening loose screws and lubricating the fan motor, can also contribute to fan noise reduction.
Fixing Misaligned Blades
To address the issue of misaligned fan blades and reduce the annoying noises coming from ceiling fans, ensuring proper alignment is crucial. Misaligned blades can cause a wobbling motion, resulting in vibrations and noise. Here are some steps you can take to fix misaligned blades:
- Check for loose screws or bolts and tighten them securely.
- Use a blade balancing kit to identify which blades are misaligned and adjust them accordingly.
- Gently bend any misaligned blades back into the correct position, being careful not to apply too much pressure.
Proper blade alignment and balancing won't only reduce noise but also improve the overall performance and efficiency of your ceiling fan.
Regular maintenance and inspection of your fan's blades will help prevent future misalignment issues.
Bent or Warped Fan Blades
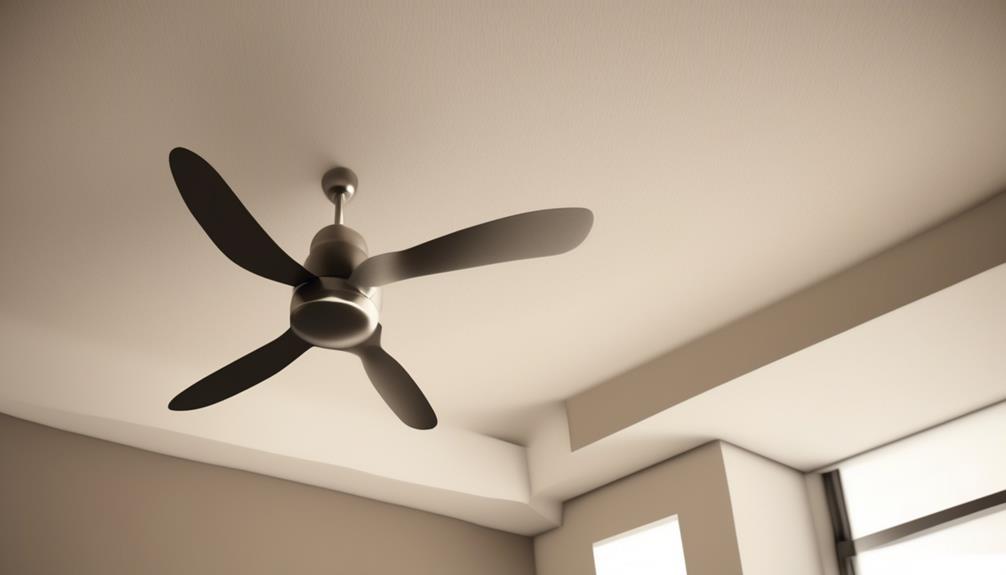
Our ceiling fan's blades may become bent or warped over time, causing them to produce noise while in operation. This issue can arise due to various reasons, such as accidental impact, improper storage, or even natural wear and tear. When the fan blades aren't perfectly straight, they can throw off the blade balance, leading to fan wobbling and generating irritating noises.
To identify if the fan blades are bent or warped, start by turning off the fan and inspecting each blade individually. Look for any visible signs of bending, warping, or unevenness. Additionally, you can use a ruler or straight edge to check if the blades are aligned properly. If you notice any irregularities, it's likely that your fan blades are indeed bent or warped.
To rectify this issue, you have a few options. Firstly, you can try using a blade balancing kit, which typically includes adhesive weights that can be applied to the blades. These weights can help restore the blade balance and minimize the noise caused by the bent or warped blades.
Alternatively, if the bending or warping isn't severe, you can try manually straightening the blades by applying gentle pressure. However, exercise caution while doing this, as excessive force can further damage the blades.
Dust and Debris Accumulation
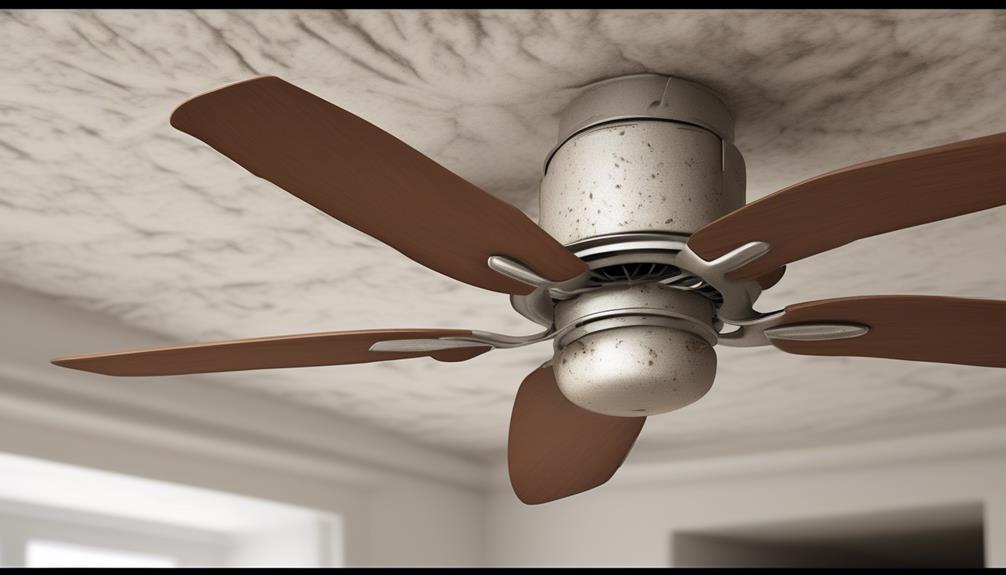
When it comes to ceiling fans making noise, one possible culprit could be dust and debris accumulation. Over time, dust can build up on the fan blades and other components, causing them to become unbalanced and create noise.
Additionally, debris such as loose screws or small objects can get caught in the fan mechanism, leading to rattling sounds.
Regular cleaning and maintenance can help prevent these issues and keep your ceiling fan running smoothly and quietly.
Dust Build-Up
A common cause of noise in ceiling fans is the accumulation of dust and debris. When dust and debris build up on the fan blades and motor, it can cause an imbalance and create a humming or rattling noise.
To troubleshoot this issue, follow these steps:
- Regularly clean your ceiling fan blades using a soft cloth or brush.
- Use a vacuum cleaner with a brush attachment to remove dust from the motor housing.
- Consider installing a ceiling fan duster or using an extendable duster to reach high ceilings.
Debris Accumulation
To address the issue of debris accumulation in ceiling fans, regular cleaning is essential to prevent noise caused by dust and debris build-up.
Fan maintenance plays a crucial role in ensuring the smooth operation of ceiling fans. Over time, dust and debris can collect on the fan blades, causing them to become unbalanced and produce irritating noises.
To avoid this, it's important to regularly remove any debris that has accumulated on the blades. This can be done by using a soft cloth or brush to gently wipe away the dust and dirt.
Additionally, it's recommended to clean the fan motor and housing to prevent any debris from interfering with its performance.
Cleaning and Maintenance
Regular cleaning is essential for preventing noise caused by debris accumulation in ceiling fans. To keep your fan running smoothly and quietly, here are some cleaning techniques and maintenance tips to follow:
- Dust the blades: Use a soft cloth or a duster to remove dust from the fan blades. Regular dusting prevents the buildup of debris that can cause noise.
- Vacuum the motor housing: Gently vacuum the motor housing to remove any dirt or debris that may have accumulated. Be careful not to damage any delicate parts.
- Check and clean the fan assembly: Inspect the fan assembly for any loose screws or parts. Tighten any loose components and clean the assembly using a damp cloth.
Loose or Damaged Light Fixture
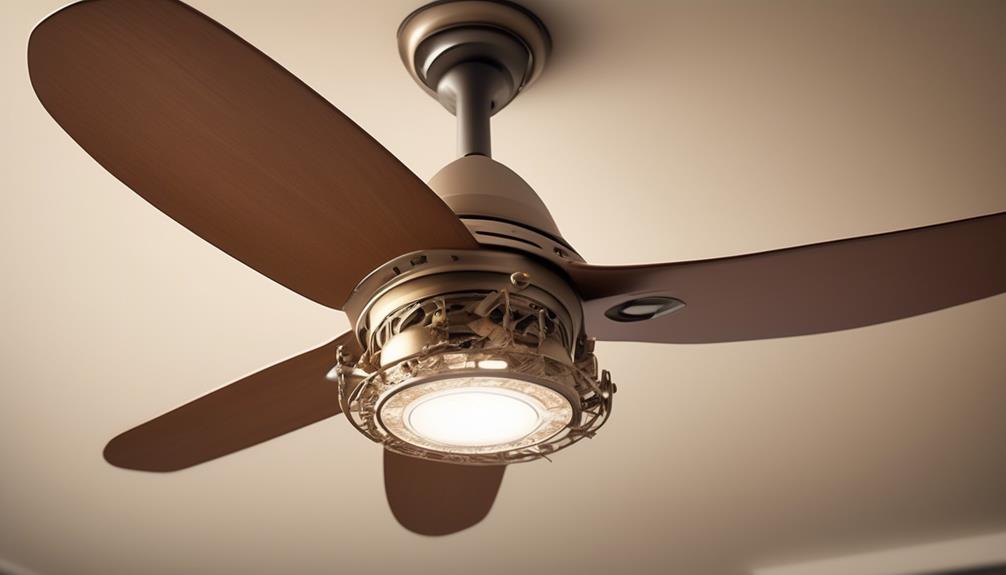
When the light fixture on a ceiling fan is loose or damaged, it can cause excessive noise during operation. This issue is often overlooked when troubleshooting ceiling fans, but it's important to address it promptly for a quieter and more enjoyable fan experience. A loose or damaged light fixture can create rattling or buzzing sounds that can be quite annoying, especially if the fan is used frequently or at high speeds.
To resolve this problem, light fixture repair may be necessary. Start by turning off the power to the fan at the circuit breaker or fuse box to ensure safety. Then, carefully remove the light fixture cover and inspect the fixture for any loose screws or mounting hardware. Tighten any loose screws or connections using a screwdriver or pliers. If the fixture is damaged, it may need to be replaced entirely.
Once the light fixture is secure and in good condition, reattach the cover and turn the power back on. Test the fan to ensure that the excessive noise has been eliminated. If the noise persists, it may be necessary to seek professional assistance or consider replacing the entire fan.
Faulty Capacitor
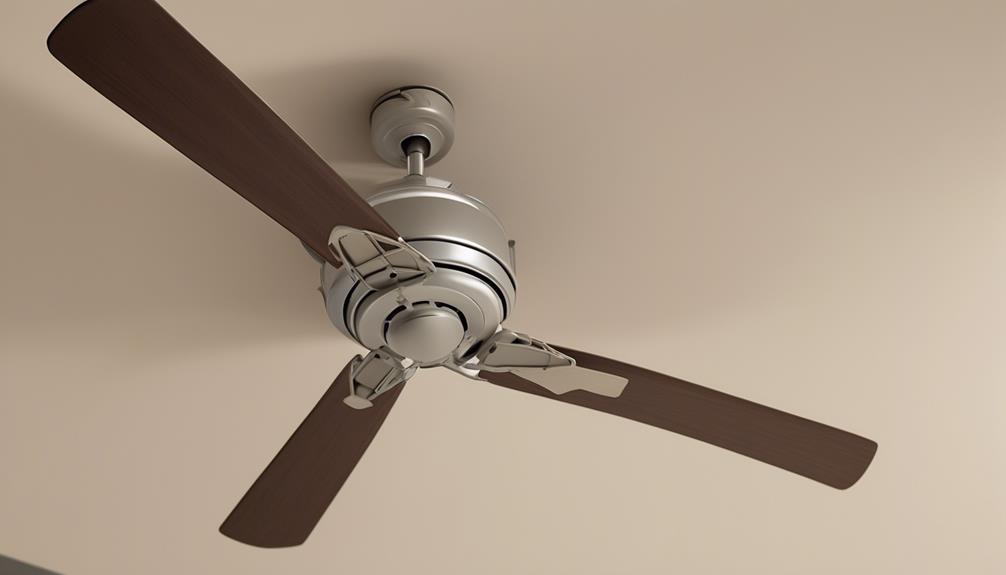
Our next issue to address is a faulty capacitor, which can contribute to the noise produced by the ceiling fan. A capacitor is an essential component that helps regulate the electrical flow to the fan motor. When the capacitor fails, it can result in various problems, including noise.
Here are some key reasons why capacitor failure may occur in ceiling fans:
- Age and wear: Over time, capacitors can deteriorate due to age and regular use, leading to malfunctions and noise.
- Voltage fluctuations: Sudden changes in voltage can strain capacitors and cause them to fail prematurely, resulting in noise issues.
- Incorrect installation: Improper installation of the capacitor can also contribute to its failure and subsequent noise production.
If you suspect that a faulty capacitor is causing the noise in your ceiling fan, it's essential to replace it promptly. To replace the capacitor, follow these steps:
- Turn off the power to the fan from the circuit breaker to ensure your safety.
- Locate the capacitor, which is typically found in the fan's switch housing or the motor housing.
- Remove the faulty capacitor carefully and install a new one following the manufacturer's instructions.
Loose or Damaged Pull Chain
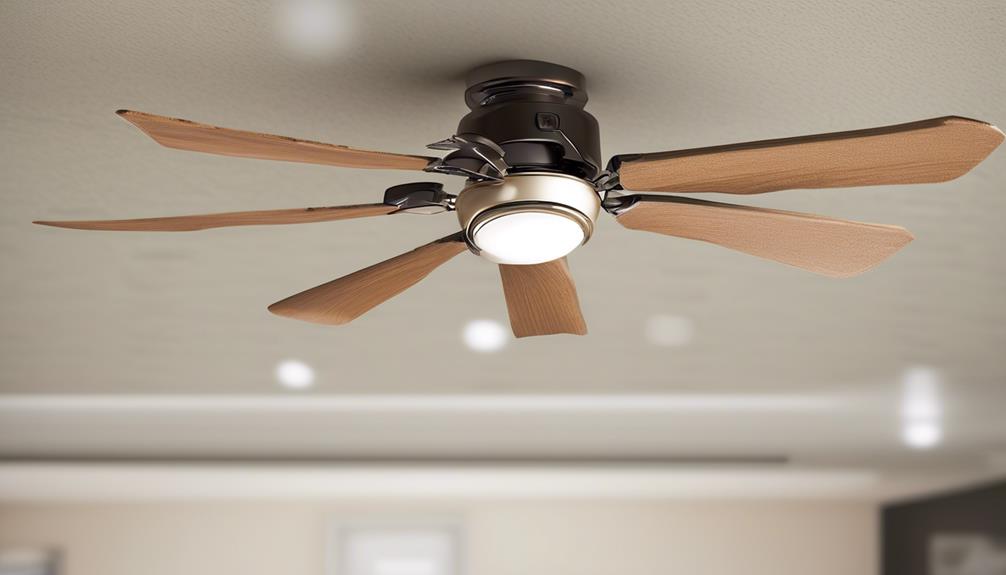
The pull chain on your ceiling fan may become loose or damaged, causing potential noise issues. When the pull chain is loose, it can rattle against the fan housing, creating an irritating noise. Additionally, if the pull chain is damaged or frayed, it can cause the fan to make a scraping or grinding sound.
To address these issues, pull chain replacement and troubleshooting techniques can be employed.
To replace a loose or damaged pull chain, you'll need to first turn off the power to the ceiling fan. Then, remove the fan's light kit or switch housing cover to access the pull chain mechanism. Carefully disconnect the old pull chain from the switch and replace it with a new one of the same length and style. Ensure that the new chain is securely attached to the switch before reassembling the fan.
If the noise persists after replacing the pull chain, further troubleshooting is necessary. Check for any obstructions or debris in the fan blades or housing that may be causing the noise. Tighten any loose screws or connections within the fan assembly. If the noise still persists, it may indicate a more serious issue, and it's recommended to consult a professional technician for further assistance.
Poor Quality or Unbalanced Fan

Now let's talk about another common cause of noisy ceiling fans: poor quality or unbalanced fans.
If your fan is making strange noises, it could be due to motor issues or loose and damaged parts. These problems can disrupt the smooth operation of the fan and result in irritating sounds.
Fan Motor Issues
When encountering noise from ceiling fans, one common issue can be attributed to poor quality or an unbalanced fan motor. A poor quality fan motor can produce excessive noise due to subpar construction and materials. Additionally, an unbalanced fan can cause vibrations, leading to noise.
To troubleshoot fan motor issues, here are some key factors to consider:
- Fan Motor Maintenance:
- Regularly clean and lubricate the motor to prevent dust buildup and ensure smooth operation.
- Check for loose connections and tighten any loose screws or bolts.
- Inspect the motor's bearings for wear and tear, replacing them if necessary.
To address these issues, it's recommended to invest in a high-quality fan motor and ensure proper installation. If the fan motor continues to make noise despite maintenance and balancing efforts, it may be necessary to seek professional assistance or consider replacing the motor altogether.
Loose or Damaged Parts
To address the issue of loose or damaged parts in a poor quality or unbalanced fan, it's crucial to identify and resolve any potential sources of noise.
One common cause of noise in ceiling fans is worn out bearings. Over time, the bearings can become worn or damaged, causing the fan to make a grinding or squeaking noise. These worn out bearings need to be replaced in order to eliminate the noise.
Additionally, loose or damaged parts such as blades, screws, or brackets can also contribute to the noise. It's important to regularly inspect and tighten any loose parts, and if any parts are damaged, they should be replaced promptly.
Incorrect Installation
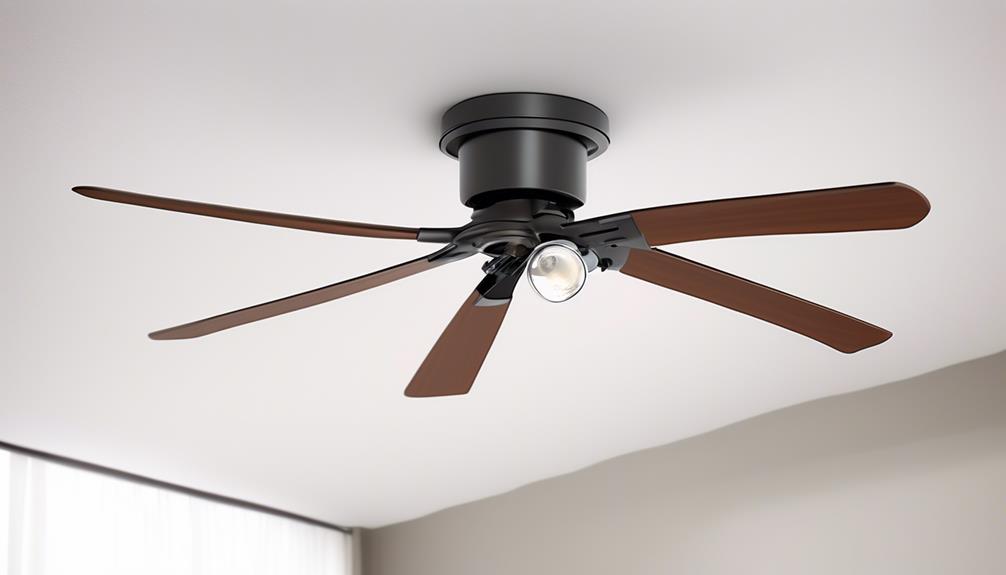
Improper installation of ceiling fans can result in excessive noise. When it comes to installing ceiling fans, there are a few common mistakes that can lead to noisy operation. Here are some key factors to consider:
- Incorrect wiring: One of the main causes of noise in a ceiling fan is incorrect wiring. If the fan isn't wired properly, it can create a humming or buzzing sound. It's important to follow the manufacturer's instructions carefully and ensure that the wiring is done correctly.
- Wrong fan size: Choosing the wrong size fan for your room can also contribute to noise issues. If the fan is too small for the space, it may have to work harder to circulate air, resulting in increased noise. On the other hand, if the fan is too large, it can create a turbulent airflow that produces noise. Make sure to select a fan that's appropriate for the size of your room.
- Inadequate mounting: Another factor to consider is the mounting of the fan. If the fan isn't securely mounted, it can wobble or shake, causing noise. Ensure that the fan is properly installed and balanced to minimize any potential noise.
Overheating Motor
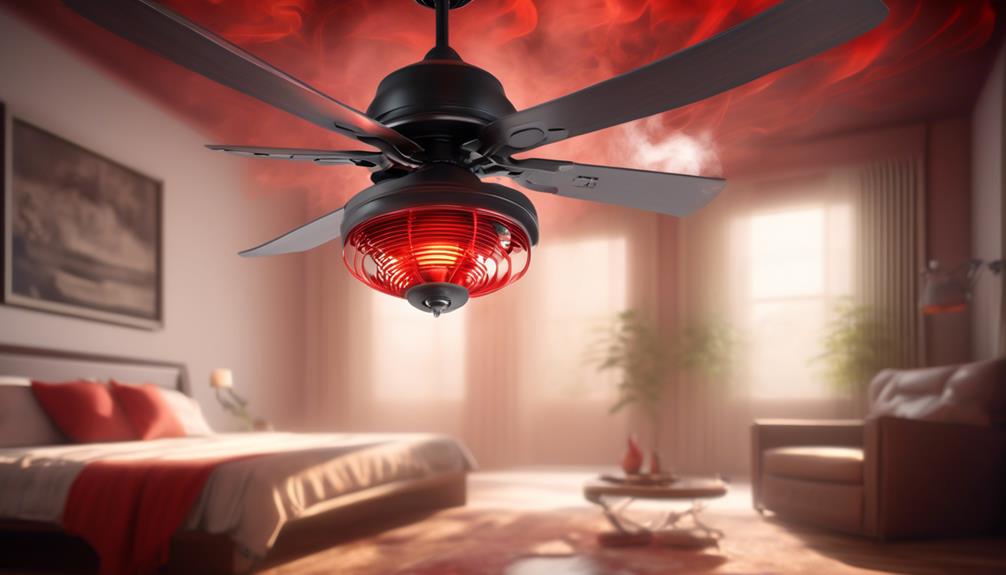
After addressing the issues related to incorrect installation, it's important to now focus on the potential problem of an overheating motor in ceiling fans. Motor overheating can be a common cause of noise in ceiling fans and should be addressed promptly to prevent further damage. When a motor overheats, it can produce a variety of noises, such as buzzing, humming, or grinding sounds. These noises can be an indication that the motor is working harder than it should, which can lead to overheating.
To troubleshoot motor overheating, there are a few steps you can take. First, make sure that the fan isn't obstructed by any objects or debris. A blocked airflow can cause the motor to work harder, resulting in overheating. Additionally, check if the fan is running at the correct speed. If the fan is set to a higher speed than it's designed for, it can put excessive strain on the motor and cause overheating.
Another potential cause of motor overheating is a lack of lubrication. Over time, the motor's bearings may dry out, leading to increased friction and heat. Regularly lubricating the motor can help prevent overheating and reduce noise.
Vibrating Down Rod
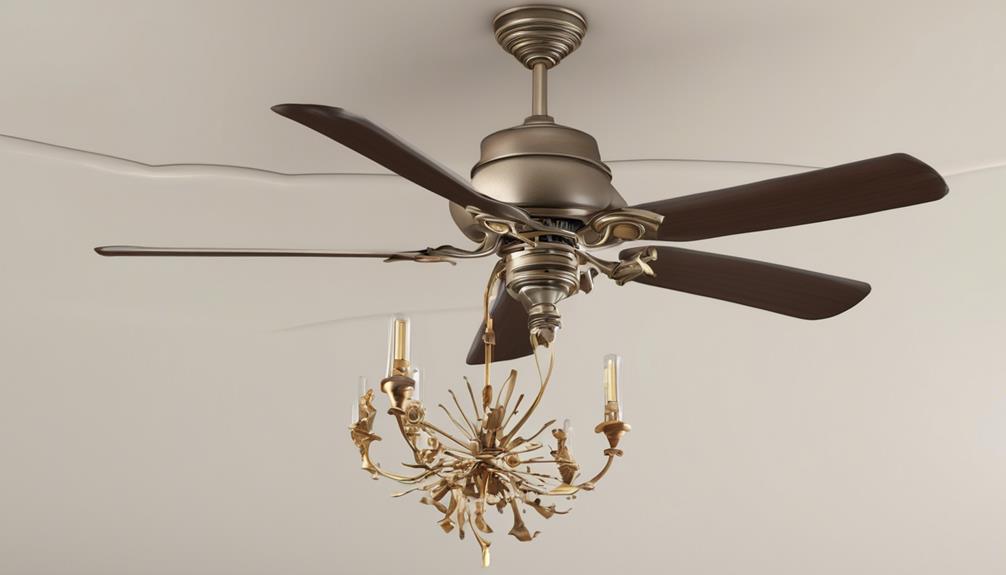
One common issue that can cause noise in ceiling fans is a vibrating down rod. The down rod is the metal rod that connects the motor housing to the fan blades. When it becomes loose or out of balance, it can create vibrations that result in an annoying noise.
To fix a vibrating down rod and troubleshoot noisy ceiling fans, consider the following:
- Tighten the down rod: Check if the down rod is securely fastened to both the motor housing and the fan blades. Use a wrench to tighten any loose screws or bolts.
- Balance the down rod: Sometimes, the down rod may become unbalanced, causing vibrations. To fix this, use a balancing kit or a set of weights. Attach these weights to the down rod until the fan operates smoothly without any noise.
- Use rubber spacers: Another solution is to place rubber spacers between the down rod and the motor housing. These spacers absorb vibrations and prevent them from transferring to the rest of the fan.
Inadequate Lubrication
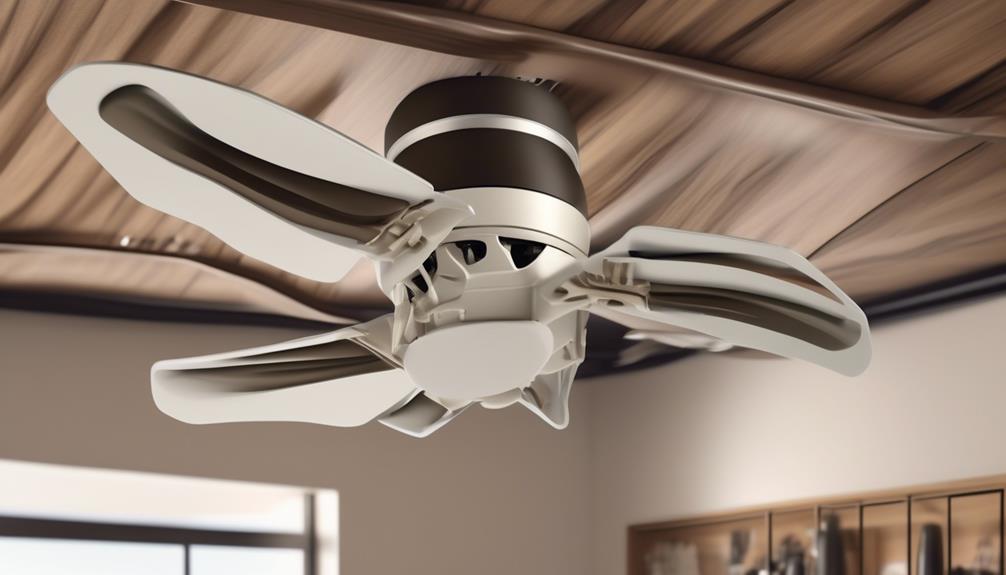
To prevent noisy ceiling fans, it's important to ensure that the fan is adequately lubricated. Improper maintenance and inadequate lubrication can cause friction and wear within the fan, resulting in annoying noises. Lubrication is essential because it reduces friction and keeps the moving parts running smoothly. Without proper lubrication, the fan's motor, bearings, and other components can become worn and damaged, leading to excessive noise.
Regular maintenance is crucial to keep your ceiling fan operating quietly. Lubricating the fan should be done at least once a year or as recommended by the manufacturer. Start by turning off the fan and allowing it to come to a complete stop. Use a ladder to access the fan and locate the oil ports, typically found on the motor housing or near the down rod.
Apply a few drops of lubricating oil to each oil port, making sure not to over-lubricate. Wipe away any excess oil and then turn on the fan to distribute the lubricant evenly.
Electrical Interference
When addressing the issue of electrical interference in ceiling fans, it's important to understand how this problem relates to the maintenance and lubrication previously discussed. Electrical interference can cause the fan to make unpleasant noises, disrupting the overall tranquility of the room.
To troubleshoot this issue, the following techniques can be employed:
- Check the wiring connections: Ensure that all the wires are properly connected and securely fastened. Loose connections can lead to electrical interference, resulting in noise generation.
- Inspect the electrical components: Thoroughly examine the capacitors, switches, and other electrical components for any signs of damage or wear. Faulty components can contribute to electrical interference.
- Eliminate nearby sources of electromagnetic interference: Identify and remove any devices or appliances that generate electromagnetic fields close to the fan. These fields can interfere with the fan's electrical system.
Aging or Worn-Out Parts
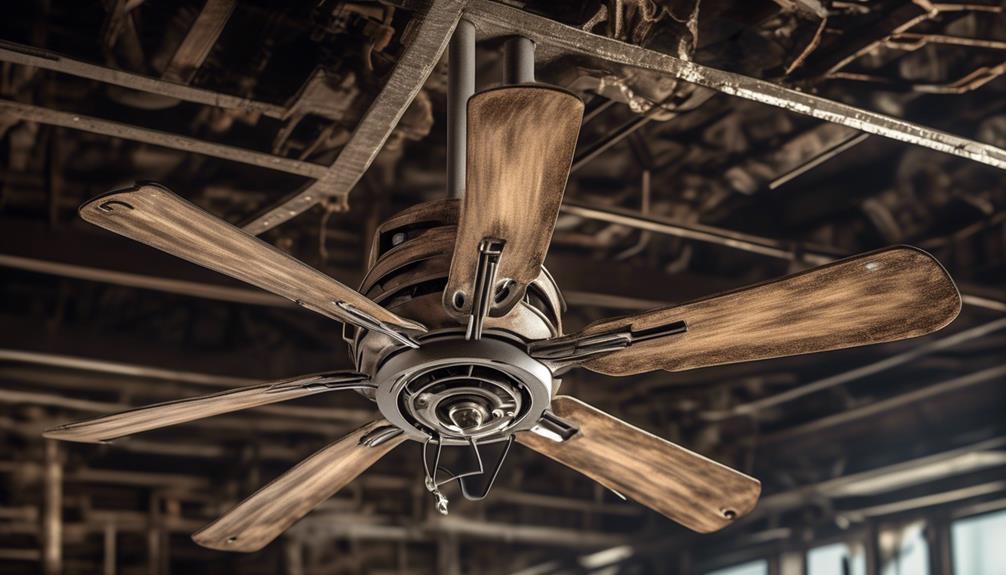
Over time, the parts of a ceiling fan can deteriorate and become worn-out, leading to increased noise levels. This is a common issue faced by many homeowners as their ceiling fans age. As the fan components such as the motor, bearings, blades, and mounting hardware start to wear out, they can no longer function smoothly, causing vibrations and rattling noises.
One of the main culprits of noise in an aging fan is the motor. The motor's internal components can become worn out or lose lubrication, resulting in a grinding or buzzing sound. Similarly, the bearings that support the fan's rotating shaft can wear down over time, causing squeaking or scraping noises.
Another part that often contributes to noise is the blades. As they age, they may develop cracks or become imbalanced, leading to a wobbling motion that generates noise when the fan is in operation. Additionally, loose or deteriorating mounting hardware can cause the fan to vibrate and produce rattling sounds.
To address the issue of aging or worn-out parts, it's crucial to regularly inspect and maintain your ceiling fan. This includes lubricating the motor, tightening loose screws and fittings, and replacing any damaged or imbalanced blades. By taking these proactive measures, you can extend the lifespan of your ceiling fan and enjoy a quieter and more efficient cooling experience.
Frequently Asked Questions
How Can I Tell if the Screws or Connections on My Ceiling Fan Are Loose or Damaged?
When it comes to ceiling fan maintenance and troubleshooting, checking for loose or damaged screws and connections is essential.
To determine if this is the cause of any noise, we can conduct a thorough inspection.
Start by turning off the fan and examining the screws and connections for any signs of looseness, rust, or damage.
A wobbly or noisy fan can often be fixed by tightening or replacing these components.
Are There Any Signs That the Motor Bearings on My Ceiling Fan Are Worn Out or Damaged?
There are several signs that indicate worn out or damaged motor bearings in a ceiling fan.
These signs include excessive noise, such as grinding or squeaking sounds, as well as vibrations coming from the fan.
Additionally, if the fan starts to wobble or shake, it could be a sign of damaged motor bearings.
It's important to address these issues promptly to prevent further damage and ensure the smooth operation of your ceiling fan.
What Should I Do if the Fan Blades on My Ceiling Fan Are Misaligned?
When the fan blades on our ceiling fan become misaligned, it can cause noisy operation and decreased efficiency.
To troubleshoot this issue, we should first turn off the fan and inspect the alignment of the blades. If they're misaligned, we can gently bend them back into place using our hands or a blade balancing kit.
Regular ceiling fan maintenance, including checking and adjusting blade alignment, can help prevent noise and ensure optimal performance.
How Can I Determine if the Fan Blades on My Ceiling Fan Are Bent or Warped?
Determining fan balance is crucial for maintaining the optimal performance of your ceiling fan. Regular maintenance is essential in identifying if the fan blades are bent or warped.
Inspecting the blades for any signs of damage, such as visible cracks or irregularities, can help you determine their condition. Bent or warped blades can cause imbalance and result in noise during operation.
What Steps Should I Take to Prevent Dust and Debris Accumulation on My Ceiling Fan?
To prevent dust and debris accumulation on our ceiling fan, we should regularly clean and maintain it.
Some cleaning techniques we can employ include using a soft cloth or duster to wipe the blades, vacuuming the fan to remove any loose dirt, and using a mild detergent solution to clean stubborn stains.
Is a Slow Ceiling Fan Causing It to Make Noise?
A slow ceiling fan can produce noise for various reasons. One of the common reasons for slow fan noise is the accumulation of dust and dirt on the blades or in the motor. Another reason for slow fan noise can be loose screws or faulty installation. Regular maintenance can help mitigate these issues.
Conclusion
In conclusion, the mystery of the noisy ceiling fan has been unraveled.
From loose screws and worn-out motor bearings to misaligned or warped blades, various factors can contribute to the annoying noise.
Dust and debris accumulation, vibrating down rods, inadequate lubrication, and electrical interference can also play a part.
So, if your ceiling fan is making strange noises, it's time to investigate and address these issues.
Enjoy a peaceful and quiet breeze once again!
- About the Author
- Latest Posts
Introducing Ron, the home decor aficionado at ByRetreat, whose passion for creating beautiful and inviting spaces is at the heart of his work. With his deep knowledge of home decor and his innate sense of style, Ron brings a wealth of expertise and a keen eye for detail to the ByRetreat team.
Ron’s love for home decor goes beyond aesthetics; he understands that our surroundings play a significant role in our overall well-being and productivity. With this in mind, Ron is dedicated to transforming remote workspaces into havens of comfort, functionality, and beauty.
Garage Door Opener
Wiring Your Liftmaster Garage Door Opener: 3 Easy Steps
Uncover the secrets to effortlessly wiring your Liftmaster garage door opener with finesse, ensuring a secure and functional setup that you won't want to miss.

Let’s discuss the important process of making sure your Liftmaster garage door opener is correctly connected with precision. By following these simple steps, you can effectively handle the wiring of your system.
Curious about how to seamlessly integrate your garage door opener into your home? Stay tuned as we navigate through the crucial steps together, demystifying the process for a secure and functional setup that you won't want to miss.
Key Takeaways
- Properly wire power supply to opener terminals for electrical connection.
- Connect control panel to opener with correct wire placement for functionality.
- Install safety sensors across from each other and connect to opener securely.
- Maintain remote control functionality and opener longevity through regular checks and lubrication.
Wiring the Power Source
To wire the power source for your Liftmaster garage door opener, connect the designated power source wires to the specified terminals on the opener, ensuring proper polarity by matching positive and negative terminals securely using a screwdriver.
Begin by identifying the power supply wires coming from the electrical outlet. Strip the insulation at the ends of the wires to expose the conductive material.
Next, locate the screw terminals on the garage door opener, usually found near the mounting bracket. Insert the positive wire into the corresponding positive terminal, ensuring a snug fit. Repeat the process for the negative wire, inserting it into the negative terminal.
Use the screwdriver to tighten the screws, securing the wires in place. Double-check the connections to guarantee no loose wires that could lead to malfunctions. Confirm the voltage requirements of the garage door opener match those of the power supply to prevent damage.
This meticulous approach ensures a safe and efficient power supply for your garage door opener.
Connecting the Control Panel

Mount the control panel of your Liftmaster garage door opener within sight of the door for convenient access and operational efficiency. When connecting the control panel, ensure proper polarity of the wires to guarantee functionality.
Here are essential steps to follow:
- Secure Mounting: Attach the control panel securely to the wall to prevent any unwanted movement during operation.
- Wiring: Run the wires from the control panel to the garage door opener and connect them to the designated terminals following the manufacturer's instructions.
- Warning Placard: Affix the warning placard near the control panel as a safety reminder for users interacting with the garage door opener.
Proper installation of the control panel is crucial for the overall performance of your Liftmaster garage door opener. By following these steps diligently, you can ensure a smooth and efficient operation of your garage door system.
Securing Safety Sensors
When securing safety sensors for your Liftmaster garage door opener, ensure precise alignment and proper wiring to guarantee optimal functionality and safety. The sensors, crucial for detecting obstacles in the path of the garage door, work by transmitting an invisible light beam.
Start by mounting the sensors across from each other on the wall, using the provided mounting brackets. It's essential to align the sensors correctly to ensure the invisible light beam path is unobstructed. Use staples to secure the sensor wiring along the wall, keeping it neat and out of the way.
When wiring, connect the sensor wires to the appropriate terminals on the Liftmaster garage door opener, following the manufacturer's safety guidelines. Remember always to disconnect the power to the opener before installation to prevent any accidents.
Frequently Asked Questions
How Do I Connect My Liftmaster Garage Door Opener?
To connect your Liftmaster garage door opener, follow these steps:
- Locate and identify the terminals on the opener connected to the wall button, typically labeled 1 and 2.
- Using a screwdriver, release the push-type terminals and securely insert the stripped ends of hookup wires.
- Connect the wires from the wall button to the designated terminals on the garage door motor unit.
- Ensure proper wire management by securing and hiding the wires to avoid interference with the door's operation.
How Many Wires Do You Need for a Garage Door Opener?
When setting up a garage door opener, we typically require a minimum of 2 wires for standard functionality. However, some advanced models might necessitate extra wires for specific features.
These wires establish the connection between the control panel/remote and the opener motor, enabling signal transmission for door operation.
Ensuring proper wiring is crucial for optimal performance of your Liftmaster garage door opener.
How Do You Wire a Push Button Garage Door Opener?
When wiring a push button garage door opener, we start by identifying the terminals on the opener that connect to the push button.
Using a screwdriver, we release and insert the stripped ends of hookup wires into the designated terminals on the motor unit.
We then ensure a secure connection by twisting and fastening the wires.
Proper wire routing is crucial to prevent interference with the garage door's operation.
How to Program the Garage Door Opener in Your Car in 3 Easy Steps?
When programming your garage door opener in your car, locate the 'Learn' button on the opener motor unit. Press and release it, then swiftly return to your car to hold the desired button for programming. Wait for the light to flash or hear two clicks to confirm.
Test the button to ensure successful programming.
These steps are essential for seamless operation of your Liftmaster system.
Conclusion
In conclusion, wiring your Liftmaster garage door opener is as simple as connecting the dots. Just like a skilled electrician effortlessly navigates a circuit board, you can confidently wire your opener with ease.
By following the three easy steps outlined, you'll have your garage door opener up and running smoothly in no time.
So, grab your tools and get ready to bring power to your garage door with precision and confidence.
- About the Author
- Latest Posts
Introducing Ron, the home decor aficionado at ByRetreat, whose passion for creating beautiful and inviting spaces is at the heart of his work. With his deep knowledge of home decor and his innate sense of style, Ron brings a wealth of expertise and a keen eye for detail to the ByRetreat team.
Ron’s love for home decor goes beyond aesthetics; he understands that our surroundings play a significant role in our overall well-being and productivity. With this in mind, Ron is dedicated to transforming remote workspaces into havens of comfort, functionality, and beauty.
Garage Door Opener
Choosing the Right Size Battery for Your Garage Door Opener
Find out why selecting the perfect battery size for your garage door opener is crucial for avoiding disruptions and ensuring smooth operation.

We’ve all experienced it – 70% of garage door opener malfunctions are caused by battery problems. Choosing the correct size battery is crucial for smooth operation.
But how do you know which battery is the perfect fit for your opener? Let's shed light on this essential aspect to keep your garage running smoothly and avoid unexpected disruptions.
Key Takeaways
- Consider manufacturer's voltage requirements for optimal performance.
- Choose the correct battery size for longer opener lifespan.
- Rechargeable batteries offer cost-effectiveness and consistent power.
- Adhere to manufacturer's recommendations for efficient operation.
Factors to Consider When Choosing Battery Size
When selecting the appropriate battery size for your garage door opener, it's crucial to carefully consider the voltage requirements specified by the manufacturer. Adhering to the manufacturer's recommendations ensures that the battery size is compatible with your garage door opener, providing the necessary power source for optimal performance. Choosing the correct battery size not only allows for efficient operation but also contributes to a longer lifespan for your garage door opener.
Opting for a rechargeable battery can be a practical choice, offering the advantage of being reusable and environmentally friendly. Rechargeable batteries provide a cost-effective solution in the long run, as they can be recharged multiple times before needing replacement. Additionally, they often have a higher capacity compared to disposable batteries, ensuring a consistent power supply to your garage door opener.
Types of Batteries for Garage Openers

For selecting the appropriate battery type for garage door openers, consideration of lithium, alkaline, and rechargeable options is essential based on their power characteristics and longevity.
When it comes to garage door opener batteries, here are the options to consider:
- Lithium Batteries: Known for their long-lasting power and reliability, lithium batteries are commonly used in garage door opener remote controls.
- Alkaline Batteries: Offering a non-rechargeable but reliable power source, alkaline batteries are another viable option for garage door openers.
- Rechargeable Batteries: Rechargeable options like nickel-cadmium (NiCd) and lithium-ion (Li-ion) provide sustainability and cost-effectiveness for long-term use in garage door openers.
- Manufacturer's Recommendations: Battery size and type depend on the specific brand and model of the garage door opener, so it's crucial to check the manufacturer's recommendations to ensure optimal performance and prevent malfunctions.
Popular Battery Brands for Openers
Among the array of battery brands available for garage door openers, Duracell stands out for its reputation of delivering enduring power and exceptional performance.
Known for their long-lasting power and reliable performance, Energizer batteries are a popular choice for various garage door opener models.
Panasonic batteries are recognized for their durability, reliability, and high energy output, making them a preferred option for many users.
Rayovac offers value for money with its combination of long-lasting performance and reliability, making it a top contender in the market of garage door opener batteries.
Eveready also provides dependable options for garage door opener batteries, ensuring consistent power and performance.
When choosing the right battery for your garage door opener, considering these popular brands can help you find the optimal balance between longevity, reliability, and performance for your specific needs.
How to Replace Garage Door Opener Battery

Having identified the specific battery type required for your garage door opener, the next step is to open the remote control cover correctly to access the battery compartment for replacement.
When replacing the battery for your garage door opener, follow these steps:
- Open the Cover: Gently slide the cover of the remote control in the direction indicated to reveal the battery compartment.
- Remove the Old Battery: Carefully take out the old battery by pushing it gently from the sides to release it from the connectors.
- Insert the New Battery: Place the new battery in the compartment, ensuring the correct orientation as per the markings inside.
- Close the Cover: Once the new battery is securely in place, slide the cover back onto the remote control until it clicks shut.
Troubleshooting Tips for Battery Issues
To troubleshoot battery issues with your garage door opener, we recommend conducting a thorough inspection of the battery compartment and connections. Start by checking the brand and model of your garage door opener remote to determine the correct battery type needed for replacement. It's crucial to use the specific battery number designated by the manufacturer to prevent compatibility problems with your garage door opener.
If necessary, refer to the owner's manual or open the transmitter to identify the exact battery required for your remote control. Pay attention to any colored smart buttons on the remote, such as yellow ones for Security+ 2.0 models, which may indicate the particular battery type needed. Always ensure the proper functioning of your garage door opener remote by using the right battery number and avoiding substitutions to prevent any potential damage.
Frequently Asked Questions
What Size Battery Does My Garage Door Opener Take?
We must ascertain the specific battery size required by your garage door opener for optimal performance.
It's crucial to identify the manufacturer-specified battery number and the type indicated by the colored smart buttons on the remote control.
Accessing the battery compartment through the proper opening of the remote control cover is essential for replacement.
Ensuring the correct battery size will guarantee seamless operation of your garage door opener.
What Battery Is Best for Garage Door Opener?
We've found that longevity is crucial when selecting the best battery for a garage door opener, with lithium batteries lasting approximately 5 years.
It's vital to match the specific battery type recommended for your transmitter to avoid compatibility issues.
Do Garage Door Openers Need Special Batteries?
Yes, garage door openers do require special batteries. These batteries, like 3-volt lithium or 12-volt options, are crucial for reliable remote operation in various settings. Having the correct battery size is essential to prevent malfunctions and ensure smooth garage door operation.
Additionally, certain keypads and remote controls may need 9-volt batteries for backup power in keyless entry systems. Selecting the right size and type of battery is vital for consistent functionality.
What Battery Do I Need for Liftmaster Garage Door Opener?
We need a CR2016 or CR2032 3-volt lithium battery for our LiftMaster garage door opener.
It's crucial to check the model specifications for the correct battery type. Proper maintenance and timely battery replacement are essential for smooth operation.
Make sure to have the right battery on hand to avoid any disruptions in functionality.
Conclusion
In conclusion, selecting the appropriate battery size for your garage door opener is imperative for optimal performance. By considering factors such as capacity, lifespan, and voltage requirements, you can ensure smooth operation.
Choosing reputable brands like Duracell or Energizer and performing regular maintenance will further enhance reliability. Remember, a well-chosen battery can make all the difference between seamless functionality and unexpected disruptions.
Choose wisely for peace of mind.
- About the Author
- Latest Posts
Introducing Ron, the home decor aficionado at ByRetreat, whose passion for creating beautiful and inviting spaces is at the heart of his work. With his deep knowledge of home decor and his innate sense of style, Ron brings a wealth of expertise and a keen eye for detail to the ByRetreat team.
Ron’s love for home decor goes beyond aesthetics; he understands that our surroundings play a significant role in our overall well-being and productivity. With this in mind, Ron is dedicated to transforming remote workspaces into havens of comfort, functionality, and beauty.
Garage Door Opener
Cost-Effective LiftMaster Garage Door Opener Options
Get ready to explore cost-effective LiftMaster garage door opener options that offer a perfect blend of affordability and functionality, unlocking hidden treasures for your garage needs.

When considering cost-effective LiftMaster garage door openers, it can feel like navigating a maze full of hidden treasures just waiting to be discovered.
From the sturdy chain drive models to the sleek belt-operated ones and the space-saving wall-mounted units, each offers a unique blend of affordability and functionality.
But how do you determine which one strikes the perfect balance between cost and features?
Let's explore the key factors that could influence your decision and help you find the ideal LiftMaster opener for your garage needs.
Key Takeaways
- LiftMaster offers cost-effective chain drive openers with myQ technology and battery back-up.
- Affordable belt drive models provide smooth, quiet operation with steel-reinforced rubber belts.
- Wall-mount openers offer space-saving solutions with WiFi connectivity and automatic door lock.
- LiftMaster openers feature built-in WiFi, various drive systems, warranties, and compatibility with accessories.
LiftMaster Chain Drive Opener Prices
Have you considered the cost-effective LiftMaster chain drive opener prices ranging from $200 to $400 for your garage door needs? When it comes to finding a reliable and smart solution for your garage, the LiftMaster Chain Drive Garage Door Opener offers a range of features at accessible prices. Equipped with myQ technology, these openers allow you to control your garage door from anywhere using your smartphone. The convenience doesn't stop there – within this price range, you can choose from various motor options to suit your specific requirements.
In addition to the advanced technology, LiftMaster chain drive openers come with valuable features such as battery back-up systems, built-in lighting for added security, and warranties for peace of mind. Whether you're looking for a basic model or one with all the bells and whistles, LiftMaster offers a range of options that cater to different budgets and preferences. Upgrade your garage door opener to a smart and efficient solution without breaking the bank.
LiftMaster Belt Drive Opener Costs

Considering the affordability of LiftMaster chain drive opener prices, let's now explore the cost-effective range of LiftMaster belt drive opener options for your garage door needs. LiftMaster belt drive garage door openers typically range from $300 to $600, with popular models falling between $375 and $425, offering a balance of quality and affordability. These openers are renowned for their smooth and quiet operation, making them perfect for homes where noise reduction is essential. The steel-reinforced rubber belt ensures durability, and extension kits are available for 8 or 10-foot doors. Customers can rely on the reliable performance of LiftMaster belt drive garage door openers, all at a reasonable price point.
| Features | Description |
|---|---|
| Smooth and Quiet Operation | Ideal for noise reduction in residential settings |
| Steel Reinforced Rubber Belt | Ensures durability and longevity |
| Reliable Performance | Consistent operation you can count on |
LiftMaster Wall-Mount Opener Options
Exploring LiftMaster wall-mount opener options reveals premium solutions ideal for high or irregular ceilings, offering advanced features for enhanced control and security. When considering LiftMaster wall-mount openers, there are several key features to keep in mind:
- Direct Drive Operation: These openers operate without belts or chains, ensuring a smooth and quiet performance.
- WiFi Connectivity and Smart Technology: Enjoy advanced control and monitoring capabilities with options for connectivity to your smart devices.
- Automatic Door Lock: Enhance security with the automatic door lock feature, providing peace of mind when away from home.
- Space-Saving Installations in Residential Settings: Designed for convenience, these openers are ideal for saving space in residential garages, making them a practical choice for any home.
With prices ranging between $500-$600, LiftMaster wall-mount openers offer a reliable and efficient solution for those looking to optimize their garage door opener in unique ceiling situations while enjoying modern conveniences and enhanced security features.
LiftMaster Opener Features Overview

When moving on to discuss the 'LiftMaster Opener Features Overview,' it becomes evident that LiftMaster garage door openers offer a range of advanced features tailored to enhance convenience and security for users.
LiftMaster garage door openers are equipped with built-in WiFi, allowing for seamless operation through smart technology. With options like belt drive and chain drive systems, users can choose the mechanism that best suits their needs. Additionally, features such as battery back-up ensure that the opener functions even during power outages, providing peace of mind.
LiftMaster Garage Door Openers also come with innovative functions like automatic door lock and lifetime warranties, adding value to the user's investment. These openers can be further enhanced with accessories such as cameras, keypads, and motion alerts, offering added convenience and security.
With prices ranging from $200 to $600, LiftMaster provides cost-effective solutions for various budgets, making them a practical choice for those seeking reliable and feature-rich garage door openers.
Garage Door Opener Buying Tips
To make an informed decision when buying a garage door opener, it's essential to consider factors such as budget, required features, and installation requirements. When shopping for a garage door opener, keep in mind the following tips:
- Types of Garage Door Openers: Explore options like chain drive models for affordability or belt-operated models for a balance of quality and cost.
- Smart Home Integration: Consider smart-enabled devices that can be controlled through the LiftMaster myQ app for added convenience.
- Installation Requirements: Evaluate whether you need a wall-mounted opener for space-saving solutions.
- Material Preferences: Decide between a metal chain or a rubber belt based on noise levels and durability.
Frequently Asked Questions
What Is the Average Price of a Liftmaster Garage Door Opener?
We found that the average price of a LiftMaster garage door opener can range between $200 to $1,000.
Basic chain drive models start around $200, while advanced belt-operated ones go up to $600.
Wall-mounted direct drive openers can cost from $400 to $800, and smart-enabled models with WiFi features may range from $400 to $1,000.
Prices vary based on horsepower, additional features, and user preferences.
What Is the Best Liftmaster Garage Door Opener for 2023?
We believe the best LiftMaster garage door opener for 2023 is the LiftMaster Wall Mount Garage Door Opener. Priced between $500-$600+, this model offers premium features like automatic door lock, WiFi, and Smart technology.
It's a top pick for homeowners seeking advanced functionalities. With its innovative design and reliable performance, the LiftMaster Wall Mount Garage Door Opener stands out as a cutting-edge choice for modern garage automation needs.
Which Is a Better Garage Door Opener Genie or Liftmaster?
When comparing Genie and LiftMaster garage door openers, we prefer LiftMaster for its durability, reliability, and advanced security features.
While Genie may seem more budget-friendly initially, LiftMaster's long-term performance and compatibility with smart home systems make it the superior choice.
For enhanced safety and convenience, LiftMaster stands out with its solid warranties and smart technology integration.
What Is the Average Life of a Liftmaster Garage Door Opener?
We've got the scoop on the average lifespan of a LiftMaster garage door opener! These durable and reliable openers typically last around 10-15 years with regular maintenance.
Proper installation and periodic servicing can even extend their longevity. Factors like usage frequency, environmental conditions, and maintenance practices play a role in how long they'll last.
Investing in a quality LiftMaster opener can be a smart choice due to its extended lifespan.
Conclusion
In conclusion, when it comes to cost-effective garage door opener options, LiftMaster offers a range of models to suit different needs and budgets.
Whether you're looking for a chain drive, belt drive, or wall-mount opener, LiftMaster has you covered with features like WiFi connectivity, Smart technology, and battery backups.
Investing in a LiftMaster opener is like having a reliable guardian for your garage, providing security and peace of mind like a trusty shield.
- About the Author
- Latest Posts
Introducing Ron, the home decor aficionado at ByRetreat, whose passion for creating beautiful and inviting spaces is at the heart of his work. With his deep knowledge of home decor and his innate sense of style, Ron brings a wealth of expertise and a keen eye for detail to the ByRetreat team.
Ron’s love for home decor goes beyond aesthetics; he understands that our surroundings play a significant role in our overall well-being and productivity. With this in mind, Ron is dedicated to transforming remote workspaces into havens of comfort, functionality, and beauty.
-

 Decor1 week ago
Maximalist Decor Explained: Embrace More Style
-

 Vetted4 weeks ago
15 Best Drip Irrigation Systems to Keep Your Garden Thriving
-

 Vetted2 weeks ago
15 Best Foot Massagers for Neuropathy to Soothe Your Feet and Relieve Discomfort
-

 Vetted3 weeks ago
15 Best Sports Laundry Detergents for Keeping Your Activewear Fresh and Clean
-

 Vetted3 weeks ago
15 Best Tall Toilets for Seniors That Combine Comfort and Safety
-

 Vetted3 weeks ago
15 Best Dish Scrubbers to Keep Your Kitchen Sparkling Clean
-

 Decor3 weeks ago
What Is Eclectic Home Decor
-

 Vetted4 days ago
15 Best Organic Pest Control Solutions for a Naturally Pest-Free Home


