Decor
What Are the Different Types of Home Decor Styles
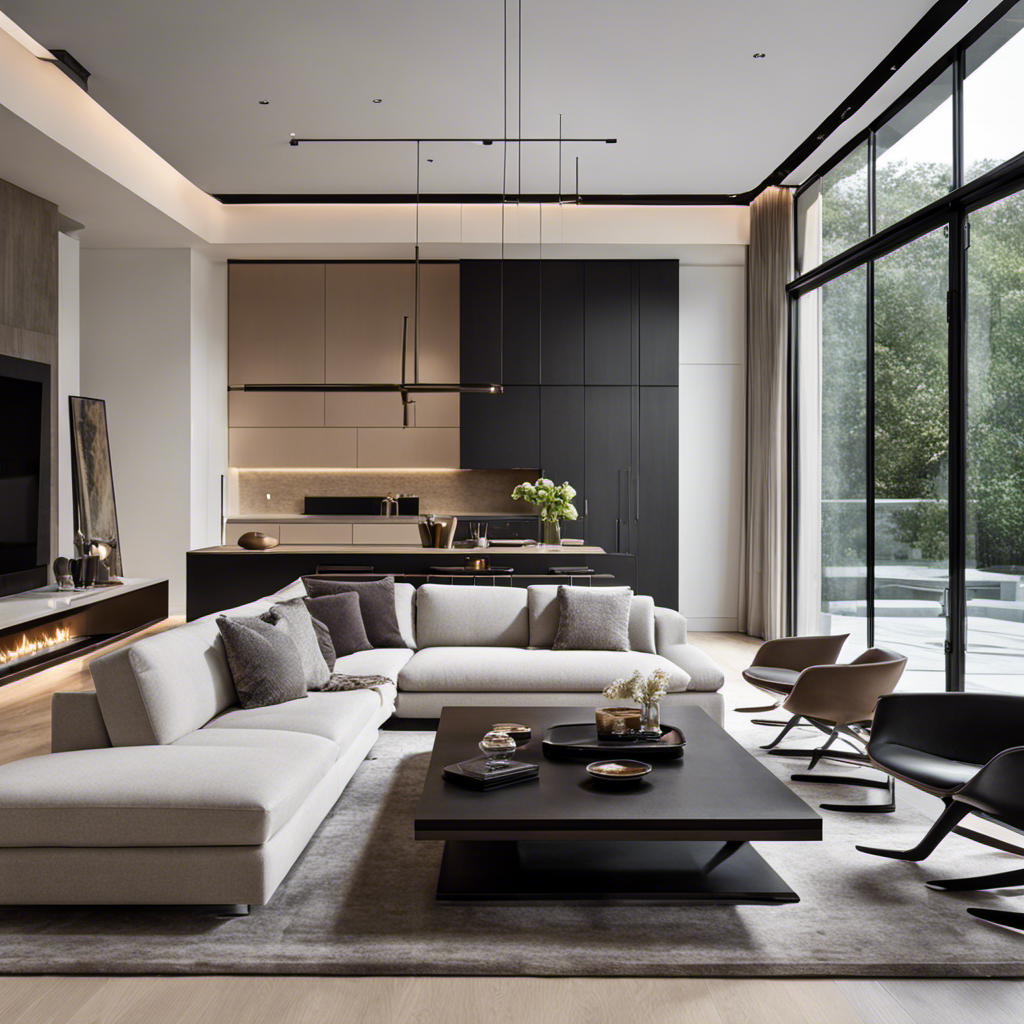
Step into the world of home decor and discover the myriad of styles that await you.
From the sleek simplicity of minimalist design to the timeless elegance of traditional, there is a style that speaks to your unique taste.
Uncover the secrets of bohemian charm, the Scandinavian allure, and the rugged beauty of industrial.
Embrace the warmth of farmhouse, the creativity of eclectic, and the sophistication of contemporary.
Let us guide you through the fascinating journey of vintage treasures and help you find the perfect style to make your home truly yours.
Key Takeaways
- Minimalist Home Decor Style: Focus on decluttering and creating a calm and spacious atmosphere through neutral colors, multifunctional furniture, and minimal statement pieces.
- Traditional Home Decor Style: Incorporate classic furniture, rich color palettes, rustic wooden elements, and a mix of sleek and clean-lined pieces.
- Bohemian Home Decor Style: Embrace vibrant colors, eclectic patterns, natural materials, and showcase self-expression through art and collectibles.
- Colorful and Eclectic Decor: Mix vibrant hues and patterns, experiment with floral prints and geometric shapes, layer textures, and create a visually stimulating environment that reflects your unique style and personality.
Minimalist Home Decor Style
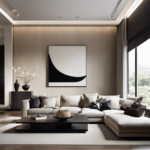
If you want to create a sleek and clutter-free space, minimalist home decor style is perfect for you. With minimalist home decor, less is more. Here are some tips on how to create a minimalist home on a budget.
Start by decluttering your space. Get rid of anything that doesn’t serve a purpose or bring you joy. Keep only the essentials and focus on quality over quantity.
Choose a neutral color palette to create a sense of calm and simplicity. Whites, grays, and earth tones work well in a minimalist home.
Invest in multifunctional furniture to maximize space and minimize clutter. Look for pieces that have hidden storage or can be easily folded and stored away.
When it comes to accessories, less is more. Opt for a few statement pieces rather than filling your space with knick-knacks.
Transitioning to a traditional home decor style, you can bring in more ornate furniture and accessories while still maintaining a clutter-free and organized space.
Traditional Home Decor Style
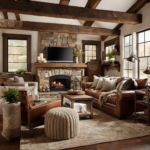
You can easily achieve a traditional home decor style by incorporating classic furniture pieces and rich, warm color palettes. Traditional decor is all about creating a cozy and inviting atmosphere that exudes elegance and timelessness.
Think of rustic wooden furniture, plush upholstery, and intricate details like crown molding and ornate chandeliers. To add a touch of modernity to this style, you can mix in some sleek and clean-lined pieces that complement the traditional elements. Opt for neutral tones, such as creams, beiges, and browns, for your walls and use pops of color through accessories like throw pillows and curtains.
Transitioning into the next section about bohemian home decor, you’ll find that it offers a more eclectic and free-spirited approach to home styling.
Bohemian Home Decor Style
When it comes to bohemian home decor style, get ready to embrace a world of vibrant colors and eclectic patterns that will transport you to a free-spirited paradise.
This style is all about mixing and matching different elements to create a unique and personalized space that reflects your individuality.
Natural materials like rattan, jute, and macrame are key players in achieving the bohemian look, adding a touch of texture and earthiness to your home.
And above all, bohemian style is a celebration of self-expression, allowing you to showcase your personality through art, collectibles, and meaningful objects that tell your story.
Colorful and Eclectic
To achieve a colorful and eclectic home decor style, consider mixing vibrant hues and combining various patterns for a unique and lively atmosphere. Incorporating bold patterns and mixing different textures are key elements to creating this vibrant look.
Start by selecting a color palette that consists of bright and bold shades, such as deep blues, vibrant yellows, and rich purples. Experiment with mixing patterns like floral prints, geometric shapes, and abstract designs to add visual interest to your space.
Don’t be afraid to layer textures, such as velvet, linen, and faux fur, to create depth and dimension. By incorporating these elements, you can create a visually stimulating and dynamic environment that reflects your unique style and personality.
As you explore the use of colorful and eclectic decor, you will find that natural materials and textures also play a significant role in creating a harmonious and inviting space.
Natural Materials and Textures
Incorporate natural materials and textures like wood, stone, and jute to add warmth and organic elements to your space. By incorporating these natural elements in your home decor, you can create a cozy and inviting atmosphere that connects you with nature. Natural materials not only bring a sense of calm and tranquility, but they also add depth and character to your space. To help you visualize the possibilities, here is a table showcasing some popular natural materials and textures you can incorporate into your home decor:
| Natural Materials | Natural Textures |
|---|---|
| Wood | Burlap |
| Stone | Wicker |
| Jute | Rattan |
| Bamboo | Linen |
Now that you have some ideas for incorporating natural elements, let’s explore how you can emphasize self-expression in your home decor.
Emphasis on Self-Expression
Let’s explore how you can add a personal touch to your home decor by emphasizing self-expression.
Personal style plays a significant role in creating a space that truly feels like your own. By incorporating unique elements into your home decoration, you can showcase your individuality and create a space that reflects your personality and interests.
Importance of personal style in home decor cannot be overstated. It allows you to break away from conventional norms and create a space that is truly one-of-a-kind. Whether it’s through artwork, furniture, or accessories, incorporating unique elements into your home decor is key to creating a space that feels authentic to you.
Scandinavian Home Decor Style
Are you looking to create a serene and clutter-free space in your home? Then, let’s delve into the world of Scandinavian home decor style and explore the key principles that make it so popular.
Get ready to embrace minimalist design principles that focus on simplicity, functionality, and clean lines.
Discover the beauty of natural materials and textures, as they bring warmth and a sense of calmness to your living space.
Minimalist Design Principles
Minimalist design principles focus on simplicity and decluttering, creating a clean and serene environment in your home. By embracing minimalist design, you can reap numerous benefits.
One of the main advantages is that it reduces stress and promotes a sense of calmness. With fewer items and distractions in your space, you can focus on what truly matters.
In addition, minimalist design can make your home feel more spacious, even if you have limited square footage. By eliminating excess furniture and unnecessary decorations, you create an open and airy atmosphere.
Minimalist design can also save you time and money, as you no longer need to spend hours cleaning and organizing, or constantly buying new things.
Now, let’s explore the next section about natural materials and textures, which will add warmth and character to your minimalist space.
Natural Materials and Textures
Using natural materials and textures in your space can create a warm and inviting atmosphere. When it comes to home decor, there is a wide range of materials to choose from.
Natural materials such as wood, stone, and cotton have a timeless appeal and add a sense of authenticity to your space. Unlike synthetic materials, natural ones have a unique character and can bring a touch of nature indoors.
Incorporating natural textures, like a woven rug or a knitted throw, can add depth and visual interest to your room. These textures create a tactile experience and make your space feel cozy and welcoming.
Transitioning into the next section about the ‘industrial home decor style’, you can also explore the use of raw and unfinished materials to achieve an edgy and modern look.
Industrial Home Decor Style
The industrial home decor style combines raw and rugged elements with modern design elements. It is a unique fusion that creates a distinctive and edgy look for your living space. Here are five key elements that define the industrial home decor style:
-
Industrial Lighting: Incorporate exposed light bulbs, metal pendant lights, and vintage industrial fixtures to add a touch of authenticity and character to your space.
-
Repurposed Furniture: Utilize old factory carts, reclaimed wood tables, and metal chairs to bring a sense of history and industrial charm to your home.
-
Exposed Brick Walls: Leave your brick walls bare, showcasing their natural texture and adding an urban feel to the space.
-
Metal Accents: Incorporate metal accents such as steel shelving units, iron decor pieces, and metal-framed mirrors to add an industrial touch.
-
Concrete Floors: Opt for polished concrete floors to enhance the industrial aesthetic while also providing durability and easy maintenance.
With its rugged appeal and modern elements, the industrial home decor style offers a unique and captivating look for your living space.
Now, let’s explore the coastal home decor style, which embraces a more relaxed and beachy vibe.
Coastal Home Decor Style
Now that you’ve explored the rugged charm of industrial home decor, let’s set sail to the tranquil shores of the coastal home decor style.
Picture yourself lounging by the beach, with the soft sound of waves crashing against the shore. Coastal home decor aims to bring that sense of calm and relaxation into your home.
The color schemes are inspired by the ocean, with soothing blues, sandy neutrals, and crisp whites dominating the palette. Furniture designs often feature natural materials like rattan, wicker, and reclaimed wood, evoking a sense of coastal living.
Whether you live by the sea or not, coastal home decor can transport you to a serene coastal retreat.
Now, let’s dive into the next section and explore the captivating world of mid-century modern home decor style.
Mid-Century Modern Home Decor Style
When it comes to Mid-Century Modern home decor style, there are a few key characteristics that define this iconic design aesthetic. From sleek lines and organic shapes to bold colors and a focus on functionality, Mid-Century Modern effortlessly blends form and function.
Some popular Mid-Century Modern pieces include the Eames Lounge Chair, the Noguchi coffee table, and the Saarinen Tulip table. If you’re looking to incorporate Mid-Century Modern elements into your own home, consider adding vintage furniture, geometric patterns, and minimalist accessories to create a timeless and stylish space.
Key Characteristics of Mid-Century Modern
One of the key characteristics of Mid-Century Modern is its emphasis on simplicity and functionality. This design style emerged in the mid-20th century and continues to be popular today. When it comes to Mid-Century Modern home decor, there are a few key elements that help to define the style.
| Key Elements | Description |
|---|---|
| Clean lines | Mid-Century Modern furniture often features straight, sleek lines that create a sense of simplicity and elegance. |
| Organic shapes | Curved and organic shapes can be found in Mid-Century Modern pieces, adding a touch of visual interest. |
| Natural materials | Wood, leather, and other natural materials are commonly used in Mid-Century Modern furniture, giving it a warm and timeless appeal. |
| Iconic furniture | Mid-Century Modern is known for its iconic furniture designs, such as the Eames Lounge Chair and the Saarinen Tulip Table. |
These key elements, along with iconic furniture pieces, contribute to the distinctive look and feel of Mid-Century Modern home decor. Transitioning into the subsequent section, let’s explore some popular Mid-Century Modern pieces that can elevate your home’s style.
Popular Mid-Century Modern Pieces
Let’s take a look at some popular Mid-Century Modern pieces that can elevate your home’s style.
When it comes to popular mid-century modern furniture, there are a few iconic mid-century modern designers that stand out. One of them is Charles and Ray Eames, known for their innovative designs and use of materials like molded plywood and fiberglass. Their lounge chair and ottoman are timeless classics that exude both comfort and style.
Another notable designer is George Nelson, who created the famous Bubble Lamps that add a touch of whimsy to any space. And let’s not forget about the sleek and minimalist designs of Florence Knoll and her iconic sofas and tables.
Incorporating mid-century modern elements into your home will add a touch of sophistication and timelessness to your overall decor.
Incorporating Mid-Century Modern Elements
To incorporate mid-century modern elements into your space, start by selecting furniture and decor that feature clean lines and organic shapes. Mid-century modern design is known for its simplicity and functionality, so opt for pieces that have a timeless appeal. Incorporating vintage elements is a great way to add character and warmth to your modern space. Blend modern and traditional styles by pairing sleek mid-century furniture with vintage accessories like a retro record player or a classic rotary phone. To help you visualize the possibilities, here’s a table showcasing some key elements of mid-century modern design:
| Clean Lines | Organic Shapes | Vintage Accessories |
|---|---|---|
| Minimalist | Curved | Retro Record Player |
| Sleek | Geometric | Classic Rotary Phone |
| Streamlined | Abstract | Vintage Clock |
Now that you have a sense of how to incorporate mid-century modern elements, let’s transition into the next section about the farmhouse home decor style.
Farmhouse Home Decor Style
If you want to create a cozy and rustic atmosphere in your home, farmhouse home decor style is perfect for you. Farmhouse kitchen decor and rustic farmhouse furniture are key elements in achieving this charming and timeless look.
To create a farmhouse kitchen, opt for open shelving made from reclaimed wood, vintage-inspired appliances, and a farmhouse sink. Add warmth with rustic farmhouse furniture, such as a distressed wooden dining table and mismatched chairs. Incorporate natural elements like exposed brick walls or shiplap paneling to enhance the farmhouse aesthetic. Layer in cozy textiles like plaid or gingham patterns for curtains and throw pillows.
By combining these elements, you can create a farmhouse home decor style that exudes warmth and simplicity.
Now, let’s transition to the next section about eclectic home decor style.
Eclectic Home Decor Style
So, you’ve mastered the farmhouse home decor style, but now you’re yearning for something a little more exciting, a little more unexpected. Welcome to the world of eclectic home decor! This style is all about embracing your unique personality and mixing patterns and colors in a way that reflects your individual taste.
Here’s how to achieve the eclectic look:
-
Mix and match patterns: Don’t be afraid to pair bold stripes with quirky florals or geometric prints with animal motifs. The key is to find a common color scheme to tie everything together.
-
Embrace an eclectic color palette: Think outside the box and experiment with vibrant hues, unexpected combinations, and pops of color.
-
Incorporate vintage and modern pieces: Eclectic style is all about blending old and new. Pair a vintage velvet sofa with a contemporary coffee table for an interesting juxtaposition.
-
Showcase your collections: Whether it’s vintage books, antique trinkets, or quirky artwork, display your personal treasures to add character and charm to your space.
Now that you’ve mastered the art of eclectic home decor, let’s explore the contemporary style.
Contemporary Home Decor Style
Now let’s dive into the world of contemporary home decor style. This style is all about embracing simplicity and clean lines while incorporating elements of modern design.
Contemporary minimalist design is at the heart of this aesthetic, with a focus on open spaces and clutter-free environments. However, contemporary home decor also allows for some artistic expression, which can be seen in the blending of traditional bohemian style.
Think vibrant patterns, rich textures, and eclectic accents that add a touch of warmth and personality to the space. It’s a perfect balance of contemporary sophistication and bohemian charm.
As we transition into the next section about vintage home decor style, get ready to explore a world filled with nostalgia and timeless beauty.
Vintage Home Decor Style
Take a step back in time with vintage home decor style. Embrace the charm of bygone eras and create a nostalgic atmosphere in your space.
Vintage-inspired color palettes play a crucial role in capturing the essence of this style. Think muted pastels, earthy tones, and rich jewel hues. These colors can transport you to the 1920s with their Art Deco elegance or to the 1950s with their retro vibes.
To truly embody the vintage aesthetic, incorporating vintage furniture pieces is essential. Look for pieces with ornate details, curved lines, and distressed finishes. Don’t be afraid to mix and match different eras and styles to create a unique and eclectic space. From antique dressers to mid-century modern chairs, vintage furniture adds character and history to your home.
Frequently Asked Questions
How Can I Incorporate Minimalistic Home Decor Style Into a Small Space?
To incorporate minimalistic home decor into a small space, use these tips: prioritize functionality, declutter regularly, choose a neutral color palette, utilize hidden storage options, and embrace natural light. These techniques will create a cozy minimalist home while maximizing storage in your small space.
What Are Some Common Color Schemes Used in Traditional Home Decor Style?
Looking to add a pop of color to your traditional home decor style? Wondering how to create a cohesive color palette in your eclectic space? Discover the common color schemes used in different home decor styles.
Are There Any Specific Materials or Textures Commonly Used in Bohemian Home Decor Style?
Incorporate natural elements, textures, and patterns to create a bohemian home decor style. Use materials like rattan, jute, and macrame to add a touch of organic beauty. Mix vibrant colors and bold prints for an eclectic look.
What Are Some Key Elements to Achieve a Scandinavian Home Decor Style?
To achieve a Scandinavian home decor style, embrace simplicity and minimalism. Incorporate natural materials like wood and neutral colors like white and light gray. Use clean lines, functional furniture, and plenty of natural light to create a serene and cozy atmosphere.
How Can I Add an Industrial Touch to My Home Decor Without It Looking Too Harsh or Cold?
To add an industrial touch to your home decor without it looking too harsh or cold, focus on creating a cozy and warm atmosphere. Incorporate softness and texture through the use of warm lighting, plush textiles, and natural elements like wood and plants.
What Are the Popular Home Decor Styles Featured in Episodes of the Bachelor?
In recent episodes of the Bachelor, various popular home decor styles have been featured, showcasing a mix of modern, rustic, and bohemian decor in the bachelor episodes. Viewers have been treated to elegant furnishings, pristine white color schemes, and glam accents that reflect the contestants’ luxurious lifestyles.
Conclusion
As you delve into the world of home decor styles, you’ll be amazed by the vast array of options available to you. From the simplicity of Minimalist to the timeless elegance of Traditional, there is something to suit every taste.
If you crave a free-spirited atmosphere, the Bohemian style will enchant you, while the Scandinavian style offers clean lines and a cozy ambiance. For those who appreciate the raw beauty of exposed brick and metal, the Industrial style is a perfect match. If you long for a rustic charm, the Farmhouse style will bring warmth and comfort to your space.
The Eclectic style allows you to mix and match different elements, creating a truly unique and personalized look. Contemporary style offers sleek lines and modern aesthetics, while Vintage style brings a sense of nostalgia and history.
No matter which style you choose, your home will become a reflection of your personality and a sanctuary for your soul.
- About the Author
- Latest Posts
Introducing Ron, the home decor aficionado at ByRetreat, whose passion for creating beautiful and inviting spaces is at the heart of his work. With his deep knowledge of home decor and his innate sense of style, Ron brings a wealth of expertise and a keen eye for detail to the ByRetreat team.
Ron’s love for home decor goes beyond aesthetics; he understands that our surroundings play a significant role in our overall well-being and productivity. With this in mind, Ron is dedicated to transforming remote workspaces into havens of comfort, functionality, and beauty.
Decor
An Easy to Make Birds Nest
Delve into the world of DIY crafting and discover the simple yet captivating art of creating an authentic bird's nest from natural materials.
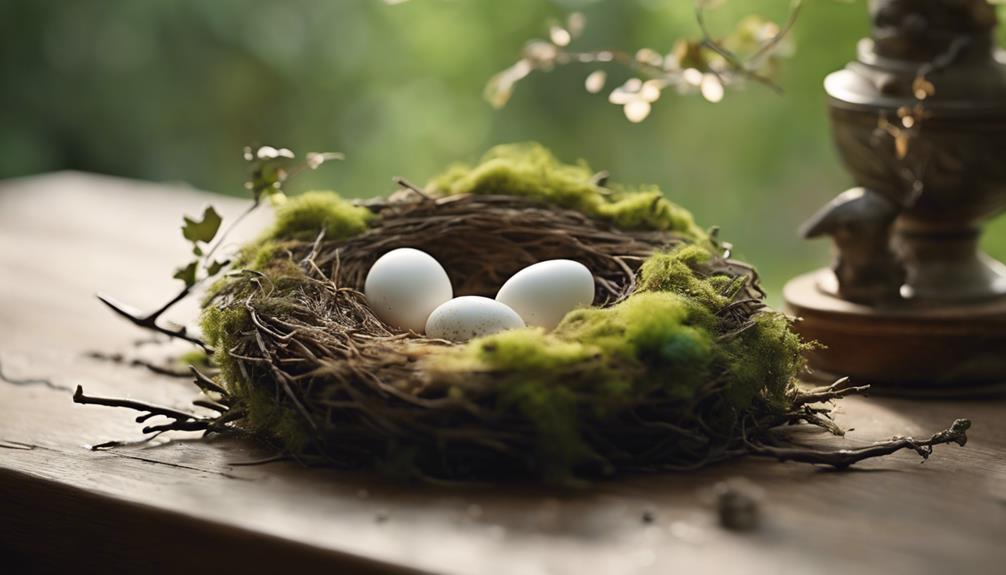
We're crafting an easy-to-make bird's nest using natural materials like dried grass, twigs, and moss, which can be found outdoors or purchased at craft stores. By gathering these materials responsibly, we can create a cozy and realistic bird's home. With some creative arrangement and shaping, we can build a sturdy nest structure, add decorative elements like eggs or feathers, and secure it with spray adhesive. With these simple steps, we can create a visually appealing and authentic bird's nest. And as we explore further, we'll uncover more tips and tricks to make our DIY project a true masterpiece.
Key Takeaways
• Gather natural materials like dried grass, twigs, and moss to create a cozy bird nest.
• Use a bowl as a mold and shape the nest structure with angel hair vine and thin wire.
• Secure the nest with hot glue and add moss for a natural look, then trim to desired size.
• Add decorative elements like plastic eggs, twigs, and green moss for a realistic appearance.
• Use spray adhesive to secure materials within the nest and finish with a professional touch.
Gathering Natural Materials
To guarantee success in creating a bird nest, it's crucial to venture into our backyards or local parks. We can start by collecting dried grass, twigs, and other natural materials that will form the foundation of our bird nest.
We're not limited to just these items, though – we can also consider collecting feathers, moss, and small leaves to add authenticity to our bird nest. If we can't find suitable natural materials outdoors, we can explore craft stores for pre-packaged natural materials like Spanish moss or preserved green moss.
Alternatively, we can use items like straw, hay, or shredded paper as alternative materials for crafting a bird nest. It's important to remember to gather materials responsibly and avoid disturbing natural habitats while collecting nesting materials. By doing so, we can make sure that our bird nest isn't only aesthetically pleasing but also environmentally friendly.
With our natural materials in hand, we're one step closer to creating a cozy bird nest that's perfect for our feathered friends.
Shaping the Nest Structure

As we move on to shaping the nest structure, we'll focus on three key points: forming the nest base, constructing the nest walls, and strategically placing nesting materials.
We'll explore how to create a sturdy foundation and walls that will hold the nest's shape, as well as how to thoughtfully arrange the materials to create a cozy and inviting space.
Nest Base Formation
We start shaping the nest structure by using a bowl as a mold to form the base of our bird's nest. This provides a sturdy foundation for our creation. Next, we wrap angel hair vine filler around the bowl to form the nest structure. The angel hair vine provides a natural, textured look to our nest.
| Material | Purpose | Quantity |
|---|---|---|
| Bowl | Mold for nest base | 1 |
| Angel hair vine | Filler for nest structure | 1 bundle |
| Thin wire | Securing sides of nest | 1 roll |
| Spanish moss | Adding natural look | 1 bag |
| Hot glue | Attaching Spanish moss | 1 gun |
We secure the sides of the nest with thin wire, ensuring our structure holds its shape. After removing the nest from the bowl, we trim it to the desired size. Finally, we add hot glue and Spanish moss inside the nest to give it a natural, cozy appearance. With these steps, we've successfully formed the base of our bird's nest.
Nest Wall Construction
With our nest base formed, we'll now shape the nest structure by wrapping the angel hair vine filler around the bowl, gradually building up the walls of our bird's nest.
We're basically constructing the nest wall, which is a vital part of creating a realistic birds nest. To achieve this, we'll use a combination of Spanish moss and vine filler to shape the nest structure.
As we wrap the vine filler around the bowl, we'll secure the sides of the nest with thin wire to maintain its shape. Once we're satisfied with the shape, we'll carefully remove the nest from the bowl.
Next, we'll trim the nest to give it a neat appearance and add hot glue to attach moss inside. This will make sure the moss stays in place and adds a natural touch to our bird's nest.
Nesting Material Placement
Now that our nest wall is securely shaped, let's focus on placing the nesting materials to create a cozy and inviting structure. To shape the nest structure, we'll use our hands to press and mold the nesting material, creating a sturdy and compact foundation.
Next, we'll create a shallow indentation in the center of the nest, providing a secure resting place for the eggs.
When layering the nesting materials, we'll do so strategically to achieve a natural and realistic look. We'll mix and match different textures and colors of nesting material to add visual interest and authenticity to our nest.
As we build, we'll make sure the nest structure remains sturdy and compact, capable of holding the eggs in place. By carefully placing each layer of nesting material, we'll create a snug and inviting space that mimics the natural world.
With a little patience and attention to detail, our bird's nest will be transformed into a cozy and inviting home for our feathered friends.
Adding Decorative Elements
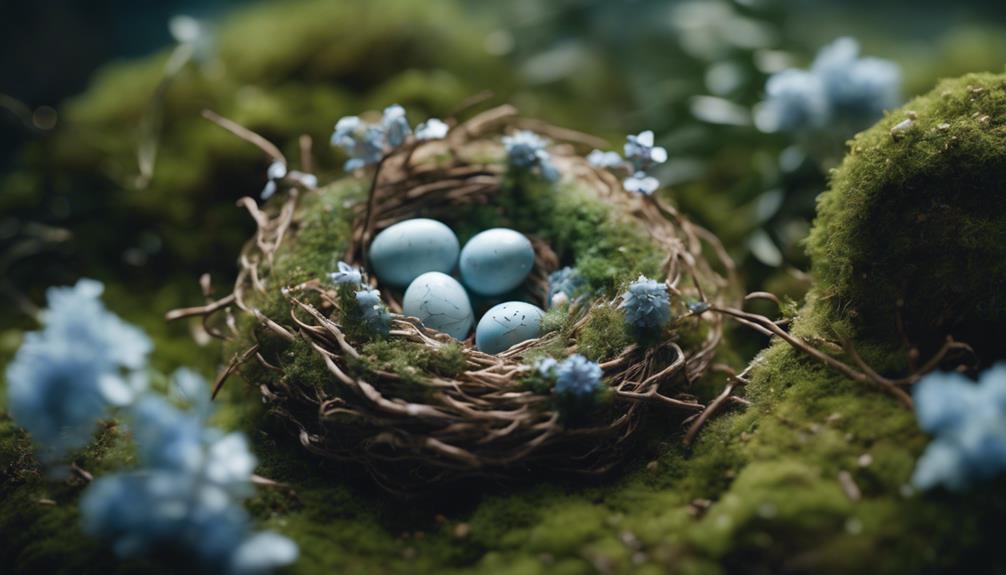
As we get creative with our bird's nest, let's enhance it with decorative elements that evoke a natural, outdoorsy feel. We want our bird nest to resemble those found in nature, so we'll add a little green moss, twigs, and other elements that make nests look authentic.
Here are some decorative elements we can consider:
- Adding plastic eggs or candy eggs to the nest for a festive touch
- Incorporating twigs or small branches to give the nest a realistic appearance
- Experimenting with different colors and textures to create a visually appealing bird nest
Securing With Spray Adhesive
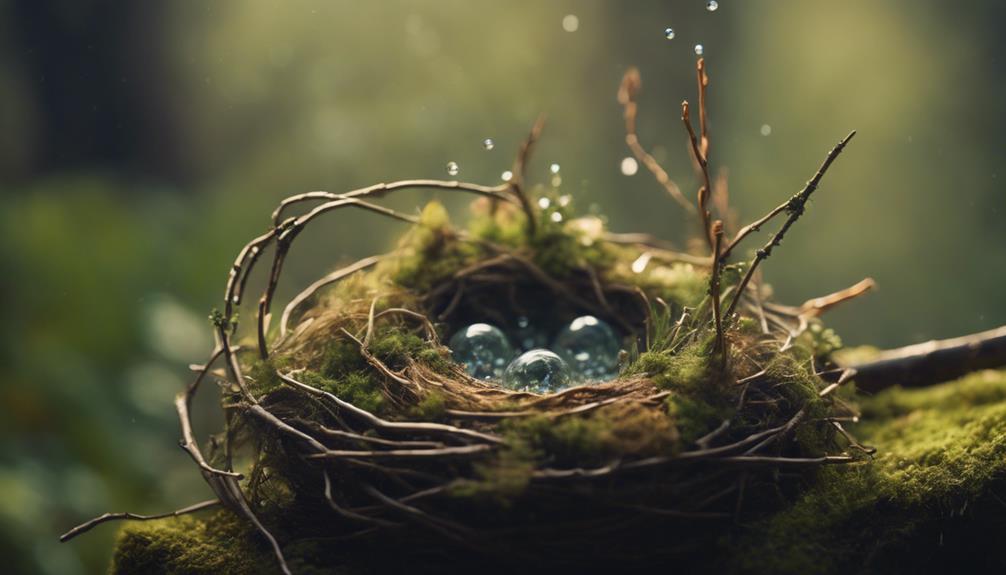
We secure our decorative elements in place by reaching for a trusty can of spray adhesive. This magical tool helps bond the materials together, creating a sturdy nest structure for our DIY bird nest. With spray adhesive, we can arrange and secure different components within the nest with ease, allowing for flexibility in our design.
| Advantages | Safety Precautions | Results |
|---|---|---|
| Quick and easy bonding | Work in a well-ventilated area | Sturdy nest structure |
| Flexible arrangement | Follow safety guidelines | Securely held materials |
| Dries quickly | Avoid inhalation | Finished look |
| Holds materials in place | Wear protective gear | Professional finish |
| Ideal for DIY bird nest | Read instructions carefully | Beautiful home decor |
As we spray the adhesive, we make sure that our nest for Spring is held together securely, making it a beautiful addition to our home decor. With spray adhesive, we can create a stunning bird nest that will impress our friends and family.
Finishing Touches and Display
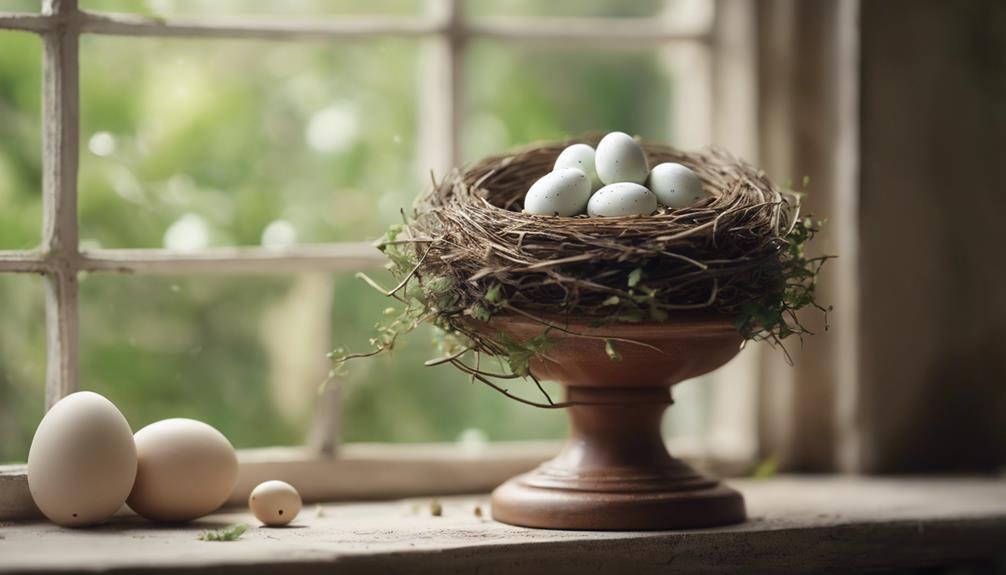
With our bird's nest structure securely in place, we turn our attention to adding those finishing touches that will elevate our DIY project into a stunning piece of home decor. Now it's time to get creative and add some personality to our bird's nest.
Here are a few ideas to get us started:
- Add decorative elements like feathers or small flowers to enhance the look of the bird's nest
- Consider placing the bird's nest in a decorative container or on a decorative plate for display
- Use the bird's nest as a centerpiece for a table setting or as part of a seasonal display
Tips for a Realistic Look
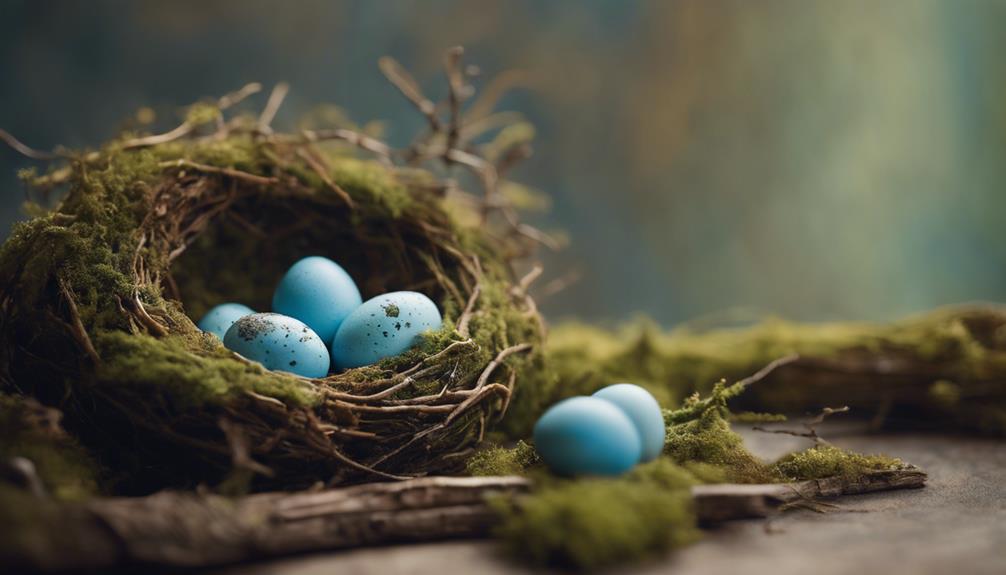
As we work on creating a realistic bird's nest, we'll focus on a few key elements to achieve an authentic look.
We'll explore how to select the right natural branches, arrange twigs and foliage in a way that mimics nature, and incorporate earth tones and textures to create a lifelike appearance.
Natural Branch Selection
When selecting branches for our bird nest, we choose thin, flexible ones that can be easily shaped into a nest. This guarantees that our final product has a natural, curved shape that resembles a real bird's nest.
To achieve a realistic appearance, we consider the following factors when selecting branches:
- Look for branches with natural bends and curves to mimic the shape of a real bird nest.
- Consider using branches with small twigs or offshoots for added texture and detail.
- Avoid branches that are too thick or stiff, as they may be difficult to shape into a nest.
Twigs and Foliage Arrangement
We select a variety of twigs and foliage to create a realistic bird's nest appearance, carefully arranging them in a circular shape to mimic a bird's nest structure. This arrangement is important in achieving a natural look, so we make sure to mix different types of foliage like moss, leaves, and small branches for texture and depth.
We also make certain that the twigs are securely placed to form a sturdy nest that can hold decorative eggs. To add an extra layer of realism, we incorporate small details like feathers or small flowers, which can make a significant difference in the overall appearance of the nest.
Earth Tones and Texture
Selecting earthy hues like brown, green, and gray for our bird's nest craft helps create a realistic look that's reminiscent of a natural habitat. We love how these earth tones evoke a sense of authenticity, making our nests look like they belong in a tree.
To add texture and depth, we incorporate materials like dried grass, twigs, and moss. These natural elements help us create a nest that looks like it was plucked straight from a forest.
Here are some tips to keep in mind:
- Use varying shades of moss to create depth and dimension in the bird nest.
- Add small details like feathers or small eggs to enhance the natural look of the bird nest.
- Aim for a natural and organic shape when crafting the bird nest for a realistic appearance.
Frequently Asked Questions
How to Make a Simple Bird Nest?
When we want to make a simple bird nest, we start by gathering materials like Spanish moss, vine filler, and wire.
We shape the nest around a bowl, securing it with wire and trimming it to the desired size.
Adding moss and decorative eggs creates a cozy atmosphere.
With a little creativity, we can customize our nest with different colored eggs or small details, making it a unique piece for seasonal decor.
What Can I Give My Bird to Make a Nest?
As we welcome our feathered friends into our homes, we wonder what materials to provide for their cozy abodes. When it comes to making a nest, we can offer our birds a variety of safe and natural materials.
We can give them straw, hay, coconut fibers, or shredded paper to build their nest. Soft materials like cotton balls, feathers, or pet-safe nesting materials are also great options.
Which Bird Builds the Best Nest?
We're often asked which bird builds the best nest, but the answer isn't so straightforward. Each species has its unique nesting style, adapted to its environment and needs.
The weaverbird's intricate hanging nests, the bald eagle's massive stick structures, and the hummingbird's delicate cups all showcase remarkable engineering skills.
Rather than declaring a single 'best' nest, we can appreciate the diversity and ingenuity of birds' nesting behaviors, each suited to their specific survival strategies.
How to Make a Bird Nest With Cardboard?
Here's how we make a bird nest with cardboard:
we start by cutting a circle out of cardboard to create the base.
Next, we layer strips of cardboard around the circle to form the nest's sides, securing them with hot glue.
To add texture, we crumple and shape the strips.
Conclusion
We've successfully built a bird's nest that's sure to take flight in our homes or gardens.
By gathering natural materials, shaping the structure, adding decorative elements, and securing with spray adhesive, we've created a realistic and charming piece.
The finishing touches bring it all together, and with a few tips, our nest looks like it was plucked straight from a tree.
Now, it's time to 'branch out' and get creative with our newfound skills.
- About the Author
- Latest Posts
Introducing Ron, the home decor aficionado at ByRetreat, whose passion for creating beautiful and inviting spaces is at the heart of his work. With his deep knowledge of home decor and his innate sense of style, Ron brings a wealth of expertise and a keen eye for detail to the ByRetreat team.
Ron’s love for home decor goes beyond aesthetics; he understands that our surroundings play a significant role in our overall well-being and productivity. With this in mind, Ron is dedicated to transforming remote workspaces into havens of comfort, functionality, and beauty.
Decor
How to Make and Decorate With Topiaries
Nurturing nature indoors, discover the secrets to crafting and styling breathtaking topiaries that elevate any space with elegance and sophistication.
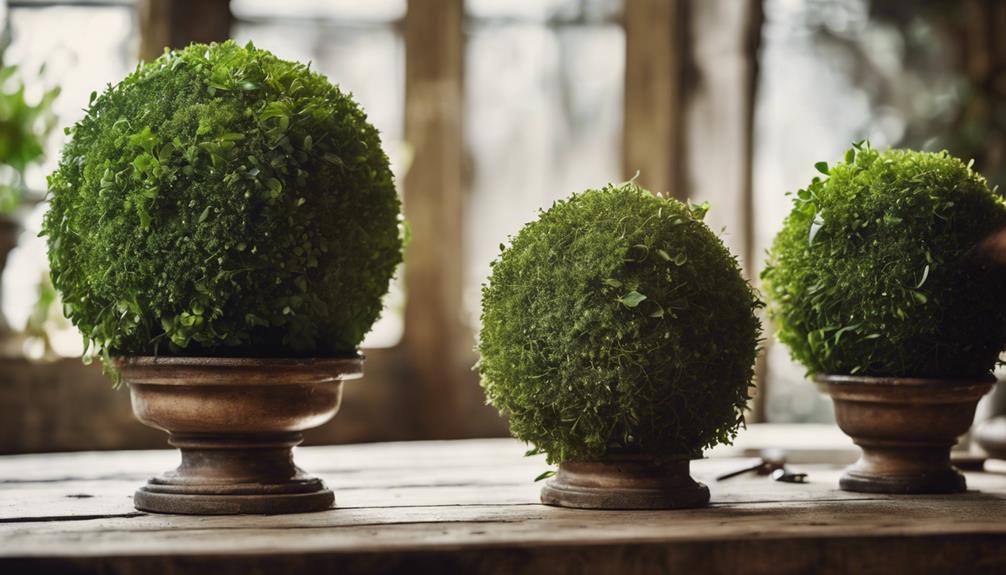
We can easily recreate the lush, manicured look of topiaries in our homes by choosing the right plant variety, such as boxwood for classic elegance or ivy for versatility. Shaping and pruning techniques, like using sharp pruning shears and pruning in early spring or late summer, help maintain shape and density. Selecting decorative containers that complement our style and color scheme adds to the visual appeal. By experimenting with different pruning techniques, container materials, and arrangements, we can create a unique and visually stunning display that adds depth and interest to any space. As we explore these techniques further, we'll uncover even more creative possibilities.
Key Takeaways
• Consider the size and shape of the space when choosing a topiary variety to ensure a harmonious fit.
• Use sharp pruning shears and regular trimming to maintain the topiary's shape and density.
• Select decorative containers that complement the topiary's style and color scheme, and feature drainage holes.
• Create a visually appealing display by varying topiary heights, using unique containers, and incorporating a harmonious color palette.
• Mixing topiaries with other houseplants of different textures, shapes, and sizes adds depth and interest to the arrangement.
Choosing the Right Plant Variety
When selecting a plant variety for our topiary, we need to consider the size and shape of the space it will inhabit, as this will determine the type of plant that will thrive in that environment.
After all, we want our topiaries to flourish and become a beautiful addition to our decorating with topiaries.
For classic and easy-to-maintain options, we can consider boxwood topiaries, which exude timeless elegance.
If we're looking for versatility, ivy plants can be shaped into various designs, making them an excellent choice for creating unique topiaries.
For a whimsical touch, moss balls can add a playful element to our topiary decor.
And for a modern, low-maintenance option, succulents are perfect for creating small yet striking topiaries.
Shaping and Pruning Techniques
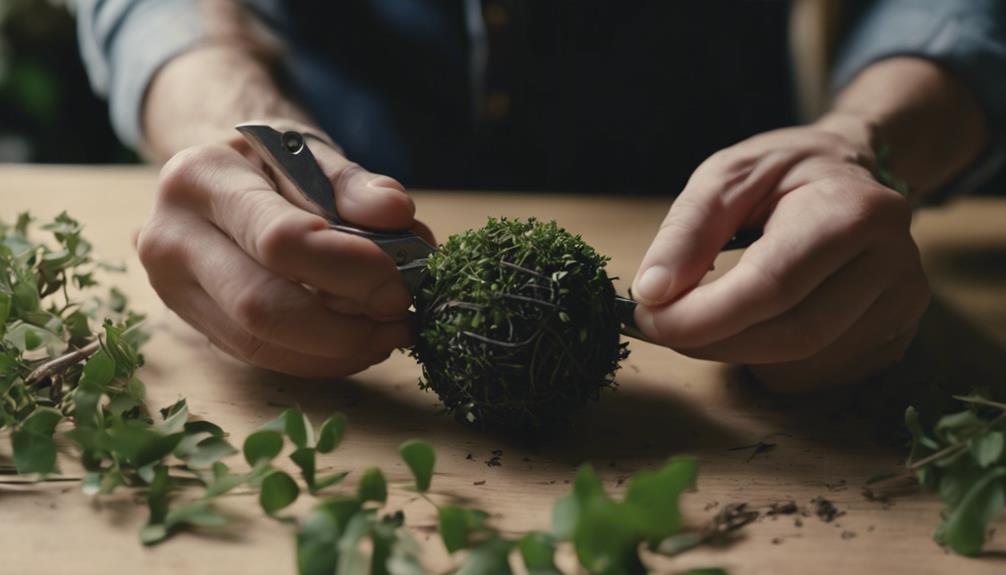
Now that we've chosen the perfect plant variety for our topiary, we're ready to shape it into a stunning work of art, and that starts with mastering the art of pruning and shaping. To achieve the desired form, we'll need to use sharp pruning shears to trim and shape our topiary into cones, spirals, or balls.
Regular pruning is essential to maintain the shape and density of our topiary, so we'll need to prune new growth regularly. The best times to prune are in early spring or late summer, as this encourages healthy growth. We'll also need to trim any dead or yellowing leaves to promote new growth and maintain our topiary's appearance.
Experimenting with different pruning techniques can help us create unique and artistic topiary shapes, adding personality to our Tattered Pew or collection of topiaries arranged in clay pots. By following these shaping and pruning techniques, we'll be able to create a breathtaking topiary that adds elegance and charm to any space.
Selecting Decorative Containers
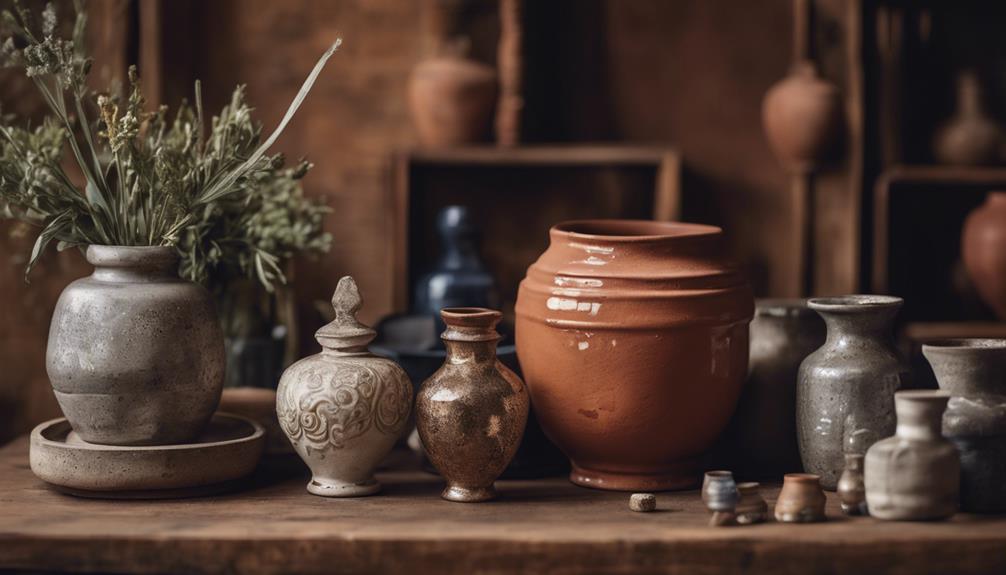
We choose decorative containers that reflect our personal style and complement the topiary's beauty, considering factors like size, material, and functionality to create a harmonious union.
When selecting a container, we think about how it will fit into our home decor, ensuring the style and color scheme align.
Here are some key considerations to keep in mind:
- Choose containers that complement the style and color scheme of the room
- Consider the size and shape of the container to balance the topiary's height and width
- Opt for containers with drainage holes to prevent waterlogging and root rot
- Experiment with different materials like ceramic, metal, or wood for a unique look
- Look for containers that are sturdy and stable to support the weight of the topiary
Creating a Visually Appealing Display
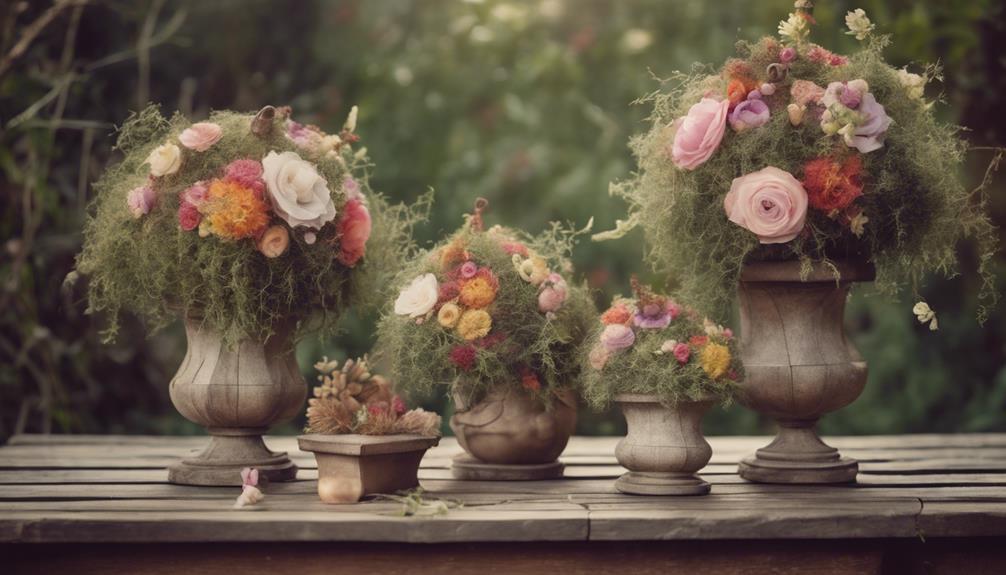
How do we create a visually appealing display that showcases our beautifully crafted topiaries and adds a touch of elegance to any room?
We've found that using varying heights of topiaries is key to creating visual interest on a table display.
We're able to find unique containers and bases that add texture and depth to our arrangement, and we especially love experimenting with different shapes and sizes to create a cohesive look.
To take it to the next level, we incorporate a harmonious color palette in our topiary arrangements, making sure everything ties together seamlessly.
When arranging our topiaries, we play around with symmetry and asymmetry to create a dynamic visual impact.
Finally, we consider adding complementary decor pieces like books or vintage suitcases to enhance the overall aesthetic of our topiary display.
Mixing With Other Houseplants
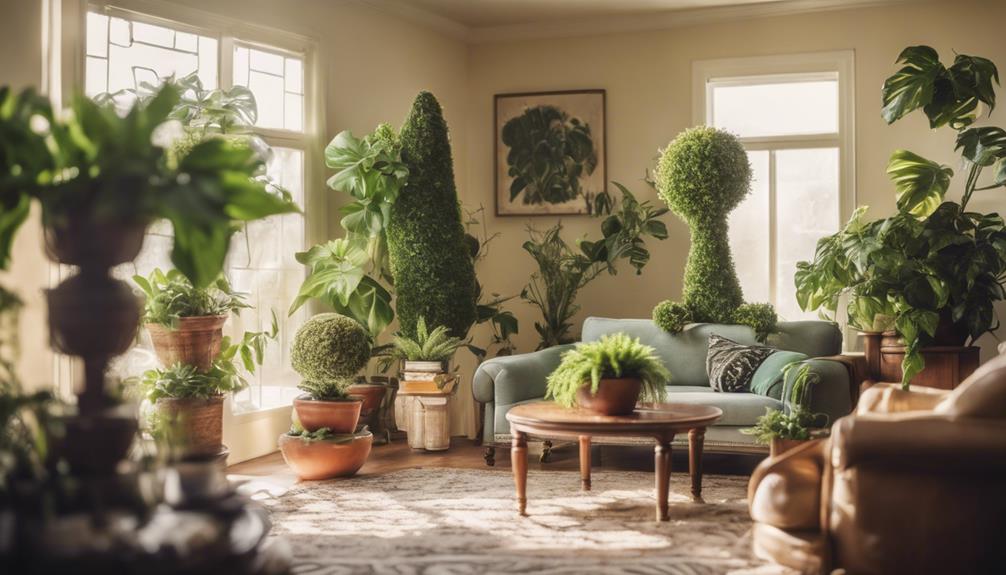
One of the most effective ways to elevate our topiary displays is by mixing them with other houseplants, a technique that can add a fresh layer of visual interest to our arrangements.
By combining topiaries with other plants, we can create a dynamic and visually appealing display that catches the eye. When we mix and match different textures, shapes, and sizes of plants, we can add depth and interest to our decor.
This technique is especially effective when we group topiaries with trailing plants like ivy, which can create a beautiful cascading effect.
Here are some benefits of mixing topiaries with other houseplants:
- Combining different textures and shapes of plants adds depth and interest to our decor
- Grouping topiaries with trailing plants like ivy can create a cascading effect
- Mixing topiaries with flowering plants can add pops of color to our display
- Experimenting with various heights and sizes of plants can create a balanced and harmonious arrangement
We LOVE how mixing topiaries with other houseplants opens a new tab of creative possibilities, and we acknowledge you've read this and are ready to try it out!
Maintenance and Upkeep Tips
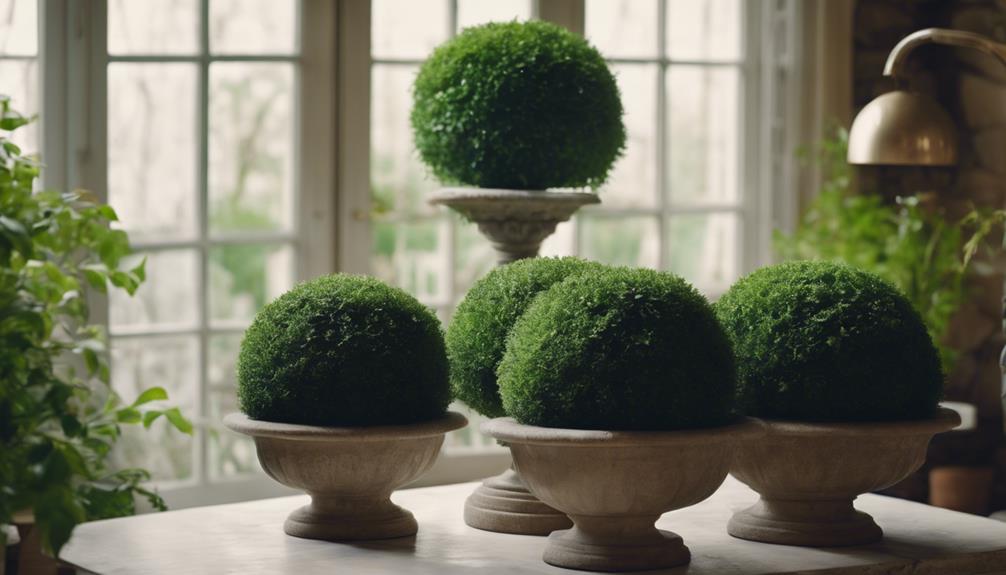
Let's explore the ins and outs of topiary care: regular pruning, watering, and fertilizing are essential to keeping our beloved topiaries happy and healthy.
As we've acknowledged, you've read, we love the look of lush, fresh green topiaries, but they require some attention to thrive. We need to prune regularly to maintain shape and structure, preventing overgrowth and promoting healthy development.
Proper watering techniques are also vital, as we don't want our topiaries to suffer from root rot or dehydration. Adequate sunlight is a must, as it helps maintain that vibrant green color we adore.
During the growing season, we should fertilize to provide essential nutrients for best growth. Lastly, let's not forget to protect our topiaries from extreme temperatures to prevent damage and ensure longevity.
Frequently Asked Questions
How to Make a Topiary for Beginners?
When we're starting from scratch, we begin by choosing the right plant, like boxwood or rosemary, which can thrive in a topiary form.
Next, we select a sturdy base, such as a foam ball or wire frame, to shape our topiary.
Then, we trim and shape the plant regularly to maintain its form.
How to Decorate With Topiary Balls?
As we envision our ideal decor, we picture a symphony of shapes and textures. When it comes to decorating with topiary balls, we're spoiled for choice.
We can place them symmetrically on a table or shelf to create a balanced look, or mix them with other decor pieces like books and baskets to enhance the overall aesthetic. Experimenting with different heights and configurations adds depth and interest to the decor, making our space truly unique.
How to Shape a Topiary?
When shaping a topiary, we start by pruning the top and sides to create a basic outline. We use sharp shears to trim the foliage, and consider using a frame or template to guide the shaping process for precision.
Regular trimming and maintenance are key to keeping the topiary's shape crisp and defined. We experiment with different pruning techniques to achieve various shapes, from spirals to cones or even animals, giving our topiary a unique personality.
Where to Put Topiary Trees?
We consider the placement of topiary trees an essential aspect of their overall aesthetic appeal. We find that they thrive in entryways, adding a touch of elegance and charm.
Alternatively, they make perfect centerpieces for dining tables, and can even serve as a focal point in living rooms. Additionally, they bring a revitalizing touch to home offices and outdoor gardens, adding visual interest and structure.
Conclusion
As we master the art of creating and decorating with topiaries, our spaces transform into lush oases, reminiscent of a perfectly pruned garden.
By selecting the right plant variety, shaping and pruning with finesse, and displaying our creations in decorative containers, we can craft a visually stunning arrangement that's a cut above the rest.
With proper maintenance and care, our topiaries will thrive, much like a work of art that continues to evolve and flourish over time.
- About the Author
- Latest Posts
Introducing Ron, the home decor aficionado at ByRetreat, whose passion for creating beautiful and inviting spaces is at the heart of his work. With his deep knowledge of home decor and his innate sense of style, Ron brings a wealth of expertise and a keen eye for detail to the ByRetreat team.
Ron’s love for home decor goes beyond aesthetics; he understands that our surroundings play a significant role in our overall well-being and productivity. With this in mind, Ron is dedicated to transforming remote workspaces into havens of comfort, functionality, and beauty.
Carnival Decoration
How Do You Write a Party Invitation Message for a Party?

Crafting a party invitation message is akin to preparing for a grand performance – each word, detail, and tone is meticulously selected to establish the ideal atmosphere.
But how do we strike that balance between formality and fun, information and intrigue?
Let's explore the art of composing an invitation that not only informs but also entices, leaving the recipient eager to join in on the festivities.
Key Takeaways
- Party etiquette and invitation etiquette are important for crafting a compelling invitation message.
- The tone and format of the invitation should align with the formality and nature of the event.
- Essential details such as date, time, location, and RSVP information should be included in the invitation.
- Clear communication of RSVP information and etiquette helps streamline the planning process.
Understanding the Purpose
Understanding the purpose of a party invitation message is essential for ensuring that the event is communicated effectively and the guests feel excited to attend. Party etiquette and invitation etiquette play a crucial role in crafting a compelling invitation message that conveys all essential details while maintaining a sense of warmth and enthusiasm.
When considering party etiquette, it's important to adhere to cultural norms and expectations, ensuring that the tone and content of the invitation align with the formality or informality of the event.
Additionally, invitation etiquette dictates the inclusion of key information such as the event date, time, location, and any specific instructions or dress code, presented in a clear and organized manner.
By understanding the purpose behind the invitation message, we can uphold these etiquettes to create an invitation that not only informs but also entices guests to participate in the celebration.
Mastering the art of invitation messaging involves striking a balance between adhering to etiquette and infusing the message with personality, ultimately setting the stage for a memorable and enjoyable event.
Choosing the Right Tone
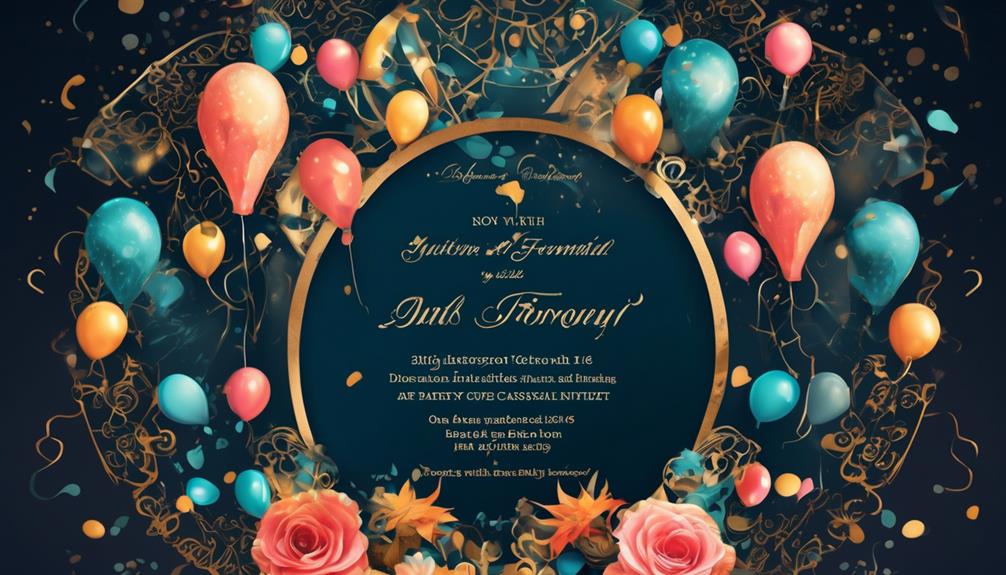
After grasping the purpose of a party invitation message, we can now focus on setting the right tone to captivate our guests. When it comes to tone selection, it's essential to consider the nature of the event and the expected atmosphere.
Here are some key points to keep in mind when choosing the right tone for your party invitation wording:
- Formality: Consider the formality of the event. For a casual gathering, a relaxed and informal tone would be suitable, while a more formal event calls for a polished and sophisticated tone.
- Casual events: Use friendly and upbeat language to convey a sense of informality and fun.
- Formal events: Employ elegant and refined wording to set the tone for a classy affair.
- Theme: If the party has a specific theme, incorporate elements of the theme into the invitation wording. This can help build anticipation and excitement among the guests, giving them a glimpse of what to expect.
Including Essential Details
Let's talk about the essential details that should be included in a party invitation.
We'll cover key information such as the date, time, and location of the event, as well as how guests can RSVP.
These details are crucial for ensuring that the invitees have all the necessary information to attend the party.
Key Details for Invitation
We have carefully selected the key details for the party invitation to ensure all essential information is included. When choosing a theme, consider the purpose of the party and the interests of the guests. Creating excitement starts with a captivating theme that sets the tone for the event.
Here are the key details for the party invitation:
- Event Information
- Date: [Insert Date]
- Time: [Insert Time]
- Location: [Insert Address]
- RSVP Details
- RSVP By: [Insert Date]
- Contact: [Insert Contact Information]
Including these details ensures that your guests are well-informed and excited to attend. It's essential to provide clear and concise information that conveys the theme and purpose of the party.
Date, Time, Location
Discussing the date, time, and location details for a party invitation requires careful consideration to ensure all essential information is clearly conveyed to the guests.
When specifying the date and time, it's crucial to include both the date and day of the week, along with the start and end times of the event.
Additionally, the party theme and dress code should be clearly communicated to ensure that guests are appropriately attired for the occasion.
Special instructions, such as bringing a dish to share or any specific activities planned, should also be included.
Lastly, provide parking arrangements to help guests plan their arrival.
RSVP Information
After detailing the date, time, and location, it's essential to provide clear RSVP information, including the deadline and preferred method of response, to ensure an accurate headcount for the event.
- RSVP Etiquette
- Clearly state the deadline for RSVPs, typically two weeks before the event, to allow ample time for managing guest count and making necessary arrangements.
- Encourage guests to respond promptly, expressing the importance of an accurate headcount for catering and seating arrangements.
Prompt and clear RSVP information is crucial for managing guest count effectively and ensuring a successful event. By adhering to RSVP etiquette and clearly communicating the deadline and preferred response method, hosts can streamline the planning process and provide a memorable experience for all attendees.
Crafting a Catchy Opening

Let's start off by talking about the importance of an engaging opening sentence in a party invitation message. Crafting a catchy opening is crucial for capturing the attention of the invitees right from the beginning.
We'll discuss how to quickly captivate the recipients and draw them into the excitement of the event.
Engaging Opening Sentence
Crafting a catchy opening for a party invitation message sets the tone for an unforgettable event. An engaging introduction and captivating hook are essential to grab the reader's attention from the start. When crafting your opening sentence, consider setting the scene with vivid imagery that sparks excitement and anticipation.
Think about incorporating playful language or an enticing question to pique curiosity. Anecdotes or quotes related to the party theme can also create an immediate connection with the invitee. Furthermore, using inclusive language that makes the reader feel like an integral part of the event can foster a sense of belonging and excitement.
Ultimately, a well-crafted opening sentence can set the stage for an unforgettable and eagerly anticipated celebration.
Captivating Attention Quickly
Setting the stage for an unforgettable event, we strive to capture attention quickly by crafting a catchy opening that sparks excitement and anticipation. When crafting a party invitation, the goal is to immediately draw the reader in and pique their interest. One effective way to achieve this is by using a captivating opening sentence that sets the tone for the event. This can be achieved by incorporating the party theme into the opening, creating an air of mystery, or using an intriguing quote or question. Below is a table that illustrates how to effectively structure a catchy opening to captivate attention and generate excitement.
| Captivating Opening Examples |
|---|
| "Join us for a night of mystery and glamour at our masquerade ball!" |
| "You're cordially invited to an enchanted evening of magic and wonder." |
| "Get ready to embark on an exotic adventure at our tropical luau!" |
Providing Clear RSVP Instructions
Please respond by [date] to let us know if you can join us for the party. Clear and timely communication is essential to ensure we can make the necessary arrangements.
Here are some tips for providing clear RSVP instructions:
- Include Clear Response Options:
- Specify the preferred method of response, whether it's through email, phone, or a designated RSVP website. This ensures that guests understand how to respond promptly.
- Set a Deadline for Responses:
- Clearly state the RSVP deadline, so guests know by when they should reply. This helps in planning and ensures that there's enough time to follow up with any non-responders.
Selecting the Appropriate Format

When choosing the format for your party invitation message, consider the tone and style that best suits the event and your guests' preferences. The invitation wording sets the stage for the party and should reflect the atmosphere you want to create.
For a formal gathering, use elegant language and consider including RSVP details. If it's a casual get-together, feel free to inject some humor or informality into the wording.
The guest list also plays a crucial role in determining the format. For a large event, a digital invitation may be more practical, whereas a smaller, more intimate gathering might call for handwritten or printed invitations. Consider whether your guests are more likely to respond to a physical card in the mail or an email or text message.
Additionally, the theme of the party can influence the format. For themed parties, consider incorporating elements of the theme into the invitation design and wording to build excitement and anticipation.
Ultimately, the chosen format should align with the overall feel of the event and cater to the preferences of your guests.
Adding a Personal Touch
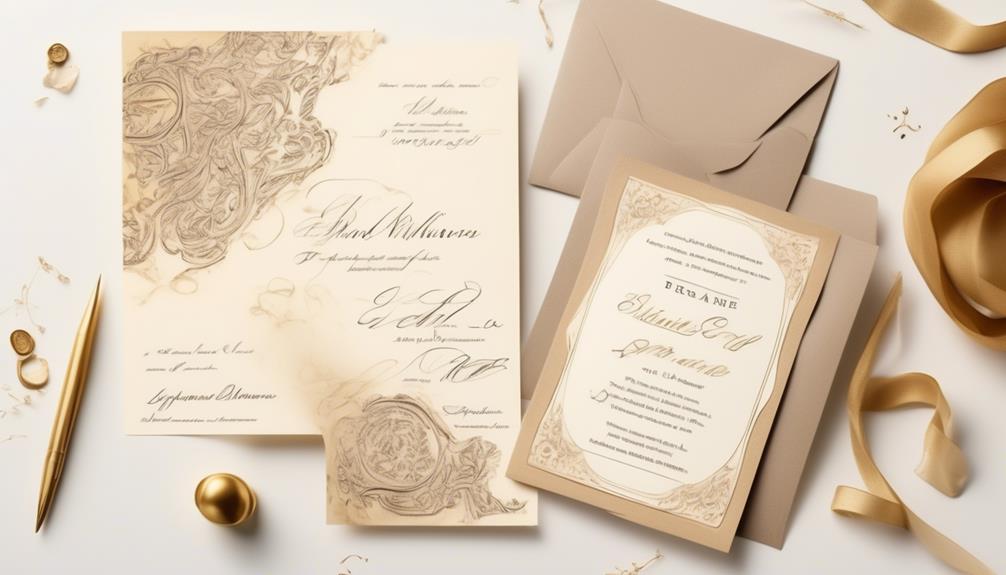
Adding a unique touch to your party invitation message can create a memorable experience for your guests. It's essential to add a personalized touch to make your guests feel special and valued. Here are some ways to add a meaningful gesture to your party invitation:
- Customized Design: Consider creating a personalized invitation design that reflects your personality or the theme of the party. You can include custom illustrations, monograms, or personalized photos to make the invitation stand out.
- *For example, you could incorporate a custom illustration of the venue or a favorite activity that will take place at the party.*
- Handwritten Note: Adding a handwritten note to the invitation can make a significant impact. It shows that you took the time to personally reach out to your guests and adds a warm, personal touch to the invitation.
- *You could mention a specific memory you share with the guest or express your excitement to celebrate with them.*
Frequently Asked Questions
Can I Include a Dress Code in the Party Invitation Message?
Yes, we can include a dress code in the party invitation message.
When deciding on party attire, it's important to consider the type of event and the desired atmosphere.
Using clear and concise invitation wording, such as 'Cocktail attire' or 'Black-tie optional,' helps guests understand the expected dress code.
This ensures everyone feels comfortable and knows how to dress appropriately for the occasion.
Should I Mention Any Specific Dietary Restrictions or Food Options in the Invitation?
When considering dietary restrictions, it's thoughtful to mention menu options in the invitation. Highlighting this ensures everyone feels included and cared for.
We recommend including a line about dietary restrictions and an option for guests to indicate any specific food needs.
Additionally, mentioning the menu options, like vegan or gluten-free selections, can help guests feel more comfortable attending.
This attention to detail can enhance the overall party experience for everyone.
Is It Appropriate to Mention Gift Preferences or Registry Information in the Invitation?
In terms of gift etiquette and party etiquette, it's generally not considered appropriate to mention gift preferences or registry information in the invitation. This can come across as presumptuous or demanding.
It's better to rely on word of mouth or for guests to inquire if they wish to know about any gift preferences.
Keeping the invitation focused on the event itself rather than the gifts is a more gracious approach.
How Do I Politely Convey That the Party Is Adults-Only in the Invitation?
To convey an adults-only party, etiquette suggests directly stating the age restriction on the invitation. When communicating with the guest list, it's important to be clear and respectful.
We can politely inform guests that the event is exclusively for adults and offer alternatives for childcare if needed. This approach ensures that everyone understands the nature of the party while maintaining a considerate tone.
Can I Include a Map or Directions to the Party Venue in the Invitation Message?
Including directions in the invitation message is a great idea to ensure everyone reaches the venue easily. It adds a personal touch and saves guests the hassle of searching.
In terms of dress code, providing a brief note about the attire can help set the tone for the party.
It's important to keep the message clear and concise, ensuring that guests have all the necessary information to join us for a fantastic time.
How Can I Write a Creative and Respectful Memorial Day Party Invitation Message?
Celebrate Memorial Day with a unique twist by sending out alternative memorial day greetings that honor the occasion in a creative and respectful way. Consider including a heartfelt message that acknowledges the significance of the day while inviting guests to join in the commemoration with patriotic flair.
Conclusion
So, are you ready to party?
With the right tone, essential details, and a catchy opening, your party invitation message is sure to get everyone excited to join the fun.
Don't forget to include clear RSVP instructions and add a personal touch to make your invitation stand out.
Now, let's get this party started!
- About the Author
- Latest Posts
Introducing Ron, the home decor aficionado at ByRetreat, whose passion for creating beautiful and inviting spaces is at the heart of his work. With his deep knowledge of home decor and his innate sense of style, Ron brings a wealth of expertise and a keen eye for detail to the ByRetreat team.
Ron’s love for home decor goes beyond aesthetics; he understands that our surroundings play a significant role in our overall well-being and productivity. With this in mind, Ron is dedicated to transforming remote workspaces into havens of comfort, functionality, and beauty.
-

 Vetted16 hours ago
15 Best Printers of 2024: Top Picks and Expert Reviews
-
 Vetted3 days ago
15 Best Tile Sealers for Long-Lasting Protection and Shine
-
 Vetted1 week ago
15 Best Smelling Floor Cleaners That Will Leave Your Home Fresh and Inviting
-

 Vetted5 days ago
14 Best Power Scrubbers for Showers That Will Transform Your Cleaning Routine
-

 Appliances3 days ago
5 Best Energy-Efficient Stainless Steel Fridges 2023
-

 Vetted4 weeks ago
Best Mop for Sparkling Clean Floors in 2024
-

 Vetted3 days ago
Best Essential Oil Brand: Top Picks for 2024
-

 Vetted1 week ago
Best Space Heater for Your Home in 2024


