Decor
Mastering Chalk Paint and Antiquing Wax in 5 Steps
Dive into the world of distressed elegance and uncover the secrets to creating unique, professionally-finished pieces with character and charm.
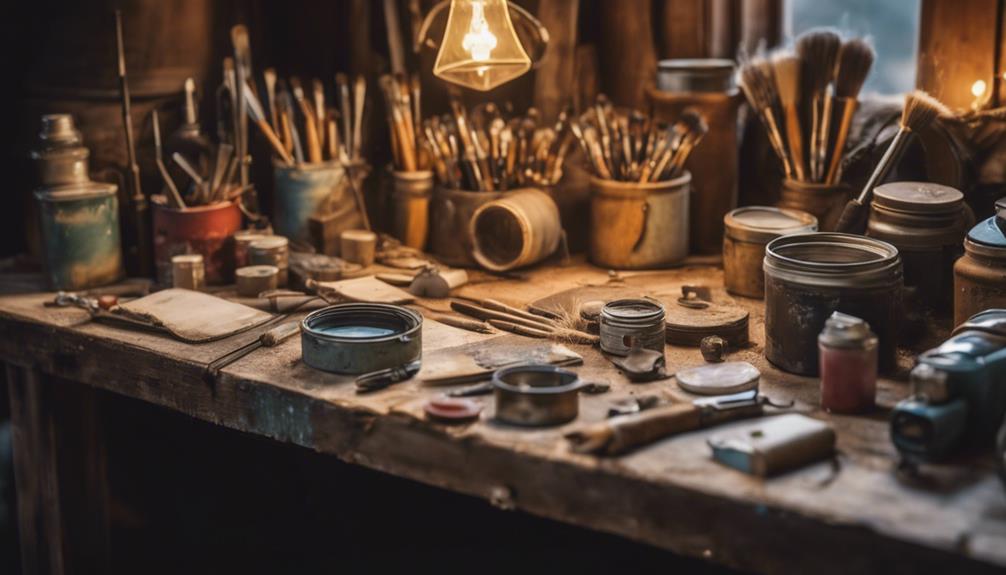
We can master chalk paint and antiquing wax in just 5 steps! First, we prep the surface by cleaning, sanding, and filling holes for a smooth paint job. Next, we apply a base coat of chalk paint, followed by a clear wax base for proper adhesion. We can then explore dark wax and layering techniques to achieve a distressed, vintage look. By managing wax intensity and layering carefully, we can create a truly unique finish. And, with patience and practice, we'll discover the secrets to achieving one-of-a-kind, professionally-finished pieces that exude character and charm – and that's just the beginning!
Key Takeaways
• Prepare the surface by cleaning, sanding, and filling imperfections for a smooth Chalk Paint application.
• Apply a clear wax base for proper adhesion and experiment with layering and buffing techniques for unique finishes.
• Build up a rich, complex finish with multiple thin coats of wax, controlling the amount and placement for customization.
• Use clear wax as a strategic base layer to dial in the perfect level of intensity and prevent dark wax from overpowering the paint.
• Achieve a distressed look quickly by applying contrasting Chalk Paint colors, distressing with sandpaper, and enhancing with antiquing wax.
Preparing the Chalk Paint Surface
Before we immerse ourselves in the world of Chalk Paint, we need to make sure our surface is perfectly prepared. This involves cleaning the surface thoroughly to remove any dirt, grease, or residue that may affect paint adhesion. We don't want anything getting in the way of a smooth, even coat of paint.
Next, we sand any rough areas or imperfections to create a smooth painting surface. This step guarantees that our Chalk Paint goes on smoothly and evenly.
We also use painter's tape to protect areas we don't want to paint, such as hardware or glass. If there are any holes or cracks, we fill them in with wood putty and sand it down for a seamless finish.
Applying Antiquing Wax Techniques
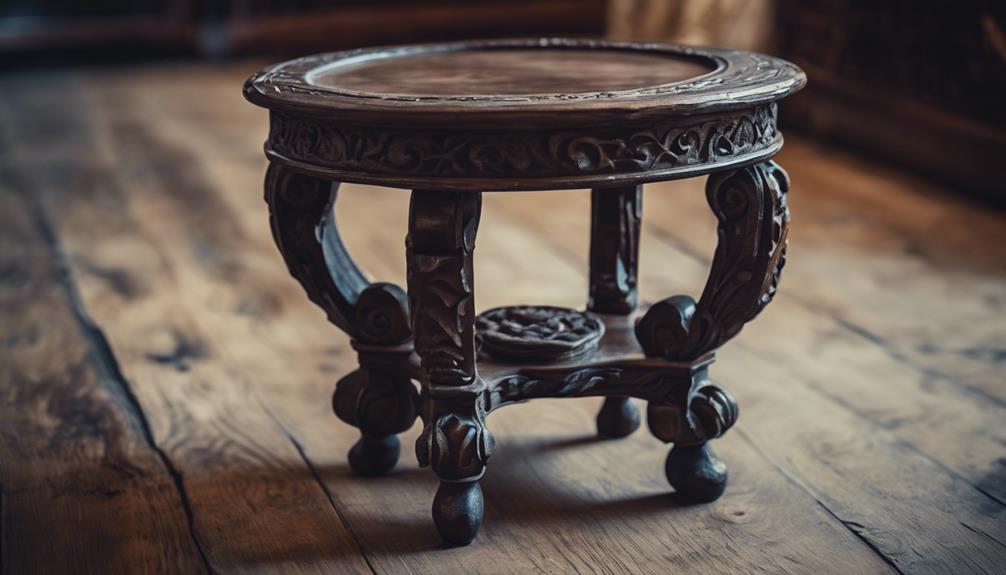
With our surface perfectly prepared and our Chalk Paint applied, we're now ready to add a touch of elegance and sophistication with the art of antiquing wax. This powerful tool allows us to create a distressed look on our furniture, adding depth and character to our pieces.
To start, we'll apply a clear wax base to guarantee proper adhesion and control over the final result. Next, we'll apply dark wax to the areas we want to accentuate, using techniques like layering and buffing to achieve the desired level of shine and intensity.
By experimenting with different techniques, we can create unique and personalized finishes that give our furniture an aged, vintage charm. As we work with the antiquing wax, we'll find that it's all about subtlety – a little goes a long way in achieving that perfect, aged finish.
Layering Wax for Desired Finish
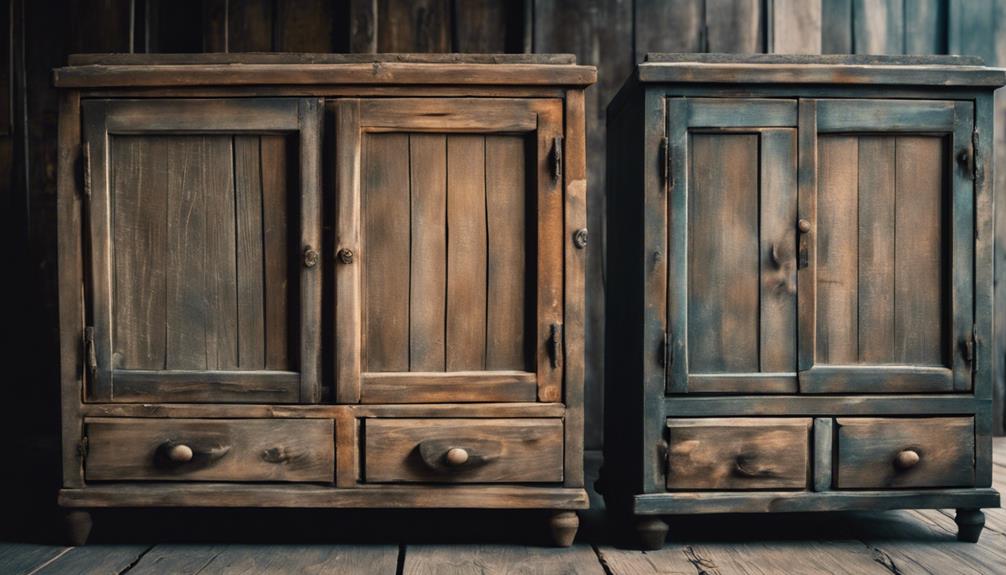
As we explore the art of layering wax, we'll discover that this technique allows us to build up a rich, complex finish by applying multiple thin coats of wax, each one adding depth and character to our piece.
By layering wax, we can achieve a level of customization that's hard to replicate with other finishing techniques. We can control the amount and placement of wax to create a unique, one-of-a-kind look that's all our own.
This process is especially useful when we want to create an aged or antique appearance on our furniture. With patience and attention to detail, we can build up a finish that's truly exceptional.
The key is to apply thin coats of wax, allowing each layer to dry before adding the next. This slow and steady approach requires patience, but the results are well worth the effort.
Controlling Wax Intensity With Clear
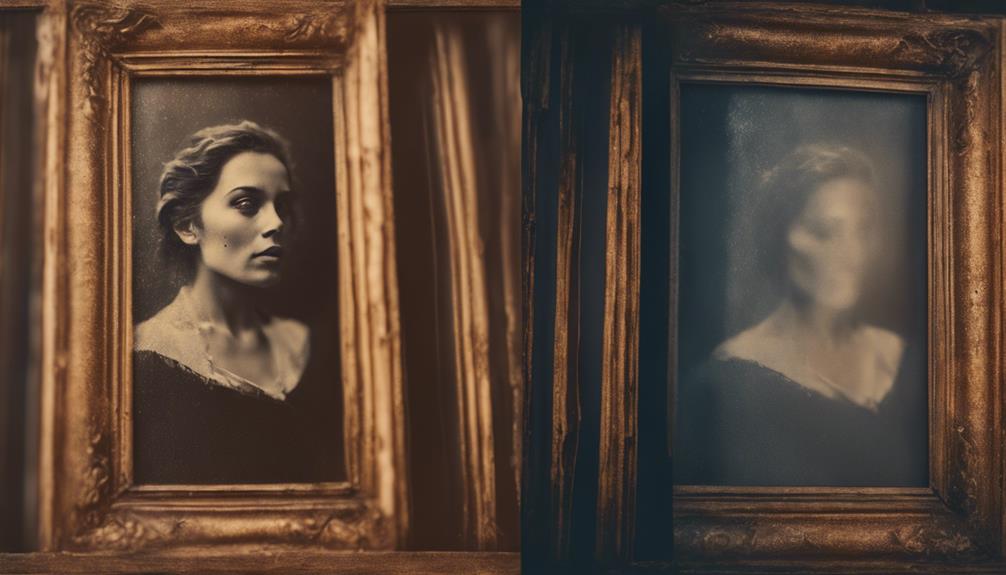
We take control of the antiquing process by using clear wax as a strategic base layer, allowing us to dial in the perfect level of intensity for our desired finish. This clever technique gives us the upper hand when working with dark wax, ensuring our furniture pieces turn out exactly as envisioned.
By applying clear wax first, we create a barrier that prevents dark wax from overpowering the chalk paint. This allows for easier blending and spreading of the dark wax, resulting in a more controlled antiquing effect. We can adjust the intensity of the finish to our liking, achieving a subtle or pronounced look depending on our personal preference.
With clear wax as our base layer, we're able to fine-tune the final result, making adjustments as needed. This level of control is essential when waxing furniture, as it enables us to achieve a finish that's truly unique and captivating.
Achieving Distressed Looks Quickly
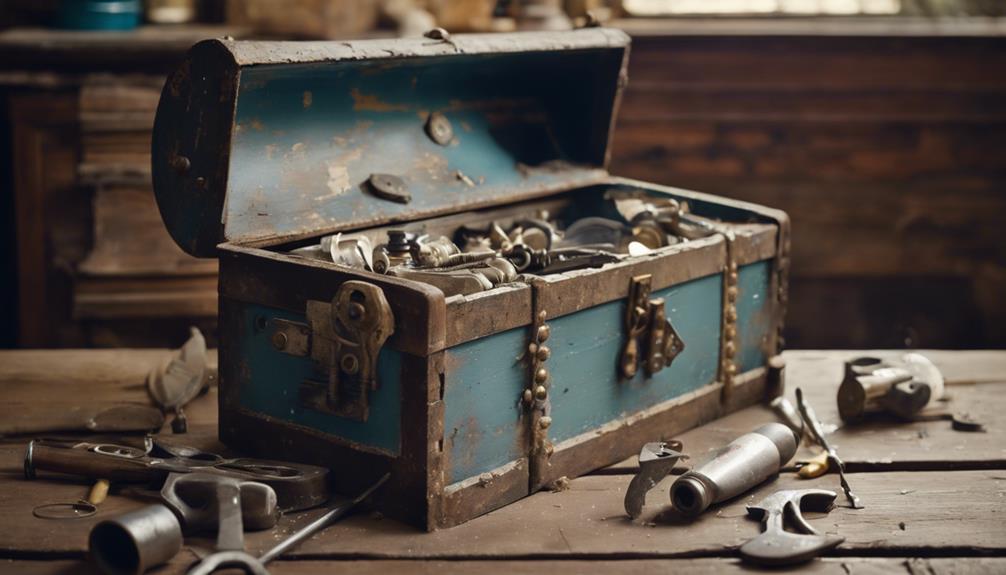
To achieve a distressed look quickly, we can apply two coats of Chalk Paint in contrasting colors, which sets the stage for further antiquing and customization. This layering technique creates a beautiful, aged appearance and adds depth to our finish.
We can then use sandpaper to distress specific areas, giving our piece a more customized look. Additionally, applying antiquing wax over the Chalk Paint enhances the distressed effect and adds even more character to our finish.
By experimenting with different distressing techniques, we can achieve the perfect level of antiquing for our furniture piece. We can also experiment with layering different colors and sanding between coats to create a truly unique, one-of-a-kind look.
With Chalk Paint and antiquing wax, the possibilities are endless, and we're limited only by our imagination. By mastering these techniques, we can achieve a beautifully distressed look that adds charm and personality to any piece of furniture.
Frequently Asked Questions
How to Use Antique Wax With Chalk Paint?
We're excited to explore the world of antique wax with chalk paint!
To get started, we apply a clear wax coat first, allowing it to dry completely. Then, we use a lint-free cloth or brush to work the antique wax into crevices and details, achieving a rich, vintage look.
We experiment with different techniques to control the level of antiquing, from subtle to dramatic. With practice, we master the art of adding depth and character to our projects!
Do You Wax or Distress Chalk Paint First?
We've got a dilemma on our hands – do we wax or distress our chalk paint first? It ultimately comes down to the look we're going for.
If we wax first, it protects the paint and makes distressing easier, resulting in a more subtle effect.
But if we distress first, we can achieve a more authentic, aged look with the paint showing through.
How Long Do You Leave Wax on Chalk Paint Before Buffing?
As we wait for perfection, time becomes our trusted ally.
When it comes to waxing our chalk paint masterpieces, patience is key.
We let the wax sit for about 24 hours before buffing, allowing it to harden and ensuring a durable finish.
Rushing the process can lead to streaks and unevenness, so we take a deep breath and let time do its magic.
How Many Coats of Wax Do You Put on Chalk Paint?
When it comes to applying wax on our Chalk Paint projects, we typically use 1-2 coats for best protection and finish.
The first coat serves as a base, allowing the second coat to adhere and enhance durability.
We've found that this approach guarantees a smooth, lustrous finish without buildup or streaking.
Conclusion
As we step back to admire our handiwork, the once-bare surface now radiates a warm, vintage glow. The antiquing wax whispers secrets of the past, its subtle sheen evoking memories of forgotten attic trunks and dusty antique shops.
With every brushstroke, we've breathed new life into the old, crafting a tale of love, loss, and rebirth. Our masterpiece stands as a tribute to the transformative power of chalk paint and antiquing wax, a symphony of texture and tone that whispers stories of its own.
- About the Author
- Latest Posts
Introducing Ron, the home decor aficionado at ByRetreat, whose passion for creating beautiful and inviting spaces is at the heart of his work. With his deep knowledge of home decor and his innate sense of style, Ron brings a wealth of expertise and a keen eye for detail to the ByRetreat team.
Ron’s love for home decor goes beyond aesthetics; he understands that our surroundings play a significant role in our overall well-being and productivity. With this in mind, Ron is dedicated to transforming remote workspaces into havens of comfort, functionality, and beauty.
Bohemian (Boho) Chic
How to Paint Boho Art: A Creative Guide!
Capture the essence of bohemian art by unleashing your creativity and diving into a world of vibrant colors and eclectic textures.
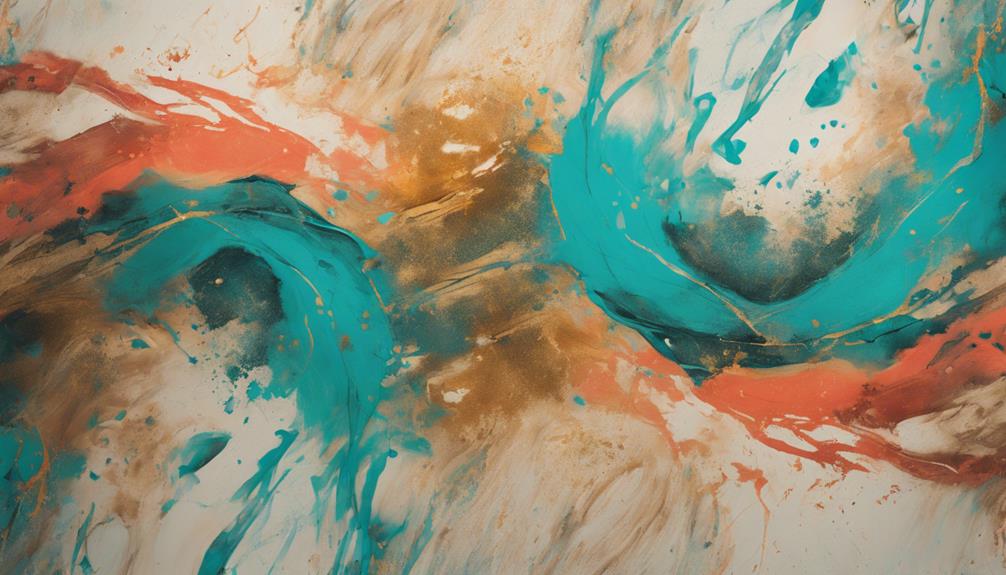
To paint boho art, start by prepping your canvas with a solid foundation of unbleached titanium base coat. Then, sketch carefree shapes with a black paint marker, embracing a free-flowing approach. Fill your canvas with a diverse color palette, experimenting with vibrant hue combinations and blending colors for unique backgrounds. Add contrast and depth with contrasting colors, layering different shades, and incorporating black outlines. Finally, refine your artwork with eclectic elements, organic textures, and unconventional color usage. As you continue, you'll uncover the secrets to creating a truly bohemian-inspired masterpiece.
Key Takeaways
- Embrace a free-flowing approach by sketching carefree shapes with a black paint marker to create a dynamic foundation for your boho art.
- Experiment with a diverse color palette, blending vibrant hues for colorful backgrounds and layering paints for an eclectic finish.
- Introduce contrasting colors and layer different shades to add depth and dimension to your artwork.
- Incorporate organic elements like leaves, flowers, and textures to add a natural, handmade feel to your art.
- Fearlessly mix and match patterns, colors, and themes to create a visually striking and unique boho art piece.
Prepping the Canvas Base
Apply a base coat of unbleached titanium to your canvas, using a paint roller to guarantee an even distribution of color and a solid foundation for your bohemian artwork. This step is vital in creating a smooth background that will help your design stand out. Make sure to cover the entire canvas, as any bare spots will detract from the overall bohemian style you're aiming for.
A paint roller is the perfect tool for this job, as it ensures a consistent application of color. Don't worry too much about perfection at this stage – the goal is to create a uniform base that will provide a solid foundation for your artwork. Once you've applied the base coat, let it dry completely before moving on to the next step. This will ensure that your subsequent layers of paint adhere properly and don't smudge or smear.
With your canvas prepped and ready, you can start building up your design and adding the unique touches that will make your boho art truly special.
Sketching Carefree Shapes
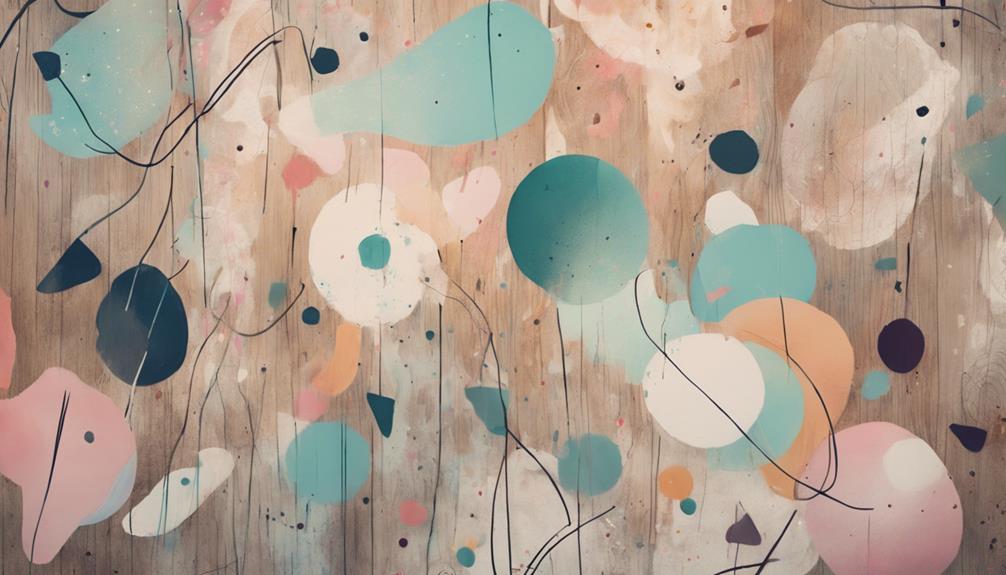
With your canvas base coat dry, grab a black paint marker and start sketching random, carefree lines and shapes onto your canvas, embracing a free-flowing and spontaneous approach to create a unique foundation for your bohemian artwork. Don't worry about perfection – the goal is to create an organic, whimsical base that will add character to your piece.
Once you're happy with your sketch, use your black paint marker to outline and define your carefree shapes, adding a bold and striking contrast to your composition. This step will help your shapes pop and create a sense of depth and dimensionality.
As you sketch, experiment with different patterns, curves, and angles to add visual interest and movement to your composition. Allow your lines to intersect, overlap, and swirl together, creating a dynamic and eclectic foundation for your art. Remember, the more varied your shapes and sizes, the more dynamic your final piece will be.
Filling With Color
As you start filling your shapes with color, remember to think big – literally. You'll be working with a diverse color palette that combines earthy tones, pastels, and vibrant shades to create a unique bohemian look.
Now's the time to experiment with vibrant hue combinations, layered color textures, and colorful backgrounds that will bring your art to life.
Colorful Backgrounds Ahead
Immersing yourself in the process of creating a stunning foundation by filling your canvas with a rich, vibrant background sets the tone for your boho art piece, so let's explore the steps.
To achieve a neutral background, start with a base coat of unbleached titanium. This provides an even and calm foundation for your artwork. Next, use a roller to apply paint, guaranteeing an even distribution of color across the canvas.
Here are three key takeaways to keep in mind when creating your bohemian background:
- Mix and match: Combine raw sienna, titanium white, and portrait pink to create a soft and creamy color palette.
- Add contrast: Use brick color, mixed from yellow ochre, cadmium red, and raw sienna, to add depth and balance to your artwork.
- Scale up or down: Adjust your brush size and paint quantity based on the dimensions of your canvas to ensure efficient painting.
Vibrant Hue Combinations
Now that you've established a rich foundation, it's time to fill your canvas with vibrant hues, blending unexpected color combinations to create a truly bohemian masterpiece.
To achieve this, experiment with mixing raw sienna, titanium white, and portrait pink for a creamy color palette that adds warmth to your artwork.
For contrast and balance, combine yellow ochre, cadmium red, and raw sienna to create a brick color that adds depth to your piece.
Don't be afraid to think outside the box and try unusual brushstrokes and patterns to fill your canvas with vibrant colors.
Adjust your brush size and paint quantity based on the dimensions of your canvas to ensure a harmonious look.
Finally, layer your paints to achieve the eclectic and alluring look characteristic of boho art.
Layered Color Textures
You'll add dimension and visual interest to your boho art by layering different colors to fill in shapes, creating a rich, textured look that draws the viewer in. This technique allows you to build up a vibrant and eclectic palette, making your artwork truly unique.
To achieve this layered effect, consider the following:
- Experiment with color mixing: Combine different hues to create unique shades that complement each other and enhance the overall composition.
- Vary your brush size and paint quantity: Adjust your brush size and paint quantity based on the size of the canvas and the level of detail you want to achieve.
- Use different brushes for different effects: Switch between brushes to achieve varied textures and effects in your painting, adding depth and visual interest to your artwork.
Adding Contrast and Depth
To inject visual energy into your boho art, start by introducing contrasting colors that boldly clash, like brick red against lighter tones, to create a sense of depth. This technique will draw the viewer's eye to specific areas of the piece, adding a dynamic quality to your artwork.
You can also experiment with layering different shades of the same color to add dimension to your paintings. This will create a sense of visual interest and make your artwork more engaging.
To make certain elements pop, incorporate black outlines and details. This will add a level of sophistication and visual appeal to your boho art.
Additionally, play with different brush sizes and textures to create varied depths and textures in your artwork. This will add another layer of visual interest and make your piece more dynamic.
Outlining and Refining
With your colors and textures in place, refine your boho art's shapes and patterns by outlining them with a black artline pb paint marker. Carefully defining each element to create a clean and polished finish is essential in adding contrast and balance to your art piece.
This step is crucial as outlining and refining details with a black paint marker will help you create a sense of depth and dimensionality.
Here are three key benefits of outlining and refining in boho art:
- Defines shapes and patterns: Clearly outlines each element, creating a clean and polished finish.
- Adds contrast and balance: Creates contrast by outlining details, balancing the composition of your art piece.
- Enhances overall composition: Refines the overall composition, adding depth and character to your boho art.
Embracing Bohemian Style
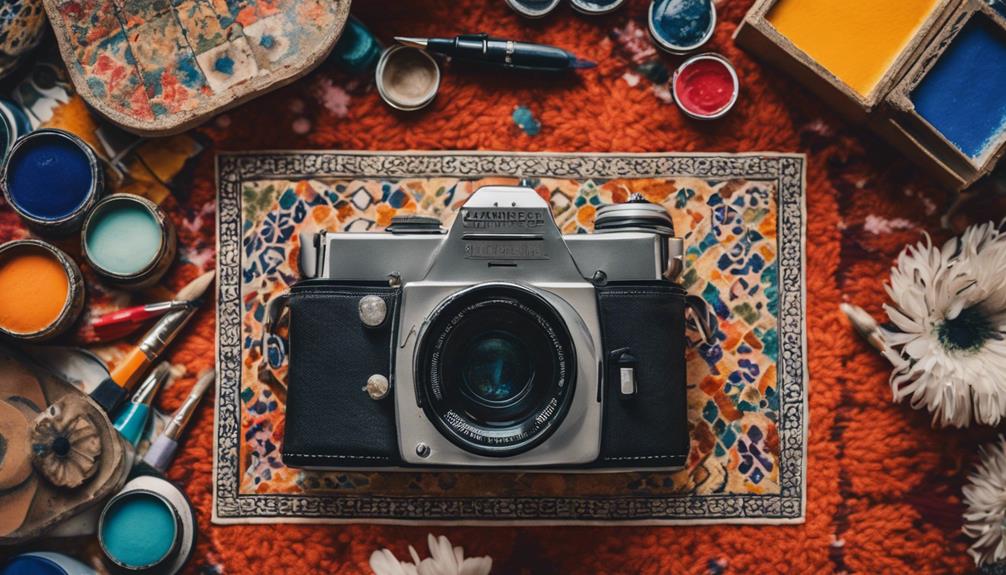
As you set out to create bohemian art, you'll want to focus on developing a free-spirited color palette that's vibrant and diverse. This means combining colors that mightn't typically go together, but somehow work in harmony.
Free-Spirited Color Palette
How do you capture the essence of bohemian style in your art when it's all about breaking free from conventions and embracing the unconventional? The answer lies in your color palette. A free-spirited color palette is essential to creating a bohemian art piece that exudes carefree creativity.
To achieve this, mix earthy tones like raw sienna, yellow ochre, and titanium white to create a foundation that's both natural and eclectic. Then, add vibrant shades like cadmium red, portrait pink, and brick color to introduce depth and contrast. Don't be afraid to experiment with unconventional color combinations to achieve an eclectic and lively look.
Here are three key takeaways to keep in mind:
- Embrace earthy tones as the foundation of your color palette.
- Add vibrant shades to introduce depth and contrast.
- Experiment with unconventional combinations to achieve an eclectic look.
Eclectic Pattern Mixing
You'll infuse your bohemian art with a dynamic, eclectic vibe by fearlessly mixing and matching a variety of patterns, from geometric shapes and floral motifs to tribal designs. This bold approach will create a visually striking composition that's quintessentially bohemian.
Don't be limited by traditional pattern-matching rules; instead, experiment with layering different patterns to add depth and visual interest to your artwork. Combine contrasting patterns and colors to achieve a unique, eclectic look that's unmistakably boho.
Frequently Asked Questions
How to Make Boho Art Color?
To create a boho art color palette, mix raw sienna, titanium white, and portrait pink for a creamy look. For contrast, blend yellow ochre, cadmium red, and raw sienna for a rich brick hue.
How Do I Get Creative Ideas for Painting?
"Get lost in nature's vibrant flowers, unique plants, and colorful landscapes, then juxtapose them with bohemian lifestyle elements like dreamcatchers and tapestries – this eclectic mix will spark creative ideas for your painting!"
What Is Boho Style Painting?
You're wondering what boho style painting is Well, it's a carefree, eclectic art form characterized by loose lines, vibrant colors, and layered textures, creating a unique, expressive piece that's full of life and energy
How Do You Make a Painting Look Vintage?
"Did you know 70% of art collectors crave vintage pieces? To give your painting a vintage vibe, try applying a wash of diluted paint, distressing with sanding or rubbing, and adding crackle medium for a cracked, aged texture."
Conclusion
You've made it through the bohemian art gauntlet. Now, go forth and express your inner free spirit.
Don't worry if your art looks like a hot mess – that's kind of the point. Remember, boho art is all about embracing imperfections and having fun.
So, if your painting ends up looking like a kindergartener's playtime project, congratulations, you've nailed it.
- About the Author
- Latest Posts
Introducing Ron, the home decor aficionado at ByRetreat, whose passion for creating beautiful and inviting spaces is at the heart of his work. With his deep knowledge of home decor and his innate sense of style, Ron brings a wealth of expertise and a keen eye for detail to the ByRetreat team.
Ron’s love for home decor goes beyond aesthetics; he understands that our surroundings play a significant role in our overall well-being and productivity. With this in mind, Ron is dedicated to transforming remote workspaces into havens of comfort, functionality, and beauty.
Bohemian (Boho) Chic
How to Make Boho Art: DIY Ideas and Inspirations!
Unlock the secrets to creating unique boho art pieces that reflect your personal style with these DIY ideas and inspirations.
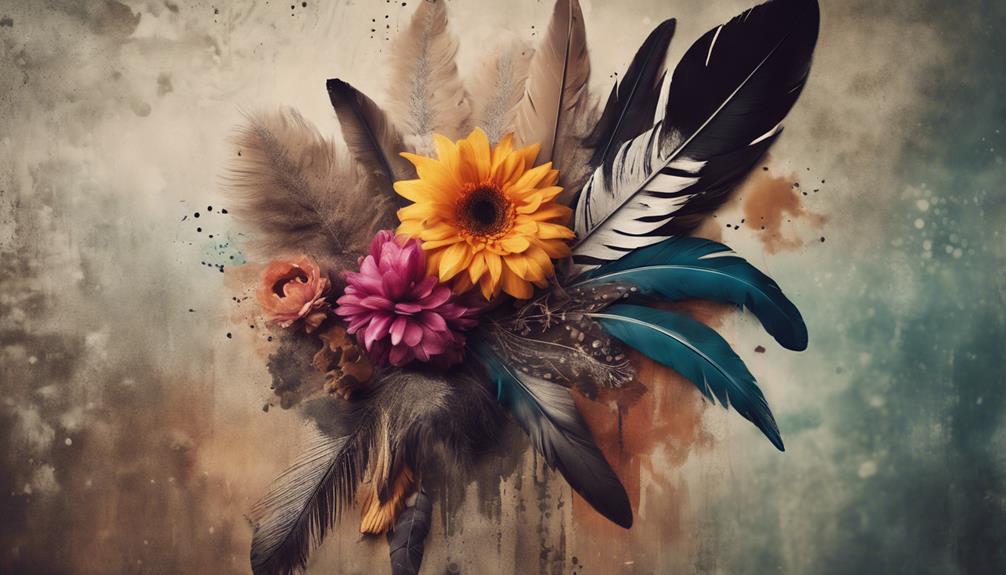
To create stunning boho art, start by mastering macramé magic with basic knots like square and half hitch. Add fringe benefits with tassels, pom-poms, and repurposed materials. Experiment with vibrant colors and patterns, like deep teal and intricate mandalas, and mix materials and textures for a unique look. Gather inspiration from eclectic elements like dreamcatchers and vintage textiles. Upcycle treasures from thrift stores and flea markets to promote sustainability. Transform your space with whimsical wall hangings using natural materials and unique embellishments. As you explore these techniques and elements, you'll uncover endless possibilities to make your boho art truly one-of-a-kind.
Key Takeaways
- Learn basic macramé knots like square, half hitch, and lark's head to create intricate boho art pieces with online tutorials and workshops.
- Incorporate fringe elements like tassels, pom-poms, and macramé knots using yarn, fabric scraps, and ribbons to add texture and visual appeal.
- Experiment with boho art colors and patterns like deep teal, rich orange, and earthy brown tones, and intricate patterns like paisleys and mandalas.
- Upcycle unique treasures from thrift stores and flea markets to reduce waste and promote sustainability in your boho art creations.
- Mix and match natural materials like wood, feathers, and macramé with contrasting textures to create visually striking and eclectic boho art pieces.
Macramé Magic for Beginners
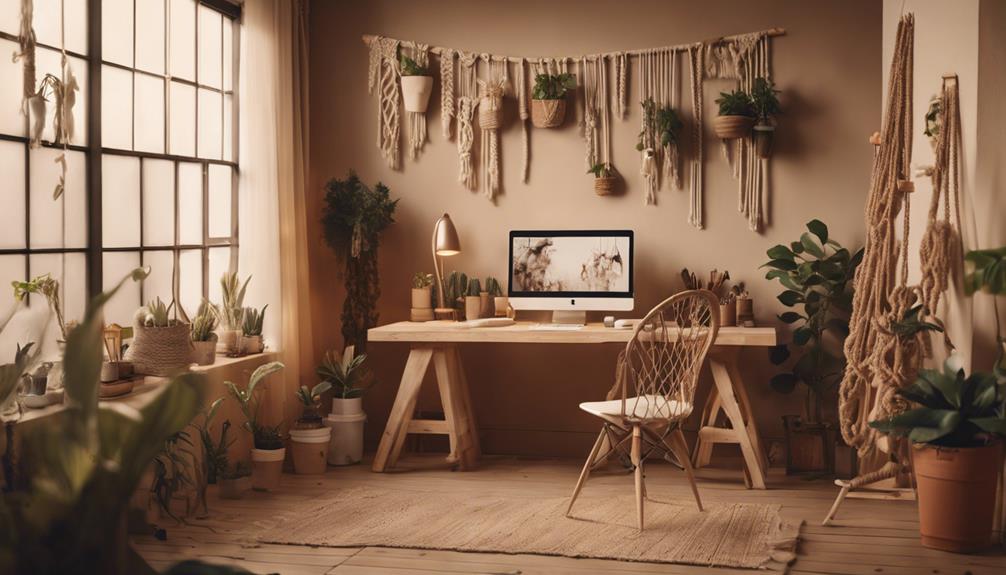
Get ready to explore the mystique of macramé, a centuries-old art form that's now more accessible than ever, as you immerse yourself in the world of intricate knots and bohemian charm.
Originating from Arabic weavers in the 13th century, macramé has seen a resurgence in popularity, incorporating modern designs with bohemian and minimalist aesthetics.
As a beginner, you can start creating your own unique pieces with basic macramé knots like the square knot, half hitch knot, and lark's head knot. These knots are the foundation of beautiful wall hangings, plant hangers, and jewelry.
With online tutorials and workshops, you'll receive step-by-step guidance to learn macramé techniques and customize your projects with different colors, textures, and embellishments.
This ancient art form is now at your fingertips, waiting to be explored and mastered. So, take the first step, and discover the magic of macramé for yourself.
Fringe Benefits in Boho Art
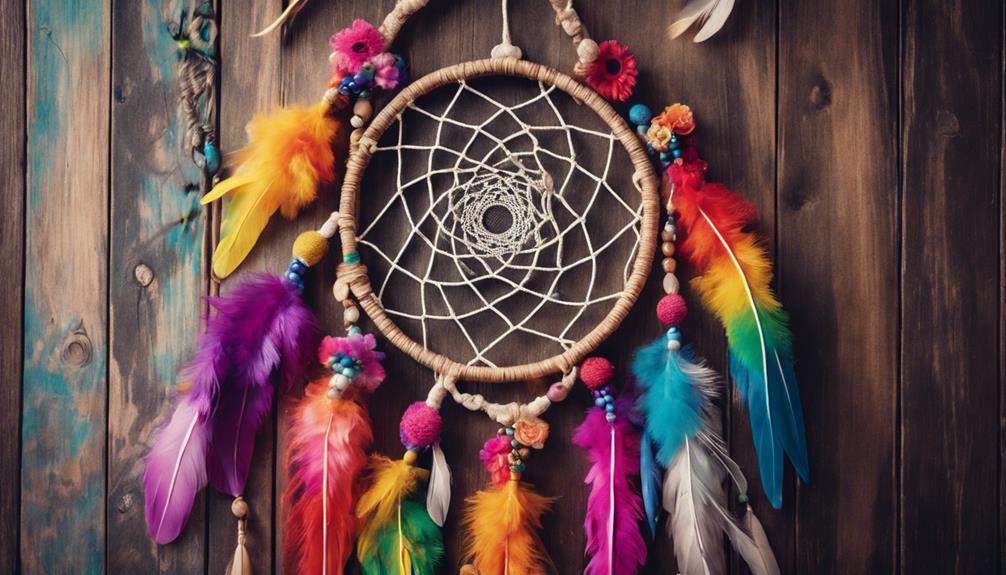
As you explore the world of boho art, you'll discover that fringe elements can add an enchanting touch to your DIY projects.
From tassel embellishments to textile fringe frenzy, these decorative accents can infuse a sense of whimsy and relaxed flair into your artwork.
Let's take a closer look at how fringe elements can ignite your creativity and elevate your bohemian-inspired pieces.
Fringe Elements Unleashed
As you explore the world of boho art, fringe elements like tassels, pom-poms, and macramé knots await, prepared to release a kaleidoscope of textures and movements into your designs. These signature features not only add visual interest but also invite you to experiment with different materials and techniques.
By incorporating fringe elements, you can repurpose yarn, fabric scraps, and ribbons, creating unique and sustainable pieces that reflect your personal style.
You can incorporate fringe details into various DIY projects, from wall hangings and dreamcatchers to clothing and accessories. The possibilities are endless, and the best part is that you can personalize your boho art by experimenting with different colors, lengths, and arrangements of fringe elements.
Whether you're a beginner or an experienced crafter, adding fringe elements to your artwork can instantly elevate its boho aesthetic and bring a whimsical charm to your space. So, don't be afraid to express your creativity and let the fringe elements take center stage in your next DIY project.
Tassel Embellishments Galore
With a flicker of color and a swirl of texture, tassels bring a dynamic energy to your boho art, inviting you to explore the countless ways they can elevate your DIY projects. These classic bohemian embellishments are made from yarn, thread, or fabric strips, adding movement and playfulness to wall hangings, dream catchers, and jewelry.
You can create unique tassel designs by wrapping, looping, and trimming materials to achieve the desired look. To take your tassels to the next level, customize them with beads, charms, or feathers to enhance their bohemian aesthetic.
Incorporating tassels into your DIY projects allows you to express your personal style and creativity. You can experiment with different materials, colors, and textures to create one-of-a-kind pieces that reflect your individuality. Whether you're a seasoned crafter or a beginner, tassels are an accessible and versatile element to work with.
Textile Fringe Frenzy
Get ready to awaken a textile fringe frenzy in your boho art, as this dynamic element adds mesmerizing movement and depth to your creations.
You can create fringe using various materials like yarn, ribbon, or fabric strips, making it a versatile addition to your DIY projects. From wall hangings to clothing embellishments, fringe can enhance your boho art in countless ways.
What's more, you can incorporate fringe into existing pieces like pillows or curtains to give them a bohemian flair.
The best part? You can customize the length and density of the fringe to fit your unique aesthetic. Whether you're aiming for a bold, dramatic look or a subtle, understated vibe, fringe can be tailored to your artistic vision.
With its ability to add texture, movement, and visual interest, it's no wonder fringe is a staple in boho art. So, get creative and experiment with different materials, lengths, and densities to awaken your inner bohemian artist.
With fringe, the possibilities are endless, and your art will thank you.
Tassel Tales and Trinkets
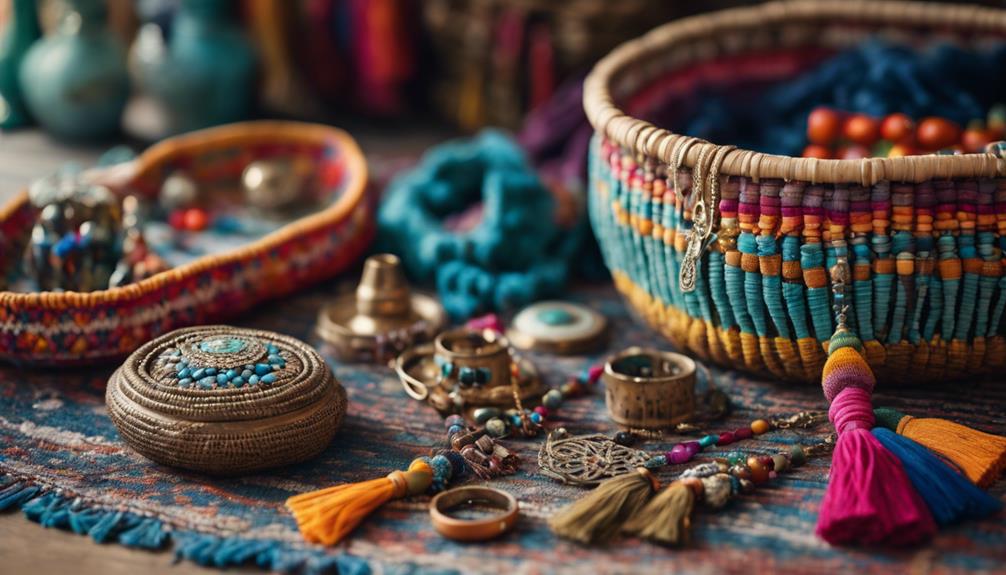
As you explore the world of boho art, you'll discover that tassels offer a realm of creative possibilities.
When it comes to tassel tales and trinkets, you can experiment with various color palette choices to match your unique style.
Master trinket embellishment techniques to add an extra layer of flair, and combine tassels in whimsical ways to create truly eye-catching pieces.
Tassel Color Palette Choices
You'll discover a world of creative possibilities when you start exploring the vast array of tassel color palette choices, from earthy tones that evoke a sense of natural calm to vibrant shades that pop with playful energy.
The colors you choose can greatly impact the mood and aesthetic of your boho art piece. Earthy tones like mustard yellow and terracotta can create a calming and natural feel, while bright colors like teal and fuchsia can inject a playful and energetic vibe.
Mixing and matching tassel colors can add depth and visual interest to your artwork, allowing you to create a dynamic and personalized look. Consider the overall theme or style of your artwork when selecting tassel colors – pastel hues can lend a soft and dreamy touch, while jewel tones can bring a rich and luxurious feel.
Don't be afraid to experiment with unconventional color combinations to create a unique and eye-catching piece that reflects your individual creativity and personality. With tassel color palette choices, the possibilities are endless, and the fun lies in exploring and finding the perfect combination for your boho art.
Trinket Embellishment Techniques
Now that you've explored the vast possibilities of tassel color palette choices, it's time to elevate your boho art with trinket embellishment techniques that add a playful, whimsical touch to your creations.
Trinkets, such as beads, charms, shells, and feathers, can be used to create unique and personalized boho art pieces. To get started, try experimenting with different trinket combinations to add texture and visual interest to your projects.
Here are a few ideas to get you started:
- Beaded Tassels: Thread beads onto your tassel thread for a colorful, eye-catching effect.
- Charmed Keychains: Attach charms to your tassels for a personalized touch.
- Feathered Accents: Use feathers to add a soft, whimsical element to your boho art.
Whimsical Tassel Combinations
Combine tassels of varying lengths, colors, and textures with trinkets like beads, feathers, or charms to create whimsical tassel combinations that tell a unique story in your boho art. This eclectic approach allows you to express your individuality and add a touch of personality to your art pieces.
You can mix and match different tassel sizes, from delicate threads to bold yarn knots, and pair them with trinkets that resonate with your personal style. For instance, you might combine a vibrant pink tassel with a feather charm and a few glass beads to create a statement piece that's both playful and sophisticated.
Vibrant Colors and Patterns
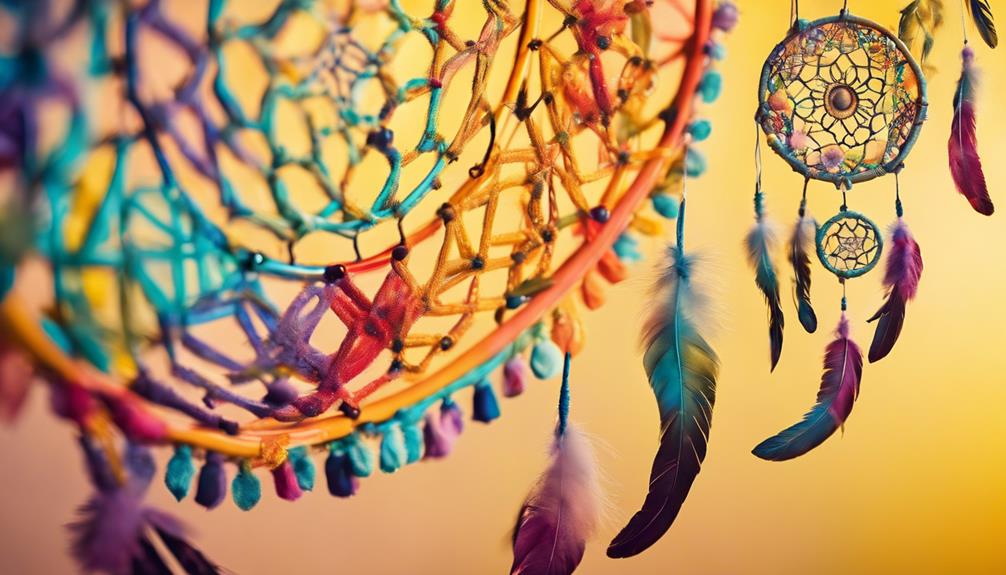
Immerse yourself in the world of boho art, where vibrant hues and intricate patterns propel you into a realm of dynamic visual storytelling. Deep teals, rich oranges, and earthy browns converge to evoke a sense of energy and warmth in this art form.
As you explore boho art, you'll notice that these colors and patterns are expertly mixed and matched to create a cohesive visual narrative.
Imagine a canvas that's a tapestry of:
- Deep teal accents that evoke the mystery of a midnight sky
- Rich orange hues that radiate warmth and energy
- Earthy brown tones that ground the piece in natural elegance
These colors, when combined with intricate patterns like paisleys, mandalas, and geometric designs, create a visual feast that's quintessentially bohemian.
Mixing Materials and Textures
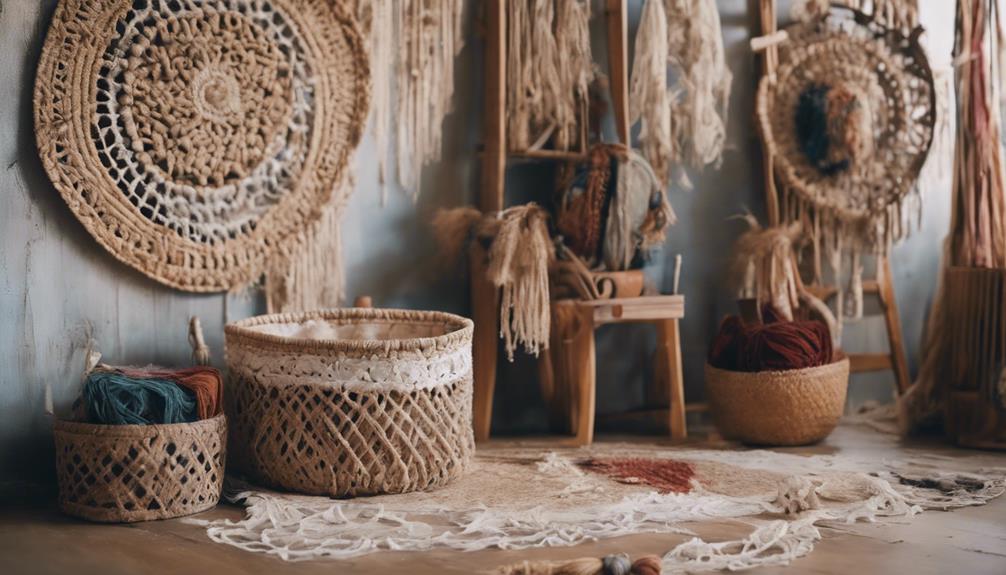
You'll take your boho art to the next level by incorporating natural elements, mixing materials, and experimenting with textures to add depth and visual interest to your creations.
To start, incorporate natural elements like wood, feathers, and macrame to add texture and depth to your art. You can also mix different materials such as canvas, fabric, and beads to create a visually interesting and tactile piece. Experimenting with contrasting textures like smooth vs. rough, shiny vs. matte, and soft vs. hard will give your art a dynamic bohemian look.
To add more dimension to your art, try layering fabric, paper, and other materials to build up a rich, textured surface. You can also combine traditional boho elements like fringe, tassels, and embroidery with modern materials to give your art a unique and contemporary twist.
Bohemian Inspiration Board
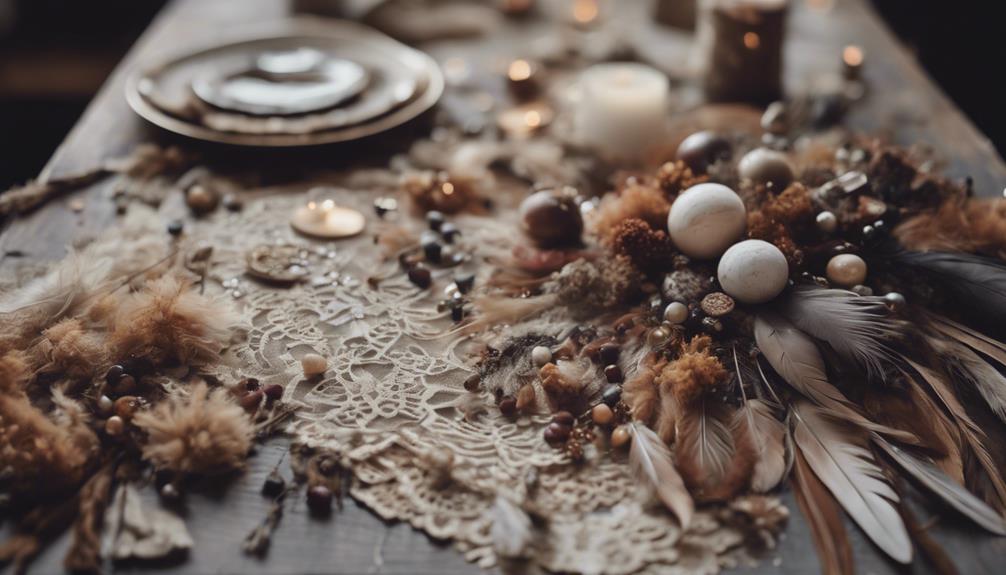
Create a bohemian inspiration board that reflects your free-spirited style by curating a mix of textures, colors, and patterns inspired by nature and global cultures. This visual representation of your artistic vision will serve as a constant source of inspiration and creativity.
To get started, gather a variety of elements that evoke a bohemian vibe. Consider incorporating:
- Dreamcatchers and macramé wall hangings to add a touch of mystical elegance
- Vintage textiles and eclectic artwork to inject a sense of global sophistication
- Plants, feathers, and crystals to bring in a whimsical and earthy feel
Experiment with different layouts and arrangements to create a visually appealing display. Don't be afraid to mix and match materials like fabric scraps, beads, and tassels to add depth and dimension.
Inspirational quotes can also be incorporated to provide an extra boost of motivation. By combining these elements, you'll create a bohemian inspiration board that's a true reflection of your artistic personality.
Upcycled Treasures and Finds
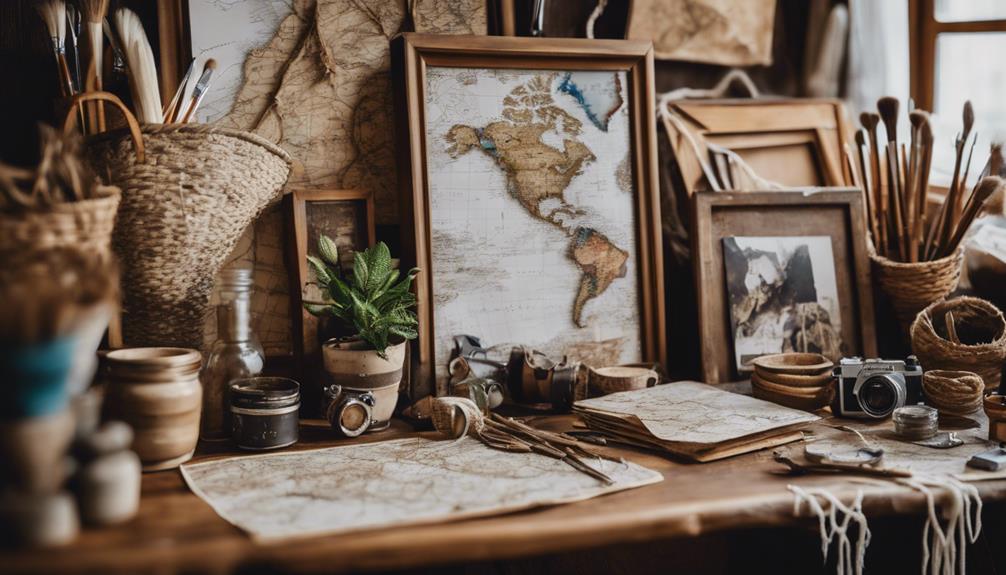
As you rummage through thrift stores, flea markets, and your own attic, you'll uncover unique upcycled treasures and finds that can be transformed into stunning bohemian art pieces. Vintage furniture, reclaimed wood, old windows, salvaged metal, and thrifted fabrics are just a few examples of the common treasures you can repurpose.
These items not only reduce waste and promote sustainability but also allow you to express your personal style and create one-of-a-kind decor pieces. By incorporating creative techniques like painting, decoupage, or embellishments, you can give new life to these discarded items.
Add some eclectic elements like macramé, tassels, fringe, beads, or feathers to enhance the bohemian charm. Upcycled boho art can be functional too, such as repurposed planters, wall hangings, dream catchers, or furniture, adding a touch of bohemian flair to any space.
With a little creativity, you can turn these upcycled treasures into breathtaking art pieces that reflect your free-spirited personality.
Whimsical Wall Hangings
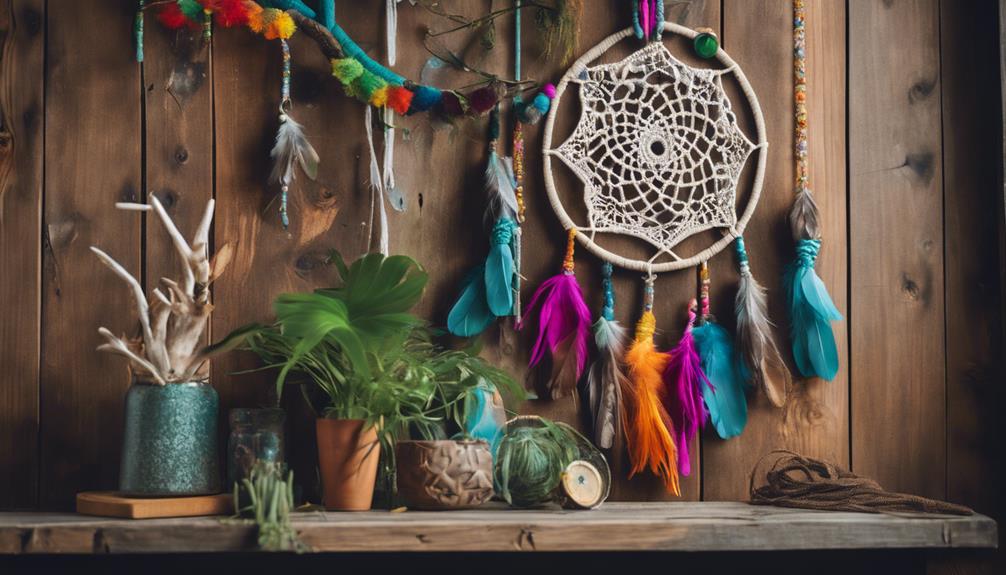
Transform your walls into a bohemian paradise with whimsical wall hangings that exude a carefree, eclectic vibe. These DIY masterpieces are perfect for adding a touch of personality to your space.
To create a bohemian-inspired wall hanging, consider incorporating natural materials like macramé, yarn, and wood for a rustic and earthy look.
Here are some elements to mix and match for a unique design:
- Beads, feathers, and tassels to add texture and visual interest.
- Experiment with weaving techniques like knots, loops, and fringe to create unique patterns.
- Combine shells, crystals, and fabrics to craft a one-of-a-kind piece that reflects your personal style.
Frequently Asked Questions
How to Make a Boho Design?
To create a boho design, start by incorporating natural elements like plants and feathers, then mix and match vintage and modern pieces, and finally, add personalized touches like unique art and textiles that reflect your style.
Which Paint Is Used for Boho Art?
You'll often reach for acrylic paint, like in Sarah's vibrant mandala piece, as it's perfect for bold, statement-making Boho art. However, watercolor, chalk, oil, or mixed media can also be used to achieve unique effects and textures.
What Does Boho Style Look Like?
Your boho style is a vibrant, eclectic mix of global patterns, textures, and colors, featuring natural materials, vintage finds, and handmade elements, all blended to reflect your unique, free-spirited personality.
What Are Boho Paintings?
As you set out on a creative journey, boho paintings unfold like a vibrant tapestry, woven with threads of spirituality, love, and nature, beckoning you to explore the domain of free-spirited artistry.
Conclusion
As you weave together the threads of bohemian art, remember that it's not just about creating something visually stunning – it's about crafting a reflection of your soul.
Your art is a tapestry of experiences, emotions, and stories, waiting to be unraveled and shared with the world.
So, let your creativity unfurl like a blooming flower, and watch as your unique boho style blossoms into a masterpiece that's truly one-of-a-kind.
- About the Author
- Latest Posts
Introducing Ron, the home decor aficionado at ByRetreat, whose passion for creating beautiful and inviting spaces is at the heart of his work. With his deep knowledge of home decor and his innate sense of style, Ron brings a wealth of expertise and a keen eye for detail to the ByRetreat team.
Ron’s love for home decor goes beyond aesthetics; he understands that our surroundings play a significant role in our overall well-being and productivity. With this in mind, Ron is dedicated to transforming remote workspaces into havens of comfort, functionality, and beauty.
Bohemian (Boho) Chic
How to Draw Boho Art: Easy Techniques for Everyone!
Craft unique, nature-inspired masterpieces with ease by exploring the essential techniques and secrets to creating stunning boho art that speaks to your soul.
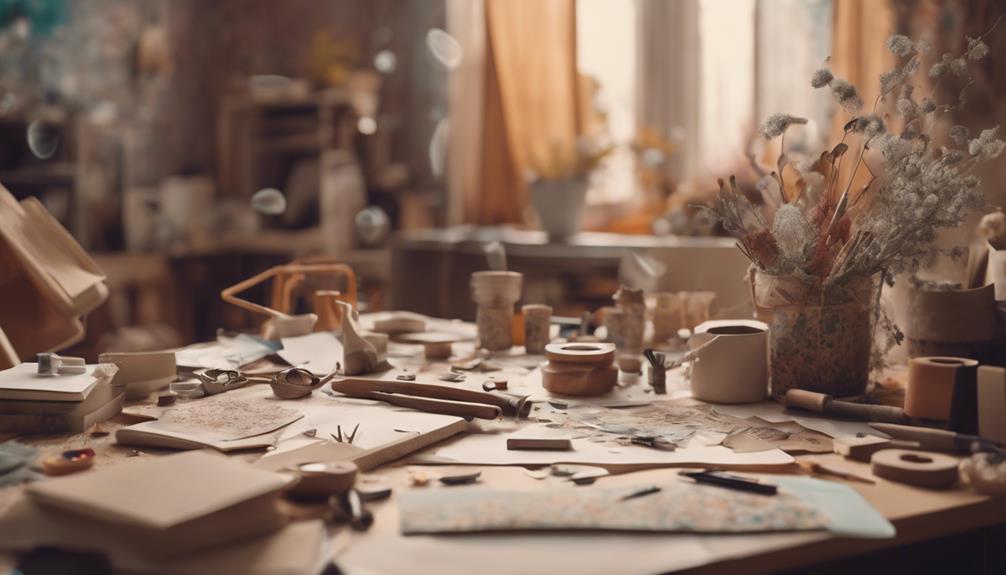
To reveal stunning boho art, start by gathering essential supplies like sketchbooks, pencils, and watercolor paints. Explore nature-inspired elements like botanical blooms, earthy textures, and geometric patterns. Experiment with earthy color palettes and incorporate symbolic icons like feathers and flowers. Build layers for depth using mixed media and don't be afraid to make mistakes – they can add unique character to your art. Balance composition with freedom by embracing imperfections and letting your creativity flow organically. As you continue to explore these techniques, you'll discover the secrets to creating authentic, visually striking boho art that reflects your personal style and connection to nature.
Key Takeaways
- Start with basic art supplies like sketchbooks, pencils, and watercolor paints to create a foundation for your boho art.
- Incorporate nature-inspired elements like botanical blooms, earthy textures, and geometric patterns to add visual interest.
- Use symbolic elements like feathers, arrows, and flowers to convey meaning and emotion in your art.
- Experiment with different mediums and techniques, like mixed media and textures, to add depth and visual appeal.
- Embrace imperfections and mistakes as opportunities to create unique and authentic boho art that reflects your personal style.
Gathering Essential Art Supplies
Your boho art journey begins with gathering the right tools, and fortunately, you don't need to break the bank to get started.
To create stunning boho art pieces, you'll need some basic art supplies. Start with the essentials like sketchbooks, pencils, erasers, and pens. These will help you sketch out your ideas and bring them to life.
For a softer, dreamier effect, consider adding watercolor paints and brushes to your collection. If you want to create bolder, more vibrant pieces, acrylic paints and canvas are the way to go.
Exploring Nature-Inspired Elements
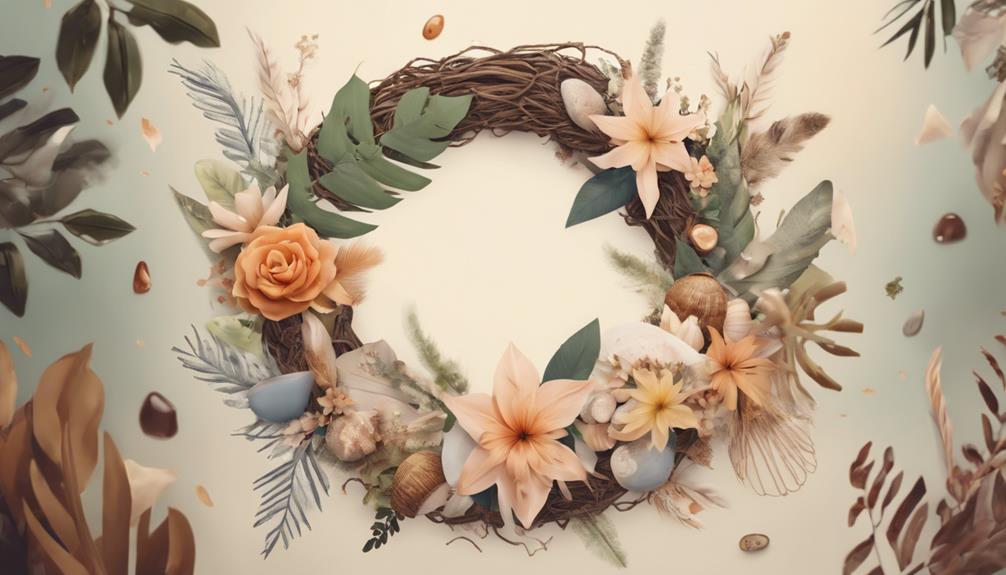
As you explore nature-inspired elements in your boho art, you'll want to incorporate patterns and textures that evoke the natural world.
Consider adding botanical bloom patterns, which can add a touch of whimsy and wonder to your artwork.
Botanical Bloom Patterns
Incorporating botanical bloom patterns into your boho art adds a touch of whimsy and organic beauty to the overall composition. These intricate designs, inspired by nature, feature flowers, leaves, and vines that can be created using various artistic tools. You can experiment with watercolor paints, fine line pens, or digital drawing tools to achieve different effects. By playing with color palettes, line weights, and layering techniques, you can enhance the depth and visual interest of your botanical designs.
Botanical bloom patterns are versatile elements that can be used in various boho art projects, such as illustrations, greeting cards, or home decor items. They can add a touch of elegance and sophistication to your artwork, making them perfect for any occasion.
Whether you're a seasoned artist or just starting out, incorporating botanical bloom patterns into your boho art is a great way to add some organic beauty and visual interest to your compositions. With practice and experimentation, you can create stunning botanical bloom patterns that will elevate your boho art to the next level.
Earthy Texture Details
To infuse your boho art with the essence of nature, try combining earthy textures like woodgrain, stone, and woven patterns with organic elements like feathers, leaves, and flowers. This fusion will add depth and dimension to your artwork, creating a visually appealing contrast between rough and smooth surfaces.
Experiment with different techniques to achieve these textures, such as layering paint or using mixed media materials like paper, fabric, or found objects. Don't be afraid to get creative and think outside the box – you can even incorporate natural materials like sand, shells, or dried botanicals to add an extra layer of authenticity.
Working With Earthy Color Palettes
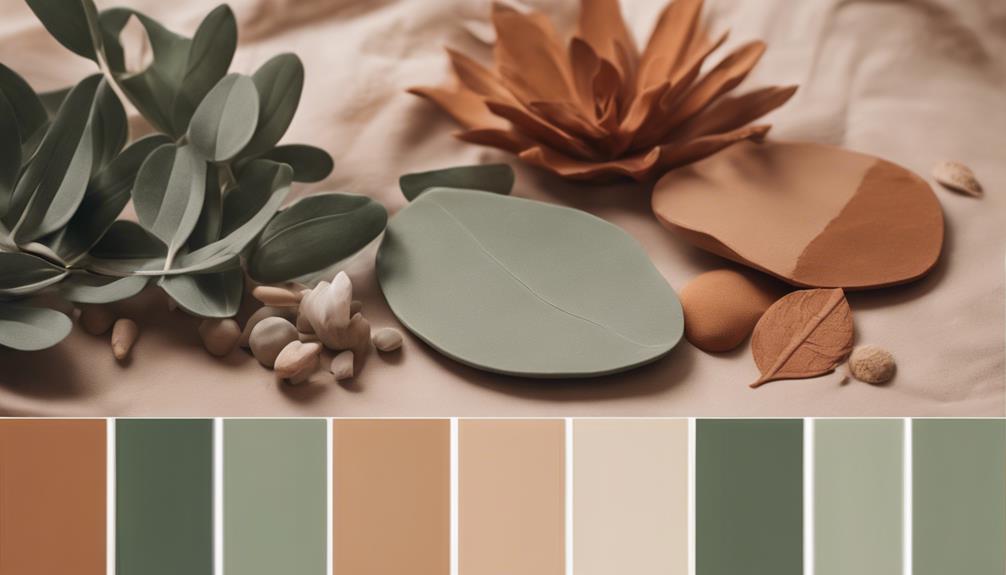
You'll often find that boho art pieces featuring earthy color palettes exude a natural, organic charm that's quintessentially bohemian. These palettes typically include shades like terracotta, olive green, mustard yellow, and warm browns, which evoke a sense of connection to nature and the earth. By incorporating these earthy tones into your boho art, you can create a harmonious and calming aesthetic that resonates with the bohemian spirit.
Here's a breakdown of some popular earthy color palettes and their characteristics:
| Color | Description | Effect |
|---|---|---|
| Terracotta | Warm, earthy red | Cozy, inviting |
| Olive Green | Muted, yellow-green | Natural, calming |
| Mustard Yellow | Vibrant, golden yellow | Energizing, playful |
| Warm Browns | Rich, earthy neutrals | Grounding, soothing |
| Earthy Tones | Combination of above | Harmonious, bohemian |
Creating Geometric Patterns Easily
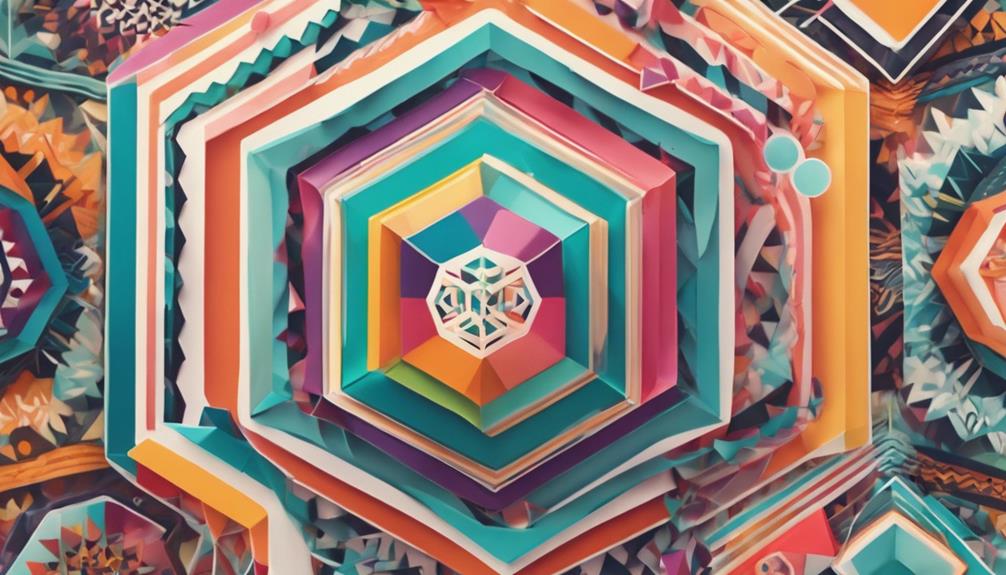
Now that you've got a handle on earthy color palettes, let's add some visual interest to your boho art with geometric patterns that are easy to create and packed with bohemian flair.
To get started, grab your compass and ruler to create precise geometric shapes like circles, triangles, and squares. Don't be afraid to experiment with different line thicknesses and patterns within these shapes to add depth and visual interest to your artwork.
Incorporate elements like feathers, arrows, or dreamcatchers into your geometric patterns to give them a bohemian twist. Play with various color combinations and shading techniques to make your geometric patterns pop and stand out in your boho art piece.
Adding Texture With Mixed Media
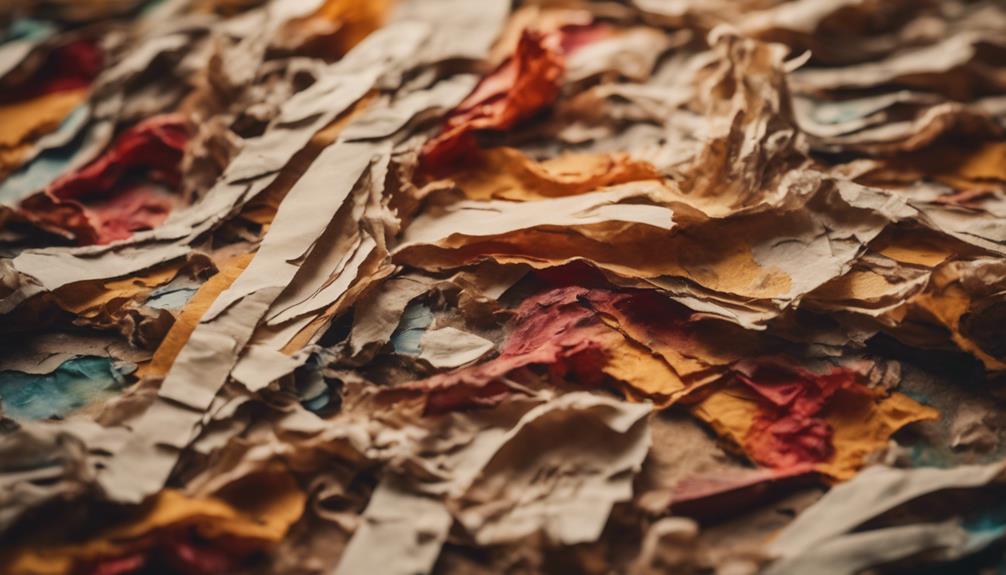
By combining a variety of materials and techniques, you can add a tactile quality to your boho art that draws the viewer in and invites them to explore the texture and depth of your piece. To achieve this, experiment with different materials like acrylic paint, watercolors, and pastels to create unique textures. You can also incorporate natural elements like dried leaves, twigs, or fabric scraps to give your art a more earthy feel.
Here are three techniques to try:
- Splattering and sponging: Use unconventional tools like sponges or even your fingers to create interesting textures.
- Layering: Build up layers of different materials to add depth and dimension to your artwork.
- Contrasting textures: Combine smooth surfaces with rough textures to create a visually dynamic piece.
Building Layers for Depth
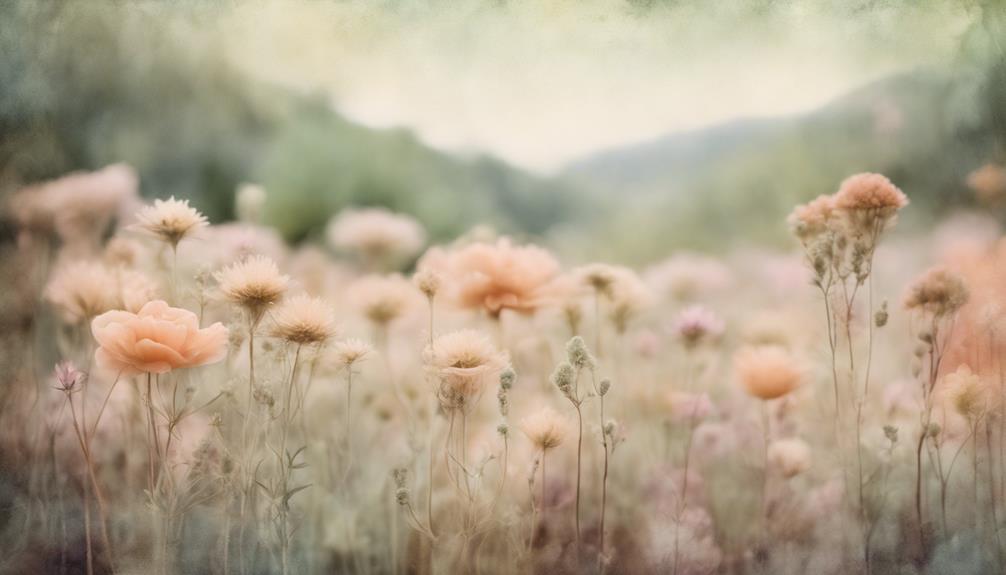
As you immerse yourself in building layers for depth, start with a base layer that sets the tone for your artwork, whether it's a bold brushstroke, a delicate watercolor wash, or an intricate pattern. This foundation will provide a sense of direction for the rest of your creative process.
From here, you can begin to add multiple elements to create depth and richness in your artwork. Experiment with different mediums like watercolors, acrylics, and markers to create layers with varying textures and colors. Don't be afraid to try out new techniques and styles – building layers in boho art allows for creative freedom and exploration.
As you add details, patterns, and textures, consider playing with transparency and opacity to create a sense of dimensionality. Remember, the key to building layers is to start with a solid foundation and gradually add complexity. By doing so, you'll be able to create a visually striking piece of boho art that showcases your unique style.
Incorporating Symbolic Boho Icons
As you explore the world of boho art, you'll likely find yourself drawn to symbolic icons that add depth and meaning to your creations.
From majestic animals to ornate nature-inspired emblems, these elements can elevate your art and convey your unique perspective.
Symbolic Animal Drawings
What kind of symbolic animal drawings can you incorporate into your boho art to infuse it with a deeper sense of nature and spirituality?
One way to do this is by incorporating symbolic animal drawings like feathers, wolves, and deer into your artwork. These drawings can add a layer of meaning and depth to your boho art, representing qualities like strength, freedom, and intuition.
Here are three ways to take your symbolic animal drawings to the next level:
- Intricate patterns and designs:
Add intricate patterns and designs within the animal drawings to enhance the bohemian aesthetic and add depth to your artwork.
- Experiment with mediums:
Experiment with different mediums such as watercolors, pens, or digital tools to create unique and eye-catching animal illustrations in your boho art.
- Research symbolism:
Research the meanings and symbolism behind the animals you choose to draw, as they can represent various qualities like strength, freedom, or intuition in boho culture.
Nature-Inspired Emblem Designs
Incorporate symbolic boho icons into your art by designing nature-inspired emblems that reflect your personal connection to the natural world, blending elements like feathers, arrows, and flowers with earthy tones and geometric patterns. These emblems can be used to represent your personal values, spirituality, or connection to nature.
Here are some ideas to get you started:
| Element | Meaning | Example |
|---|---|---|
| Feathers | Freedom, spirituality | A dreamcatcher with feathers and beads |
| Arrows | Protection, strength | A shield with arrows and leaves |
| Flowers | Growth, renewal | A wreath with flowers and vines |
| Geometric patterns | Unity, harmony | A mandala with natural elements |
| Earthy tones | Natural, organic | A landscape with browns, greens, and blues |
Remember to experiment with different textures and techniques, such as watercolor, pen and ink, or digital art, to add depth and interest to your emblems. You can also incorporate animals like wolves, bears, or birds to symbolize strength, freedom, or spirituality. By combining these elements, you can create unique and visually appealing emblems that reflect your personal style and connection to nature.
Balancing Composition With Freedom
Kick-start your boho art by tossing out the rulebook and striking a balance between composition and freedom, allowing your creativity to flow organically. Bohemian art is all about embracing the unconventional, but that doesn't mean you can't create a visually appealing piece.
The key is to find a balance between composition elements like symmetry and contrast, and the carefree spirit of boho art.
Here are three ways to achieve this balance:
- Experiment with different mediums: Mix and match watercolors, acrylics, and mixed media to add depth and texture to your artwork.
- Embrace imperfections: Don't be afraid to leave a little mess or unevenness in your composition – it's all part of the boho charm.
- Play with organic shapes: Incorporate natural forms like leaves, flowers, and branches to bring a sense of freedom and whimsy to your art.
Embracing Imperfections and Mistakes
By letting go of your need for perfection, you'll find that imperfections and mistakes become an integral part of the boho art process, allowing you to tap into a more authentic and organic creative flow. As you embrace the bohemian style, you'll discover that mistakes can often lead to unexpected and unique artistic outcomes. This approach encourages you to let go of perfectionism and celebrate the beauty of flaws.
Rather than seeing mistakes as errors, try to view them as opportunities for growth and creativity. This mindset shift will help you develop your own distinctive and expressive artistic voice. Remember, boho art is all about embracing the imperfect and finding beauty in the unexpected. By doing so, you'll create art that's truly authentic and reflective of your unique perspective.
As you continue to draw and experiment with boho art, keep in mind that imperfections are an essential part of the process. Don't be too hard on yourself if things don't turn out as planned – instead, see where the mistakes take you. You might be surprised at the unique and beautiful outcomes that arise from embracing imperfections and mistakes.
Frequently Asked Questions
How to Make Boho Art Color?
"To make boho art color, start by selecting earthy tones like browns, greens, and yellows, then add pops of vibrant colors like turquoise or coral for contrast. Mix and match shades for a layered look!"
What Is the Dabbing Technique in Painting?
"Imagine smooth, flat colors versus vibrant, textured ones – that's the magic of dabbing Get ready to elevate your art game by applying paint in small, rhythmic dabs, creating a layered, dimensional look that pops!"
What Is Boho Style Painting?
You're curious about boho style painting It's a vibrant, free-spirited art form that combines bold colors, intricate patterns, and nature-inspired elements, embracing individual expression and experimentation with various techniques and materials.
How Does Underpainting Work?
"Did you know 80% of a painting's success comes from its underpainting? As you start, apply a base layer to your canvas, setting the tone and composition. This foundation lets colors interact, adding depth and richness to your final piece."
Conclusion
As you put down your brush, step back, and gaze at your bohemian art piece, the chaos of colors and patterns transforms into a harmonious dance.
The imperfect lines, the uneven textures, and the muted hues blend together in perfect discord, evoking the free-spirited essence of boho art.
In this beautiful mess, you'll find a reflection of yourself – a celebration of individuality, creativity, and the beauty of imperfection.
- About the Author
- Latest Posts
Introducing Ron, the home decor aficionado at ByRetreat, whose passion for creating beautiful and inviting spaces is at the heart of his work. With his deep knowledge of home decor and his innate sense of style, Ron brings a wealth of expertise and a keen eye for detail to the ByRetreat team.
Ron’s love for home decor goes beyond aesthetics; he understands that our surroundings play a significant role in our overall well-being and productivity. With this in mind, Ron is dedicated to transforming remote workspaces into havens of comfort, functionality, and beauty.
-
 Vetted3 weeks ago
15 Best Contact Paper for Kitchen Cabinets to Elevate Your Home Decor
-

 Vetted6 days ago
15 Best Poe Cameras for Home Security – Reviews & Buying Guide
-
 Vetted3 weeks ago
15 Best Leather Restorer Products to Revive Your Furniture and Accessories
-

 Vetted4 weeks ago
15 Best Leg Massagers to Relieve Tension and Improve Circulation – Ultimate Guide
-

 Vetted2 weeks ago
15 Best Drain Snakes to Unclog Your Pipes Like a Pro
-

 Beginners Guides1 week ago
Swinger Porch Light Color
-

 Vetted3 weeks ago
14 Best Stationery Brands for Your Next Writing Adventure
-
 Mardi Gras Decoration3 weeks ago
Why Does Hobby Lobby Not Do Mardi Gras?


