Decor
Transform Ugly Patio Furniture With These 7 Tips
Turn your tired patio furniture into a stylish outdoor haven with these 7 transformative tips – ready for a stunning makeover!

Transform your tired patio furniture effortlessly with expert tips. First, assess wear and tear, repair or replace as needed, and clean with suitable methods. Then, opt for a new color palette that complements your space. Upgrade comfort with quality cushions and pillows. Enhance the look with unique decor like planters, rugs, and lighting. Add a personal touch with DIY projects. Master these steps for a stunning outdoor oasis.
Key Takeaways
- Assess furniture condition and repair costs for cost-effective decisions.
- Select a fresh color scheme to revamp and harmonize outdoor space.
- Upgrade comfort with UV-protected cushions and stylish pillow accents.
- Enhance decor with unique planters, rugs, lights, and DIY projects.
- Salvage and transform furniture with cleaning, repairs, and personal style touches.
Evaluate Current Furniture Condition
Let's start by thoroughly examining the current state of our patio furniture to identify any damage or wear that may require attention. It's vital to assess the condition of the patio furniture to determine if there are any signs of rust, peeling paint, or broken parts that need repair. By carefully inspecting each piece, we can decide whether the furniture is salvageable or if it requires replacement.
When evaluating the furniture, we should consider the cost of repairing versus buying new pieces. This financial aspect will help us make an informed decision on the best course of action. Additionally, it's important to evaluate the potential for transformation through painting, cushion replacement, or other updates.
Choose Appropriate Cleaning Methods
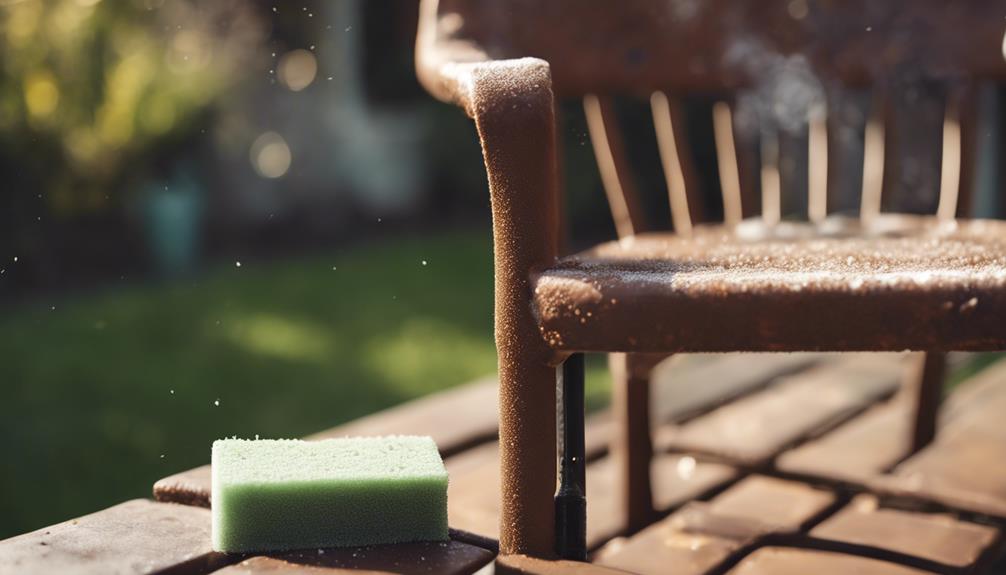
After evaluating the current condition of our patio furniture, the next step is to select appropriate cleaning methods to revitalize the pieces and enhance their appearance.
Power washing proves effective in removing dirt, grime, and mold from various materials. A mild detergent and water solution work well for gently cleaning cushions and fabric covers. Metal furniture can be cleaned using a mixture of vinegar and water without causing any damage. When dealing with wooden furniture, a combination of soap and water followed by a wood cleaner is recommended to maintain its quality.
By incorporating these cleaning methods into a regular maintenance routine, the patio furniture won't only look nice but also last longer. Remember that thorough cleaning can often revive items that initially seemed beyond repair, saving you the need to throw away and replace them.
With proper care and attention, your patio furniture can be transformed to look as good as new without the need for expensive replacements or professional services.
Repair or Replace Broken Parts
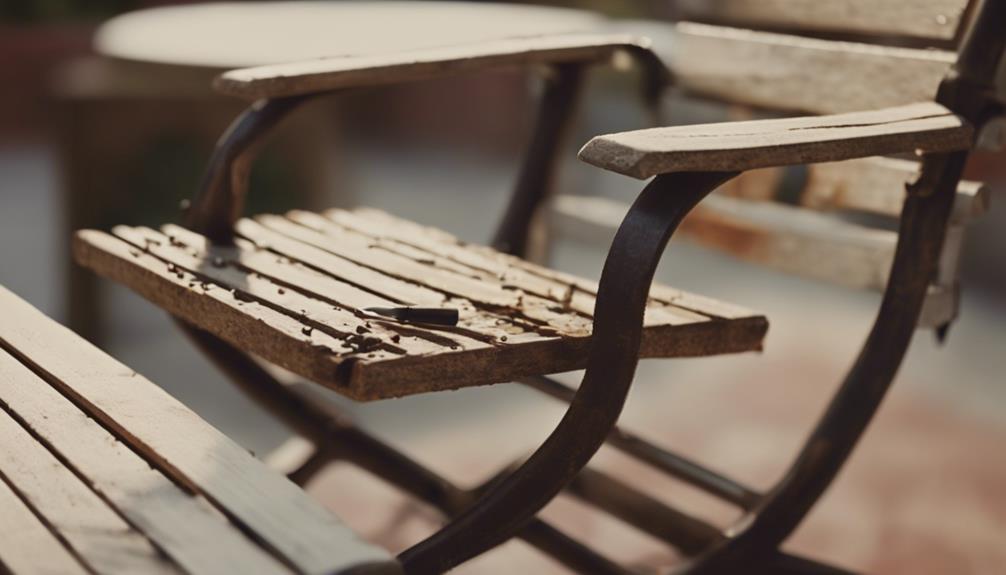
When evaluating damaged patio furniture, it's important to assess the severity of issues like broken frames and worn cushions. Repairing broken frames can involve reinforcing weak spots or replacing damaged sections to guarantee structural integrity.
Upgrading worn cushions may include replacing foam inserts or investing in new fabric covers for a fresh look and enhanced comfort.
Fixing Broken Frames
When addressing broken frames on patio furniture, assess the extent of damage to determine whether repair or replacement is necessary. DIY repairs can often be done using wood glue, metal brackets, or replacement parts for broken frames. However, for more complex damage, seeking professional help is advisable to guarantee the structural integrity of the furniture.
Using weather-resistant materials for repairs is essential to prevent future damage from outdoor elements. Regular maintenance and inspections are key to identifying issues early on and preventing severe damage to patio furniture frames.
- Consider DIY repairs using wood glue, metal brackets, or replacement parts for broken frames.
- Seek professional help for complex repairs or replacements to guarantee structural integrity.
- Use weather-resistant materials for repairs to prevent future damage from outdoor elements.
- Regular maintenance and inspections can help prevent severe damage to patio furniture frames.
Upgrading Worn Cushions
Let's enhance the comfort and appearance of your patio furniture by upgrading worn cushions and repairing or replacing any broken parts. Repairing broken parts, such as loose screws or wobbly legs, can greatly extend the lifespan of your outdoor furniture.
When it comes to worn-out cushions, replacing them with new ones made of durable outdoor fabric not only improves comfort but also enhances the overall look of your patio set. DIY cushion covers offer a vital touch to match your style preferences. It's important to look for cushion replacement options that offer UV protection to prevent fading due to sun exposure.
Upgrading cushion inserts with high-quality foam or padding ensures better support and longevity, making your outdoor seating more enjoyable and durable for years to come. By taking these steps, you can revamp your patio furniture and create a cozy outdoor retreat for relaxation and entertainment.
Select a Fresh Color Scheme
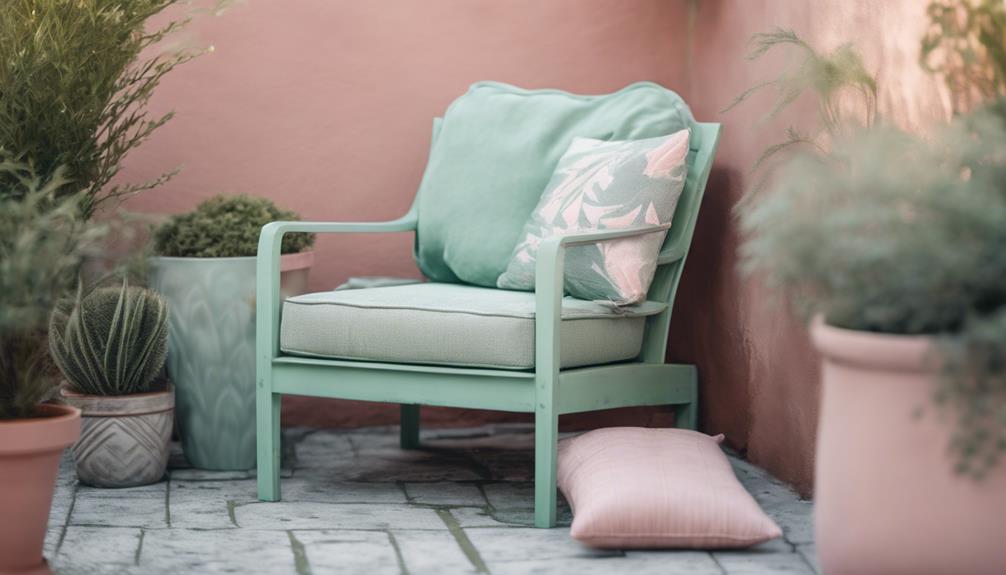
To revamp your patio furniture, we should carefully choose a fresh color scheme that complements the outdoor space and existing decor. Consider popular outdoor color trends such as neutral tones, blues, greens, or earthy hues to create a cohesive and inviting atmosphere.
Bright colors can add a fun and vibrant touch to your patio furniture, injecting energy into the outdoor space. Utilizing color psychology, you can evoke specific emotions or set a particular mood in your outdoor area by selecting the right color palette.
- Harmonize with Outdoor Space: Guarantee the chosen colors blend seamlessly with the natural elements and surroundings of your patio.
- Reflect Your Style: Pick colors that resonate with your personal taste and reflect the overall aesthetic you wish to achieve.
- Complement Existing Decor: Coordinate the new color scheme with your outdoor cushions, pillows, and other decorative elements for a unified look.
- Experiment with Accents: Introduce pops of color through accessories or accent pieces to add visual interest and depth to your patio furniture.
Add Comfortable Cushions and Pillows
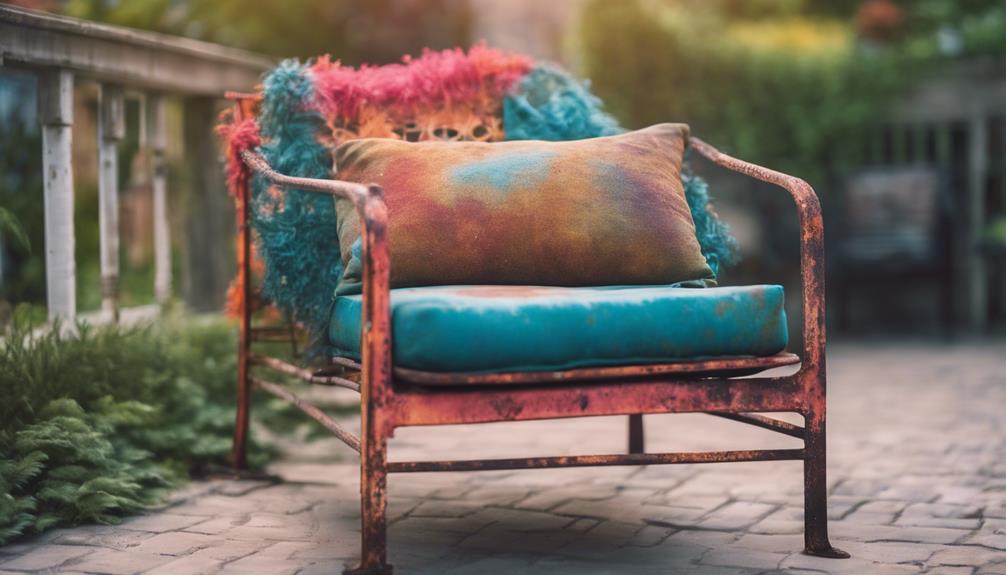
When it comes to enhancing the comfort and appeal of your outdoor space, adding cushions and pillows to your patio furniture is a game-changer. Not only do they provide a soft and cozy seating experience, but they also inject a pop of color and style into your patio decor.
Cushion Selection Tips
Select outdoor cushions made from UV-resistant and water-repellent fabrics to guarantee durability and longevity in your patio furniture ensemble.
When choosing cushions, opt for those with quick-drying capabilities to withstand outdoor elements and ensure they maintain their shape and quality over time.
Consider the thickness and firmness of the cushions to provide maximum comfort and support for extended periods of lounging.
Look for removable and washable cushion covers to facilitate easy maintenance and cleaning, keeping your outdoor space looking fresh and inviting.
Finally, coordinate the colors and patterns of the cushions with your existing patio decor to create a cohesive and visually appealing outdoor setting.
Pillow Styling Ideas
Let's explore some creative ways to style your patio with comfortable cushions and pillows. Outdoor pillows not only provide comfort but also add a touch of style to your outdoor space, elevating the overall ambiance.
By mixing and matching different pillow patterns and colors, you can create a visually appealing and personalized design scheme on your patio. Opt for weather-resistant and easy-to-clean outdoor pillows to guarantee they withstand various weather conditions, maintaining their longevity and durability.
DIY outdoor pillows offer a cost-effective solution for customizing your patio decor to align with your unique preferences and style. Incorporating these pillows into your patio furniture can instantly transform a dull outdoor area into a cozy and inviting space for relaxation and entertainment.
Whether you prefer vibrant hues or subtle tones, the right selection of pillows can enhance the aesthetic appeal of your patio while providing a comfortable setting for you and your guests to enjoy.
Incorporate Creative Decor Elements

Enhance your patio's aesthetic by incorporating creative decor elements such as unique planters, outdoor rugs, string lights, water features, and decorative items.
When it comes to planters, think outside the box by using repurposed containers or hanging baskets to add visual interest and a touch of originality to your outdoor space.
Outdoor rugs with bold patterns or vibrant colors not only define different areas but also inject a burst of style into your patio.
Unique Planters: Repurpose containers or hanging baskets for visual interest.
Outdoor Rugs: Define areas with bold patterns or colors for added style.
String Lights: Hang lights or lanterns to create a cozy ambiance for evening use.
Water Features: Install small fountains or birdbaths to introduce a calming element and attract wildlife.
Additionally, consider incorporating string lights or lanterns to create a cozy ambiance, extending the usability of your patio into the evening.
Adding a water feature like a small fountain or birdbath can introduce a calming element and attract wildlife to your outdoor oasis.
Personalize With DIY Projects
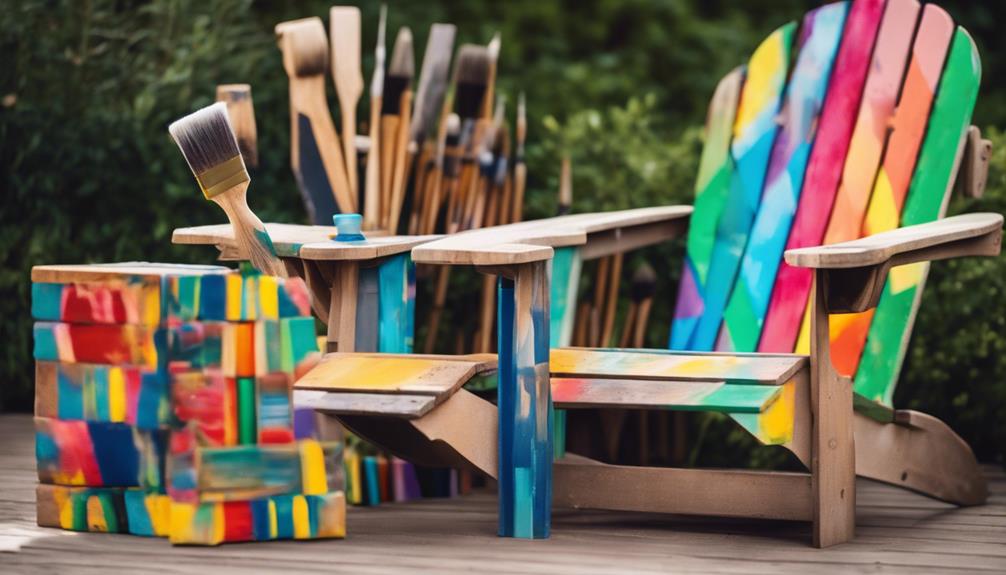
To undertake a personal touch to our patio furniture, we can engage in DIY projects that offer a creative and budget-friendly way to customize our outdoor space. DIY projects provide an avenue for expressing individuality through unique and innovative designs, allowing us to tailor our patio furniture to match our preferences perfectly.
By incorporating personal touches like custom paint jobs, handcrafted cushions, or decorative accents, we can elevate the overall aesthetic of our outdoor living area. These projects not only add a personalized charm but also serve as a satisfying creative outlet where we can showcase our style and creativity.
The process of engaging in DIY projects for patio furniture can be both enjoyable and fulfilling, offering a sense of accomplishment as we transform ordinary pieces into personalized works of art. Whether it's upcycling old furniture or creating new pieces from scratch, DIY projects present endless possibilities for enhancing our outdoor decor with a personal touch.
Frequently Asked Questions
How Can I Make My Old Outdoor Furniture Look Better?
To make old outdoor furniture look better, we suggest starting with a fresh coat of outdoor quality spray paint for an instant transformation.
Consider recovering cushions in durable outdoor fabrics or painting them for a modern touch.
Add weather-resistant outdoor pillows in coordinating colors and patterns to enhance comfort and style.
For tables, replacing glass tops with wooden ones can offer a more functional and visually appealing solution.
Explore DIY projects for further inspiration.
How to Spruce up an Ugly Patio?
To spruce up an ugly patio, we recommend starting with a thorough cleaning using a mild soap and water solution.
Next, consider repainting or refinishing any worn or faded furniture pieces to give them a fresh look.
Adding colorful outdoor cushions, pillows, and rugs can instantly elevate the space.
Don't forget to incorporate potted plants, outdoor lighting, and decorative accents to create a welcoming outdoor oasis for relaxation and entertainment.
How to Make Cheap Outdoor Furniture Look Expensive?
To make cheap outdoor furniture look expensive, consider incorporating decorative elements like throw pillows or outdoor rugs for added elegance.
Upgrading hardware such as drawer pulls or hinges can enhance the overall appearance.
Investing in high-quality outdoor cushions and covers will provide a more luxurious feel.
Faux stone spray paint can transform plastic or resin furniture into a sophisticated stone-like finish.
Additional lighting options like string lights or lanterns can create an upscale ambiance on a budget.
How to Make Ugly Furniture Look Good?
When faced with the challenge of making ugly furniture look good, we suggest starting with a thorough cleaning to remove dirt and grime.
Next, consider strategic placement of decorative elements like vibrant cushions or cozy pillows to divert attention from flaws.
Additionally, utilizing clever color coordination can work wonders in enhancing the overall appearance.
Conclusion
To sum up, transforming unappealing patio furniture doesn't have to be a challenging task. By assessing the current condition, selecting appropriate cleaning methods, repairing or replacing broken parts, choosing a new color scheme, adding cozy cushions and pillows, incorporating imaginative decor elements, and personalizing with DIY projects, you can breathe new life into your outdoor space.
Remember, with a little time and effort, you can turn your patio into a stylish and welcoming oasis for relaxation and entertainment.
- About the Author
- Latest Posts
Introducing Ron, the home decor aficionado at ByRetreat, whose passion for creating beautiful and inviting spaces is at the heart of his work. With his deep knowledge of home decor and his innate sense of style, Ron brings a wealth of expertise and a keen eye for detail to the ByRetreat team.
Ron’s love for home decor goes beyond aesthetics; he understands that our surroundings play a significant role in our overall well-being and productivity. With this in mind, Ron is dedicated to transforming remote workspaces into havens of comfort, functionality, and beauty.
Decor
10 Steps to Painting a Plastic Frame
Uncover professional tips for transforming plastic frames with paint, ensuring a flawless finish and lasting results.
To paint a plastic frame effectively, start by selecting polypropylene or polyethylene frames. Clean thoroughly and lightly sand before applying a suitable primer. Use rubbing alcohol for a smooth finish, then mask off areas and apply even coats of paint with proper drying time. Add creative touches and seal with polyurethane for protection. This process guarantees a professional-looking result that lasts.
Key Takeaways
- Select plastic frames suitable for painting, avoiding PVC or polystyrene.
- Thoroughly clean and lightly sand the frame for adhesion.
- Apply a plastic-specific primer evenly after surface prep.
- Use painter's tape for clean lines and masking off.
- Seal with polyurethane for protection and finish longevity.
Selecting the Right Plastic Frame
When selecting a plastic frame for painting, make sure it's made of suitable materials like polypropylene or polyethylene for better paint adhesion. Different plastics have varying levels of compatibility with paint, so it's important to choose the right type to achieve best results.
Avoid using frames made of polyvinyl chloride (PVC) or polystyrene, as these materials may not allow the paint to adhere effectively, leading to peeling or flaking over time.
Certain types of paint may also work better with specific plastic frames. Checking the manufacturer's recommendations for the frame can provide valuable insights into which paints are most suitable for that particular material.
Opting for plastic frames specifically designed for painting can ensure a smoother process and a more professional finish.
Cleaning and Sanding the Surface
How should we prepare the plastic frame surface before painting to guarantee excellent adhesion and a smooth finish? To guarantee a successful paint job, follow these steps:
- Cleaning:
Begin by thoroughly cleaning the plastic frame to remove any dirt, dust, or grime. This step is vital as any impurities on the surface can affect the adhesion of the paint.
- Sanding:
Lightly sand the surface of the plastic frame to create a rough texture. This roughness provides a better grip for the paint, allowing it to adhere more effectively and prevent peeling or chipping.
- Primer:
Consider applying a suitable primer after cleaning and sanding the frame. A primer helps the paint adhere better to the surface and can also aid in achieving a smoother finish.
- Masking:
Before painting, make sure to mask off any areas of the frame that you don't want to paint. This step ensures clean and precise lines, giving your project a professional look.
Wiping Down With Rubbing Alcohol
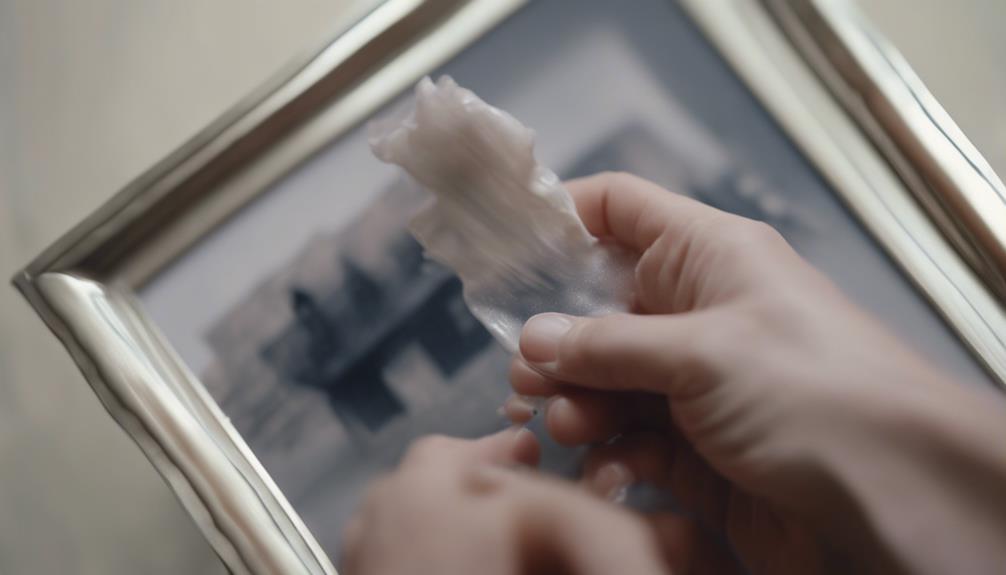
We recommend wiping down the plastic frame with rubbing alcohol to guarantee proper adhesion and a smooth finish before painting. Rubbing alcohol plays a vital role in preparing the plastic surface for painting by effectively removing any dirt, oils, or residue that could hinder paint adhesion. This step ensures that the paint adheres well to the plastic surface, reducing the risk of peeling or flaking over time. The quick evaporation of rubbing alcohol leaves behind a clean and dry surface, ready for the next steps in the painting process.
To illustrate the importance of this step, let's take a look at the table below:
| Benefits of Wiping Down with Rubbing Alcohol |
|---|
| Removes dirt, oils, and residue from the plastic surface |
| Enhances paint adhesion for a smoother finish |
| Quick evaporation leaves a clean surface ready for painting |
| Prevents peeling or flaking of the paint over time |
| Effective and efficient preparation before priming or painting |
Masking Off Areas for Painting

When masking off areas for painting a plastic frame, it's essential to use painter's tape to guarantee clean lines and edges.
Make sure to press down firmly on the tape to avoid any paint bleeding onto unwanted areas.
Carefully mask off intricate details or sensitive parts to achieve a professional finish.
Taping off Edges
To achieve clean and precise lines in your painting, carefully use painter's tape to mask off areas of the plastic frame that you don't want to paint.
Here are some essential steps to follow when taping off edges:
- Prepare the Surface: Make sure the edges are clean and dry before applying the tape to promote adhesion and prevent paint seepage.
- Apply the Tape: Gently press the painter's tape along the edges of the areas you want to protect, ensuring it adheres firmly to the surface.
- Seal the Edges: Run your finger along the edge of the tape to secure it tightly to the plastic frame and prevent any paint from bleeding through.
- Double-Check: Before painting, inspect the taped-off areas to confirm that the edges are properly sealed and that there are no gaps where paint could seep under the tape.
Taking the time to tape off the edges meticulously will result in a professional and polished finish for your painted plastic frame.
Covering Sensitive Parts
Cover delicate parts like glass or hardware with masking paper or plastic before painting the plastic frame to protect them from unwanted paint.
When working on plastic frames, it's important to use painter's tape to mask off areas that shouldn't be painted. Make sure the painter's tape is firmly pressed down to create a tight seal and prevent any paint from seeping through.
In addition to using painter's tape, consider covering sensitive components such as glass or hardware with masking paper to safeguard them during the painting process. Taking the time to accurately mask off these areas will result in clean and precise paint lines, contributing to a professional-looking finish on your plastic frame.
Properly covering these sensitive parts is essential in achieving a polished and refined appearance for your painted plastic frame.
Applying a Suitable Primer
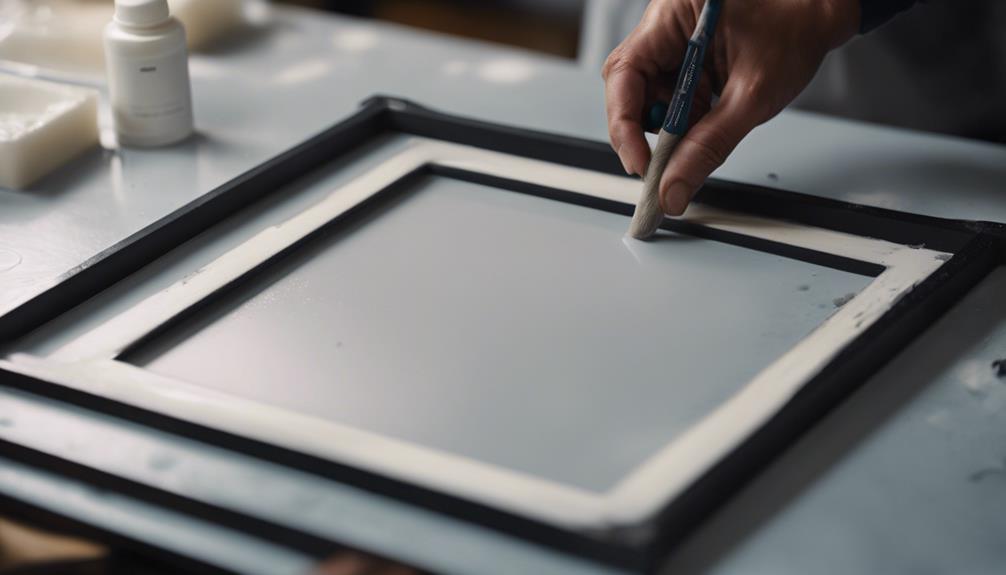
Let's kick off this step by prepping the plastic frame with a primer that's compatible with plastic surfaces. Here's what you need to know:
- Choose the Right Primer: Select a primer specifically designed for plastic frames to guarantee proper adhesion.
- Apply Evenly: Use smooth, consistent strokes to apply the primer evenly over the entire surface of the frame.
- Allow Sufficient Drying Time: Let the primer dry completely as per the manufacturer's instructions before proceeding with the next steps.
- Ensure Complete Coverage: Make sure the primer covers the plastic frame entirely to establish a strong base for the paint.
Using Appropriate Paint for Plastic

After preparing the plastic frame with a suitable primer, the next crucial step involves selecting the right paint specifically formulated for plastic surfaces.
When painting a plastic picture frame, it's vital to choose a type of paint that's designed to adhere to plastic materials. Using regular paints may result in poor adhesion, leading to peeling or chipping off easily. To guarantee a durable and long-lasting finish, opt for acrylic paint or other paints labeled for plastic surfaces. These specialized paints are formulated to bond effectively with plastic, preventing flaking and ensuring a smooth application.
Whether you prefer spray paints for a quick and even coverage or brush-on paints for more detailed work, selecting the appropriate paint for your plastic picture frame is key to achieving a professional-looking result.
Applying Even Coats of Paint
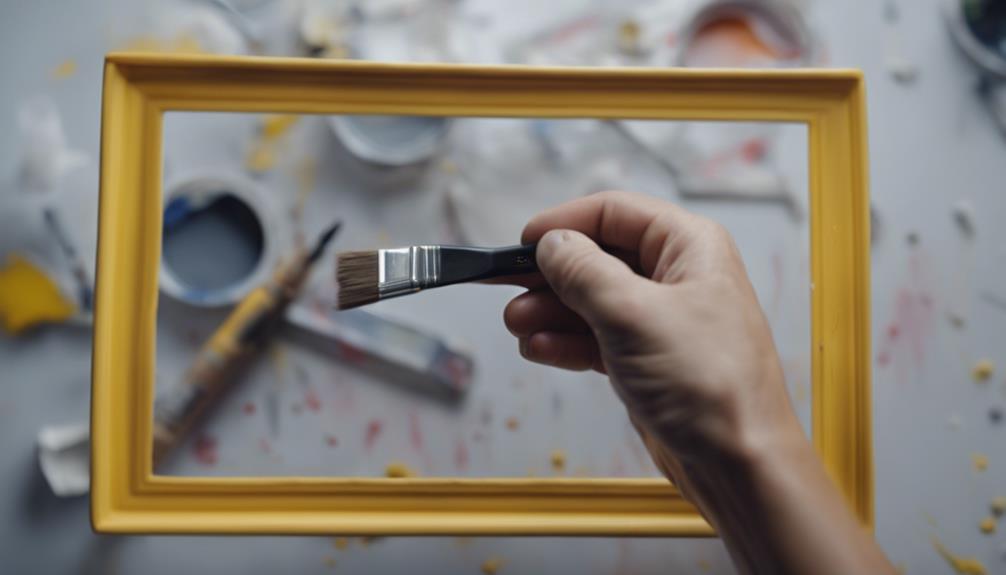
To achieve a smooth and professional finish on a plastic frame, it's essential to apply even coats of paint. When painting picture frames, following these guidelines guarantees a flawless result:
- Apply Thin and Even Coats: Each layer of paint should be applied thinly and evenly across the frame to prevent drips or uneven coverage.
- Allow Proper Drying Time: It's vital to let each coat dry before applying the next one. This helps the paint set correctly and adhere well to the plastic surface.
- Opt for Light Coats: Applying multiple light coats is preferable to a single heavy coat. This technique prevents clumping or streaking, resulting in a more uniform finish.
- Maintain Consistency: Consistency in paint application is key to achieving a uniform color and texture throughout the frame. Make sure to follow a systematic approach to ensure a professional-looking outcome.
Allowing Each Coat to Dry
Guaranteeing that each coat of paint is thoroughly dried is a critical step in achieving a flawless finish on a plastic frame. By allowing sufficient drying time between coats, we can prevent potential issues like smudges, drips, or uneven application.
It's vital to follow the recommended drying times based on the type of paint utilized to secure the best results.
Patience for Drying Times
For best results, guaranteeing each coat of paint on the plastic frame dries thoroughly before applying the next coat is essential. Here are some key points to keep in mind:
- Prevent Smudging and Streaking: Allowing each coat to dry completely helps prevent unwanted smudges or streaks in the paint job.
- Refer to Manufacturer's Instructions: Drying times can vary depending on the type of paint used. Always refer to the manufacturer's instructions for specific guidance on drying times.
- Avoid Rushing the Process: Rushing the drying process can result in a less durable finish and potential imperfections. Patience is key for a flawless outcome.
- Achieve Professional Results: Patience during drying times ensures a smooth and professional-looking paint job on the plastic frame, leading to a high-quality and long-lasting finish.
Importance of Waiting
Allowing each coat of paint to thoroughly dry is crucial for achieving a flawless finish on a plastic frame. When painting a plastic frame, the significance of waiting between coats can't be emphasized enough.
Properly allowing each coat to dry guarantees that the paint adheres evenly, preventing issues like smudging, running, or uneven coverage. Rushing this process can lead to a less durable and professional-looking result, with potential peeling or chipping over time.
The drying time required between coats may vary depending on the type of paint being used, so it's essential to follow the specific instructions provided on the paint label. Patience is key in achieving a smooth and flawless paint job on your plastic frame.
Adding Touch-Ups and Details

We often enhance the visual appeal of the painted plastic frame by adding intricate designs or patterns using acrylic craft paint on rubber stamps for a personalized touch.
To add that extra flair, here are some tips for detailing your plastic frame:
- Create Stencils: Make stencils from contact paper or use pre-made ones to easily incorporate decorative elements onto the frame.
- Antiqued Look: Apply acrylic paint or tinted glaze to achieve a vintage appearance, enhancing the frame's visual appeal.
- Metallic Touch: Experiment with gold or silver glaze for an elegant and luxurious finish.
- Creative Touches: Utilize stamps, painted designs, or rubbed-on color to elevate the overall aesthetic of the frame.
Sealing With Polyurethane
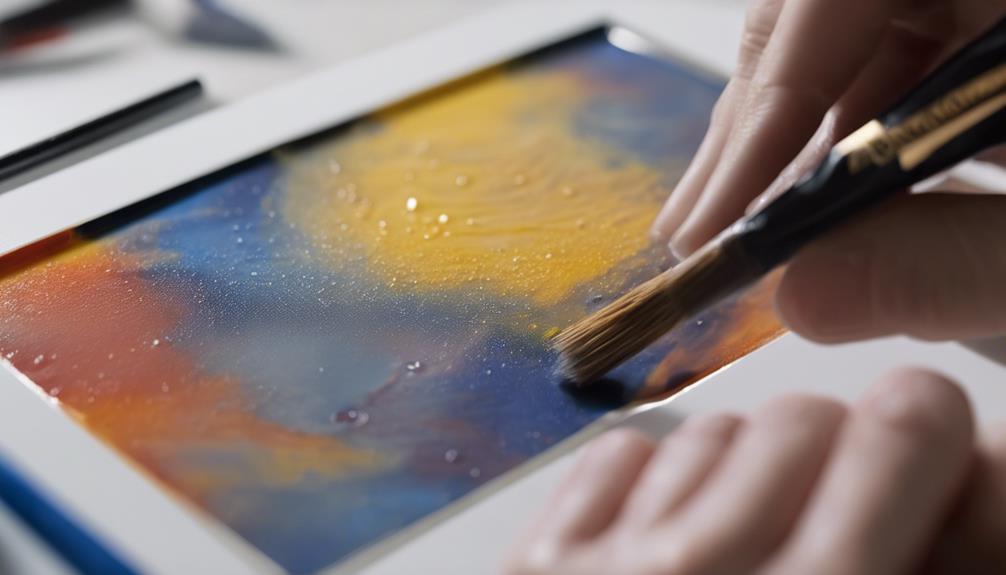
To protect and enhance the painted plastic frame, we recommend sealing it with polyurethane, a clear and durable sealant. Applying polyurethane over the painted surface not only provides protection against scratches, moisture, and UV rays but also helps to prolong the lifespan of the paint.
When selecting polyurethane, consider the different finishes available, such as matte, satin, semi-gloss, or glossy, to achieve the desired look for your frames.
To apply polyurethane effectively, make sure that the painted plastic frame has already received a coat of primer and is completely dry. Use a high-quality brush or foam applicator to apply thin and smooth coats of polyurethane to avoid streaks or bubbles. Allow each coat to dry thoroughly before adding additional layers.
Frequently Asked Questions
How to Paint a Plastic Frame?
When painting a plastic frame, proper preparation is essential. Sand the surface lightly and clean it with rubbing alcohol for better adhesion. Use a primer specifically formulated for plastic to make sure the paint sticks well.
Apply multiple thin coats of paint, allowing each layer to dry completely before adding more. Consider adding unique touches like stamps or antiquing for a personalized look.
Following these steps will result in a beautifully painted plastic frame.
What Paint to Use on Plastic Frames?
When painting plastic frames, it's important to select the right type of paint for excellent adhesion and durability. Utilizing paints specifically formulated for plastics guarantees a lasting finish.
Look for spray paints or brush-on craft paints labeled for plastic use. Consider using a plastic primer if the desired color is unavailable in the chosen paint type.
Adhering to these guidelines guarantees a successful painting project with vibrant and long-lasting results.
What Kind of Paint Will Stick to Plastic?
When considering what kind of paint will stick to plastic, it's important to choose a paint specifically designed for plastic surfaces. Regular brush-on or spray-on paints may not adhere well, leading to peeling or chipping.
Opt for spray paint formulated for plastic or use a plastic primer before painting to guarantee better adhesion. Acrylic craft paint can also be suitable for decorative purposes, but for a long-lasting finish, selecting the right plastic-specific paint is essential.
How Do You Prep Plastic for Paint?
When prepping plastic for paint, we must start by thoroughly cleaning the surface to remove any debris.
Light sanding helps the paint adhere better, and wiping with rubbing alcohol guarantees a clean canvas for painting.
Masking off areas we don't want to paint is vital.
Applying a suitable primer designed for plastic promotes paint adhesion and a smooth finish.
These steps are essential to achieve a professional-looking paint job on plastic surfaces.
Conclusion
In just 10 simple steps, you can transform a plain plastic frame into a personalized work of art.
By following these easy instructions, you can create a unique and custom piece that reflects your style and creativity.
So grab your supplies and get painting – the possibilities are endless!
- About the Author
- Latest Posts
Introducing Ron, the home decor aficionado at ByRetreat, whose passion for creating beautiful and inviting spaces is at the heart of his work. With his deep knowledge of home decor and his innate sense of style, Ron brings a wealth of expertise and a keen eye for detail to the ByRetreat team.
Ron’s love for home decor goes beyond aesthetics; he understands that our surroundings play a significant role in our overall well-being and productivity. With this in mind, Ron is dedicated to transforming remote workspaces into havens of comfort, functionality, and beauty.
Decor
How to Paint a Mirror Like a Pro in 3 Easy Steps
Find out how to transform your mirror into a masterpiece with these three easy steps that will elevate your space instantly.
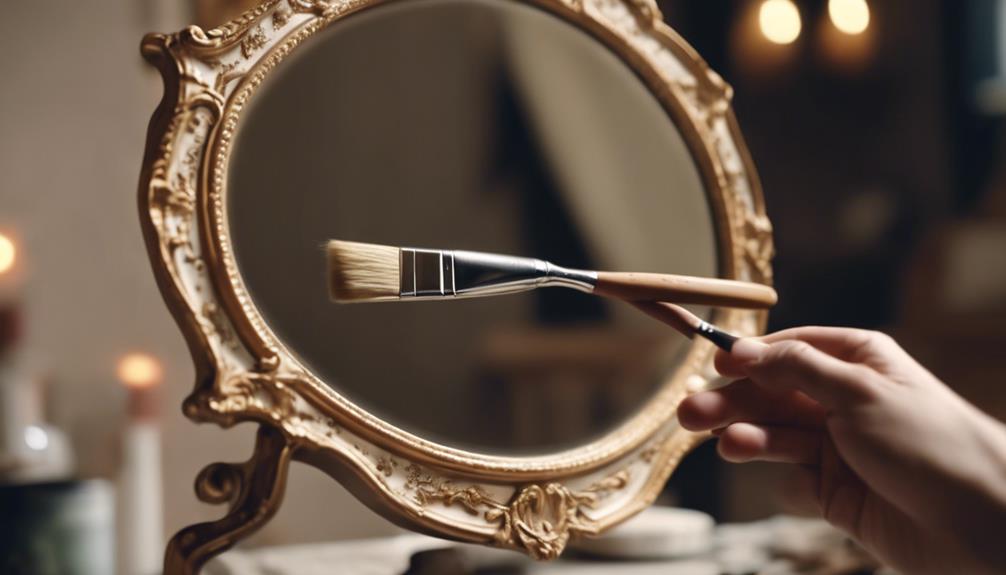
Painting a mirror like a pro is simple in three steps. First, clean and trace the frame, then prime with gesso. Apply paint from the edges in thin layers using quality brushes. Opt for enamel or acrylic paint, allowing thorough drying between coats. Finish with sealant for protection. This process guarantees a flawless, professional look that enhances any space with elegance and style. Mastering these steps will help create a polished finish that transforms your mirror into a work of art.
Key Takeaways
- Use high-quality enamel or acrylic paint for a professional finish.
- Apply thin, even layers starting from the edges.
- Allow each coat to dry completely before adding another.
- Finish with a sealant or varnish for protection and longevity.
- Focus on details and take your time for a polished result.
Prepare Mirror Frame
Let's begin by cleaning the mirror frame with a soft cloth and window cleaner to remove any dirt or residue. Make sure to use rubbing alcohol or vinegar for tougher areas, guaranteeing the surface is completely clean before starting the painting process.
Once clean, trace the area to be painted on the mirror frame using a white soluble pencil for precise painting boundaries. This step is essential in achieving a clean and professional look for your mirror project.
Next, seal the mirror frame with white gesso as a primer to prevent paint peeling and ensure long-lasting results. This will create a smooth surface for the paint to adhere to, enhancing the durability of your design.
Additionally, consider using makeup pencils, white crayons, or fabric pencils for tracing intricate designs on the mirror frame before painting to achieve a detailed and polished final look. Make sure to take your time during this preparation process to guarantee a high-quality finish for your mirror frame project.
Apply Paint Evenly

To guarantee a smooth and professional finish, apply the paint evenly on the mirror surface using a high-quality paintbrush.
Here are some key tips to help you achieve a flawless coat of paint on your mirror:
- Start painting from the edges: Begin by carefully painting along the edges of the mirror frame before moving towards the center. This method ensures a consistent application and helps prevent any uneven patches.
- Work in thin layers: Avoid applying thick coats of paint as this can lead to drips and streaks on the mirror surface. Instead, opt for multiple thin layers, allowing each coat to dry completely before adding another one.
- Use a steady hand: When applying the paint, maintain a light touch and steady hand to achieve an even finish. This technique helps in creating a uniform look across the entire mirror.
Achieve Professional Finish
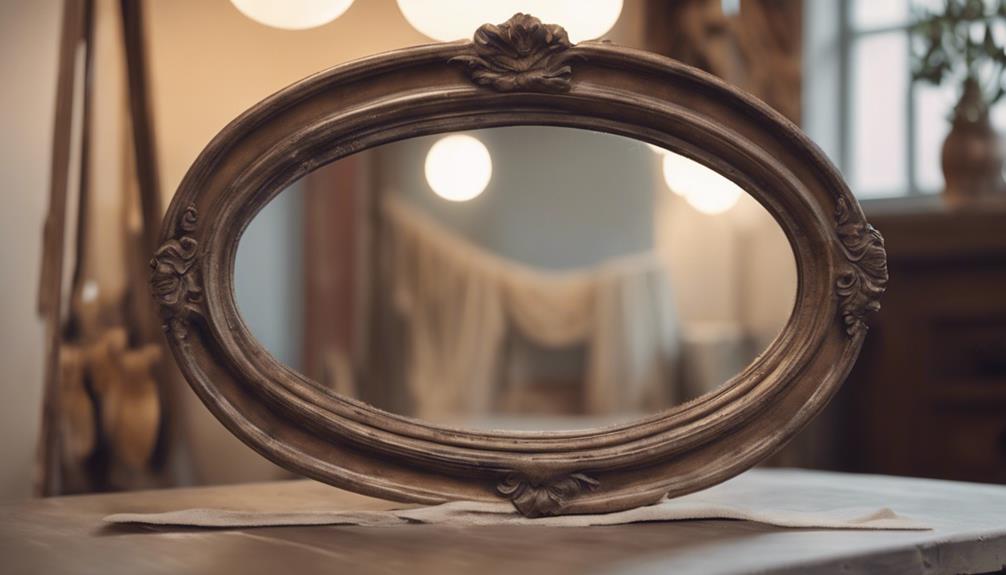
For a professional finish when painting a mirror, select high-quality enamel or acrylic paint specifically formulated for glass surfaces. To achieve a polished look, it is vital to apply thin coats of paint in even layers, allowing each coat to dry thoroughly before adding the next. This process guarantees a smooth and professional result on your painted mirror surface. Additionally, consider applying a sealant or varnish to protect the painted surface and enhance its longevity. Taking your time and paying attention to details will help you safeguard the painted surface and achieve a polished finish.
| Key Steps to Achieve Professional Finish |
|---|
| Choose high-quality enamel or acrylic paint designed for glass surfaces |
| Apply thin coats in even layers |
| Allow drying time between coats |
Frequently Asked Questions
How to Do Mirror Painting?
When tackling mirror painting, selecting the correct acrylic paint designed for glass surfaces is crucial. By seeking inspiration from TikTok artists, applying thin layers of paint, and ensuring each coat is dry before adding another, you can achieve a professional finish.
Seal the painted mirror with a varnish or sealant for durability. Experimenting with different painting styles and techniques is crucial for crafting a unique and creative mirror design.
How to Paint a Mirror to Look Vintage?
When aiming to paint a mirror for a vintage appearance, we recommend utilizing chalk paint for its ability to achieve a classic look.
Lightly sanding the frame before painting can enhance the vintage effect, while distressing techniques like dry brushing or layering can contribute to an aged appearance.
Consider applying dark wax or antiquing glaze to develop a vintage patina, resulting in a weathered finish that exudes a timeless charm.
How to Get Mirror Finish When Painting?
To achieve a mirror finish when painting, it's essential to use a high-quality mirror-specific paint. Make sure the mirror surface is thoroughly clean and free of any debris to prevent imperfections.
Apply thin, even coats of paint to avoid drips and streaks that can compromise the mirror-like appearance. Consider using spray paint for a more uniform finish and to prevent brush strokes.
Allow adequate drying time between coats for a flawless mirror-like finish.
How Do You Paint a Mirror Without Getting Paint on the Mirror?
When painting a mirror, we implement a meticulous approach to prevent any unwanted paint mishaps.
Careful preparation, like using painter's tape and paper to shield the mirror, is crucial. Selecting the appropriate paint type for the frame minimizes the risk of paint reaching the mirror.
Applying paint with precision and swiftly addressing any accidental spills on the mirror guarantees a flawless finish. Patience and attention to detail are key elements in achieving a polished result.
Conclusion
To sum up, painting a mirror like a pro may seem simple, but achieving that flawless finish requires attention to detail and patience.
So next time you pick up that paintbrush, remember to take your time and follow these steps carefully.
And who knows, maybe your mirror will reflect not just your image, but also your newfound painting skills.
Happy painting!
- About the Author
- Latest Posts
Introducing Ron, the home decor aficionado at ByRetreat, whose passion for creating beautiful and inviting spaces is at the heart of his work. With his deep knowledge of home decor and his innate sense of style, Ron brings a wealth of expertise and a keen eye for detail to the ByRetreat team.
Ron’s love for home decor goes beyond aesthetics; he understands that our surroundings play a significant role in our overall well-being and productivity. With this in mind, Ron is dedicated to transforming remote workspaces into havens of comfort, functionality, and beauty.
Decor
What Do I Need to Buy With My Cricut Maker for Furniture Design and Home Decor
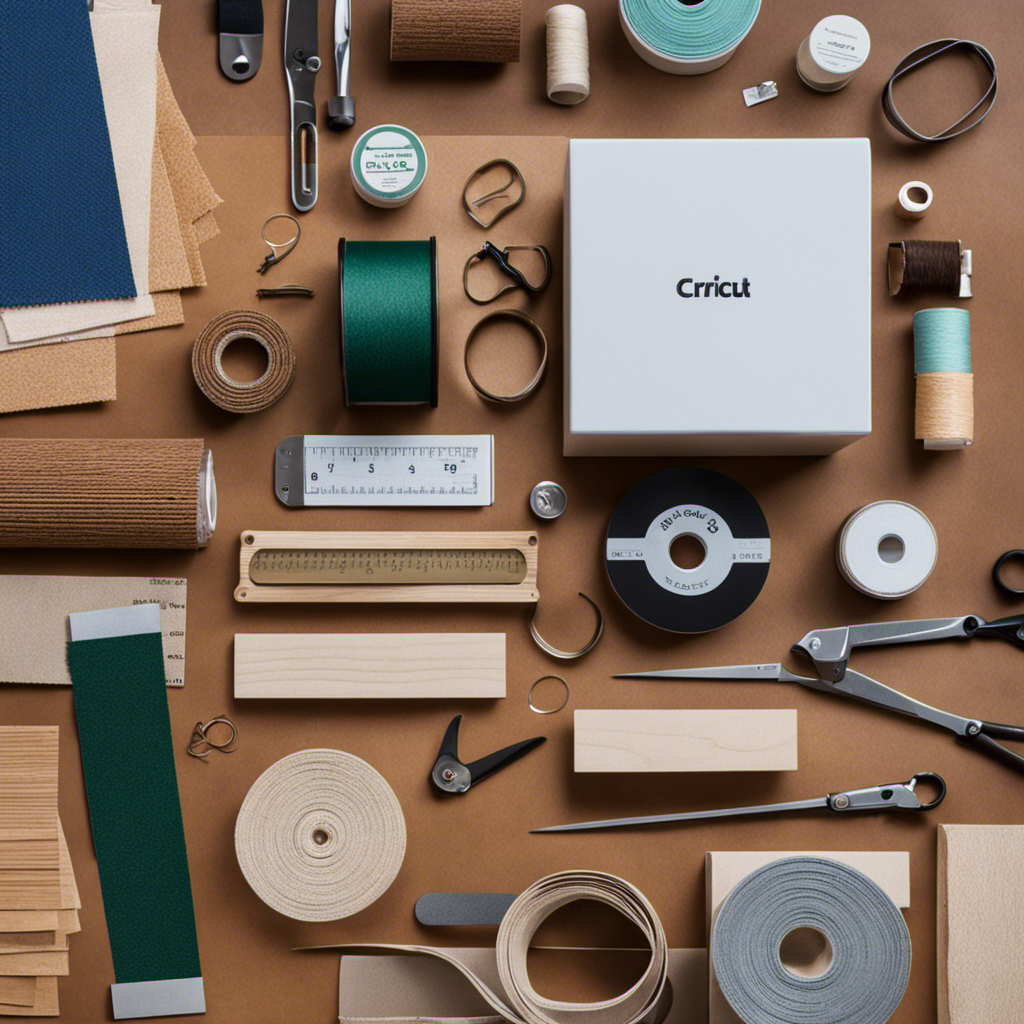
I understand your thoughts: “Do I truly need to purchase more items for my Cricut Maker?” Believe me, I understand.
But if you’re into furniture design and home decor, there are a few essential items that will take your projects to the next level.
From specialized tools and materials to cutting mats and software resources, this article will guide you through everything you need to know.
Get ready to unleash your creativity and transform your space with the help of your Cricut Maker.
Key Takeaways
- Explore online platforms and websites for project inspiration and organization ideas
- Invest in storage solutions to keep Cricut supplies organized and easily accessible
- Have a range of cutting blades for versatility in design, including fine point, deep point, and rotary blades
- Select premium materials like wood, decorative fabrics, and metal accents for furniture design and home decor projects
Cricut Maker Essentials
You’ll need to get some essential items for your Cricut Maker to start designing furniture and home decor. The Cricut Maker is a versatile tool that can bring your creative ideas to life.
To begin your Cricut Maker journey, it’s important to have project inspiration. Explore online platforms, such as Pinterest or the official Cricut website, to discover a wide range of project ideas. From customizing furniture to creating personalized home decor, the possibilities are endless.
Additionally, investing in storage solutions for your Cricut supplies is crucial. Keep your materials organized and easily accessible with storage bins, shelves, or even a designated craft room. This will save you time and make your crafting process more enjoyable.
Tools and Accessories for Furniture Design
For furniture design and home decor, there are some essential tools and accessories that you’ll need. These include a variety of cutting blades, adhesive vinyl, and a strong grip mat.
When it comes to cricut maker tool options, it’s crucial to have a range of cutting blades. The cricut maker offers different blade options such as the fine point blade for intricate designs, the deep point blade for thicker materials like leather or chipboard, and the rotary blade for cutting fabric with precision. These blades allow for versatility and precision in creating furniture and home decor pieces.
In addition to cutting blades, choosing the best adhesive for furniture design is important. You’ll want to opt for a strong adhesive that can withstand the weight and usage of furniture.
Now, let’s transition into the next section where we’ll explore the must-have materials for home decor projects. These materials will bring your designs to life.
Must-Have Materials for Home Decor Projects
When it comes to creating stunning home decor projects, it’s essential to have a variety of high-quality materials on hand. Here are four must-have materials that will take your projects to the next level:
-
Premium Wood: Choose a selection of different types of wood, such as oak, walnut, or cherry, to add warmth and elegance to your creations. Experiment with different cutting techniques to achieve intricate designs.
-
Decorative Fabrics: From luxurious velvet to vibrant prints, fabrics can transform any piece of furniture or accessory. Get creative with finishes like tufting, pleating, or embroidery to add texture and visual interest.
-
Metal Accents: Incorporate metal elements like brass or copper for a touch of sophistication. Use cutting techniques to create intricate metal designs or opt for pre-cut decorative accents.
-
Unique Finishes: Think outside the box with creative finishes like crackle paint, patina, or distressing. These techniques add character and depth to your projects, making them truly one-of-a-kind.
Cutting Mats and Blades for Precision Crafting
When it comes to precision crafting with my Cricut Maker, understanding the different types of cutting mats is crucial.
From StandardGrip to StrongGrip and LightGrip, each mat serves a specific purpose and offers varying levels of adhesion for different materials.
Additionally, the longevity of cutting blades is an important factor to consider, as a dull blade can result in jagged cuts and ruined projects. It’s essential to know when it’s time to replace the blade to ensure consistently clean and precise cuts.
Different Mat Types Explained
To explore different mat types for your Cricut Maker and enhance your furniture design and home decor projects, you’ll want to consider the StandardGrip, LightGrip, StrongGrip, and FabricGrip mats.
The StandardGrip mat is perfect for everyday materials like cardstock, vinyl, and patterned paper. It provides a strong hold without damaging delicate surfaces.
The LightGrip mat is ideal for lightweight materials such as vellum, copy paper, and adhesive-backed paper. It offers a gentle grip to prevent tearing or curling.
If you’re working with heavy-duty materials like leather, chipboard, or fabric with backing, the StrongGrip mat is your best bet. Its extra-strong adhesive ensures your materials stay in place throughout the cutting process.
For intricate or small designs, the FabricGrip mat is designed specifically for fabric and allows for precise cutting without any shifting.
Longevity of Cutting Blades
The longevity of cutting blades depends on how often they are used and the materials they are used on. As someone who frequently works with cutting blades, I have learned the importance of proper maintenance techniques to extend their lifespan. By taking care of your blades, you can save money and ensure clean and precise cuts every time. Here are some blade maintenance techniques that have worked wonders for me:
| Maintenance Technique | Description |
|---|---|
| Cleaning | Regularly clean the blades with a soft cloth or brush to remove any debris or adhesive residue. This prevents buildup and ensures smooth cutting. |
| Lubrication | Apply a small amount of lubricant to the blade after cleaning to reduce friction and keep it running smoothly. Be sure to follow the manufacturer’s instructions for the appropriate lubricant to use. |
| Replacement | Keep track of the number of cuts made with each blade and replace them when they become dull or damaged. Using a dull blade not only affects the quality of your cuts but can also strain your machine. |
Blade Compatibility With Materials
Ensure that you choose the correct cutting blade for the materials you are working with so that you can achieve the best results. Blade compatibility is essential to ensure clean and precise cuts.
Here are four cutting techniques to consider:
-
Straight Cuts: Use a standard fine point blade for cutting basic shapes and designs. It works well with various materials like vinyl, cardstock, and paper.
-
Intricate Cuts: Opt for a deep point blade when working with intricate designs or thick materials like leather, chipboard, or felt. Its sharpness allows for detailed cuts without tearing.
-
Fabric Cuts: For fabric projects, a rotary blade is the ideal choice. It effortlessly glides through fabrics, ensuring clean and precise cuts without fraying.
-
Engraving: To add beautiful engraved designs on materials like acrylic or metal, use a fine point blade with an engraving tip. It creates intricate details with precision.
Software and Design Resources for Cricut Maker Users
Check out the available software and design resources to enhance your Cricut Maker experience for furniture design and home decor.
When it comes to designing with your Cricut Maker, having the right software is essential. There are various design software options available that are compatible with the Cricut Maker, such as Cricut Design Space, Adobe Illustrator, and Silhouette Studio. These software programs offer a wide range of features and tools to help you create intricate and stunning designs for your furniture and home decor projects.
In addition to software, online design communities are a great resource for Cricut Maker users. These communities provide a platform for designers to share their work, offer tips and tricks, and collaborate with others. By joining an online design community, you can gain inspiration, learn new techniques, and connect with like-minded individuals who share your passion for furniture design and home decor.
With the right design software and the support of online design communities, you can take your Cricut Maker projects to the next level. Now that you have the tools and resources to design your furniture and home decor, let’s explore organization and storage solutions for your Cricut Maker supplies.
Organization and Storage Solutions for Cricut Maker Supplies
Having a well-organized and efficient storage system is crucial for keeping your Cricut Maker supplies easily accessible and in good condition. Here are four creative storage solutions that will help you maximize your workspace efficiency:
-
Wall-mounted shelves: Install sturdy shelves on your craft room walls to store your vinyl rolls, cutting mats, and tools. This not only keeps them within reach but also adds a decorative touch to your space.
-
Drawer organizers: Invest in drawer organizers to neatly store your smaller craft supplies like blades, pens, and adhesive. This will prevent them from getting lost or damaged and make it easy to find what you need when working on a project.
-
Hanging organizers: Utilize hanging organizers with multiple pockets to store your iron-on vinyl, transfer tape, and other small accessories. Hang them on the back of your craft room door or on a pegboard for easy access.
-
Rolling carts: Opt for rolling carts with multiple shelves or drawers to store your Cricut Maker machine, paper, and other larger supplies. This allows you to easily move your supplies around and keeps your workspace clutter-free.
Inspiration and Project Ideas for Furniture Design
When it comes to furniture design, there are so many exciting possibilities to explore.
In this discussion, I will delve into three key points that can help elevate your creative process.
First, we will explore unique design techniques that can add a touch of individuality to your pieces.
Then, I will share material selection tips to help you choose the perfect materials for your projects.
Finally, we will discuss the art of repurposing old furniture, breathing new life into forgotten pieces.
Unique Design Techniques
You can try out various design techniques to create unique furniture and home decor pieces with your Cricut Maker. Here are some design ideas and creative techniques to get you started:
-
Laser-cut patterns: Use your Cricut Maker to create intricate laser-cut patterns on wood or acrylic surfaces. This technique adds a touch of elegance and sophistication to your furniture and decor pieces.
-
Vinyl decals: Experiment with vinyl decals to add personalized quotes, patterns, or images to your furniture. From inspirational quotes to whimsical designs, the possibilities are endless.
-
Embossed textures: With the Cricut Maker’s scoring tool, you can create embossed textures on various materials like leather or cardstock. This technique adds depth and visual interest to your furniture and decor.
-
Inlay designs: Combine different materials, such as wood and acrylic, to create beautiful inlay designs. Your Cricut Maker can precisely cut the shapes and sizes needed, resulting in stunning and unique furniture pieces.
By exploring these design techniques, you can truly make your furniture and home decor stand out.
Now, let’s move on to some material selection tips to help you bring your design ideas to life.
Material Selection Tips
To ensure the best results, it’s important to consider the characteristics of different materials before selecting them for your projects. When it comes to material selection tips for furniture design and home decor, there are several factors to consider.
One of the most important aspects is understanding the different mat types available. For example, if you’re looking for a durable and long-lasting option, hardwood such as oak or maple would be a great choice. On the other hand, if you prefer a more affordable and lightweight option, particle board or MDF (medium-density fiberboard) can be suitable.
Additionally, considering the aesthetic appeal and versatility of the material is crucial. This will ensure that your furniture and home decor items not only look great but also serve their intended purpose.
Now that we’ve explored material selection tips, let’s move on to the exciting topic of repurposing old furniture.
Repurposing Old Furniture
Now that we’ve covered material selection tips, let’s dive into the exciting world of repurposing old furniture. Upcycling techniques offer endless possibilities for transforming worn-out pieces into unique and stylish additions to your home decor. Here are four ideas to spark your creativity:
-
Distressed Charm: Give an old wooden dresser a shabby chic makeover by sanding down its surface and adding layers of paint in different colors. Distress the edges to create a vintage look that adds character to any room.
-
Decoupage Delight: Transform a plain side table by decoupaging it with beautiful, patterned paper or fabric. This technique allows you to add intricate details and create a one-of-a-kind piece that reflects your personal style.
-
Upholstered Elegance: Give an outdated chair new life by reupholstering it with a bold and modern fabric. Choose a vibrant color or pattern that complements your existing decor to make a statement piece that stands out.
-
Multi-functional Magic: Convert an old ladder into a unique bookshelf or display rack. Paint it in a vibrant color, add shelves, and let it showcase your favorite books, plants, or collectibles.
With these upcycling techniques and distressed furniture ideas, you can breathe new life into old pieces and create stunning focal points for your home.
Now, let’s move on to the next section where I will share tips and tricks for successful cricut maker projects.
Tips and Tricks for Successful Cricut Maker Projects
For successful Cricut Maker projects, it’s important to familiarize yourself with helpful tips and tricks.
When it comes to cutting techniques, it’s crucial to ensure that your materials are properly prepared. Make sure they are flat and securely placed on the cutting mat to avoid any shifting or tearing during the cutting process. Additionally, selecting the appropriate blade for your project is key. The Cricut Maker offers a variety of blades for different materials, such as the Fine-Point Blade for everyday materials and the Knife Blade for thicker materials like leather and chipboard.
In terms of troubleshooting tips, if you’re experiencing issues with the cutting process, double-check that your blade is properly inserted and tightened. It’s also important to regularly clean your machine and mat to prevent any debris from affecting the cutting precision. Lastly, if you encounter any error messages or issues with the software, try restarting your machine and ensuring that you have the latest software updates installed.
Frequently Asked Questions
Can I Use the Cricut Maker for Other Types of Crafting Projects Besides Furniture Design and Home Decor?
Yes, the Cricut Maker is incredibly versatile and can be used for a wide range of crafting projects beyond furniture design and home decor. Its capabilities make it a valuable tool for different crafts.
Do I Need to Have Any Prior Experience With Design Software to Use the Cricut Maker?
No, you don’t need any prior experience with design software to use the Cricut Maker. It’s user-friendly and intuitive, making it easy for beginners. You can start creating beautiful furniture designs and home decor right away!
How Long Does It Typically Take to Complete a Furniture Design Project Using the Cricut Maker?
On average, furniture design projects using the Cricut Maker can take anywhere from a few hours to a few days, depending on the complexity. With some tips and tricks, I can help you speed up the process.
Are There Any Specific Safety Precautions I Should Be Aware of When Using the Cricut Maker for Furniture Design?
When using the Cricut Maker for furniture design, it’s important to be aware of safety precautions. There are potential risks involved, so it’s crucial to follow proper guidelines and take necessary precautions to ensure a safe and enjoyable experience.
Can I Use Materials Other Than the Ones Recommended in the Article for My Home Decor Projects With the Cricut Maker?
Yes, you can definitely use alternative materials for your home decor projects with the Cricut Maker. This opens up a world of creative possibilities, allowing you to explore unique textures, colors, and finishes.
Conclusion
After exploring all the essential tools, materials, and resources needed for furniture design and home decor projects with the Cricut Maker, it’s safe to say that this cutting machine is truly a game-changer.
From its versatile cutting abilities to its user-friendly software, the Cricut Maker opens up a world of possibilities for creative enthusiasts.
With the right tools and materials at hand, you can bring your furniture designs to life and transform your home with personalized decor.
So, don’t hesitate to dive into the world of Cricut Maker and unleash your inner designer!
- About the Author
- Latest Posts
Introducing Charles, the Editor in Chief at ByRetreat, whose passion for interior design and editorial excellence elevates every remote workspace to new heights. With his keen eye for detail, impeccable taste, and expertise in design, Charles brings a wealth of knowledge and creativity to the ByRetreat team.
As the Editor in Chief of a renowned lifestyle blog, Charles has honed his skills in curating captivating content and staying up-to-date with the latest trends in interior design. His deep understanding of aesthetics and the power of storytelling through design enables him to create remote workspaces that are not only visually stunning but also rich in personality and meaning.
-

 Vetted3 weeks ago
15 Best Contact Paper for Kitchen Cabinets to Elevate Your Home Decor
-

 Vetted2 weeks ago
15 Best Poe Cameras for Home Security – Reviews & Buying Guide
-

 Vetted4 weeks ago
15 Best Leather Restorer Products to Revive Your Furniture and Accessories
-

 Vetted3 weeks ago
15 Best Drain Snakes to Unclog Your Pipes Like a Pro
-

 Beginners Guides3 days ago
I Inhaled Vinegar Fumes
-

 Vetted4 weeks ago
14 Best Stationery Brands for Your Next Writing Adventure
-

 Beginners Guides2 weeks ago
Swinger Porch Light Color
-

 Mardi Gras Decoration3 weeks ago
Why Does Hobby Lobby Not Do Mardi Gras?


