To set up a NAS for family photos, start by choosing a device with enough drive bays and reliable hardware. Connect it to your network via Ethernet for stability, then install hard drives securely. Organize your photos by creating folders based on date or event, and use tags for easier searching. Set up user permissions and backups, including RAID for data protection. Enable remote access for easy viewing from anywhere. If you keep exploring, you’ll find detailed steps to make your system secure and efficient.
Key Takeaways
- Choose a NAS device with sufficient drive bays, reliable hardware, and network support for scalable family photo storage.
- Organize photos into folders by date, event, or family member, using consistent naming and tagging for easy retrieval.
- Implement RAID (e.g., RAID 1 or 5) for fault tolerance and set up regular automated backups, including cloud synchronization.
- Connect the NAS securely via Ethernet, configure settings for metadata management, and ensure a stable environment for long-term preservation.
- Enable remote access through NAS apps or web interfaces, and apply security measures to protect privacy and data integrity.

Synology DS423 Family & Business Backup – Secure File Sharing, Photo Vault & Video Surveillance (4-Bay Diskless NAS)
- Private Cloud Access: Securely access and share files remotely
- Data Backup & Protection: Multiple backup options with malware snapshots
- Video Surveillance Support: Monitor up to 30 IP cameras with analysis tools
As an affiliate, we earn on qualifying purchases.
As an affiliate, we earn on qualifying purchases.
Choosing the Right NAS Device for Your Family

Choosing the right NAS device is essential to guarantee your family’s photos are stored securely and easily accessible. You need a device that offers ample storage capacity to handle your growing collection without constant upgrades. Look for a NAS with enough drive bays to support future expansion, ensuring you won’t run out of space quickly. Additionally, consider how well the device manages photo metadata, which helps you sort and search images effortlessly. A good NAS should support fast data transfer speeds, so you can access and upload photos smoothly. Prioritize reliability, data security features, and user-friendly interfaces. By selecting a device that balances storage capacity with metadata management, you’ll ensure your family’s precious memories are safe, organized, and easy to find whenever you need them. Understanding how contrast ratio affects image clarity can also help you choose a device that displays your photos with vibrant detail and depth.
Planning Your Storage Space and Data Organization
To effectively manage your family photos on your NAS, you need to plan your storage space and organize your data thoughtfully. Start by estimating your current storage capacity needs based on your existing photo collection and future growth. Consider implementing a systematic photo cataloging method, such as creating folders by year, event, or family member, to streamline access and backup. Use consistent naming conventions to make searching easier. Assess how much space each category requires and allocate storage accordingly. Regularly review your organization system and adjust as your collection expands. Proper planning ensures your photos are both easily accessible and safely stored, preventing clutter and data loss. Additionally, understanding the importance of data organization can help you develop an efficient system that minimizes future headaches and keeps your family memories well-preserved.
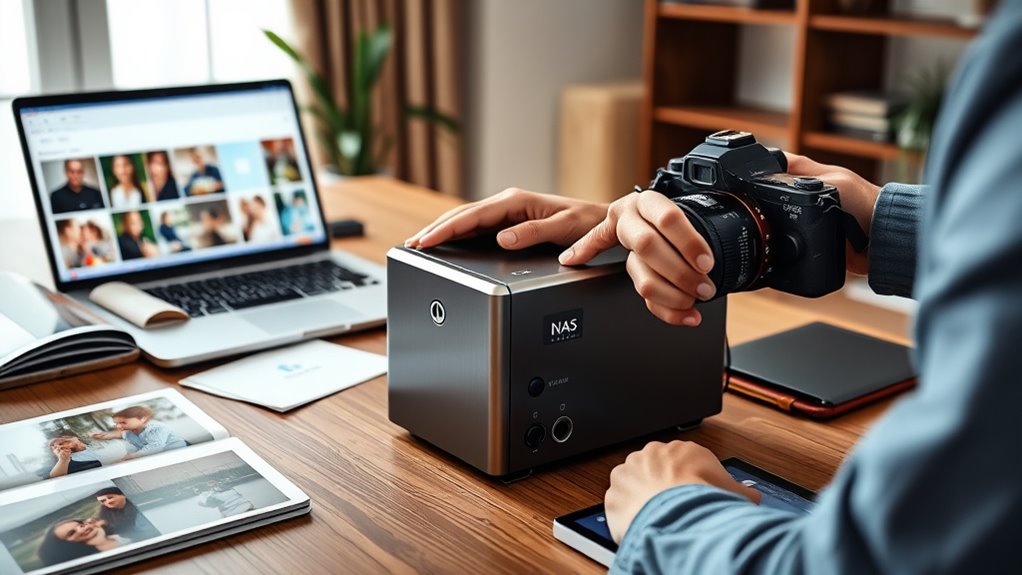
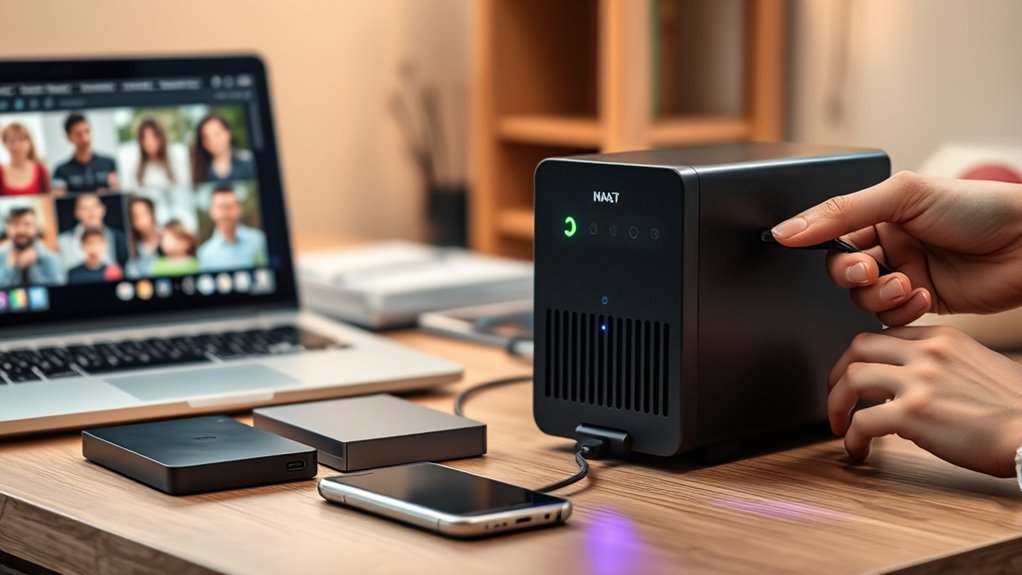
Setting Up and Connecting Your NAS Hardware
To get started, you need to select a NAS device that fits your storage needs and budget. Next, connect it to your network using the appropriate cables and guarantee it’s powered on. Finally, follow the initial setup instructions to configure your hardware and prepare it for adding your family photos.
Choosing the Right Device
Selecting the right NAS device is crucial for ensuring your family photos are stored securely and accessible when needed. You should consider a device that offers reliable hardware compatibility with your existing setup, including your computers and network components. Look for a model that supports cloud storage integration, so you can easily back up photos to the cloud or access them remotely. Choose a device with enough storage capacity to grow with your collection, and check if it allows for future upgrades. Also, consider the processor and RAM, as these impact performance when accessing large photo libraries. A user-friendly interface and good customer support can save you headaches later. By carefully selecting a compatible, scalable device with cloud options, you’ll set a solid foundation for your family photo storage. Additionally, understanding size restrictions for tiny houses can help you plan better if you decide to expand your storage options or set up a dedicated space for your photo archive.
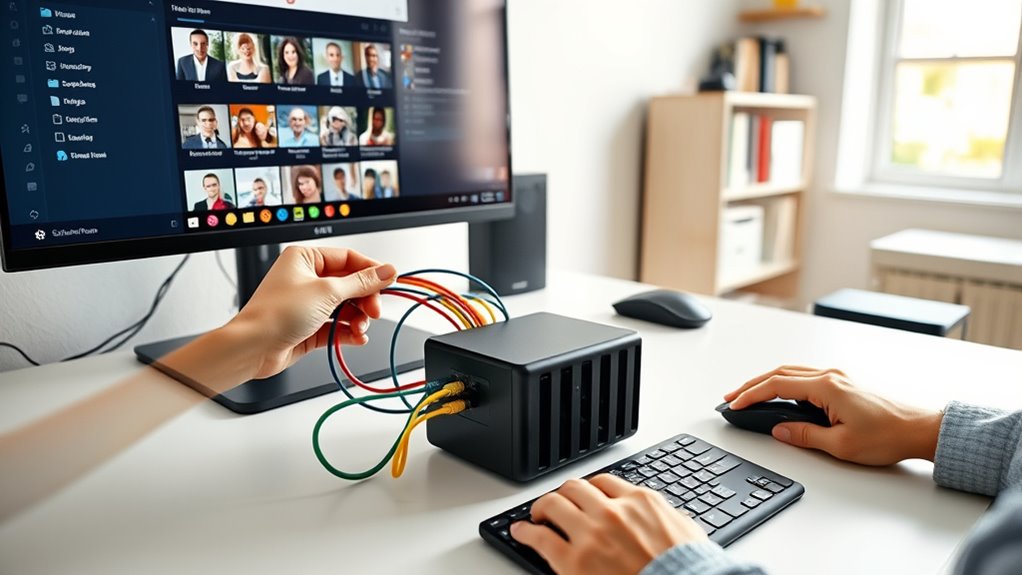
Connecting to Network
Wondering how to get your NAS connected to your home network? First, verify your device is powered on and within range of your Wi-Fi router. Most NAS units support Wi-Fi connectivity, but for reliable access, wired Ethernet is preferable. To connect via Wi-Fi, go into your NAS settings and select the network menu. Follow the prompts to connect to your Wi-Fi network by entering the correct password. Once connected, you can enable cloud synchronization features, allowing your family photos to automatically back up and sync across devices. This setup makes accessing files easy from anywhere in your home or remotely. Confirm the connection is stable by accessing the NAS from a computer or mobile device. Proper network setup ensures smooth data transfer and seamless cloud sync for your precious memories. Additionally, understanding exotic fruit blend inspirations can help you create appealing visual backups of your photos by adding colorful covers or digital albums.
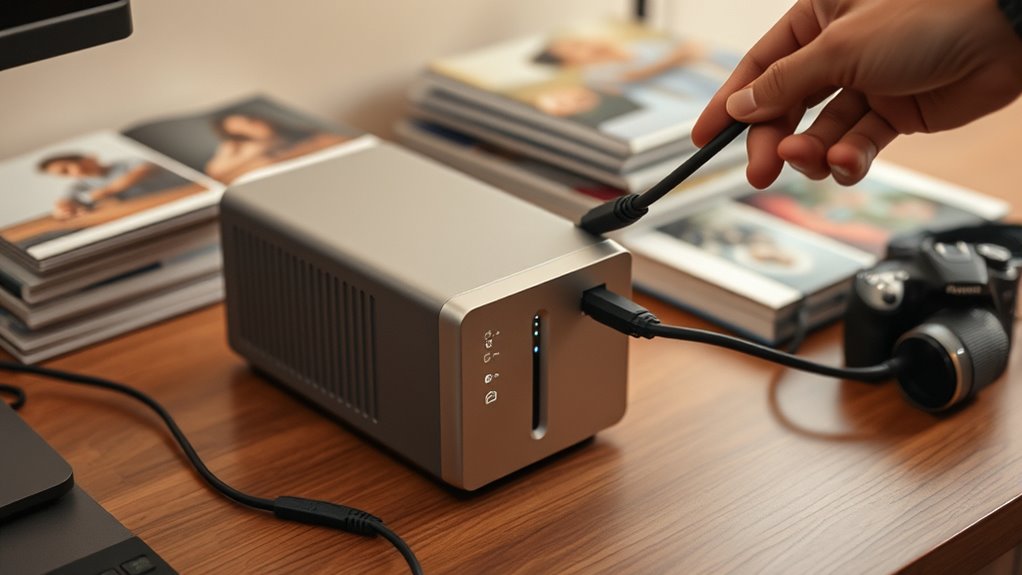
Initial Hardware Setup
Before you start using your NAS, you need to set up and connect the hardware properly. First, unpack your NAS device and install the hard drives, ensuring they’re securely in place. Next, connect the NAS to your router with an Ethernet cable for reliable network access. Finally, power on the device and access its setup interface through your computer. As you configure your NAS, consider how it will serve digital photo frames, making photo metadata easy to organize and retrieve. This initial hardware setup lays the foundation for smooth photo management, ensuring your family photos are safely stored and readily accessible for sharing or displaying. Proper setup also helps maintain the integrity of photo metadata, keeping your memories organized and easy to find.
Installing and Configuring the NAS Operating System
Installing and configuring the NAS operating system is a vital step that sets the foundation for managing your family photos effectively. This process involves selecting the right OS, installing it on your device, and navigating its user interface. Once installed, you’ll want to keep the software updated regularly to ensure security and stability. Visualize the setup as a control panel with options like storage, backups, and settings. To help picture it better:
| Step | Action | Result |
|---|---|---|
| Choose OS | Download and install the preferred system | User interface appears, ready for configuration |
| Initial Setup | Follow on-screen prompts | Basic configuration completed |
| Software Updates | Check for updates after installation | System remains secure and feature-rich |
| Navigation | Explore the menus and options | Easy management of your photos |
| Final Checks | Confirm settings and backup options | NAS ready for photo storage |
Additionally, selecting an OS that supports automatic backups can help safeguard your family photos against data loss.
Creating User Accounts and Access Permissions
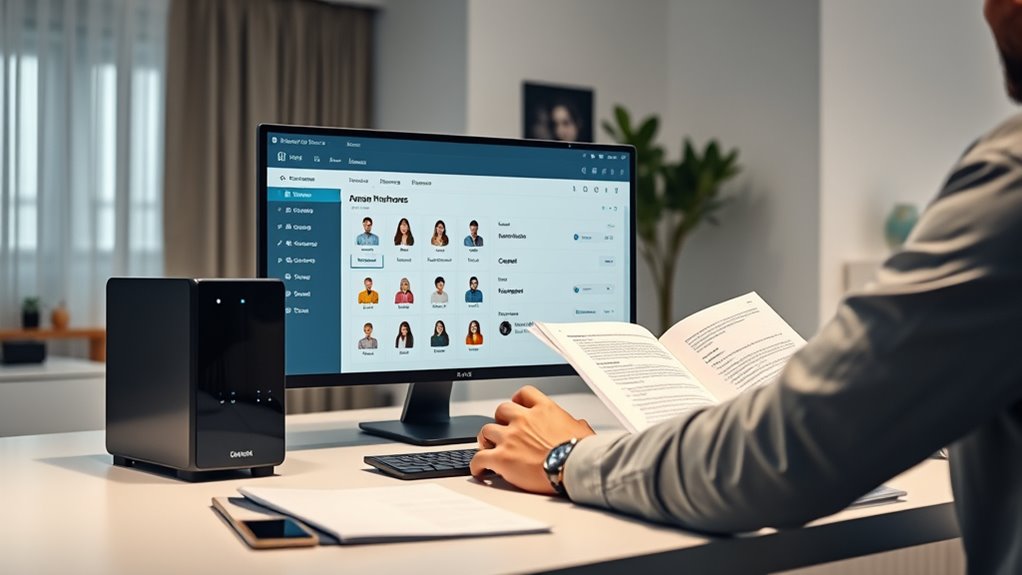
Creating user accounts and setting access permissions is a crucial step to guarantee your family photos stay secure and organized. Proper account management ensures each family member can access what they need without risking your data’s safety. To do this effectively: 1. Create individual user accounts for every family member to personalize access. 2. Assign user permissions that specify who can view, edit, or delete photos. 3. Regularly review and update account management settings to maintain security. Additionally, understanding the importance of privacy and cookie management can help you control who accesses your shared data and how your information is used.
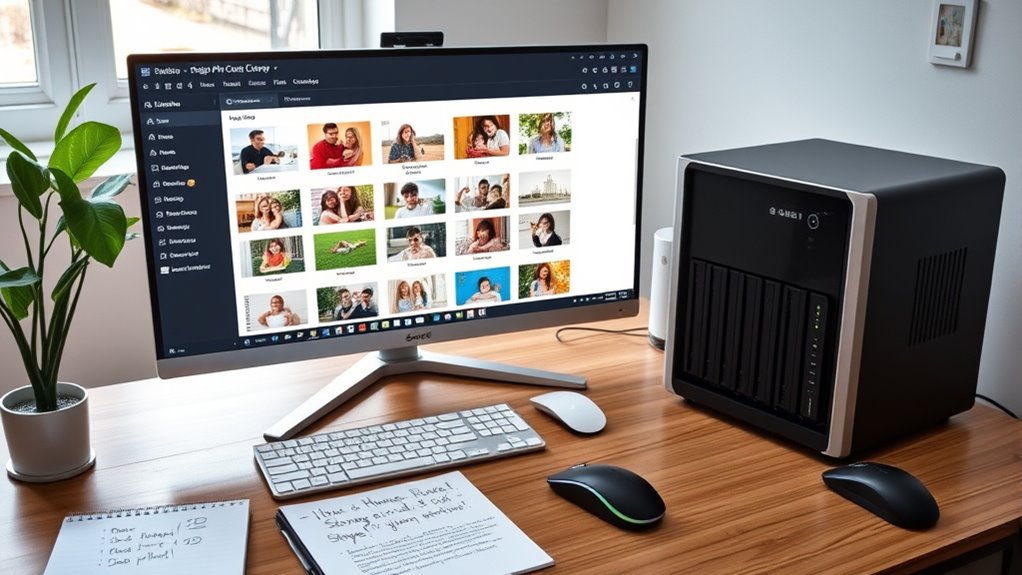
Transferring and Organizing Family Photos on Your NAS
Once your NAS is set up and user accounts are in place, the next step is transferring your family photos from your devices to the storage device. Start by organizing your photos into folders by date or event for easier navigation. Use photo tagging to add keywords such as location, people, or occasions, making future searches simple. Before uploading, consider performing basic image editing to enhance photo quality or crop unwanted areas. Use a reliable transfer method, like a dedicated app or direct folder copy, to avoid errors. After transferring, guarantee your photos are correctly tagged and organized within your NAS. This structured approach simplifies finding specific memories later and keeps your family photos neatly arranged for everyone to enjoy. Additionally, understanding the importance of proper storage conditions can help preserve the quality of your photos over time.
Implementing Backup and Data Protection Strategies
To safeguard your family photos, setting up a reliable backup routine is essential. You should establish regular backup schedules to ensure your data stays current and safe. Using RAID can add an extra layer of protection by minimizing the risk of data loss due to hardware failures.
Regular Backup Schedules
Establishing a regular backup schedule is essential to guarantee your family photos are protected against unexpected data loss. Consistency ensures your memories stay safe and organized. First, set daily or weekly backups to your NAS and cloud storage, so new photos are always protected. Second, make sure to update photo tagging and metadata during backups, keeping your collection searchable. Third, verify backups periodically to confirm data integrity and restore capabilities. Automating these steps minimizes errors and saves time. Additionally, using an air purifier with HEPA filtration can help maintain a clean environment, reducing dust and allergens that could damage your hardware. By maintaining a routine, you prevent gaps that could jeopardize your photos. Remember, combining regular backups with cloud storage offers an extra layer of security, ensuring your family’s memories remain safe even if hardware issues occur.
RAID for Data Safety
Implementing RAID (Redundant Array of Independent Disks) is a practical way to enhance your data protection strategy beyond regular backups. With different RAID configurations, you can improve data redundancy, ensuring your family photos stay safe even if a drive fails. For example, RAID 1 mirrors data across two disks, providing a real-time backup, while RAID 5 combines striping with parity, offering both performance and fault tolerance. Choosing the right RAID setup depends on your needs for data safety and storage capacity. Proper RAID configuration can prevent data loss** and reduce the risk of hardware failures, giving you peace of mind that your cherished memories are protected from hardware failures. By setting up RAID, you reduce the risk of data loss, giving you peace of mind that your cherished memories are protected from hardware failures. Proper RAID configuration is a vital step in establishing a robust, reliable NAS system** for your family photos.
Accessing and Managing Your Photos Remotely

Once your photos are stored on your NAS, accessing and managing them remotely becomes straightforward. To make it seamless, you’ll want to set up features like:
- Photo tagging: Organize your images by adding tags for easy searching, even from afar.
- Cloud sync: Enable cloud sync to keep your photos updated across devices and access them anytime.
- Remote apps: Use dedicated NAS apps or web interfaces to browse, upload, or delete photos remotely.
With these tools, you can effortlessly manage family photos, ensuring they’re organized and accessible no matter where you are. This setup not only simplifies viewing but also keeps your memories secure and well-tagged for quick retrieval.
Frequently Asked Questions
How Often Should I Back up My Family Photos on NAS?
You should back up your family photos regularly to guarantee your photo organization stays safe. For the best protection, consider a backup frequency of at least weekly or even daily if you add new photos often. This way, you minimize the risk of losing precious memories. Automating backups helps maintain a consistent schedule, keeping your family photos secure and organized without extra hassle.
Can I Integrate Cloud Storage With My NAS?
You can seamlessly synchronize and simplify your storage solutions by integrating cloud storage with your NAS. Many NAS devices support cloud sync features, allowing you to easily connect and coordinate with popular cloud services like Dropbox, Google Drive, or OneDrive. This storage integration guarantees your family photos stay safely synchronized, creating a cohesive cloud and local backup system that’s simple, secure, and smart.
What Security Measures Protect My Family Photos From Unauthorized Access?
To protect your family photos from unauthorized access, you should implement strong security measures. Use encryption protocols to secure your data both during transfer and at rest, making it unreadable without the proper key. Additionally, set up strict access controls, such as unique user accounts and permissions, so only authorized family members can view or modify the photos. Regularly update your NAS firmware to patch security vulnerabilities and enhance protection.
How Do I Troubleshoot Connectivity Issues With My NAS?
If you’re having connectivity issues with your NAS, start by performing network troubleshooting—check your Wi-Fi or Ethernet connection, restart your router, and make certain your device is on the same network. Use hardware diagnostics to identify potential hardware problems. Confirm your NAS settings are correct, update firmware, and verify cables are secure. If issues persist, consult the NAS manufacturer’s support for further assistance to get back to smoothly accessing your files.
Is It Possible to Expand NAS Storage Capacity Later?
Ever wonder if your NAS can grow with your needs? Yes, you can expand storage later, especially if you choose a model with multiple drive bays or support for additional disks. Planning for future upgrades means selecting a NAS that allows you to add or replace drives easily. This way, you won’t have to worry about running out of space as your family photos and data increase over time.
Conclusion
Now that you’ve set up your NAS for family photos, it’s like creating a digital safe haven for your memories. With everything organized and protected, you can access them anytime, anywhere—like having a family album in the palm of your hand. Keep your data backed up and permissions clear, so your precious moments stay safe and sound. Your family’s memories are now stored securely, ready to be enjoyed for generations to come.