

To set up your digital picture frame, choose one that fits your space and has good resolution. Prepare your photos by resizing and converting them if needed, then connect the frame to power and Wi-Fi. Upload your images using an app, USB, or cloud service, and organize them into albums. Adjust display settings like slideshow speed and effects for a personalized experience. Keep your device updated and maintained, and you’ll enjoy your images for years to come. If you keep exploring, you’ll discover every step in detail.
Key Takeaways
- Choose a suitable frame with high-resolution display and appropriate size for your space.
- Connect the frame to power and ensure a stable Wi-Fi connection for easy content transfer.
- Prepare and organize high-quality photos in supported formats, resizing and adjusting as needed.
- Upload images via USB, Wi-Fi, or apps, then arrange them into albums or playlists for easy navigation.
- Adjust display settings, such as transition effects and slideshow timing, to customize your viewing experience.
Choosing the Right Digital Picture Frame

When selecting a digital picture frame, you need to take into account both its size and display quality to guarantee it fits your space and shows your photos at their best. Focus on the display resolution; higher resolutions, like Full HD or 4K, deliver sharper, more vibrant images. The frame style is equally important—it should complement your decor and suit your personal taste. Sleek, modern designs work well in contemporary spaces, while classic or ornate frames add a touch of elegance. Consider the overall dimensions to ensure it’s appropriately sized for your intended location. Additionally, paying attention to display technology can significantly impact the clarity and color accuracy of your photos. By balancing display resolution with an appealing frame style, you’ll choose a digital picture frame that enhances your space and showcases your photos beautifully.
Preparing Your Photos for Upload

Before uploading your photos, you’ll want to verify they look their best on your frame. Check that your images are high-quality and compatible with the device’s supported file formats. Making these adjustments ensures your slideshow displays smoothly and vividly. Additionally, recognizing soulmate angel numbers can inspire meaningful themes for your slideshow, adding a personal touch to your display.
Photo Quality Optimization
To guarantee your photos look sharp and vibrant on your digital picture frame, it’s essential to optimize their quality before uploading. Start by ensuring your images have a high enough image resolution; low-resolution photos can appear pixelated or blurry when displayed on larger screens. Adjusting the color calibration helps your photos display accurate and vivid colors, making them more appealing. Use photo editing software to fine-tune brightness, contrast, and saturation, which enhances overall clarity. Resizing images to match your frame’s recommended dimensions prevents distortion or cropping issues. Avoid compressing files excessively, as this can reduce image quality. Taking these steps ensures your photos look professional and striking, maximizing your digital picture frame’s visual impact. Proper retirement planning can also help you allocate resources for high-quality equipment and accessories.
File Format Compatibility
Ensuring your photos are in a compatible file format is essential for a smooth upload process and ideal display. Most digital picture frames support common formats like JPEG and PNG, so convert your images if needed. Be mindful of image compression; overly compressed files can lose quality, resulting in pixelation or blurriness. Additionally, check that your photos use the correct color profiles, such as sRGB, to ensure accurate color reproduction on the frame’s display. Using incompatible formats or unsupported color profiles can cause display issues or prevent uploads altogether. Before uploading, verify your images are saved in the right format and optimized for the frame’s specifications, providing crisp, vibrant images every time. This simple step guarantees your photos look their best. File format compatibility is a crucial factor in achieving the best display quality on your digital picture frame.
Connecting the Frame to Power and Wi-Fi
Connecting your digital picture frame to power and Wi-Fi is a straightforward process that sets the stage for enjoying your photos. First, consider your power outlet placement to ensure easy access and avoid cords stretching across walkways. Once plugged in, check the Wi-Fi signal strength around the frame’s location to ensure a stable connection. A weak signal can affect photo updates and streaming. To optimize performance:
- Position the frame near a power outlet with minimal cord clutter
- Place the frame where Wi-Fi signals are strongest, away from interference
- Use a Wi-Fi extender if needed for better coverage
- Avoid placing the frame behind large objects or in enclosed spaces
- Ensure the Wi-Fi connection complies with safety standards to prevent issues with streaming or device damage
Uploading Photos to the Digital Frame

Now that your frame is connected, it’s time to upload your photos. You can transfer images using various methods like USB, Wi-Fi, or apps, so choose what’s easiest for you. Organizing your pictures beforehand helps keep your slideshow neat and easy to update. For a better viewing experience, consider selecting high-quality images and ensuring they are properly formatted for your digital frame. Additionally, understanding best anime movies can inspire you to create themed slideshows for added entertainment.
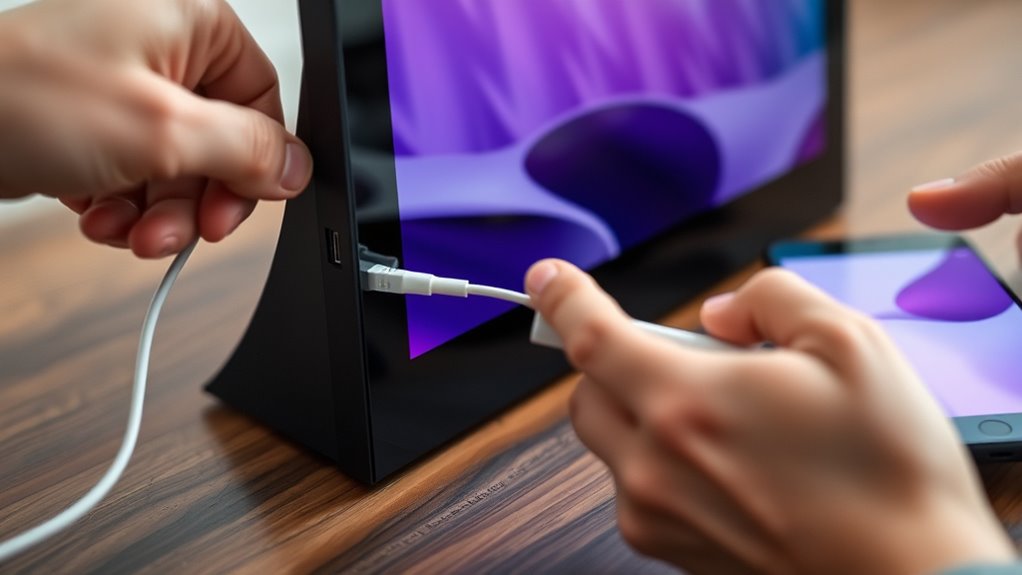
Transfer Methods
There are several ways to transfer photos to your digital picture frame, and choosing the right method depends on your device and preferences. If you prefer simplicity, USB transfer is quick—you just connect your USB drive or SD card and copy the files directly. Alternatively, cloud storage services like Dropbox or Google Drive allow you to upload photos from your computer or smartphone, then sync them automatically to your frame. You can also use Wi-Fi to transfer images wirelessly, either via a dedicated app or built-in network features. Finally, email uploads are convenient if your frame supports it. Consider your convenience, device compatibility, and the volume of photos when selecting a transfer method. Whichever you choose, verify your images are compatible with your digital frame’s specifications. Additionally, understanding the display resolution of your digital frame can help ensure your images appear sharp and clear after transfer.
Organizing Photos
Once you’ve transferred your photos to your digital picture frame, the next step is organizing them for an ideal slideshow. Good photo organization helps guarantee your favorite moments display smoothly and in order. Create digital photo albums to group related images, making it easier to select and navigate through your collection. Sort photos by date, event, or theme, which simplifies the process of setting up playlists and smooth transitions. Delete duplicates or blurry images to keep your slideshow clean and engaging. Many frames allow you to assign specific albums or folders, so take advantage of this feature to customize your viewing experience. Organized photos not only enhance the visual flow but also make updating your slideshow quick and effortless. Additionally, implementing sustainable practices when managing your digital collections can help reduce electronic waste and energy consumption associated with device use.
Customizing Settings and Slideshow Preferences
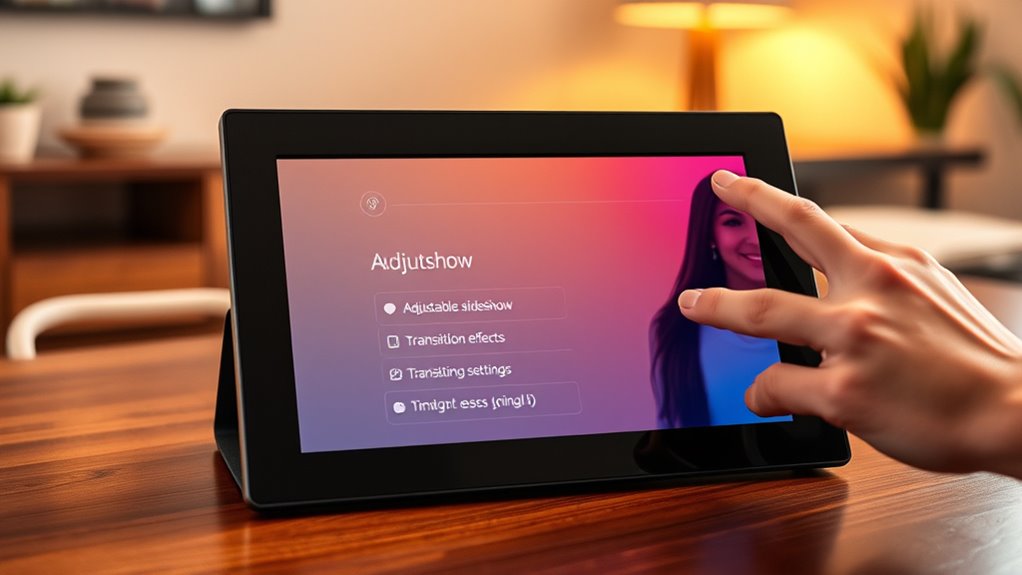
Customizing the settings and slideshow preferences allows you to tailor your digital picture frame to suit your viewing habits and aesthetic preferences. You can adjust the screen calibration to ensure images look vibrant and true to color, enhancing overall visual quality. Additionally, selecting slideshow shift effects adds a dynamic touch, making your photo display more engaging. To refine your experience, consider these options:
- Fine-tune brightness, contrast, and color settings
- Choose shift effects like fade or slide
- Set slideshow duration and order
- Enable or disable background music or captions
- Learn about beekeepers and beekeeping practices to incorporate natural themes into your display if desired
Maintaining and Updating Your Digital Frame

To keep your digital picture frame functioning smoothly and looking its best, regular maintenance and updates are essential. Start by checking for software updates, which often include security patches, bug fixes, and new features that improve performance. Keeping your frame’s software current ensures it runs efficiently and stays compatible with your devices. Additionally, pay attention to frame placement; avoid areas with direct sunlight, high humidity, or excessive dust, which can damage the device or affect display quality. Regularly clean the screen with a soft, dry cloth, and remove any dust or fingerprints. Proper maintenance prolongs your frame’s lifespan, maintains image clarity, and provides a seamless viewing experience. Staying proactive with updates and placement keeps your digital picture frame looking fresh and functioning at its best. Routine maintenance also involves periodically checking the device’s storage space to prevent lag or crashes, ensuring your photos display smoothly.
Frequently Asked Questions
How Long Does the Digital Frame’s Battery Last Without Power?
Your digital picture frame’s battery life varies depending on usage and model, but generally, it lasts between a few hours to a day without power. To maximize battery life, use effective power management features like dimming the screen or turning off animations. Keep in mind that frequent photo updates or bright displays drain the battery faster. For extended use, consider plugging it in or using external power sources to guarantee continuous enjoyment.
Can I Use External Storage Devices With My Digital Picture Frame?
Ever wonder if you can expand your digital frame’s storage? Yes, you can use external storage devices like USB drives or SD cards, depending on your model. Just make sure they’re compatible and formatted properly. External storage makes it easy to add more pictures without constantly syncing. Sometimes, firmware updates also improve external storage support, ensuring your frame recognizes new devices seamlessly. Isn’t it great to keep your photos fresh and easily accessible?
What Safety Precautions Should I Take During Setup?
When setting up your digital picture frame, prioritize electrical safety by ensuring all cords are undamaged and properly plugged in. Handle the screen carefully to avoid damage or fingerprints. Keep the area dry and avoid overloading outlets. Follow the manufacturer’s instructions closely, and unplug the device before making any adjustments. This attention to electrical safety and screen handling helps prevent accidents and keeps your device functioning smoothly.
Is It Possible to Update the Frame’s Firmware Manually?
Yes, you can update the frame’s firmware manually. Firmware updates are essential for fixing bugs and improving performance, and many digital picture frames support manual installation. To do this, you typically download the latest firmware from the manufacturer’s website, transfer it via USB or SD card, and follow the device-specific instructions. Always make sure you’re using the correct firmware version to avoid any issues during the update process.
How Do I Troubleshoot Common Connectivity Issues?
Troubleshooting tech troubles takes patience, so don’t panic. First, check your Wi-Fi troubleshooting steps—restart your router, ensure your device connects correctly, and confirm your network stability. Keep your connection clear by moving closer to your router or removing interference. Double-check your Wi-Fi password, and update your device’s software if needed. These simple steps help solve common connectivity issues, keeping your digital picture frame functioning flawlessly and your memories flowing freely.
Conclusion
Now that you’ve set up and personalized your digital picture frame, you’re ready to enjoy a nonstop gallery of your favorite memories. With just a few simple steps, you’ve turned a piece of technology into a window to your life’s most cherished moments—almost like having a personal art exhibit at your fingertips. Keep it updated and maintained, and your digital frame will continue to amaze, making every glance feel like a glimpse into a beautiful, endless slideshow of memories.