Decor
Parisian Living Room Decorations: A Step-by-Step Guide
Immerse yourself in the enchanting world of Parisian living room decorations and discover the secret to creating a space that radiates timeless elegance.
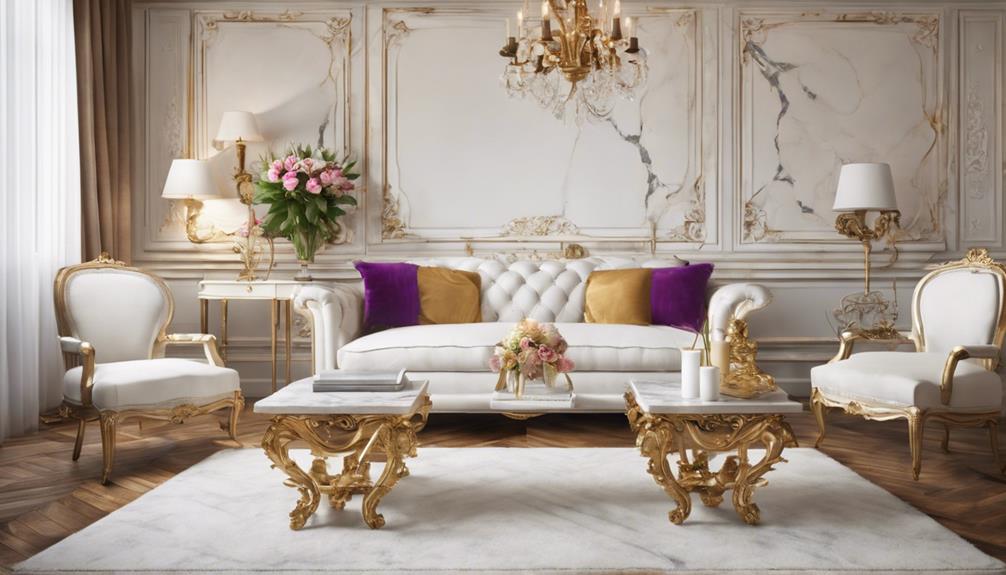
Have you ever wondered what truly makes Parisian living room decorations stand out from the rest?
The allure of Parisian design lies in its ability to effortlessly blend sophistication with a touch of eclectic charm.
As we explore the intricate steps to achieve this coveted style, we uncover the secrets behind creating a space that not only captivates but also exudes a timeless elegance.
Stay with us as we unravel the key elements and details that will transform your living room into a chic Parisian oasis.
Key Takeaways
- Select neutral tones and rich textures for a luxurious Parisian living room ambiance.
- Incorporate classic French decor elements like vintage chandeliers and antique furniture pieces.
- Mix elegant furniture with intricate details for a timeless and sophisticated look.
- Illuminate the space with a variety of elegant lighting fixtures to enhance the Parisian-inspired decor.
Choosing the Perfect Color Palette
When designing a Parisian living room, our color palette selection sets the stage for a chic and sophisticated ambiance that exudes timeless elegance. Parisian living rooms are known for their use of neutral tones such as white, cream, and gray, creating a foundation of understated luxury. These soft tones not only bring a calming atmosphere to the space but also allow accent colors to pop vibrantly, adding a touch of personality and flair.
To enhance the Parisian design further, incorporating rich textures is essential. Luxurious fabrics like silk, velvet, and linen not only elevate the visual appeal but also add depth and opulence to the room.
In our quest for an elegant ambiance, the choice of color palette becomes pivotal. It forms the backbone of sophisticated decor, setting the tone for the entire living space. By carefully selecting colors that complement each other and embracing a mix of textures, we can create a Parisian living room that's both inviting and aesthetically pleasing.
Incorporating Classic French Decor Elements
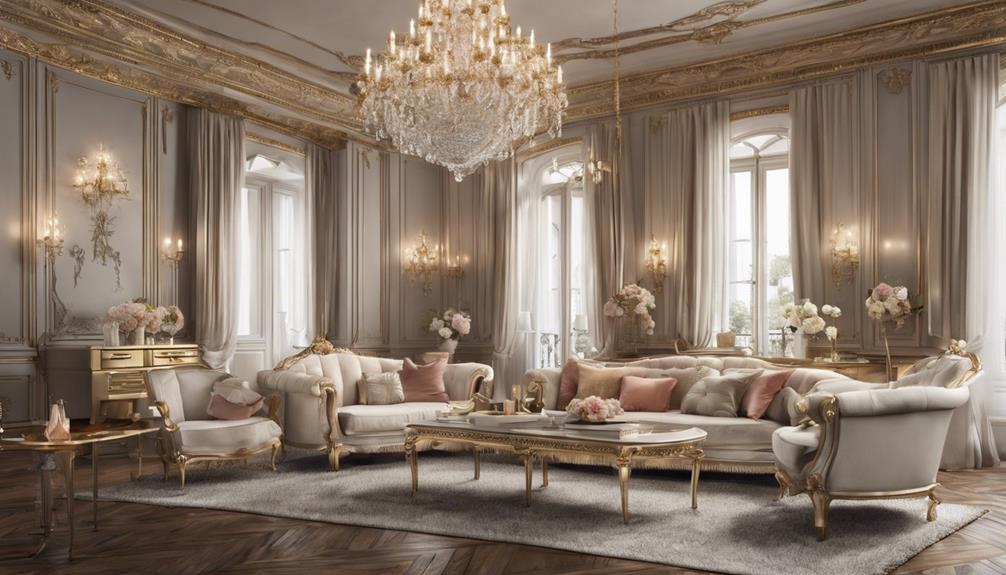
As we immerse ourselves in the world of Parisian living room decor, the infusion of classic French elements brings an air of timeless sophistication and elegance. Classic French decor often includes ornate plaster ceilings, delicate wall murals, and marble or timber fireplaces that add a touch of grandeur to the space. Vintage crystal chandeliers and antique furniture, such as gilded framed chairs, are essential for capturing the Parisian aesthetic of luxury and opulence.
To enhance the luxurious ambiance further, consider incorporating rich silk taffeta curtains that elegantly drape along the windows. These curtains, hung on beautiful brass or gilt rods, not only provide privacy but also add a sense of refinement to the room. Mismatched antique and modern furniture pieces, along with minimal restoration to preserve their charm, contribute to the overall Parisian look.
Architectural details like moldings, high ceilings, and large windows play a critical role in creating a sophisticated Parisian living room decor. By paying attention to these elements, you can craft a space that exudes the timeless elegance synonymous with Parisian style.
Selecting Parisian-Inspired Furniture Pieces
In our quest to create an authentic Parisian living room ambiance, let's carefully select furniture pieces that exude timeless elegance and sophistication. When choosing furniture for your Parisian-inspired space, consider the following:
- Elegant Lines: Opt for furniture pieces with elegant lines, such as walnut tables and gilded upholstered chairs, to reflect the sophistication commonly associated with Parisian decor.
- Eclectic Mix: Aim for a curated look by blending mismatched antique and modern furniture pieces. This eclectic mix adds character and charm to your living room, contributing to the Parisian vibe.
- Intricate Details: Look for furniture with slender legs and intricate details. These features not only add a touch of elegance but also showcase the attention to detail that's key in Parisian design.
Adding Elegant Lighting Fixtures
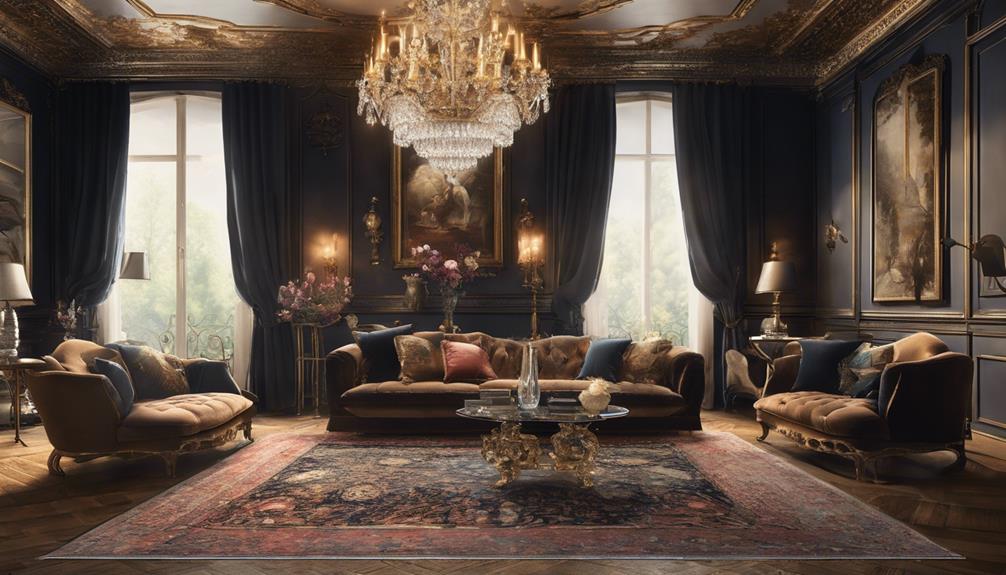
How can we infuse our Parisian living room with an air of opulence and charm through the strategic placement of exquisite lighting fixtures?
In a Parisian living room, lighting fixtures play an important role in elevating the overall ambiance. Antique crystal chandeliers are a timeless choice, exuding elegance and sophistication. These chandeliers not only provide ample light but also serve as stunning focal points.
To create a warm and inviting atmosphere, consider incorporating low-level table candelabras and floor lamps. These fixtures not only illuminate the space but also add a touch of coziness.
For a modern twist on the classic Parisian style, sculptural pendants and contemporary sconces can be strategically placed to enhance the room's aesthetic. Additionally, candlesticks made of glass, bronze, or ormolu are popular choices that complement the architectural details and decorative elements of a Parisian living room.
Styling With Parisian Textures and Accessories
Elevating our Parisian living room with an exquisite blend of luxurious textures and accessories brings a touch of elegance and sensory richness to our space. Embracing the essence of Parisian style involves carefully selecting each element to create a harmonious ambiance that speaks to the senses. Here's how we can achieve this:
- Plush Pillows: Incorporate plush pillows in rich textures like velvet to add a layer of comfort and opulence to your living room. Opt for deep jewel tones or muted pastels to enhance the cozy Parisian vibe.
- Rugs: Integrate faded woollen or silk rugs to introduce color and softness while complementing the neutral color palette typical of Parisian design. Consider oversized natural fiber rugs for added texture and visual interest, creating a luxurious foundation for the room.
- Mix Textures: Experiment with a mix of textures such as silk, velvet, and linen to cultivate a sensual and inviting atmosphere essential for Parisian style. The interplay of these materials evokes a sense of warmth and sophistication, elevating the overall aesthetic of the space.
Frequently Asked Questions
How to Decorate Room Parisian Style?
To decorate a room Parisian style, we blend classic architectural details, neutral hues, luxurious fabrics, vintage and modern pieces, and curated artwork. Achieving a chic ambiance involves marrying elegance with personal touches for a sophisticated Parisian living space.
What Is Parisian Interior Design Called?
We call Parisian interior design 'Haussmannian style' after Georges-Eugène Haussmann, known for transforming 19th-century Paris. It features grand architectural elements like high ceilings, ornate moldings, and soft, neutral color palettes for a sophisticated ambiance.
What Is Modern Parisian Style?
Modern Parisian style elegantly combines classic and contemporary elements, creating a chic and timeless aesthetic. It features a neutral color palette with luxurious fabrics like silk and velvet, striking a perfect balance between old-world charm and modern design.
What Is the Dress Code for Parisian Chic?
We adore Parisian chic style for its classic elegance. It's all about tailored blazers, crisp shirts, and well-fitted trousers in timeless colors like black and navy. Accessories like silk scarves and structured handbags elevate the look effortlessly.
Can I Incorporate Parisian Living Room Decorations into a Blend of English, Italian and Scottish Decor?
Absolutely, Parisian living room decorations can seamlessly complement a blending English Italian Scottish decor. The elegance of Parisian décor, with its ornate furnishings and delicate accents, can blend beautifully with the timeless and sophisticated elements of English, Italian, and Scottish design, creating a unique and charming fusion of styles.
Conclusion
To sum up, by following these steps to create a Parisian-style living room, you can transform your space into a sophisticated and charming oasis.
Remember, 'Paris is always a good idea,' and with the right colors, furniture, lighting, and accessories, you can bring a touch of French elegance into your home.
Embrace the beauty and timeless appeal of Parisian decor, and let your living room reflect the chic style of the City of Light.
- About the Author
- Latest Posts
Introducing Ron, the home decor aficionado at ByRetreat, whose passion for creating beautiful and inviting spaces is at the heart of his work. With his deep knowledge of home decor and his innate sense of style, Ron brings a wealth of expertise and a keen eye for detail to the ByRetreat team.
Ron’s love for home decor goes beyond aesthetics; he understands that our surroundings play a significant role in our overall well-being and productivity. With this in mind, Ron is dedicated to transforming remote workspaces into havens of comfort, functionality, and beauty.
Decor
7 Stunning Brick Accent Wall Ideas for Your Living Room
Liven up your living room with these 7 stunning brick accent wall ideas that will transform your space into a cozy haven.

Transform your living room with seven stunning brick accent wall ideas. Create a cozy atmosphere with exposed brick behind the sofa, adding texture and warmth. Elevate your staircase with a brick wall, enhancing it with lighting fixtures for a striking focal point. Embrace fireplace charm with a brick accent wall, complementing it with cozy vibes and a welcoming feel. Consider vintage or industrial styles for a touch of history and character. Textured brick walls offer depth, while colorful options bring a pop of personality. These ideas will surely enhance the ambiance and design of your living space.
Key Takeaways
- Exposed brick walls for texture and warmth.
- Staircase brick walls as striking focal points.
- Fireplace brick accent wall for cozy charm.
- Industrial brick walls evoke nostalgia.
- Textured brick walls add depth and character.
Exposed Brick Behind the Sofa
Enhance your living room with an exposed brick accent wall behind the sofa to create a cozy and inviting atmosphere. The brick wall adds texture and warmth, making the space feel more comfortable and welcoming. It serves as a striking focal point, drawing the eye and adding visual interest to the room. The contrast between the exposed brick and the sofa enhances the overall aesthetic appeal, giving the space a unique and stylish look.
Incorporating a brick accent wall behind the sofa can be a great way to customize your living room. You can choose different finishes or colors to match your existing decor and create a one-of-a-kind design. Whether you prefer a traditional red brick look or a more modern white-washed finish, the possibilities are endless. Experimenting with various options can help you achieve the perfect balance of coziness and style in your living space.
Brick Wall Near the Staircase
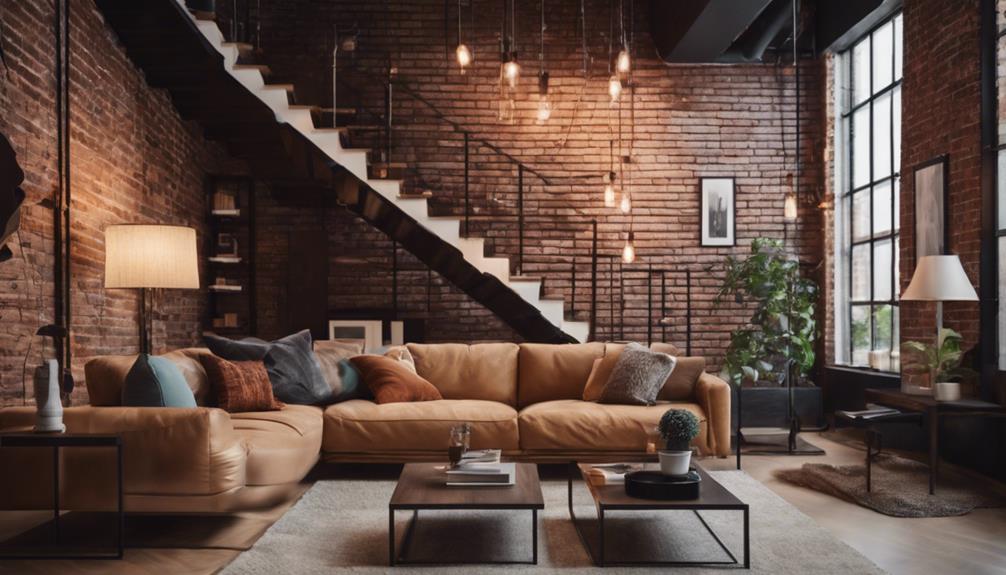
A brick wall near the staircase can serve as a striking focal point in your living room.
By strategically placing lighting fixtures, you can enhance the texture and color of the brick, creating a warm and inviting atmosphere.
Adding decorative elements like art pieces or plants can further elevate the aesthetic appeal of this unique design feature.
Staircase Brick Wall
When considering a brick wall near your staircase in the living room, focus on creating an intriguing focal point that adds texture and character to the space.
A staircase brick wall can serve as a striking addition to your home, offering a unique and visually appealing design element. The combination of brick and staircase can enhance the ambiance of the room, providing warmth and charm.
The contrast between the brick wall and the staircase can create a beautiful visual impact, especially when paired with suitable lighting. This feature can introduce a rustic or industrial touch to your living room, adding personality and character to the area.
When designing with a staircase brick wall, pay attention to details like color, texture, and layout to make certain it complements the staircase and elevates the overall aesthetic of the room.
Consider incorporating a brick wall near your staircase to transform your living space into a cozy and stylish environment.
Lighting Tips
Positioning wall sconces along the brick wall near the staircase can create a warm and inviting ambiance, enhancing the overall aesthetic of your living room. These accent lights not only illuminate the texture and color of the brick but also add a touch of elegance to the space.
For a modern twist, consider installing recessed lighting in the ceiling above the staircase. This type of lighting can highlight the unique features of the brick wall while providing a subtle and sophisticated glow.
To further enhance the accent lighting near the staircase, incorporating LED strip lights along the edges can bring a contemporary feel to the area. These sleek lights not only create a stylish look but also offer additional illumination.
Installing a dimmer switch for the lights near the staircase allows you to adjust the lighting levels according to different occasions, from cozy movie nights to vibrant gatherings.
For a statement piece, consider placing a chandelier or pendant light fixture above the staircase. This bold lighting choice can draw attention to the brick wall as a focal point in your living room, adding a touch of grandeur to the space.
Decorative Elements
Enhancing the brick wall near the staircase with carefully selected decorative elements can elevate the overall design of your living room space. A brick accent wall near the staircase serves as a striking focal point, adding texture and visual interest to the living room.
The contrast between the brick wall and the staircase creates a dynamic and eye-catching element that can transform the room's ambiance.
To further enhance the look of the brick accent wall, consider incorporating decorative elements such as lighting fixtures or artwork. These additions can help to elevate the aesthetic appeal of the living room and create a cohesive design theme.
By strategically placing the brick wall near the staircase, you can achieve a seamless flow between different areas of the living room, enhancing the overall spatial layout and design.
Carefully chosen decorative elements can complement the brick walls, adding personality and charm to your living space.
Fireplace Brick Accent Wall
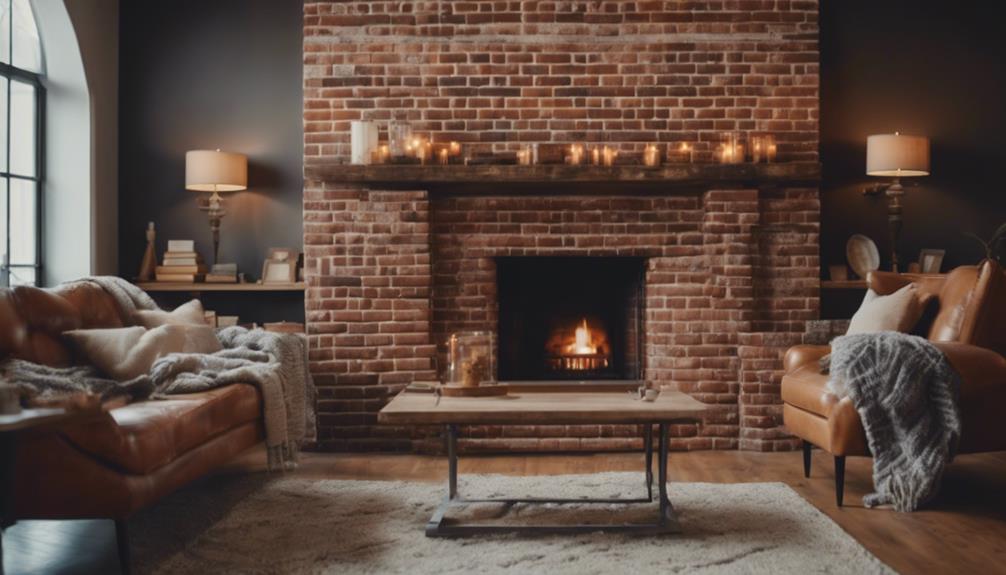
Enhance the cozy vibes of your living room with a fireplace brick accent wall, adding a touch of modern rustic charm.
The natural texture and warmth of the brick create a welcoming focal point, perfect for gathering around during chilly evenings.
Complement the look with lighting fixtures or artwork to further elevate the ambiance of your space.
Cozy Fireplace Vibes
Creating a fireplace brick accent wall in your living room infuses cozy vibes that elevate the ambiance of the space. The warmth and charm that a brick accent wall adds can transform the room into a welcoming retreat. The texture and color variations of brick create a cozy and inviting atmosphere, perfect for relaxing evenings by the fire. Installing a brick accent wall around a fireplace can make it the focal point of the room, drawing attention and creating a sense of comfort.
To help you envision the possibilities, here are some key features of a fireplace brick accent wall:
| Feature | Description |
|---|---|
| Warmth & Charm | Adds a cozy and inviting feel to the living room. |
| Focal Point | Draws attention and becomes a centerpiece. |
| Versatile Style | Complements various interior design styles. |
| Timeless Appeal | Enhances the overall aesthetic of the space. |
Embrace the timeless appeal and rustic charm of a fireplace brick accent wall for a cozy and inviting living room atmosphere.
Modern Rustic Charm
Immerse yourself in the modern rustic charm exuded by a fireplace brick accent wall in your living room. The combination of rugged brick textures with the cozy warmth of a fireplace creates an engaging focal point that enhances the overall ambiance of the space.
Adding decor elements such as mantels, mirrors, or artwork can elevate the style and character of the fireplace brick accent wall, making it a stylish and inviting feature in your living room.
Pairing a fireplace brick accent wall with modern furnishings strikes a perfect balance between contemporary design and rustic charm, offering a unique and welcoming atmosphere.
The versatility of a fireplace brick accent wall allows for a range of design styles to be incorporated, from industrial chic to cozy farmhouse aesthetics. Whether you're aiming for a sleek urban look or a more traditional feel, a fireplace brick accent wall can adapt to suit your desired decor theme, adding depth and character to your living space.
Vintage Brick Wall Design
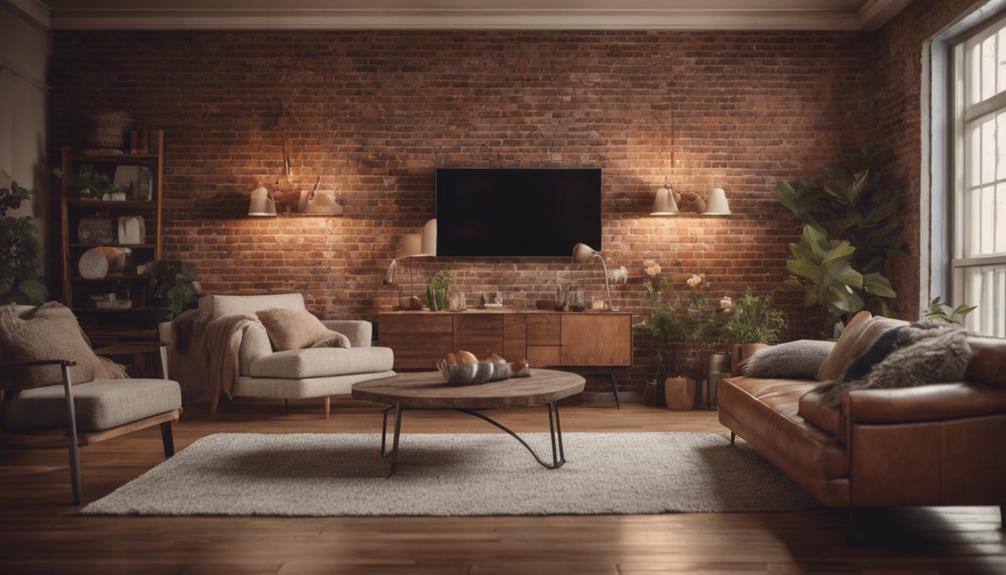
Vintage brick wall designs infuse your living room with a sense of timeless elegance and cozy charm. The combination of modern interior elements with the rustic appeal of vintage brick walls creates a unique and inviting space.
Living rooms with brick accents can benefit from the weathered and textured appearance of vintage brick, adding character and warmth to the room. Pairing these vintage brick walls with sleek and contemporary furniture pieces can offer a striking contrast that blends old-world charm with a modern aesthetic seamlessly.
The natural variations in color and imperfections found in exposed vintage brick walls contribute to a rustic look that exudes a sense of history and nostalgia. This design choice can evoke a feeling of comfort and familiarity, making your living room a welcoming retreat for both residents and guests.
Industrial Brick Wall Inspiration
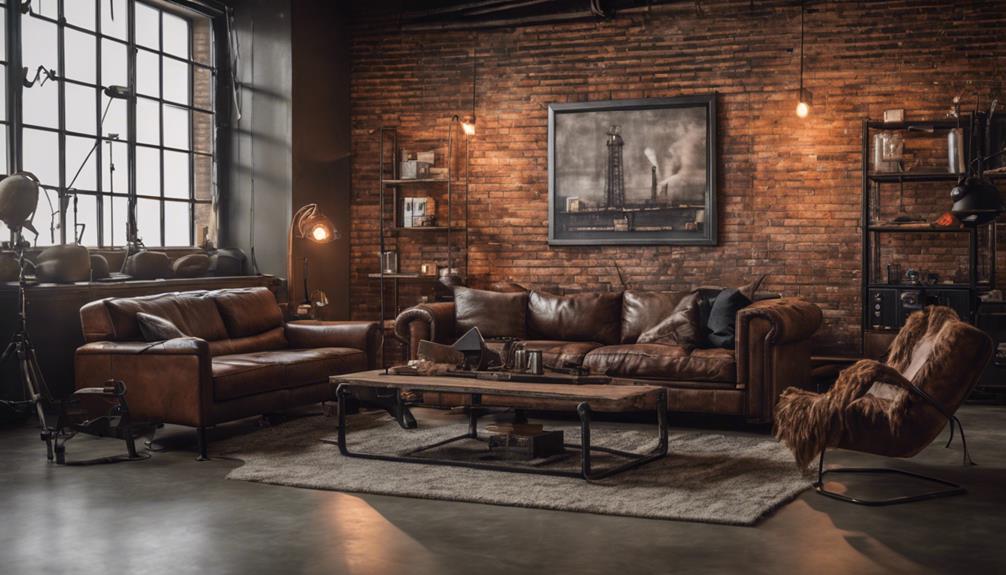
An industrial brick wall in your living room can instantly evoke a raw and edgy aesthetic, transforming the space with its rugged charm. Exposed brick walls are a perfect addition to create an industrial vibe in your home. These walls pair exceptionally well with other industrial design elements like metal and wood, adding depth and character to the room.
To enhance the industrial look further, consider leaving duct pipes exposed or incorporating large windows to play up the raw appeal of the brick wall.
For a cohesive design, wooden accents can be introduced to soften the industrial feel, especially in styles like Mediterranean or rustic. By incorporating an industrial brick wall as the focal point, you can create the perfect living room ambiance for those who appreciate the rugged charm and unique character it brings.
Experiment with different textures and colors to find the ideal balance that suits your style and preferences.
Textured Brick Wall Ideas
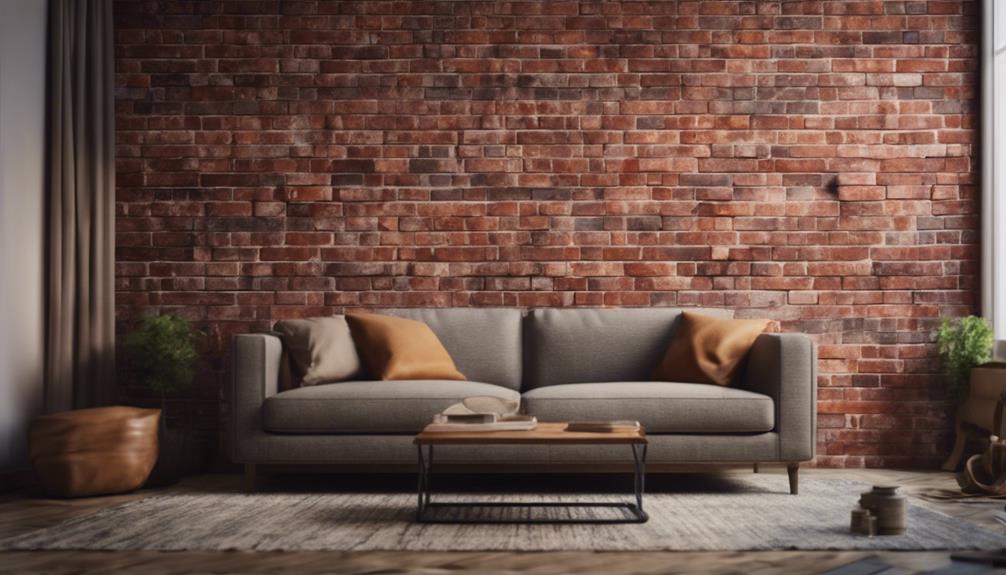
Enhance your living room with the inviting charm of textured brick walls, adding depth and character to your space.
For a farmhouse or rustic aesthetic, consider using whitewashed brick to achieve a weathered and timeless look. The rough and uneven surface of textured brick walls not only creates a unique tactile experience but also exudes a cozy and inviting atmosphere in your living area.
These walls can be left in their natural state to emphasize their rustic appeal or painted in different shades to complement your room's decor.
Whether you prefer a more traditional or modern interior design style, textured brick walls serve as a focal point that draws attention and adds visual interest to the space.
Pair them with your choice of furniture to create a harmonious and balanced ambiance that showcases the beauty of your living room.
Colorful Brick Accent Wall Options

Consider infusing your living room with personality and charm by exploring various colorful options for your brick accent wall.
- Classic Red: Opting for a classic red brick accent wall can add a timeless and bold statement to your living room. This vibrant hue brings warmth and energy to the space, creating a focal point that complements a range of interior styles.
- Natural Wood: Combining the rustic appeal of natural wood with the texture of brick can result in a unique and eye-catching accent wall. This option offers a warm and inviting atmosphere, blending the traditional charm of brick with the organic beauty of wood.
- Mix and Match: Get creative by mixing and matching different colors on individual bricks for a playful and personalized look. This approach allows you to showcase your personality and create a one-of-a-kind design that reflects your style preferences.
Frequently Asked Questions
How to Style a Brick Wall Living Room?
Style your brick wall living room by incorporating textures like books, plants, and music. Combine modern and traditional elements for visual appeal. Experiment with color schemes like white, gray, or black. Strategically use lighting and accessories for enhancement.
How Can I Make My Brick Wall More Attractive?
To make your brick wall more attractive, express your creativity by adding shelves for a personalized touch. Paint it bold or keep it natural for a striking look. Combine cozy furnishings and lighting to elevate its charm.
What to Do With a Brick Accent Wall?
To enhance a brick accent wall, consider adding wall art, shelves, or a gallery display. Incorporate cozy textiles, like rugs or throw blankets, to soften the space. Lighting fixtures and mirrors can also elevate the ambiance.
Which Wall in My Living Room Should Be the Accent Wall?
Alright, so here's the deal: when choosing which wall in your living room should be the accent wall, make sure to pick the one that will really pop and jazz up your space.
Conclusion
To sum up, brick accent walls can add a touch of warmth and character to your living room.
Did you know that brick walls can help regulate the temperature in your home, keeping it cooler in the summer and warmer in the winter?
Consider one of these stunning brick accent wall ideas to transform your space and create a cozy atmosphere.
- About the Author
- Latest Posts
Introducing Ron, the home decor aficionado at ByRetreat, whose passion for creating beautiful and inviting spaces is at the heart of his work. With his deep knowledge of home decor and his innate sense of style, Ron brings a wealth of expertise and a keen eye for detail to the ByRetreat team.
Ron’s love for home decor goes beyond aesthetics; he understands that our surroundings play a significant role in our overall well-being and productivity. With this in mind, Ron is dedicated to transforming remote workspaces into havens of comfort, functionality, and beauty.
Decor
What Are 3 Thrifted Style Ideas for Beach Airbnb Decorating?
Lifting the lid on thrifting secrets, discover how to curate a coastal chic beach Airbnb with unique, budget-friendly decor finds that wow.

We're always on the lookout for unique decor pieces to give our beach Airbnb that perfect coastal vibe. For a coastal chic look, we scour thrift stores for vintage wicker furniture, beach-inspired artwork, and airy textiles. Next, we love beachy keen decor finds like coastal wall art, vintage books, and seashells to create a seaside paradise feel. Lastly, we incorporate coastal-themed decor like seashells and driftwood to create a calming seaside retreat ambiance. By combining these thrifted finds, we can create a stylish and inviting coastal retreat that our guests will adore. Want to discover more coastal decor secrets?
Key Takeaways
• Scour thrift stores and flea markets for unique coastal decor pieces, like vintage wicker furniture and beach-inspired artwork.
• Repurpose shells, driftwood, and nautical accents to create budget-friendly coastal decor for your beach Airbnb.
• Paint furniture in coastal colors to add a personal touch, and mix thrifted finds with new pieces for a stylish coastal chic look.
• Incorporate coastal-themed decor like seashells and driftwood to create a calming and inviting seaside retreat ambiance.
• Utilize DIY projects for upcycled beach art and painted furniture to add a personal touch to your beach Airbnb decor.
Coastal Chic on a Shoestring
By scouring local thrift stores and flea markets, we can uncover unique, one-of-a-kind decor pieces that evoke the effortless elegance of coastal chic style without breaking the bank. Our beach cottage can exude a relaxed, beachy vibe on a budget.
At thrift stores, we're on the hunt for vintage wicker furniture, beach-inspired artwork, and light, airy textiles that scream coastal decor. We can repurpose coastal-themed items like shells, driftwood, and nautical accents to create a truly thrifted decor.
DIY projects are also a great way to add a personal touch to our beach-inspired space. We can paint old furniture in soothing coastal colors or create our own beach-themed wall art. By mixing our thrifted finds with a few new key pieces, we can create a stylish and budget-friendly coastal chic look for our beach Airbnb.
With a little creativity, we can achieve the perfect blend of style and affordability.
Beachy Keen Decor Finds
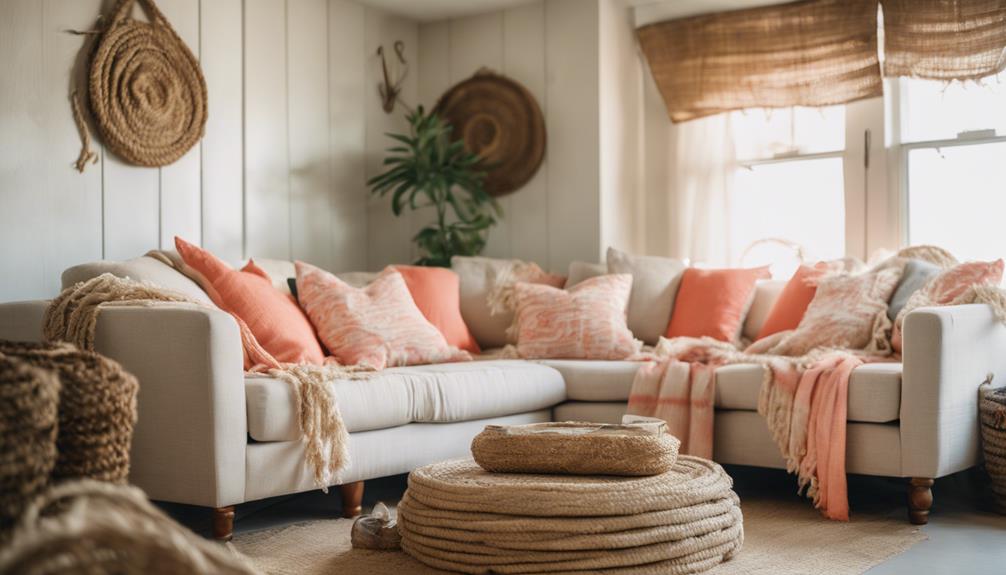
As we scour the thrift stores, we're on the lookout for those unique decor pieces that scream 'beachy keen' – think coastal wall art, vintage books, and seashells that'll transport our guests to a seaside paradise. We're not just looking for anything, though; we want pieces that evoke a sense of relaxed, beachy vibes.
Some of our favorite thrifted finds include:
** Worn, distressed wooden signs with beachy phrases like 'Seas the Day' or 'Life's a Beach'
**Vintage nautical maps or charts, perfect for adding a touch of adventure to the space
- Glass bottles in shades of blue and green, reminiscent of sea glass and perfect for adding a pop of color to the shelves
These thrifted finds are the perfect way to add a touch of the beach to our Airbnb without breaking the bank. And when paired with upcycled furniture pieces, like wicker baskets or rattan chairs, we can create a cozy, inviting space that feels like a seaside retreat.
Thrifty Seaside Retreat Style
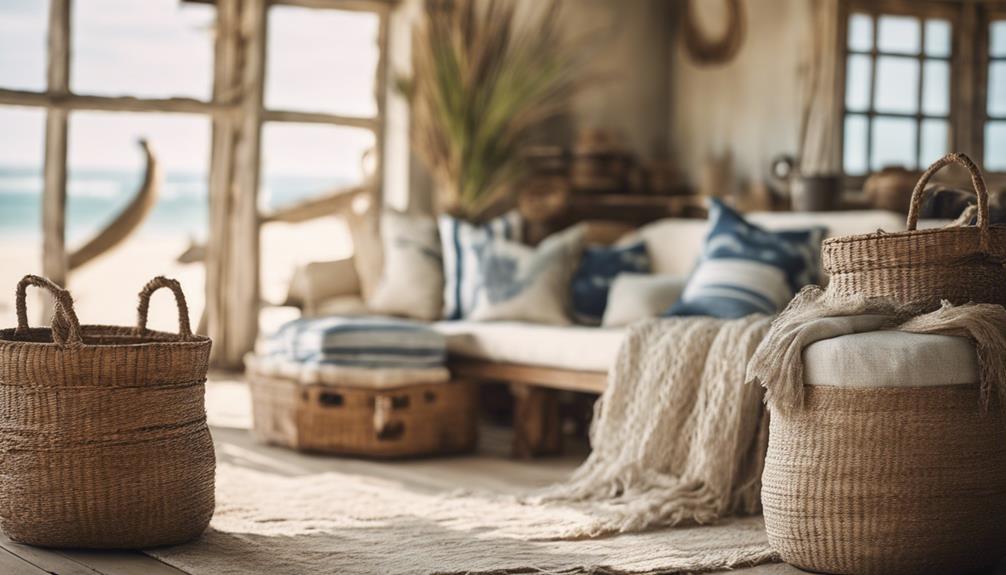
We're taking our beachy keen decor to the next level by incorporating coastal-themed decor like seashells, nautical ropes, and driftwood found at thrift stores to create a seaside retreat ambiance that's both calming and inviting.
Our beach house Airbnb deserves a living room that exudes coastal charm, and we're achieving it with great ideas like mixing and matching vintage furniture pieces with modern accents. Neutral color palettes with pops of blue and green create a soothing atmosphere, perfect for a relaxing getaway.
Thrifted items like wicker baskets, woven rugs, and light, airy curtains enhance the coastal vibe. To add a personal touch, we're utilizing DIY projects such as upcycled beach art, painted furniture, and repurposed accessories.
Frequently Asked Questions
How to Decorate a Coastal Airbnb?
When it comes to decorating a coastal Airbnb, we start by embracing the beachy vibe.
We incorporate natural textures like wicker, jute, and driftwood to bring the outdoors in.
We also use calming colors like blues, whites, and sandy neutrals to evoke the feeling of a seaside escape.
How to Decorate for a Beach Theme?
As we immerse ourselves in decorating for a beach theme, we're swept away by the soothing hues of coastal colors. We envision blues and whites mingling with sandy neutrals, transporting our guests to a seaside paradise.
To bring this vision to life, we scour thrift stores for seashell-adorned trinkets, driftwood accents, and woven textures that evoke a relaxed, beachy vibe.
How to Decorate Like a Beach House?
When we think about decorating like a beach house, we want to evoke a relaxed, coastal vibe.
We start by incorporating natural elements like seashells, driftwood, and nautical touches.
We opt for light, airy colors and mix textures like rattan, jute, and weathered wood to add depth.
How to Decorate for Airbnb?
We're obsessed with decorating our beach Airbnb to perfection!
When it comes to decorating for Airbnb, we understand it's all about creating an unforgettable experience for our guests.
We focus on crafting a unique, Instagram-worthy space that screams 'beach vacation'!
To achieve this, we scour thrift stores for one-of-a-kind coastal treasures, like vintage seashells, distressed driftwood, and nautical accents.
Conclusion
As we wrapped up our beachside retreat makeover, we stumbled upon a vintage surfboard-turned-wall-art piece at a local thrift store. It was love at first sight! This treasure transformed our space into a coastal haven.
Just like that surfboard, thrifted decor can elevate your beach Airbnb without breaking the bank. By embracing the thrill of the hunt and thinking outside the box, you can create a unique, beachy vibe that will make your guests feel like they're riding the waves of relaxation.
- About the Author
- Latest Posts
Introducing Ron, the home decor aficionado at ByRetreat, whose passion for creating beautiful and inviting spaces is at the heart of his work. With his deep knowledge of home decor and his innate sense of style, Ron brings a wealth of expertise and a keen eye for detail to the ByRetreat team.
Ron’s love for home decor goes beyond aesthetics; he understands that our surroundings play a significant role in our overall well-being and productivity. With this in mind, Ron is dedicated to transforming remote workspaces into havens of comfort, functionality, and beauty.
Decor
How to Transform a Dresser Into a Bookshelf in 10 Steps
Hunt for hidden potential in your old dresser as we uncover the secrets to transforming it into a stylish bookshelf in 10 easy steps.
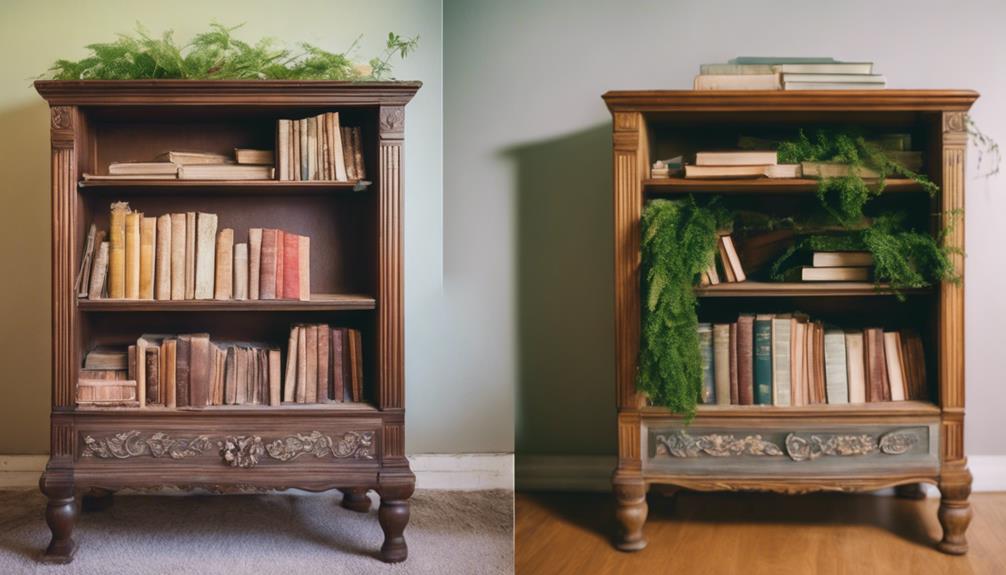
We'll transform an old dresser into a stylish bookshelf in 10 steps. First, we'll strip the dresser bare, removing drawers and hardware, and create a blank slate for transformation. Next, we'll sand the entire dresser for a uniform finish, focusing on corners and edges. After painting or staining the dresser, we'll measure and cut shelves to fit snugly, attach them with brackets, and add a backing for stability. We'll fill gaps and holes with filler, sand the entire piece smooth, and add decorative trim and molding for a polished look. With these steps, we'll create a functional and stylish bookshelf, and discover more creative possibilities as we progress.
Key Takeaways
• Remove all drawers and hardware to create a blank slate for transformation, and consider repurposing opportunities for drawers.
• Sand the entire dresser with 80 grit sandpaper to achieve a uniform finish and create a clean canvas for painting or staining.
• Measure internal dimensions of the dresser to cut shelves that fit snugly, and consider curved bottoms for aesthetics.
• Attach shelves with solid wood brackets, positioning them evenly for balanced support and ensuring proper leveling and secure fastening.
• Fill gaps and holes with wood filler, letting it dry completely to achieve a seamless finish and smooth out imperfections.
Remove Drawers and Hardware
We begin by stripping the dresser bare, removing all drawers and hardware to create a blank slate for our transformation. This important step allows us to start from scratch, giving us a clean canvas to work with.
We remove drawers and hardware, taking care to keep track of all the screws, knobs, and other small parts for future use or replacement. We set aside the removed drawers, considering potential repurposing opportunities for other projects.
With the dresser completely empty, we're left with a blank space, ready for the next stages of our transformation. We take a moment to inspect the dresser's interior, ensuring it's completely clear of any remaining debris or obstructions. By doing so, we create a solid foundation for our bookshelf conversion, allowing us to move forward with confidence.
Sand Down the Dresser

With our dresser stripped bare, we're ready to tackle the next essential step: sanding down the entire surface to create a smooth, even canvas for painting. Sanding is a pivotal step in transforming our dresser into a bookshelf, as it helps remove any imperfections and establishes a strong bond between the wood and paint.
Here are the key takeaways for sanding our dresser:
- We'll start with an orbital sander and 80 grit sandpaper to eliminate any damage or imperfections from the surface.
- Sanding the entire dresser, including sides, top, and drawers, is vital for a uniform finish.
- Pay special attention to corners, edges, and intricate details to achieve a smooth surface.
- Sanding helps the paint adhere better and establishes a clean canvas for our transformation.
- Take your time with sanding to achieve a professional-looking result.
Paint or Stain the Dresser

As we progress with transforming our dresser into a bookshelf, we'll need to make sure the surface is properly prepared for painting or staining. This involves prepping the surface, which includes sanding and potentially applying a primer to guarantee a smooth finish.
We'll also explore the various color options available, from bold hues to natural wood tones, to find the perfect fit for our new bookshelf.
Prep the Surface
We'll start by sanding the dresser's surface to remove any existing finish or imperfections, guaranteeing a smooth canvas for our new paint or stain. This step is vital in creating a beautiful, turned piece of stained wood that will soon become a functional bookshelf.
To guarantee a flawless finish, we'll follow these essential steps:
- Sand the dresser surface to remove any existing finish or imperfections.
- Choose a paint or stain that suits our desired look for the bookshelf.
- Apply a primer if needed to make sure the paint or stain adheres well.
- Use quality brushes or rollers for a smooth and even application.
- Allow sufficient drying time between coats for a professional finish.
Color Options
We've two fundamental options for transforming our dresser's look: painting it for a bold, eye-catching statement or staining it for a rich, natural wood finish that exudes classic elegance.
If we choose to paint, we can opt for a great, bold color to make a statement or go for a distressed look using chalk paint. We'll need to prime the surface first to guarantee a smooth finish. We can also experiment with different techniques like ombre, distressing, or stenciling to create a unique design.
On the other hand, staining the dresser can create a rich, natural wood finish that's perfect for a classic look. Dark Walnut is a great option for a sophisticated, timeless design.
Whichever option we choose, selecting a color that complements the room's decor and style is crucial for a cohesive look. By considering our options carefully, we can achieve a beautiful, one-of-a-kind bookshelf that reflects our personal style.
Measure and Cut Shelves

With our dresser's internal dimensions in hand, we measure carefully to determine the ideal shelf size, guaranteeing a snug fit that leaves enough clearance for easy book retrieval.
We take precise measurements to confirm the shelves fit perfectly, without being too tight or too loose.
Here are the key considerations for measuring and cutting our shelves:
- Measure the inside dimensions of the dresser to determine the size of the shelves needed.
- Use a saw to cut the shelves to fit the measured dimensions, ensuring they're snug but not too tight.
- Consider creating a curved bottom piece for aesthetic appeal and functionality, especially if the dresser has a curved design.
- Double-check the measurements before cutting the shelves to avoid any errors in fit and alignment within the dresser.
- Ensure the shelves are cut accurately to maximize storage space and create a cohesive look for the transformed bookshelf.
Attach Shelves With Brackets

Securely attaching shelves to the dresser requires sturdy brackets that can support the weight of books or other items. We opted for solid wood brackets to guarantee a sturdy foundation for our bookshelf. To make the attachment process smooth, we positioned the brackets evenly along the sides of the dresser, ensuring balanced support.
Next, we double-checked that the brackets were properly leveled before attaching the shelves. This vital step prevented any wobbling or instability in the final product.
With the brackets in place, we carefully attached the shelves, making sure they were securely fastened. To test the stability of our handiwork, we gently applied pressure to each shelf, verifying that they could withstand the weight of our favorite novels and decorative items.
Add a Backing to the Shelves

Adding a backing to the shelves is an essential step in completing our bookshelf transformation, as it provides stability and support for the items we'll be placing on it. We can use a piece of scrap plywood or beadboard to create the backing, or even repurpose an old door or shutter to add some unique character to our bookshelf.
To attach the backing, we can use nails, screws, or a strong adhesive like Wood Glue, depending on the material and the look we're going for. If we want to add an extra decorative touch, we can paint or stain the backing to match the rest of our bookshelf.
Here are some key things to keep in mind when adding a backing to our shelves:
- A backing helps prevent items from falling off the back of the shelves
- It adds a finished look to the bookshelf
- We can use a variety of materials, including plywood, beadboard, or repurposed materials
- We can attach the backing using nails, screws, or adhesive
- Painting or staining the backing can add a decorative touch
Fill Gaps and Holes With Filler

We need to fill in any gaps or holes in the dresser to create a smooth surface, ensuring our bookshelf looks polished and professional.
To do this, we'll use wood filler to fill in any imperfections. We'll apply the filler generously, making sure to fill the gaps completely. Then, we'll let it dry completely before moving on to the next step.
It's important to fill these gaps and holes, as they can detract from the overall appearance of our bookshelf. By filling them, we'll achieve a seamless finish that blends in with the rest of the dresser.
When applying the filler, we'll pay attention to details, ensuring it's evenly applied to achieve a professional look. Filling gaps and holes with filler is crucial for a polished final appearance of our repurposed dresser bookshelf.
Sand the Entire Piece Smooth

With our gaps and holes filled, we're ready to smooth out the entire dresser surface using an orbital sander with 80 grit sandpaper. This pivotal step guarantees a uniform base for our transformation, and it's vital for achieving a professional-looking finish.
Here's what we need to keep in mind as we sand the entire piece:
- Use an orbital sander with 80 grit sandpaper to smooth out the surface
- Sand away any rough patches, imperfections, and old finishes for a clean base
- Pay special attention to corners, edges, and intricate details to guarantee a uniform finish
- Wipe down the dresser with a tack cloth to remove any sanding dust before priming or painting
- Remember, the sanding process is essential for paint adhesion and achieving a finish that looks great
Add Decorative Trim and Molding
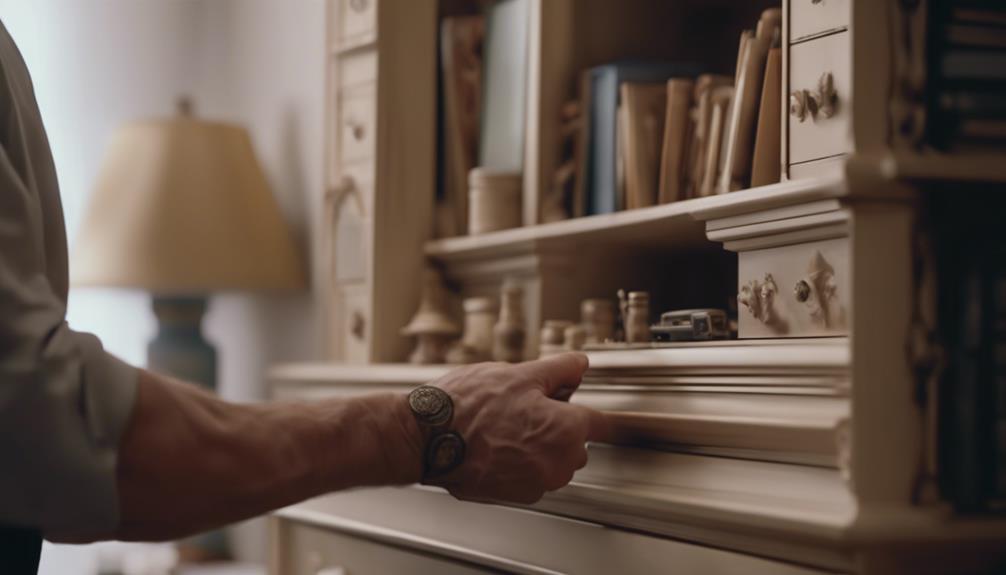
Now that our dresser's surface is smooth and even, let's take its transformation to the next level by incorporating decorative trim and molding to elevate its visual appeal.
We want our new bookshelf to look polished and refined, and adding trim and molding can achieve just that. By placing trim around the edges, we can create a seamless look that ties the entire piece together.
Molding, on the other hand, can add a touch of elegance and sophistication, drawing the eye to specific areas of the bookshelf. When choosing trim and molding, it's essential to select pieces that complement the style and design of our dresser bookshelf. We don't want the trim and molding to clash with the overall aesthetic, but rather enhance it.
For a truly personalized touch, we can customize the trim and molding to fit our unique style. By adding decorative trim and molding, we can take our bookshelf from bland to grand, making it a statement piece in any room.
The drawer fronts, in particular, can benefit from a decorative trim, giving the entire piece a cohesive and polished look.
Style Your New Bookshelf

As we style our new bookshelf, we'll focus on three key aspects:
- bookshelf aesthetics
- decorative objects
- visual balance
We'll explore how to thoughtfully select decorative items that complement our bookshelf's design, and arrange them in a way that creates visual harmony.
Bookshelf Aesthetics Matter
We want our bookshelf to blend seamlessly into our existing space, so we choose a style that complements our room's unique character. To achieve this, we focus on bookshelf aesthetics, considering the overall look and feel we want to create. This is where the fun begins, as we get to add our personal touch to the design.
Here are some key considerations for styling our bookshelf:
- Choose a paint color or finish that matches our room's theme for a cohesive look
- Add decorative elements like trim, molding, or handles to enhance the bookshelf's appearance
- Consider using baskets or bins for additional storage that also add to the overall style
- Personalize our bookshelf with unique touches like wallpaper backing or painted designs for a custom look
- Think about the style and aesthetic of our bookshelf to complement our existing decor
Choose Decorative Objects
With our bookshelf's structure and aesthetics in place, we're ready to bring it to life by selecting decorative objects that reflect our personal style and complement our new bookcase's color scheme.
Now that our dresser turned bookshelf is transformed, it's time to add the finishing touches. We'll choose decorative objects that not only complement the color scheme but also add visual interest. A mix of books, vases, picture frames, and plants can create a dynamic display.
We'll opt for items of varying heights and textures to add depth and dimension. To create a visually appealing arrangement, we'll group objects in odd numbers and experiment with different layouts until we achieve a pleasing aesthetic.
Balance Visual Weight
To achieve a visually appealing bookshelf, we'll carefully balance the visual weight of our decorative objects. This involves combining tall and short items to create a harmonious arrangement. By considering the visual weight of each piece, which includes factors such as size, shape, and color, we can achieve a sense of balance and harmony on our bookshelf.
Here are some tips to keep in mind:
- Mix tall and short items to create visual interest
- Group similar items together for a cohesive look
- Add decorative elements like plants, artwork, or sculptures to enhance the overall style
- Experiment with different arrangements to find the perfect balance
- Regularly update the display to keep it fresh and visually appealing
Frequently Asked Questions
Can You Turn a Dresser Into a Bookshelf?
We can confidently say yes, you can turn a dresser into a bookshelf. This creative repurposing involves converting the existing structure to accommodate books and decor items.
The process may involve removing drawers, adding shelves, and making modifications to suit book storage. With some creativity and DIY skills, an old dresser can be transformed into a functional and stylish bookshelf that fits your space and design aesthetic.
How to Make Shelves Out of Dresser Drawers?
We're revamping the dresser's purpose, turning it into a bookshelf by repurposing the drawers as shelves. It's like giving new life to a worn-out canvas, where every brushstroke tells a story.
To create these shelves, we measure the inside dimensions, cut the drawer fronts to fit, and sand and paint them to match or contrast with the dresser. We then install the shelves using wood glue and screws, adding trim or brackets for extra support and visual appeal.
How to Change the Look of a Dresser?
We're looking to change the look of a dresser, and we're not limited to just painting it. We can update the hardware by adding new knobs or handles to give it a fresh feel.
Sanding and priming the surface guarantees a smooth, even finish. Then, we can choose a paint color that complements our decor.
How to Repurpose Dresser Drawers?
As we commence the journey of repurposing dresser drawers, we find ourselves standing at the crossroads of creativity and functionality.
We can choose to remove the drawers entirely, replacing them with shelves that stretch towards the sky like outstretched arms, or trim their facings to create a seamless, cohesive look.
We can add cleats for support and bottom trim for aesthetic appeal, transforming the dresser into a bookshelf that's both beautiful and functional.
Conclusion
As we've transformed this dresser into a bookshelf, we've witnessed a metamorphosis akin to a caterpillar's emergence as a butterfly.
The once-cluttered space now soars, its shelves a demonstration of the power of creativity and DIY determination.
Our labor of love has yielded a functional work of art, where stories unfold and knowledge awaits.
Like a phoenix from the ashes, our dresser-turned-bookshelf rises, a beacon of possibility, inviting all to partake in the beauty of transformation.
- About the Author
- Latest Posts
Introducing Ron, the home decor aficionado at ByRetreat, whose passion for creating beautiful and inviting spaces is at the heart of his work. With his deep knowledge of home decor and his innate sense of style, Ron brings a wealth of expertise and a keen eye for detail to the ByRetreat team.
Ron’s love for home decor goes beyond aesthetics; he understands that our surroundings play a significant role in our overall well-being and productivity. With this in mind, Ron is dedicated to transforming remote workspaces into havens of comfort, functionality, and beauty.
-

 Vetted3 days ago
15 Best Printers of 2024: Top Picks and Expert Reviews
-
 Vetted5 days ago
15 Best Tile Sealers for Long-Lasting Protection and Shine
-

 Vetted1 week ago
15 Best Smelling Floor Cleaners That Will Leave Your Home Fresh and Inviting
-

 Vetted7 days ago
14 Best Power Scrubbers for Showers That Will Transform Your Cleaning Routine
-

 Mardi Gras Decoration2 days ago
What Do the Symbols of Mardi Gras Mean?
-

 Appliances5 days ago
5 Best Energy-Efficient Stainless Steel Fridges 2023
-

 Vetted4 weeks ago
Best Mop for Sparkling Clean Floors in 2024
-

 Vetted5 days ago
Best Essential Oil Brand: Top Picks for 2024











![Best Murphy Bed Options for Small Spaces [2024] 147 81VUhrTjgqL](https://byretreat.com/wp-content/uploads/2023/11/81VUhrTjgqL-80x80.jpg)