Decor
10 London Room Decorations to Transform Your Space
Prepare to immerse yourself in the elegance and charm of London with these 10 room decorations that promise to transform your space into a cultural haven.
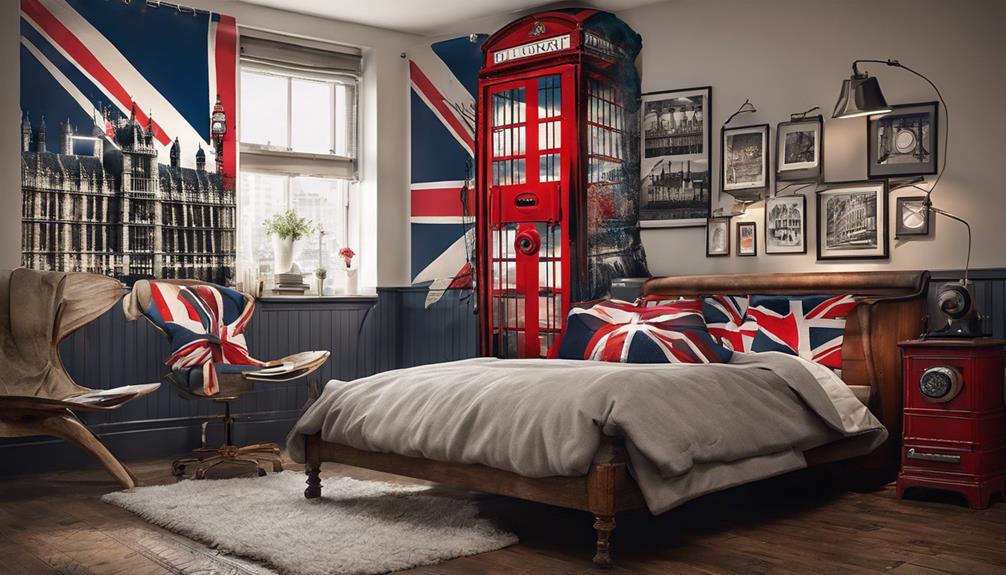
As we explore the intricacies of room decor inspired by the charm of London, a world of elegance and sophistication unfolds before us.
Each item carefully selected to transport you to the bustling streets and iconic landmarks of the British capital, these decorations hold the promise of transforming your space into a haven of style and cultural allure.
With a blend of classic and contemporary elements, these London-themed decor pieces beckon you to set out on a journey of refinement and creativity.
Key Takeaways
- Incorporate London-themed wall art with iconic landmarks for a vibrant room transformation.
- Add vintage London decor like elegant clocks for a touch of sophistication and history.
- Infuse British flag accents for patriotic charm and a stylish fusion of tradition with modern design.
- Integrate London-inspired elements such as Underground decor and red telephone booth accents for a quirky and authentic British ambiance.
London-Themed Wall Art
Indulging in London-themed wall art allows us to infuse our living spaces with the vibrant essence of this iconic city, capturing its allure through a diverse range of artistic representations. From the majestic Big Ben to the modern London Eye, these iconic landmarks can serve as a focal point in any room, drawing the eye and sparking conversations. Art prints featuring London's skyline or charming street scenes can create an inviting atmosphere, transporting us to the bustling streets of this dynamic city.
Interior designers often turn to vintage-style travel posters of London to add a retro and artistic vibe to their clients' walls. The combination of old-world charm and artistic flair can transform a bland space into a sophisticated haven. Black and white photography of London streets or architecture offers a timeless appeal, perfect for those seeking a classic yet stylish look. Watercolor paintings of London's famous sights bring a colorful and artistic touch, infusing any room with a sense of creativity and wonder.
Vintage London Clocks
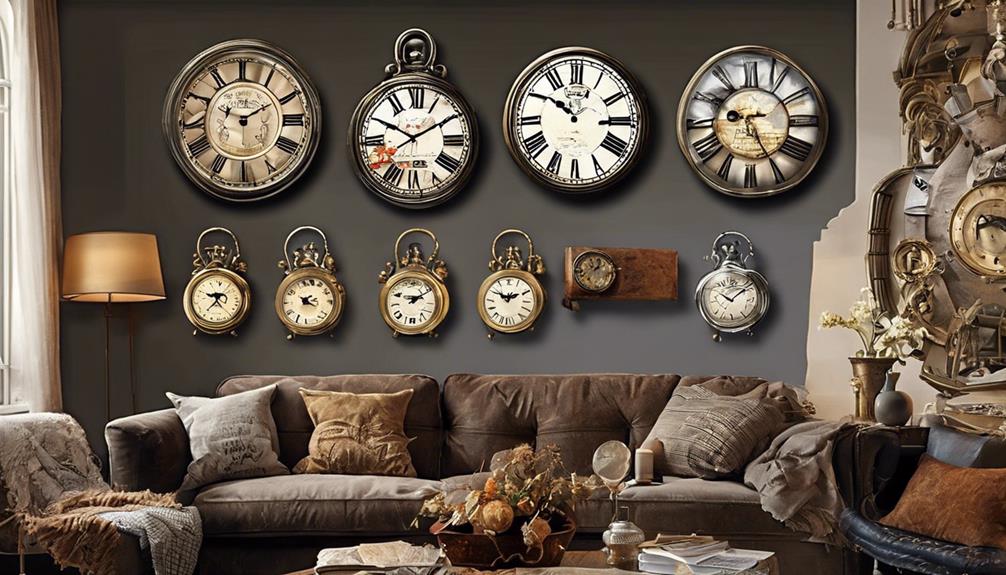
Immersing ourselves in the sophisticated ambiance of London-themed wall art, we now turn our attention to the enchanting allure of Vintage London Clocks. These timeless pieces not only tell the time but also have the power to transform a space, adding a new dimension of elegance and history.
Vintage London clocks often feature intricate designs and historical significance, making them conversation starters and eye-catching additions to any room. These clocks can serve as focal points in a room, effortlessly adding a touch of old-world charm and sophistication. Antique London clocks come in various styles such as bracket clocks, mantel clocks, and carriage clocks, allowing you to choose one that best fits your decor style.
Incorporating a vintage London clock into your decor can make your space feel like a journey back in time, where every glance at the clock evokes a sense of nostalgia and refinement. Add a new level of character to your room with a vintage London clock that not only tells time but also tells a story.
British Flag Accent Pieces
With a touch of British flair, incorporating flag accent pieces into your decor can instantly infuse a patriotic charm into any room. British flag cushions or throw blankets serve as subtle yet striking additions, evoking a sense of British heritage and culture.
For a bolder statement, consider British flag rugs or wall art that can act as focal points in your space, adding a unique touch. Mixing these accent pieces with modern furniture creates a stylish and eclectic look, blending tradition with contemporary design seamlessly.
The versatility of British flag accent pieces allows for easy interchangeability, catering to different design preferences and moods. Whether you choose to sprinkle these accents throughout the room or make them the main feature, they're sure to bring a sense of patriotism and sophistication to your living space.
Embrace the iconic Union Jack and let your decor reflect the rich history and style of Britain.
London Underground Signage
Incorporating the iconic typography and colors of London Underground signage into your decor instantly adds a touch of urban and vintage charm to any space. The roundel logo, a symbol of London's transportation system since 1908, brings a piece of the city's rich history right into your home.
To infuse your space with the spirit of the London Underground, consider these creative ideas:
- Repurposed Vintage Signs: Hunt for authentic enamel signs from the London Underground to create a unique focal point in your room.
- DIY Decor Projects: Transform old signage into functional pieces like clocks, mirrors, or wall art to showcase your love for London's iconic design.
- Accent Pieces: Incorporate smaller decorative items such as coasters, trays, or throw pillows featuring London Underground motifs to tie your decor together seamlessly.
Red Telephone Booth Decor
Let's explore how red telephone booth decor infuses a room with iconic London charm.
It serves as a quirky accent that exudes a nostalgic British flair. These miniature replicas can instantly catch the eye, offering a unique decorative touch that pays homage to the city's rich cultural heritage.
Incorporating red telephone booth motifs through artwork or accessories can seamlessly tie together a London-inspired theme.
It adds a fun and whimsical element to any space.
Iconic London Charm
Embracing the essence of London's iconic charm, red telephone booth decor infuses a room with a touch of British sophistication and history. These vibrant pieces aren't just decorative; they're symbolic of the bustling streets of London and the city's rich cultural tapestry.
Here are three ways to incorporate this iconic London charm into your decor:
- Statement Piece: A full-size replica of a red telephone booth can serve as a striking focal point, adding a bold pop of color to your space.
- Functional Decor: Consider using a red telephone booth bookshelf or storage cabinet to add both style and practicality to your room.
- Wall Art: Hang a framed print or painting featuring red telephone booths to bring a touch of London's urban landscape into your home.
Quirky Decor Accent
Adorning a room with quirky red telephone booth decor instantly infuses a playful touch of British nostalgia and charm. These unique accents serve as statement pieces and conversation starters, available in various forms such as mini replicas, wall art, or functional furniture. Mixing red telephone booth decor with modern or traditional styles can create an eclectic and whimsical ambiance, perfect for a London-themed room. To inspire your decor journey, here's a table showcasing different types of red telephone booth decor options:
| Type | Description |
|---|---|
| Mini Replica | Small-scale models for tabletop display |
| Wall Art | Artistic representations for walls |
| Functional Piece | Furniture like shelves or cabinets |
| Novelty Item | Unique items like lamps or bookends |
| Outdoor Decor | Garden ornaments for a touch of whimsy |
Nostalgic British Flair
Infusing a room with a touch of whimsical British nostalgia, red telephone booth decor serves as a unique and eye-catching element that evokes a sense of charm and history. Incorporating these iconic symbols of London can instantly transport your space to the bustling streets of the UK.
Here are some ways to incorporate red telephone booth decor into your room:
- Create a focal point by placing a life-sized replica in a corner.
- Use miniature red telephone booths as playful accents on shelves or side tables.
- Hang artwork or wallpaper featuring red telephone booths to add a pop of color and a sense of British charm.
Union Jack Textiles
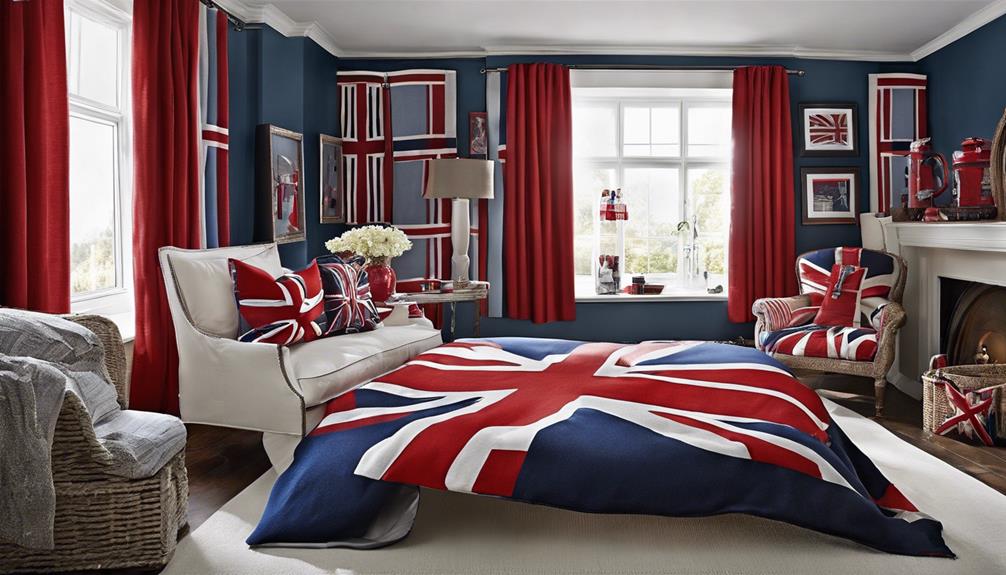
Delving into the world of London room decor, one cannot overlook the enchanting allure that Union Jack textiles bring to the ambiance. Inspired by the British flag, these textiles infuse a patriotic and stylish touch into any London-themed space. Whether it's cushions, throws, or rugs, incorporating Union Jack textiles can instantly evoke a British flair, transforming the room with a nod to the UK's heritage.
Let's take a closer look at the versatility of Union Jack textiles:
| Style | Description |
|---|---|
| Classic | Traditional flag colors |
| Distressed | Vintage, worn look |
| Monochromatic | Modern grayscale design |
| Patchwork | Quirky mix of patterns |
| Metallic Accents | Glamorous silver & gold |
These textiles offer flexibility in matching different design schemes, whether as statement pieces or subtle accents. By mixing Union Jack textiles with modern or traditional furniture, a harmonious blend of old-world charm and contemporary style is effortlessly achieved. Embrace the British spirit with Union Jack textiles to add a touch of London to your decor.
London Skyline Silhouettes
Have you ever gazed upon a room transformed by the mesmerizing presence of London skyline silhouettes? The allure of these iconic landmarks can instantly elevate the ambiance of any space, infusing it with a touch of British sophistication and charm. Whether you prefer a minimalist approach or a more colorful and intricate design, London skyline artwork offers a versatile way to showcase your love for this vibrant city.
- London skyline silhouettes capture famous landmarks like Big Ben, the London Eye, and Tower Bridge in a visually stunning way.
- London skyline wall decals provide an easy and removable option for those looking to add a touch of British flair to their decor.
- The various styles available in London skyline artwork cater to different tastes, ensuring there's a silhouette design for every individual looking to bring a piece of London into their home.
British Monarchy Memorabilia
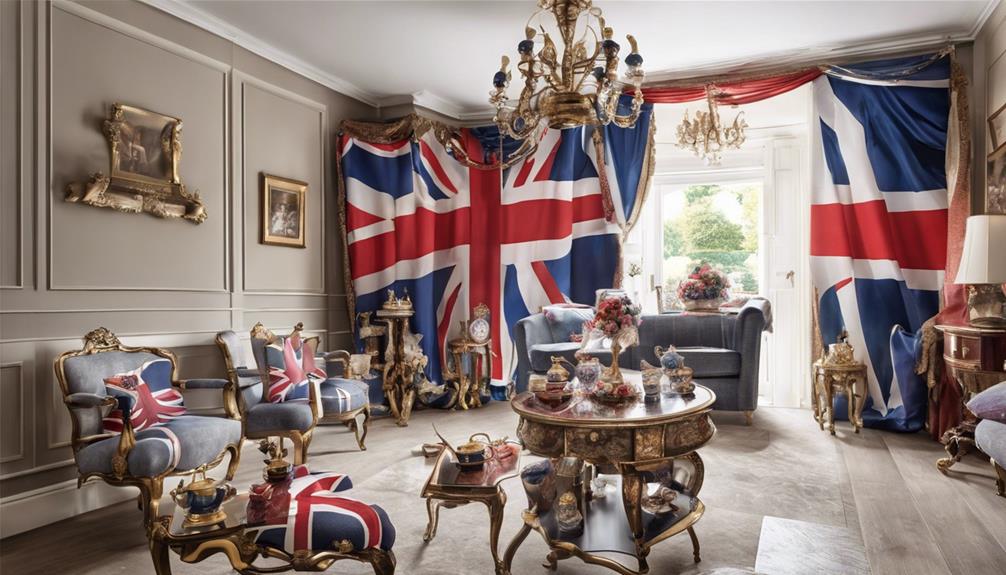
Let's step into the world of regal elegance with British Monarchy Memorabilia.
Delight in the charm of Royal Family Portraits, the sparkle of Crown Jewels Displays, and the patriotic touch of Union Jack Accents.
These pieces can bring a touch of history and sophistication to any room, making a statement fit for royalty.
Royal Family Portraits
Gazing upon the regal portraits of the British royal family, one can't help but feel a sense of awe and admiration for their enduring legacy. Including these portraits in your room decor can instantly elevate the ambiance and add a touch of sophistication.
Here are some ideas to transform your space with royal family portraits:
- Heritage Display: Showcase portraits of past monarchs to honor the rich history and tradition of the British monarchy.
- Contemporary Contrast: Mix in modern frames with classic portraits for a stylish blend of old and new.
- Family Tribute: Create a gallery wall with portraits of different generations to pay homage to the royal family's lineage.
These portraits not only serve as decorative pieces but also as conversation starters, allowing you to share the fascinating stories behind each regal image.
Crown Jewels Display
Adorning your London-themed room with a stunning display of British monarchy memorabilia, such as replicas of the Crown Jewels, can infuse an air of regal elegance and historical grandeur.
Imagine miniature crowns, scepters, and royal crests elegantly showcased to evoke a sense of allure in your decor. These items, whether authentic or high-quality replicas, can serve as enchanting focal points and ignite conversations in your room design.
By including pieces related to the British monarchy, you pay homage to England's rich heritage and traditions, especially in a London-inspired space.
To enhance the charm, consider blending the Crown Jewels display with modern elements, creating a captivating fusion of old-world charm and contemporary style that sets your room apart with a touch of sophistication.
Union Jack Accents
Stepping further into the domain of British heritage within your London-inspired room decor, incorporating Union Jack accents can infuse a patriotic touch that celebrates the rich tapestry of the British monarchy. Here are some innovative ways to incorporate Union Jack accents to transform your space:
- Hang a Union Jack flag as a bold statement piece on a feature wall.
- Add Union Jack patterned cushions or throws to your sofa for a subtle nod to British culture.
- Mix Union Jack accents with modern furniture or traditional decor to create a unique and eclectic look.
These accents not only showcase your love for British culture but also serve as conversation starters, sparking intrigue and admiration for your stylish homage to the British monarchy.
London Street Sign Replicas
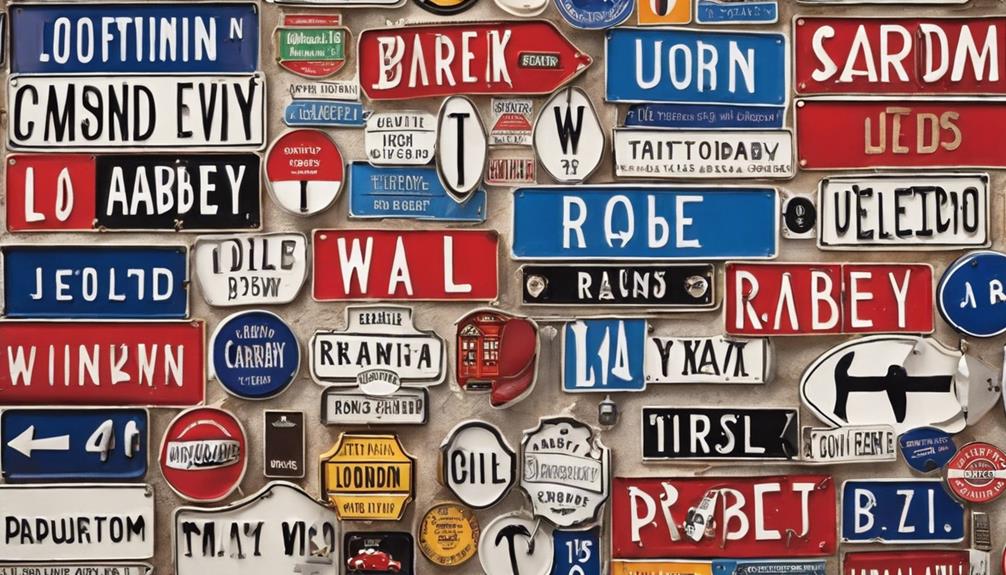
As we explore the land of London Room Decorations, one can't overlook the allure of London street sign replicas, capturing the essence of the city's charm and history in a single decorative piece. These replicas aren't just mere imitations; they're portals to the bustling streets of London, infusing any space with a touch of British sophistication.
Imagine a wall adorned with replicas of famous London street names like Abbey Road or Baker Street, instantly transporting you to the heart of the city. The intricate designs and attention to detail on these replicas make them more than just decor; they're conversation starters, evoking a sense of wanderlust and curiosity.
Whether displayed on a shelf, hung on a wall, or given as a thoughtful gift to a London enthusiast, these replicas add a whimsical and nostalgic atmosphere to any room. Embrace the spirit of London in your home with these charming street sign replicas and let the magic of the city weave its way into your decor.
English Tea Set Display
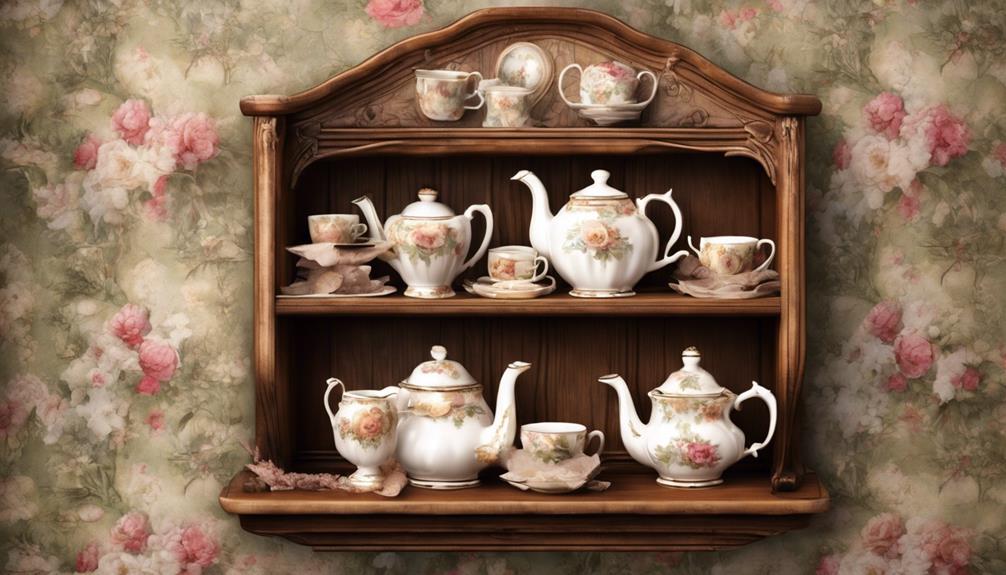
Nestled atop a vintage lace doily on our mahogany sideboard, our cherished English tea set gleams with a timeless allure, beckoning to be admired and savored. Displaying an English tea set can infuse elegance and tradition into a room effortlessly. The intricate designs and delicate craftsmanship found in antique English tea sets make them not just functional but also exquisite pieces of art.
Here are three ways an English tea set display can transform your space:
- Enchanting Focal Point: A well-curated tea set display can serve as an enchanting focal point in any living room or dining area, drawing attention and admiration from guests.
- British Heritage: Incorporating an English tea set into your decor can evoke a sense of British heritage and nostalgia, transporting you to a quaint English countryside cottage.
- Complete Set: English tea sets typically include teapots, cups, saucers, and other decorative pieces, offering a complete and cohesive display that exudes sophistication and grace.
Frequently Asked Questions
How to Decorate a Living Room Uk?
When decorating a living room in the UK, we blend antique and modern furniture for a sophisticated vibe. Personalize with sentimental artwork and colored skirting boards. Opt for bespoke joinery for storage and luxury. Add a customized rug for a pop of color.
How Can I Make My Sitting Room Look Beautiful?
Let's bring your sitting room to life with a touch of elegance and charm. Incorporate a blend of antique and modern pieces, add personalized artwork, and consider unique touches like painted skirting boards for a stunning transformation.
How Can I Make My Room More Attractive?
We enhance our space's allure by incorporating unique antique furniture, personal artwork, and vibrant rugs. Transforming the ambiance with painted skirting boards and bespoke storage solutions adds functionality and style. Customized art and lighting inject personality and warmth.
How Do I Decorate My Space?
We decorate our space by incorporating antique furniture for history and craftsmanship, adding sentimental artwork for a mood boost, utilizing innovative storage solutions like bespoke joinery, customizing rugs for color and texture, and enhancing aesthetics with artwork, lighting, and color choices.
Conclusion
To sum up, incorporating these London-inspired decor ideas can truly elevate your space into a chic and unique sanctuary.
For instance, picture entering a room decorated with vintage London clocks, a British flag accent piece, and a London skyline silhouette mural.
The fusion of these elements establishes an elegant and inviting ambiance that whisks you away to the lively streets of London, turning your room into a truly exceptional and customized hideaway.
Let your creativity soar and design a space that mirrors your taste and individuality!
- About the Author
- Latest Posts
Introducing Ron, the home decor aficionado at ByRetreat, whose passion for creating beautiful and inviting spaces is at the heart of his work. With his deep knowledge of home decor and his innate sense of style, Ron brings a wealth of expertise and a keen eye for detail to the ByRetreat team.
Ron’s love for home decor goes beyond aesthetics; he understands that our surroundings play a significant role in our overall well-being and productivity. With this in mind, Ron is dedicated to transforming remote workspaces into havens of comfort, functionality, and beauty.
Decor
Master Antiquing With Chalk Paint in 5 Steps
Start your journey to mastering antiquing with chalk paint in 5 steps and transform your furniture into vintage treasures.
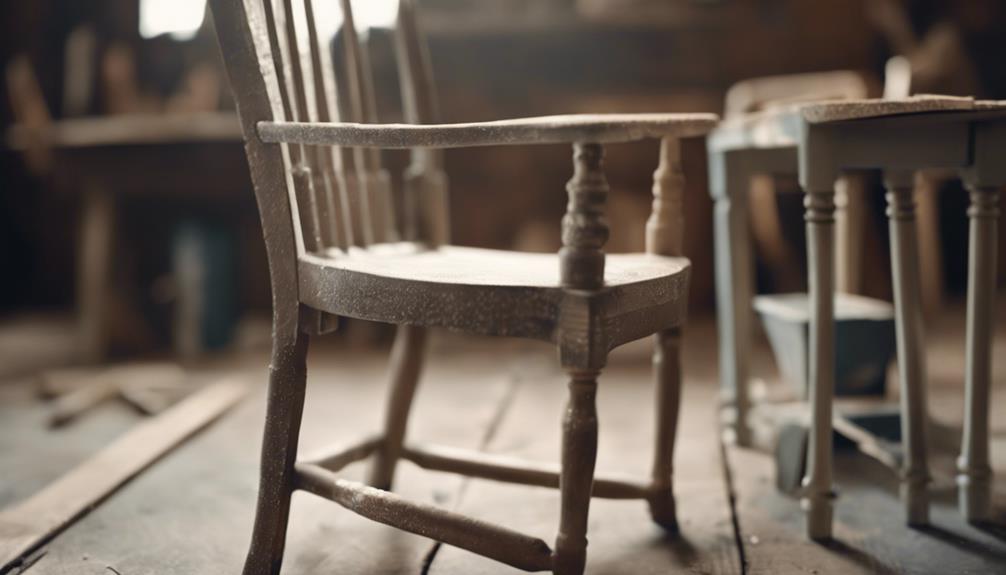
Master antiquing with chalk paint in 5 steps involves thorough surface cleaning, applying chalk paint in thin coats, distressing for a vintage look, sealing with a wax or polyurethane finish, and exploring different distressing techniques. Prepare by cleaning and sanding the surface, then choose high-quality paint and brushes for application. Experiment with dry and wet distressing, and seal the finish to protect against chipping and fading. For unique finishes, mix distressing methods and select the right sealant based on desired outcome. Mastering chalk paint antiquing takes practice and attention to detail, ensuring a beautifully aged furniture look.
Key Takeaways
- Choose high-quality chalk paint for best results.
- Apply thin, even coats for a smooth finish.
- Experiment with distressing techniques like dry or wet distress.
- Seal the finish with wax or polyurethane for durability.
- Practice and refine distressing skills for a masterful antique look.
Preparation
Before distressing furniture with chalk paint, we make sure to thoroughly clean the surface and lightly sand any rough spots for a smoother finish. This step is essential in achieving a professional-looking result.
Cleaning the furniture surface with White Lightning or TSP Degreaser helps remove any dirt, grease, or other contaminants that could interfere with the adhesion of the chalk paint. Using a lint-free cloth ensures that the surface is free of any residue that could affect the paint application.
Additionally, lightly sanding the furniture helps create a clean and smooth surface for the chalk paint to adhere to evenly. This process also helps remove any existing imperfections, ensuring a flawless final result.
Proper preparation sets the foundation for successful distressing with chalk paint, allowing for a more authentic and aged appearance.
After distressing, sealing the piece with a clear wax coat will protect the finish and enhance the overall look of the furniture.
Applying Chalk Paint
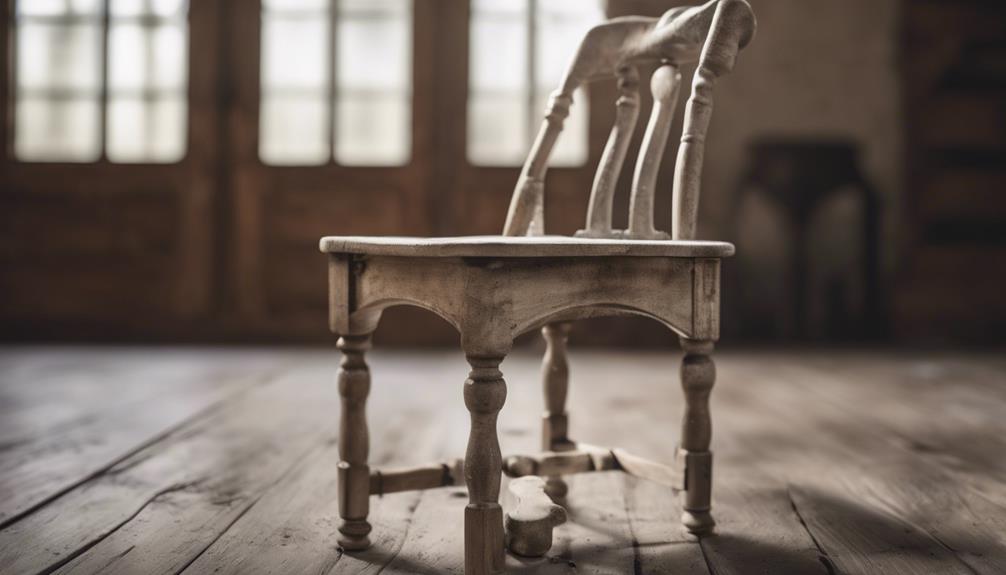
To achieve a professional finish with chalk paint, we recommend selecting a high-quality paint suitable for the specific furniture type.
When applying chalk paint, it's important to do so in thin coats to guarantee even application. Utilizing chalk paint brushes can help achieve better control and coverage.
It's vital to allow each coat of chalk paint to dry completely before applying the next one. This process helps prevent smudging and promotes a consistent finish.
Additionally, when starting a project, make sure you have enough chalk paint, typically a quart for larger pieces, to maintain color consistency throughout the furniture item.
Distressing Techniques
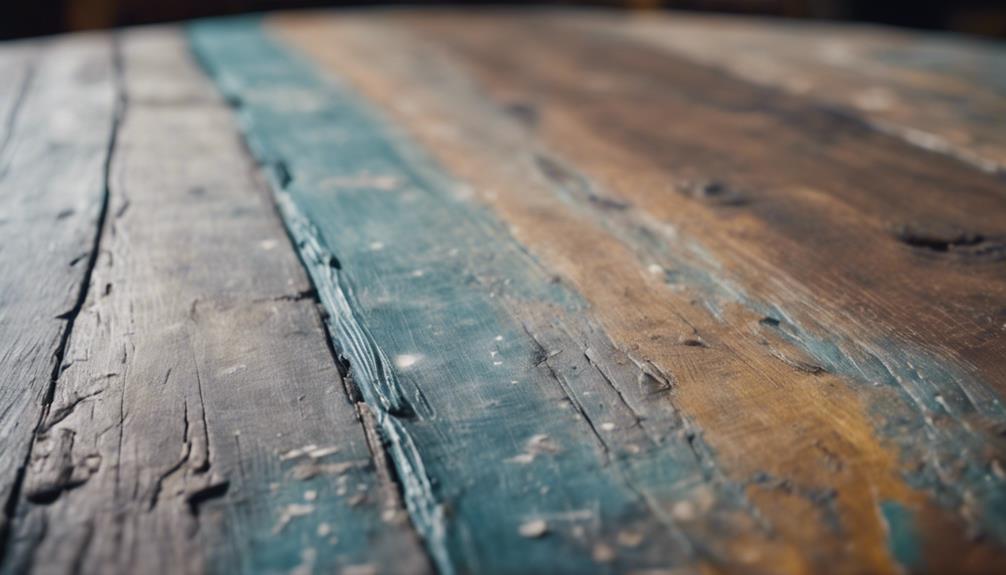
We can achieve various vintage looks by using different distressing techniques with chalk paint. Dry distress involves lightly sanding the chalk paint to reveal the underlying layers, creating a weathered appearance reminiscent of aged furniture.
On the other hand, wet distress requires wiping the chalk paint with a damp cloth to achieve a more natural, worn look. Wax distress, also known as the resist technique, utilizes wax as a barrier to create a subtle distressed effect on the furniture, adding depth and character to the piece.
Each distressing method offers a unique finish, allowing for experimentation and customization to achieve an authentic antique appearance. By trying out different distressing techniques, individuals can discover the method that best suits their desired vintage look.
Whether it's through sanding, wax resist, wet distress, or a combination of these methods, chalk paint provides a versatile medium for creating distinctive and aged finishes on furniture pieces.
Sealing the Finish
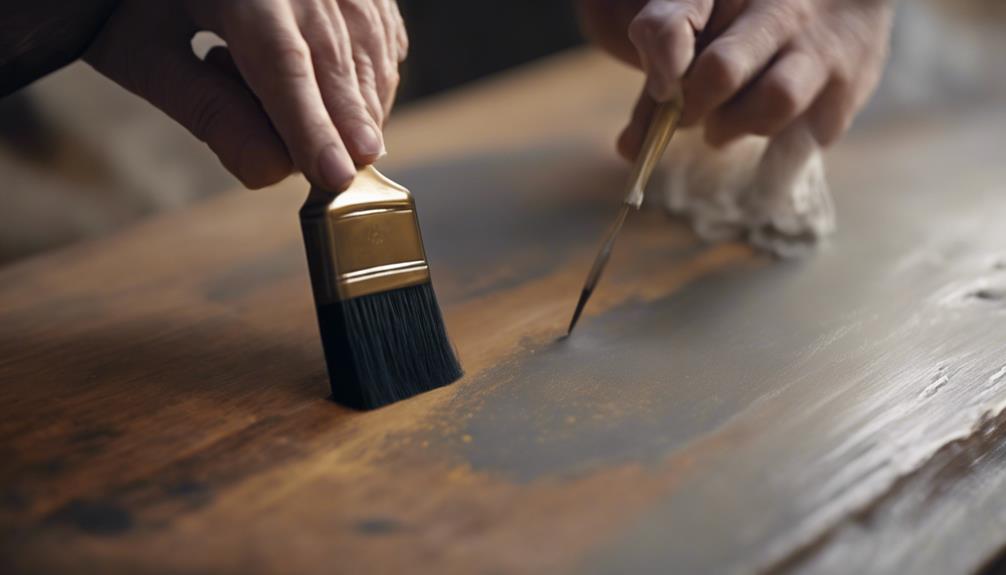
For achieving a durable and long-lasting distressed finish on furniture painted with chalk paint, selecting a high-quality clear wax or polyurethane sealant is essential. Applying a protective layer of sealant is vital to preserve the distressed look and prevent chipping or fading of the paint. It is recommended to apply the sealant in even coats to guarantee a smooth and lasting finish. Here is a comparison table to help you choose between wax and polyurethane sealants for your distressed furniture:
| Criteria | Wax Sealant | Polyurethane Sealant |
|---|---|---|
| Finish | Matte or Satin Finish | Glossy or Satin Finish |
| Durability | Requires Reapplication Over Time | Long-lasting and Durable |
| Application Ease | Easy to Apply, Buffing Required | Requires Thorough Application |
Both wax and polyurethane sealants offer protection and enhancement to your chalk-painted distressed furniture. Select the one that best suits your desired finish and maintenance preferences.
Chalk Paint Distressing Tips
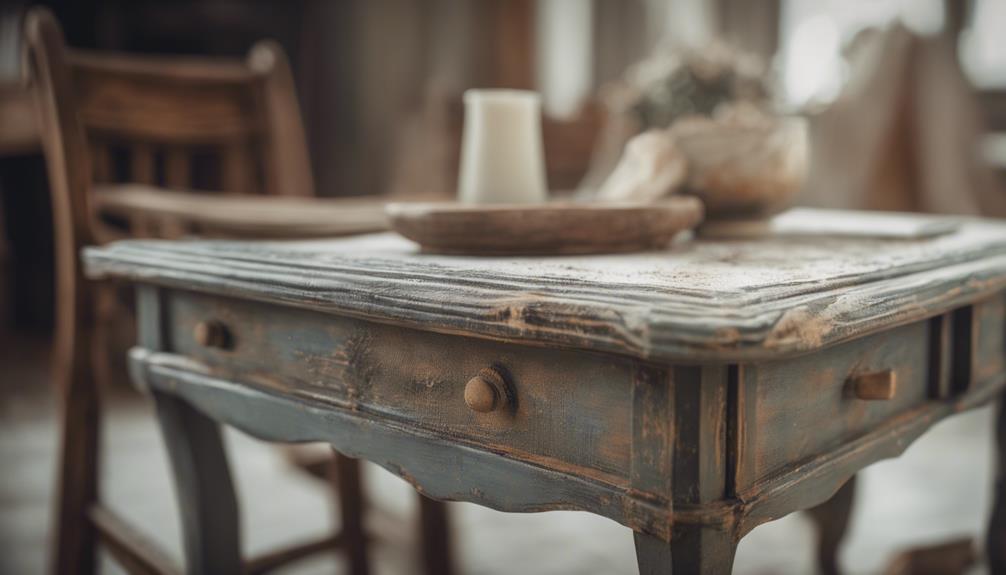
Let's explore effective techniques for distressing chalk paint to achieve a vintage and worn look on furniture surfaces.
When aiming for a customized distressed finish, there are various distressing methods to choose from. Dry distress involves lightly sanding the chalk paint to reveal the base color underneath, offering a classic vintage appearance.
On the other hand, the wet distress technique includes wiping off the chalk paint with a damp cloth to create a natural worn effect.
For a more subtle distressed finish, consider using the wax distress or resist technique by applying wax to protect certain areas from paint.
Remember to protect the paint and preserve the finish by sealing distressed furniture with wax or polyurethane.
Frequently Asked Questions
How to Get an Antique Look With Chalk Paint?
To achieve an antique look with chalk paint, consider distressing techniques like dry distressing, wet distressing, or wax distress.
Dry distressing involves light sanding for a vintage appearance.
Wet distressing requires wiping the paint with a damp cloth for a natural worn look.
Wax distress, or resist technique, can create a subtle distressed effect on furniture.
Sealing the distressed piece with clear wax or polyurethane is essential to protect the finish and maintain the antique aesthetic.
How to Make Furniture Look Distressed With Chalk Paint?
To make furniture look distressed with chalk paint, we can use various techniques. Dry distressing involves lightly sanding the surface to reveal the base layer, creating a vintage effect.
Wet distressing entails wiping the paint with a damp cloth to expose the underlying color, achieving a natural worn look.
Wax distressing, known as the resist technique, uses wax to create a subtle distressed effect.
These methods offer unique ways to customize and achieve a distressed look with chalk paint.
How Do You Chalk Paint Step by Step?
We begin chalk painting by cleaning and lightly sanding the furniture surface.
Next, select a high-quality chalk paint and apply it in thin, even coats.
Explore different distressing methods such as dry, wet, or wax distress.
Finally, seal the distressed furniture with clear wax or polyurethane for protection.
Following these steps attentively guarantees a successful chalk painting project with a beautifully antiqued finish.
Do I Distress or Wax First?
We recommend distressing before waxing when working with chalk paint for an authentic aged appearance. Distressing creates texture and depth, enhancing the final antique effect once sealed with wax.
Applying wax over distressed areas not only protects the finish but also accentuates the distressed look. Waxing before distressing can complicate the process as the wax may interfere with sanding.
Distressing first allows for better control over the furniture's final appearance.
Conclusion
To sum up, mastering antiquing with chalk paint is a fulfilling process that can transform ordinary furniture into stunning pieces with character and charm.
As the saying goes, 'A piece of furniture is like a blank canvas waiting to be brought to life.'
By following these 5 steps, you can discover the full potential of chalk paint and create unique and beautiful pieces that will stand the test of time.
Happy antiquing!
- About the Author
- Latest Posts
Introducing Ron, the home decor aficionado at ByRetreat, whose passion for creating beautiful and inviting spaces is at the heart of his work. With his deep knowledge of home decor and his innate sense of style, Ron brings a wealth of expertise and a keen eye for detail to the ByRetreat team.
Ron’s love for home decor goes beyond aesthetics; he understands that our surroundings play a significant role in our overall well-being and productivity. With this in mind, Ron is dedicated to transforming remote workspaces into havens of comfort, functionality, and beauty.
Decor
10 Steps to Painting a Plastic Frame
Uncover professional tips for transforming plastic frames with paint, ensuring a flawless finish and lasting results.
To paint a plastic frame effectively, start by selecting polypropylene or polyethylene frames. Clean thoroughly and lightly sand before applying a suitable primer. Use rubbing alcohol for a smooth finish, then mask off areas and apply even coats of paint with proper drying time. Add creative touches and seal with polyurethane for protection. This process guarantees a professional-looking result that lasts.
Key Takeaways
- Select plastic frames suitable for painting, avoiding PVC or polystyrene.
- Thoroughly clean and lightly sand the frame for adhesion.
- Apply a plastic-specific primer evenly after surface prep.
- Use painter's tape for clean lines and masking off.
- Seal with polyurethane for protection and finish longevity.
Selecting the Right Plastic Frame
When selecting a plastic frame for painting, make sure it's made of suitable materials like polypropylene or polyethylene for better paint adhesion. Different plastics have varying levels of compatibility with paint, so it's important to choose the right type to achieve best results.
Avoid using frames made of polyvinyl chloride (PVC) or polystyrene, as these materials may not allow the paint to adhere effectively, leading to peeling or flaking over time.
Certain types of paint may also work better with specific plastic frames. Checking the manufacturer's recommendations for the frame can provide valuable insights into which paints are most suitable for that particular material.
Opting for plastic frames specifically designed for painting can ensure a smoother process and a more professional finish.
Cleaning and Sanding the Surface
How should we prepare the plastic frame surface before painting to guarantee excellent adhesion and a smooth finish? To guarantee a successful paint job, follow these steps:
- Cleaning:
Begin by thoroughly cleaning the plastic frame to remove any dirt, dust, or grime. This step is vital as any impurities on the surface can affect the adhesion of the paint.
- Sanding:
Lightly sand the surface of the plastic frame to create a rough texture. This roughness provides a better grip for the paint, allowing it to adhere more effectively and prevent peeling or chipping.
- Primer:
Consider applying a suitable primer after cleaning and sanding the frame. A primer helps the paint adhere better to the surface and can also aid in achieving a smoother finish.
- Masking:
Before painting, make sure to mask off any areas of the frame that you don't want to paint. This step ensures clean and precise lines, giving your project a professional look.
Wiping Down With Rubbing Alcohol
We recommend wiping down the plastic frame with rubbing alcohol to guarantee proper adhesion and a smooth finish before painting. Rubbing alcohol plays a vital role in preparing the plastic surface for painting by effectively removing any dirt, oils, or residue that could hinder paint adhesion. This step ensures that the paint adheres well to the plastic surface, reducing the risk of peeling or flaking over time. The quick evaporation of rubbing alcohol leaves behind a clean and dry surface, ready for the next steps in the painting process.
To illustrate the importance of this step, let's take a look at the table below:
| Benefits of Wiping Down with Rubbing Alcohol |
|---|
| Removes dirt, oils, and residue from the plastic surface |
| Enhances paint adhesion for a smoother finish |
| Quick evaporation leaves a clean surface ready for painting |
| Prevents peeling or flaking of the paint over time |
| Effective and efficient preparation before priming or painting |
Masking Off Areas for Painting

When masking off areas for painting a plastic frame, it's essential to use painter's tape to guarantee clean lines and edges.
Make sure to press down firmly on the tape to avoid any paint bleeding onto unwanted areas.
Carefully mask off intricate details or sensitive parts to achieve a professional finish.
Taping off Edges
To achieve clean and precise lines in your painting, carefully use painter's tape to mask off areas of the plastic frame that you don't want to paint.
Here are some essential steps to follow when taping off edges:
- Prepare the Surface: Make sure the edges are clean and dry before applying the tape to promote adhesion and prevent paint seepage.
- Apply the Tape: Gently press the painter's tape along the edges of the areas you want to protect, ensuring it adheres firmly to the surface.
- Seal the Edges: Run your finger along the edge of the tape to secure it tightly to the plastic frame and prevent any paint from bleeding through.
- Double-Check: Before painting, inspect the taped-off areas to confirm that the edges are properly sealed and that there are no gaps where paint could seep under the tape.
Taking the time to tape off the edges meticulously will result in a professional and polished finish for your painted plastic frame.
Covering Sensitive Parts
Cover delicate parts like glass or hardware with masking paper or plastic before painting the plastic frame to protect them from unwanted paint.
When working on plastic frames, it's important to use painter's tape to mask off areas that shouldn't be painted. Make sure the painter's tape is firmly pressed down to create a tight seal and prevent any paint from seeping through.
In addition to using painter's tape, consider covering sensitive components such as glass or hardware with masking paper to safeguard them during the painting process. Taking the time to accurately mask off these areas will result in clean and precise paint lines, contributing to a professional-looking finish on your plastic frame.
Properly covering these sensitive parts is essential in achieving a polished and refined appearance for your painted plastic frame.
Applying a Suitable Primer
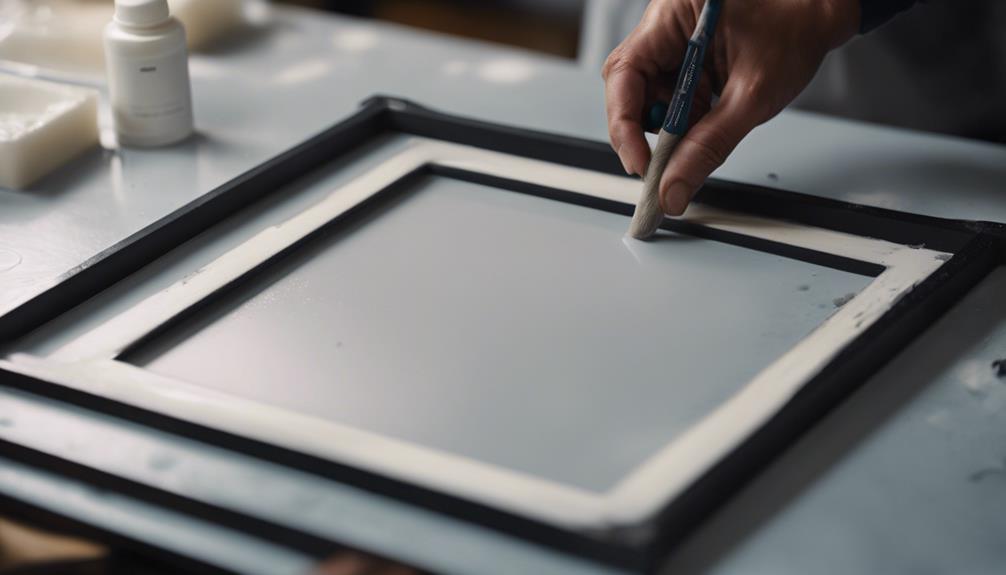
Let's kick off this step by prepping the plastic frame with a primer that's compatible with plastic surfaces. Here's what you need to know:
- Choose the Right Primer: Select a primer specifically designed for plastic frames to guarantee proper adhesion.
- Apply Evenly: Use smooth, consistent strokes to apply the primer evenly over the entire surface of the frame.
- Allow Sufficient Drying Time: Let the primer dry completely as per the manufacturer's instructions before proceeding with the next steps.
- Ensure Complete Coverage: Make sure the primer covers the plastic frame entirely to establish a strong base for the paint.
Using Appropriate Paint for Plastic
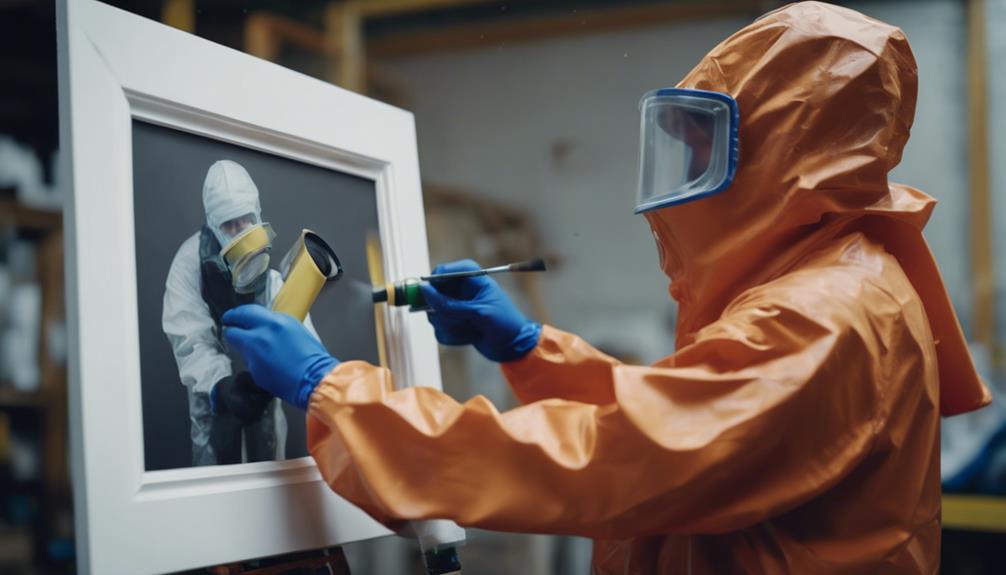
After preparing the plastic frame with a suitable primer, the next crucial step involves selecting the right paint specifically formulated for plastic surfaces.
When painting a plastic picture frame, it's vital to choose a type of paint that's designed to adhere to plastic materials. Using regular paints may result in poor adhesion, leading to peeling or chipping off easily. To guarantee a durable and long-lasting finish, opt for acrylic paint or other paints labeled for plastic surfaces. These specialized paints are formulated to bond effectively with plastic, preventing flaking and ensuring a smooth application.
Whether you prefer spray paints for a quick and even coverage or brush-on paints for more detailed work, selecting the appropriate paint for your plastic picture frame is key to achieving a professional-looking result.
Applying Even Coats of Paint
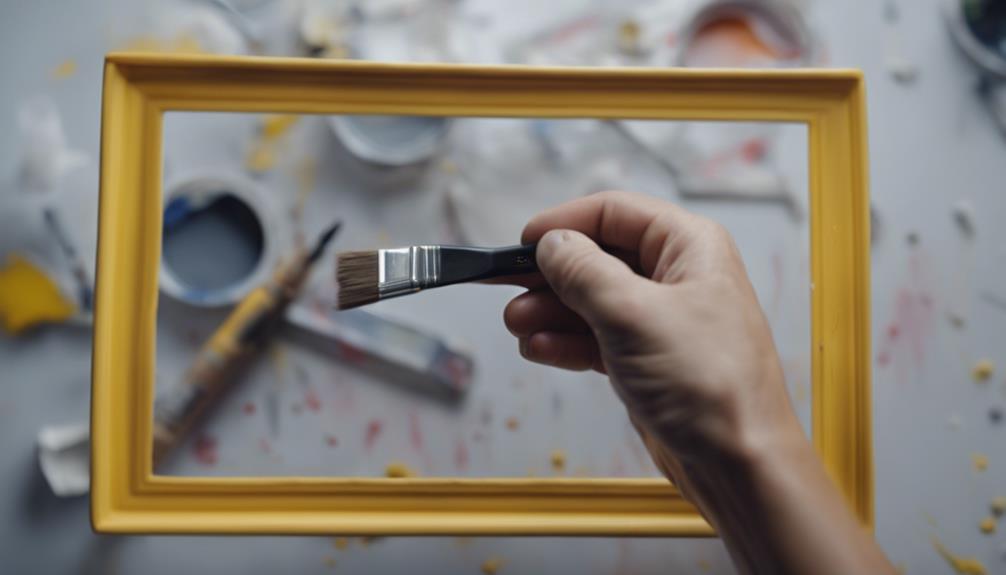
To achieve a smooth and professional finish on a plastic frame, it's essential to apply even coats of paint. When painting picture frames, following these guidelines guarantees a flawless result:
- Apply Thin and Even Coats: Each layer of paint should be applied thinly and evenly across the frame to prevent drips or uneven coverage.
- Allow Proper Drying Time: It's vital to let each coat dry before applying the next one. This helps the paint set correctly and adhere well to the plastic surface.
- Opt for Light Coats: Applying multiple light coats is preferable to a single heavy coat. This technique prevents clumping or streaking, resulting in a more uniform finish.
- Maintain Consistency: Consistency in paint application is key to achieving a uniform color and texture throughout the frame. Make sure to follow a systematic approach to ensure a professional-looking outcome.
Allowing Each Coat to Dry
Guaranteeing that each coat of paint is thoroughly dried is a critical step in achieving a flawless finish on a plastic frame. By allowing sufficient drying time between coats, we can prevent potential issues like smudges, drips, or uneven application.
It's vital to follow the recommended drying times based on the type of paint utilized to secure the best results.
Patience for Drying Times
For best results, guaranteeing each coat of paint on the plastic frame dries thoroughly before applying the next coat is essential. Here are some key points to keep in mind:
- Prevent Smudging and Streaking: Allowing each coat to dry completely helps prevent unwanted smudges or streaks in the paint job.
- Refer to Manufacturer's Instructions: Drying times can vary depending on the type of paint used. Always refer to the manufacturer's instructions for specific guidance on drying times.
- Avoid Rushing the Process: Rushing the drying process can result in a less durable finish and potential imperfections. Patience is key for a flawless outcome.
- Achieve Professional Results: Patience during drying times ensures a smooth and professional-looking paint job on the plastic frame, leading to a high-quality and long-lasting finish.
Importance of Waiting
Allowing each coat of paint to thoroughly dry is crucial for achieving a flawless finish on a plastic frame. When painting a plastic frame, the significance of waiting between coats can't be emphasized enough.
Properly allowing each coat to dry guarantees that the paint adheres evenly, preventing issues like smudging, running, or uneven coverage. Rushing this process can lead to a less durable and professional-looking result, with potential peeling or chipping over time.
The drying time required between coats may vary depending on the type of paint being used, so it's essential to follow the specific instructions provided on the paint label. Patience is key in achieving a smooth and flawless paint job on your plastic frame.
Adding Touch-Ups and Details

We often enhance the visual appeal of the painted plastic frame by adding intricate designs or patterns using acrylic craft paint on rubber stamps for a personalized touch.
To add that extra flair, here are some tips for detailing your plastic frame:
- Create Stencils: Make stencils from contact paper or use pre-made ones to easily incorporate decorative elements onto the frame.
- Antiqued Look: Apply acrylic paint or tinted glaze to achieve a vintage appearance, enhancing the frame's visual appeal.
- Metallic Touch: Experiment with gold or silver glaze for an elegant and luxurious finish.
- Creative Touches: Utilize stamps, painted designs, or rubbed-on color to elevate the overall aesthetic of the frame.
Sealing With Polyurethane
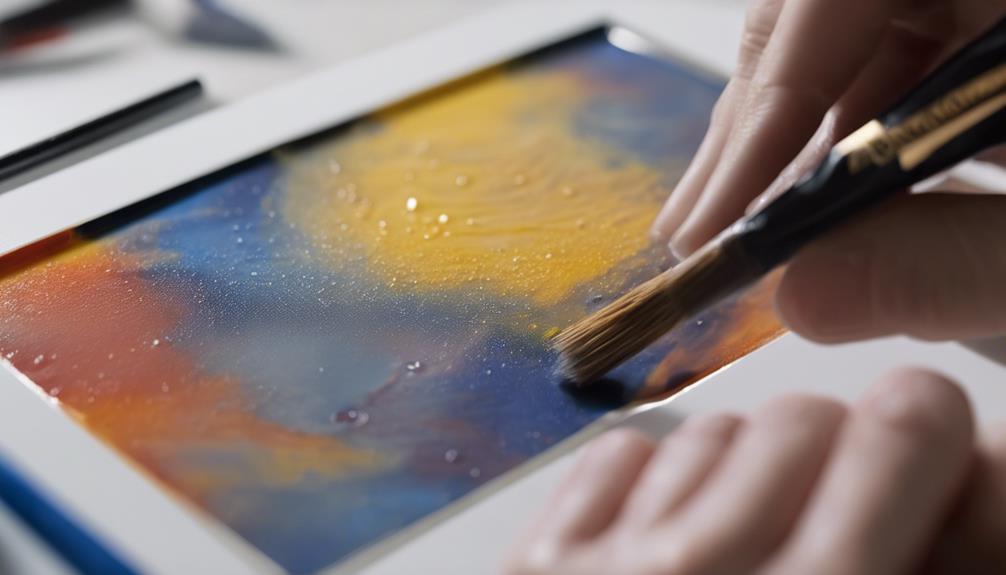
To protect and enhance the painted plastic frame, we recommend sealing it with polyurethane, a clear and durable sealant. Applying polyurethane over the painted surface not only provides protection against scratches, moisture, and UV rays but also helps to prolong the lifespan of the paint.
When selecting polyurethane, consider the different finishes available, such as matte, satin, semi-gloss, or glossy, to achieve the desired look for your frames.
To apply polyurethane effectively, make sure that the painted plastic frame has already received a coat of primer and is completely dry. Use a high-quality brush or foam applicator to apply thin and smooth coats of polyurethane to avoid streaks or bubbles. Allow each coat to dry thoroughly before adding additional layers.
Frequently Asked Questions
How to Paint a Plastic Frame?
When painting a plastic frame, proper preparation is essential. Sand the surface lightly and clean it with rubbing alcohol for better adhesion. Use a primer specifically formulated for plastic to make sure the paint sticks well.
Apply multiple thin coats of paint, allowing each layer to dry completely before adding more. Consider adding unique touches like stamps or antiquing for a personalized look.
Following these steps will result in a beautifully painted plastic frame.
What Paint to Use on Plastic Frames?
When painting plastic frames, it's important to select the right type of paint for excellent adhesion and durability. Utilizing paints specifically formulated for plastics guarantees a lasting finish.
Look for spray paints or brush-on craft paints labeled for plastic use. Consider using a plastic primer if the desired color is unavailable in the chosen paint type.
Adhering to these guidelines guarantees a successful painting project with vibrant and long-lasting results.
What Kind of Paint Will Stick to Plastic?
When considering what kind of paint will stick to plastic, it's important to choose a paint specifically designed for plastic surfaces. Regular brush-on or spray-on paints may not adhere well, leading to peeling or chipping.
Opt for spray paint formulated for plastic or use a plastic primer before painting to guarantee better adhesion. Acrylic craft paint can also be suitable for decorative purposes, but for a long-lasting finish, selecting the right plastic-specific paint is essential.
How Do You Prep Plastic for Paint?
When prepping plastic for paint, we must start by thoroughly cleaning the surface to remove any debris.
Light sanding helps the paint adhere better, and wiping with rubbing alcohol guarantees a clean canvas for painting.
Masking off areas we don't want to paint is vital.
Applying a suitable primer designed for plastic promotes paint adhesion and a smooth finish.
These steps are essential to achieve a professional-looking paint job on plastic surfaces.
Conclusion
In just 10 simple steps, you can transform a plain plastic frame into a personalized work of art.
By following these easy instructions, you can create a unique and custom piece that reflects your style and creativity.
So grab your supplies and get painting – the possibilities are endless!
- About the Author
- Latest Posts
Introducing Ron, the home decor aficionado at ByRetreat, whose passion for creating beautiful and inviting spaces is at the heart of his work. With his deep knowledge of home decor and his innate sense of style, Ron brings a wealth of expertise and a keen eye for detail to the ByRetreat team.
Ron’s love for home decor goes beyond aesthetics; he understands that our surroundings play a significant role in our overall well-being and productivity. With this in mind, Ron is dedicated to transforming remote workspaces into havens of comfort, functionality, and beauty.
Decor
How to Paint a Mirror Like a Pro in 3 Easy Steps
Find out how to transform your mirror into a masterpiece with these three easy steps that will elevate your space instantly.
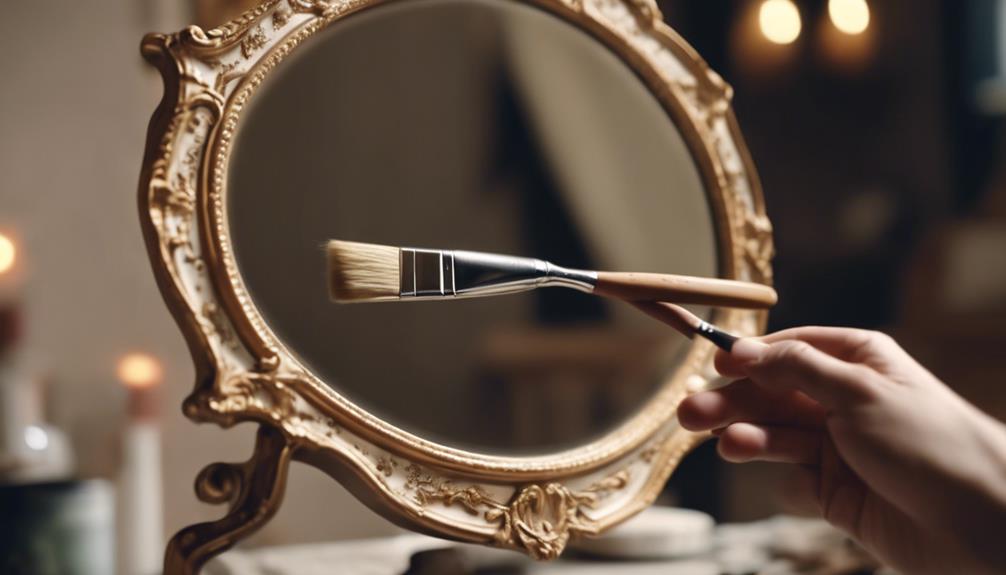
Painting a mirror like a pro is simple in three steps. First, clean and trace the frame, then prime with gesso. Apply paint from the edges in thin layers using quality brushes. Opt for enamel or acrylic paint, allowing thorough drying between coats. Finish with sealant for protection. This process guarantees a flawless, professional look that enhances any space with elegance and style. Mastering these steps will help create a polished finish that transforms your mirror into a work of art.
Key Takeaways
- Use high-quality enamel or acrylic paint for a professional finish.
- Apply thin, even layers starting from the edges.
- Allow each coat to dry completely before adding another.
- Finish with a sealant or varnish for protection and longevity.
- Focus on details and take your time for a polished result.
Prepare Mirror Frame
Let's begin by cleaning the mirror frame with a soft cloth and window cleaner to remove any dirt or residue. Make sure to use rubbing alcohol or vinegar for tougher areas, guaranteeing the surface is completely clean before starting the painting process.
Once clean, trace the area to be painted on the mirror frame using a white soluble pencil for precise painting boundaries. This step is essential in achieving a clean and professional look for your mirror project.
Next, seal the mirror frame with white gesso as a primer to prevent paint peeling and ensure long-lasting results. This will create a smooth surface for the paint to adhere to, enhancing the durability of your design.
Additionally, consider using makeup pencils, white crayons, or fabric pencils for tracing intricate designs on the mirror frame before painting to achieve a detailed and polished final look. Make sure to take your time during this preparation process to guarantee a high-quality finish for your mirror frame project.
Apply Paint Evenly

To guarantee a smooth and professional finish, apply the paint evenly on the mirror surface using a high-quality paintbrush.
Here are some key tips to help you achieve a flawless coat of paint on your mirror:
- Start painting from the edges: Begin by carefully painting along the edges of the mirror frame before moving towards the center. This method ensures a consistent application and helps prevent any uneven patches.
- Work in thin layers: Avoid applying thick coats of paint as this can lead to drips and streaks on the mirror surface. Instead, opt for multiple thin layers, allowing each coat to dry completely before adding another one.
- Use a steady hand: When applying the paint, maintain a light touch and steady hand to achieve an even finish. This technique helps in creating a uniform look across the entire mirror.
Achieve Professional Finish
For a professional finish when painting a mirror, select high-quality enamel or acrylic paint specifically formulated for glass surfaces. To achieve a polished look, it is vital to apply thin coats of paint in even layers, allowing each coat to dry thoroughly before adding the next. This process guarantees a smooth and professional result on your painted mirror surface. Additionally, consider applying a sealant or varnish to protect the painted surface and enhance its longevity. Taking your time and paying attention to details will help you safeguard the painted surface and achieve a polished finish.
| Key Steps to Achieve Professional Finish |
|---|
| Choose high-quality enamel or acrylic paint designed for glass surfaces |
| Apply thin coats in even layers |
| Allow drying time between coats |
Frequently Asked Questions
How to Do Mirror Painting?
When tackling mirror painting, selecting the correct acrylic paint designed for glass surfaces is crucial. By seeking inspiration from TikTok artists, applying thin layers of paint, and ensuring each coat is dry before adding another, you can achieve a professional finish.
Seal the painted mirror with a varnish or sealant for durability. Experimenting with different painting styles and techniques is crucial for crafting a unique and creative mirror design.
How to Paint a Mirror to Look Vintage?
When aiming to paint a mirror for a vintage appearance, we recommend utilizing chalk paint for its ability to achieve a classic look.
Lightly sanding the frame before painting can enhance the vintage effect, while distressing techniques like dry brushing or layering can contribute to an aged appearance.
Consider applying dark wax or antiquing glaze to develop a vintage patina, resulting in a weathered finish that exudes a timeless charm.
How to Get Mirror Finish When Painting?
To achieve a mirror finish when painting, it's essential to use a high-quality mirror-specific paint. Make sure the mirror surface is thoroughly clean and free of any debris to prevent imperfections.
Apply thin, even coats of paint to avoid drips and streaks that can compromise the mirror-like appearance. Consider using spray paint for a more uniform finish and to prevent brush strokes.
Allow adequate drying time between coats for a flawless mirror-like finish.
How Do You Paint a Mirror Without Getting Paint on the Mirror?
When painting a mirror, we implement a meticulous approach to prevent any unwanted paint mishaps.
Careful preparation, like using painter's tape and paper to shield the mirror, is crucial. Selecting the appropriate paint type for the frame minimizes the risk of paint reaching the mirror.
Applying paint with precision and swiftly addressing any accidental spills on the mirror guarantees a flawless finish. Patience and attention to detail are key elements in achieving a polished result.
Conclusion
To sum up, painting a mirror like a pro may seem simple, but achieving that flawless finish requires attention to detail and patience.
So next time you pick up that paintbrush, remember to take your time and follow these steps carefully.
And who knows, maybe your mirror will reflect not just your image, but also your newfound painting skills.
Happy painting!
- About the Author
- Latest Posts
Introducing Ron, the home decor aficionado at ByRetreat, whose passion for creating beautiful and inviting spaces is at the heart of his work. With his deep knowledge of home decor and his innate sense of style, Ron brings a wealth of expertise and a keen eye for detail to the ByRetreat team.
Ron’s love for home decor goes beyond aesthetics; he understands that our surroundings play a significant role in our overall well-being and productivity. With this in mind, Ron is dedicated to transforming remote workspaces into havens of comfort, functionality, and beauty.
-

 Vetted3 weeks ago
15 Best Contact Paper for Kitchen Cabinets to Elevate Your Home Decor
-

 Vetted2 weeks ago
15 Best Poe Cameras for Home Security – Reviews & Buying Guide
-

 Vetted4 weeks ago
15 Best Leather Restorer Products to Revive Your Furniture and Accessories
-

 Vetted3 weeks ago
15 Best Drain Snakes to Unclog Your Pipes Like a Pro
-

 Beginners Guides4 days ago
I Inhaled Vinegar Fumes
-

 Vetted4 weeks ago
14 Best Stationery Brands for Your Next Writing Adventure
-

 Beginners Guides2 weeks ago
Swinger Porch Light Color
-

 Mardi Gras Decoration3 weeks ago
Why Does Hobby Lobby Not Do Mardi Gras?


