Decor
Top 10 Interior Design Shows to Watch for Home Inspiration
Marvel at the top 10 interior design shows that promise to ignite your creativity and transform your home decor, leaving you inspired for your next project.
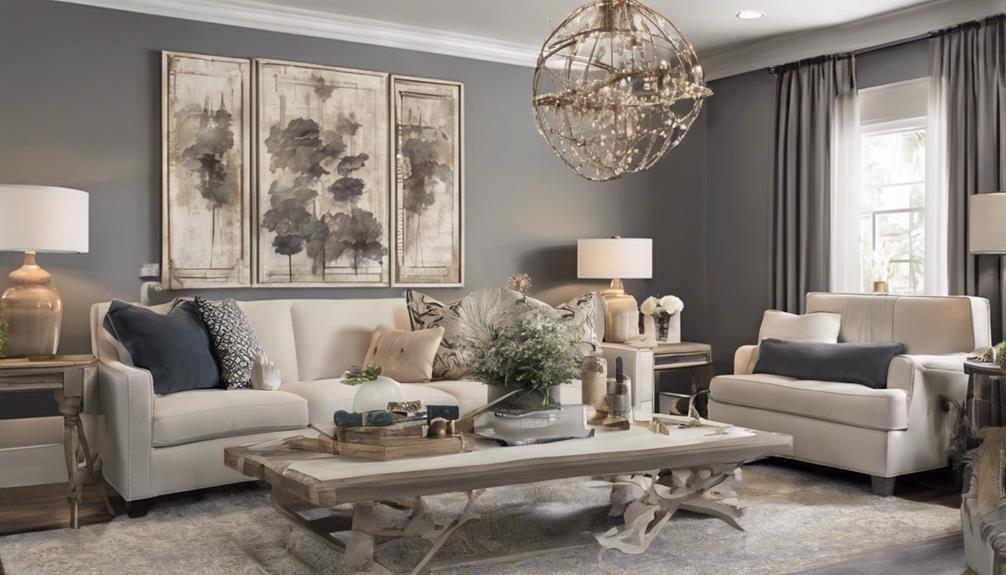
When it comes to finding fresh interior design inspiration, the wide range of enchanting shows available might surprise you.
As we explore the top 10 interior design programs that can ignite your creativity and offer a glimpse into the world of design, we uncover not only stunning transformations but also innovative solutions that could redefine your living space.
Let's embark on this journey together to uncover hidden gems that could potentially revolutionize your home decor.
Key Takeaways
- Gain expert feedback on your designs from judges in shows like Interior Design Masters.
- Get inspired by creative room transformations in shows like Dream Home Makeover.
- Explore small living and tiny house design solutions in Tiny House Nation.
- Learn about minimalist and functional design concepts from Tidying Up With Marie Kondo.
Dream Home Makeover
Indulge in the mesmerizing world of home transformations with 'Dream Home Makeover,' a Netflix show hosted by the talented duo Shea and Syd McGee from Studio McGee. This dynamic couple brings a fresh perspective to home renovation and interior design, enchanting audiences with their innovative ideas and impeccable taste. 'Dream Home Makeover' isn't just about creating aesthetically pleasing spaces; it's about crafting homes that tell a story and evoke a sense of warmth and comfort.
Shea and Syd McGee's approach to design is both practical and aspirational, making it easy for viewers to translate their tips into their own home makeover projects. From cozy family rooms to elegant kitchens, each episode offers a glimpse into the transformative power of thoughtful design choices. The show's emphasis on family-friendly spaces and current design trends ensures that it remains a relevant source of inspiration for anyone looking to refresh their living environment.
Get ready to be inspired by the magic of 'Dream Home Makeover' and embark on your own journey towards a more stylish and functional home.
Interior Design Masters
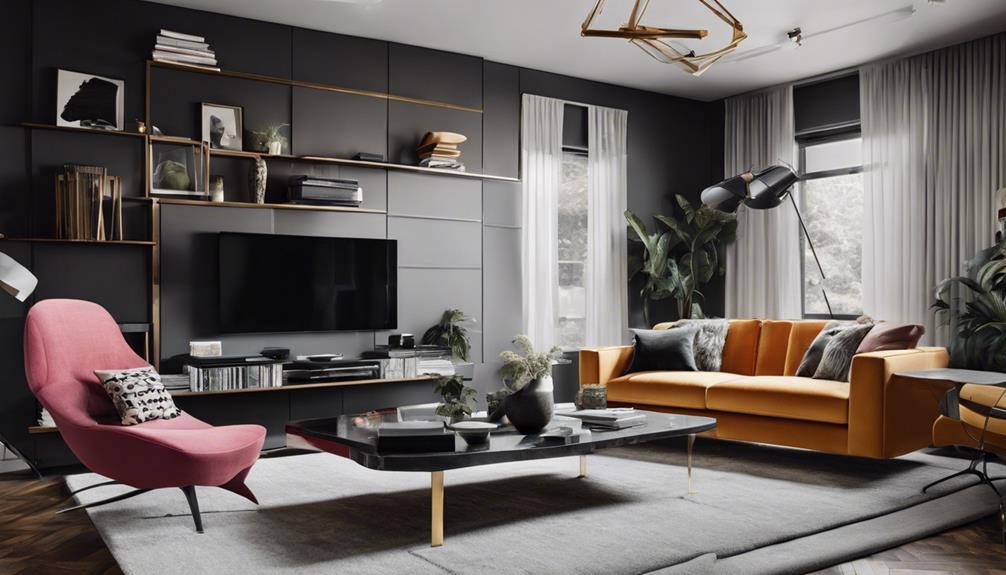
When we talk about 'Interior Design Masters', we're talking about the ultimate design showdown where contestants face off in epic design challenges, receiving expert feedback from the judges along the way.
From creative room transformations to innovative design solutions, this show is a treasure trove of inspiration for anyone looking to spruce up their living space.
It's like a crash course in design excellence right at your fingertips!
Contestant Design Challenges
How do the contestant design challenges on Interior Design Masters showcase the diverse creativity and talent of up-and-coming designers?
Interior Design Masters puts aspiring designers to the test, pushing them to demonstrate their unique design styles in a variety of challenges.
From revamping small spaces to tackling unconventional design briefs, contestants have the opportunity to unleash their creativity and impress both the judges and viewers.
Each episode presents a new opportunity for designers to shine, receive valuable feedback from industry experts, and refine their skills.
As they compete for the ultimate prize of a design contract, the pressure is on, resulting in innovative solutions and inspiring design tips that captivate audiences seeking fresh perspectives in interior design.
Judges' Expert Feedback
In the spotlight of Interior Design Masters, the judges' expert feedback becomes a compass guiding aspiring designers towards honing their skills and pushing the boundaries of creativity. Through constructive feedback rooted in design principles, aesthetics, and functionality, contestants receive professional insights that help elevate their work.
The judges meticulously evaluate design concepts, execution, attention to detail, and overall presentation, providing a roadmap for improvement. By understanding the strengths and weaknesses of their designs, contestants can refine their skills and enhance their creativity.
The judges' guidance not only fosters growth but also challenges contestants to think innovatively, ensuring that each design showcases both style and functionality in a harmonious blend.
Creative Room Transformations
Embarking on their design journey within the world of Interior Design Masters, contestants dive headfirst into the world of Creative Room Transformations, where imagination meets functionality in a whirlwind of innovative design concepts.
- Competition: Each designer vies for the top spot by transforming spaces under intense time pressure.
- Design Styles: From minimalistic chic to bohemian flair, a wide array of design aesthetics is explored.
- Creative Challenges: Contestants tackle unconventional materials and layouts to push the boundaries of design.
- Judges' Feedback: Renowned design experts provide critiques and guidance to refine the designers' visions.
Interior Design Masters not only sparks inspiration but also showcases the boundless creativity of emerging designers, making each episode a masterclass in design innovation.
Tidying Up With Marie Kondo
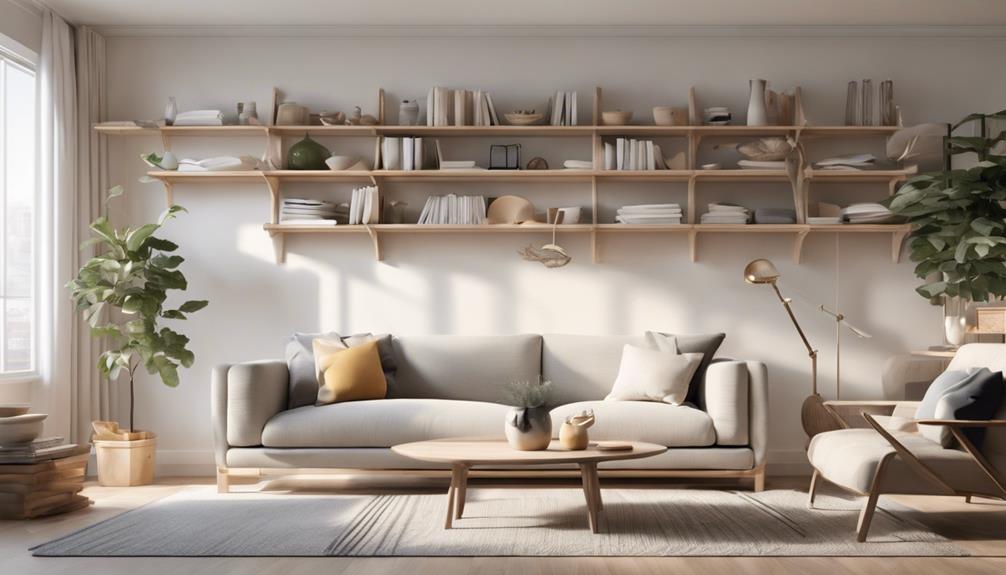
With Marie Kondo as our guide, we embark on a journey of decluttering and organization to infuse joy into our living spaces. Through the lens of Tidying Up With Marie Kondo, viewers are introduced to the transformative power of decluttering and organizing. Marie Kondo's KonMari method goes beyond mere tidying; it's a philosophy that centers around keeping items that spark joy while discarding the rest. By embracing this minimalist lifestyle, viewers can create harmonious living spaces that not only look aesthetically pleasing but also promote a sense of well-being.
The show offers practical tips and tidying techniques that empower individuals to take control of their surroundings and lead a more intentional life. From folding techniques to closet organization, Tidying Up With Marie Kondo is a treasure trove of inspiration for those looking to simplify their homes. By following Marie Kondo's guidance, viewers can embark on a decluttering journey that not only transforms their living spaces but also their mindset towards possessions.
The Home Edit
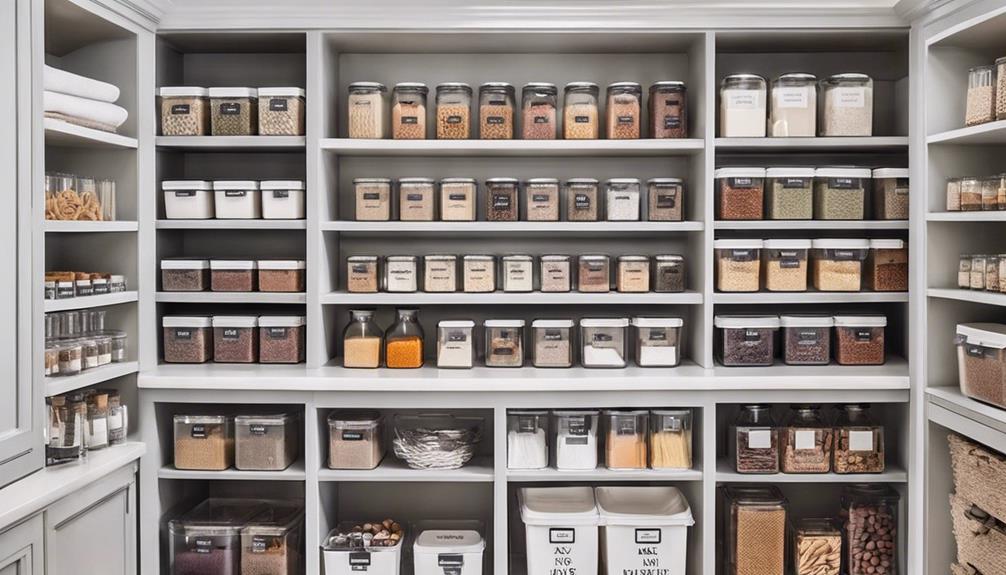
Exploring The Home Edit reveals a world where organization meets creativity, transforming spaces into functional works of art. Genevieve Gorder and Peter Lorimer lead the charge in showcasing the transformative power of decluttering through ingenious design solutions.
Here are four reasons why The Home Edit stands out in the area of interior design shows:
- Innovative Organization: Witness the art of decluttering elevated to new heights as The Home Edit tackles even the most chaotic of spaces with finesse.
- Celebrities and Spaces: Explore the world of A-list clients and stunning locations as Genevieve and Peter work their magic in creating visually stunning and organized interiors.
- Design Tips Galore: Learn from the best as the hosts share invaluable design and marketing tips, providing a wealth of knowledge for those looking to spruce up their living spaces.
- Before-and-After Magic: Experience the awe-inspiring before-and-after transformations that highlight the impactful results of effective organization and design interventions.
The Home Edit offers a new perspective on interior design, merging functionality with style to inspire viewers and clients alike.
Amazing Interiors

Diving into the world of 'Amazing Interiors' unveils a domain of extraordinary homes brimming with unique and surprising design elements. This interior design show goes beyond the conventional by featuring hidden design gems and surprising home transformations. Each episode offers a glimpse into the personal stories behind the showcased designs, adding depth and meaning to the creative ideas presented.
'Amazing Interiors' is a treasure trove for those seeking inspiration and a fresh perspective on interior design. The show dares to explore eccentric interiors with unexpected transformations, pushing the boundaries of traditional design norms. From quirky spaces to bold statements, each episode showcases homes that challenge the status quo and celebrate individuality.
For viewers looking to break free from the ordinary and infuse their living spaces with innovation, 'Amazing Interiors' is a must-watch. Get ready to be inspired by the ingenuity and creativity that this show brings to the world of interior design.
Queer Eye

Celebrating diversity and inclusivity through design, grooming, and lifestyle tips, 'Queer Eye' is a popular Netflix show featuring the Fab Five transforming lives and spaces with emotional makeovers. Bobby Berk, the design expert of the Fab Five, infuses spaces with personalized touches and thoughtful design solutions, creating impactful transformations.
Here are four reasons why 'Queer Eye' stands out in the world of home makeover shows:
- Heartwarming Moments: Each episode offers feel-good inspiration and heartwarming interactions that go beyond just design changes.
- Personalized Makeovers: The show focuses on the individuals involved, making each home transformation unique and reflective of the person's story.
- Inclusive Approach: 'Queer Eye' embraces inclusivity, showcasing a wide range of backgrounds and lifestyles, making it relatable to a diverse audience.
- Impactful Reveals: The emphasis on the reveal moment adds an emotional depth to the transformations, leaving viewers inspired and uplifted by the changes made.
Designing Miami

With a vibrant fusion of cultural influences and a nod to Miami's beachfront lifestyle, 'Designing Miami' immerses viewers in a world of eclectic interior design styles that reflect the city's diverse communities. The show captures the essence of Miami as a cultural melting pot, showcasing how Cuban, Haitian, and Caribbean heritages influence design trends in the city.
Expect to witness a burst of bold colors, tropical motifs, and luxurious elements inspired by Miami's vibrant beachfront living. Designers on the show skillfully blend elements of Art Deco, modern, and mid-century design to craft spaces that are uniquely Miami.
Through the lens of interior design, 'Designing Miami' provides a glimpse into the dynamic architecture, thriving art scene, and rich cultural heritage that define this bustling city. For those seeking inspiration from a city that never shies away from boldness and innovation, 'Designing Miami' is a must-watch for fresh ideas and creative design concepts.
Tiny House Nation
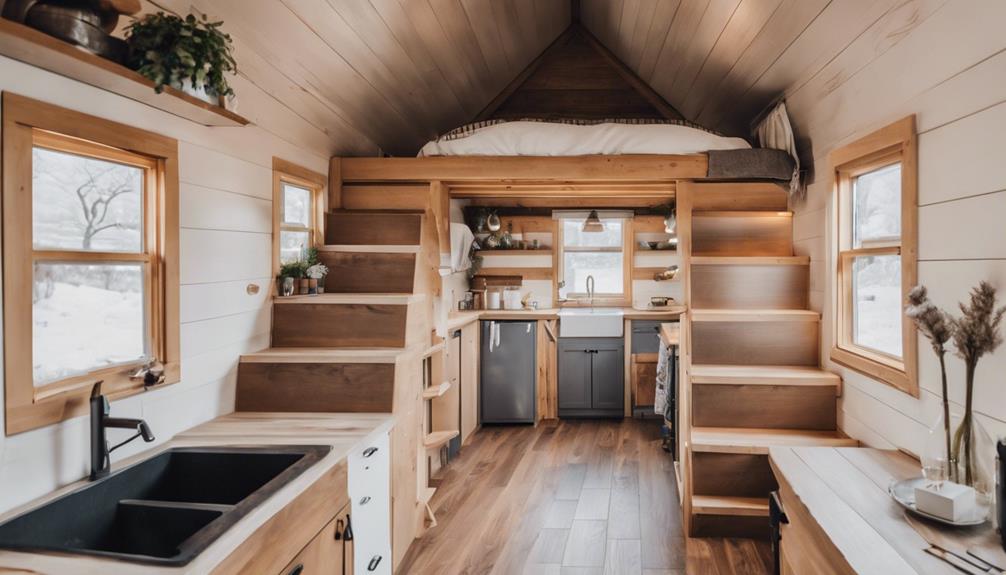
We're all about creative space solutions, and 'Tiny House Nation' totally nails it with their innovative designs that make small living feel grand.
From maximizing every nook to showcasing functional minimalist interiors, this show is a goldmine for those seeking inspiration for compact yet stylish living.
Get ready to embrace the beauty of simplicity and efficient design with 'Tiny House Nation'.
Creative Space Solutions
Exploring innovative space solutions in compact homes, 'Tiny House Nation' showcases the art of maximizing functionality in small living spaces with style and sustainability at the forefront. Hosted by John Weisbarth and Zack Giffin, the show delves into the world of sustainable living, offering creative storage solutions and alternative housing options.
Here's what you can expect from 'Tiny House Nation':
- Witness custom tiny houses tailored to homeowners' needs.
- Discover clever design ideas to optimize every square foot.
- Explore unique challenges and solutions for small living spaces.
- Be inspired to embrace minimalism and rethink traditional living spaces for a simpler, more sustainable lifestyle.
Small Living Design
Delving into the domain of small living design, 'Tiny House Nation' captivates audiences with its innovative solutions for maximizing functionality and style in compact spaces. Hosted by John Weisbarth, the show focuses on downsizing and sustainable living, showcasing creative ways to rethink space and possessions in tiny homes.
Each episode features the transformation of small spaces into functional and aesthetically pleasing homes, promoting the benefits of minimalist living. Emphasizing sustainability and efficient space utilization, 'Tiny House Nation' inspires viewers to contemplate alternative housing options and lifestyle choices.
The show offers practical tips and ideas for designing and living in tiny homes, encouraging a shift towards simplicity and environmental consciousness in today's world of small living spaces.
Functional Minimalist Interiors
Navigating the domain of small living design, 'Tiny House Nation' showcases how functional minimalist interiors can revolutionize compact spaces with innovative and sustainable solutions.
- Witness the magic of innovative storage solutions that make use of every nook and cranny.
- Explore the world of multi-functional furniture that serves dual purposes without compromising style.
- Discover the art of clever space-saving techniques that create an illusion of spaciousness in tiny homes.
- Experience the beauty of minimalist interiors that prioritize simplicity, practicality, and eco-conscious design choices.
'Tiny House Nation' not only offers a glimpse into creative design solutions for small spaces but also inspires a minimalist lifestyle that values efficiency and sustainability.
Stay Here
Immerse yourself in the world of innovative hospitality design with 'Stay Here,' a Netflix show hosted by Genevieve Gorder and Peter Lorimer. This dynamic duo specializes in transforming short-term rentals, offering invaluable design tips and marketing strategies to help hosts elevate their rental spaces and boost profitability.
Each episode of 'Stay Here' showcases a different rental property makeover, emphasizing the potential for increased income through thoughtful design choices and effective branding. Whether you're in the hospitality industry or simply looking to enhance your rental property, 'Stay Here' provides practical advice and inspiration to revamp spaces with style and purpose.
With its focus on actionable insights and real-world applications, this show is a must-watch for anyone seeking to excel in the domain of short-term rentals. Tune in to 'Stay Here' and discover the secrets to turning ordinary spaces into extraordinary income-generating assets.
Motel Makeover

Embarking on a design adventure with 'Motel Makeover,' viewers are invited to witness April Brown and Sarah Sklash revamping a tired motel into a chic and Instagram-worthy retreat, showcasing their creativity amidst challenges like navigating Covid-19 restrictions.
- Picture April and Sarah breathing new life into a rundown motel, transforming it into a stylish oasis that begs to be shared on social media.
- Imagine the duo tackling hurdles like supply chain disruptions and safety protocols to deliver a stunning renovation despite the odds.
- Envision the before-and-after shots revealing the incredible design transformations that turn a forgotten space into a trendy destination.
- See how 'Motel Makeover' not only showcases the power of design but also inspires viewers to reimagine their own spaces with innovative flair.
'Motel Makeover' doesn't just focus on a simple renovation; it encapsulates the essence of turning challenges into opportunities, making it a must-watch for those seeking fresh ideas for their own interior design projects.
Frequently Asked Questions
What Is the Best Home Decorating Show?
We love shows like 'Grand Designs' for its insight into ambitious self-build projects. The blend of innovation and design in each episode keeps us inspired and keen to learn more about architecture and creativity.
What Is the Netflix Show About House Decor?
We love 'Dream Home Makeover' on Netflix! Shea and Syd McGee from Studio McGee work their magic, creating dream homes with family-friendly designs. It's packed with heartwarming stories and trendy interior design inspiration.
What Is the Netflix Interior Design Program?
We're totally hooked on the Netflix interior design gem, 'Dream Home Makeover.' Shea and Syd McGee's design magic transforms spaces into dream homes, blending trendiness with family-friendly vibes. It's a must-watch for design enthusiasts!
What Is the Netflix Show About Aspiring Designers?
We watch 'Interior Design Masters' where 10 aspiring designers compete for a contract. Hosted by Fearne Cotton, contestants demonstrate diverse styles, get judged, and share tips. The show showcases talent, creativity, and the competitive world of interior design.
Conclusion
Let's grab some popcorn, cozy up on the couch, and get ready to be inspired by the top 10 interior design shows.
From Dream Home Makeover to Motel Makeover, these shows offer a mix of creativity, knowledge, and trendiness that will have you itching to revamp your own space.
So sit back, relax, and let the design magic unfold right before your eyes. Happy watching and happy decorating!
- About the Author
- Latest Posts
Introducing Ron, the home decor aficionado at ByRetreat, whose passion for creating beautiful and inviting spaces is at the heart of his work. With his deep knowledge of home decor and his innate sense of style, Ron brings a wealth of expertise and a keen eye for detail to the ByRetreat team.
Ron’s love for home decor goes beyond aesthetics; he understands that our surroundings play a significant role in our overall well-being and productivity. With this in mind, Ron is dedicated to transforming remote workspaces into havens of comfort, functionality, and beauty.
Decor
New Life to an Antique China Cabinet
Out with the old, in with the new: transforming a vintage china cabinet into a functional work of art, but how?

We're excited to give new life to an antique china cabinet, revamping it into a functional work of art. First, we measure and inspect the cabinet's dimensions and condition, noting its style and design details. We then plan the restoration process, considering various techniques like sanding, staining, and polishing to enhance the wood grain. We might even upcycle it into a unique piece, such as a bathroom vanity or pet station. By exploring different painting and staining options, we can create a truly one-of-a-kind masterpiece. As we continue, we'll uncover more innovative ways to preserve this antique treasure.
Key Takeaways
• Measure and inspect the antique china cabinet to plan a restoration that preserves its original style and design details.
• Sand and refinish the veneer to restore its original shine and beauty, using techniques like wood staining and polishing.
• Upcycle the cabinet into a functional piece, such as a bathroom vanity or pet station, to give it a new purpose and reduce waste.
• Explore various painting and staining options, such as whitewashing or gel staining, to give the cabinet a modern twist while preserving its antique charm.
• Enhance the cabinet's original features, such as its wood grain, with techniques like French polishing or polyurethane coating to create a stunning centerpiece.
Preparing the Antique Cabinet
We begin by measuring the dimensions of our antique china cabinet to determine the best approach for its transformation. This vital step allows us to plan and visualize the restoration process, ensuring we make the most of the available space.
Next, we inspect the current condition of the cabinet, taking note of any repairs or restoration needed to bring it back to its former glory. The style and design of the cabinet also play a significant role in determining the best way to rejuvenate it, so we take a closer look at its intricate details.
Before we start the restoration process, we take photos of the original cabinet for reference, capturing every detail and nuance.
Repairing and Refinishing Methods
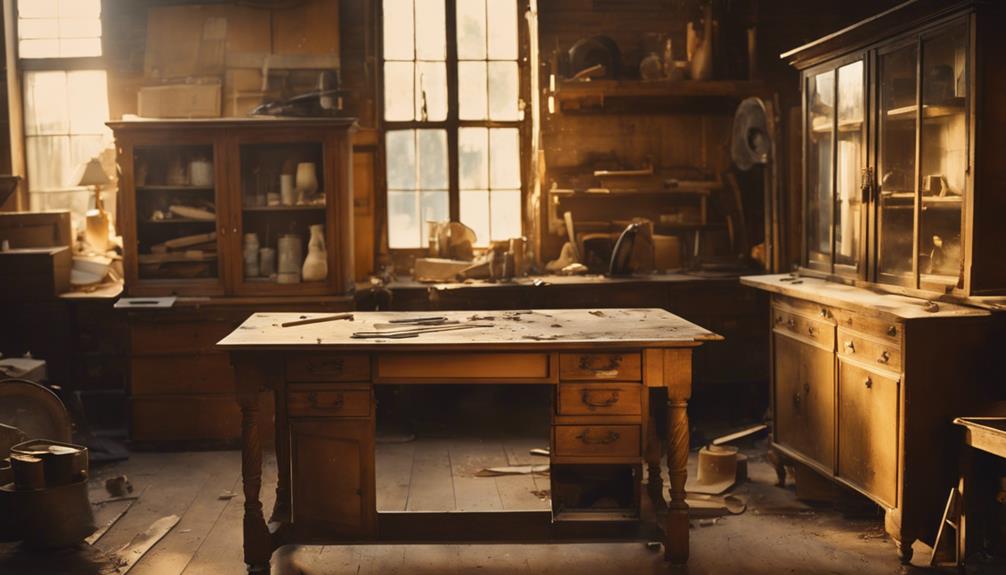
With our antique china cabinet now clean and assessed, we're ready to tackle the repairs and refinishing methods that will bring out its original beauty.
In this phase of our China cabinet makeover, we'll focus on repairing and refinishing the cabinet's surface. We'll start by sanding the veneer carefully to avoid exfoliation and prepare the surface for refinishing.
Any damaged areas will be treated with wood stain to restore the original color and finish. If necessary, we'll use wood filler to conceal areas where the veneer has come off, maintaining the cabinet's integrity. We'll also consider applying veneer to repair broken pieces and restore the antique china cabinet's beauty.
Once the repairs are complete, we'll polish the cabinet with beeswax-based wax to enhance the shine and protect the wood. With gel stain, we can achieve a rich, even finish that complements the cabinet's original charm.
Enhancing the Wood Grain

As we move forward in restoring our antique china cabinet, we're excited to enhance the wood grain, which is an essential step in bringing out the natural beauty of the wood.
To achieve this, we'll explore various wood preparation methods, grain enhancement techniques, and finishing touches to apply.
Wood Preparation Methods
By taking the time to properly prepare the wood, we can reveal the full beauty of the antique china cabinet's natural grain pattern. To achieve this, we start by sanding the wood surface to remove imperfections and enhance the natural grain. This step is essential in refinishing, as it creates a smooth canvas for the staining process.
Applying a wood stain can deepen the color of the wood and bring out the intricate patterns of the grain. To guarantee an even application, we use a wood conditioner before staining to prevent blotching. Once the stain is dry, we apply a finish, such as polyurethane or lacquer, to protect the wood and provide a smooth, durable surface for the wood grain to shine through.
Grain Enhancement Techniques
We utilize grain enhancement techniques to reveal the full beauty of the antique china cabinet's wood grain, showcasing its intricate patterns and natural charm. By sanding the wood surface, we can help bring out the natural grain pattern, creating a stunning visual effect.
To deepen the color of the wood grain and accentuate its natural beauty, we apply wood stain or oil. For a high-gloss finish that accentuates the wood grain, we use French polishing.
Additionally, we repair or conceal areas where the veneer has come off to maintain the integrity of the wood grain pattern. Another DIY approach is to accentuate the wood grain through cleaning and waxing, which can enhance the antique charm of the china cabinet.
Finishing Touches Applied
With our grain enhancement techniques in place, we're now ready to apply the finishing touches that will bring out the full, rich beauty of our antique china cabinet's wood grain. To achieve this, we'll use a combination of products and techniques to enhance the wood's natural beauty.
First, we'll apply a nourishing treatment like linseed oil to enrich the wood and bring out its natural character. Next, we'll lightly sand the surface to guarantee a smooth finish, repairing any imperfections along the way.
Finally, we'll apply a clear finish, such as Deft in gloss or satin, to protect the wood while highlighting the enhanced wood grain. By properly preparing the surface and applying the right finishes, we'll be able to restore the antique cabinet to its former glory, showcasing its beautiful wood grain for years to come.
Our careful attention to detail will result in a stunning restoration that honors the original craftsmanship of this antique piece.
Upcycling Creative Ideas

As we reimagine the potential of antique china cabinets, our creativity sparks, and we uncover a treasure trove of upcycling possibilities. We can repurpose these vintage pieces into functional and stylish items that add character to our homes. From bathroom vanities to pet stations, the options are endless.
Here are some creative upcycling ideas to get us started:
| Idea | Description | Features |
|---|---|---|
| Bathroom Vanity | Antique china cabinet turned bathroom vanity | Sink, faucet, and mirror |
| Pet Station | Cozy pet area with built-in feeding bowls and storage | Cushioned resting area and pet supply storage |
| Bar Area | Sophisticated bar area with wine glass racks and LED lighting | Mirrored back and wine storage |
We can transform these antique china cabinets into unique and functional pieces that reflect our personal style. By upcycling, we not only reduce waste but also preserve the history and charm of these vintage pieces. With a little creativity, we can repurpose these antique china cabinets into stunning masterpieces that add character to our homes.
Painting and Staining Options
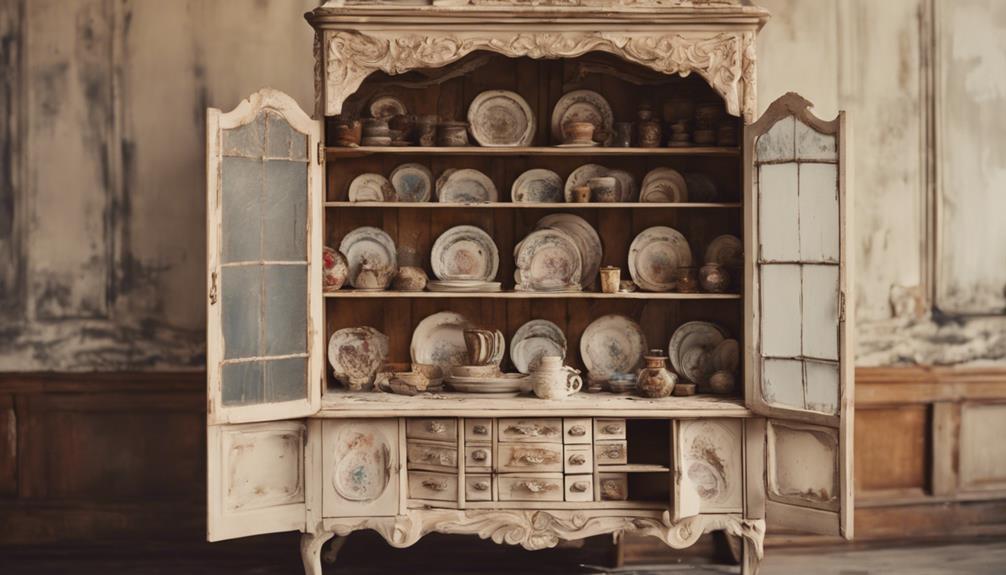
As we explore the world of painting and staining options for our antique china cabinet, we're faced with a multitude of choices that can make or break the final result.
We'll examine the various paint color options available, from classic whites and creams to bold and bright hues, and discuss the stain finishing techniques that can elevate our piece from ordinary to extraordinary.
Paint Color Options
We're excited to explore the vast array of paint color options that can breathe new life into our antique china cabinet.
One bold approach is to use ombre paint colors, such as deep blues or greens, to give our cabinet a modern twist.
Alternatively, we could opt for a classic, rich finish by painting it black – a dramatic and elegant statement piece is sure to be the result.
For a more rustic, shabby chic look, whitewashing techniques can be employed to add a touch of vintage charm.
If we want to create an invigorating, coastal-inspired atmosphere, pairing white with robin's egg blue could be the perfect solution.
Whatever our style, there's a paint color option to suit.
By considering these diverse options, we can revitalize our antique china cabinet and make it a stunning centerpiece in our home.
With a little creativity, our treasured antique can be transformed into a beautiful, one-of-a-kind piece that reflects our unique personality.
Stain Finishing Techniques
Typically, when it comes to refinishing our antique china cabinet, we're faced with the crucial decision of whether to stain or paint, each option offering unique benefits and aesthetic outcomes.
We must consider the original beauty of the wood grain and whether we want to enhance it with a transparent finish through staining or cover it with a fresh coat of paint. Staining brings out the natural charm of the wood, allowing the grain to shine through, while painting offers a modern, bold look that can complement any room's decor.
When choosing between the two, we should consider the existing style of the room and our personal taste. Staining requires more effort, as it involves sanding and multiple coats for a durable finish, whereas painting allows for easy color changes and updates.
Ultimately, the decision comes down to our vision for the refurbished china cabinet and the overall aesthetic we want to achieve. By weighing the pros and cons of each option, we can make an informed decision that brings new life to our antique treasure.
Final Touches and Assembly
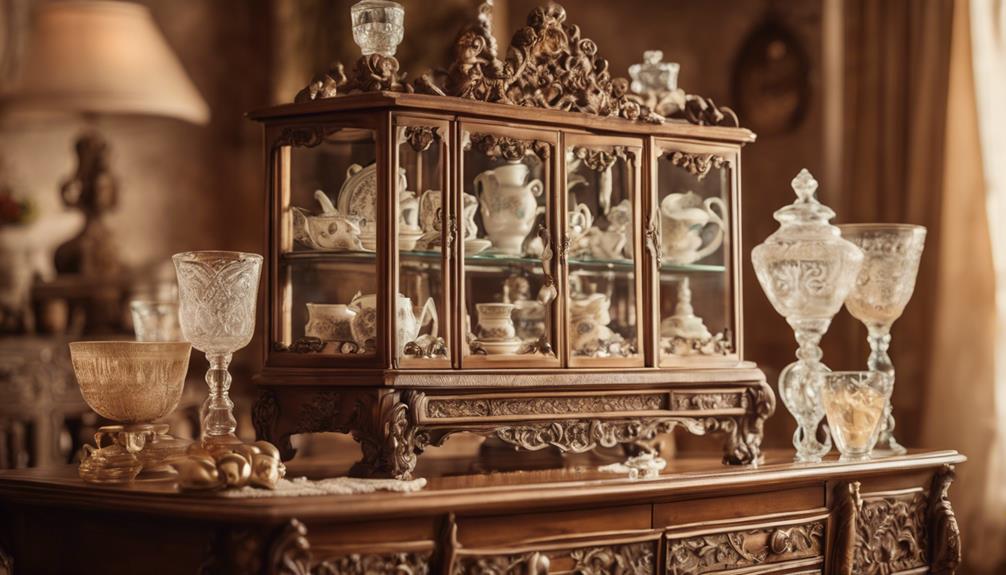
Now that our china cabinet has taken shape, we're putting on the finishing touches to bring it back to its former glory. To guarantee stability and safety, we secure the wall cabinet and china cabinet in place, preventing any accidents.
Next, we add shelves to the ledger boards and secure them with screws for added stability.
Here are the final touches we're adding:
- Painting the furniture with the appropriate materials to transform its appearance
- Enhancing the shelves with facing boards for a polished look
- Adding glass doors to complete the antique china cabinet's classic design
- Assembling all the components carefully to ensure a sturdy and beautiful piece of furniture
Frequently Asked Questions
How to Modernize an Old China Cabinet?
When updating an old china cabinet, we often wonder how to modernize it. To start, we assess the cabinet's current state, noting its classic features and areas for improvement.
We consider swapping outdated hardware for sleek, modern knobs or pulls, and perhaps a fresh coat of paint in a trendy color. By making a few strategic changes, we can revive the cabinet's charm and bring it into the 21st century.
How Much Should I Sell My Antique China Cabinet For?
We're wondering how much to sell our antique china cabinet for.
To determine a competitive price, we'll research the market value of similar cabinets, considering factors like age, condition, craftsmanship, and historical significance.
We'll consult with experts and check online platforms like eBay and Etsy to gauge current prices.
What Do I Do With My China Cabinet?
'We're stuck with a china cabinet and no idea what to do with it. Coincidentally, we're not alone – many people struggle to repurpose these antique pieces. We've asked ourselves, 'what do I do with my china cabinet?'
The good news is that there are plenty of creative solutions. We can transform it into a bathroom vanity, a chic buffet, or even attach the doors to create a unique wall art piece. The possibilities are endless, and it's time to think outside the box – or in this case, the cabinet.'
Do People Buy China Cabinets Anymore?
We still see people buying china cabinets, although the demand has decreased over the years. While modern trends and smaller living spaces have contributed to the decline, there's still a niche market for high-quality, unique pieces among collectors and interior design enthusiasts.
Some individuals appreciate their decorative and storage purposes, and others get creative by repurposing them into bathroom vanities or display cases.
Conclusion
As we step back to admire our handiwork, the once-tired antique china cabinet now radiates a vibrant new life.
We've breathed fresh air into its worn wooden bones, coaxing out the hidden beauty within. With every brushstroke, scrape, and sand, we've revived a treasure trove of memories, crafting a masterpiece that tells a story of love, patience, and dedication.
Our labor of love now shines, ready to hold court in any room, a tribute to the magic of restoration and the thrill of giving old things new life.
- About the Author
- Latest Posts
Introducing Ron, the home decor aficionado at ByRetreat, whose passion for creating beautiful and inviting spaces is at the heart of his work. With his deep knowledge of home decor and his innate sense of style, Ron brings a wealth of expertise and a keen eye for detail to the ByRetreat team.
Ron’s love for home decor goes beyond aesthetics; he understands that our surroundings play a significant role in our overall well-being and productivity. With this in mind, Ron is dedicated to transforming remote workspaces into havens of comfort, functionality, and beauty.
Decor
How to Turn a Dresser Into a Bookshelf in 10 Steps
Start transforming an old dresser into a functional bookshelf with these 10 steps, but be prepared for a dramatic makeover.

We'll start by examining the dresser's top drawer supports, evaluating the interior for measurements, and removing the drawers to pave the way for our bookshelf conversion. Next, we'll add cleats for shelf support, trim and refine the shelf edges, and convert the drawers into shelves. Sanding and refining the surface will come next, followed by applying paint and finish coatings. We'll add bottom trim and details, and finally, assemble and touch up the bookshelf. With attention to detail and careful planning, we'll transform an old dresser into a functional bookshelf. And that's just the beginning – there's more to explore in our conversion process.
Key Takeaways
• Remove top drawer supports and assess the interior for measurements to plan the bookshelf conversion.
• Convert drawers into shelves by adding cleats and trimming front facings for a seamless integration.
• Add shelf supports with cleats to prevent sagging and refine shelf edges for a polished look.
• Apply a finish coating, such as polyurethane seal, and consider distressing techniques for an aged look.
• Securely attach shelf boards and ensure stability with wood screws, then fill gaps with wood glue for a smooth surface.
Prepare the Dresser for Conversion
As we begin the process of transforming our dresser into a bookshelf, we must first remove the top drawer supports to pave the way for the conversion. This initial step is paramount in preparing the dresser for its new purpose.
We'll use a reciprocating saw to cut through the wood, making sure to carefully navigate around any screws or other obstacles. Once we've made the necessary cuts, we'll use a hammer and chisel to pop out the remaining pieces, taking care not to damage the surrounding wood.
With the top drawer supports removed, we'll be able to assess the interior of the dresser and take precise measurements to guide our conversion. The wood inside the dresser will serve as the foundation for our bookshelf, so it's essential that we accurately measure and prepare the space.
Remove Drawers and Add Shelves

With the top drawer supports removed, we'll start by pulling out the drawers to create space for our shelves. This will give us a clear canvas to work with, allowing us to visualize and plan our shelving layout. Next, we'll measure and cut pieces to fit inside the dresser, creating the shelves that will hold our books and decor.
| Shelf Size | Material | Purpose |
|---|---|---|
| 30' x 12' | 3/4' Plywood | Top Shelf |
| 30' x 10' | 3/4' Plywood | Middle Shelf |
| 30' x 8' | 3/4' Plywood | Bottom Shelf |
| 30' x 6' | 1/2' MDF | Decor Shelf |
| 30' x 4' | 1/2' MDF | Top Trim |
As we add the shelves, we'll secure them with cleats for support and stability. This will safeguard that our bookshelf is sturdy and can hold a substantial amount of weight. By repurposing the dresser drawers, we'll create functional storage spaces for books or decor items, giving our bookshelf a unique touch.
Add Cleats for Shelf Support

We attach cleats to the sides of the dresser, strategically placing them to provide maximum support for our shelves and guarantee our bookshelf remains sturdy and stable. These small strips of wood are vital for distributing weight evenly and preventing sagging in the shelves over time. We secure them with screws or nails to make sure they're firmly in place.
Properly installed cleats are essential for the structural integrity of our bookshelf, so we take our time to get it right. The size and placement of the cleats can be customized based on the dimensions of the dresser and our desired shelf layout.
Trim and Refine Shelf Edges

Now that our shelves have sturdy support, we're ready to refine their edges, smoothing out any rough spots and adding a decorative touch to complete their transformation.
We start by sanding down any rough edges on the shelves for a smooth finish. This guarantees that our bookshelf turned out great, with no splinters or rough spots to detract from its appearance.
Next, we use a router to create decorative trim on the edges of the shelves, adding a touch of elegance to our design. If there are any gaps or imperfections in the shelf edges, we apply wood filler to smooth them out. We also consider adding a beveled edge to the shelves for a more polished look.
Convert Drawers Into Shelves

By removing the drawers from the dresser, we create the space needed to insert our new shelves. This step is essential in converting the dresser into a functional bookshelf.
We'll repurpose the drawers into shelves, giving us ample storage for our books and decorative items. To do this, we'll measure and cut shelf pieces to fit snugly inside the dresser. Next, we'll add cleats for shelf support to hold the shelves in place.
If needed, we'll trim the front facings of the drawers to adjust the shelf depth. This will guarantee a seamless integration of the new shelves into the dresser turned bookshelf.
Remove Unnecessary Pieces

Let's clear out the unnecessary pieces to make way for our shelves, starting with the top drawer supports, which we'll remove to create the space we need. Using a reciprocating saw, we'll cut through any excess wood that's not needed, making sure to measure the inside dimensions of the dresser to guarantee accurate cutting of new pieces.
| Tool | Purpose |
|---|---|
| Reciprocating saw | Cut excess wood |
| Hammer and chisel | Remove remaining wood pieces |
| Jig saw | Create curved bottom piece |
With the top supports gone, we'll use a hammer and chisel to pop out any remaining wood pieces, leaving a clean slate for our shelves. We might end up with a few pieces of scrap, but that's okay – we can use those to create custom wood pieces later on. For now, let's focus on clearing out the old to pave the way for the new.
Sand and Refine the Surface
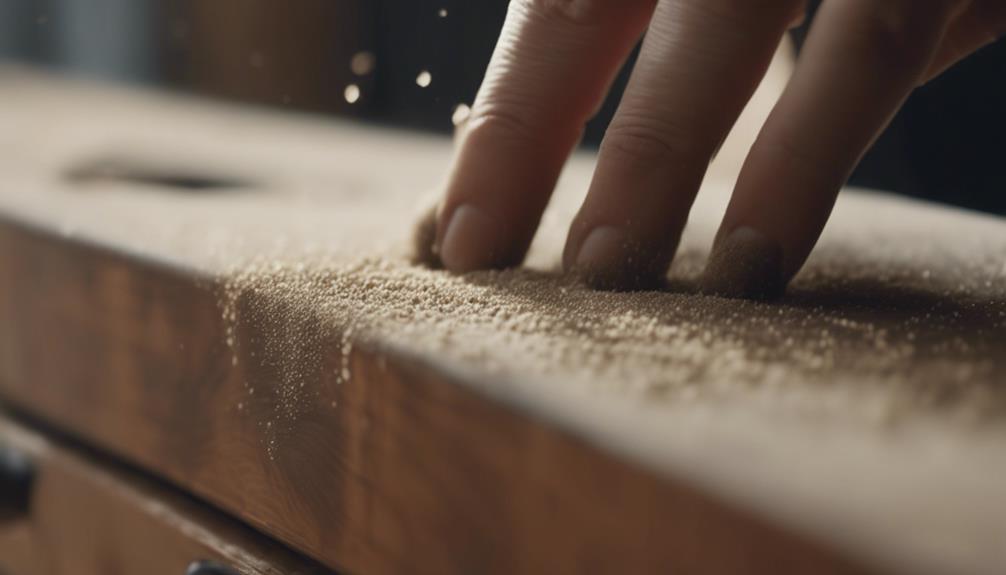
As we progress with transforming our dresser into a bookshelf, we're now at the pivotal step of sanding and refining the surface.
We'll focus on smoothing out imperfections and removing the old finish, ensuring a clean slate for our new project.
Smooth Out Imperfections
We grab our orbital sander and 80 grit sandpaper to tackle the dresser's surface, smoothing out imperfections and rough spots that could derail our bookshelf transformation. As we work, we pay close attention to details like corners and edges, making sure they're polished and even.
While the orbital sander does most of the heavy lifting, we also take the time to refine the surface with some hand sanding, focusing on hard-to-reach areas that the sander can't quite get to.
We sand the entire dresser surface with 80 grit sandpaper to remove imperfections and rough spots.
We use an orbital sander to achieve a smooth and even finish on the dresser.
We refine the surface by hand sanding hard-to-reach areas for a consistent texture.
Remove Old Finish
With the dresser's surface now smooth and even, we tackle the old finish, using an orbital sander with 80 grit sandpaper to strip away the existing coat and reveal a fresh canvas for our bookshelf transformation. This important step guarantees a clean slate for our new design, allowing the paint or stain to adhere better and ensuring a more even application.
As we work the sander across the surface, we're not only removing the old finish but also refining the wood to create a smooth surface. Any imperfections or damage are sanded away, leaving a clean and even texture that's ready for the next step.
We take our time, working methodically to make sure every inch of the dresser is free of the old finish. With the surface now clean and smooth, we're one step closer to transforming this old dresser into a beautiful bookshelf.
Apply Paint and Finish Coatings
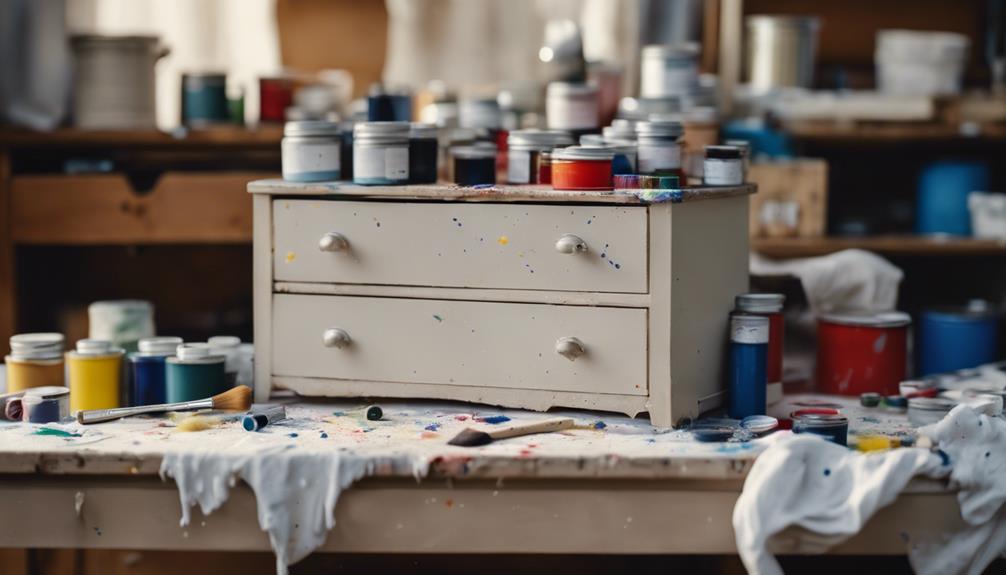
As we move forward with applying paint and finish coatings to our dresser-turned-bookshelf, we'll explore the various options available to us.
We'll consider the paint color options that will best suit our desired aesthetic, whether that's a bold statement or a subtle accent.
Next, we'll discuss the finish coating techniques that will enhance and protect our chosen hue.
Paint Color Options
Often, we find that selecting the ideal paint color is the most crucial step in transforming a dresser into a beautiful bookshelf. The right paint color can elevate the overall aesthetic of the piece, making it blend seamlessly with its new surroundings.
When it comes to choosing a paint color, we've a few favorites that always seem to impress.
- Sherwin Williams Tricorn Black for a dramatic, sleek look
- ASCP Old White for a soft, vintage vibe
- Simplicity for a clean, modern feel
Consider adding a contrasting paint color like Minwax Dark Walnut or Ebony for the trim to create visual interest. It's also important to think about the existing decor and color scheme in the room to achieve a cohesive and harmonious finish.
Finish Coating Techniques
To guarantee, it's crucial to bring our dresser-turned-bookshelf to life by applying a flawless finish coat that showcases our carefully chosen paint color. Now that we've selected the perfect hue, it's time to apply it using a high-quality brush or roller. For larger surfaces, a paint sprayer can provide a smooth and even finish. Remember to allow the paint to dry completely before applying a second coat for full coverage.
| Finish Coating Technique | Description |
|---|---|
| Base Coat | Apply a thin layer of paint to the dresser using a brush or roller |
| Second Coat | Apply a second layer of paint for full coverage |
| Polyurethane Seal | Seal the painted surface with a clear finish for protection |
| Distressing | Apply distressing techniques for a unique, aged look |
| Wax Finish | Apply a wax finish for a subtle sheen |
When working with solid wood, it's important to make sure the surface is smooth and even before applying paint. We can use Wood Glue to fill any gaps or imperfections before sanding and painting. By following these finish coating techniques, we'll achieve a beautiful, long-lasting finish that complements our newly transformed bookshelf.
Add Bottom Trim and Details
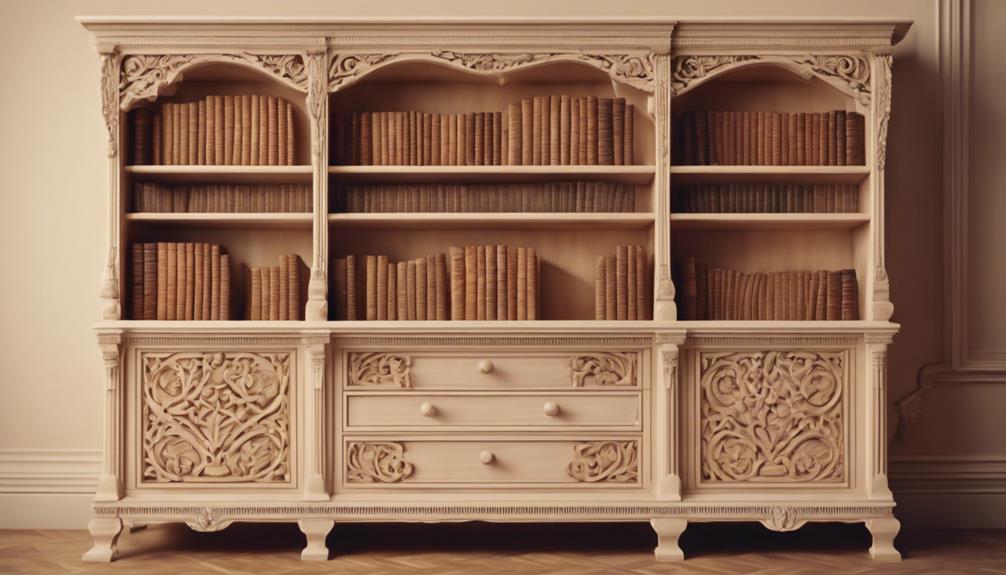
We add the final touches to our dresser-turned-bookshelf by attaching bottom trim. This trim not only enhances the overall aesthetic but also conceals any imperfections that may have arisen during the conversion process. It provides a finished look to the bottom of our bookshelf, tying the entire piece together.
To take our bookshelf to the next level, we can also add some extra details. Here are a few ideas:
- Add decorative feet or baseboard molding to elevate the design of our bookshelf
- Choose a complementary color for the bottom trim to match our bookshelf's overall style
- Incorporate decorative molding or trim to add visual interest to the bottom of our bookshelf
Final Assembly and Touch-ups

With our bookshelf's design elements in place, we can now focus on bringing all the components together to create a sturdy and polished final product. We'll start by securing the assembled bookshelf into the dresser using wood screws for stability. Next, we'll confirm the shelf fits snugly inside the dresser before proceeding with final touches.
| Step | Task | Description |
|---|---|---|
| 1 | Sand and Prime | Prepare assembled pieces for painting |
| 2 | Fill Blemishes | Use wood filler and add trim for a polished look |
| 3 | Paint and Seal | Apply multiple coats and finish with a protective sealant |
We'll sand and prime the assembled pieces to prepare for painting, then fill in any blemishes with wood filler and add trim for a polished look. Finally, we'll apply multiple coats of paint and finish with a protective sealant for durability. Don't forget to attach the drawer fronts securely to the bookshelf frame. With these final touches, our dresser-turned-bookshelf will be ready for use.
Frequently Asked Questions
Can You Turn a Dresser Into a Bookshelf?
We can confidently say that yes, it's absolutely possible to turn a dresser into a bookshelf.
With some creativity and basic woodworking skills, an old dresser can be repurposed into a functional and unique bookshelf.
How to Make Shelves Out of Dresser Drawers?
We're transforming dresser drawers into shelves, a clever storage solution.
First, we remove the drawer glides and attach the drawers to the dresser's frame using screws or nails.
Next, we add supports or cleats to secure the shelves in place.
We can trim the front facings to adjust the shelf depth.
With some creativity, we repurpose the drawers into functional shelves, perfect for holding books, decorative items, or linens.
How to Repurpose Dresser Drawers?
As we breathe new life into old furniture, we're left wondering: how to repurpose dresser drawers?
We envision a creative rebirth, where discarded pieces transform into functional masterpieces. By trimming and adjusting the drawer facings, we can craft unique shelves, adding cleats for support and aesthetic trim for a polished look.
With a little ingenuity, these former drawers become a one-of-a-kind bookcase, perfect for storing treasured volumes.
How to Make a Dresser Look Nicer?
We want to give our dresser a makeover, and we're looking for ways to make it look nicer.
First, we'll sand down the surface to remove imperfections and create a smoother finish.
Next, we'll add a fresh coat of paint or stain to give it a fresh new look.
Then, we'll update the hardware, like knobs or handles, to complete the transformation.
With these simple steps, our dresser will be looking stylish and revitalized in no time!
Conclusion
With our transformed dresser-bookshelf now standing tall, we can confidently say that the end result is well worth the effort. By following these 10 steps, we've successfully repurposed a piece of furniture, giving it new life and a fresh purpose.
The outcome is a demonstration of our creativity and resourcefulness, as we've managed to merge functionality with aesthetics, creating a unique and functional storage solution that will serve us well for years to come.
- About the Author
- Latest Posts
Introducing Ron, the home decor aficionado at ByRetreat, whose passion for creating beautiful and inviting spaces is at the heart of his work. With his deep knowledge of home decor and his innate sense of style, Ron brings a wealth of expertise and a keen eye for detail to the ByRetreat team.
Ron’s love for home decor goes beyond aesthetics; he understands that our surroundings play a significant role in our overall well-being and productivity. With this in mind, Ron is dedicated to transforming remote workspaces into havens of comfort, functionality, and beauty.
Decor
Pergola Remodeling: The Ultimate Guide
Learn how to transform your outdoor space into a stunning oasis with our comprehensive guide to pergola remodeling, from planning to maintenance.
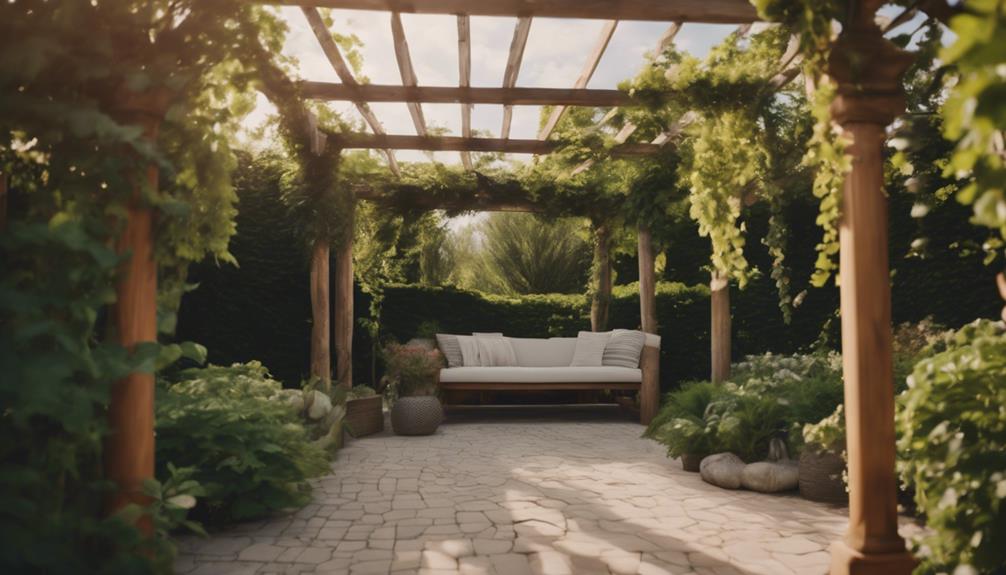
As we begin this ultimate guide to pergola remodeling, we'll cover everything from planning and design to materials, placement, functionality, and maintenance. We'll explore the different types of pergola structures, including gabled roof and arched top designs, and how to choose the perfect materials for your project. From selecting the ideal location and designing for functionality to outdoor lighting essentials and maintenance tips, we'll delve into the details to help you transform your outdoor space. As we delve into this, you'll discover the secrets to creating a stunning oasis that's both beautiful and functional – and we're just getting started.
Key Takeaways
• Assess the current pergola's structure, size, and location to determine the scope of the remodel and create a budget accordingly.
• Choose a pergola design that complements the surrounding environment, considering factors like climate, sunlight, and soil type.
• Select materials that fit the desired look and functionality, such as wood, vinyl, aluminum, composite, or fiberglass, and consider factors like cost and durability.
• Plan for functionality by incorporating features like seating, lighting, and accessories that fit the intended use of the pergola, such as outdoor dining or lounging.
• Ensure a smooth remodel by verifying local building regulations, obtaining necessary permits, and preparing the site before construction begins.
Planning Your Pergola Design
As we begin planning our pergola, we need to take into account the size and location of this outdoor structure to assess the design possibilities based on our space and needs.
We want to create a functional and aesthetically pleasing outdoor space that caters to our lifestyle and preferences. To achieve this, we need to contemplate the location of our pergola and how it will interact with the surrounding environment. We should ponder the climate, sunlight, and soil type to select plants that will thrive in our outdoor space.
Effective planning is key to creating a cohesive look and ensuring our pergola serves its purpose. We should consult with a landscape designer to get expert advice on how to create cozy sitting areas, playgrounds, or lawns within our outdoor space.
Types of Pergola Structures

As we explore the world of pergola structures, we're excited to examine the various types that can elevate our outdoor spaces.
From gabled roof pergolas that add a touch of classic charm to arched top designs that bring a sense of elegance, we'll explore the unique characteristics of each style.
Next, we'll take a closer look at column styles that can add a pop of personality to our pergola design.
Gabled Roof Pergolas
We often choose gabled roof pergolas for their timeless charm and functional advantages, which make them a popular choice for enhancing outdoor spaces. These traditional pergola structures feature a sloping roof with two sides meeting at a ridge, providing a classic look that complements any outdoor setting.
One of the significant benefits of gabled roof pergolas is their ability to provide better rain and snow runoff compared to flat roofs, ensuring the structural integrity of our outdoor space. This design also allows for increased air circulation and ventilation, making them ideal for creating a comfortable and inviting atmosphere.
As we explore the Ultimate Guide to Pergola, it's essential to consider the functional benefits of gabled roof pergolas, which make them a popular choice for homeowners. By incorporating a gabled roof pergola into our outdoor space, we can create a beautiful and functional area that's perfect for relaxation and entertainment.
With their classic appeal and practical advantages, it's no wonder gabled roof pergolas remain a popular choice for outdoor remodeling projects.
Arched Top Designs
Beyond traditional flat-top designs, arched top pergolas bring a touch of sophistication to outdoor spaces with their elegantly curved rooflines. We love how these structures add architectural interest and visual appeal to our outdoor areas.
The arched top design provides a softer, more graceful aesthetic compared to traditional flat-top pergolas, making them a great choice for those seeking a unique look. One of the best benefits of arched top pergolas is the additional shade and protection they offer.
The curved roof design provides a sense of enclosure, making outdoor spaces feel cozier and more inviting. Plus, the distinctive aesthetic of arched top pergolas is sure to elevate our outdoor spaces, making them perfect for entertaining or relaxation.
When considering a pergola remodel, we highly recommend incorporating arched top designs for a sophisticated and elegant look. With their curved roof design, arched top pergolas are sure to bring a touch of elegance to any outdoor space, making them a great choice for homeowners looking to upgrade their outdoor areas.
Column Styles
When selecting the perfect pergola design, choosing the right column style is essential, as it sets the tone for the entire structure and can greatly impact the overall aesthetic of our outdoor space.
We want to choose the right column style that complements our outdoor decor and personal taste. Traditional pergola columns include Tuscan, Doric, Ionic, and Corinthian styles, which evoke a classic and timeless feel.
On the other hand, modern pergola designs feature sleek and minimalist column structures that exude a sense of sophistication. We can also customize our column styles to match the overall design theme of our pergola.
Round, square, tapered, or fluted columns can be used to enhance the pergola's aesthetic. The materials we can choose from are just as varied, ranging from wood, fiberglass, aluminum, to composite materials.
With so many options available, we can easily find the perfect column style that fits our vision and budget. By considering these factors, we can create a stunning pergola that becomes the focal point of our outdoor space.
Choosing the Right Materials
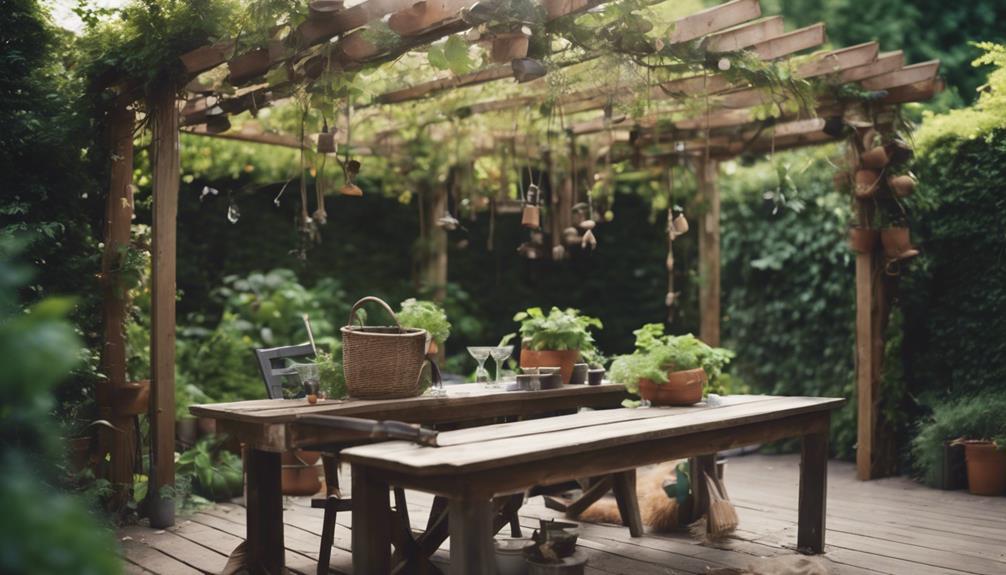
As we start building our dream pergola, selecting the right materials is essential for achieving the desired look and functionality. We need to choose materials that fit our budget, climate, and personal style.
When deciding on materials, we've several options to ponder. For a traditional look, we might choose wood, which can cost between $2,000-$5,000, depending on the type of wood.
Vinyl is another option, offering low maintenance and resistance to decay and insects, with a price range of $3,000-$5,000. Aluminum pergolas are durable and require minimal upkeep, costing between $3,000-$6,000.
If we're looking for a modern aesthetic, composite materials might be the way to go. Additionally, we could opt for fiberglass, which offers a sleek finish and comes with a higher price tag of $4,000-$8,000.
Pergola Location and Placement
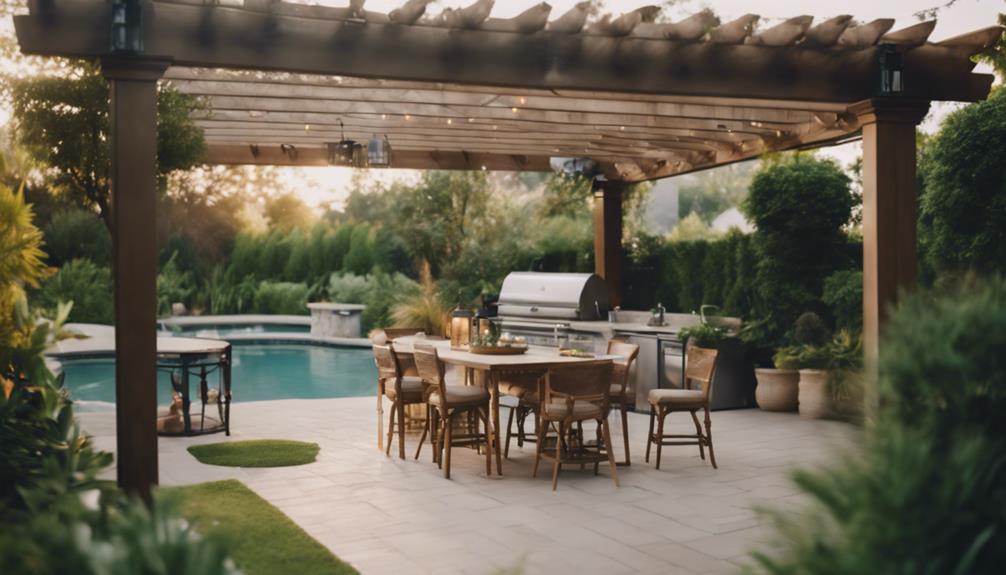
We must carefully ponder the location and placement of our pergola to guarantee it serves its intended purpose and complements our outdoor space. When selecting the right location, we need to take into account factors such as the sun's path and wind direction in our backyard. This ensures our pergola receives the right amount of sunlight and remains stable.
We should also assess the area in our yard to determine the ideal placement, taking into account our goals for the pergola, such as extending living space or providing shade. Proper placement can enhance our outdoor space and create a comfortable and inviting area for relaxation or entertainment.
To guarantee stability, we should take precise measurements using tools like StruXures PergolaX and Professional Building Services. By doing so, we can identify the perfect size and location for our pergola, aligning with our architectural features and overall aesthetic.
Designing for Functionality

Designing a pergola that serves its purpose requires careful consideration of its intended use, whether we're creating an intimate dining area, a lounging oasis, or an entertainment hub. As we plan our pergola, we need to think about how we'll be using the space. Will we be hosting outdoor dining parties or relaxing with a good book? This will help us choose the right materials, accessories, and features to make our pergola a functional addition to our outdoor space.
| Intended Use | Key Features | Benefits |
|---|---|---|
| Outdoor Dining | Tables, benches, lighting | Protection from the elements, comfortable seating |
| Lounging Oasis | Soft seating, shade, greenery | Relaxing atmosphere, connection to nature |
| Entertainment Hub | Sound system, bar, seating | Fun, social atmosphere, extended living space |
| Intimate Gathering | Fire pit, seating, greenery | Cozy atmosphere, connection to nature |
| General Use | Adjustable louvers, screens, seating | Versatility, protection from elements |
Selecting the Perfect Plants

By considering our climate, sunlight, and soil type, we can handpick the perfect plants to thrive in our pergola, ensuring a lush and inviting atmosphere.
When selecting plants for our pergola remodel, we should prioritize low-maintenance options that fit our care preferences. This way, we can enjoy the beauty of our outdoor space without breaking a sweat.
By choosing plants that align with our care habits, we're more likely to nurture them properly, ensuring their health and vigor. The right plants can greatly impact the aesthetics and maintenance of our pergola area.
We should select plants that thrive in our local climate and soil type, reducing the need for excessive watering or pruning. By doing so, we'll create an outdoor oasis that's both beautiful and easy to maintain.
With our selected plants, we can sit back, relax, and enjoy the fruits of our labor. By making informed plant choices, we'll be well on our way to creating a stunning pergola that's perfect for relaxation and entertainment.
Outdoor Lighting Essentials

A well-lit pergola can be transformed into an enchanting retreat, perfect for evening gatherings or romantic dinners, with the strategic placement of outdoor lighting. We've found that outdoor lighting enhances the ambiance and usability of pergolas, making them perfect for nighttime use. To create a warm atmosphere, we recommend using layered lighting, which creates different moods and atmospheres in the outdoor space.
| Lighting Type | Benefits | Placement Ideas |
|---|---|---|
| Solar-Powered Lights | Eco-friendly, energy-efficient | Along walkways, stairs, or around seating areas |
| String Lights | Creates a warm, cozy ambiance | Wrapped around beams or draped across the pergola |
| Spotlights | Highlights key features of the pergola design | Focused on architectural details or plants |
| Pathway Lights | Guides guests through the outdoor space | Along pathways, stairs, or around seating areas |
Pergola Installation Checklist

We've set the ambiance with outdoor lighting, and now we're ready to tackle the nuts and bolts of bringing our pergola to life, starting with a thorough installation checklist.
Before we begin, we'll need to verify local building regulations and obtain the necessary permits to avoid any delays or complications. It's also crucial to confirm compliance with zoning codes to guarantee a smooth installation process.
Next, we'll prepare the site by clearing vegetation, marking the pergola perimeter, and using concrete footings or anchors for stability. Then, we'll construct the pergola by securely installing posts, attaching support beams and rafters, and following design plans for proper assembly.
As we build, we'll add decorative elements to enhance the beauty and functionality of our pergola. By following this checklist, we'll be able to enjoy our new outdoor space in no time.
With careful planning and execution, our pergola installation will be a success, and we'll be able to relax and enjoy the fruits of our labor.
Maintaining Your Pergola
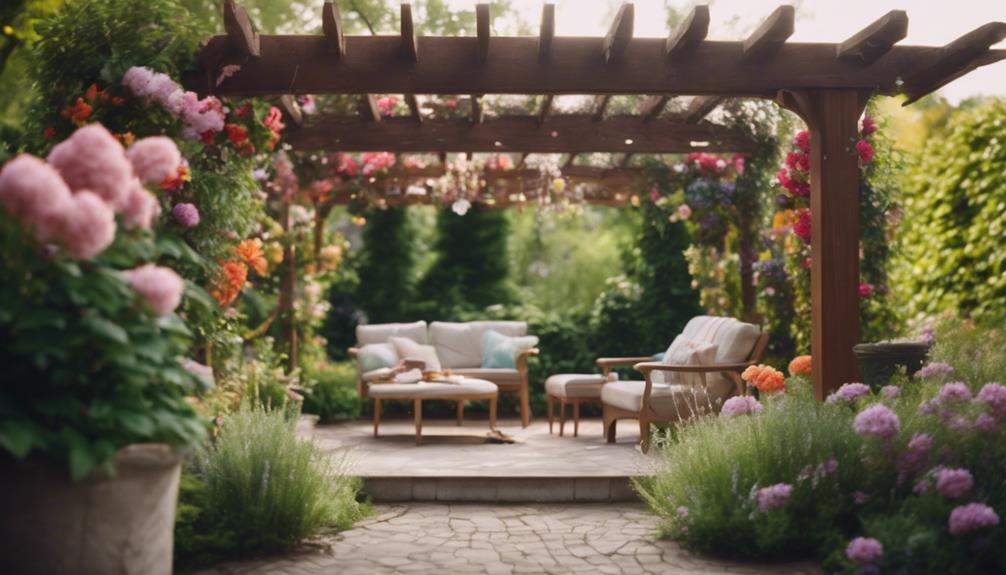
Now that our pergola is built, let's focus on preserving its beauty and structural integrity through regular maintenance. We understand that maintenance requirements can be overwhelming, but trust us, it's worth the effort.
To start, we clean our pergola structure with a mild soap solution to remove dirt and debris. We also make it a habit to tighten any loose hardware or connections to guarantee stability and safety.
Every 2-3 years, we apply a fresh coat of paint or stain to protect the wood from weather damage. Additionally, we trim back any overgrown vines or plants to prevent damage and maintain the pergola's structural integrity.
Finally, we inspect our pergola regularly for signs of rot, mold, or pest infestations, and address them promptly to prevent further damage. By following these simple steps, we can enjoy our pergola for years to come.
Frequently Asked Questions
What Is the Golden Ratio for a Pergola?
When designing a pergola, we aim for a visually pleasing structure. The golden ratio comes into play here.
We follow a 1:1.6:2.6 ratio for the width, height, and depth, creating a balanced and harmonious design. This timeless principle guarantees our pergola's proportions are optimized for aesthetic appeal and symmetry.
How Do I Make My Pergola Look Pretty?
We want our pergola to look pretty, and we're not alone! To achieve that, we incorporate climbing plants like wisteria or jasmine for a natural touch.
We add string lights or lanterns for a cozy ambiance in the evenings.
Hanging curtains or outdoor fabric panels add color and texture.
Does a Pergola Add Value to Property?
We've got a question on our minds: does a pergola add value to our property?
The answer is a resounding yes! A well-designed pergola can increase our property value by up to 20%. It's an attractive feature that enhances curb appeal, creating an appealing outdoor living space that potential buyers love.
Quality construction and design can greatly boost our property's value, making it more desirable to buyers and increasing its resale value.
What Is the Best Wood for an Outdoor Pergola?
As we step into the great outdoors, we crave a haven that's both beautiful and durable.
When it comes to choosing the best wood for an outdoor pergola, we're spoiled for choice. Cedar, with its natural resistance to decay and insects, is a top contender.
Redwood, with its striking appearance, is another strong option.
If budget is a concern, pressure-treated pine or Douglas fir can provide a sturdy solution.
Conclusion
As we reflect on our pergola remodeling journey, it's amazing how a simple coincidence – stumbling upon an old gardening book – sparked a passion project that transformed our backyard oasis.
From planning to installation, we've covered it all. By following these guidelines, you'll create a stunning pergola that's both functional and beautiful.
Remember, with careful planning and attention to detail, your outdoor space can become a serene retreat that brings joy for years to come.
- About the Author
- Latest Posts
Introducing Ron, the home decor aficionado at ByRetreat, whose passion for creating beautiful and inviting spaces is at the heart of his work. With his deep knowledge of home decor and his innate sense of style, Ron brings a wealth of expertise and a keen eye for detail to the ByRetreat team.
Ron’s love for home decor goes beyond aesthetics; he understands that our surroundings play a significant role in our overall well-being and productivity. With this in mind, Ron is dedicated to transforming remote workspaces into havens of comfort, functionality, and beauty.
-

 Vetted7 days ago
15 Best Printers of 2024: Top Picks and Expert Reviews
-
 Vetted1 week ago
15 Best Tile Sealers for Long-Lasting Protection and Shine
-

 Vetted2 weeks ago
15 Best Smelling Floor Cleaners That Will Leave Your Home Fresh and Inviting
-

 Vetted18 hours ago
14 Best Lawn Tractors of 2024 – Ultimate Guide for Your Yard Maintenance
-

 Vetted2 weeks ago
14 Best Power Scrubbers for Showers That Will Transform Your Cleaning Routine
-

 Vetted4 days ago
15 Best Evergreen Plants for Shade Gardens: A Complete Guide
-

 Vetted4 days ago
15 Best LED Dimmer Switches With No Flicker: Ultimate Guide for a Flicker-Free Lighting Experience
-

 Mardi Gras Decoration6 days ago
What Do the Symbols of Mardi Gras Mean?


