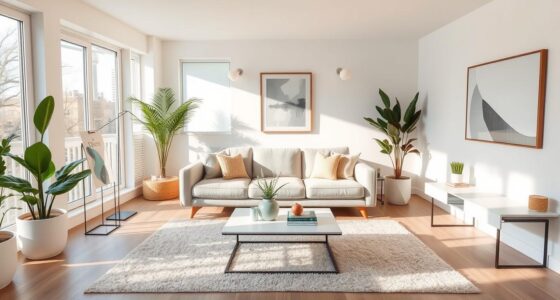
Hanging studio decor frames can elevate your space's look effortlessly. Start by choosing the right frames and hanging hardware; lightweight frames work well with adhesive hooks, while heavier pieces need secure anchors. Measure and mark placements about 57 inches from the floor for ideal viewing. You can use painter's tape to visualize arrangements before you commit. Mix colors and styles for a more dynamic effect, like alternating wood tones or frame sizes. Finally, regularly check your hooks and make certain you're using the appropriate tools for installation. There's much more you can explore to create a stunning display!
Key Takeaways
- Choose the right frame style and size to complement your artwork for a cohesive look in your studio decor.
- Use painter's tape to outline frame sizes on the wall before hanging to visualize placement and spacing.
- Hang artwork at approximately 57 inches from the floor for optimal viewing and aesthetic appeal.
- Utilize appropriate hanging hardware, such as adhesive hooks for lightweight frames and wall anchors for heavier pieces.
- Regularly inspect hooks and maintain wall surfaces to ensure decor remains secure and visually appealing.
Choosing the Right Frames
Choosing the right frames for your studio decor can set the tone for your entire space. When you're picking hanging picture frames, consider various styles like Classicline for lightweight options, Trendsetter for a modern look, or Styleline if you're on a budget.
Aim for a cohesive appearance by mixing frame colors and materials; alternating black and white frames or different wood tones can enhance visual interest. Match the frame size to your artwork—larger pieces need sturdier frames, while smaller items shine in lighter options.
Don't overlook the finish; matte and glossy surfaces dramatically impact presentation. Finally, verify your frames have the right hardware for hanging based on their weight, using sawtooth hangers for larger frames and adhesive options for lighter ones. Incorporating different materials can also elevate the aesthetic appeal of your frames and overall decor.
Non-Damaging Hanging Methods
When it comes to hanging your studio decor without damaging your walls, there are several effective methods to evaluate.
These non-damaging hanging methods allow you to showcase your artwork while preserving your space. Here are some options to examine:
- Command Strips: Perfect for lightweight frames, they provide a clean finish and come in various sizes.
- Press-In Hooks: Ideal for heavier pieces, these create tiny holes and support up to 150 lbs without needing studs.
- Cork Walls: Great for frequent changes, they let you easily pin art while adding a unique design element.
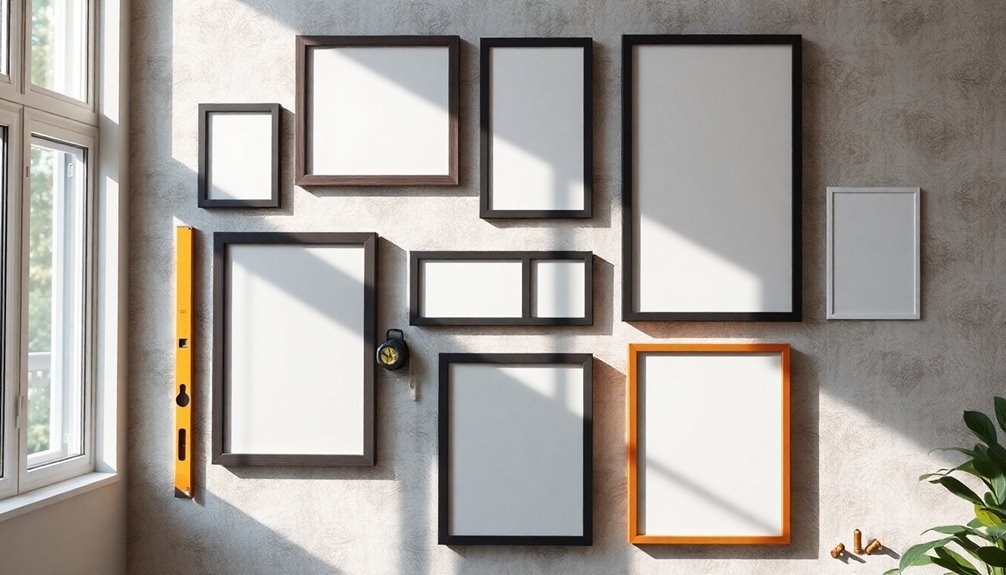
Essential Tools for Installation
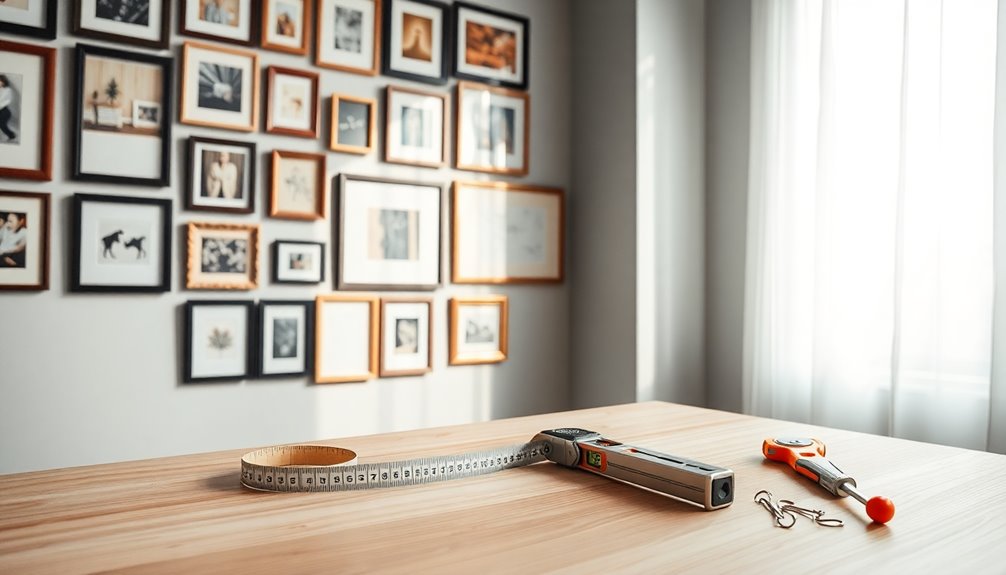
Having the right tools makes hanging your studio decor frames a breeze.
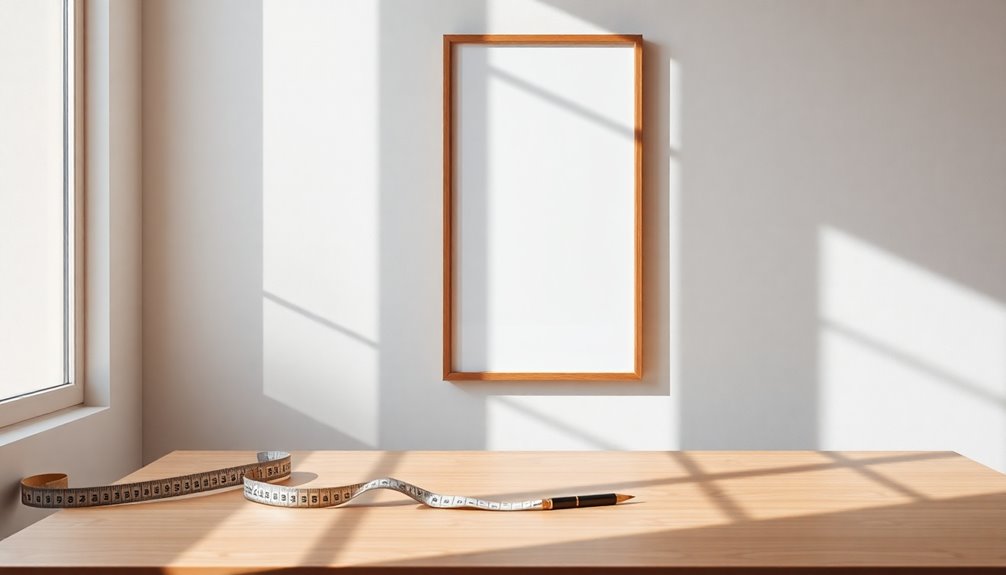
Start with essential tools like a tape measure to guarantee accurate spacing and a pencil for marking the wall spots. A hammer is necessary for driving in hooks or nails securely.
To keep your frames straight, don't forget a level tool—this prevents any uneven displays. A hardware kit simplifies the process, providing picture hooks, screws, and hanging wire.
If you're dealing with tougher wall materials, a drill will help you install hardware effectively.
For a little extra help, consider using painter's tape or kraft paper to visualize how you want to hang your picture before making any marks on the wall.
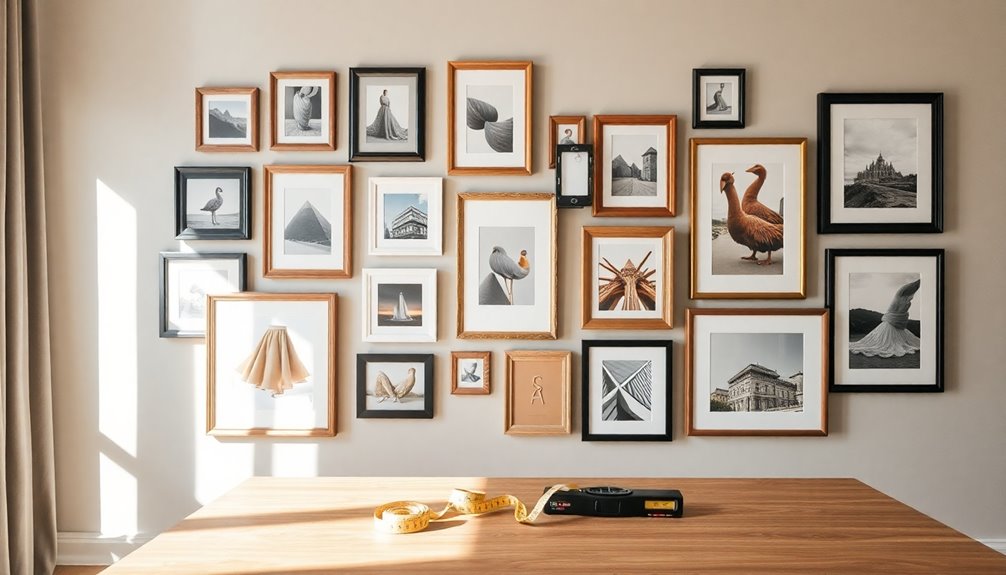
Measuring and Placement Techniques
To guarantee your studio decor frames are hung perfectly, it's vital to measure and plan your placement carefully. Aim for a height of about 57 inches from the floor to the center of your artwork for ideal viewing.
Here are some effective placement techniques:
- Use painter's tape or kraft paper to outline frame sizes on the wall for easy visual adjustments.
- Position the largest frame at the center or center bottom of your arrangement for balance.
- Employ a laser level or leveling tool app to guarantee precise alignment, especially on narrow walls.
Don't forget to add self-adhesive bumpers on the back of frames to prevent scuffing and keep everything level. Additionally, consider using bold colors to enhance the visual impact of your framed decor.
These small steps will elevate your decor's presentation!
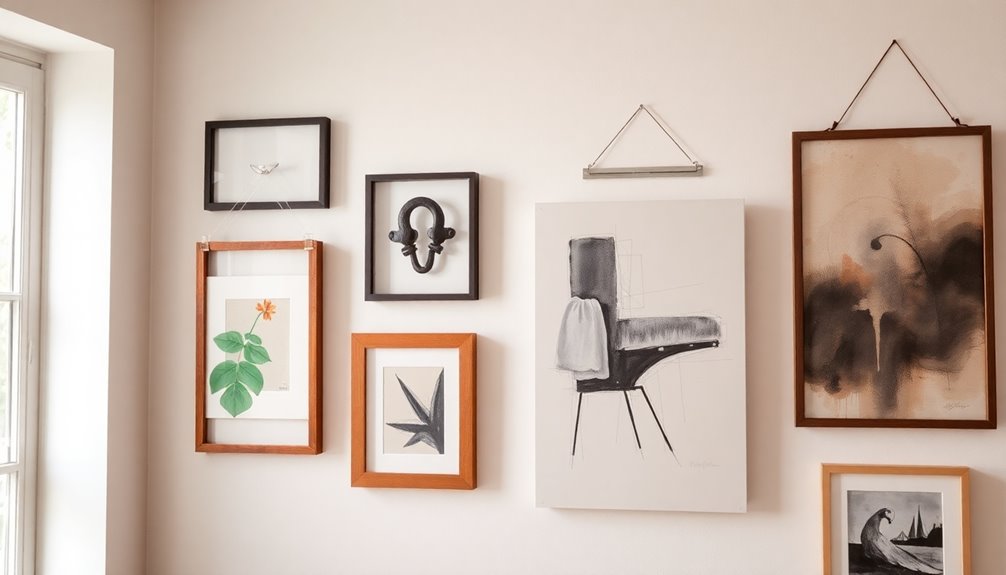
Mixing Styles and Colors
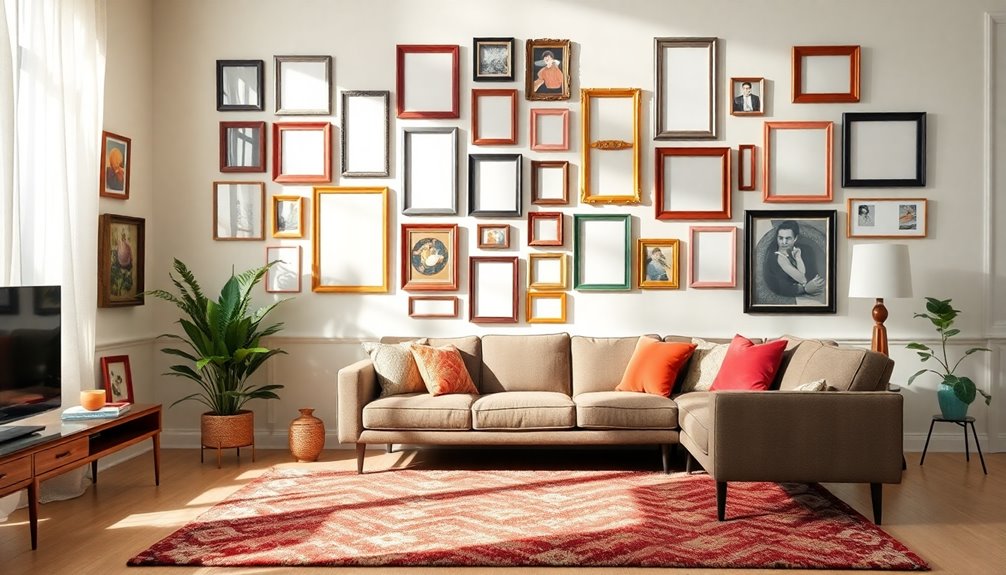
Mixing styles and colors in your frame selection can really elevate your decor.
By coordinating color palettes and varying frame sizes, you can create a dynamic yet cohesive gallery wall.
Don't forget to play with different materials to add depth and interest to your art display!
Color Coordination Techniques
While it might seem challenging to blend different frame colors and styles, doing so can greatly enhance your studio decor's character and visual appeal.
To master color coordination techniques for your gallery wall, consider these tips:
- Choose 2-3 complementary colors to maintain cohesion.
- Incorporate various wood tones and finishes for a dynamic look.
- Alternate between black and white frames to add depth.
Additionally, consider incorporating natural materials like wood and stone to resonate with a farmhouse aesthetic.
Frame Size Variations
Creating an enchanting gallery wall involves embracing frame size variations to enhance visual interest. By mixing small, medium, and large frames, you'll add depth to your display.
Choose a color palette of 2-3 complementary shades, like black, white, and natural wood tones, for a cohesive yet diverse look. Incorporate various frame styles—classic wood, modern metal, and eclectic vintage—to infuse character into your decor.
Keep a consistent theme, such as nature or abstract art, to unify the display while showcasing your individuality. Group frames of similar widths or orientations, like portrait or landscape, to streamline the visual flow.
Additionally, consider incorporating natural materials like wood to enhance the overall aesthetic and promote a tranquil atmosphere within your space.
With these tips, your gallery wall will be both stylish and enchanting!
Material Contrast Ideas
To elevate your gallery wall further, consider the impact of material contrast. Mixing different frame colors and styles can transform your decor into a striking visual display.
Here are some ideas to inspire you:
- Combine sleek metal frames with warm wooden ones for a sophisticated look.
- Mix bold black and white frames with natural wood tones to create dynamic contrast.
- Use a limited palette of 2-3 complementary colors to maintain cohesion.
Maintenance and Safety Tips
To keep your studio decor safe and secure, regularly inspect your hooks and frames for stability.
Before hanging, make certain the wall's clean to guarantee strong adhesion with adhesive hooks.
Also, test the weight capacity of your hooks by starting with lighter items before moving on to heavier frames.
Regular Hook Inspections
While the beauty of your studio decor frames can enhance any space, ensuring their safety through regular hook inspections is essential.
Make a habit of checking your hanging hooks every few months to maintain stability and prevent accidents.
Here are some key points to remember:
- Inspect hooks for signs of wear or loosening.
- Test hooks with lighter items to confirm they can support heavier frames.
- Look for wall peeling or damage around hooks that could affect adhesive strength.
Wall Preparation Techniques
Before you hang your studio decor frames, it's crucial to prepare your wall properly to guarantee a secure and lasting display. Start by dusting the surface to enhance adhesion for hooks or strips, preventing damage to the paint. Wait at least one hour for adhesive hooks to set before hanging, guaranteeing a strong bond. Regularly inspect your hanging setups for safety and stability, making sure everything is secure.
| Tip | Details |
|---|---|
| Clean the Wall | Dust for better hook adhesion |
| Wait for Adhesive Set | Allow one hour before hanging |
| Use Bumpers | Prevent wall scuffs and guarantee level |
Safe Weight Distribution
Ensuring safe weight distribution is essential when hanging studio decor frames, especially for larger pieces. Using multiple hooks helps distribute the weight evenly, preventing tilting or falling.
Here are some tips to keep in mind:
- Always anchor hooks into wall studs for frames over 20 pounds.
- Regularly inspect the stability of hung frames and the condition of the hooks.
- Test hooks with lighter items before hanging valuable art.
Avoid overloading adhesive hooks beyond their weight limits, as indicated on the packaging.
Frequently Asked Questions
How Do You Hang Studio Decor Frames?
To hang studio decor frames, start by choosing the right hanging method—like hook-and-loop fasteners or adhesive hooks—to avoid wall damage.
Measure and mark the ideal height, around 57 inches, for an eye-catching display. Use a tape measure and level to guarantee your frames are straight and properly aligned.
Consider the weight of the frames and choose appropriate hardware.
Finally, test the hooks with lighter items to confirm stability before hanging your decor.
What Is the 57 Rule for Hanging Pictures?
The 57 Rule for hanging pictures suggests you should position the center of your artwork at about 57 inches from the floor. This height aligns with average adult eye level, creating a visually appealing arrangement.
When you're working with multiple pieces, center the entire grouping around this mark rather than focusing on individual elements. Following this guideline enhances the overall aesthetic of your display, making it more engaging and accessible for viewers.
What Is the 2/3 Rule for Hanging Pictures?
When you're aiming for a stunning display, you want balance, you want harmony, and you want to create a connection with your space.
The 2/3 rule for hanging pictures helps you achieve this. Position the center of your artwork about two-thirds up the wall, aligning it with average eye level.
This method not only enhances visual appeal but also creates a cohesive look, especially when arranging multiple pieces together.
How Do You Hang a Frame Nicely?
To hang a frame nicely, start by measuring about 57 inches from the floor to guarantee it's at eye level.
Use sturdy hanging hardware, like D-rings or sawtooth brackets, to keep the frame secure.
Before you make any holes, outline the frame's size with painter's tape for a clear visual.
Once hung, check stability regularly and add self-adhesive bumpers to keep it level and protect your walls from scuffs.
Conclusion
Hanging your studio decor frames can be as satisfying as putting the final piece in a puzzle. By choosing the right frames and using non-damaging methods, you'll create a stylish display that reflects your personality. Remember to measure carefully and mix styles for an eye-catching look. With these tips, your space will feel more inviting and vibrant. So grab your tools, get creative, and transform those blank walls into a stunning gallery of your own!