
You can easily set up fork and spoon wall decor to add a stylish and personal touch to your kitchen. Start by gathering supplies like an unfinished wood cutlery set, a wood panel sign, and complementary paints. Frame your items for visual appeal and protection. Paint the utensils and allow them to dry thoroughly. When assembling, measure and mark for precise placement. Use jute twine for a decorative touch, and secure the cutlery with hot glue. Finally, hang your masterpiece using small eye hooks or Command Strips for a clean look. You'll discover even more creative tips along the way!
Key Takeaways
- Select a suitable frame that complements your kitchen decor style and includes protective glass for durability and easy cleaning.
- Paint the cutlery using complementary colors, such as FolkArt Metallic Antique Copper, for an elegant finish and added depth with Waverly Antique Wax.
- Arrange the utensils on a wood panel, using jute twine for decoration, and secure them with hot glue for a polished look.
- Employ dynamic display techniques, such as staggered arrangements and varying angles, to create visual interest in your wall decor.
- Choose appropriate hanging methods like small eye hooks or Command Strips to securely mount your fork and spoon display on the wall.
As an affiliate, we earn on qualifying purchases.
Project Inspiration

What sparks your creativity when it comes to home decor? For many, it's those little treasures tucked away in craft aisles or nostalgic memories.
Imagine finding an unfinished wood cutlery set that reminds you of a family member's giant fork and spoon. That connection can inspire a stylish wall decor piece that tells your story.
Incorporating inherited souvenir spoons adds a unique touch, turning simple items into meaningful decor pieces. With a bit of hot glue, you can bring these memories to life on your wall.
It's amazing how everyday items can evoke sentimentality while enhancing your space. So, let those sparks of inspiration guide you in crafting something truly special. Additionally, creating a well-organized space can lead to improved mental clarity, allowing you to focus on the joy of your decor project.
Required Supplies
To create your fork and spoon wall decor, you'll need a few essential materials.
Start with a wood panel sign, an unfinished cutlery set, and some recommended paints.
You can find everything you need at craft stores like Michaels and Hobby Lobby.
Essential Materials Needed
Creating a charming fork and spoon wall decor piece requires a few essential materials to bring your vision to life.
Start with a 16 x 20-inch wood panel sign as your base. You'll need an unfinished wood cutlery set, approximately 18 inches tall, to serve as the focal point of your design.
For painting, grab FolkArt Metallic Antique Copper for the cutlery, Waverly Antique Wax to add depth, and moss matte spray paint for the wood panel.
Essential tools include a small paintbrush, Gorilla brand hot glue for assembly, and jute twine to secure the cutlery to the board.
Additionally, consider using advanced insulation materials to enhance the overall aesthetic and thermal efficiency of your home decor.
With these materials, you're well on your way to crafting a stunning wall decor piece!
Alternative Supply Sources
While you can find supplies for your fork and spoon wall decor at various stores, Michaels and Hobby Lobby stand out as excellent alternative sources.
These craft stores offer a wide range of materials that can help you personalize your project.
- Wood panels for the perfect backdrop
- A variety of paint colors for customization
- Decorative items to enhance your design
Don't forget to check for seasonal sales or coupons at both stores, which can make your shopping experience even more budget-friendly.
If your local stores have limited options, consider their online shopping platforms to access a broader selection.
With these alternative sources, you'll easily find everything you need to create stunning wall decor!
Painting Process
When it comes to the painting process, you'll want to choose colors that complement your kitchen decor. Use effective application techniques to guarantee a smooth finish, and don't forget the finishing touches that will elevate your wall decor. Additionally, selecting calming color schemes can create a harmonious atmosphere that enhances your kitchen's overall aesthetic. Let's explore how to achieve the perfect look for your fork and spoon display.
Choose Your Paint Colors
How can you choose the perfect paint colors for your fork and spoon wall decor? Start by selecting a base paint color that complements your kitchen's aesthetic; this sets a solid foundation for your decor.
Next, use FolkArt Metallic Antique Copper for your cutlery, applying just one coat for an elegant metallic finish. If you're working with porous wood surfaces, opt for spray paint to guarantee an even coat.
- Experiment with different base colors and cutlery hues.
- Enhance depth with Waverly Antique Wax and wipe off excess for a polished look.
- Personalize your design to create a unique statement piece.
With these tips, your wall decor will shine!
Application Techniques Explained
With your chosen paint colors in hand, it's time to apply them effectively for a stunning finish.
Start by spraying your wood board with a paint suitable for porous wood to achieve an even coat that dries quickly.
For the cutlery, use FolkArt Metallic Antique Copper paint, applying just one coat for rich coverage.
To enhance the depth of the cutlery, use Waverly Antique Wax, wiping off any excess with a paper towel for a polished look.
Make certain your base paint color complements your kitchen decor, creating a cohesive design.
Additionally, using HEPA filtration can help maintain air quality in your kitchen while you work on your decor project.
Finally, allow all painted items to dry completely before moving on to assembly. This guarantees a secure and lasting finish for your wall decor.
Finishing Touches Overview
Finishing touches can elevate your fork and spoon wall decor from simple to stunning.
Start by painting the wood board with your favorite spray paint designed for porous surfaces, ensuring even coverage for a smooth base.
Next, apply FolkArt Metallic Antique Copper paint to the cutlery; one coat will do for full coverage. To add depth, use Waverly Antique Wax and wipe off any excess with a paper towel for a polished look.
Consider these tips:
- Personalize the base color to match your kitchen decor.
- Allow ample drying time between each step to prevent smudging.
- Enjoy the transformation as you watch your decor come to life!
With these steps, you'll achieve a professional finish for your project. Additionally, ensure you maintain filter efficiency in your home environment to enhance the overall atmosphere while enjoying your new decor.
Assembly Instructions

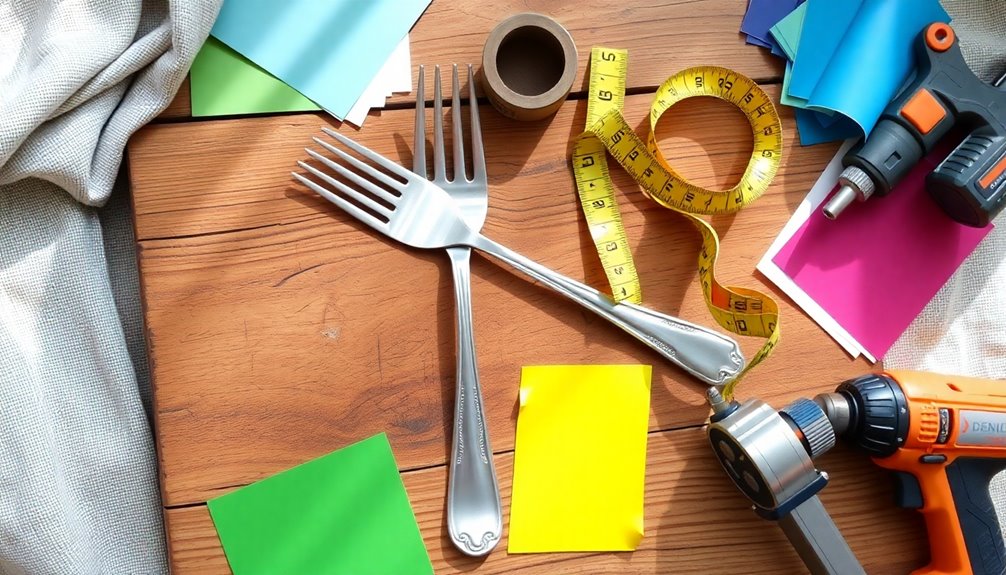
To create a beautiful fork and spoon wall decor, start by measuring and marking the center point of your 16 x 20-inch wood board.
Next, use a ruler to position the fork at the 4-inch mark and the spoon at the 12-inch mark for a balanced visual arrangement.
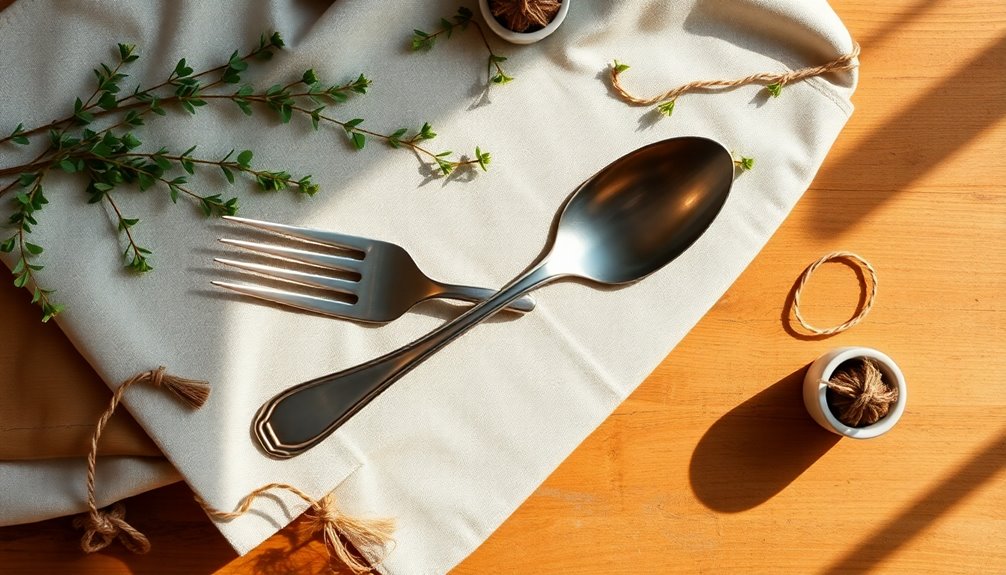
Before securing them, tie jute twine through the holes in the cutlery to add a decorative touch.
As you attach the fork and spoon, verify they're aligned properly by checking with the ruler to maintain level alignment.
Once everything looks great, apply hot glue to secure the cutlery onto the board.
Finally, allow the hot glue to dry completely before moving on to the next steps of your decor project.
Hanging Techniques

After securing the fork and spoon to your wood board, it's time to reflect on how you'll hang your new wall decor. Here are some effective hanging techniques to contemplate:
- Small Eye Hooks: Screw them into the sides of your utensils for a secure method.
- Soda Can Pull Tabs: Fashion these into hangers with hot glue for a non-damaging, removable solution.
- Thin Wire: Cut to your desired lengths for custom hanging solutions that offer flexibility.
You can also attach picture hangers to the curved parts of the utensils for added stability.
If you're working with lightweight items, Command Strips provide a clean look and are easy to remove without leaving marks.
Choose the method that fits your style and wall space best!
Creative Framing Ideas

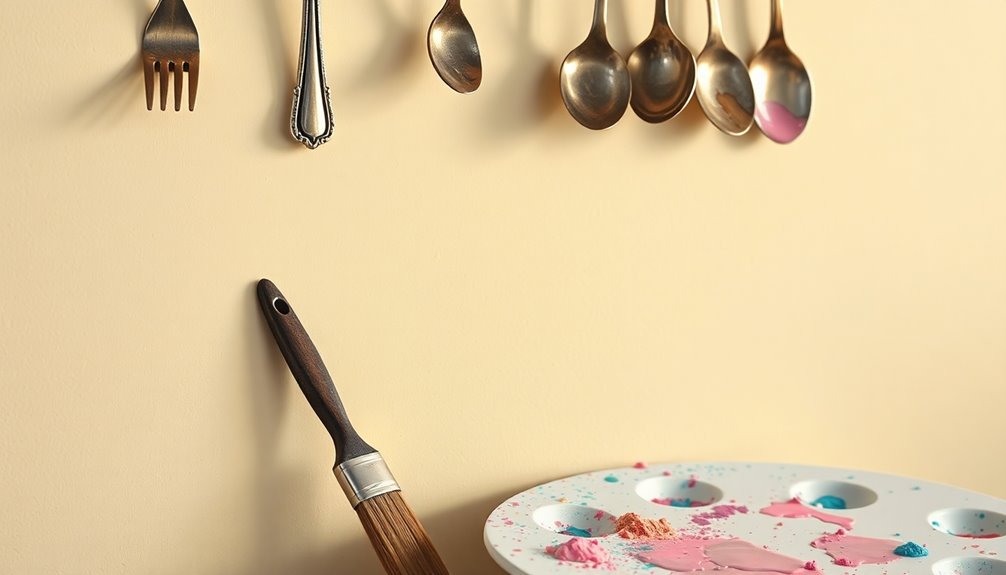
While you might think of utensils as simple kitchen tools, framing them creatively can transform them into stunning wall art. Placing forks and spoons inside a decorative frame elevates your wall decor, giving it a polished look.
Choose customizable backgrounds like patterned fabric or painted boards to enhance the visual appeal. Not only does framing protect your utensils from damage, but it also allows for easy mounting with various hanging options.
Consider staggered arrangements of utensils within the frame to create a dynamic display that draws the eye. Finally, select frames that complement your kitchen decor to guarantee a cohesive design, tying the entire room together beautifully.
Your kitchen will radiate charm with this unique touch!
Frequently Asked Questions
What Is the Proper Arrangement of Spoon and Fork?
When you're setting a table, remember that the fork goes on the left side of the plate, while the knife and spoon are on the right.
Make sure the knife blade faces the plate for safety and etiquette. Place the spoon to the right of the knife.
To help you remember, think of "F O R K" for the left and "K N I F E" and "S P O O N" for the right side.
How Do You Display Spoons and Forks?
To display spoons and forks, start by choosing a suitable method that complements your kitchen's style. You can use small eye hooks or soda can pull tabs to hang them securely.
Consider placing utensils in a decorative frame for a polished look. Stagger their arrangement for visual interest, and use Command Strips for a clean appearance.
Experiment with different hanging methods, like fishing line, to achieve a nearly invisible suspension that enhances your decor.
How Do You Place a Fork and Spoon When Done?
Picture your beautifully set table, sparkling utensils glinting in the soft light.
When you're finished with your meal, place your fork on the left side of your plate, its tines facing up.
On the right, lay your knife with the blade turned inward and the spoon next to it.
This arrangement not only looks polished but also guarantees a smooth shift for your server, enhancing the dining experience for everyone at the table.
Where Does the Spoon Go in a Place Setting?
In a place setting, you'll want to position the spoon to the right of the knife. This arrangement follows traditional dining etiquette and promotes safety, as the knife blade should face inward toward the plate.
If you're using multiple spoons, remember to place the larger soup spoon furthest to the right and the smaller dessert spoon closest to the knife.
Consistency in your utensil placement makes dining simpler and more enjoyable.
Conclusion
Now that you've transformed everyday utensils into a charming focal point, your wall decor tells a story of creativity and warmth—much like the tales shared over family dinners. As you admire your handiwork, remember that every fork and spoon holds the promise of connection, laughter, and memories. Embrace this unique art that not only decorates your home but also invites the spirit of togetherness, reminiscent of those cherished moments around the table.