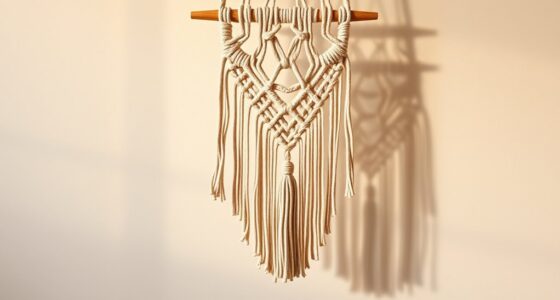
With a Cricut machine, you can quickly create beautiful wall decor that showcases your style. Start by designing in Cricut Design Space, using templates and adding your own text or graphics. Choose materials like vinyl, chipboard, or wooden panels for your projects. Cut your chosen designs, then apply using transfer tape for seamless placement on your walls. From vinyl decals to 3D pyramidal art and felt flower wreaths, the possibilities are endless! Ascertain everything adheres properly for a long-lasting display. Stick around, and you'll uncover even more creative ideas and techniques to elevate your DIY decor!
Key Takeaways
- Utilize Cricut Design Space to create custom designs for wall decor, incorporating personalized text and graphics.
- Choose suitable materials like heavy chipboard, cardstock, or wood veneer for your specific wall decor project.
- Follow the cutting and application process, ensuring proper blade selection and test cuts for accurate results.
- Explore specialized projects like vinyl wall decals, 3D pyramidal art, and felt flower hoop wreaths for creative wall decor options.
- Add finishing touches, inspect for bubbles, and clean surfaces before application for a polished and long-lasting display.
Designing Wall Art
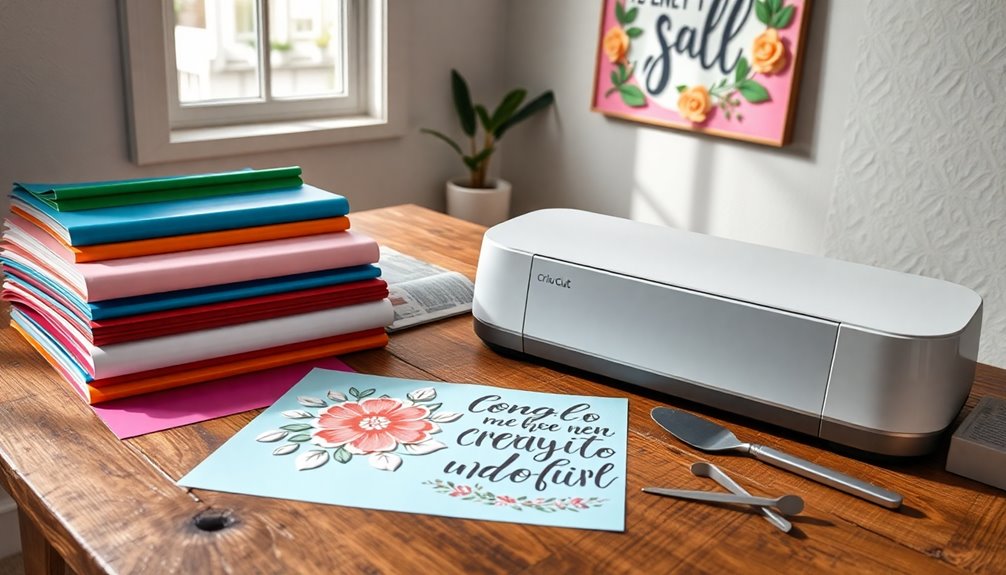
Designing wall art with your Cricut can be a fun and rewarding project. Start by opening your design file in Cricut Design Space and resizing it to fit your space. Choose the right material, like Heavy Chipboard or Cardstock, and switch to the appropriate blade, such as the Knife Blade for chipboard. If your design requires multiple layers, collaborate with others for seamless results. Next, apply vinyl to your chosen material and secure it to the Strong Grip Mat using masking tape. Position your machine correctly, ensuring the white wheels are on the right. Additionally, using Cricut Design Space, you can access pre-made templates and images to enhance your design options. Once the cutting is done, you'll have stunning pieces ready to assemble into beautiful wall art that reflects your style!
Creating Vinyl Wall Decals
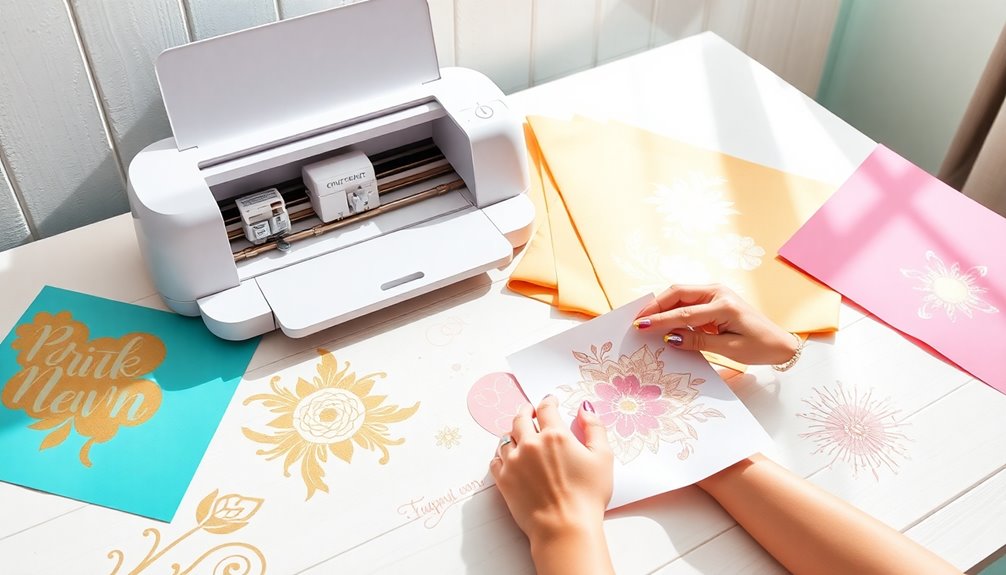
Whether you're looking to add a personal touch to your space or create a unique gift, creating vinyl wall decals is an exciting way to express your creativity. Start by choosing the right vinyl, like matte removable for temporary designs or glossy permanent for long-lasting options. Then, use Cricut Design Space to design your decal—select fonts, adjust sizes, and position your text or images. Additionally, ensure you have the necessary Cricut materials and tools for a successful project.
Using a design tool like a Content Management System can enhance your creative process by allowing for easier adjustments and storage of your designs. Once you've finalized your design, cut it using your Cricut machine, ensuring you follow the correct settings for your chosen vinyl. After cutting, carefully weed out excess vinyl and apply transfer tape for easy handling. Finally, clean your wall, measure for placement, and apply the decal, ensuring a smooth finish without air bubbles. Enjoy your stunning new decor!
Making 3D Pyramidal Art

Adding depth to your wall decor can take your creativity to the next level, and making 3D pyramidal art is a fantastic way to do just that. Start by designing your pyramid in Cricut Design Space, choosing materials like cardstock or chipboard. Resize your design as needed, then prepare it for cutting with the appropriate blade.
Once your material's loaded, let the machine cut the layers, keeping an eye on the progress. After cutting, stack the layers to form the pyramid, using adhesive to secure them. This type of wall art is not only a bold statement piece but also engages viewers with its depth.
Finally, pick a mounting option and decide where to display your masterpiece. Feel free to add personal touches, like lights or decorations, to make your 3D art uniquely yours!
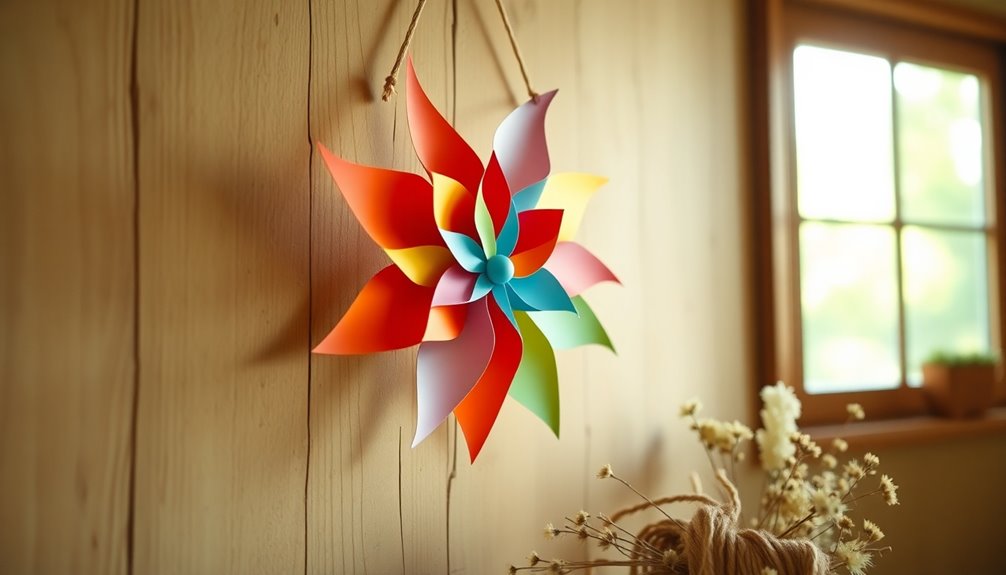
Felt Flower Hoop Wreath

Creating a felt flower hoop wreath is a delightful way to bring vibrant colors and textures into your home.
Start by using your Cricut Maker to cut various flower shapes from colorful felt. The rotary blade guarantees clean cuts, especially with thicker materials. Additionally, there are 50 free projects available to inspire your creativity.
Once you've cut your shapes, roll the petals into flowers and secure them with a hot glue gun. For added detail, use buttons as centers or create anemone centers with gray felt.
Choose an embroidery hoop or grapevine wreath as your base, and arrange your flowers and leaves, gluing them in place.
Finally, add ribbon or other embellishments to enhance your wreath's charm. Your handmade wall decor will surely catch everyone's eye!
Windmill Wall Hanging
Transform your space with a charming windmill wall hanging that captures rustic charm and creativity. Start by gathering your materials, including seven ceiling fan blades and a 6″ floral craft ring. Cut the blades to size using a jig saw and create a template for uniformity.
Once cut, spray paint the blades with Weathered Steel for a galvanized look, then add a Hammered Brown accent and some Rust Brown details. This project is not only budget-friendly, as you can create this decorative piece for under $20, but it also allows for customization in size to fit your decor needs. Incorporating natural materials into your decor can enhance the rustic charm of your home.
Next, glue paint stir sticks to the craft ring and attach the blades securely. Reinforce with duck tape and wood screws for stability. Finally, attach a faucet supply line for added detail. Hang your beautiful windmill in any room or on your porch to showcase your DIY skills!
Customizing Wood Panels
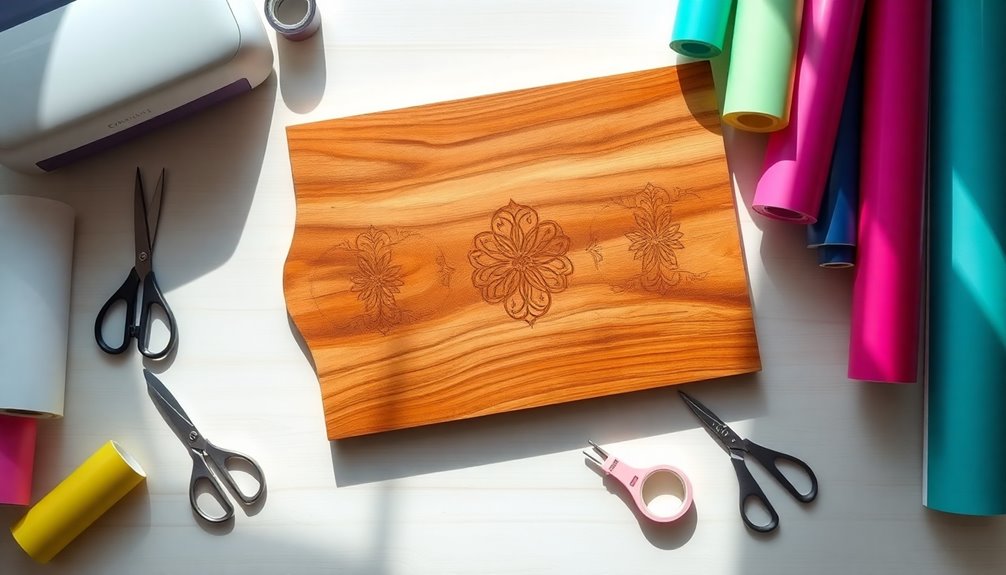
Custom wood panels can bring a personalized touch to your home decor, showcasing your unique style and creativity.
Start by selecting the right materials, like wood veneer for a clean cut and adhesive vinyl for your designs. In Cricut Design Space, create guidelines to size your design accurately, ensuring there's ample space around the edges. Additionally, ensure you have a Standard Grip Mat to help with cutting your materials effectively.
Once you've cut your stencil, apply it carefully to the wood panel, ensuring it adheres well. Don't forget to stain or paint the wood to enhance its texture.
Finally, use foam adhesive to attach any additional elements like yarn, securing them evenly. With these steps, you'll create stunning custom wood panels that reflect your personal flair!
Hexagon Patterns
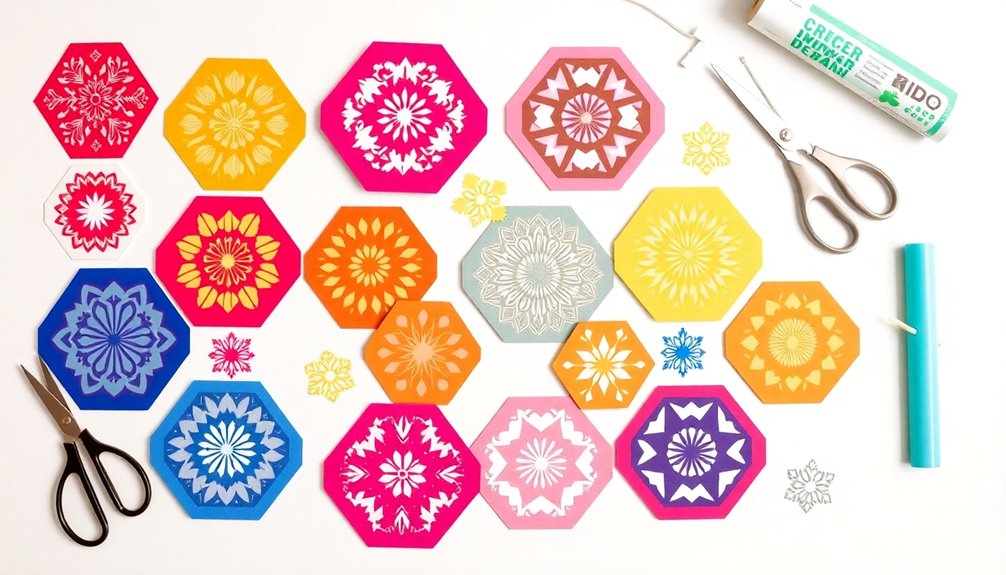
Hexagon patterns are a fantastic way to add visual interest to your wall decor.
Start by opening Cricut Design Space and selecting the Shapes icon to add a hexagon. Resize it to 2 inches to achieve a 1-inch side measurement. Duplicate the hexagons to create a rich pattern and arrange them in a flower design.
For cutting, use 200gsm cardstock or fabric scraps and guarantee the Linetype is set to 'Cut'. After cutting, you can create fun projects like funky honeycomb wall art or 3D pyramidal pieces. The Cricut Maker's adaptive tool system enhances your ability to cut intricate hexagon designs with precision.
Don't forget to explore Design Space for additional hexagon wall art projects, or combine hexagons with other shapes for a unique twist in your creations!
Vintage Mirror Project
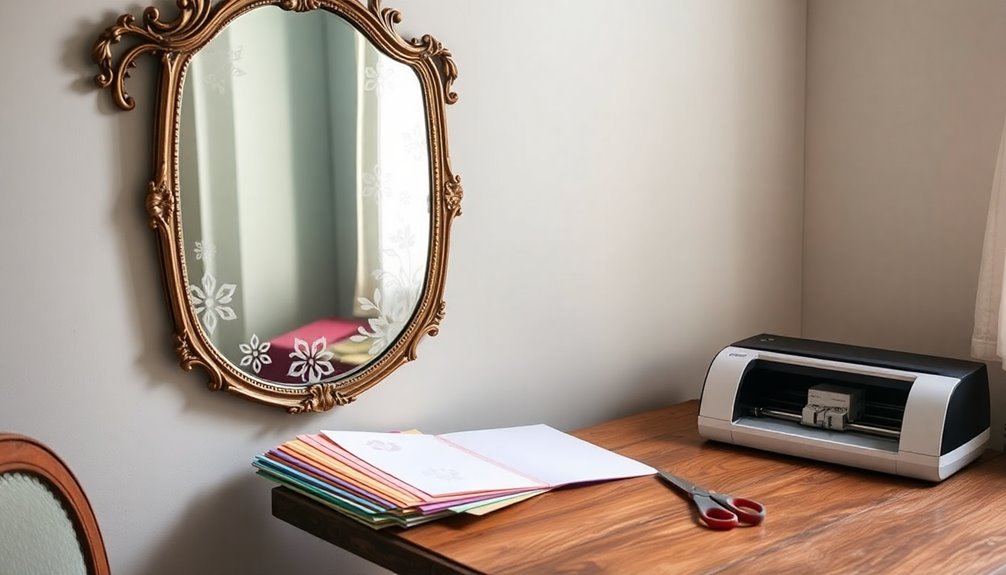
Creating a vintage mirror project can elevate your wall decor, giving it a unique and personal touch. Start by gathering your materials: a Cricut machine, vinyl, transfer tape, and tools. Open your design in Cricut Design Space and resize it as needed. Remember to mirror the image for proper image transfer on the mirror. Once everything's ready, load the cutting mat into the machine, select your vinyl, and cut the design.
After weeding out the negative space, clean your mirror thoroughly. Apply the transfer tape to the vinyl, align it on the mirror, and press firmly with a scraper tool.
Carefully remove the transfer tape, and inspect for bubbles. Finally, add a border if necessary, clean the mirror, and display your beautiful creation!
Frequently Asked Questions
What Types of Cricut Machines Are Best for Wall Decor Projects?
When choosing a Cricut machine for wall decor, consider the Cricut Joy for small projects or tight spaces.
If you're looking for versatility, the Cricut Explore Air 2 or Explore 3 can cut larger designs and a variety of materials.
For advanced projects, the Cricut Maker excels with its powerful cutting capabilities and material compatibility.
Each machine has unique features, so pick one that suits your specific wall decor needs!
Can I Use Regular Vinyl Instead of Smart Vinyl?
If you're tackling a terrific project, you can definitely use regular vinyl instead of smart vinyl.
Regular vinyl's versatile and works with any Cricut machine, but remember, it needs a mat.
While smart vinyl allows for seamless cutting, regular vinyl shines in intricate designs.
So, if you're focusing on details and creativity, regular vinyl's a solid choice for your crafting adventures.
Don't forget to reflect on your project's specific needs!
How Do I Clean My Cricut Cutting Mats?
To clean your Cricut cutting mats, start by using a scraper tool to remove larger debris.
For smaller bits, a lint roller works wonders.
If your mat needs a deeper clean, wash it with mild dish soap and warm water, scrubbing gently with a soft cloth.
Rinse thoroughly and let it air dry completely.
Remember to cover it with the protective sheet between projects to keep it cleaner for longer.
What Are the Best Adhesives for Wall Decor Projects?
When you're tackling wall decor projects, choosing the right adhesive is essential.
Self-adhesive vinyl works great on smooth surfaces, while textured substrates are perfect for rough walls.
If you want to add dimension, foam adhesive is your best friend.
For quick crafts, hot glue is reliable on various surfaces.
Make certain to take into account the surface type and desired finish to guarantee your decor sticks well and looks fantastic!
Can I Use My Cricut for Other Types of Crafts?
Absolutely, you can use your Cricut for a variety of crafts beyond wall decor!
It cuts materials like vinyl, paper, fabric, and even leather, allowing you to create everything from personalized t-shirts to intricate paper crafts.
You can also make unique gifts, party supplies, and educational tools.
With the right tools and blades, your Cricut can handle nearly any crafting project you throw at it, making it a versatile addition to your creative arsenal.
Conclusion
You've explored a variety of fun wall decor projects you can easily create with your Cricut. Did you know that personalized home decor can increase your home's value by up to 10%? By crafting unique pieces like vinyl decals or a felt flower wreath, you're not just expressing your style but also making a smart investment. So, gather your materials and let your creativity shine—your walls are waiting for your personal touch!