Decor
How to Use Wood Letter in Decor
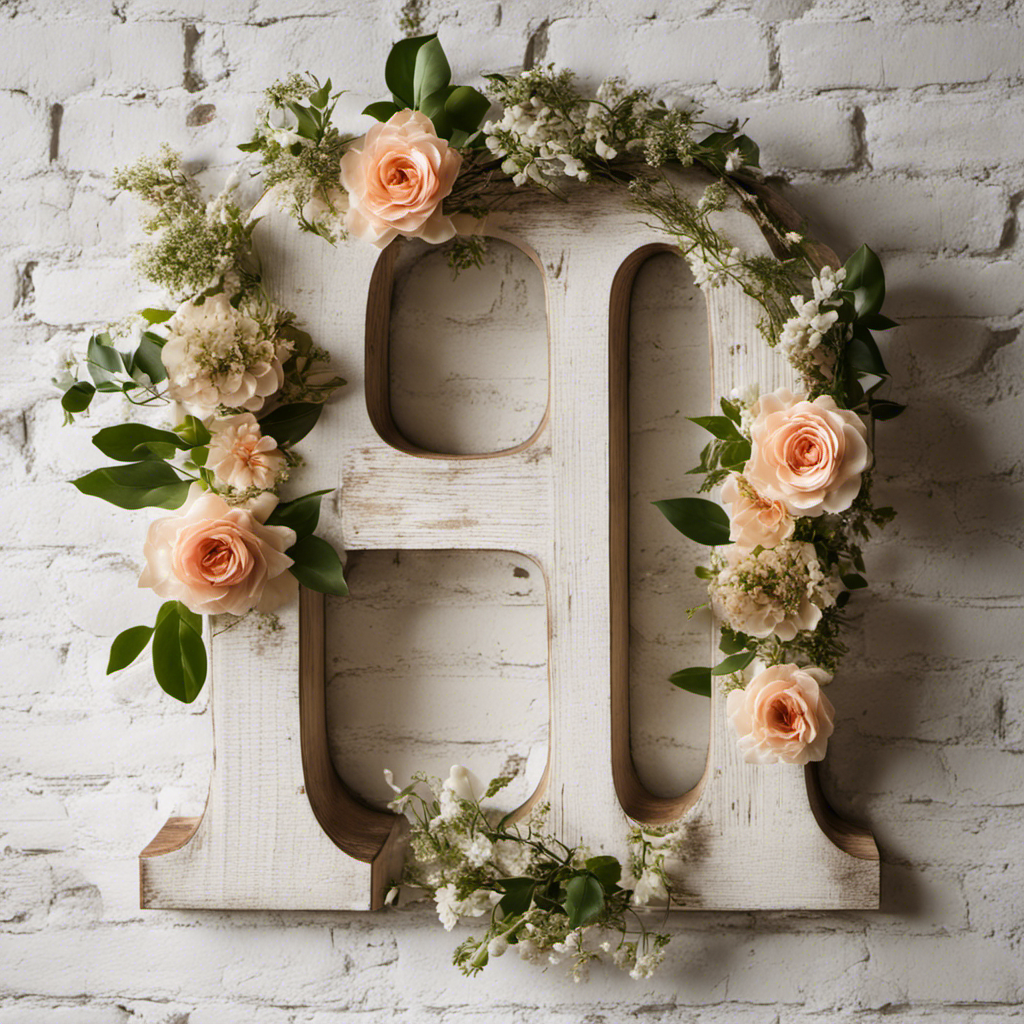
As they say, ‘Home is where the heart is.’ And what better way to infuse your space with warmth and personality than with the timeless beauty of wood letters?
In this article, I’ll share my expertise on how to use wood letters in your decor, from choosing the perfect ones to arranging them creatively. Whether you’re a novice or a seasoned decorator, get ready to elevate your space with the charm and versatility of wood letters.
Key Takeaways
- Incorporate wood letters as statement pieces in a gallery wall or on a shelf for a rustic and personalized touch.
- Use wood letters to label different areas or rooms in your house for a stylish and organized look.
- Prepare wood letters for painting or staining by sanding them to ensure a smooth surface and sealing them for protection and enhanced beauty.
- Arrange wood letters in different patterns or formations to add creativity to your space and personalize them with names, initials, or meaningful quotes for unique gifts.
Choosing the Right Wood Letters for Your Decor
I’m going to find the perfect wood letters to complement my decor.
When it comes to incorporating wood letters in home accessories, there are plenty of design ideas to choose from.
One option is to use large, bold wood letters as a statement piece on a gallery wall. This can add a rustic and personalized touch to any space.
Another idea is to spell out meaningful words or phrases using smaller wood letters and display them on a shelf or mantel. This can be a great way to showcase your values or add a motivational element to your home.
Additionally, you can use wood letters to label different areas or rooms in your house, adding a stylish and organized look.
Whatever design idea you choose, wood letters are a versatile and charming addition to any home decor.
Preparing Wood Letters for Painting or Staining
Before painting or staining, I’ll sand the wood letters to ensure a smooth surface. Sanding is an important step in the preparation process as it helps to remove any rough edges or imperfections. There are different sanding techniques that can be used, depending on the type of wood and the desired finish. For softer woods, like pine, a fine-grit sandpaper is recommended to prevent any damage. Harder woods, such as oak or mahogany, may require a coarser grit to effectively smooth the surface. After sanding, it’s important to seal the wood to protect it from moisture and give it a finished look. There are various sealing options available, including clear varnish, polyurethane, or wood stain. These options not only provide protection but also enhance the natural beauty of the wood.
| Sanding Techniques | Sealing Options |
|---|---|
| Fine-grit sandpaper for soft woods | Clear varnish |
| Coarse-grit sandpaper for hard woods | Polyurethane |
| Sanding block for even sanding | Wood stain |
| Sand in the direction of the wood grain |
Creative Ways to Arrange Wood Letters in Your Space
To add a touch of creativity to your space, try arranging the wood letters in different patterns or formations.
Wood letter crafts for kids are a great way to introduce them to the world of DIY projects while also fostering their creativity.
Personalized wood letter gifts are another popular option, allowing you to customize the letters with names, initials, or meaningful quotes.
You can arrange them on shelves or tables as standalone decor pieces, or incorporate them into larger art installations.
Get creative with the arrangements – stack them, stagger them, or even create a word puzzle by scattering the letters and challenging your guests to put them together.
Adding wood letters to gallery walls and shelves adds a unique and personalized touch to your space.
Adding Wood Letters to Gallery Walls and Shelves
I love how adding wood letters to gallery walls and shelves instantly adds a unique and personalized touch to my space. It’s amazing how a simple arrangement of letters can transform a plain wall into a stunning focal point.
Here are three ways I love to incorporate wood letters in my decor:
-
Arranging wood letters on mantels: By spelling out meaningful words or phrases on my mantel, I create a warm and inviting atmosphere in my living room. It’s a great way to showcase my personality and make a statement.
-
Incorporating wood letters in nursery decor: Wood letters are perfect for creating a personalized space for my little one. I can spell out their name or inspirational words, adding a touch of charm to the nursery.
-
Adding wood letters to gallery walls: When creating a gallery wall, wood letters are a fantastic addition. I can mix and match different sizes and fonts to create an eye-catching display that reflects my style.
By incorporating wood letters in these ways, I can infuse my space with character and make it truly my own.
Now, let’s talk about how to maintain and clean wood letters for longevity.
Maintaining and Cleaning Wood Letters for Longevity
One way I’ve found helpful in maintaining and cleaning my wood letters for longevity is by using a soft cloth and a gentle cleanser.
Proper care is essential in extending the lifespan of wood letters. When cleaning, it’s important to avoid harsh chemicals or abrasive materials that can damage the delicate surface of the wood. Instead, opt for a mild cleanser specifically designed for wood surfaces.
Gently wipe the letters with the soft cloth, being careful not to apply too much pressure. This will prevent scratching or chipping of the wood.
Additionally, it’s crucial to avoid exposing the letters to excessive moisture or extreme temperatures, as these can cause warping or cracking.
Frequently Asked Questions
How Do I Choose the Right Size of Wood Letters for My Decor?
When choosing the right size of wood letters for my decor, I consider the size of the space and the desired visual impact. I also research different paint or stain techniques to effectively customize the letters.
Can I Use Any Type of Paint or Stain on Wood Letters, or Are There Specific Products I Should Use?
I’ve found that using the right type of finishes for wood letters is crucial. There are different products out there, but I recommend using specific paints and stains designed for wood.
Are There Any Unique or Unconventional Ways to Arrange Wood Letters in a Space?
There are countless possibilities for unique arrangements and unconventional placements of wood letters in a space. You can experiment with different sizes, orientations, and even incorporate them into unexpected objects or furniture. Get creative!
How Can I Securely Attach Wood Letters to a Gallery Wall or Shelf?
To securely attach wood letters to a gallery wall or shelf, I recommend using small screws or adhesive strips. For a unique twist, you could also try suspending the letters from clear fishing line for a floating effect.
What Are Some Tips for Preventing Dust Buildup and Keeping Wood Letters Looking Their Best Over Time?
To prevent dust buildup and keep wood letters looking their best over time, I recommend regularly dusting them with a soft cloth or using a gentle brush. Applying a thin coat of furniture polish can also help maintain their appearance.
Can Wood Letters be Incorporated into Rustic Decor?
Yes, wood letters can definitely be incorporated into rustic decor ideas. They add a charming and natural touch to any space, whether it’s a cozy cabin or a country farmhouse. You can use them to spell out words or simply as decorative accents on shelves or mantels.
Conclusion
In conclusion, wood letters are a versatile and stylish addition to any decor. Not only can they be customized to fit your personal style, but they also add a unique touch to your space.
Did you know that incorporating wood elements into your interior design can reduce stress levels by up to 30%?
So, why not give wood letters a try and enjoy the benefits of a calming and beautiful environment.
- About the Author
- Latest Posts
Meet Katherine, the creative enthusiast at ByRetreat who infuses her boundless passion for design into every remote workspace she crafts. With an innate sense of creativity and an eye for unconventional beauty, Katherine brings a unique and inspiring perspective to the team.
Katherine’s love for design is infectious, and her ability to think outside the box sets her apart. She believes that true artistry lies in embracing a variety of styles and mixing them harmoniously to create captivating spaces. By combining different textures, colors, and patterns, Katherine weaves a tapestry of creativity that breathes life into each remote workspace.
Decor
Step-by-Step Guide for a Stunning Navy Accent Wall
Navy blue accent walls can elevate any room, but only if done correctly – discover the secrets to achieving a dramatic, sophisticated look.

We're about to turn an ordinary wall into a stunning navy accent wall. To start, we'll prepare the wall by cleaning it thoroughly and applying high-quality painter's tape to prevent bleed. Next, we'll choose the perfect navy shade, considering different characteristics and the room's aesthetic. With our tools and materials ready, we'll prime the wall if necessary and paint it to perfection using FrogTape and precise techniques. After that, we'll add decorative items and accent lighting to complete the look. From common mistakes to avoid to final touches, we'll cover it all to achieve a sophisticated, calming, and elegantly dramatic accent wall that elevates the entire room – and it's just the beginning of our design journey.
Key Takeaways
• Thoroughly clean and dry the wall before painting to ensure a smooth, even finish.
• Choose a navy shade that complements the room's aesthetic and design, and consider a primer for uniform color.
• Use high-quality painting tools, including painter's tape, rollers, and brushes, to achieve sharp lines and a professional finish.
• Paint in sections, using FrogTape for crisp lines, and remove tape when paint is still wet to prevent bleed-through.
• Add decorative items and accent lighting to complete the look, and perform regular maintenance to ensure the accent wall remains stunning.
Preparing the Perfect Accent Wall
We typically start by giving our wall a thorough cleaning, making sure it's completely dry before we begin painting to guarantee a smooth, even finish. This guarantees that our Navy blue accent wall turns out exactly as we envision it.
Next, we apply high-quality painter's tape, such as FrogTape, to create crisp, clean lines when edging off the accent wall. To achieve a uniform color and improve paint adhesion, we consider using a primer before painting.
We make sure to seal the edges of the painter's tape by pressing down firmly to prevent paint bleed and ensure sharp lines. By taking these essential steps, we set ourselves up for success and create a stunning accent wall that becomes the focal point of the room.
With a little patience and attention to detail, we can transform our space with a beautiful Navy blue accent wall that adds depth and visual interest to any room.
Choosing the Ideal Navy Shade
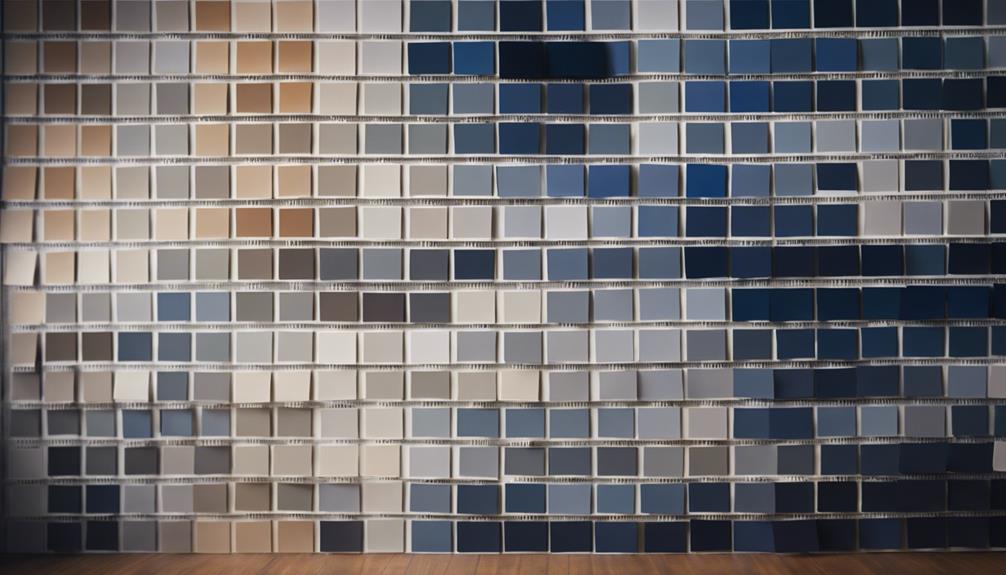
Selecting the perfect navy shade is essential, as it sets the tone for the entire room and can make or break the overall aesthetic. We comprehend that finding the ideal navy shade can be overwhelming, but don't worry, we're here to help! Let's break down some key factors to make your decision easier.
| Navy Shade Options | Characteristics |
|---|---|
| Compass (Devine collection) | Classic, timeless navy shade |
| Hague Blue (Farrow and Ball) | Rich, dark navy with green undertones |
| Alternative to Hague Blue | Minimal green undertones, ideal for a bold statement |
| Custom Navy Shade | Tailored to match your unique room decor |
When choosing the ideal navy shade, keep in mind that it's vital to take into account the overall aesthetic you want to achieve. A navy shade with minimal green undertones can create a bold statement, while a classic navy shade can add a touch of sophistication. By selecting the perfect navy shade, you'll be able to create a stunning accent wall that complements your room decor and enhances the visual appeal of your space.
Essential Tools and Materials Needed

To guarantee a professional-looking navy accent wall, we gather the necessary tools and materials that will help us achieve a flawless finish. We opt for high-quality paintbrushes in various sizes to ensure precise strokes and smooth edges. Additionally, we select rollers and paint trays that fit our specific painting needs.
Sandpaper is also essential for smoothening out the wall surface. For precision and efficiency, we rely on interior painting tools like painters tape to create sharp lines and prevent paint bleeds. Moreover, we choose durable and long-lasting materials like Sherwin-Williams paint and primer to ensure our accent wall withstands the test of time.
If we want to add an intricate design to our accent wall, we can use Mylar to create stencils. By selecting the right tools and materials, we set ourselves up for success and guarantee a stunning navy accent wall that exceeds our expectations.
Cleaning and Priming the Wall
Every inch of our wall surface needs to be spotless before we start painting, so we thoroughly clean it with a mild detergent and water to remove dirt and dust. This critical step guarantees a smooth painting process and a flawless finish.
To achieve this, we:
- Clean the wall surface with a mild detergent and water to remove dirt and dust
- Sand any rough areas or imperfections on the wall to ensure a smooth painting surface
- Apply a high-quality primer to the wall to help the paint adhere better and achieve a more uniform finish
- Allow the primer to dry completely according to the manufacturer's instructions before proceeding with painting
- Properly prep the wall to ensure the best results for our navy accent wall project
Painting the Accent Wall Perfection

With our wall properly prepped and primed, we're ready to tackle the fun part – painting our stunning navy accent wall to perfection.
We'll use a combination of quality paint and proper techniques to achieve beautiful, crisp edges with minimal effort. To start, we'll apply FrogTape Multi-Surface painters tape with PaintBlock Technology to guarantee sharp paint lines for a professional finish.
Next, we'll use a roller for the main wall area and a brush for edges and corners to achieve precise results. As we paint, we'll work in sections, using a 'W' or 'M' pattern to ensure even coverage.
To prevent bleed-through, we'll pull up the FrogTape when the paint is still wet. With careful planning and execution, our blue walls will feature sharp, clean lines that add depth and visual interest to the room.
Tips for Smooth, Even Coverage

As we progress with our stunning navy accent wall project, we'll want to make sure that our paint job looks flawless. To achieve this, we'll need to focus on preparing the surface, choosing the right paint, and applying thin coats.
Prepare the Surface
Before applying the navy accent wall paint, we need to make sure the surface is perfectly smooth and even, which is why preparing the surface is an essential step that demands attention to detail. A well-prepared surface guarantees that our navy accent wall turns out stunning and long-lasting.
To achieve this, we'll need to:
- Clean the wall surface thoroughly using a mild detergent to remove dirt and debris.
- Sand any rough areas or imperfections on the wall to ensure a smooth finish.
- Use a high-quality primer to establish a uniform base for the paint to adhere to.
- Repair any cracks or holes in the wall with spackling compound and sand them down for a seamless look.
Ensuring proper surface preparation is vital for achieving a professional and long-lasting navy accent wall.
Choose the Right Paint
We settle on a high-quality paint that guarantees smooth, even coverage on our navy accent wall, and Sherwin-Williams is a great option to contemplate.
For a flawless finish, we recognize the significance of primer in creating a solid base before applying the navy paint.
To make sure of even application, we use a combination of tools: a paint roller for larger areas and a paintbrush for edges and corners.
Allowing each coat of paint to dry completely before applying the next layer is vital for a professional finish.
We choose a navy paint shade with good opacity to minimize the number of coats needed for full coverage.
By doing so, we can achieve a rich, dark blue hue that adds depth and sophistication to our accent wall.
With the right paint and proper application techniques, we're confident that our navy accent wall will be a stunning focal point in any room.
Apply Thin Coats
We find that applying thin coats of paint is crucial for a smooth, even finish on our navy accent wall. This approach guarantees a professional finish, and we're excited to share our tips with you!
To achieve a stunning navy accent wall, follow these guidelines for applying thin coats:
- Multiple thin coats are better than one thick layer: This prevents drips and uneven application, ensuring a smooth finish.
- Thin coats allow for better control: You'll have more precision over the paint application, resulting in a more professional finish.
- Faster drying time: Thin coats dry faster between applications, expediting the painting process.
- Patience is key: Taking the time to apply thin coats results in a more polished look on your navy accent wall, enhancing the overall aesthetic.
- Avoid thick layers: These can lead to an uneven, unprofessional finish, which is the opposite of what we're aiming for!
Adding a Personal Touch With Decor
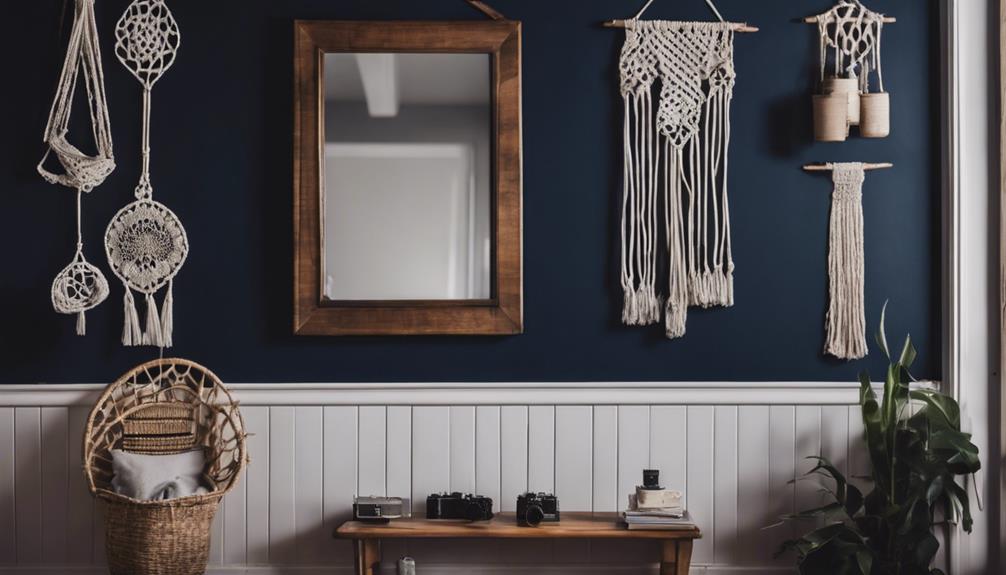
As we surround ourselves with the navy accent wall, we can infuse our space with personality by thoughtfully selecting decorative pieces that reflect our unique style. To add a personal touch, we can incorporate vintage items like trays and white jewelry bowls from Target to add charm and character to the room decor. We can also utilize decor pieces such as vases, candle holders, and figurines to complement the navy accent wall.
| Decor Item | Description | Style |
|---|---|---|
| Vintage Trays | Add charm and character | Vintage |
| White Jewelry Bowls | Add elegance and sophistication | Modern |
| Vases | Complement the navy accent wall | Classic |
| Candle Holders | Add warmth and ambiance | Rustic |
| Figurines | Add whimsy and personality | Whimsical |
Common Mistakes to Avoid

When it comes to starting a stunning navy accent wall, sidestepping common mistakes is important to achieving a cohesive and impactful look. As we begin on this design journey, it's vital to be aware of potential pitfalls that can detract from the overall aesthetic.
To guarantee a flawless feature wall, we must avoid the following common mistakes:
- Avoid choosing a wall with awkward angles or interruptions that disrupt the flow of the accent wall.
- Steer clear of selecting a wall with windows, doors, or other architectural features that may detract from the impact of the accent wall.
- Avoid using a wall with built-in shelving or other permanent fixtures that could clash with the accent color.
- Refrain from painting an accent wall in a room with conflicting color schemes or decor styles that may clash with the chosen color.
- Avoid neglecting proper wall preparation, such as cleaning, priming, and taping off edges, before painting the accent wall to secure a flawless finish.
Accent Wall Design Inspiration

As we explore accent wall design inspiration, we're excited to discover the endless possibilities that navy blue has to offer.
From sleek and modern to elegant and sophisticated, we'll examine the various ways in which navy accent walls can elevate a room's aesthetic.
Navy Accent Inspiration
Drawing inspiration from nature, art, or architecture, we can find unique navy accent wall design ideas that reflect our personal style. As we explore different sources of inspiration, we can create a stunning navy accent wall that adds depth and sophistication to our room's design.
Here are some ways navy accent walls can elevate our home decor:
- Versatility: Navy pairs well with a variety of decor styles, making it easy to incorporate into our existing home decor.
- Focal point: Navy accent walls can create a focal point in a room, anchoring the aesthetic and drawing the eye towards it.
- Calm atmosphere: Navy walls can evoke a sense of calm and coziness in a space, making it perfect for bedrooms and living rooms.
- Timeless look: Navy accent walls work well in bedrooms, living rooms, and home offices for a timeless look that never goes out of style.
- Design flexibility: Navy accent walls offer endless design possibilities, from bold and dramatic to subtle and understated.
Navy Blue Ideas
We'll explore a range of navy blue ideas that can inspire our accent wall design, from bold and dramatic to subtle and understated.
Navy blue is a versatile color choice for accent walls, offering a sophisticated look to any room. It pairs well with various design styles, from modern to coastal, adding depth and character to the space.
By incorporating navy blue in our decor, we can create a calming and serene atmosphere, perfect for bedrooms or living rooms. Additionally, navy blue accent walls can make a small room feel more spacious and airy, while adding a touch of elegance and drama.
The richness of navy blue can also create a cozy and inviting ambiance, making it a popular choice for accent walls in home decor. With blue walls, we can achieve a sense of calmness and serenity, while navy blue accent walls can elevate the overall aesthetic of our space.
Final Touches and Maintenance
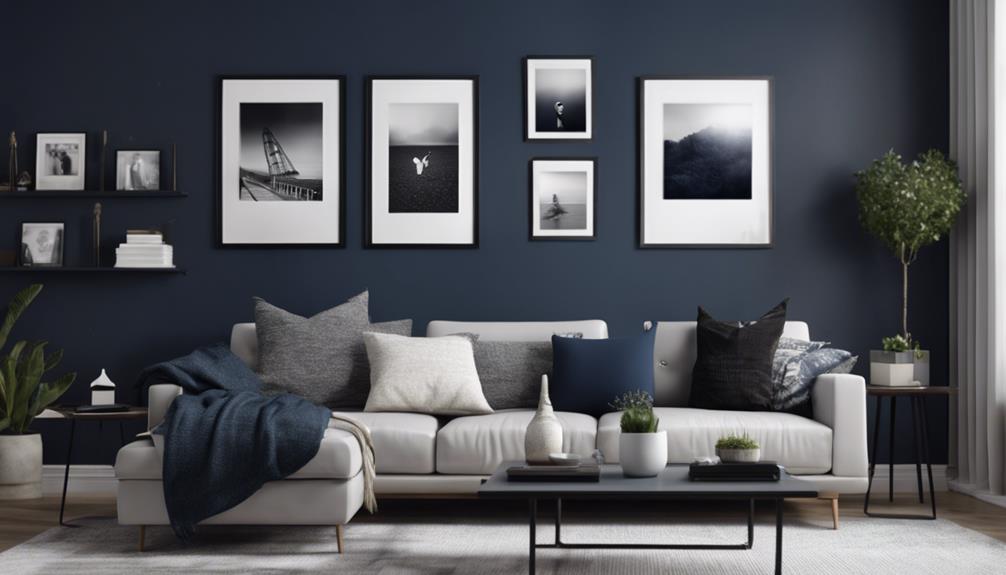
We add the perfect finishing touches to our navy accent wall by incorporating decorative elements that enhance its visual appeal. Now that our blue walls are painted to perfection, it's time to bring the whole look together.
Here are some final touches to take into account:
- Add decorative items like artwork, mirrors, or shelving to create a cohesive look
- Incorporate accent lighting such as wall sconces or overhead fixtures to highlight the navy wall and create ambiance
- Regular maintenance is key to keeping our navy accent wall looking its best; dust or wipe down the surface to keep it fresh and vibrant
- Touch up any scuffs or marks with the same paint color to maintain the seamless appearance of the navy accent wall
- Periodically inspect the wall for any signs of wear and tear and address them promptly to prolong its longevity
Frequently Asked Questions
How to Do a Navy Blue Accent Wall?
We're excited to tackle the question of how to create a navy blue accent wall.
First, we select a high-quality navy blue paint that will make a statement.
Next, we use specialized tape to guarantee sharp, clean lines.
Then, we add decorative elements like white crown molding shelves and nautical decorations to enhance the space.
With a few hours of effort, we can transform our room with a stunning navy blue accent wall that showcases our personal style.
How Do You Make a Stunning Accent Wall?
As we immerse ourselves in creating a stunning accent wall, we realize it's not just about slapping on some paint. We're talking about a thoughtful, deliberate design choice that can elevate a room.
To craft a stunning accent wall, we need to contemplate the colors, textures, and overall aesthetic we want to achieve. By selecting a bold, high-quality paint and incorporating clever design elements, we can create a show-stopping focal point that ties the entire space together.
What Is the Rule of Thumb for Accent Walls?
We believe that the primary rule of thumb for accent walls is that the room's architecture should support a different colored wall. This means considering the room's layout, windows, doors, and other design elements to guarantee the accent wall complements, rather than clashes with, the space.
What Color Trim Goes With Navy Blue Walls?
We've often wondered: what color trim complements navy blue walls best?
The answer lies in the desired aesthetic. For a classic look, we opt for white trim, which provides crisp contrast.
For a modern twist, light gray trim adds subtle sophistication.
Gold or brass accents introduce luxury, while black trim creates a bold, dramatic effect.
Ultimately, the trim color we choose depends on the room's style and mood.
Conclusion
We've done it! We've transformed a blank space into a show-stopping navy accent wall that's sure to be the envy of all who lay eyes on it.
With our meticulous planning, precise execution, and attention to detail, we've created a masterpiece that elevates our entire room.
The result is a dramatic, sophisticated, and Instagram-worthy focal point that will be the talk of the town for years to come.
- About the Author
- Latest Posts
Introducing Ron, the home decor aficionado at ByRetreat, whose passion for creating beautiful and inviting spaces is at the heart of his work. With his deep knowledge of home decor and his innate sense of style, Ron brings a wealth of expertise and a keen eye for detail to the ByRetreat team.
Ron’s love for home decor goes beyond aesthetics; he understands that our surroundings play a significant role in our overall well-being and productivity. With this in mind, Ron is dedicated to transforming remote workspaces into havens of comfort, functionality, and beauty.
Decor
Can You DIY Planters With Repurposed Materials?
Harness the power of creative reuse and turn discarded items into unique, eco-friendly planters that reflect your personal style.
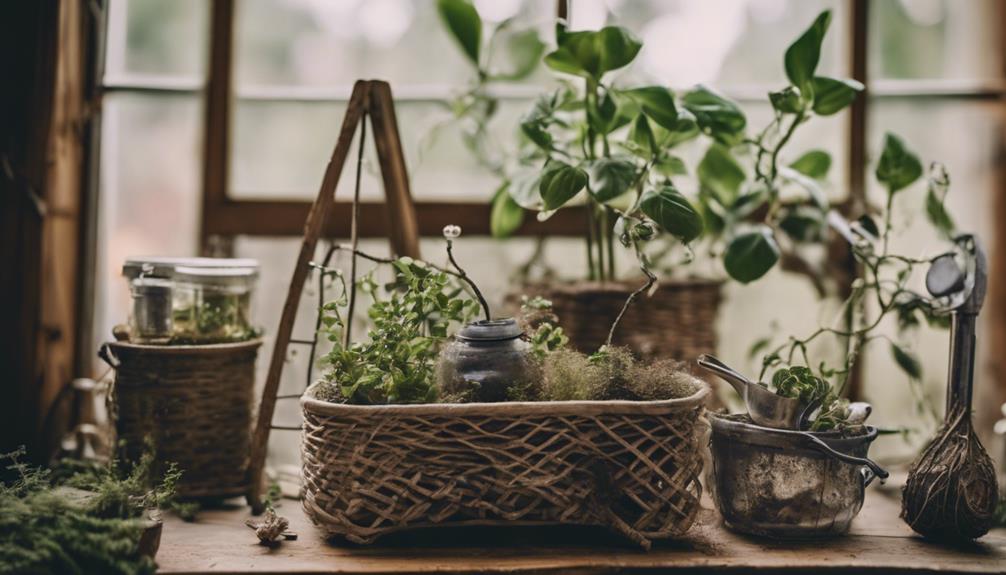
We can give old items a new life as unique, eco-friendly planters that reflect our personal style and contribute to a more sustainable future. By repurposing discarded items like old boots, tea cups, or cardboard boxes, we can create functional and creative planters. Not only do we reduce waste and promote sustainability, but we also get to add a personal touch to our outdoor spaces. Plus, it's cost-effective and environmentally friendly! As we explore the world of DIY planters, we'll discover even more innovative ways to turn trash into treasure.
Key Takeaways
• Yes, you can DIY planters with repurposed materials like old boots, tea cups, wheelbarrows, plastic bottles, and cardboard boxes.
• Upcycling household items reduces waste, adds personality to outdoor spaces, and reflects personal style.
• Repurposed materials like cardboard containers, ice cream buckets, and cement blocks can be used to create cost-effective and durable planters.
• DIY planters promote sustainability, reduce the need for new purchases, and contribute to a circular economy.
• Upcycled planters can be made from various materials, suitable for different plant types, and offer a creative outlet for DIY enthusiasts.
Creative Repurposing Ideas
We often overlook the humble beginnings of our DIY planters, but with a little creativity, we can breathe new life into discarded items and turn them into unique vessels for our beloved plants.
As we rummage through our attics, garages, and thrift stores, we're surprised by the hidden potential of everyday items. Old boots, toolboxes, and gutters can be transformed into quirky DIY planters that add personality to our gardens.
We can salvage materials like galvanized tubs, bathtubs, and wooden boxes to create functional and eco-friendly planters. Even items like jugs, canisters, and ice cream buckets can be repurposed into charming planters.
The beauty of DIY planters lies in their uniqueness and the story behind each piece. By giving old items a new life, we're not only reducing waste but also creating a sense of accomplishment and connection to our gardens.
With a dash of creativity, we can turn the ordinary into the extraordinary, and our DIY planters will become a proof of our resourcefulness and imagination.
Unconventional Planters to Try
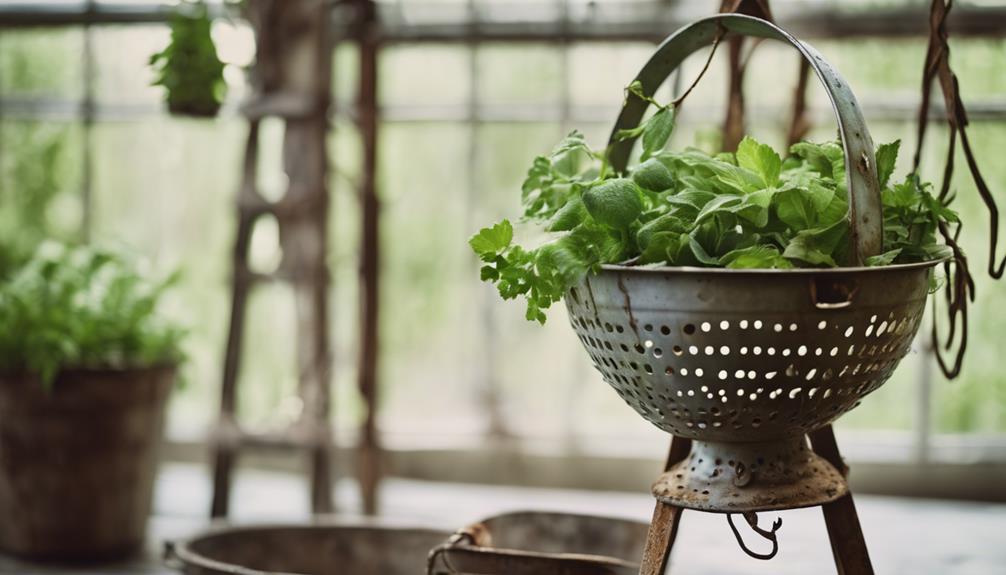
As we explore unconventional planter ideas, we're excited to try out some unique and creative options. From old boots to tea cups, we're going to think outside the box (or planter!) to add some personality to our gardens.
Let's start by looking at old boot planters and unique tea cup gardens, and see how we can turn these unexpected items into charming plant containers.
Old Boot Planters
Let's breathe new life into old boots by transforming them into quirky and colorful planters that add a playful touch to our outdoor space. We can create a unique container gardening display that showcases our favorite plants in a fun and unconventional way.
Here are some benefits of using old boots as planters:
- Add a pop of color: Brightly colored rain boots can add a playful touch to our outdoor space, making it a great conversation starter.
- Easy to maintain: Old boots provide a fun and easy way to showcase small plants like succulents or flowers.
- Diverse display: Consider using different sizes and styles of boots for a diverse and eye-catching display that reflects our personal style.
Unique Tea Cup Gardens
Transforming delicate tea cups and saucers into tiny gardens, we create whimsical decorations that bring a touch of elegance to our indoor spaces. With tea cup gardens, we can showcase small plants like succulents or herbs in a unique and decorative manner. These miniature gardens are easy to assemble and require minimal maintenance, making them perfect for busy people who still want to bring some greenery into their homes.
We love how tea cup gardens add a touch of whimsy to any room, and they're also a great way to upcycle old tea sets that might otherwise be gathering dust. To create our own tea cup garden, we simply choose a small plant that fits the cup, add some potting soil, and voila! We've a charming little garden that's sure to delight.
Tea cup gardens are an excellent way to add some personality to our decor without breaking the bank or taking up too much space. Plus, they make great conversation starters when we've guests over.
Upcycling Everyday Items

By repurposing items we'd normally toss, we're not only reducing waste but also tapping into our creativity and giving old materials a new lease on life as unique planters. Upcycling everyday items is a fantastic way to get creative and sustainable in our gardens. We can transform ordinary objects into functional planters that add a personal touch to our outdoor spaces.
Here are some ideas to get us started:
- Old wheelbarrow planter: Give new life to a rusty old wheelbarrow by turning it into a charming planter for herbs or succulents.
- Plastic bottle planters: Cut the bottom off a plastic bottle and use it as a mini greenhouse for seedlings or a self-watering planter for small plants.
- Cardboard box planters: Convert cardboard boxes into biodegradable planters for seedlings or small herbs, reducing waste and promoting sustainability.
Turning Trash Into Treasure
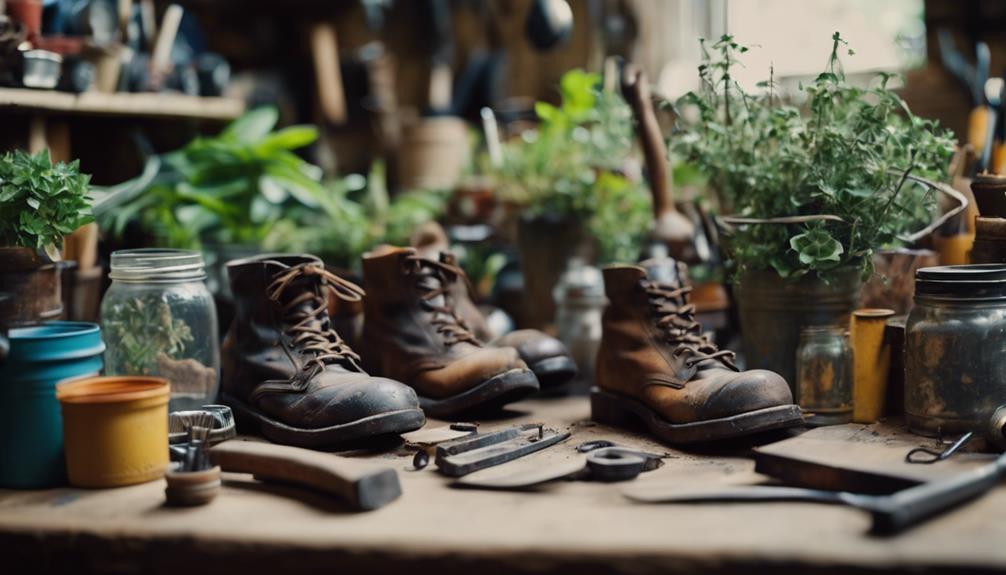
We explore the world of creative reuse, where discarded items are reborn as unique and functional planters, breathing new life into our gardens. By turning trash into treasure, we're not only reducing waste but also adding a touch of personality to our outdoor spaces.
We've discovered that with a little creativity, items like old boots, antique toolboxes, and even wheelbarrows can be transformed into charming plant containers. To guarantee our plants thrive, we make sure to add drainage holes to prevent waterlogged soil. This simple step allows excess water to escape, giving roots the room they need to grow.
By upcycling household items, we're not only reducing waste but also creating one-of-a-kind planters that reflect our personal style. Whether it's a vintage jug or a repurposed ice cream bucket, each planter tells a story and adds character to our gardens.
As we continue to explore the world of creative reuse, we're inspired by the endless possibilities and the positive impact it has on our environment.
Unique DIY Planter Projects
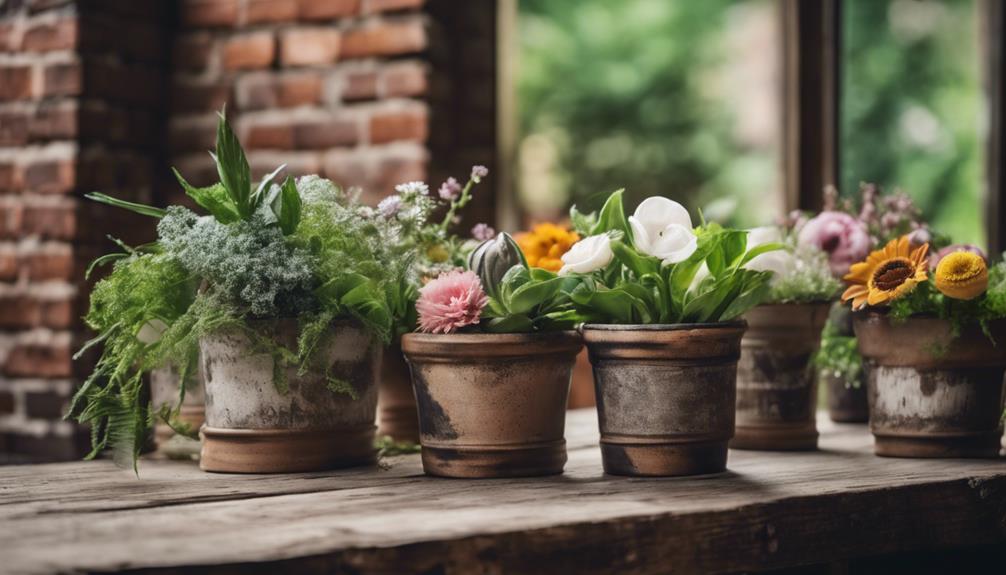
As we explore unique DIY planter projects, we're excited to share some creative ideas that will take our planters to the next level.
From upcycled container ideas to creative plant displays, we'll show you how to think outside the box (or planter!) to create one-of-a-kind pieces that showcase your personal style.
Let's get started and see how we can turn ordinary items into extraordinary planters!
Upcycled Container Ideas
We're transforming ordinary household items into extraordinary planters, and it's easier than you think! With a little creativity, we can repurpose items like jugs, canisters, and ice cream buckets into unique DIY planters. The best part? It's an eco-friendly way to reduce waste and get creative.
Here are some upcycled container ideas to get us started:
- Cardboard containers: Transform cardboard tubes into mini planters for small plants or herbs.
- Ice cream buckets: Clean and disinfect old ice cream buckets to create durable and cost-effective planters.
- Cement blocks: Fill cement blocks with soil for planting, or use them as a base for larger planters.
Creative Plant Display
Transforming ordinary objects into unique planters is only half the fun – now it's time to get creative with our plant displays!
When it comes to showcasing our DIY planters, we love experimenting with different layouts and arrangements to add visual interest. By upcycling household items, we're not only reducing waste but also creating one-of-a-kind displays that reflect our personal style.
We enjoy mixing and matching different shapes, textures, and colors to create visually appealing combinations. For example, pairing a vintage jug planter with a modern, sleek vase adds a touch of contrast that catches the eye.
We also like to play with different heights and levels by using stacked crates or multi-tiered shelves. By incorporating upcycling into our plant displays, we're not only reducing waste but also adding a touch of eco-friendliness to our gardening practices.
Repurposing for Sustainability

By repurposing materials for DIY planters, we're not only reducing waste and promoting sustainability, but also exercising our creativity while doing so. Upcycling, in particular, is a great way to contribute to environmental conservation efforts. By giving old items a new life, we're reducing the need for new purchases and minimizing our carbon footprint.
Here are just a few benefits of repurposing materials for DIY planters:
- Reduced waste: By reusing old items, we're keeping them out of landfills and reducing the amount of waste that ends up in our environment.
- Cost-effective: Repurposing materials can save us money and reduce the need for new purchases.
- Unique planters: Upcycled planters add a personalized touch to our gardens or indoor spaces, making them truly one-of-a-kind.
Frequently Asked Questions
Can I Turn Anything Into a Planter?
We've all wondered, can we turn anything into a planter? The answer is almost! With a little creativity, we can repurpose many items into unique planters.
Old boots, toolboxes, and even bathtubs can be given new life. As long as it's clean, dry, and has drainage, we can turn it into a planter.
Just get creative and think outside the box (or planter)!
Can You Use Fabric as Planter?
Fabricating a fresh idea, we find that yes, we can use fabric as a planter!
By repurposing items like cloth shoe caddies, we can create unique, space-saving, and cost-effective planters.
We can hang them on walls, showcasing our plants indoors. Fabric planters are versatile, customizable, and perfect for small spaces.
With a little creativity, we can weave a beautiful, functional planter that adds a personal touch to our plant displays.
What Can I Make a Planter Out Of?
We're always on the lookout for creative ways to reuse items, and making planters is no exception. We can turn almost anything into a planter – think old boots, wooden crates, or even bathtubs!
Household items like jugs, canisters, and ice cream buckets can also get a new life as planters.
The possibilities are endless, and it's amazing what we can create with a little imagination and some TLC.
How Do You Make Upcycled Plant Pots?
'We're literally surrounded by potential planters!
To make upcycled plant pots, we start by collecting jugs, canisters, or cement blocks.
Next, we create drainage holes to guarantee healthy plant growth.
With tools like knives, scissors, and drills, we transform these items into unique planters.
Finally, we plant seeds or transplants and water them regularly.
It's amazing how creative repurposing can be!'
Conclusion
We've explored the world of creative repurposing, and it's clear: turning trash into treasure isn't only eco-friendly but also a great way to add some personality to our homes.
By upcycling everyday items, we're reducing waste and giving old things new life.
So, get creative, think outside the box (or planter!), and give new meaning to the phrase 'one person's trash is another person's treasure.'
With a little imagination, our gardens and homes can be transformed into unique reflections of our personalities.
- About the Author
- Latest Posts
Introducing Ron, the home decor aficionado at ByRetreat, whose passion for creating beautiful and inviting spaces is at the heart of his work. With his deep knowledge of home decor and his innate sense of style, Ron brings a wealth of expertise and a keen eye for detail to the ByRetreat team.
Ron’s love for home decor goes beyond aesthetics; he understands that our surroundings play a significant role in our overall well-being and productivity. With this in mind, Ron is dedicated to transforming remote workspaces into havens of comfort, functionality, and beauty.
Decor
Diy Rustic Coat Rack
Witness the transformation of rustic barn wood and cast iron hooks into a one-of-a-kind coat rack that exudes rural charm and functionality.
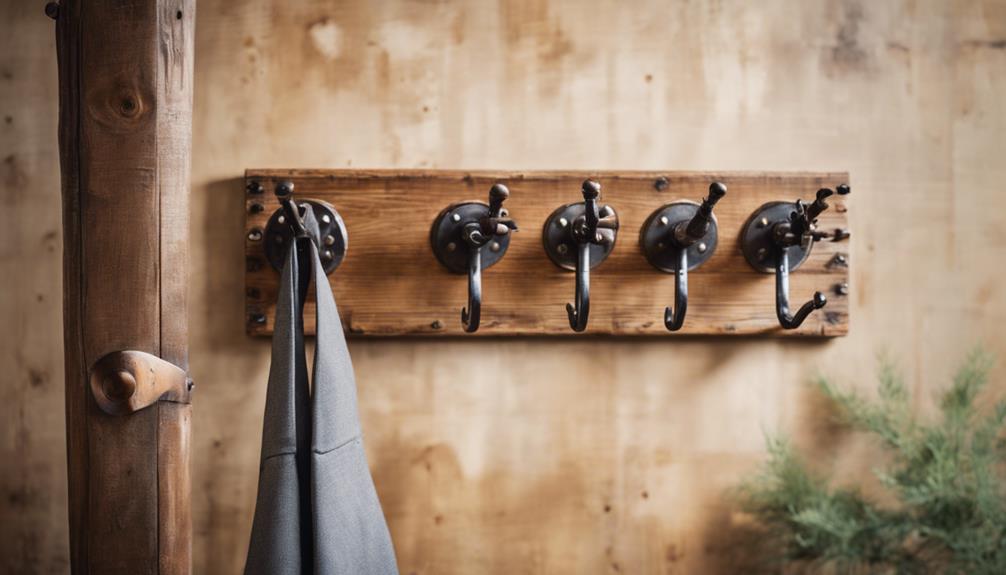
We're creating a DIY rustic coat rack that combines weathered wood, cast iron hooks, and creativity to add rural elegance to any entryway. Gather essential materials like reclaimed barn wood, cast iron hooks, and tools like saws, drills, and sandpaper. Prepare the wood by inspecting for damage, sanding rough edges, and cutting precise pieces. Sand and distress the wood to achieve a weathered look. Assemble the frame, attach hooks, and consider adding a backsplash or shelf. Securely mount the rack to the wall, and personalize with decor items. With attention to detail and patience, we'll create a functional piece that tells a story – and there's more to discover as we bring this project to life.
Key Takeaways
• Use weathered wood, cast iron hooks, and reclaimed barn wood to create a rustic coat rack that reflects a vintage charm.
• Inspect and prepare the wood by sanding rough areas, removing imperfections, and cutting it precisely using a circular or miter saw.
• Achieve a distressed look by using sandpaper, vinegar, or other techniques to add character to the wood.
• Assemble the coat rack by attaching metal hooks securely to the barn wood using a drill and screws, and ensure stability with a Kreg Jig.
• Mount the coat rack securely to the wall by locating studs, pre-drilling holes, and using long screws to prevent damage or collapse.
Gathering Materials and Tools
We'll begin by gathering the necessary materials and tools, which may include weathered wood, cast iron hooks, and reclaimed barn wood, depending on the specific design and style we're aiming for.
Our rustic coat rack project requires a thoughtful selection of wood, as it sets the tone for the entire piece. We can opt for weathered wood, which adds a distressed, vintage charm, or reclaimed barn wood, which brings a sense of history and character. To find these materials, we can visit stores like Hobby Lobby or browse online retailers.
In addition to wood, we'll need a few essential tools, including a saw, drill, sandpaper, and wood glue. Having these tools at our disposal will enable us to cut, shape, and assemble our coat rack with ease.
Preparing the Reclaimed Wood
As we prepare the reclaimed wood for our rustic coat rack, we need to inspect the wood carefully to identify any imperfections or damage.
We'll also clean the surface thoroughly to remove dirt, grime, or old finishes that might affect the final result.
Next, we'll remove any old finish, taking care to strip away any lingering residue that could compromise our project's integrity.
Inspecting the Wood
Inspecting the wood carefully, we identify any signs of damage, rot, or pest infestation that could compromise the integrity of our rustic coat rack. We're working with old wood, and it's crucial to verify it's sturdy and reliable.
Before we start building, we take a closer look at the reclaimed wood. Here are some key things we check for:
- Signs of damage, rot, or pest infestation
- Unique characteristics like knots, grains, and weathered patina that add charm to the coat rack
- Rough areas and edges that need sanding down for a smooth surface
- Any weak points that could compromise the structure
- Dirt and debris accumulated over time, which we can remove with a damp cloth or mild cleaner
Cleaning the Surface
We grab a soft-bristled brush and mix warm water with mild soap to gently scrub away the dirt and grime that's accumulated on the reclaimed wood's surface. This cleaning process is important in preparing the wood for our rustic coat rack project.
We're careful not to use harsh cleaning chemicals, which can damage the wood's natural patina. Instead, our gentle scrubbing motion helps to remove dirt and grime, revealing the wood's natural beauty. After cleaning, we wipe the wood dry with a clean cloth to prevent water damage.
To smooth out any rough areas or imperfections, we lightly sand the surface. This ensures a smooth, even finish for our coat rack. By taking the time to properly clean and prepare the reclaimed wood, we're setting ourselves up for success in our DIY project.
With a clean and smooth surface, we can move forward with confidence, knowing our coat rack will turn out beautifully.
Removing Old Finish
With our clean and smooth surface in hand, we're ready to tackle the old finish that's hiding the wood's true beauty. Removing the old finish is an important step in preparing our reclaimed wood for our rustic coat rack project.
Here's how we'll do it:
- Sand the reclaimed wood to remove any old finish, dirt, or imperfections.
- Use a fine-grit sandpaper to smooth out the surface of the wood.
- Wipe down the wood with a damp cloth to clean off any dust or debris.
- Make sure the wood is completely dry before proceeding with the next steps.
- Removing the old finish allows for a fresh surface for staining or painting.
Cutting the Wood to Size

As we prepare to bring our rustic coat rack to life, measuring and marking the wood for precise cutting is the crucial first step towards achieving the desired size.
We want to guarantee our coat rack has a sturdy base to hold those heavy winter jackets, and accurately cut wood pieces will make all the difference.
Using a circular saw or miter saw, we'll cut the wood according to our measurements, taking care to make clean, precise cuts. This will help us achieve a well-fitted and visually appealing coat rack that can hold multiple hooks for hanging our coats, hats, and scarves.
Properly sized wood pieces are essential for a cohesive and professional-looking DIY rustic coat rack. By taking the time to measure and cut our wood accurately, we'll be rewarded with a beautiful and functional piece of furniture that will serve us well for years to come.
Sanding and Distressing Wood
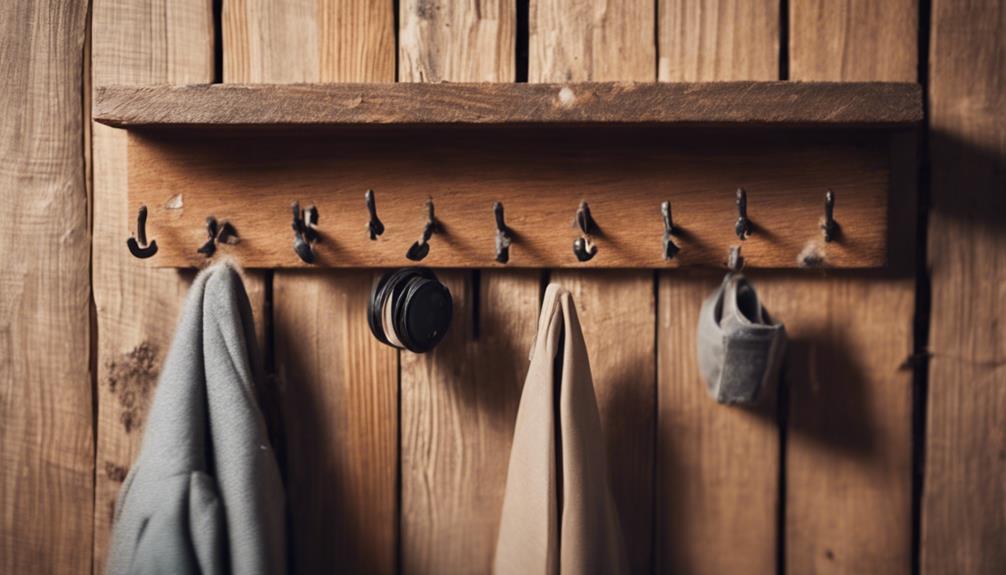
Now that our wood pieces are cut to size, we're ready to smooth out the surface and add some character to the wood through sanding and distressing. This pivotal step will guarantee our rustic coat rack has a unique, weathered look that adds charm to any room.
To achieve this, we'll follow these essential steps:
- Start with coarse-grit sandpaper (about 80-100) to remove any imperfections and smooth out the wood surface.
- Gradually move to higher grit numbers (120, 150, and 220) for a finer finish.
- Distressing involves techniques like sanding, hitting with tools, or using vinegar and steel wool to create a weathered look.
- Sanding before distressing helps prepare the wood for the desired effect and prevents unevenness.
- Experiment with different distressing techniques to achieve the perfect rustic look for our coat rack.
Assembling the Coat Rack Frame

We're ready to bring our rustic coat rack to life by assembling the frame, using the beautifully distressed wood pieces we've prepared.
Before we start, let's make sure to put on our safety gear, including goggles and ear protection, to avoid any accidents while working with wood.
To assemble the frame, we'll use a Kreg Jig or drill and screws to connect the boards, ensuring stability and strength.
To add extra support, we'll attach decorative brackets to the frame, giving our coat rack a sturdy base.
As we assemble the frame, we'll use a right angle clamp to hold the boards together, making it easier to attach the pieces.
This rustic coat rack is going to be a great addition to our home decor, and with these simple steps, we'll have a functional and stylish piece in no time.
With our frame assembled, we're one step closer to having a unique and functional piece of home decor that adds a touch of rustic charm to our entryway.
Attaching the Metal Hooks

As we move on to attaching the metal hooks, we'll need to keep in mind a few essential points.
We'll explore the criteria for selecting the right hooks, ensuring they complement our rustic coat rack's aesthetic.
Additionally, we'll discuss the importance of drilling precise holes and secure mounting methods to guarantee a sturdy coat rack that can support the weight of our outerwear.
Hook Selection Criteria
When selecting the ideal hooks for our rustic coat rack, we need to take into account the size and spacing of the hooks based on the length and width of the barn wood. This guarantees that our coat rack looks balanced and functional.
Here are some key factors to contemplate when choosing the perfect hooks for our project:
- Choose black metal farmhouse style hooks to complement the rustic barn wood aesthetic.
- Make sure the hooks are securely attached to the wood to hold coats and other items.
- Longer hooks may be needed for wider pieces of reclaimed wood.
- Properly spaced hooks enhance the overall appearance and functionality of the coat rack.
- Take into consideration the weight capacity of the hooks to ensure they can hold the desired amount of weight.
Drilling Precise Holes
Using a drill bit that matches the diameter of the metal hooks, we create precise holes in the wood to guarantee a secure and even attachment. This step is vital, as it prevents the barn wood from splitting when we attach the metal hooks.
We make sure to space the holes evenly, ensuring a professional and polished look. As we predrill the holes, we take care to maintain the rustic charm of the wood, avoiding any damage that could compromise its integrity.
With the holes in place, we secure the metal hooks tightly by hand or with a screwdriver, double-checking their alignment and spacing before finalizing their attachment to the coat rack.
Secure Mounting Methods
We turn our attention to securely mounting the coat rack to the wall, guaranteeing it can withstand the weight of hung items and maintain its rustic charm. To achieve this, we'll employ some essential techniques to make sure of a sturdy installation.
Here are the key steps to follow:
- Use a stud finder to locate studs in the wall for secure mounting of the coat rack
- Predrill holes in the barn wood to prevent splitting when attaching the metal hooks
- Utilize long screws for stability, preferably into a stud, when securing the coat rack to the wall
- Confirm the barn wood is straight and level using a level before finalizing attachment
- Fasten the metal hooks securely to the barn wood using a cordless screwdriver for efficient installation
Adding a Backsplash or Shelf

Frequently, a rustic coat rack can be elevated with the addition of a functional and stylish element, such as a backsplash or shelf. We've found that a backsplash, in particular, can be a great addition, as it can safeguard our walls from water, grease, and food splatter in the kitchen. We're not limited to a specific material, either – we can choose from tile, stainless steel, glass, or even reclaimed wood to match our rustic coat rack's aesthetic.
Installing a shelf above the coat rack can also provide additional storage for hats, gloves, or decorative items. We can customize the shelf's size and design to complement the coat rack and enhance its functionality. To guarantee a cohesive look, we should consider matching the backsplash or shelf material to the overall style of our rustic coat rack.
Mounting the Coat Rack to Wall
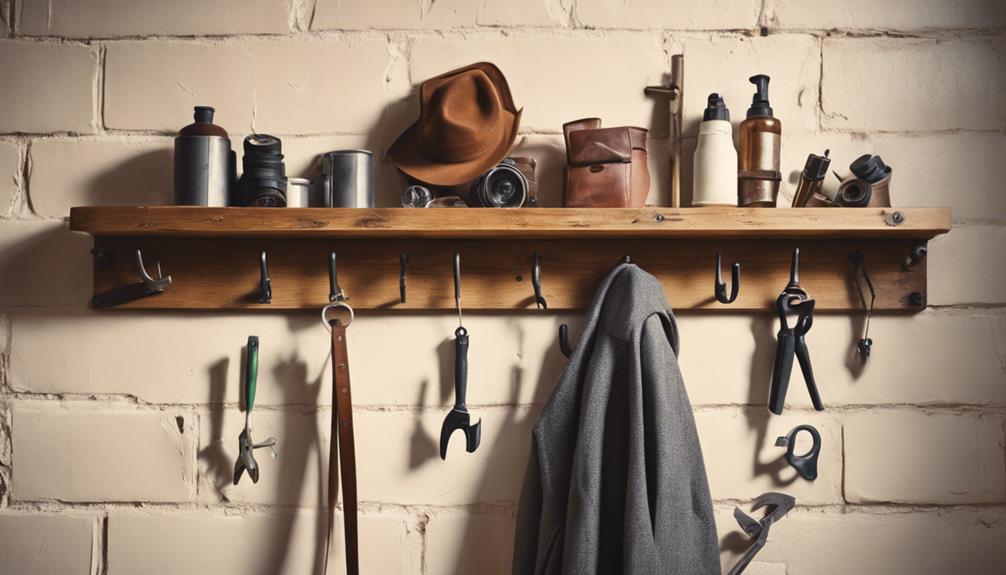
We'll secure our rustic coat rack to the wall by locating the wall studs with a stud finder, guaranteeing a sturdy mount that can hold the weight of our belongings. We can find a reliable stud finder at Home Depot or a similar hardware store.
To confirm a successful installation, we'll follow these essential steps:
- Use a stud finder to locate the wall studs for secure mounting of the coat rack.
- Predrill holes in the barn wood to prevent splitting when attaching it to the wall.
- Choose long screws for attaching the coat rack to the wall, preferably into a stud for stability.
- Ensure the barn wood is straight and level on the wall using a level tool during installation.
- Fasten the metal hooks securely to the barn wood to complete the DIY coat rack.
Styling and Accessorizing Tips
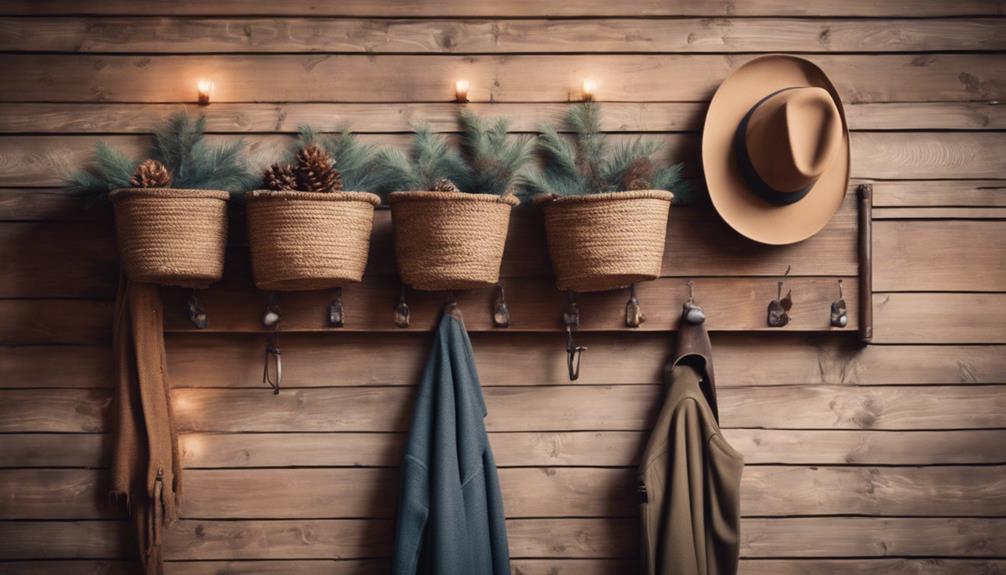
Add a personal touch to your rustic coat rack by accessorizing it with items that reflect your personality and style. We like to think of it as a blank canvas, just waiting for our unique flair.
By incorporating decorative items like hats, bags, or even some greenery, we can infuse our DIY rustic coat rack with character and charm. Don't be afraid to experiment with different decor items to enhance the visual appeal of our creation.
We can also consider seasonal variations in styling to keep the decor fresh and inviting throughout the year. For instance, we might swap out summer hats for cozy scarves in the winter.
By sharing our DIY projects and home decor transformations with others, we can draw inspiration from one another and discover new creative ideas.
With our DIY rustic coat rack, we can transform our foyer into a cozy and casual space that exudes rustic charm.
Final Touches and Installation

With our rustic coat rack fully assembled and accessorized, we're ready to focus on the final touches and installation.
As DIY enthusiasts, we want to guarantee that our hard work is securely mounted to the wall. Here are some essential tips to keep in mind during the installation process:
- Guarantee the coat rack is securely mounted to the wall using long screws into studs for stability.
- Use a level to make sure the coat rack is straight and properly aligned during installation.
- Pre-drill holes in the barn wood to prevent splitting when attaching it to the wall.
- Consider having assistance for heavy or long pieces of barn wood during installation.
- Use a cordless screwdriver to expedite the process of attaching hooks to the barn wood.
Frequently Asked Questions
How to Make Your Own Coat Rack?
We're excited to share how to make our own coat rack! To get started, we'll need to gather essential supplies like hooks, wood boards, and glue.
Next, we'll prep the wood by cutting it to size, filling holes, and sanding for a smooth finish.
Then, we'll assemble the rack by connecting the boards, aligning hooks, and ensuring stability.
How Do You Mount a Coat Rack Without Drilling?
We've all been there – wanting to hang a coat rack without damaging the wall. We worry that it'll fall, or worse, ruin our paint job. But fear not!
We can mount a coat rack without drilling by using adhesive hooks or strips designed for heavy items. Following manufacturer instructions, we can achieve a strong and lasting mount, ensuring our coat rack stays put without making a hole in the wall.
How Do You Make a Coat Rack Out of an Old Door?
We're excited to create a unique coat rack from an old door.
To start, we remove any hardware and sand the door to smooth out rough spots.
Then, we add hooks or knobs for hanging coats, hats, and bags.
We can paint or stain the door to match our decor or leave it as is for a rustic look.
How Far up Should a Coat Rack Be?
We've all been there – struggling to hang our coats on a rack that's either too high or too low. When deciding how far up to place a coat rack, we consider the height of the tallest person in our household.
A good rule of thumb is to mount it around 5 to 7 feet above the ground, ensuring easy access for both adults and children.
Conclusion
We've successfully transformed a pile of reclaimed wood into a functional piece of art.
For instance, consider Sarah's rustic coat rack, which now adorns her entryway, holding keys, hats, and jackets.
The distressed wood and metal hooks evoke a charming, vintage vibe, while the added shelf provides extra storage for gloves and scarves.
With our DIY guide, you too can create a unique, functional piece that adds character to your home.
- About the Author
- Latest Posts
Introducing Ron, the home decor aficionado at ByRetreat, whose passion for creating beautiful and inviting spaces is at the heart of his work. With his deep knowledge of home decor and his innate sense of style, Ron brings a wealth of expertise and a keen eye for detail to the ByRetreat team.
Ron’s love for home decor goes beyond aesthetics; he understands that our surroundings play a significant role in our overall well-being and productivity. With this in mind, Ron is dedicated to transforming remote workspaces into havens of comfort, functionality, and beauty.
-

 Vetted5 days ago
15 Best Printers of 2024: Top Picks and Expert Reviews
-
 Vetted7 days ago
15 Best Tile Sealers for Long-Lasting Protection and Shine
-

 Vetted2 weeks ago
15 Best Smelling Floor Cleaners That Will Leave Your Home Fresh and Inviting
-

 Vetted1 week ago
14 Best Power Scrubbers for Showers That Will Transform Your Cleaning Routine
-

 Vetted2 days ago
15 Best LED Dimmer Switches With No Flicker: Ultimate Guide for a Flicker-Free Lighting Experience
-

 Vetted2 days ago
15 Best Evergreen Plants for Shade Gardens: A Complete Guide
-

 Mardi Gras Decoration4 days ago
What Do the Symbols of Mardi Gras Mean?
-

 Appliances7 days ago
5 Best Energy-Efficient Stainless Steel Fridges 2023


