Decor
How to Organize Seasonal Decor
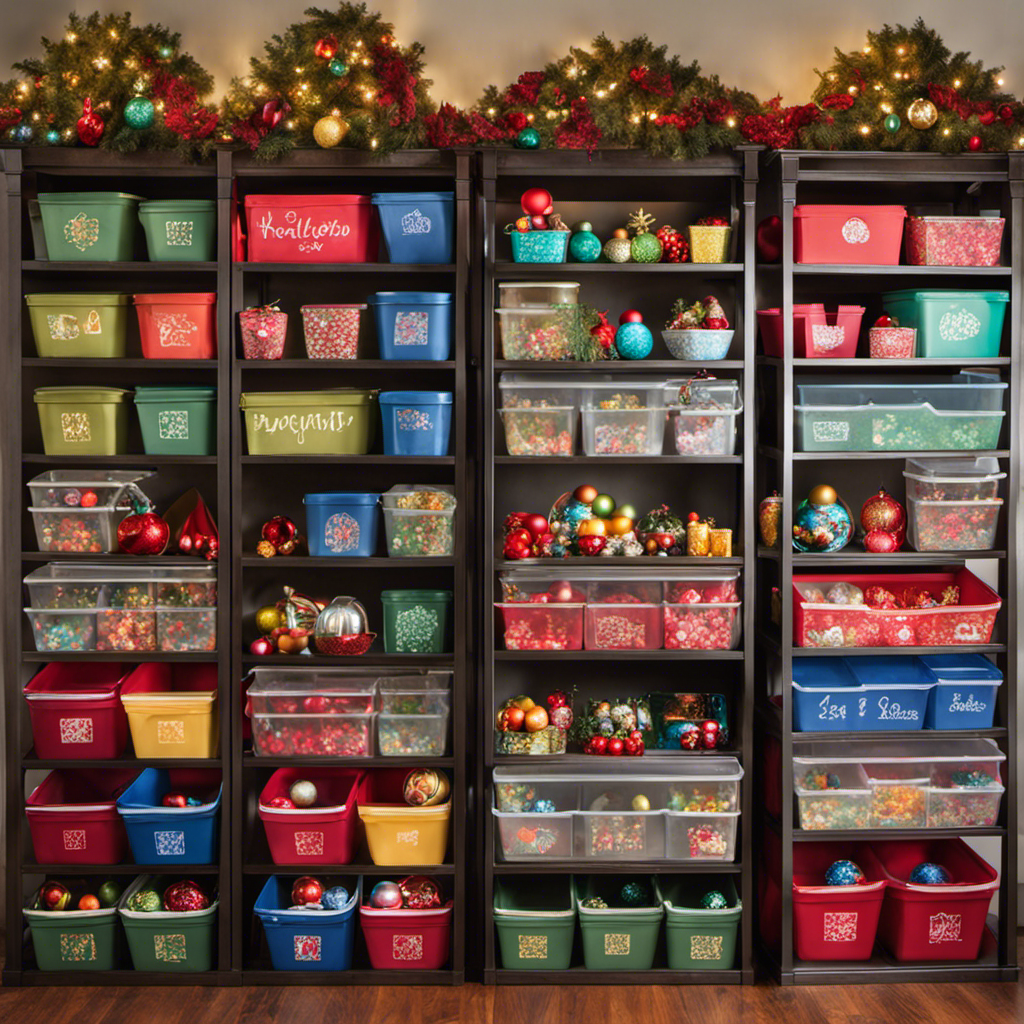
Did you know that the average person spends over 2 hours each year searching for misplaced seasonal decor?
Don’t waste precious time hunting for ornaments or struggling to find the perfect Halloween decoration. In this article, we will show you the secrets to organizing your seasonal decor in a way that is efficient, practical, and stress-free.
From sorting and categorizing to utilizing storage solutions, we’ve got you covered. Say goodbye to clutter and hello to a well-organized and beautifully decorated home all year round.
Key Takeaways
- Declutter and purge broken, outdated, or unused items
- Utilize clear storage bins or boxes to contain and easily see items
- Invest in stackable bins to maximize vertical storage space
- Rotate decorations to avoid feeling overwhelmed and enjoy a fresh look each season
Sorting and Categorizing
Now, you’ll want to start sorting and categorizing your seasonal decor. This step is crucial for maximizing space and keeping your belongings organized.
Begin by decluttering and purging any items that are broken, outdated, or no longer bring you joy.
Separate your decor into categories such as holidays, seasons, or specific areas of your home.
Utilize clear storage bins or boxes to keep everything contained and easily visible.
Label each container with its contents to make finding specific items a breeze.
By sorting and categorizing your seasonal decor, you’ll not only create a more organized space but also make it easier to find and access your decorations when you need them.
Transitioning into the subsequent section about utilizing storage solutions, you can take these sorted categories and explore different storage options to keep your decor safe and accessible.
Utilizing Storage Solutions
To effectively manage your storage space, you can’t go wrong with utilizing storage solutions. Here are four creative ideas to help you maximize space and keep your seasonal decor organized:
-
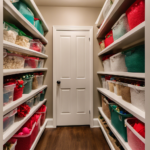
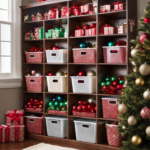
Stackable Bins: Invest in stackable bins to make the most of vertical space in your storage area. Label each bin with the specific season or holiday, making it easy to find what you need when it’s time to decorate.
-
Vacuum-sealed Bags: Use vacuum-sealed bags to compress bulky items like wreaths or inflatable decorations. This not only saves space but also helps protect your decor from dust and moisture.
-
Over-the-Door Organizers: Hang over-the-door organizers on the back of your storage area door to store smaller items like ornaments, lights, or ribbons. This keeps them easily accessible and prevents them from getting tangled.
-
Hanging Shelves: Install hanging shelves in your storage space to create additional storage areas for boxes or bins. These shelves can be adjusted to accommodate different sizes of items, providing a versatile storage solution.
Rotating and Labeling
One way you can easily manage your decorations is by rotating and labeling them. Proper storage and time management are key factors in keeping your seasonal decor organized and accessible.
By rotating your decorations, you can ensure that you are not overwhelmed with too many items at once. This also allows you to enjoy a fresh look each season without feeling bored or cluttered.
Labeling your storage containers is essential for easy identification and retrieval. You can use a simple two-column, three-row table to keep track of each item and its corresponding container. This will save you time and effort when it comes to finding the specific decorations you want to use.
Streamlining Decoration Selection
By rotating and labeling your decorations, you can easily streamline your storage system, making it a breeze to select the perfect items for each season without the hassle of searching through cluttered boxes. Here are some tips to maximize impact and save money with budget-friendly options:
-
Purge and declutter: Before rotating and labeling, take the time to declutter your seasonal decorations. Get rid of items you no longer love or use, and donate or sell them to make room for new additions.
-
Use versatile pieces: Invest in versatile decorations that can be used for multiple seasons. For example, a simple wreath can be dressed up with different ribbons and accessories for various holidays.
-
Repurpose everyday items: Look around your home for items that can be repurposed as seasonal decor. Mason jars, glass vases, and even old picture frames can be transformed with a few simple additions.
-
DIY decorations: Get creative and make your own seasonal decorations. Not only is it a fun and budget-friendly option, but it also allows you to customize your decor to suit your personal style.
By implementing these strategies, you can streamline your decoration selection process while maximizing impact and staying within your budget.
Now, let’s explore how to maintain and refresh your seasonal decor for years to come.
Maintaining and Refreshing
Make sure you regularly clean and inspect your decorations to keep them looking their best for years to come. Cleaning and decluttering your seasonal decor is essential for maintaining its quality and longevity.
Start by dusting off any dirt or cobwebs using a soft cloth or a feather duster. For delicate items, use a small brush or a can of compressed air to remove dust from hard-to-reach places.
If your decorations are made of glass or porcelain, consider using a mild detergent and warm water to gently clean them.
Additionally, decluttering your collection can help you create a more organized and visually appealing display. Try grouping similar items together or using different levels of height to add interest.
Don’t be afraid to get creative with your display ideas to make your seasonal decor truly shine.
Frequently Asked Questions
How Can I Prevent My Seasonal Decor From Getting Damaged While in Storage?
To prevent damage to your seasonal decor while in storage, consider using storage solutions that provide protection, such as plastic bins or garment bags. These can help shield your items from dust, moisture, and other potential hazards.
What Are Some Creative Ways to Display Seasonal Decor When I Have Limited Storage Space?
Get creative with your limited storage space! Try using vertical wall space, hanging baskets, or repurposing furniture for seasonal decor display. Think outside the box and make the most of your small space.
Are There Any Tips for Safely Packing Delicate or Fragile Seasonal Decorations?
When it comes to packing delicate decorations, it’s important to take extra care. You can protect fragile decor by wrapping it in bubble wrap or tissue paper before storing it in a sturdy box.
How Often Should I Rotate My Seasonal Decor to Keep It Fresh and Interesting?
To keep your seasonal decor fresh and interesting, rotate it regularly. Try swapping out decorations every few months or with each change in season. This will bring a breath of fresh air to your home.
How Can I Effectively Clean and Maintain My Seasonal Decor to Ensure Its Longevity?
To effectively clean and maintain your seasonal decor for longevity, try using gentle cleaning techniques like dusting and spot cleaning. Store items in airtight containers away from sunlight and moisture to prevent damage.
Conclusion
Now that you know how to organize your seasonal decor, you’ll be able to easily find and enjoy your holiday decorations year after year.
By sorting and categorizing your items, utilizing storage solutions, and rotating and labeling your bins, you’ll keep everything organized and accessible.
Streamlining your decoration selection will save you time and effort, while maintaining and refreshing your decor will keep it looking its best.
So go ahead and embrace the holiday spirit with a beautifully organized collection of seasonal decor!
- About the Author
- Latest Posts
Meet Katherine, the creative enthusiast at ByRetreat who infuses her boundless passion for design into every remote workspace she crafts. With an innate sense of creativity and an eye for unconventional beauty, Katherine brings a unique and inspiring perspective to the team.
Katherine’s love for design is infectious, and her ability to think outside the box sets her apart. She believes that true artistry lies in embracing a variety of styles and mixing them harmoniously to create captivating spaces. By combining different textures, colors, and patterns, Katherine weaves a tapestry of creativity that breathes life into each remote workspace.
Decor
How to Create a Faux Wood Grain Finish in 7 Steps
Handcraft a stunning faux wood grain finish using 7 simple steps, and discover the secrets to achieving a realistic, professional-looking result.
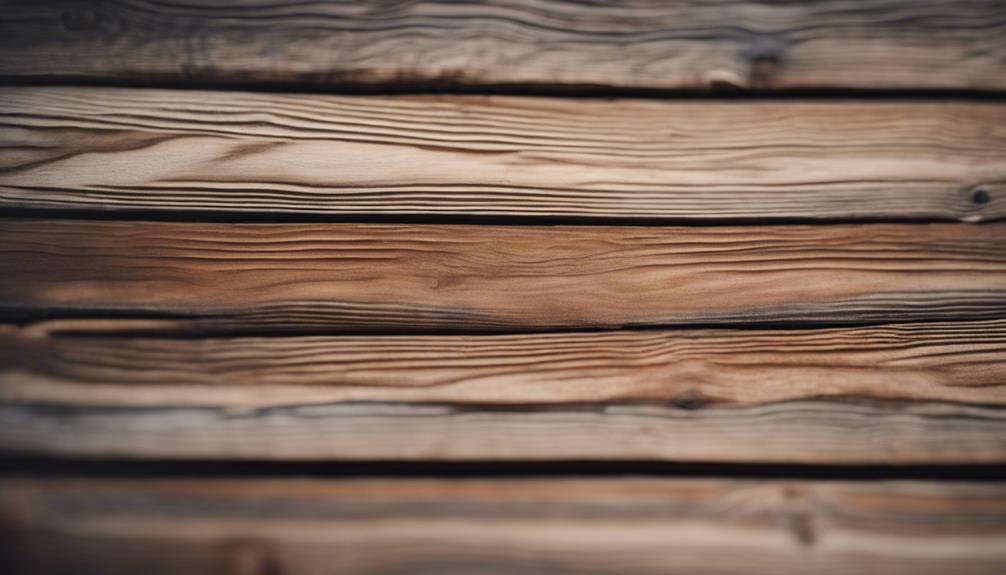
We'll achieve a convincing faux wood grain finish by following a 7-step process. First, we'll prepare the surface with sanding, priming, and a satin-finish base coat. Next, we'll apply a glaze that matches our desired wood tone, using techniques like dragging and stippling to mimic natural wood patterns. We'll build up layers of glaze to add depth and complexity, blending and softening the finish for realism. Then, we'll enhance edges and details, and finally, seal our faux wood finish with a protective coat. From here, the possibilities for customization are endless – let's see how it all comes together.
Key Takeaways
• Prepare the surface by sanding with 320-grit sandpaper, applying Zinsser Bulls Eye 123 primer, and choosing an interior paint in a satin finish.
• Apply a smooth base coat using a sponge roller, allowing it to dry completely before proceeding with glaze application.
• Mix glazing medium with colorants to create a wood grain glaze, applying it with a chip brush and softening with cheesecloth for a natural appearance.
• Create a wood grain pattern by mimicking natural patterns through dragging and stippling, using low-tack tape to mimic wood texture and sanding lightly to enhance realism.
• Build up layers of glaze gradually to add depth and complexity, blending and softening the glaze with a soft brush for a realistic wood grain appearance.
Prepare the Surface for Painting
As we prepare the surface for painting, we sand it with 320-grit sandpaper to create a smooth base. This step is essential in guaranteeing our faux wood grain finish turns out realistic and professional-looking.
Next, we apply a primer like Zinsser Bulls Eye 123 to cover any old finishes and make certain our paint adheres perfectly. We want to make sure the surface is clean, dull, and free of dust before moving forward.
Once the primer is dry, we're ready to apply our base coat. We choose an interior paint in a satin finish for this, as it will provide the perfect backdrop for our faux wood grain design.
After the base coat dries completely, we can start thinking about adding depth and realistic wood grain effects using gel stain, such as dark walnut. By following these steps, we'll have a solid foundation for our faux wood grain finish.
With a smooth, primed, and painted surface, we're ready to take our project to the next level.
Apply Base Coat and Glaze
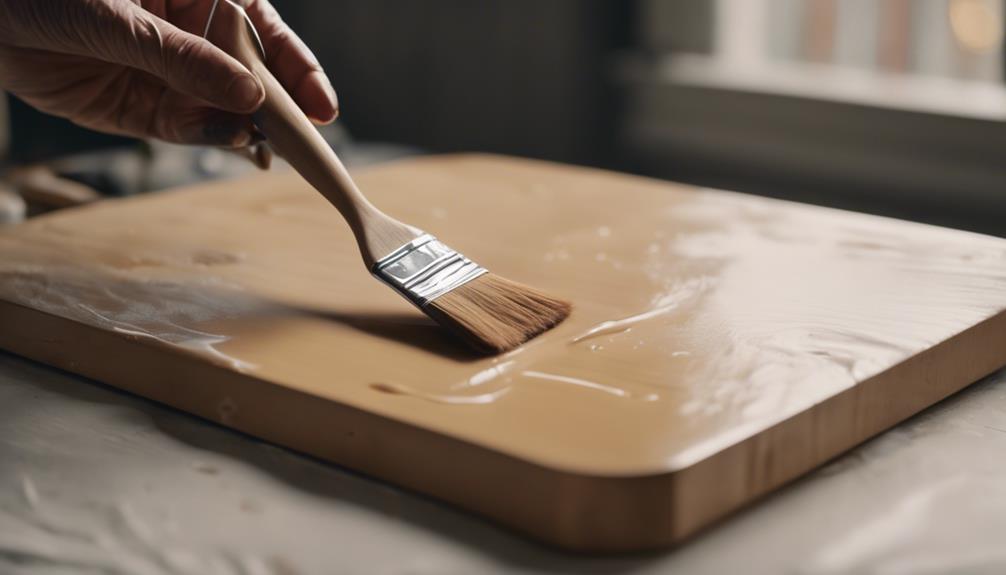
Now that we've prepared our surface, it's time to apply the base coat and glaze – the essential components of a convincing faux wood grain finish.
We'll explore the must-haves for a strong base coat, tips for selecting the perfect glaze, and techniques for applying even layers to achieve a realistic wood grain appearance.
Base Coat Essentials
We begin by applying a base coat, which sets the foundation for our faux wood grain finish by providing the background color that will eventually be enhanced by the glaze. To guarantee a smooth and uniform surface, we use a sponge roller to apply the base coat evenly. This helps to eliminate any brush marks that might be visible after the coat dries.
Speaking of drying, it's vital to let the base coat dry completely before moving on to the next step. This allows the coat to fully bond to the surface, ensuring a strong foundation for our faux wood finish.
A well-applied base coat is important, as it provides the underlying color that the glaze will build upon. By taking the time to properly prep and apply the base coat, we're setting ourselves up for success. A good base coat will enhance the overall appearance of our faux wood grain finish, giving it a more realistic and natural look.
Glaze Selection Tips
With our base coat perfectly in place, we're ready to select the ideal glaze to bring our faux wood grain finish to life. Choosing the right glaze is important, as it will enhance the wood grain effect and create a realistic finish.
We need to select a glaze that closely matches the desired wood tone, as it will allow the base coat to show through and create a sense of depth. It's necessary to experiment with different glaze colors and consistencies to achieve unique wood grain patterns.
We should also keep in mind the direction of the wood grain when applying the base coat and glaze. By applying the base coat smoothly in the direction of the wood grain, we'll get the best results. Properly combining the base coat and glaze is key to creating a convincing faux wood grain finish.
Applying Even Layers
As we begin to create our faux wood grain finish, a seamless base coat application sets the stage for a realistic wood grain effect. We start by applying an even base coat using a foam roller or paintbrush to create a smooth surface. Two coats are usually sufficient to achieve a uniform base.
Next, we mix our glazing medium with colorants like Tobacco Brown, Aged Mahogany, and Van Dyke Brown to create the wood grain glaze. We use a chip brush to apply the Tobacco Brown glaze first, followed by the Aged Mahogany colorant, focusing on precise application.
To soften the glaze and blend the colors, we use cheesecloth, creating a natural wood grain appearance on the surface. Our goal is to make it look like real wood, and with these even layers, we're one step closer to achieving that.
Create Wood Grain Pattern
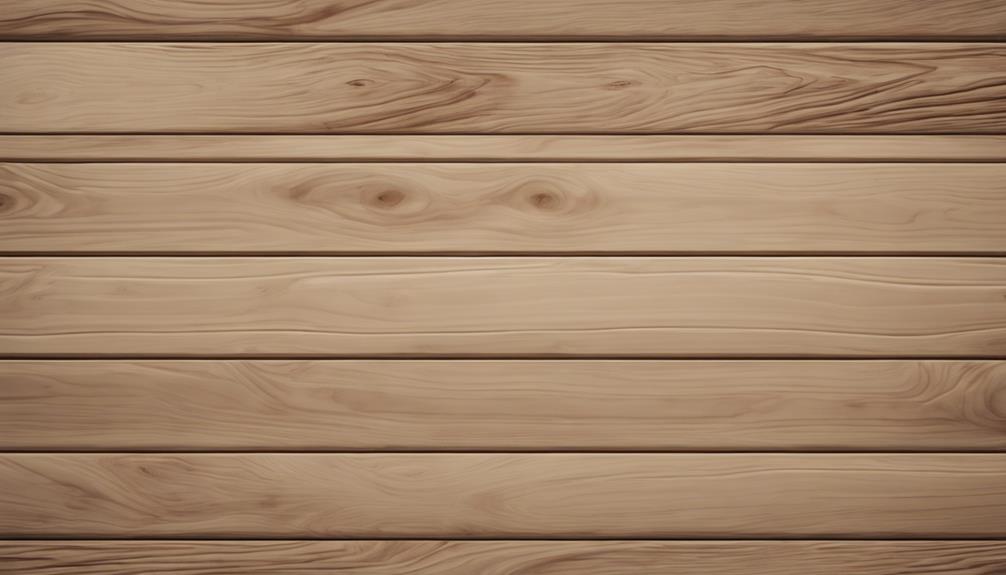
Now that we've applied our base coat and glaze, it's time to create a wood grain pattern that looks authentic and realistic.
We'll explore the different grain patterns and wood texture details that will give our faux finish a lifelike appearance.
Grain Patterns Explained
We begin by understanding that grain patterns in faux wood finishes are all about mimicking the natural patterns found in different wood species, from the distinctive rings of oak to the rich, dark swirls of walnut.
To create a faux wood grain finish, we need to master the art of replicating these patterns. Techniques like dragging, combing, and stippling can be used to create realistic wood grain patterns. By varying the pressure and direction of these techniques, we can achieve different wood grain effects.
For instance, we can adjust the grain patterns to imitate specific types of wood, such as oak, mahogany, or walnut. The key to creating an authentic-looking wood grain finish lies in practice and experimentation. As we experiment with different techniques, we can develop a range of grain lines that look like wood.
Wood Texture Details
To create a convincing wood grain pattern, we'll start by applying low-tack tape vertically to our surface, varying the tape's width and placement to mimic the natural texture and grain lines of real wood. This will help us achieve a more authentic wood grain appearance.
| Technique | Description |
|---|---|
| Tape placement | Varying widths and placements to mimic natural wood grain |
| Tape type | Low-tack tape to prevent pulling up base paint |
| Practice | Try on spare materials before applying to furniture |
| Adjustment | Adjust tape placement for desired grain effects |
| Sanding | Lightly sand to enhance realism of the finish |
Add Depth With Multiple Layers
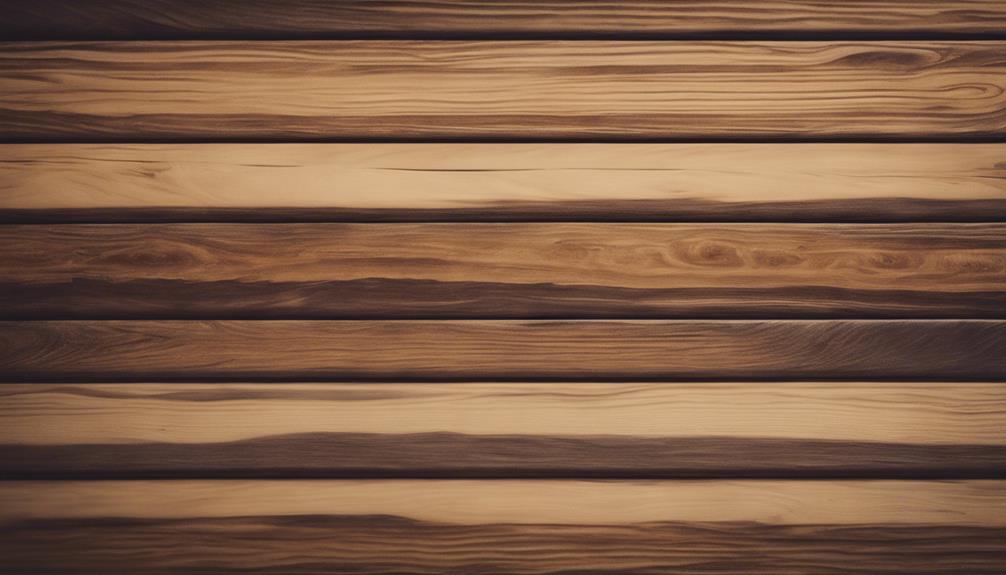
By applying multiple thin layers of glaze, we can carefully craft a rich, dimensional wood grain finish that rivals the real thing. To achieve this, we use our chip brush to layer multiple coats of glaze, building up layers gradually to add depth and complexity to the finish.
Each additional layer enhances the realism of the wood grain effect, allowing us to experiment with different colors and tones to create a more intricate and authentic look. By building up layers, we gain better control over the intensity and complexity of the wood grain, which helps us achieve a nuanced and realistic wood finish that mimics natural wood variations.
This process requires patience, but the end result is well worth the effort. With each layer, we're able to refine the finish, adding subtle nuances that make the faux wood grain look incredibly realistic. By layering multiple coats, we can create a finish that's truly convincing – and that's what sets our faux wood grain apart from the rest.
Blend and Soften the Glaze
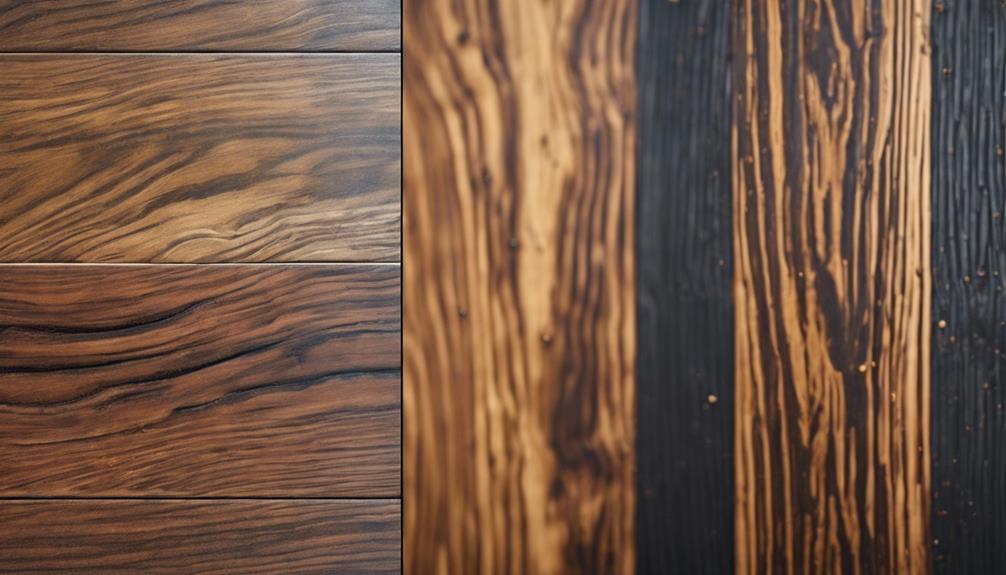
With our layered glaze in place, nuance is added through the subtle art of blending, where a soft brush becomes an extension of our hand, merging colors and softening the faux wood grain glaze to evoke the gentle, organic curves of natural wood. This important step helps create depth and detail in the wood grain effect, ensuring a realistic appearance.
We use a soft brush to blend and soften the glaze, creating a smooth shift between the grain lines. It's vital to blend the glaze evenly to achieve a realistic wood grain appearance. We practice blending and softening techniques on spare materials before applying them to the final project, ensuring a flawless finish.
Enhance Edges and Details
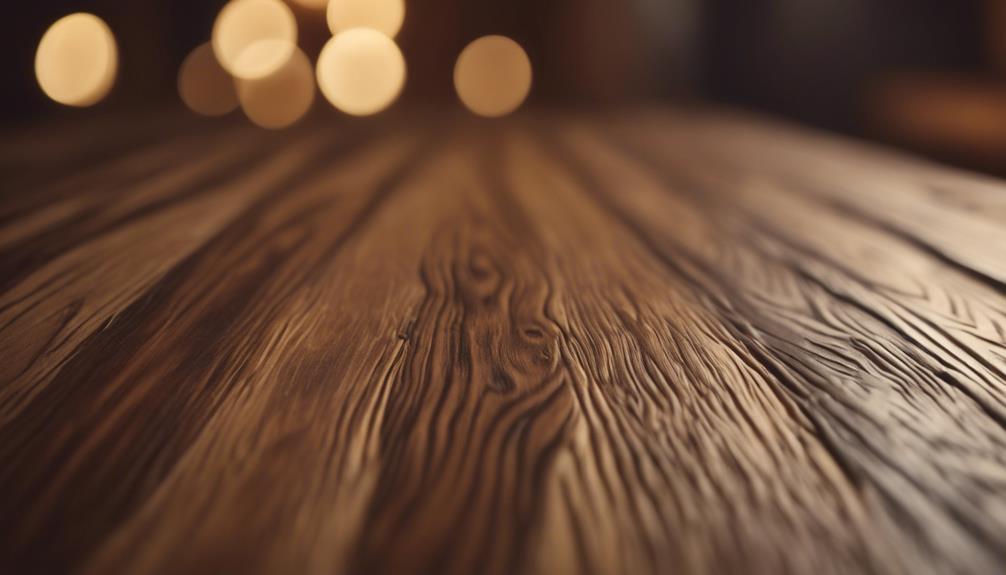
We focus on enhancing the edges and details of our faux wood grain finish, strategically darkening specific areas to create depth and dimension. To achieve this, we apply Dark, a darker colorant, to the edges and details, mimicking the natural aging and wear of real wood.
When applying the Dark, we blend it with a rag to create a seamless shift between the base coat and the faux wood grain. This technique allows us to customize the level of aging and distressing in our faux wood grain finish.
As we work, we look closely at the Entire Piece, paying attention to the areas that would naturally show more wear, such as corners and raised details. We apply the Dark back and forth, feathering it out to create a soft, subtle shift.
Seal the Faux Wood Finish

We apply a vital protective coat to our faux wood grain finish, effectively locking in the vibrant colors and textures while safeguarding it against wear and tear. This essential step seals the faux wood finish, ensuring our hard work lasts for years to come.
By doing so, we enhance the durability and longevity of our faux wood surface. The clear protective coat provides a smooth and uniform finish, allowing the faux wood grain to retain its vibrant color and texture. To achieve a professional and long-lasting seal, we choose a high-quality varnish or polyurethane.
By sealing the faux wood finish, we protect it from daily wear and tear, ensuring it remains stunning for years to come. This step is vital in maintaining the integrity of our faux wood grain finish, and we're excited to see the final result.
With our faux wood finish now sealed, we can confidently display our masterpiece, knowing it will withstand the test of time.
Frequently Asked Questions
How to Create a Faux Wood Grain Finish?
'We're often asked how to create a faux wood grain finish, and the answer lies in mastering a few key techniques.
It starts with selecting the right base color, whether it's tan, brown, or gray tones, and matching it with a grain color that closely resembles it.
From there, proper prepping and tape techniques come into play to craft realistic grain patterns.
With practice and patience, we can achieve stunning faux wood finishes that conceal imperfections and elevate our furniture pieces.'
How to Wood Grain Effect?
As we explore the world of faux wood finishes, we ask: how do we achieve that coveted wood grain effect?
It's all about mastering the art of illusion. We're not trying to fool Mother Nature, but rather, we're using clever techniques to deceive the eye.
By manipulating colors and strokes, we can create a wood grain effect that's almost indistinguishable from the real deal.
With practice and patience, we can conjure up a convincing wood grain pattern that'll leave onlookers wondering if it's the real thing.
How to Bring Out Wood Grain Texture?
We've all struggled to bring out the wood grain texture in our DIY projects. The key is to sand and prime the surface to create a smooth canvas.
Then, we apply a base coat in the direction of the wood grain to enhance the natural look. By doing so, we set the stage for a realistic wood grain finish that's sure to impress.
What Technique or Tool Can Be Used to Create a Wood Grain Appearance?
As we explore the realm of faux wood grain, we envision a canvas of swirling patterns, reminiscent of a serene forest landscape.
To create a wood grain appearance, we can use a wood graining tool or a comb to mimic the natural beauty of wood.
Conclusion
We've successfully transformed our surface into a stunning faux wood grain finish! Theories suggest that our brains are wired to respond positively to natural patterns, which is why wood grain designs are so appealing.
By following these 7 steps, we've tapped into that instinctual attraction, creating a finish that's both beautiful and believable.
Now, go ahead and apply your new skills to create a wood grain masterpiece that will deceive even the keenest of eyes!
- About the Author
- Latest Posts
Introducing Ron, the home decor aficionado at ByRetreat, whose passion for creating beautiful and inviting spaces is at the heart of his work. With his deep knowledge of home decor and his innate sense of style, Ron brings a wealth of expertise and a keen eye for detail to the ByRetreat team.
Ron’s love for home decor goes beyond aesthetics; he understands that our surroundings play a significant role in our overall well-being and productivity. With this in mind, Ron is dedicated to transforming remote workspaces into havens of comfort, functionality, and beauty.
Decor
Thrifted Glass Globes Made Into Vintage Candle Holders
Sparkling with creative potential, thrifted glass globes await transformation into one-of-a-kind vintage candle holders, but how do you bring them to life?

We can give new life to thrifted glass globes by transforming them into unique, eco-friendly, and affordable vintage candle holders for our homes. Found at thrift stores, these glass globes are an inexpensive and sustainable option for decorations. After a thorough cleaning and preparation, we can use painting and decorating techniques to add a personal touch. Then, we choose candles that complement our holders, considering color, scent, and safety. With a few finishing touches, our vintage candle holders are ready to be showcased, adding warmth and character to any room. As we continue, we'll discover even more creative ways to customize and enhance our upcycled masterpieces.
Key Takeaways
• Repurpose thrifted glass globes into unique vintage candle holders for an affordable and eco-friendly home decoration option.
• Clean and prepare the globes by washing, removing dirt and grime, and drying thoroughly to prevent water spots.
• Enhance the globes with painting and decorating techniques, such as spray painting and stenciling, to add personalized touches.
• Choose candles that complement the holders, considering color, scent, and safety, and experiment with different heights and decorations.
• Display the vintage holders on mantles, shelves, or as centerpieces, mixing and matching different sizes and styles to add ambiance and character to any room.
Gathering Thrifted Glass Globes
While scouring through thrift stores, we stumble upon a treasure trove of affordable glass globes that can be repurposed into unique vintage candle holders. We're thrilled to discover that these thrifted glass globes can be transformed into beautiful, one-of-a-kind decorations for our homes. The best part? They're incredibly affordable, making it possible to amass a collection of varying sizes and shapes without breaking the bank.
As we hunt for the perfect glass globes, we're drawn to the sustainable and eco-friendly aspect of repurposing these thrifted finds. By giving new life to these discarded items, we're reducing waste and embracing a more environmentally conscious lifestyle. Plus, each globe's unique character adds a touch of vintage charm to our spaces.
We can envision them holding tea lights, pillar candles, or even fairy lights, casting a warm, cozy glow. With a little creativity, these thrifted glass globes can become stunning vintage candle holders that add personality to our homes.
Cleaning and Preparing the Glass

We meticulously wash the thrifted glass globes in warm soapy water to remove any dirt and grime that may be obscuring their beauty. This careful cleaning process helps to reveal the true clarity of the glass, allowing us to evaluate their condition more accurately.
In some cases, we need to address tougher stains on the glass surfaces. For these, we mix equal parts of vinegar and water to create a solution that can help break down the stubborn grime.
Before we can start decorating, we need to make sure our glass globes are clean and dry. Here are some key steps to follow:
- Dry the glass thoroughly to prevent water spots or streaks
- Inspect for any cracks or damages that may affect the functionality
- Remove any existing hardware or fixtures attached to the glass globes
- Use a mixture of vinegar and water for tough stains on the glass surfaces
Painting and Decorating Techniques
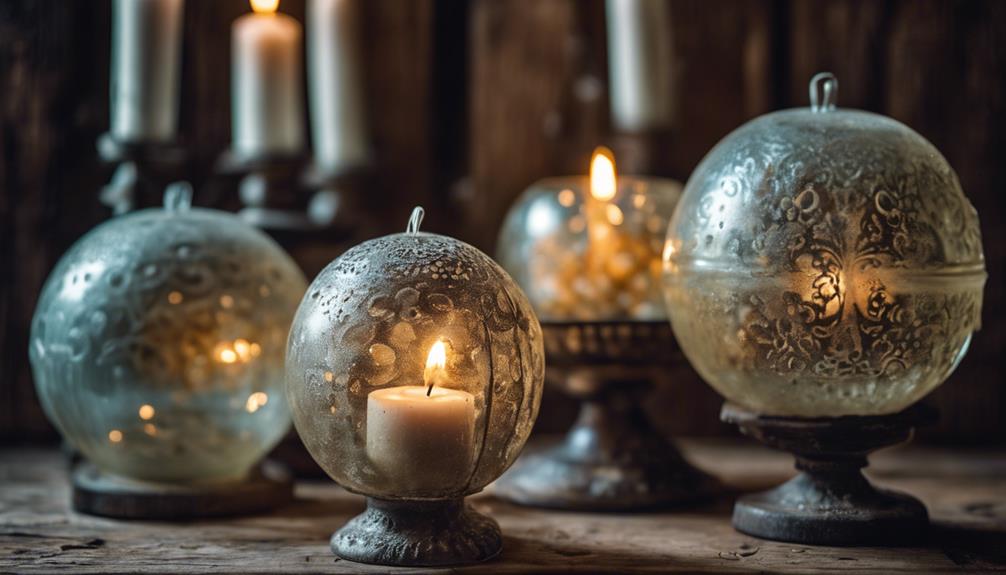
Now that we've prepared our thrifted glass globes, it's time to get creative with painting and decorating techniques.
We'll explore various methods to give our vintage candle holders a personalized touch, from using spray paint and stencils to experimenting with different colors and designs.
Painting Techniques Explained
With a few simple painting techniques, we can breathe new life into thrifted glass globes, transforming them into one-of-a-kind vintage candle holders that reflect our personal style.
When it comes to painting glass globes, we've found that different techniques can enhance their look. Here are some methods we've found effective:
- Spray painting: This technique dries quickly and evenly on glass surfaces, creating a smooth finish for our vintage candle holders.
- Stenciling: This allows for intricate designs and patterns to be added to the glass globes for a personalized touch.
- Experimenting with colors and finishes: We can mix and match different paint colors and finishes to create unique, one-of-a-kind designs.
- Layering techniques: By layering different painting techniques, we can create complex, multi-dimensional designs that add depth and visual interest to our vintage candle holders.
Decorative Finishing Touches
By adding decorative finishing touches, we can elevate our vintage candle holders from simple to stunning, and make them a true reflection of our personal style. When it comes to thrifted glass globes, a little creativity can go a long way.
We can use spray paint or stencils to add a personalized touch to our DIY candle holders. To achieve a cohesive look, we choose paint colors that complement our home decor. We can decorate with patterns, designs, or solid colors to match the style of our space. Experimenting with different painting techniques allows us to create unique and eye-catching candle holders that reflect our individuality.
After painting, we let the paint dry completely before inserting the candles into the globes. With a little patience and creativity, we can transform thrifted glass globes into beautiful, one-of-a-kind glass candles that add a touch of elegance to any room.
Adding Candles and Finishing Touches
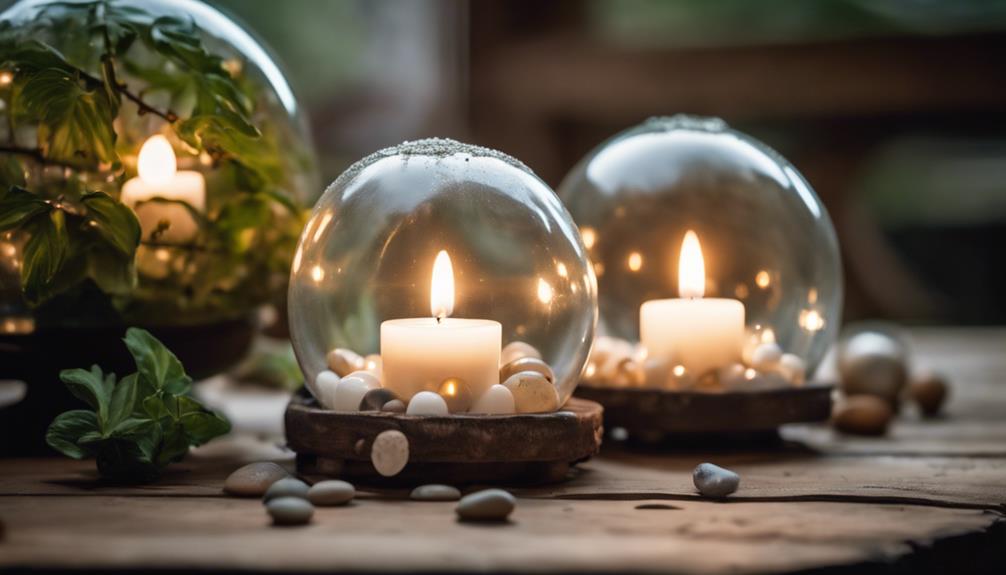
As we move forward with our vintage candle holders, we're now at the exciting stage of adding the finishing touches.
We'll explore the best ways to select the right candles for our unique holders, and then enhance their beauty with decorations that complement their charm.
Selecting the Right Candles
We start by choosing candles that complement our vintage candle holders, considering factors like color, scent, and safety. After scouring thrift stores for unique glass globes, we want to guarantee our candles enhance the overall aesthetic.
When selecting the right candles, we consider the following:
- Match the candle color to the decor theme for a cohesive look.
- Opt for scented candles to add a pleasant aroma to the space.
- Experiment with different candle heights for visual interest and dimension.
- Consider using flameless LED candles for safety and convenience.
Enhancing With Decorations
With our vintage candle holders and candles in place, we can now focus on enhancing the overall ambiance with decorations and finishing touches. To create a cozy atmosphere, we can experiment with different candle sizes and colors to evoke various moods. Placing the candle holders strategically in different areas of our home can also enhance the overall aesthetic and atmosphere.
Here are some ideas to get us started:
| Decoration Ideas | Description |
|---|---|
| Add Faux Greenery | Place artificial leaves or branches inside the globe for a rustic touch |
| Beachy Vibes | Fill the globe with sand and seashells for a coastal feel |
| Floral Accents | Add dried flowers or petals for a romantic ambiance |
| Monochromatic | Use candles and decorations in a single color scheme for a cohesive look |
Finishing Touches Applied
We're now ready to bring our vintage candle holders to life by adding the perfect candles and finishing touches. Our thrifted glass globes have transformed into unique light globes, and now it's time to add the final flourishes.
To complete the look, we can:
- Add taper candles of varying heights for a vintage feel
- Opt for LED candles for a safer, flameless alternative
- Embellish with decorative accents like dried flowers or greenery around the base
- Experiment with scented candles to create a soothing ambiance
Displaying Your New Vintage Holders
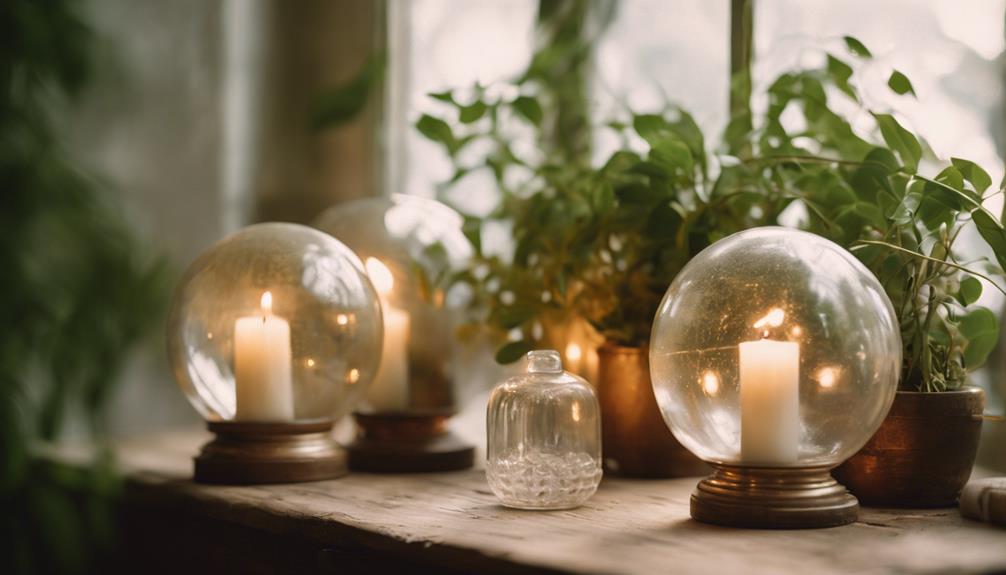
Once you've curated your unique collection of vintage candle holders, it's time to showcase them in a way that adds ambiance and visual interest to your space.
We love using these vintage holders to create a warm and inviting atmosphere in our homes. When displaying our new vintage holders, we're always looking for creative ways to showcase their unique charm.
We find that placing them on mantles, shelves, or as part of a centerpiece adds a decorative accent to any room. To create a stunning visual display, we hang the glass globes with wire or place them on stands.
Mixing and matching different sizes and styles of vintage candle holders adds an eclectic and personalized touch to our decor. These vintage candle holders can elevate any room, adding a touch of elegance and character to our homes.
Tips and Variations for Customization
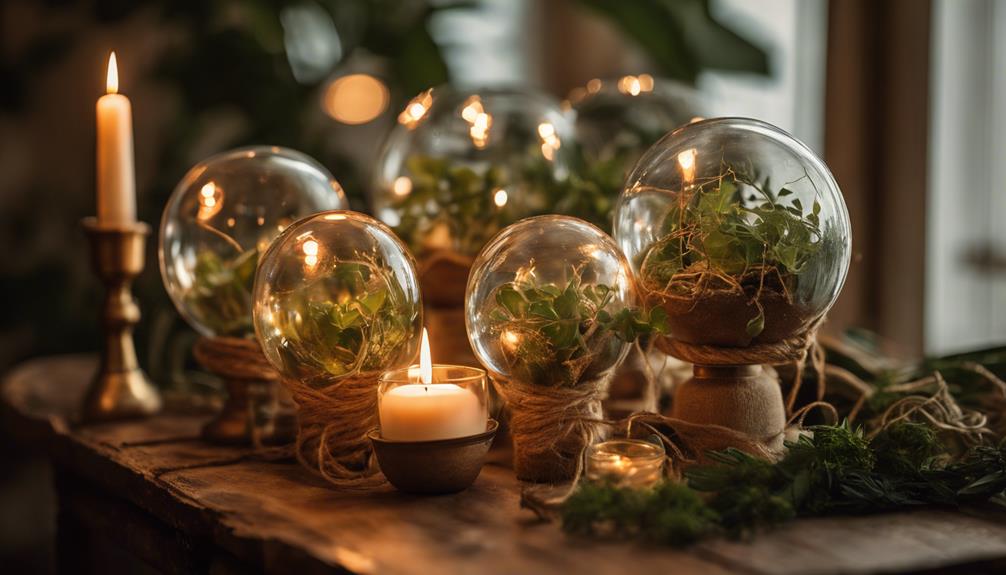
We customize our vintage candle holders by repurposing thrifted glass globes. These can be easily transformed into unique decor pieces with a little creativity and some simple DIY techniques. This customization allows us to put our personal touch on these one-of-a-kind decor pieces.
To take our thrifted glass globes to the next level, we can try out some of the following ideas:
- Add a pop of color with paint or stencils to match our home decor
- Experiment with different candle sizes and colors to create a visually appealing display
- Use wood blocks as stands to enhance stability and versatility in placement options
- Mix and match different globe sizes and shapes to create a unique centerpiece
Frequently Asked Questions
How to Remove Wax From Glass Candle Sticks?
When we need to remove wax from glass candlesticks, we've found a few methods that work well.
First, we place the candlestick in the freezer to harden the wax, making it easier to scrape off with a butter knife or spoon. If there's still residue, we use a damp cloth to wipe it clean.
For stubborn wax, we apply a warm iron to melt and absorb it with a paper towel.
How Do You Make Mercury Glass Candles?
We're thrilled to explore the world of mercury glass candles!
To make these stunning candles, we apply a silver nitrate solution to the inside of a glass container.
Next, we mix in a reducing agent to create a mirror-like effect on the glass surface.
For an aged look, we can distress the surface using rubbing alcohol or vinegar.
With these simple steps, we can create our own beautiful, vintage-inspired mercury glass candles.
How Do You Paint Glass Candle Holders?
Like a blank canvas waiting for a masterpiece, our glass candle holders are ready for a fresh coat of paint.
To achieve a smooth, even finish, we clean them thoroughly with soap and water before applying thin, even coats of glass-specific spray paint.
We let them dry completely to prevent smudges or damage, and consider sealing them with a clear sealant for added protection.
How to Upcycle Candle Jars?
We're excited to explore upcycling candle jars. First, we clean them with warm soapy water, removing any wax residue.
Then, we can repurpose them as planters, storage containers, or makeup brush holders. To give them a personalized touch, we can decorate them with paint, fabric, or ribbons.
Alternatively, we can upcycle them into DIY candles by melting down old wax and adding new wicks and scents. The possibilities are endless!
Conclusion
As we gaze upon our transformed thrifted glass globes, now radiant vintage candle holders, we're reminded that beauty lies in the unexpected.
Like a phoenix rising from the ashes, our creative endeavors breathe new life into discarded treasures, casting a warm, golden glow on our surroundings.
- About the Author
- Latest Posts
Introducing Ron, the home decor aficionado at ByRetreat, whose passion for creating beautiful and inviting spaces is at the heart of his work. With his deep knowledge of home decor and his innate sense of style, Ron brings a wealth of expertise and a keen eye for detail to the ByRetreat team.
Ron’s love for home decor goes beyond aesthetics; he understands that our surroundings play a significant role in our overall well-being and productivity. With this in mind, Ron is dedicated to transforming remote workspaces into havens of comfort, functionality, and beauty.
Decor
Step-by-Step Guide to Creating a Stunning Brick Wall Accent
Achieve a unique, industrial-chic look in your home with this comprehensive guide to creating a stunning brick wall accent from scratch.
We're about to start on a transformative project: crafting a stunning brick wall accent that adds depth, texture, and visual appeal to any room. To get started, we'll gather essential materials like high-quality brick veneer, a grout bag, and necessary tools. Next, we'll prepare the wall surface, making sure it's clean and even. Then, we'll initiate and trace the design, taking precise measurements to guarantee accuracy. We'll add texture with spackle and achieve a distressed look by exposing the bricks to the elements. Finally, we'll prime, paint, and finish the wall, blending corners and edges for a seamless look. Let's delve into the details to create a truly stunning accent wall.
Key Takeaways
• Prepare the wall surface by ensuring it's clean, even, and applying adhesive according to the manufacturer's instructions.
• Project and trace the design onto the wall using a projector and pencil or chalk for accurate visualization and measurement.
• Add texture and a distressed look by applying spackle, manipulating it for unique effects, and exposing the bricks to the elements for a natural patina.
• Paint the brick wall accent with a masonry primer and a chosen paint color, applying it evenly with a roller and blending corners and edges for a seamless look.
• Inspect the finished wall accent for a flawless finish and maintain it accordingly to ensure its longevity.
Gathering Essential Materials
We'll need to gather the following essential materials to create a stunning brick wall accent that exceeds our expectations. For a professional-looking result, we can't skimp on the quality of our materials.
First, we'll need a high-quality brick veneer that will be the star of the show.
Next, we'll require a grout bag to apply the grout between the bricks, guaranteeing a seamless finish.
To cut our bricks to size, we'll need a saw with a diamond blade, which will make quick work of even the toughest bricks.
Additionally, we'll need a clean 5-gallon bucket to mix our grout and a trowel to apply it. Other necessary materials include Omnigrip adhesive, a level, tape measure, paint stir stick, brick jointer, gloves, and painters plastic for mess prevention.
With all these materials at our disposal, we'll be well on our way to creating a stunning brick wall accent that will elevate any room. By taking the time to gather all the necessary materials, we'll set ourselves up for success and secure a smooth, efficient process.
Preparing the Wall Surface
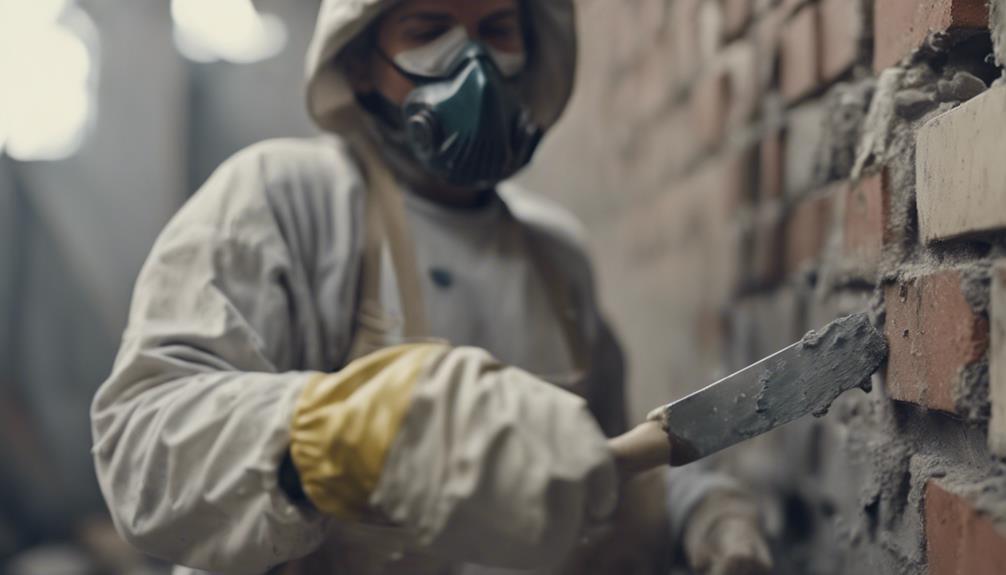
Cleaning the wall surface of any debris, dirt, or dust is the essential first step in preparing it for brick installation, ensuring a strong bond between the brick veneer and the wall. We need to make sure the surface is spotless to prevent any obstacles that might affect the adhesive properties of the brick.
Next, we'll use a level to check the wall for any uneven spots or imperfections that may impact the brick installation. This step is vital to guarantee a smooth and even application of the brick.
Once we've confirmed the wall is level, we'll apply a suitable adhesive or mortar to the wall surface according to the manufacturer's instructions. This will create a strong bond between the brick and the wall.
Before we begin the installation process, we'll also consider using a protective covering or drop cloth to prevent messes and protect the surrounding area.
Projecting the Brick Pattern
With our wall surface prepared, we're ready to visualize the brick pattern, and a projector will be our best friend in this step. We'll use it to display the brick pattern onto the wall, guaranteeing accurate placement.
First, we'll position the projector at the right distance and angle to get a clear projection. Then, we'll adjust the size and alignment of the projected image to fit our wall dimensions. This will provide us with a precise guide for our brick installation.
We'll take a moment to double-check that the projected image is centered and even, making any necessary adjustments before moving forward. With our pattern projected, we can now trace the design onto the wall using a pencil or chalk. This will give us a precise outline to follow as we begin installing our bricks.
Tracing the Design Accurately
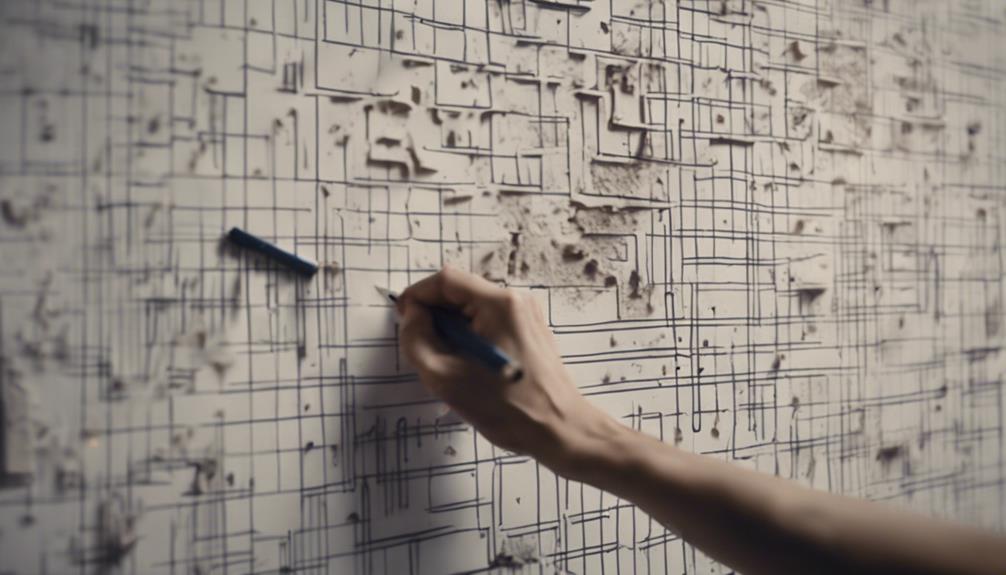
As we move forward with tracing the design accurately, we'll need to focus on three key points: designing the pattern, marking the wall, and measuring accurately.
By carefully considering these elements, we'll guarantee that our brick wall accent turns out stunning and precise.
Designing the Pattern
Having a projector helps us to accurately trace the brick wall design onto the surface, ensuring our pattern is precise and visually appealing.
When designing the pattern, precision is key to achieving a professional-looking brick accent wall. We take our time to carefully trace the pattern, ensuring proper alignment and spacing of the bricks.
Using a projector allows us to transfer a detailed and consistent design onto the wall, which is essential for a stunning brick accent wall. Recognizing that precision in tracing the design will result in a visually appealing final product.
Rushing through this step can lead to errors during the installation process, which is why we take the time to get it right. By tracing the pattern accurately, we can achieve a beautiful brick accent wall that adds character and style to any room.
With precision and patience, we can create a design that will impress.
Marking the Wall
Before we start tracing the design, we level the wall and take precise measurements to guarantee our brick accent wall turns out perfectly aligned and visually stunning. To guarantee accuracy, we use a level and tape measure to mark the dimensions of the accent wall precisely. This step is essential, as it sets the foundation for a cohesive and professional-looking finish.
| Step | Action | Tips |
|---|---|---|
| 1 | Level the wall | Ensure the wall is even and plumb |
| 2 | Measure dimensions | Use a tape measure to record precise measurements |
| 3 | Mark the design | Trace the design accurately, paying attention to corners and edges |
We double-check our measurements and markings to avoid any mistakes that could impact the overall appearance of our brick accent wall. By taking our time and being meticulous, we can create a stunning feature wall that adds visual interest to any room.
Measuring Accurately
By taking precise measurements, we ensure that our brick accent wall design is accurately translated onto the wall, enabling us to visualize the final look of our stunning feature wall.
To achieve this, we use a tape measure to guarantee accuracy in our measurements. By doing so, we can determine the exact size and layout of our brick accent wall, guaranteeing a seamless design that fits perfectly with the wall dimensions.
Tracing the design accurately on the wall helps us visualize the final look of our brick accent wall, making it easier to make any necessary adjustments before starting the installation process. Taking accurate measurements is essential for ensuring the bricks fit perfectly and the design is symmetrical.
Precision in measuring and tracing the design ensures a professional and visually appealing brick accent wall. With accurate measurements, we can confidently begin the installation process, knowing that our stunning brick accent wall will turn out exactly as envisioned.
Adding Texture With Spackle
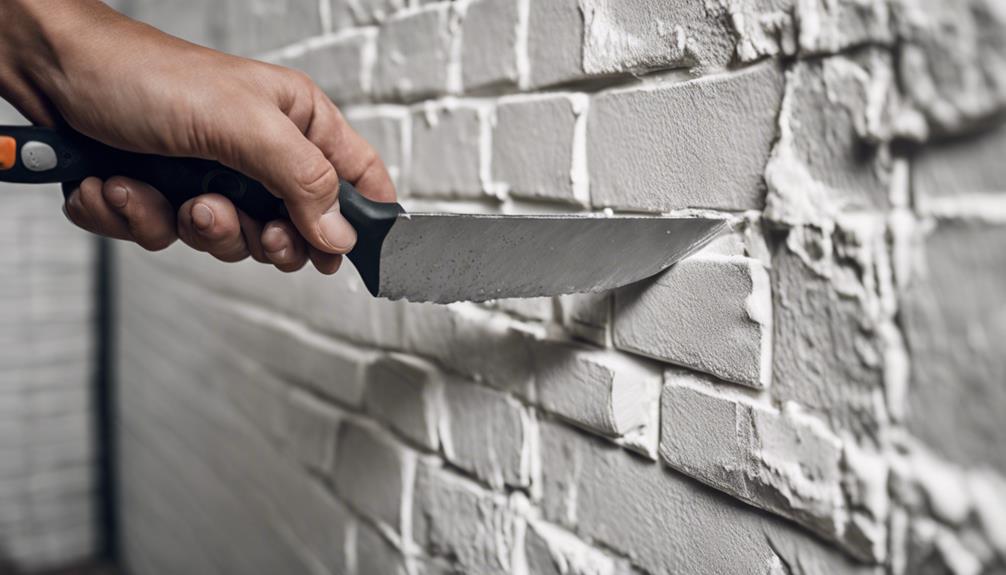
Frequently, we find that spackle is an ideal material for adding texture to a brick wall, as it can be manipulated to achieve a wide range of effects. By applying spackle generously and strategically, we can create unique textures and patterns on the brick surface.
To achieve the desired texture, we can use tools like putty knives to manipulate the spackle and create varying effects.
Some techniques to try include:
- Dabbing the spackle onto the brick wall to create a rough, irregular texture
- Scraping the spackle with a putty knife to create a smooth, even texture
- Building up layers of spackle to create a raised, three-dimensional effect
- Using different tools, such as a trowel or a sponge, to create unique textures and patterns
Achieving a Distressed Look

As we delve into the world of achieving a distressed look for our brick wall accent, we'll explore the finer points of creating an authentically worn appearance.
We'll discuss how to age the bricks naturally, emphasizing faded spots to give our accent wall a truly vintage vibe.
Aging the Bricks Naturally
We can replicate the natural aging process by exposing our bricks to the elements, allowing them to develop a rich, distressed look over time. This process can take months, even years, but the result is well worth the wait. As our brick wall is exposed to the sun, rain, and wind, it will begin to develop a unique patina that adds character and authenticity to our accent wall.
Some of the natural effects we can expect to see include:
- Moss, lichen, and efflorescence forming on the bricks, adding texture and visual interest
- Weathering and wear that creates a worn, aged appearance
- Cracks, chips, and discoloration that add to the distressed look
- Unique patterns and textures that develop over time, giving our brick wall a one-of-a-kind charm
Emphasizing Faded Spots
To take our naturally aged brick wall to the next level, we'll emphasize the faded spots, strategically applying paint to create a distressed look that adds character to our accent wall.
Using a dry brush technique, we'll lightly apply paint to the faded areas, creating a weathered appearance that adds depth and texture to our wall. By blending the corners with a heavier coat of paint, we'll enhance the distressed effect, making our wall look like it's been around for years.
To achieve this look, we'll need to plan out the placement of the faded areas carefully. We can use a projector or our drawing skills to map out the design, ensuring a cohesive distressed look.
Painting the Brick Accent Wall
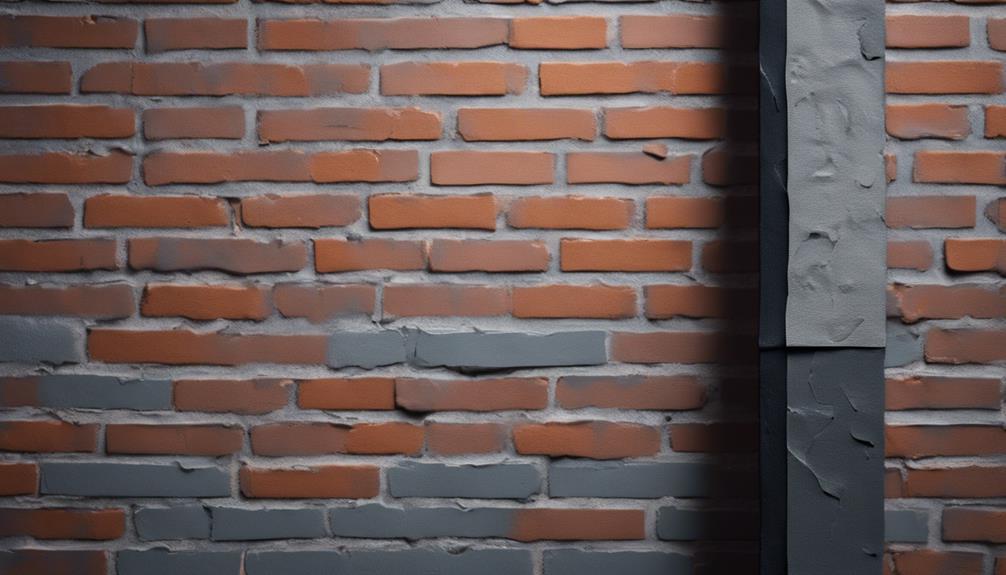
We're ready to transform our brick accent wall with a fresh coat of paint, but first, we need to prime it with a high-quality masonry primer to guarantee the paint adheres properly. This vital step ensures a strong bond between the paint and the brick, preventing peeling or flaking over time.
To achieve a stunning brick accent wall, we'll follow these essential steps:
- Choose a paint color that complements our room's decor and style, considering darker colors for a dramatic look.
- Select a breathable masonry paint to allow moisture to escape from the brick and prevent peeling or bubbling.
- Apply paint using a high-quality roller for even coverage, and consider using a brush for hard-to-reach areas and grout lines.
- Allow the paint to fully dry between coats and consider adding a clear sealant for added protection and durability.
Blending Corners and Edges
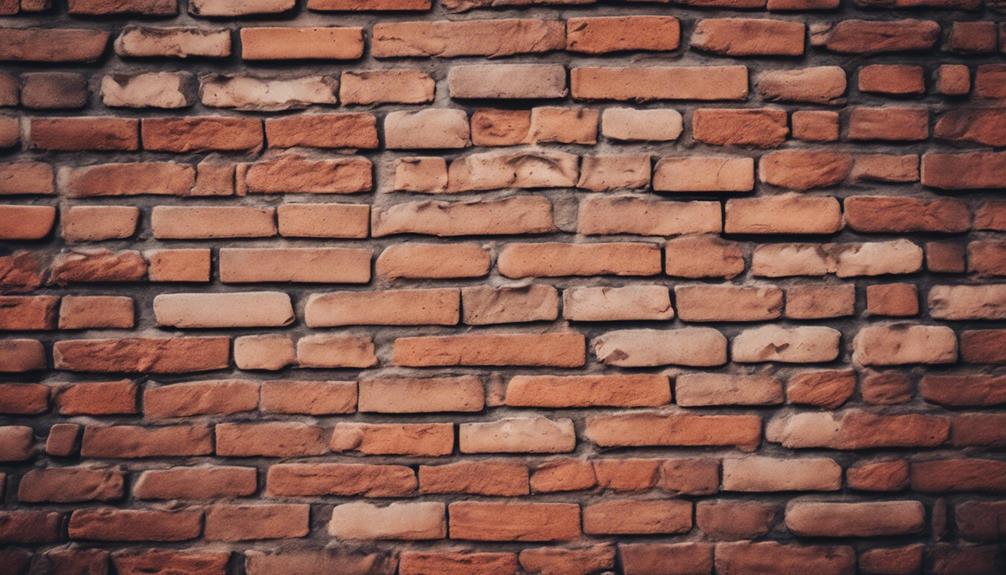
After priming and painting our brick accent wall, we're ready to tackle the often-overlooked details that make all the difference: blending corners and edges. This pivotal step guarantees a seamless look across the entire wall.
To achieve this, we'll employ a specific paint technique. When corner blending, we'll apply a heavier coat of paint and gradually fade it towards the center of the wall, creating a smooth shift. Along the edges, we'll use light strokes and a dry brush technique to create a distressed effect, adding character to our brick wall.
It's crucial to pay attention to detail when painting corners and edges to maintain a cohesive look. We'll apply paint lightly on the corners to avoid a heavy or unnatural appearance that may disrupt the overall aesthetic.
To guarantee accuracy, we can utilize a projector or drawing skills to accurately trace and blend corners and edges for a professional finish.
Finishing Touches and Inspection
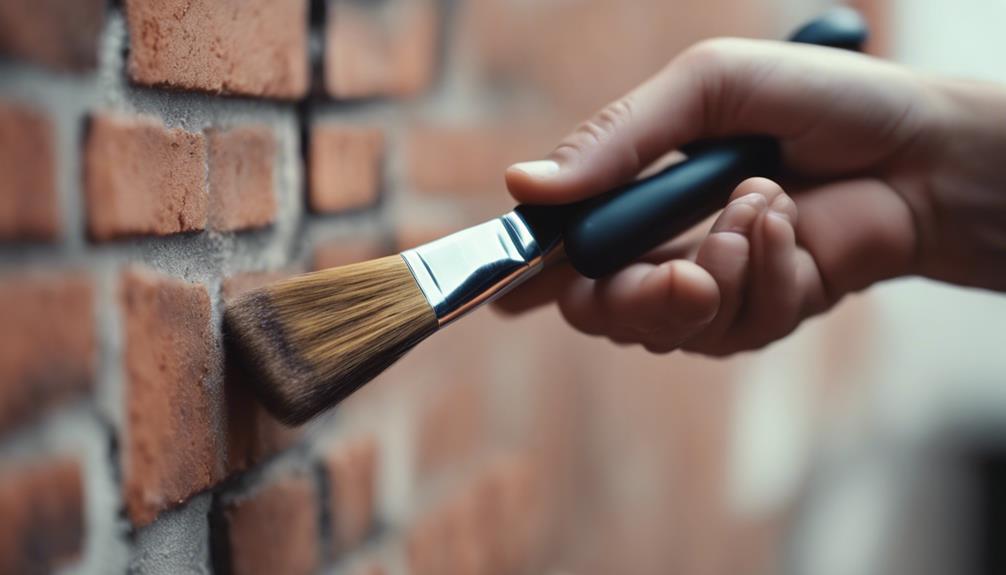
We inspect every inch of our brick accent wall, scrutinizing each brick and joint to guarantee a flawless finish. This final step is essential in ensuring our hard work pays off.
As we examine the wall, we're checking for any loose bricks or grout, making sure everything is stable and secure.
Here are some key things we're looking for:
- Loose bricks or grout that need to be resecured
- Signs of damage or wear and tear that require maintenance or touch-ups
- Areas that need a good cleaning to maintain the wall's appearance and longevity
- Whether sealing the brick wall is necessary for added protection against stains and moisture.
Frequently Asked Questions
How Can I Make My Brick Wall More Attractive?
We want to make our brick wall more attractive, and rightfully so! To achieve this, we can add texture with different brick colors or patterns, strategically use lighting to highlight the texture and depth, and incorporate decorative elements like shelves, artwork, or plants.
We can also experiment with finishes like whitewashing or sealing for a customized look. By doing so, we'll create a visually appealing space that showcases our brick wall's unique character.
How Do You Make a Brick Wall Effect on a Wall?
We achieve a brick wall effect on a wall by using thin brick panels or brick veneer for a realistic look.
We apply mastic or tile adhesive to the back of each panel and affix them to the wall, guaranteeing a secure installation.
We use a level to confirm straight rows and a seamless appearance.
How Do You Make a Realistic Faux Brick Wall?
We've found that creating a realistic faux brick wall involves more than just slapping on some brick veneer panels.
To achieve an authentic look, we investigate the importance of subtle details. By applying spackle to fill in gaps and create a distressed effect, we can mimic the imperfections of real brick.
Additionally, using a projector to trace a brick pattern guarantees accurate placement, while drywall screws provide a durable finish.
How Do You Decorate a Brick Accent Wall?
We approach decorating a brick accent wall by striking a balance between showcasing its rustic charm and incorporating complementary elements.
We opt for minimalist decor to let the brick take center stage, while strategic lighting fixtures highlight its texture and depth.
Adding pops of color through wall hangings or plants creates a striking contrast, and thoughtfully arranged furniture enhances the overall aesthetic.
Conclusion
As we step back to admire our handiwork, we're reminded of the ancient Greeks' concept of 'meraki' – pouring love and care into our creations.
Our brick accent wall, with its textured, distressed beauty, is a confirmation of the power of attention to detail. Like a masterpiece of trompe l'oeil, it deceives the eye, inviting the viewer to touch, to explore.
And as we walk away, we're certain that our labor of love has created something truly remarkable – a work of art that whispers, 'I was made with love, and I'll endure.'
- About the Author
- Latest Posts
Introducing Ron, the home decor aficionado at ByRetreat, whose passion for creating beautiful and inviting spaces is at the heart of his work. With his deep knowledge of home decor and his innate sense of style, Ron brings a wealth of expertise and a keen eye for detail to the ByRetreat team.
Ron’s love for home decor goes beyond aesthetics; he understands that our surroundings play a significant role in our overall well-being and productivity. With this in mind, Ron is dedicated to transforming remote workspaces into havens of comfort, functionality, and beauty.
-

 Vetted3 days ago
15 Best Printers of 2024: Top Picks and Expert Reviews
-
 Vetted5 days ago
15 Best Tile Sealers for Long-Lasting Protection and Shine
-

 Vetted1 week ago
15 Best Smelling Floor Cleaners That Will Leave Your Home Fresh and Inviting
-

 Vetted1 week ago
14 Best Power Scrubbers for Showers That Will Transform Your Cleaning Routine
-

 Vetted9 hours ago
15 Best LED Dimmer Switches With No Flicker: Ultimate Guide for a Flicker-Free Lighting Experience
-

 Vetted11 hours ago
15 Best Evergreen Plants for Shade Gardens: A Complete Guide
-

 Mardi Gras Decoration2 days ago
What Do the Symbols of Mardi Gras Mean?
-

 Appliances5 days ago
5 Best Energy-Efficient Stainless Steel Fridges 2023


