Decor
How to Make Studio Decor
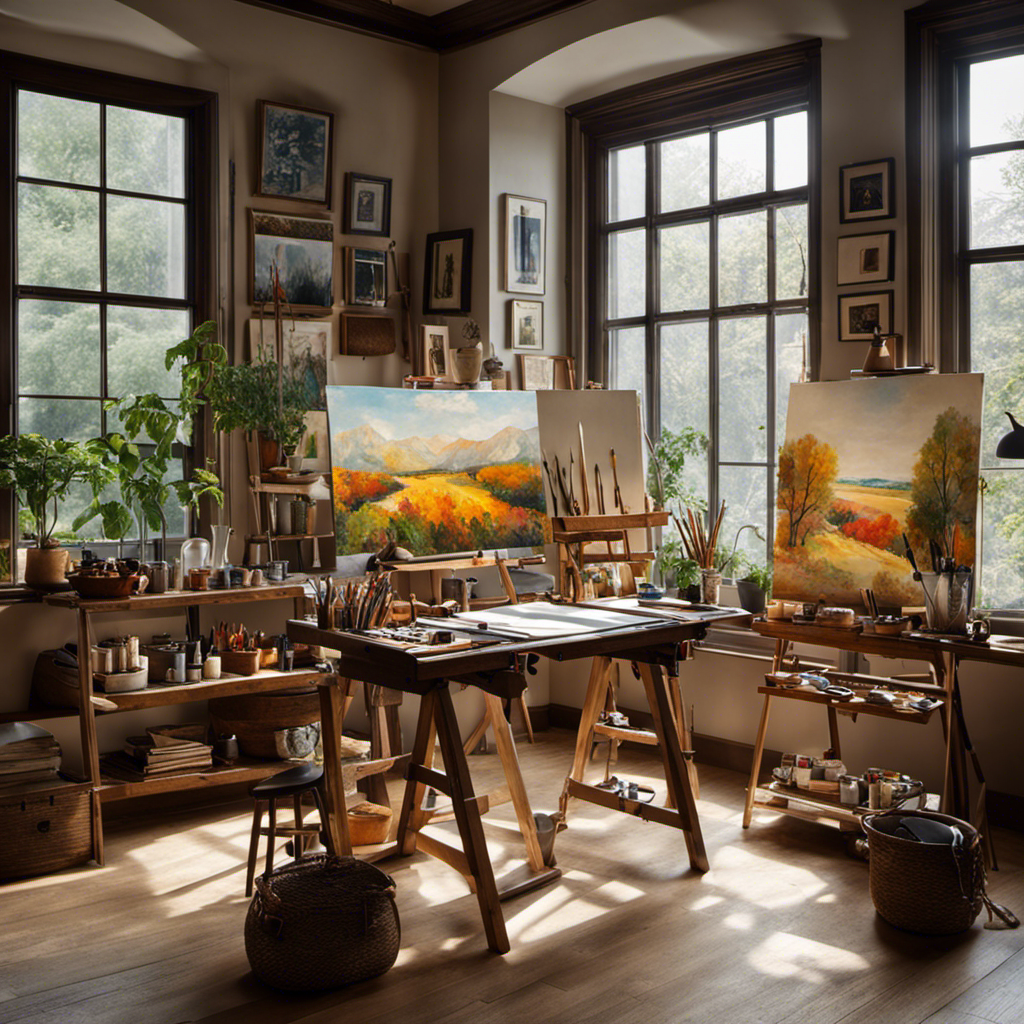
Have you ever walked into a studio and been amazed by the stunning decor? Wondering how they achieved that perfect blend of style and functionality?
In this article, we will show you how to make studio decor that will leave everyone in awe. From choosing the right color scheme to creating DIY wall art, we’ll guide you through the process step by step.
Get ready to transform your studio into a stylish and inspiring space that reflects your personality.
Key Takeaways
- The color scheme sets the tone and ambiance of the studio decor.
- Incorporating geometric patterns or floral motifs adds visual interest.
- DIY wall art allows for personalization and creativity.
- Utilizing storage solutions maximizes small spaces and keeps things organized.
Choosing the Right Color Scheme
You should start by deciding on the perfect color scheme for your studio decor. This decision is crucial as it sets the tone and ambiance of your creative space. Color psychology plays a significant role in influencing our emotions and productivity.
For instance, if you want to create a calm and serene environment, you may opt for soothing blues or greens. On the other hand, if you’re aiming for an energetic and vibrant atmosphere, bold reds or yellows would be more suitable.
Another aspect to consider is the use of patterns. Patterns can add depth and visual interest to your studio decor. Incorporating geometric patterns or floral motifs can make your space more visually appealing and lively.
Essential Tools and Materials
Gather the essential tools and materials needed for your studio decoration project.
To create a space that reflects your unique style and personality, you’ll need a few key items.
Start with a measuring tape, as accurate measurements are crucial for a successful project.
Next, gather a hammer, screwdriver, and level for hanging artwork or shelves.
Paintbrushes and rollers are essential for applying paint or wallpaper, while a drop cloth will protect your floors and furniture.
Don’t forget to stock up on sandpaper and a putty knife for smoothing out any imperfections.
Finally, invest in a good quality adhesive for mounting mirrors or other decorative elements.
With these essential tools and materials, you’ll be well-equipped to transform your studio into a stylish and inviting space.
DIY Wall Art Ideas
To add a personal touch to your walls, consider trying out some DIY wall art ideas. Not only will it showcase your creativity, but it will also give your space a unique and personalized look. One popular DIY project is DIY canvas painting. All you need is a blank canvas, some paint, and brushes to create your own masterpiece. Another great option is upcycling projects, where you can repurpose old items into beautiful wall art. For example, you can turn old picture frames into a gallery wall or use reclaimed wood to create a rustic wall hanging. The possibilities are endless when it comes to DIY wall art, so get creative and start transforming your walls today.
| DIY Canvas Painting | Upcycling Projects |
|---|---|
| Blank canvas | Old picture frames |
| Paint | Reclaimed wood |
| Brushes | Recycled materials |
| Creativity | Repurposed objects |
| Personalized | Unique and eco-friendly |
Incorporating Storage Solutions
Consider utilizing storage solutions to maximize the functionality and organization of your space.
When it comes to maximizing small spaces and organizing supplies efficiently, storage solutions are your best friend. With the right storage options, you can transform even the tiniest studio into a well-organized and functional space.
Start by thinking vertically—utilize wall-mounted shelves or hanging organizers to free up valuable floor space. Invest in furniture with hidden storage compartments, such as ottomans or bed frames with built-in drawers.
Utilize clear plastic bins or baskets to store and categorize your supplies, making them easily accessible and visible.
Don’t forget about utilizing the space under your bed, with bed risers or storage containers specifically designed for this purpose.
With these storage solutions, you’ll be amazed at how much more you can accomplish in your small space.
Creating a Cozy and Functional Workspace
Utilize a comfortable chair and a well-lit desk to create a cozy and functional workspace. When it comes to designing your studio, it’s important to prioritize both comfort and productivity. Start by choosing ergonomic furniture options that promote good posture and reduce strain on your body. Look for adjustable chairs with lumbar support and desks that allow you to customize the height. Incorporating these elements will ensure that you can work for long hours without experiencing discomfort or fatigue.
In addition to ergonomic furniture, lighting techniques play a crucial role in creating a productive environment. Natural light is ideal, as it helps boost mood and energy levels. Position your desk near a window or use sheer curtains to allow maximum sunlight to enter the space. If natural light is limited, invest in task lighting that mimics daylight. Avoid harsh fluorescent lights as they can cause eye strain. Install adjustable lamps with warm, soft lighting to create a cozy atmosphere while providing adequate illumination for your work.
Frequently Asked Questions
How Do I Choose the Right Lighting for My Studio Space?
To make the best lighting choices for your studio, consider the purpose of the space, the type of activities you’ll be doing, and the atmosphere you want to create. Experiment with different fixtures and bulbs to find the perfect setup.
What Are Some Tips for Organizing and Storing Art Supplies in a Small Studio?
You want to get your art supplies organized in your small studio? Think of your supplies as a symphony waiting to be conducted. Utilize every nook and cranny, invest in storage solutions, and create a harmonious space for your creativity to flourish.
Are There Any Tips for Creating a Flexible and Versatile Studio Layout?
To create a flexible and versatile studio layout, start by considering the use of flexible furniture, like folding tables and modular shelves. Maximize space by utilizing vertical storage options and incorporating multifunctional pieces.
How Can I Incorporate Plants and Greenery Into My Studio Decor?
To create a calming studio atmosphere, incorporate plants and greenery into your decor. Use their natural beauty to bring life and tranquility to your space. It’s an easy and effective way to incorporate natural elements into your studio decor.
What Are Some Budget-Friendly Options for Adding Texture and Dimension to the Walls in My Studio?
To add texture and dimension to your studio walls, consider using inexpensive materials and DIY techniques. You can try creating a faux brick wall using foam panels or applying a textured wallpaper for a more affordable option.
Can I Use the Same Techniques to Make Wall Decor on Word for Studio Decor?
Yes, you can make word wall decor by using the same techniques that are used for studio decor. With a creative approach and some DIY skills, you can customize the design, fonts, and colors to create stunning wall decorations that incorporate meaningful words or phrases. Whether it’s for a studio or any other living space, making word wall decor allows you to add a personal touch to your surroundings.
Conclusion
In conclusion, creating your own studio decor can be a rewarding and fulfilling experience.
By carefully choosing the right color scheme, gathering the essential tools and materials, exploring DIY wall art ideas, incorporating storage solutions, and creating a cozy and functional workspace, you can transform your studio into a place that inspires creativity and productivity.
So let your imagination run wild and bring your studio to life with personalized decor that reflects your unique style and passion.
Start today and watch your creative space come alive!
- About the Author
- Latest Posts
Meet Bethia, the visionary designer at ByRetreat who brings a touch of magic to every remote workspace she creates. With a boundless imagination and an eye for beauty, Bethia is passionate about transforming ordinary spaces into extraordinary havens of creativity and comfort.
Bethia possesses a unique talent for envisioning the perfect combination of furniture, colors, and textures that harmonize seamlessly in a room. She understands that selecting furniture goes beyond mere functionality; it’s about curating pieces that evoke a sense of style and sophistication while enhancing the overall ambiance.
Decor
5 Stunning Ways to Style a White Brick Wall Living Room
Get ready to fall in love with these 5 stylish ways to transform your white brick wall living room into a show-stopping space.
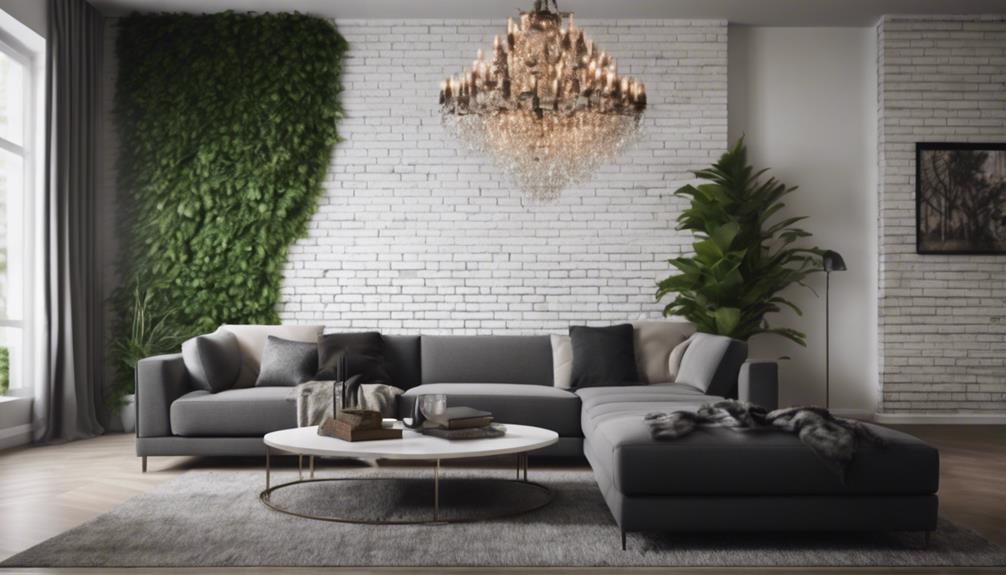
We've curated five stunning ways to style a white brick wall living room that'll elevate your space. Neutral tones and earthy accents create warmth and sophistication, while bold patterns and textures mix for depth and visual interest. Industrial chic with metal accents adds an urban edge, while soft pastels and nature-inspired elements bring elegance. Lastly, a monochromatic scheme with greenery focus creates a harmonious atmosphere. From contrasting textures to refined touches, we'll explore the design elements that'll transform your living room into a stunning focal point – and there's more to discover.
Key Takeaways
• Combine neutral tones like beige and grey with earthy accents like wooden furniture and indoor plants for a warm, sophisticated atmosphere.
• Mix bold patterns and textures like velvet and wool rugs to create a dynamic, cozy living room.
• Incorporate industrial chic elements like metal accents, distressed materials, and urban touches for a contrasting, refined look.
• Soothe the senses with soft pastel hues, nature-inspired elements, and natural textures like rattan and linen for a calming, elegant atmosphere.
• Use a monochromatic color scheme with pops of greenery and sleek, modern furniture to create a balanced, inviting living space.
Neutral Tones and Earthy Accents
By embracing neutral tones and earthy accents, we can create a harmonious balance that celebrates the unique charm of white brick walls in our living room. Neutral tones like beige, taupe, and grey beautifully complement the white brick, providing a calming backdrop for our cozy living space.
Earthy accents such as wooden furniture, rattan decor, and indoor plants add warmth and texture to the room, creating an inviting atmosphere. Incorporating natural materials like stone, jute, and ceramic elements enhances the earthy feel of the space, making it feel more organic and connected to nature.
Soft textiles like linen curtains, wool rugs, and cotton throws further contribute to the cozy ambiance, making our living room a haven for relaxation. By thoughtfully combining these elements, we can create a space that exudes warmth, sophistication, and a deep connection to the natural world.
Bold Patterns and Textures Mix

How can we inject personality and energy into our white brick wall living room without overwhelming its simplicity? One way is to incorporate bold patterns and textures that add depth and visual interest to the space. By mixing contrasting textures, we can create a dynamic and cozy atmosphere in our living room.
Here are a few ways to achieve this:
- Mix velvet, silk, or faux fur with rough wool rugs or smooth leather furniture to create a visually interesting space.
- Layer different textures through throw blankets, pillows, and curtains to enhance the cozy atmosphere of the room.
- Experiment with contrasting textures like a sleek metal coffee table against a plush shag rug for a modern twist on traditional decor.
Industrial Chic With Metal Accents
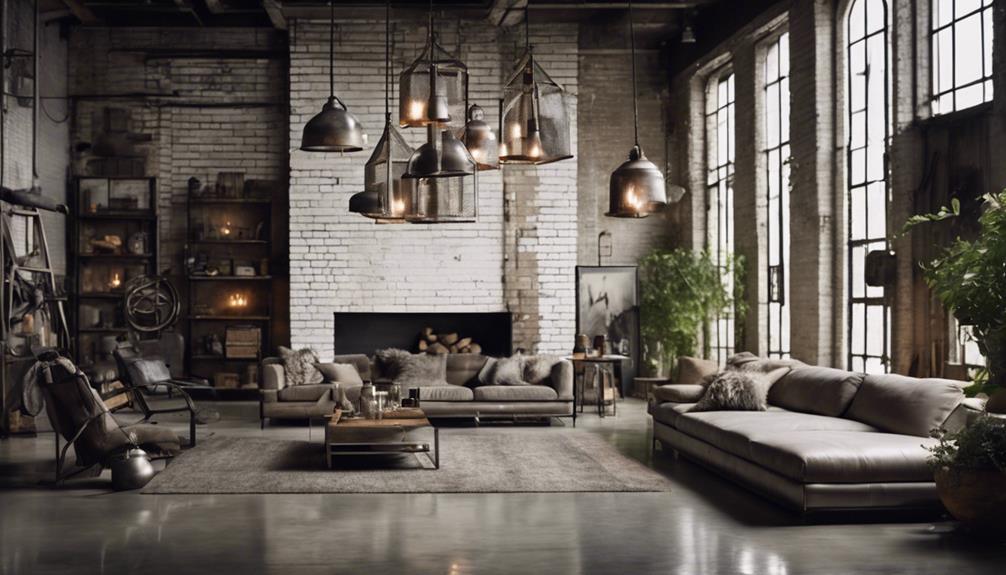
What's the secret to transforming our white brick wall living room into an industrial chic oasis? The answer lies in incorporating metal accents to enhance the raw aesthetic of the space. By adding industrial elements like steel furniture, iron shelving, and metal-framed mirrors, we can create a harmonious balance between rugged and refined elements.
Here are some tips to achieve an industrial chic look in our white brick wall living room:
| Industrial Chic Elements | How to Incorporate |
|---|---|
| Metal accents | Use in furniture, lighting, and decor |
| Distressed materials | Mix with white brick wall for contrast |
| Minimalist designs | Choose sleek, black metal frames |
| Urban elements | Incorporate metal piping, exposed bulbs |
| Refined touches | Add to balance out the industrial feel |
Soft Pastels and Nature-Inspired
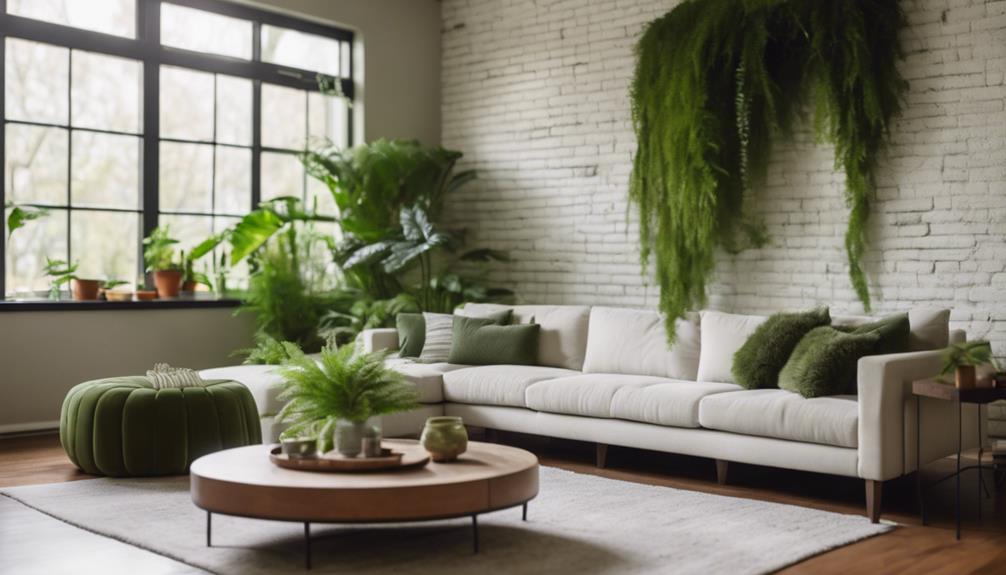
We can create a soothing oasis in our white brick wall living room by incorporating soft pastel hues and nature-inspired elements that bring a sense of calm and serenity to the space. Soft pastel colors like pale pink, mint green, and soft blue create a calming and serene atmosphere against a white brick wall.
By incorporating nature-inspired elements such as botanical prints that add a touch of elegance and sophistication, leafy plants that bring in a hint of the outdoors, and wooden accents that add warmth and coziness, we can evoke a sense of lightness and airiness, perfect for a relaxed and inviting living space.
Natural textures like rattan, jute, and linen complement the soft pastel hues and add warmth to the room against the backdrop of a white brick wall. The combination of soft pastels and nature-inspired decor against a white brick wall creates a harmonious and invigorating aesthetic that promotes relaxation and tranquility. This styling approach is ideal for those seeking a calming atmosphere in their brick wall living room.
Monochromatic With Greenery Focus
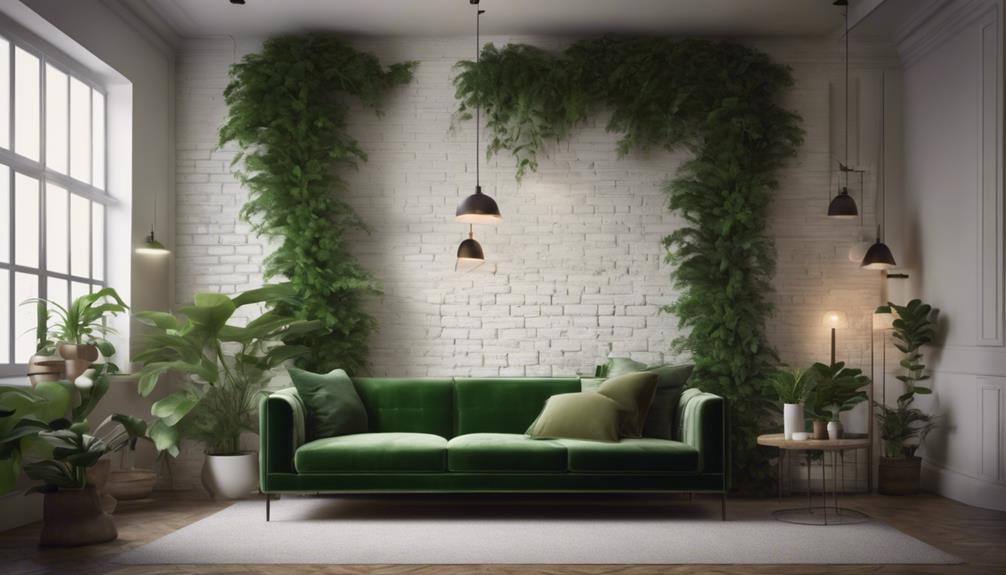
As we shift our focus from soft pastels to a more streamlined aesthetic, we can create a striking contrast by incorporating monochromatic decor elements that let the white brick wall take center stage. By using white furniture, rugs, and curtains, we can enhance the white brick wall as a focal point, creating a clean and modern look.
To add some visual interest, we can incorporate pops of greenery with plants and botanical artwork, bringing in an invigorating and natural touch to the monochromatic space. We can also experiment with different shades of green to create depth and visual interest against the white brick backdrop.
To complete the look, we can opt for sleek and modern furniture pieces in black or metal finishes, which will contrast beautifully with the white brick wall and create a contemporary look. By balancing the monochromatic color scheme with textures like plush rugs, velvet cushions, and woven baskets, we can create a cozy and inviting atmosphere in the living room.
Frequently Asked Questions
What Looks Good on White Brick Wall?
As we consider what looks good on a white brick wall, we find that soft, neutral colors like beige, grey, and pastels create a harmonious backdrop. Industrial accents, ethnic tapestries, and natural elements like wood and plants also complement the space.
Even eclectic decor with a mix of patterns, textures, and colors can add visual interest. By incorporating these elements, we can create a stunning and unique space that showcases the beauty of the white brick wall.
How Can I Make My Brick Wall More Attractive?
We can make our brick wall more attractive by incorporating soft furnishings like cozy throws and textured pillows to enhance its appeal.
Adding statement artwork or a gallery wall draws attention to the wall's unique texture and color variations.
Strategic lighting highlights these features, while greenery or plants bring in a touch of nature.
Mixing textures and materials in the room complements the rustic charm of the brick wall, creating a visually appealing space.
How to Modernise Interior Brick Walls?
As we ponder how to modernize interior brick walls, it's striking that a fresh coat of white paint can instantly elevate the space.
Coincidentally, this simple update also sets the stage for introducing sleek, minimalist furniture and metallic accents, which contrast beautifully with the rustic brick texture.
Is White Brick Trendy?
We consider whether white brick is trendy, and the answer is yes. Currently, white brick walls are a popular design trend in both modern and traditional homes.
Their timeless appeal and versatility in complementing various decor styles and color schemes contribute to their trendiness. White brick adds texture and warmth while maintaining a clean aesthetic, making it a sought-after choice for interior design enthusiasts.
Conclusion
As we step back to admire our white brick wall living room, the possibilities unfold like a canvas waiting for the brushstrokes of our imagination.
The neutral tones and earthy accents evoke a sense of serenity, while bold patterns and textures inject a dose of energy.
Industrial chic metal accents add an edgy vibe, soft pastels whisper sweet nothings, and monochromatic greenery brings a touch of whimsy.
Whichever style we choose, our white brick wall living room transforms into a masterpiece, a reflection of our unique taste and creativity.
- About the Author
- Latest Posts
Introducing Ron, the home decor aficionado at ByRetreat, whose passion for creating beautiful and inviting spaces is at the heart of his work. With his deep knowledge of home decor and his innate sense of style, Ron brings a wealth of expertise and a keen eye for detail to the ByRetreat team.
Ron’s love for home decor goes beyond aesthetics; he understands that our surroundings play a significant role in our overall well-being and productivity. With this in mind, Ron is dedicated to transforming remote workspaces into havens of comfort, functionality, and beauty.
Decor
DIY Rustic Coat Rack in 5 Simple Steps
Learn how to create a charming rustic coat rack in just 5 simple steps, transforming your entryway with functional decor and rustic charm.
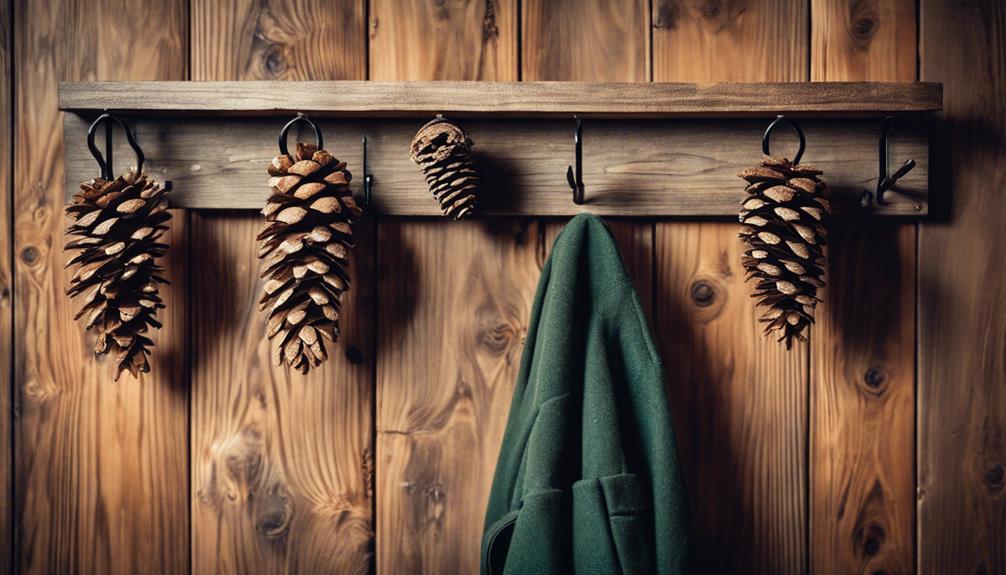
We're excited to create a DIY rustic coat rack that adds a touch of charm to our entryway. We'll start by preparing the back panel, sanding and staining it for a rustic look. Next, we'll assemble the frame, attaching iron brackets for extra charm. Then, we'll add hooks, ensuring they're evenly spaced and secure. After that, we'll attach a shelf, using wood brackets and a dark walnut finish. Finally, we'll secure the rack to the wall, using heavy-duty anchors if needed. Let's get started and see how these simple steps come together to create a beautiful piece of functional decor!
Key Takeaways
• Prepare the back panel by sanding, staining or painting, and marking hook placement for a rustic look.
• Assemble the frame by cutting lumber, using a Kreg Jig, and attaching iron brackets for a charming rustic touch.
• Attach rustic name slot hooks, ensuring they're evenly spaced, aligned straight, and secure for stability.
• Add a shelf with wood brackets, stain it with a dark walnut finish, and attach it securely for a functional space.
• Secure the coat rack to the wall by locating studs, using heavy-duty anchors if needed, and ensuring it's level and perfectly in place.
Prepare the Coat Rack Back Panel
We start by sanding the back panel to smooth out any rough edges or surfaces, ensuring a solid foundation for our rustic coat rack.
This DIY project is all about creating a unique piece of Home Decor that reflects our personal style, and it begins with a simple design that showcases the beauty of a stained board.
To make a Farmhouse Coat Rack that's both functional and visually appealing, we need to get the basics right.
After sanding, we apply a coat of stain or paint to give our back panel a rustic look that fits perfectly with our desired aesthetic.
With our stained board easily go, we can now focus on adding the essential features that make this coat rack truly functional.
We measure and mark where the hooks will be placed, ensuring they're evenly spaced and perfectly aligned.
Then, we drill pilot holes to securely attach the hooks and a stained board that complements our simple design.
With wood glue and a few basic tools, we can create this coat rack that's perfect for our entryway or mudroom.
Assemble the Coat Rack Frame

How do we bring our rustic coat rack frame to life? It's time to assemble the frame that will hold our coats, hats, and bags. We start by using a circular saw to cut the lumber to the desired dimensions. Next, we secure the frame together using a Kreg Jig and wood glue for added strength.
Here are the essential steps to assemble the frame:
- Clamp the boards in place and route the edges for a polished look.
- Mark the center of the frame for accurate hook placement.
- Attach decorative iron brackets to the frame for added rustic charm.
With our frame assembled, we're one step closer to completing our DIY rustic coat rack.
We've carefully cut and secured the lumber, ensuring a sturdy base for our hooks.
Our frame is now ready for the next step – adding the hooks that will hold our belongings.
Add Hooks to the Coat Rack
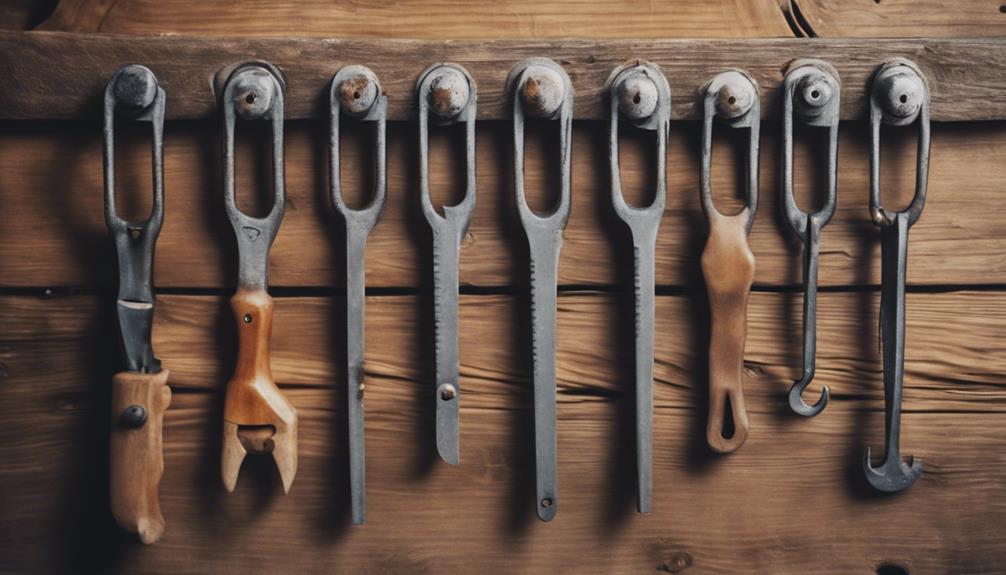
With our sturdy frame in place, we're ready to add the hooks that'll hold our coats, hats, and bags.
When it comes to DIY projects, making your own simple coat rack can be a rewarding experience. To add the hooks, we'll use rustic name slot hooks to give our coat rack a charming touch.
We'll guarantee the hooks are evenly spaced and aligned straight for a neat appearance. Securing the hooks with screws will prevent them from coming loose over time.
We'll double-check the stability of the hooks by testing them with different weights. By choosing unique hook styles that suit our decor, we can personalize our coat rack.
We're able to find the perfect size to fit our board, and the hooks go together easily to create a beautiful row of hooks.
With a little patience and attention to detail, we'll have a functional and stylish coat rack that showcases our DIY skills.
Attach the Coat Rack Shelf
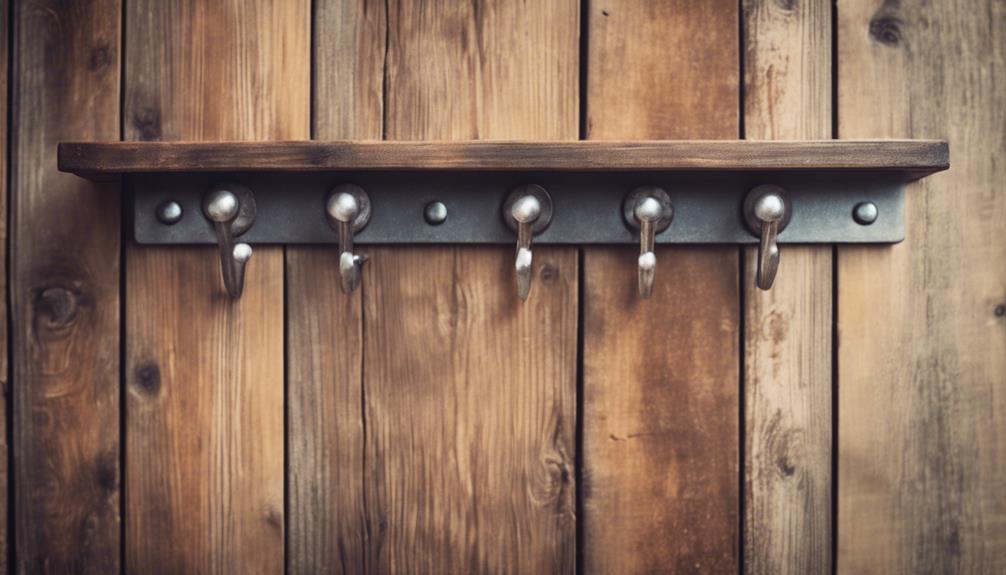
Let's get started by attaching the shelf to the coat rack, making sure it's level and secure. We'll use wood brackets from Home Depot to create a sturdy base for our shelf.
To give our shelf a rustic touch, we'll stain it with a dark walnut finish that complements the coat rack.
Here's how we'll attach the shelf:
- Use wood brackets to firmly attach the shelf to the coat rack
- Guarantee the shelf is level and securely attached for stability
- Stain the shelf with a dark walnut finish for a rustic look
Once we've attached the shelf, we can repurpose metal coat hooks from a clearance rack to hang items on the shelf. This will create a functional and stylish space to hang our coats, hats, and bags.
Secure the Coat Rack to Wall
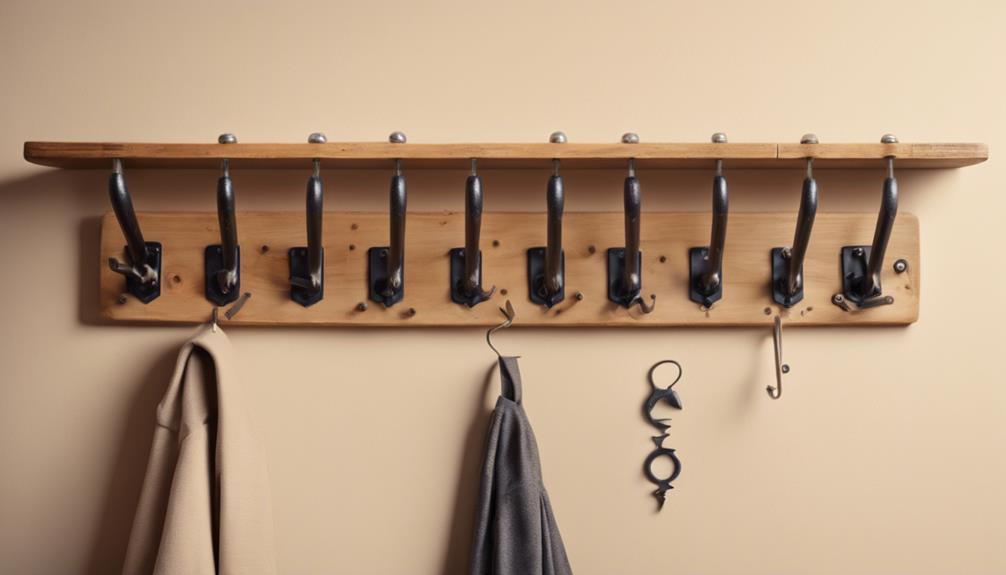
We secure the coat rack to the wall by locating the wall studs and screwing it into place with 2 1/2-3' screws, guaranteeing a sturdy and level installation.
This simple step makes all the difference in creating a stable and functional farmhouse-inspired coat rack. We want to make sure our DIY project is both simple and durable, after all.
To achieve this, we need to make certain the coat rack is attached to the wall studs, which provide a solid foundation for our creation. If we can't find the studs, we can use heavy-duty wall anchors as an alternative.
Before screwing the coat rack into place, we double-check that it's perfectly level to prevent any accidents or wobbles. We take pride in our work, and this attention to detail will make our rustic coat rack a beautiful and functional addition to our home.
With this step complete, we've successfully created a sturdy and reliable coat rack that will hold all our essentials in one convenient spot.
Frequently Asked Questions
How Do You Make a Simple Coat Rack?
We're excited to share how to make a simple coat rack! To get started, we choose a wooden board, like a 1-inch by 6-inch whitewood plank, and give it a rustic look by sanding and staining it.
Then, we attach hooks, like farmhouse name slot hooks, with matching screws. Finally, we mount it securely to the wall using wall anchors, and voilà! We've got a functional and stylish coat rack that adds a touch of rustic charm to our entryway.
How Many Coats Fit on a 5 Coat Rack?
Let's explore the capacity of a 5-coat rack!
A 5-coat rack, as the name suggests, is designed to hold up to 5 coats or jackets. This is because it typically has 5 hooks, each capable of holding one coat.
The number of hooks directly relates to the number of coats it can hold. So, in short, a 5-coat rack can fit up to 5 coats.
How Do You Make a Coat Rack Out of an Old Door?
We thought we'd never find a use for that old door collecting dust in the garage, but it turns out it's the perfect canvas for our creativity.
To make a coat rack out of an old door, we start by cleaning and preparing the surface. Then, we add a rustic touch with a dark walnut stain.
Next, we attach metal coat hooks and a wooden shelf using brackets. Finally, we secure it to the wall with a metal bar hanging system, and voilà! Our old door has been reborn as a functional work of art.
How to Make Wooden Coat Hooks?
We're excited to tackle the task of making wooden coat hooks from scratch!
To get started, we'll need some wooden dowels or thick wooden strips, a drill press, and some screws.
We'll cut the wood to our desired length, sand the edges, and then attach the screws to create the hook shape.
Finally, we'll add a finish, such as stain or paint, to match our desired aesthetic.
With these simple steps, we'll have beautiful and functional wooden coat hooks in no time!
Conclusion
And that's a wrap! With our DIY rustic coat rack complete, we can finally hang up our hats – literally!
This project may have been a piece of cake, but the end result is the icing on the cake.
Our rustic coat rack is now ready to hold our jackets, hats, and bags, keeping our entryway tidy and organized.
We can pat ourselves on the back for a job well done, and enjoy the fruits of our labor every time we walk through the door.
- About the Author
- Latest Posts
Introducing Ron, the home decor aficionado at ByRetreat, whose passion for creating beautiful and inviting spaces is at the heart of his work. With his deep knowledge of home decor and his innate sense of style, Ron brings a wealth of expertise and a keen eye for detail to the ByRetreat team.
Ron’s love for home decor goes beyond aesthetics; he understands that our surroundings play a significant role in our overall well-being and productivity. With this in mind, Ron is dedicated to transforming remote workspaces into havens of comfort, functionality, and beauty.
Decor
Vintage Glass Bottle Christmas Ornaments
Falling in love with vintage glass bottle Christmas ornaments is just the beginning of a fascinating journey into craftsmanship and nostalgic charm.

We're drawn to vintage glass bottle Christmas ornaments for their nostalgic charm, showcasing intricate details and traditional craftsmanship. Mouth-blown glass and hand-painted designs evoke a sense of warmth and elegance. These ornaments are truly unique, with diverse shapes, sizes, and styles making them cherished collector's items. Whether you're looking for antique-inspired decor, personalized messages, or eco-friendly options, vintage glass bottle ornaments offer endless possibilities. As we explore the world of vintage glass bottle ornaments, we discover the artistry and craftsmanship that goes into creating these one-of-a-kind masterpieces, and we're excited to uncover more of their secrets.
Key Takeaways
• Vintage glass bottle Christmas ornaments showcase intricate details, old-world charm, and high-quality glass craftsmanship, making them perfect gifts for enthusiasts.
• Handmade glass artistry brings delicate pieces to life, adding a nostalgic touch to holiday decorations with unique, mouth-blown, and hand-painted designs.
• Antique-inspired ornaments evoke warmth and tradition, crafted using traditional techniques like mouth-blown glass and hand-painting, resembling old-fashioned bottles.
• Personalized glass ornaments can be customized with names, dates, or special messages, making them ideal gifts for loved ones appreciating nostalgia and craftsmanship.
• Whimsical glass figurines, featuring intricate design elements, bring ornaments to life with nostalgic charm, showcasing the skill of artisans through precision and attention to detail.
Unique Glass Bottle Designs
Exploring the world of vintage glass bottle Christmas ornaments, we're struck by the incredible variety of unique glass bottle designs that evoke a sense of nostalgia and whimsy.
The craftsmanship is exceptional, with each ornament showcasing intricate details that make them truly special.
We're drawn to the bourbon bottle shapes, which add an air of old-world charm to our holiday decor.
The high-quality glass used in these ornaments is mouth-blown and hand-painted, giving each one a personalized touch.
As we examine these ornaments, we appreciate the fine craftsmanship that goes into creating each piece. The attention to detail is impressive, with every aspect of the design carefully considered to create a truly unique glass bottle ornament.
Whether you're a vintage enthusiast or a Christmas aficionado, these ornaments are sure to delight. They make perfect gifts for those who appreciate the beauty of traditional craftsmanship and the magic of the holiday season.
Collectible Vintage Ornaments
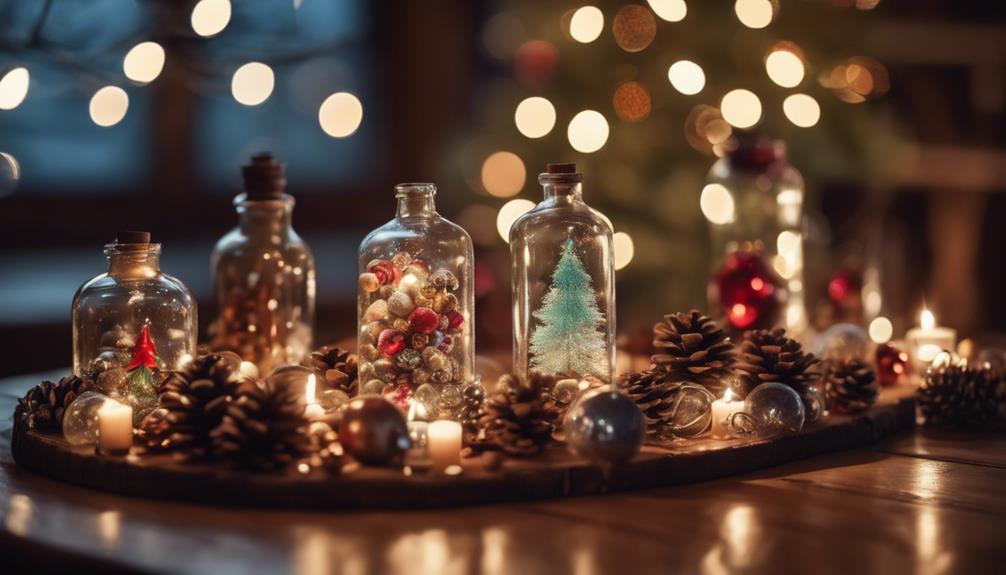
As we marvel at the uniqueness of these vintage glass bottle ornaments, we're drawn to their collectibility, which has led many enthusiasts to seek out these treasured pieces for their holiday displays. We're fascinated by the intricate details, hand-painted accents, and traditional craftsmanship that set them apart from modern decorations.
These ornaments can date back several decades, offering a nostalgic touch to our holiday decor and tree trimming. We value the authenticity and charm of vintage glass bottle ornaments, making them a popular choice for adding character to our Christmas displays.
The diverse range of designs produced over the years is reflected in the varying shapes, sizes, and styles of these ornaments. As collectors, we appreciate the historical significance and uniqueness of each piece, making them highly sought after for our Glass Christmas collections.
Whether it's a rare find or a cherished family heirloom, each vintage glass bottle ornament is a precious addition to our Christmas ornaments.
Handmade Glass Artistry

What's behind the timeless appeal of vintage glass bottle ornaments is the meticulous handmade glass artistry that brings these delicate, intricate pieces to life.
We've come to appreciate the craftsmanship that goes into creating each ornament, from blowing molten glass into finely carved molds to the meticulous hand-painting and glittering that follows.
The result is a unique, festive look that adds a nostalgic touch to our holiday decorations.
Take, for instance, a Mini Vodka bottle transformed into a beautiful Christmas bauble, showcasing the artisan's skill and attention to detail.
It's no wonder customers rave about these ornaments, praising their beauty, quality, and affordability as gifts.
The traditional design and high-quality craftsmanship of these vintage glass bottle ornaments have earned them a special place in our hearts.
As we hang them on our trees, we're reminded of the timeless appeal of handmade glass artistry, which continues to captivate us with its beauty and elegance.
Antique-Inspired Christmas Decor

Collecting vintage glass bottle Christmas ornaments is a way for us to connect with the past, infusing our holiday decor with the nostalgic charm of antique designs. These ornaments are inspired by the past, adding a touch of nostalgia to our holiday decor.
We appreciate the craftsmanship that goes into creating these ornaments, often hand-crafted using traditional techniques like mouth-blown glass and hand-painting. The attention to detail is impressive, with designs resembling old-fashioned bottles like whisky decanters, perfume bottles, and apothecary jars.
These antique-inspired ornaments can become cherished collector's items, prized for their unique and timeless appeal. By adding them to our tree, we can create a classic and elegant holiday ambiance reminiscent of bygone eras.
We find that these ornaments evoke a sense of warmth and tradition, making our holiday celebrations even more special. Whether we're looking to add a touch of vintage charm to our decor or seeking a unique gift, vintage glass bottle Christmas ornaments are an excellent choice.
Wine Bottle Ornament Ideas

We're excited to explore wine bottle ornament ideas that bring a touch of sophistication and elegance to our holiday decor. These unique ornaments can add a refined touch to our Christmas trees or mantels.
One idea is to hand-paint festive designs or personalized messages onto the wine bottles, making each ornament truly special. We can also add festive embellishments, such as ribbons or bows, to give the ornaments an extra touch of holiday cheer.
What's great about wine bottle ornaments is that they can be crafted from recycled wine bottles, making them an eco-friendly and sustainable decoration option. Plus, they make great gifts for wine enthusiasts or as a thoughtful addition to a wine-themed Christmas tree.
The handmade nature of these ornaments adds a special touch to our holiday decorations, and they can be cherished for years to come. With a little creativity, we can turn a simple wine bottle into a beautiful, one-of-a-kind ornament that adds a touch of sophistication to our holiday decor.
Recycled Glass Creations

Many of us are drawn to recycled glass creations because they embody the perfect blend of eco-friendliness and aesthetic appeal. As we seek unique and sustainable decorations for our holiday trees, recycled glass ornaments stand out for their beauty and commitment to reducing waste.
Handcrafted by skilled artisans, each ornament is a one-of-a-kind masterpiece that showcases the transformative power of upcycling. From intricate designs to colorful patterns and embellishments, these ornaments are a tribute to human creativity and craftsmanship.
By choosing recycled glass creations, we not only adorn our trees with style but also support a more environmentally conscious approach to holiday decorations. Additionally, we're able to appreciate the beauty of repurposed materials, giving new life to discarded glass bottles.
As we decorate our homes for the holiday season, let's celebrate the art of upcycling and the creative minds behind these stunning ornaments.
Personalized Glass Ornaments

As we celebrate the art of upcycling, we're drawn to personalized glass ornaments that add a touch of warmth and thoughtfulness to our holiday decorations. These unique ornaments are hand-crafted and hand-painted, giving them a one-of-a-kind look that sets them apart from mass-produced decorations.
What makes them truly special, though, is the ability to customize them with names, dates, or special messages. This personal touch makes them an ideal gift for loved ones who appreciate nostalgia and craftsmanship.
The variety of designs available is impressive, ranging from traditional to whimsical. Whether you're looking for a classic snowflake design or something more playful, like a reindeer or snowman, there's a personalized glass ornament to suit your style.
We appreciate that these ornaments aren't only beautiful but also tell a story. They're a thoughtful way to commemorate a special occasion or milestone, such as a wedding, anniversary, or birthday. By adding a personal message or name, you create a truly unique and meaningful holiday decoration that will be cherished for years to come.
Glass Bottle Tree Decorations

Crafting our holiday decor with vintage glass bottle ornaments adds a touch of nostalgia and whimsy to our tree, making it a standout among modern decorations. We love how these ornaments bring a classic, elegant look to our tree, thanks to their intricate designs, hand-painted details, and glitter accents.
Glass bottle ornaments come in various shapes and sizes, from miniature bottles to wine bottles or whiskey bottles, offering endless possibilities for creative arrangements.
As we decorate our tree, we appreciate the unique, one-of-a-kind quality of each vintage glass bottle ornament. Whether we're going for a rustic, vintage vibe or a more elegant, sophisticated look, these ornaments fit the bill. We enjoy mixing and matching different shapes, sizes, and designs to create a visually appealing display.
Whimsical Glass Figurines

As we explore the world of Whimsical Glass Figurines, we're struck by the intricate design elements that bring these ornaments to life. From the delicate curves of a reindeer's antlers to the jolly smile of a Santa figurine, every detail is carefully crafted to evoke a sense of wonder and magic.
As we examine these figurines more closely, we'll discover the ways in which whimsy is infused into every aspect of their glasswork.
Figurine Design Elements
We admire the whimsical glass figurines that bring vintage glass bottle Christmas ornaments to life, infusing our holiday decor with a nostalgic charm. These tiny masterpieces are a demonstration of the skill of artisans who handcraft each figurine with precision and attention to detail. From miniature snowmen to festive reindeer, each design element is carefully considered to evoke a sense of wonder and magic.
| Design Element | Description |
|---|---|
| Miniature Animals | Intricately designed animals, such as deer, rabbits, or mice, add a touch of whimsy to the ornaments. |
| Snowmen and Snowflakes | Delicate snowmen and snowflakes are crafted with fine details, capturing the essence of winter wonderland. |
| Christmas Characters | Jolly Santas, cheerful elves, and merry reindeer bring festive cheer to the ornaments. |
| Glitter and Paint | Figurines are often embellished with glitter, paint, or other decorative elements to enhance their festive appeal. |
| Fine Craftsmanship | Skilled artisans showcase their expertise through intricate designs, precise details, and exceptional craftsmanship. |
These design elements come together to create unique and enchanting figurines that make vintage glass bottle Christmas ornaments truly special.
Whimsy in Glasswork
Embracing the art of whimsy, we revel in the intricate details and playful designs of these handcrafted glass figurines, which bring a touch of magic to our holiday decor. Whimsical glass figurines are unique and artistic ornaments for Christmas trees, adding a touch of nostalgia to our holiday decor.
Each figurine is a demonstration of the artistry of glasswork, showcasing intricate details that make them truly special. We're fascinated by the variety of shapes and designs, from miniature animals to characters and symbols, each one a miniature masterpiece.
What's more, these collectible items make great gifts for glass art enthusiasts. As we admire these whimsical creations, we appreciate the skill and craftsmanship that goes into creating each one.
Whether it's a festive reindeer or a jolly snowman, these handcrafted glass figurines bring a dash of whimsy to our holiday celebrations. By incorporating them into our decor, we add a touch of magic to our homes, making the holiday season all the more special.
Antique Glass Ornament Inspiration

Inspired by the exquisite craftsmanship of antique glass ornaments, we often find ourselves exploring the intricate designs and vibrant colors, which evoke a sense of nostalgia and elegance in our holiday decor. As we immerse ourselves in the world of antique glass ornaments, we're struck by the level of craftsmanship and attention to detail that went into creating these miniature works of art.
Some notable aspects of antique glass ornaments that inspire us include:
- Their vintage charm, which adds a touch of nostalgia to our holiday decor
- The intricate designs, which showcase the artisan's skill and patience
- The vibrant colors, which add a pop of color to our holiday displays
- The historical significance, which connects us to the past
- The unique charm, which makes each ornament a one-of-a-kind treasure
As we create our own vintage-inspired glass bottle Christmas ornaments, we're inspired by the antique ornaments that have come before us. We aim to capture the essence of these vintage treasures, while incorporating our own modern twist to create something truly special.
Frequently Asked Questions
Are Old Glass Christmas Ornaments Worth Anything?
We often wonder, are old glass Christmas ornaments worth anything?
The answer is yes, they can be valuable, especially if they're rare or in mint condition. Factors like age, manufacturer, design, and condition determine their value.
Popular brands, limited editions, and hand-blown ornaments tend to fetch higher prices. Research and consulting experts can help accurately determine their worth.
How Do You Identify Vintage Glass Ornaments for Christmas?
As we set out on a treasure hunt for vintage glass ornaments, we're like archaeologists unearthing hidden gems. To identify these timeless treasures, we examine each ornament like a detective searching for clues.
We look for hand-crafted details, unique characteristics like mercury glass, and signs of aging like patina and wear. We also research the maker, considering renowned names like Shiny Brite, Poland, and Germany, and evaluate the ornament's provenance, rarity, and historical significance to determine its vintage authenticity.
What Are the Old Glass Ornaments Called?
We often refer to old glass ornaments as vintage or antique Christmas decorations. These terms are used interchangeably, but technically, 'antique' implies an ornament is at least 100 years old, while 'vintage' is a broader term for older ornaments.
Collectors and enthusiasts use these terms to describe ornaments that are highly valued for their historical significance, craftsmanship, and nostalgic appeal. By understanding these terms, we can appreciate the beauty and charm of these treasured decorations.
How to Identify Mercury Glass Ornaments?
As we search for authenticity in the world of vintage ornaments, we've stumbled upon a treasure trove of mercury glass ornaments. To identify these treasures, we look for signs of aging, like patina on the silvering, and a seam indicating hand-blown craftsmanship.
Weight is also a giveaway, as authentic mercury glass is heavier than reproductions. By examining these characteristics, we can uncover the genuine article, a true gem of the past.
Conclusion
As we adorn our trees with vintage glass bottle ornaments, we're not just decorating for the season – we're preserving a piece of history, a tribute to the artisans who painstakingly crafted each delicate design.
Like fragments of a forgotten era, these ornaments refract memories, casting a warm, nostalgic glow on our present.
- About the Author
- Latest Posts
Introducing Ron, the home decor aficionado at ByRetreat, whose passion for creating beautiful and inviting spaces is at the heart of his work. With his deep knowledge of home decor and his innate sense of style, Ron brings a wealth of expertise and a keen eye for detail to the ByRetreat team.
Ron’s love for home decor goes beyond aesthetics; he understands that our surroundings play a significant role in our overall well-being and productivity. With this in mind, Ron is dedicated to transforming remote workspaces into havens of comfort, functionality, and beauty.
-

 Vetted6 days ago
15 Best Printers of 2024: Top Picks and Expert Reviews
-
 Vetted1 week ago
15 Best Tile Sealers for Long-Lasting Protection and Shine
-
 Vetted2 weeks ago
15 Best Smelling Floor Cleaners That Will Leave Your Home Fresh and Inviting
-

 Vetted1 week ago
14 Best Power Scrubbers for Showers That Will Transform Your Cleaning Routine
-

 Vetted3 days ago
15 Best Evergreen Plants for Shade Gardens: A Complete Guide
-
 Vetted3 days ago
15 Best LED Dimmer Switches With No Flicker: Ultimate Guide for a Flicker-Free Lighting Experience
-

 Mardi Gras Decoration5 days ago
What Do the Symbols of Mardi Gras Mean?
-

 Appliances1 week ago
5 Best Energy-Efficient Stainless Steel Fridges 2023


