Decor
How to Decorate for New Years Eve
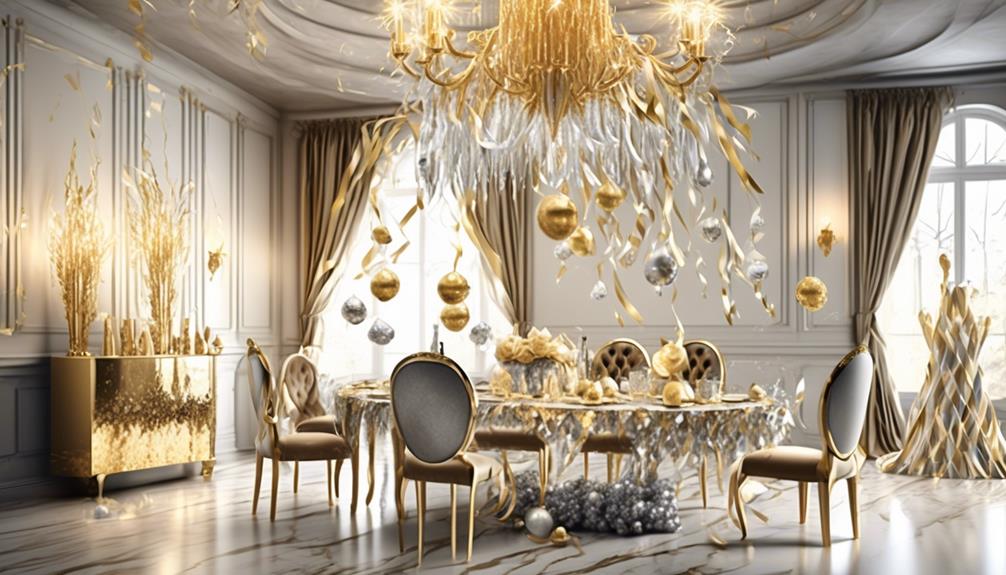
As another year draws to a close, we’re filled with an eagerness to say goodbye to the past and embrace the future with enthusiasm. The act of decorating for New Year’s Eve extends beyond just beautifying our surroundings; it represents our dreams and goals for the new year ahead.
In this guide, we will share with you our professional insights on how to tastefully decorate for this momentous occasion. From choosing a theme to creating a festive backdrop, we will help you set the perfect mood for a memorable celebration.
So, join us as we navigate through the art of New Year's Eve decoration, where elegance meets anticipation. Let's get started!
Key Takeaways
- Choosing a theme and DIY decorations sets the overall atmosphere of the event and allows for personalization and uniqueness.
- Lighting plays a crucial role in creating a magical ambiance, and options like twinkling string lights, colored LED lights, and candle arrangements can enhance the mood.
- Creating a festive backdrop using colorful balloon displays, glittery curtain backdrops, and metallic shades adds instant elevation and opulence to the atmosphere.
- Sprucing up the table setting with sparkling crystal glasses, delicate silver cutlery, fresh flowers, and themed decorations or party favors adds elegance and style to the celebration.
Choose a Theme
As we embark on the journey of planning our New Year's Eve celebration, let's delve into the exhilarating task of choosing a captivating theme that will set the stage for an unforgettable night of revelry and joy.
The theme you choose won't only dictate the overall atmosphere of the event but also guide your DIY decorations. So, take a moment to consider the mood you want to create. Do you envision a glamorous and elegant affair, or perhaps a whimsical and playful gathering? The theme could be inspired by a specific era, such as the roaring 20s, or a particular color palette like gold and silver.
Once you have chosen a theme, let your creativity run wild with DIY decorations. From handmade banners and garlands to personalized table centerpieces, there are endless possibilities to make your decorations unique and special. Use glitter, sequins, and ribbons to add a touch of glamour or opt for natural elements like pinecones and holly for a rustic-themed celebration.
Set the Mood With Lighting
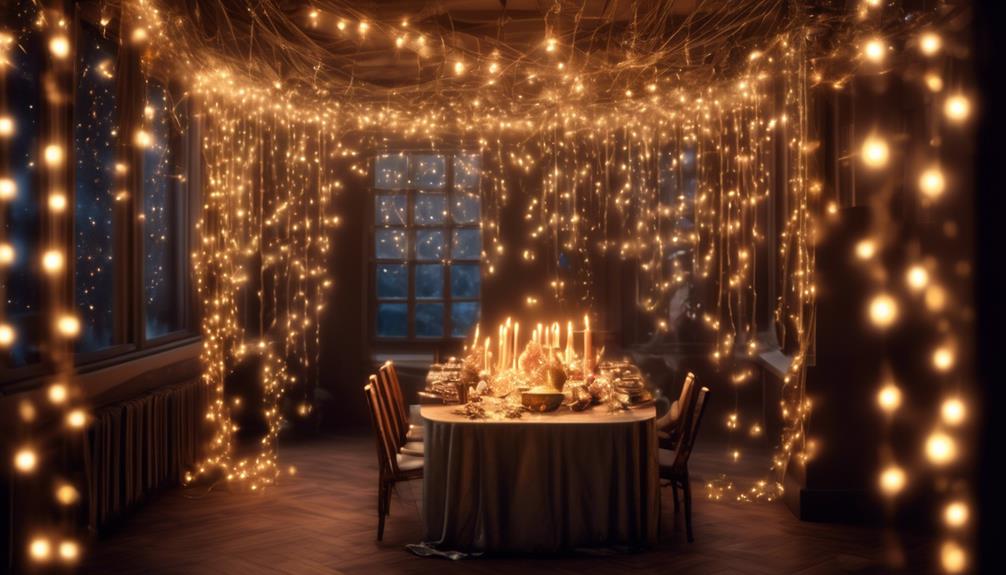
Now that we've chosen a captivating theme for our New Year's Eve celebration, let's illuminate the atmosphere and set the mood with a mesmerizing display of lighting.
Lighting effects can create a magical ambiance that enhances the overall experience of the evening.
To begin, consider the placement of lights around the party area. Twinkling string lights draped along walls or ceilings can add a touch of elegance and create a warm, inviting glow. You can also use colored LED lights to create a festive atmosphere. Experiment with different lighting arrangements to find the perfect balance between brightness and coziness.
Candle arrangements are another fantastic way to incorporate lighting into your New Year's Eve decor. Use a mix of pillar candles, tea lights, and votives to create a stunning centerpiece for your dining table or a cozy ambience for your living room. Consider using scented candles to add an extra layer of sensory delight.
Don't forget to utilize lighting effects like spotlights or gobo lights to create unique patterns or designs on walls or floors. These effects can add drama and excitement to your celebration, making it truly unforgettable.
Create a Festive Backdrop
Let's talk about creating a festive backdrop for your New Year's Eve celebration.
We've three exciting points to discuss:
- A colorful balloon display
- A glittery curtain backdrop
- A DIY photo booth
These ideas will add a touch of glamour and fun to your party, ensuring that your guests have a memorable night filled with beautiful backdrops for their pictures.
Colorful Balloon Display
To create a vibrant and festive backdrop for your New Year's Eve celebration, consider incorporating a stunning display of colorful balloons. Balloons are a classic and versatile decoration option that can instantly elevate the atmosphere of any party. Whether you choose to create a grand balloon arch or a whimsical balloon garland, the possibilities are endless.
Here is a table showcasing some creative ideas for a colorful balloon display:
| Balloon Arch | Balloon Garland |
|---|---|
| Spiral Balloon Arch | Single-color Balloon Garland |
| Rainbow Balloon Arch | Ombre Balloon Garland |
| Heart-shaped Balloon Arch | Confetti-filled Balloon Garland |
| Star Balloon Arch | Balloon Garland with Tassels |
| Champagne Bottle Balloon Arch | Balloon Garland with Metallic Accents |
Glittery Curtain Backdrop
After creating a vibrant display with colorful balloons, it's time to take your New Year's Eve decorations to the next level with a glittery curtain backdrop that will truly create a festive atmosphere.
Imagine walking into a room adorned with shimmering curtains cascading from the ceiling, reflecting the light and casting a magical glow.
This glamorous party theme will instantly transport your guests to a world of elegance and sophistication.
Choose curtains in metallic shades like silver, gold, or rose gold to add a touch of opulence.
Hang them behind your party area or use them as a backdrop for a photo booth.
The glittery curtain backdrop won't only provide a stunning visual impact but also create a sense of grandeur that will make your New Year's Eve celebration unforgettable.
DIY Photo Booth
We can elevate the festive atmosphere of your New Year's Eve celebration by creating a DIY photo booth with a vibrant and eye-catching backdrop. Adding a photo booth to your party won't only provide entertainment for your guests but also create lasting memories.
To make your DIY photo booth stand out, start by selecting a backdrop that complements the overall theme of your party. You can go for a glitzy sequin curtain, a sparkling tinsel backdrop, or even a customized banner with festive greetings.
Once you have chosen the perfect backdrop, it's time to gather some DIY props. Think about using oversized glasses, feather boas, funny hats, and other accessories that will add a touch of fun to your photos.
With a fabulous backdrop and a wide array of photo booth props, your New Year's Eve party will be the talk of the town.
Spruce Up Your Table Setting
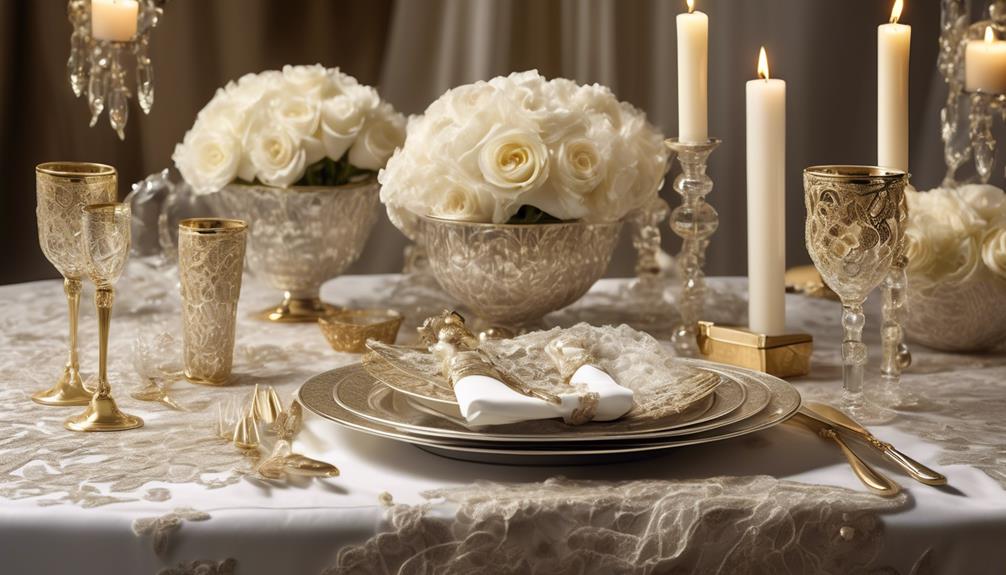
Let's elevate our New Year's Eve celebrations by enhancing our table setting. A beautifully set table can create an elegant and festive atmosphere for your guests to enjoy. Here are some ideas to help you spruce up your table and impress your guests:
- Table centerpiece ideas: A stunning centerpiece can be the focal point of your table. Consider using a combination of candles, fresh flowers, and decorative ornaments to create a visually appealing display. You could also incorporate a theme into your centerpiece, such as a winter wonderland or a glamorous gold and silver motif.
- Unique napkin fold techniques: Add a touch of sophistication to your table by experimenting with creative napkin folds. Try the classic fan fold, or go for something more intricate like the rose fold or the diamond fold. You can find tutorials online that will guide you through the steps to achieve these impressive napkin folds.
- Personalized place settings: Make each guest feel special by adding personalized touches to their place settings. Consider using custom place cards or small party favors to add a personal and thoughtful element to each seat.
With these ideas, you can create a table setting that's sure to impress your guests. Remember to keep the overall theme and style of your event in mind when selecting your table decor.
Happy New Year's Eve decorating!
Add Sparkle With Centerpieces

To create a truly dazzling table setting, let's explore how to add sparkle with centerpieces.
One way to achieve this is by incorporating sparkly candle holders. These holders come in various shapes and sizes, and their shimmering surfaces will catch the light, creating a mesmerizing effect. Place them strategically around the table to add a touch of elegance and glamour.
Another way to add sparkle is by using shimmering table runners. Opt for ones that are embellished with sequins or metallic threads to create a dazzling effect. These table runners will reflect the light and add a touch of sophistication to your New Year's Eve celebration.
When choosing centerpieces, consider using objects that are inherently shiny or reflective. Mirrors, for example, can be used as a base for your centerpiece, and they'll reflect the light, making the whole table shine. Additionally, consider incorporating glass vases or bowls filled with water and floating candles. The water will create a beautiful shimmer, and the candles will add a warm glow.
Hang Festive Garlands and Banners

Enhance the festive ambiance of your New Year's Eve celebration by hanging vibrant garlands and banners throughout the party space. Festive garlands and banners not only add a pop of color and excitement to the room, but they also set the mood for a fun and memorable evening. Here are three ways to make the most of your garlands and banners:
- Mix and Match: Get creative and combine different types of garlands and banners to create a unique and eye-catching display. Mix metallic streamers with colorful paper garlands or intertwine fairy lights with tinsel banners for a magical effect.
- Hang with Purpose: Instead of randomly placing the garlands and banners around the room, strategically hang them in key areas. Consider draping them along the walls, across doorways, or above the dining table. This will create a cohesive look and draw attention to important spaces.
- Personalize with Party Favors: Add an extra touch of fun by attaching festive party favors to the garlands and banners. Hang mini party hats or noise makers from the strands or attach small bags filled with confetti along the length. Your guests will love the interactive element and it will make your decorations truly stand out.
Incorporate Glitter and Confetti
Let's add a touch of sparkle and excitement to our New Year's Eve festivities by incorporating glitter and confetti into our decorations.
Picture a dazzling table centerpiece, adorned with shimmering confetti and glittering ornaments, creating a festive atmosphere for our guests.
And why not take it a step further with DIY confetti balloons, filled with an explosion of vibrant colors and metallic accents, ready to burst with joy as the clock strikes midnight.
It's time to embrace the glitz and glamour of the holiday season and make our New Year's Eve celebration truly unforgettable.
Sparkling Table Centerpiece
We can create a mesmerizing centerpiece that exudes a touch of glamour and festivity by incorporating a lavish amount of glitter and confetti. To achieve a truly sparkling table centerpiece, consider the following elements:
- Glittery Candle Holders: Transform ordinary candle holders into dazzling accents by coating them with shimmering glitter. The flickering flames will dance against the glimmering surface, casting a warm and enchanting glow.
- Sequin Table Runner: Lay a sequin table runner down the center of your table for an instant burst of glamour. The reflective sequins will catch the light, creating a stunning visual effect that's sure to impress your guests.
- Confetti Filled Vases: Fill clear glass vases with a mixture of colorful confetti and metallic sequins. These vibrant, confetti-filled vases will add a playful and festive touch to your centerpiece, instantly brightening up the entire table.
DIY Confetti Balloons
With a touch of creativity and a sprinkle of glitter and confetti, you can transform ordinary balloons into dazzling DIY confetti balloons that will add an extra dose of excitement to your New Year's Eve decorations. These confetti-filled balloons aren't only simple to make, but they also create a stunning visual impact.
To create your own DIY confetti balloons, follow these easy steps:
- Gather your materials: balloons, confetti, glitter, a funnel, and helium.
- Inflate the balloons with helium using a helium tank or by visiting a local party supply store.
- Carefully insert the funnel into the balloon and pour in a generous amount of confetti and glitter.
- Tie a knot at the end of the balloon to secure the confetti inside.
- Arrange the confetti-filled balloons in a DIY balloon arch or scatter them around the room for an extra touch of sparkle.
Create a Photo Booth Area

To set the stage for unforgettable New Year's Eve memories, consider transforming a corner of your space into a chic and vibrant photo booth area. This will provide your guests with a fun and interactive experience, and it will also capture the essence of the celebration.
Here are some ideas to help you create a photo booth area that will impress your guests:
- Props for photo booth: Incorporate a variety of props to add an element of excitement to your photos. Think about including hats, masks, feather boas, and quirky signs. These props will encourage your guests to let loose and strike a pose.
- Photo booth accessories: Enhance the ambiance of the photo booth area with stylish accessories. Consider hanging a metallic fringe curtain as a backdrop and placing a vintage-looking chair or stool for posing. Don't forget to add some string lights or fairy lights to create a warm and inviting atmosphere.
- Backdrop options: Choose a backdrop that reflects the theme of your New Year's Eve party. You can opt for a glitzy sequin backdrop, a festive balloon wall, or a colorful streamer backdrop. The backdrop will provide a visually appealing setting for your guests to take memorable photos.
Don't Forget the Balloons

As we continue our journey into creating the perfect New Year's Eve photo booth area, let's not overlook the essential element that adds a touch of whimsy and playfulness: balloons. Balloons are versatile and can be an excellent addition to any New Year's Eve party decor. They come in various shapes, sizes, and colors, making them the perfect choice for creating a festive atmosphere.
To inspire your balloon decoration ideas, we have compiled a table showcasing different ways you can incorporate balloons into your New Year's Eve celebration:
| Balloon Decoration Ideas | Balloon Drop Ideas |
|---|---|
| Create a balloon arch | Have a confetti balloon drop |
| Hang balloon garlands | Utilize a balloon net |
| Make balloon centerpieces | Use a balloon release |
| Fill balloons with LED lights | Set up a balloon wall |
These balloon decoration ideas can transform any space into a vibrant and lively party zone. Whether you choose to make a balloon arch or hang balloon garlands, your guests will be impressed by the festive ambiance. And for a memorable moment at the stroke of midnight, consider incorporating a balloon drop or release to add an extra touch of excitement.
Don't forget to experiment with different colors and sizes of balloons to create a visually stunning display. With these balloon decoration ideas and balloon drop ideas, your New Year's Eve celebration is sure to be a hit!
Frequently Asked Questions
What Are Some Ideas for Unique New Year's Eve Themes?
When it comes to planning a memorable New Year's Eve party, thinking outside the box with unique party themes is a must. From a glamorous Great Gatsby theme to a whimsical masquerade ball, the possibilities are endless.
To bring these themes to life, DIY decoration ideas can make all the difference. Personalized banners, sparkling centerpieces, and elegant table settings are just a few ways to create a stylish atmosphere that will leave your guests in awe.
How Can I Create a Cozy and Romantic Atmosphere With Lighting?
When it comes to creating a cozy and romantic atmosphere with lighting, we've discovered that the key is to think outside the box. We once transformed our living room into a magical oasis by draping fairy lights across the ceiling, creating a twinkling canopy above us.
We also scattered candles and lanterns throughout the space, casting a soft and warm glow. These simple touches instantly made the room feel intimate and enchanting, setting the perfect mood for a romantic evening.
What Are Some Creative Ways to Design a Festive Backdrop for New Year's Eve?
When it comes to creating a festive backdrop for New Year's Eve, we've got some amazing ideas!
To set the stage for a memorable celebration, think about incorporating shimmering metallic curtains, sparkling string lights, and bold, eye-catching banners.
And for those perfect photo moments, why not try some DIY photo booth ideas? From glamorous sequin backdrops to fun props and signage, your guests will love capturing the spirit of the night.
Let's make this New Year's Eve a truly unforgettable experience!
What Are Some Tips for Creating an Elegant and Stylish Table Setting for the Holiday?
When it comes to creating an elegant and stylish table setting for the holidays, we've got you covered.
Our table centerpiece ideas will leave your guests in awe. Think of a shimmering crystal chandelier, sparkling like stars in the night sky.
Pair it with DIY place cards, adorned with delicate calligraphy, for that extra touch of sophistication.
Every detail matters, and with our meticulous approach, your table will be a masterpiece of style and grace.
How Can I Incorporate Confetti and Glitter Into My New Year's Eve Decorations Without Making a Mess?
When it comes to incorporating confetti and glitter into our New Year's Eve decorations, we want to avoid making a mess while still getting that festive sparkle.
One idea is to use confetti-filled balloons that can be popped at midnight for a controlled release of confetti.
Another option is to create glittery centerpieces using adhesive spray and glitter, ensuring that the glitter stays in place.
As for clean-up, using a handheld vacuum or lint roller can help easily pick up any stray confetti or glitter.
What Decorations Can I Use for Both a New Year’s Eve Party and Dinner Table?
When planning a New Year’s Eve party and dinner, consider using versatile decorations like new year’s eve table decor to create a cohesive look. Use metallic accents, elegant candle holders, and festive centerpieces that can transition from dinner to party seamlessly. Remember to keep the color scheme and overall atmosphere in mind.
Conclusion
As the clock strikes midnight on New Year's Eve, let your decorations shine as brightly as the stars in the night sky.
With a theme that sets the tone, sparkling centerpieces, and festive garlands, your party will be the talk of the town.
Don't forget the balloons to add that extra touch of whimsy.
Embrace the magic of the holiday and create a celebration that will be remembered long after the confetti has settled.
Cheers to a stylish and unforgettable New Year!
- About the Author
- Latest Posts
Introducing Ron, the home decor aficionado at ByRetreat, whose passion for creating beautiful and inviting spaces is at the heart of his work. With his deep knowledge of home decor and his innate sense of style, Ron brings a wealth of expertise and a keen eye for detail to the ByRetreat team.
Ron’s love for home decor goes beyond aesthetics; he understands that our surroundings play a significant role in our overall well-being and productivity. With this in mind, Ron is dedicated to transforming remote workspaces into havens of comfort, functionality, and beauty.
Decor
Step-by-Step Guide to Creating a Stunning White Accent Wall
Journey through this comprehensive guide to transform your space with a breathtaking white accent wall that exudes elegance and sophistication.
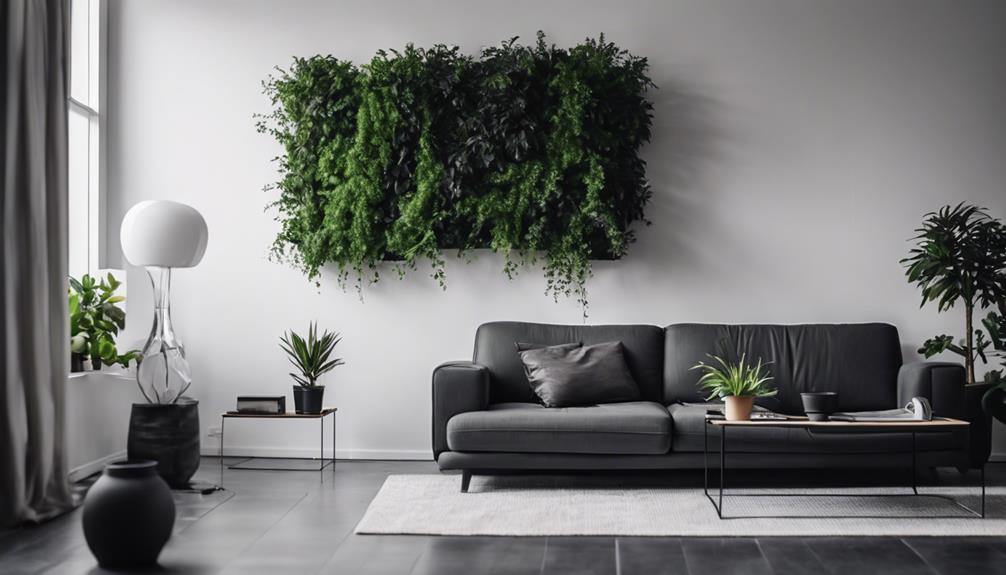
You're ready to create a stunning white accent wall that transforms your room's aesthetic. Start by envisioning your design and considering the wall's size and layout. Prepare the wall by locating studs, sanding, and priming for a smooth surface. Install panels securely, ensuring they're straight and evenly spaced. Sand and smooth the surface to perfection, then paint with high-quality materials and techniques. By following these steps, you'll achieve a professional-looking accent wall. Next, discover the specific tips and tricks to bring your design to life.
Key Takeaways
• Envision the accent wall's size, layout, and lighting to create a stunning focal point in the room.
• Prepare the wall by locating studs, sanding, cleaning, and applying primer for a smooth installation.
• Install the panels carefully, ensuring even alignment and secure nailing, to achieve a professional-looking accent wall.
• Sand the surface evenly, focusing on edges and corners, to create a smooth finish before painting.
• Apply high-quality paint with a primer and multiple thin coats, using a high-quality brush and roller, to achieve a flawless finish.
Planning and Designing the Accent Wall
As you stand in front of the wall, envisioning the stunning white accent wall that will soon transform the space, take a moment to carefully consider the size and layout of the wall to determine the best design for your unique space. You'll want to think about how you can Create a beautiful focal point using paint to enhance the room's aesthetic.
A well-planned design is important to achieving the desired look. Take into account the room's lighting conditions and overall color scheme when designing the white accent wall. A simple and elegant pattern or layout can make all the difference.
Measure and mark the wall to ensure accurate placement of the white boards for a cohesive look. Don't forget to use a stud finder to locate studs for secure installation of the white accent wall.
Preparing the Wall for Installation

You'll need to prepare the wall properly before installing the white accent wall to make sure a secure and even installation. This step is important to guarantee the boards adhere well and the final result looks stunning.
| Task | Why It's Important |
|---|---|
| Use a stud finder | Locate studs for secure installation |
| Sand the wall | Create a smooth surface for better adhesion |
| Clean the wall | Remove dust and debris for a strong bond |
| Apply primer | Help boards adhere better and prevent moisture damage |
To start, use a stud finder to locate the studs in your wall. This will ensure that your accent wall is securely attached. Next, sand the wall to create a smooth surface for the boards to adhere to. Make sure to clean the wall thoroughly to remove any dust or debris that may affect the installation. Finally, apply a coat of primer to the wall to help the boards adhere better and prevent moisture damage. Use a level to guarantee the wall is straight and the boards are installed evenly. By following these steps, you'll be ready to install your white accent wall with confidence.
Installing the Accent Wall Panels

With your wall properly prepared, you're ready to start installing the accent wall panels, beginning by measuring and marking their placement on the wall using a level and stud finder for accuracy. This guarantees that your panels are straight and level, creating a professional-looking accent wall that elevates your interior design.
To install the panels, follow these essential steps:
- Cut the panels to size: Use a compound miter saw to make clean and precise cuts, ensuring a seamless look.
- Secure the panels: Nail them to the wall, starting at the top and working your way down to maintain alignment.
- Verify and adjust: Check that the panels are level and securely attached before moving on to the next step.
Sanding and Smoothing the Surface
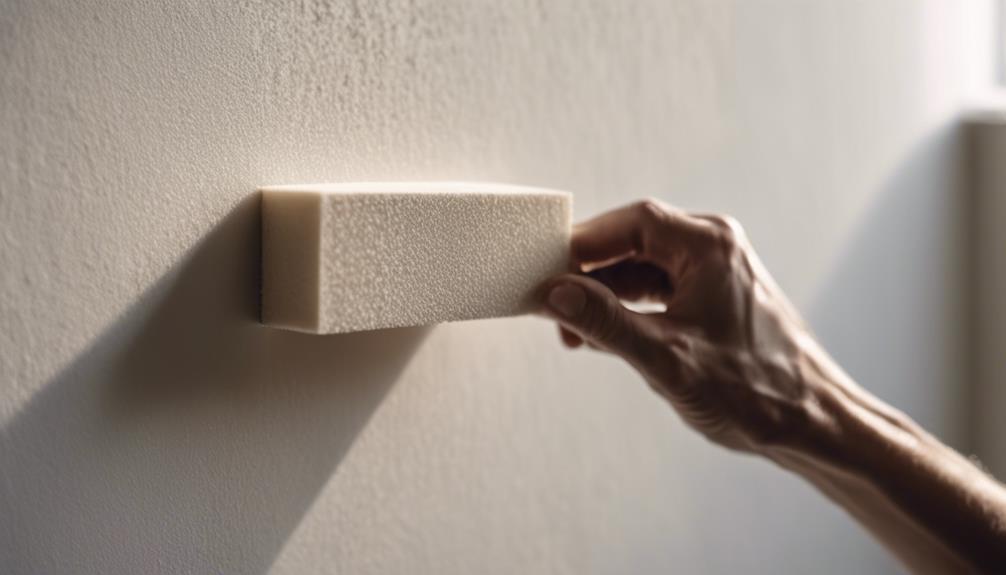
Now that your accent wall panels are securely in place, take out your fine-grit sandpaper and get ready to smooth out any rough spots or imperfections. Sanding is an important step in creating a stunning white accent wall, as it helps the paint adhere better to the surface and creates a polished look. Make sure all boards are sanded evenly for a professional finish and consistent texture. Focus on edges and corners to avoid any sharp or rough edges on the finished wall.
As you sand, pay attention to any areas that may have slight imperfections or rough spots. Use gentle, even strokes to smooth out the surface. Remember, the goal is to create a smooth surface for painting, so take your time and don't rush through this step.
After sanding, wipe down the boards to remove any dust or debris before moving on to the next step. By taking the time to properly sand and smooth the surface, you'll be rewarded with a beautifully textured wall that's ready for painting.
Painting the Accent Wall
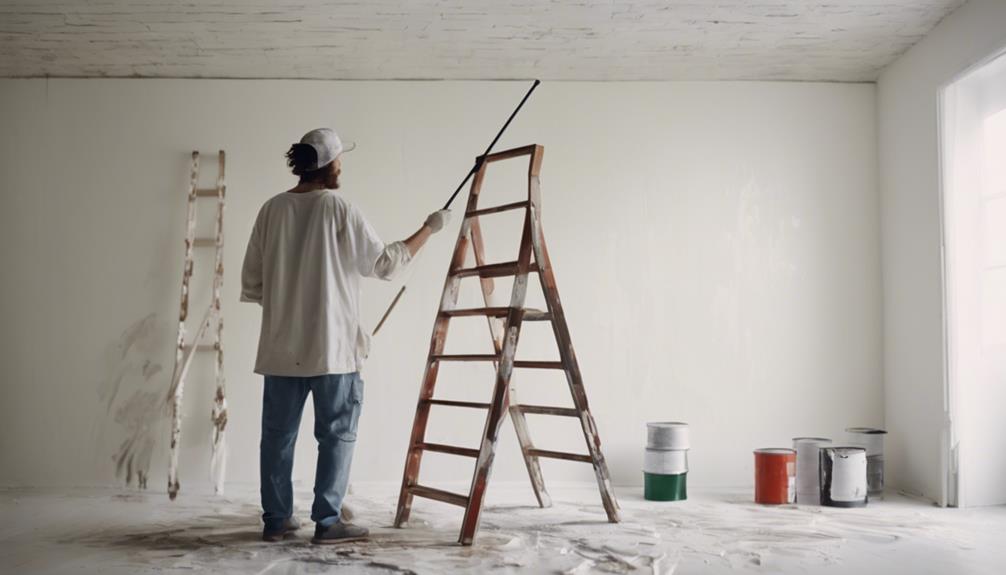
As you prepare to paint your accent wall, remember to choose a high-quality paint, like Sherwin-Williams, in a crisp white hue to create a fresh and modern look. This paint color will help your feature wall stand out and add a touch of sophistication to your space.
Before you start painting, make sure to:
- Apply a primer to guarantee proper adhesion and a smooth finish.
- Use a high-quality paintbrush and roller for even coverage and professional results.
- Apply multiple thin coats of paint for a flawless, opaque finish.
Remember to allow each coat to dry completely before applying the next layer to avoid streaks or uneven coverage.
As you paint, focus on creating straight lines and even strokes to achieve a seamless look. With these tips, you'll be on your way to creating a stunning white accent wall that adds visual interest to your space.
Frequently Asked Questions
How Do You Make a Stunning Accent Wall?
To make a stunning accent wall, you'll want to choose a bold, contrasting color or unique texture that grabs attention, and then balance it with harmonious elements to avoid visual overwhelm.
What Are the Rules for Accent Wall Design?
You're about to become an accent wall mastermind! To create a show-stopping space, remember that one accent wall per room is the golden rule, and choosing a color that complements your decor is key to a cohesive look.
What Is the Best Accent Color for White Walls?
When selecting an accent color for your white walls, you'll want to contemplate your personal style and the room's atmosphere. Soft pastels, bold contrasts, metallic accents, earthy tones, or neutral shades can all complement white walls beautifully, depending on the vibe you're going for.
Do You Paint an Accent Wall First or Last?
You're wondering whether to paint the accent wall first or last. Generally, it's recommended to paint it first, ensuring a clean finish and avoiding potential mess or damage to other elements in the room.
Conclusion
You've successfully created a stunning white accent wall that's the crowning jewel of your room!
Now, step back and admire your handiwork – it's the icing on the cake.
With a little patience and elbow grease, you've transformed a plain wall into a beautiful focal point.
Take pride in knowing you've added a touch of elegance to your space, and get ready to bask in the oohs and aahs from friends and family!
- About the Author
- Latest Posts
Introducing Ron, the home decor aficionado at ByRetreat, whose passion for creating beautiful and inviting spaces is at the heart of his work. With his deep knowledge of home decor and his innate sense of style, Ron brings a wealth of expertise and a keen eye for detail to the ByRetreat team.
Ron’s love for home decor goes beyond aesthetics; he understands that our surroundings play a significant role in our overall well-being and productivity. With this in mind, Ron is dedicated to transforming remote workspaces into havens of comfort, functionality, and beauty.
Decor
Repurpose Dresser Into Bookshelf With 3 Easy Steps
Achieve a stylish and functional bookshelf by upcycling an old dresser in just three easy steps, and discover the endless possibilities within.
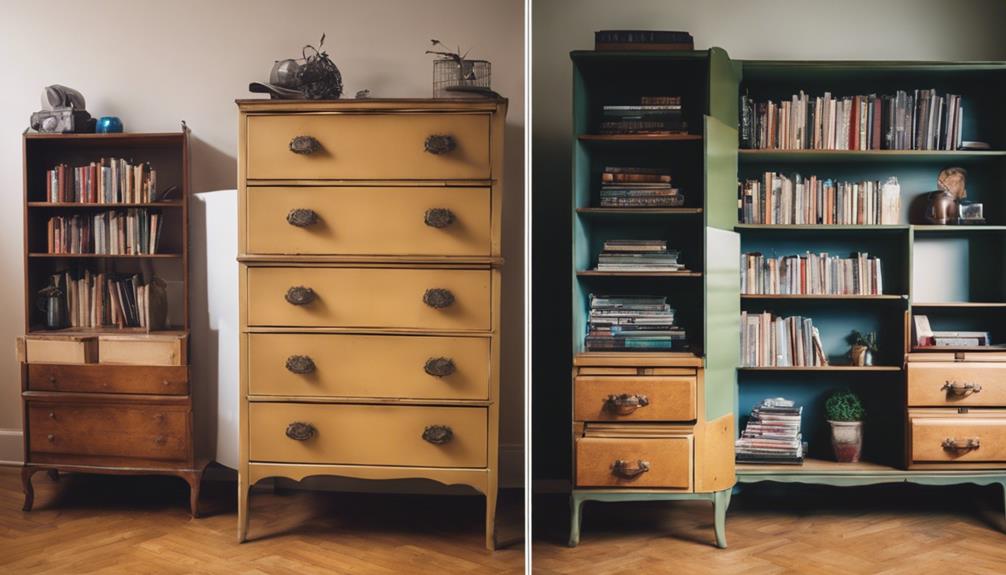
We can breathe new life into an old dresser by repurposing it into a functional bookshelf in three easy steps. First, we prepare the dresser by removing hardware and drawers, filling holes, and sanding it down. Next, we add shelves and decorate the dresser with a fresh coat of paint and trim. Finally, we assemble and style our new bookshelf by securing the shelves and adding decorative items like books, plants, and baskets. With a little creativity, our old dresser can become a stylish and functional piece – and there's more to explore to make it truly unique.
Key Takeaways
• Remove hardware and drawers, fill holes, and sand the dresser to prepare it for repurposing.
• Measure the dresser's inside dimensions to determine shelf size and customize them to fit your needs.
• Install wooden boards as shelves, and secure them with hidden pocket holes for a sturdy bookshelf.
• Paint the dresser with a fresh coat of paint and add decorative elements, such as trim or baskets, to match your style.
• Add decorative items, like books, plants, or baskets, to the shelves to create a stylish and functional bookshelf.
Prepare the Dresser
We frequently start by removing all hardware and drawers from the dresser to prepare it for its new life as a bookshelf. This allows us to assess the old dresser's structure and identify any areas that need attention.
Next, we fill in any holes or imperfections with wood filler to guarantee a smooth surface. This step is vital in creating a sturdy base for our repurposed dresser.
After the filler dries, we sand the dresser thoroughly to remove any existing finish or paint, ensuring better adhesion for our new shelves. We then measure the inside dimensions of the dresser to determine the size of the shelves needed.
Add Shelves and Decorate
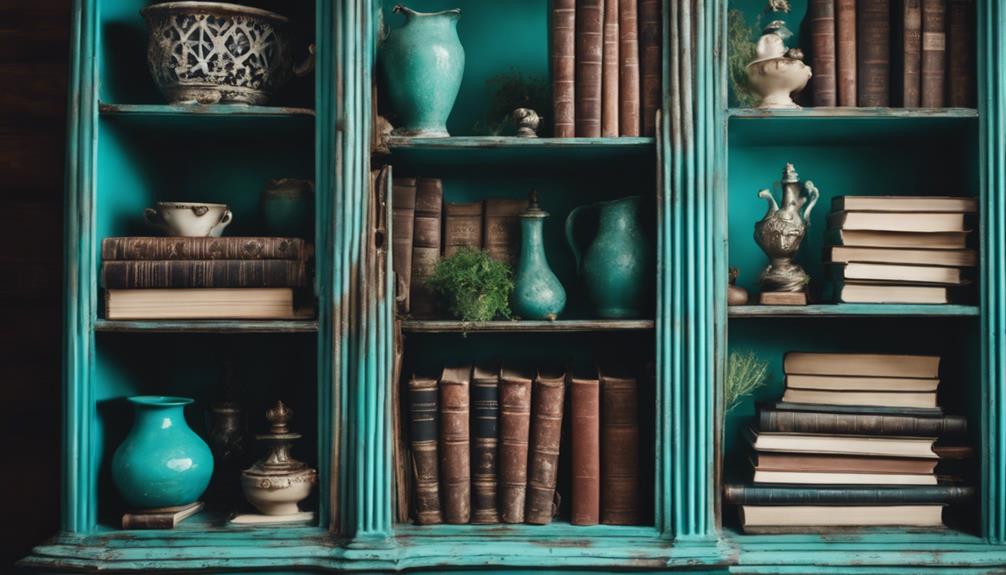
With our dresser prepared, we're ready to add shelves and bring our bookshelf vision to life by installing wooden boards in place of the removed drawers. This is a great opportunity to customize the storage space to fit our needs. We can adjust the shelf height and depth to accommodate books, decorative items, and storage baskets, ensuring our repurposed dresser bookshelf is both functional and stylish.
| Shelf Height | Shelf Depth | Storage Capacity |
|---|---|---|
| 12 inches | 10 inches | Small to medium-sized books |
| 15 inches | 12 inches | Medium-sized books and decorative items |
| 18 inches | 15 inches | Large books and storage baskets |
| 20 inches | 18 inches | Oversized books and large storage baskets |
After adding the shelves, we can enhance the bookshelf look by painting the dresser with a fresh coat of paint in our desired color. To add a personalized touch, we can consider adding trim or decorative elements to the dresser. Finally, we can decorate the bookshelf with our favorite items, keeping our space organized in a creative way.
Assemble and Style
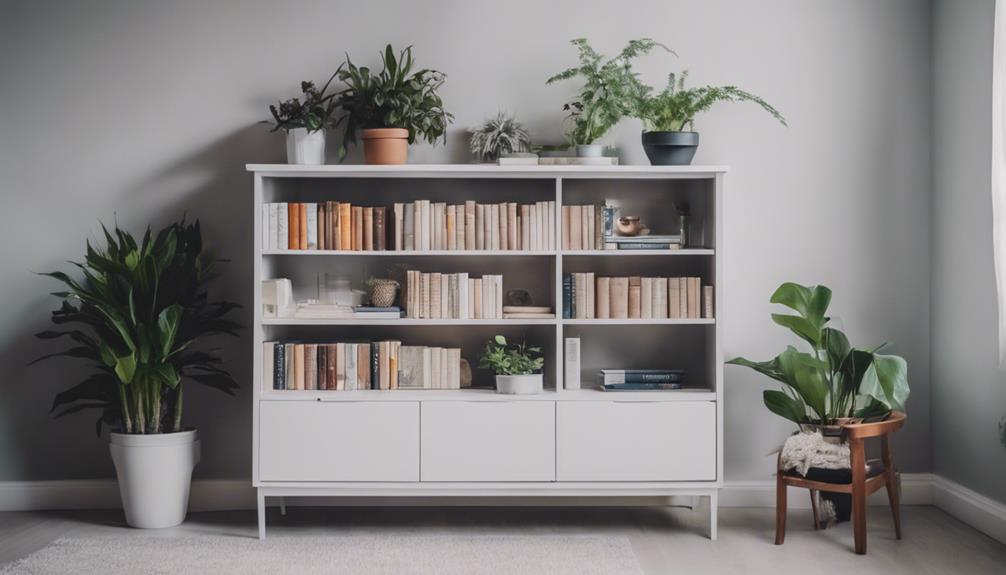
Let's get started by assembling our repurposed dresser bookshelf, securing the shelves with hidden pocket holes for a sleek, polished look. As we assemble, we can already envision the final product, a stylish and functional bookshelf that was once an old dresser.
Now, it's time to style our new bookshelf. We can add some personality to our dresser turned bookshelf by incorporating decorative items such as books, plants, or baskets. Here are a few ideas to get us started:
- Add old locker or wicker baskets on the shelves for a cohesive and organized look.
- Place a few potted plants on the top shelf to bring in a touch of greenery.
- Arrange a few favorite books or decorative items on the middle shelves for visual appeal.
Our repurposed dresser bookshelf offers versatile storage options for various items in our home.
Frequently Asked Questions
Can You Turn a Dresser Into a Bookcase?
We're often asked: can you turn a dresser into a bookcase?
The answer is yes! We've done it, and it's a fantastic way to breathe new life into an old piece of furniture. By removing the drawers and adding shelves, we've created a unique and functional storage solution that's perfect for our homes.
It's a creative way to repurpose furniture and save money, and it allows us to customize the look to fit our personal style.
How to Convert Dresser Drawers to Shelves?
We're excited to tackle the task of converting our dresser drawers into shelves! First, we'll remove the hardware and fill any holes with wood putty before sanding the drawers thoroughly.
Next, we'll measure the inside dimensions to make sure our shelves fit perfectly.
Finally, we'll attach the shelves using hidden pocket holes for a seamless look.
With these simple steps, we'll have functional and stylish shelves in no time!
How to Make an Old Dresser Look Modern?
Updating an old dresser may seem like a challenging task, but believe us, it's easier than you think!
To give your dresser a modern makeover, start by removing outdated hardware and filling in holes for a sleek look.
Next, sand down the surface to remove imperfections and apply a fresh coat of paint in a contemporary color.
How to Turn a Dresser Into a Toy Box?
We're excited to share how to turn a dresser into a toy box!
First, we remove the drawers and hardware to create a spacious interior.
Next, we sand and repaint the dresser in a fun, kid-friendly color.
Then, we add safety features like rounded edges and child-proof closures.
Finally, we consider adding caster wheels for easy mobility.
With these steps, we can repurpose an old dresser into a functional and stylish toy box for kids!
Conclusion
With our dresser-turned-bookshelf standing tall, we step back to admire our handiwork. Shelves once filled with clothes now cradle our favorite novels, their worn spines a proof to countless nights spent reading by lamplight.
As we run our fingers over the refurbished wood, the transformation feels almost magical – a validation to our creativity and resourcefulness. With every glance, we're reminded that with a little imagination, even the most mundane objects can be reborn into something truly remarkable.
- About the Author
- Latest Posts
Introducing Ron, the home decor aficionado at ByRetreat, whose passion for creating beautiful and inviting spaces is at the heart of his work. With his deep knowledge of home decor and his innate sense of style, Ron brings a wealth of expertise and a keen eye for detail to the ByRetreat team.
Ron’s love for home decor goes beyond aesthetics; he understands that our surroundings play a significant role in our overall well-being and productivity. With this in mind, Ron is dedicated to transforming remote workspaces into havens of comfort, functionality, and beauty.
Decor
Beach Themed Living Room Ideas on a Budget
Spruce up your living room with these budget-friendly beach themed decor ideas that will transport you to the coast without breaking the bank.
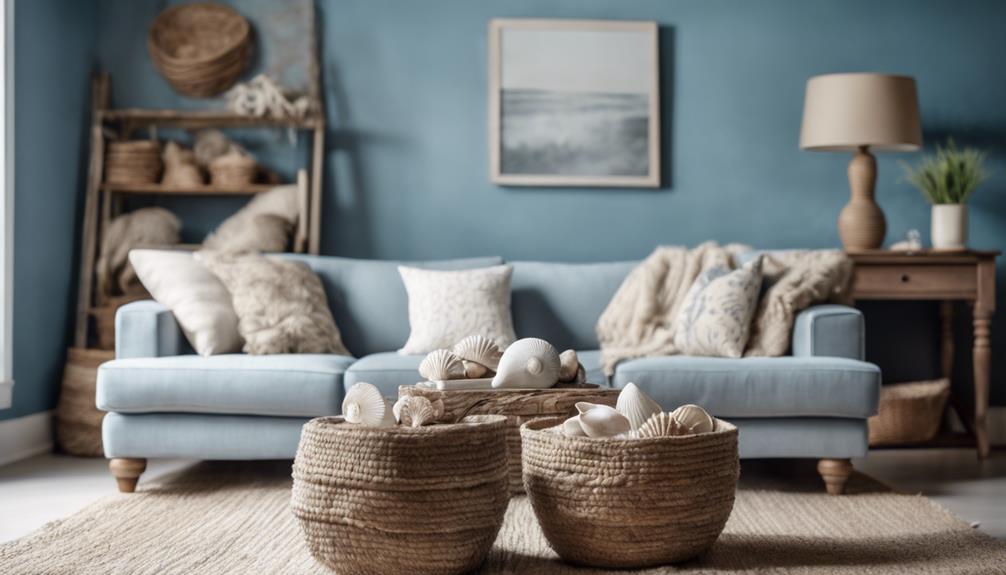
We're transforming our living rooms into coastal retreats without breaking the bank, incorporating natural elements like driftwood and seashells to achieve a beachy vibe on a budget. Update throw pillows, lamps, and art with affordable coastal accents, and utilize reclaimed wood for driftwood shelves. Collect seashells for decorative arrangements and upcycle old fishing floats into unique wall art. For a stylish and affordable beach house decor, consider budget-friendly lighting ideas, thrifty coastal decor inspiration, and budget beach-themed furniture. From DIY beach decor projects to coastal color schemes, we'll show you how to create a beach-themed living room that's both stylish and affordable, so stay tuned to discover more creative ideas!
Key Takeaways
• Replace drawer knobs with sand dollar-shaped ones and incorporate glass fishing floats as decorative accents for a beachy feel.
• Update throw pillows, lamps, and art with affordable coastal accents to achieve a beach house decor on a budget.
• Utilize reclaimed wood for driftwood shelves and collect seashells for decorative arrangements to add natural textures and coastal charm.
• Find affordable options for coastal chic sofas and consider slipcovers in light colors to achieve a beachy look without exceeding the budget.
• Create a soothing coastal ambiance with light and airy colors, such as soft blues, sandy neutrals, and minty greens, without overspending.
Budget-Friendly Coastal Accents
With a few smart swaps, we can instantly inject a coastal vibe into our living room without draining our wallets. By incorporating budget-friendly coastal accents, we can create a beach house decor that's both stylish and affordable.
For instance, we can replace our existing drawer knobs with sand dollar-shaped ones in brushed pewter or antique white, adding a touch of the coast to our coffee table or storage units for under $50. Glass fishing floats in soothing blues and greens can also be used as decorative accents to refresh our space.
Additionally, we can update our throw pillows, lamps, and art with affordable coastal accents, all under $100, to enhance the coastal ambiance in our living room. These easy swaps can instantly give our room a coastal feel without breaking the bank. By making these small changes, we can create a coastal living room that's both beautiful and budget-friendly.
Affordable Beachy Lighting Ideas
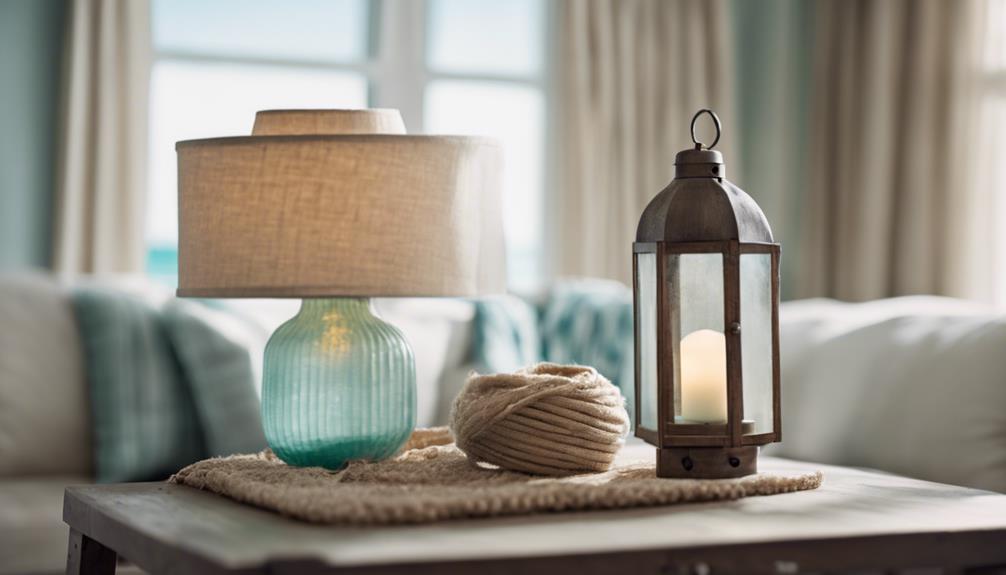
We can brighten up our beach-themed living room with affordable and stylish lighting options that evoke the warmth and coziness of a seaside escape. By incorporating budget-friendly table lamps with coastal designs, we can illuminate our living room without breaking the bank.
Consider using bedside and side table lamps with beachy elements to create a cohesive look that ties in with our beach decor. We can browse modern lamp styles under $100 to enhance the beach-themed ambiance in our room.
Adding stylish lighting options to our living room, bedroom, or desk can achieve a sophisticated and light-filled space without exceeding our budget. With affordable beachy lighting solutions, we can create a warm and inviting atmosphere that complements our beach-themed decor.
Coastal Decor on a Shoestring
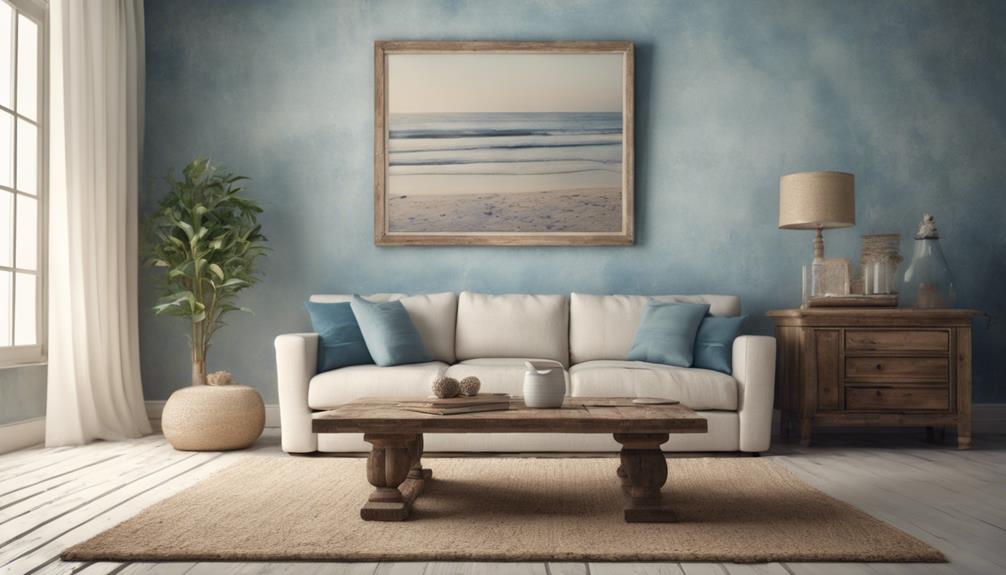
Now that we've lit up our beach-themed living room with affordable and stylish lighting options, let's focus on adding coastal decor elements without breaking the bank. We can achieve a beachy look on a shoestring by repurposing and upcycling items, exploring DIY projects, and incorporating thrifted or second-hand items.
| Decor Element | Cost-Effective Alternative | Beachy Touch |
|---|---|---|
| Driftwood Shelves | Use reclaimed wood from an old pallet | Add a coastal vibe with natural textures |
| Seashell Decor | Collect seashells on your next beach trip | Create a beautiful arrangement in a vase or bowl |
| Fishing Float Art | Upcycle old fishing floats into unique wall art | Add a pop of color and whimsy to your walls |
Thrifty Beach House Decor Inspiration
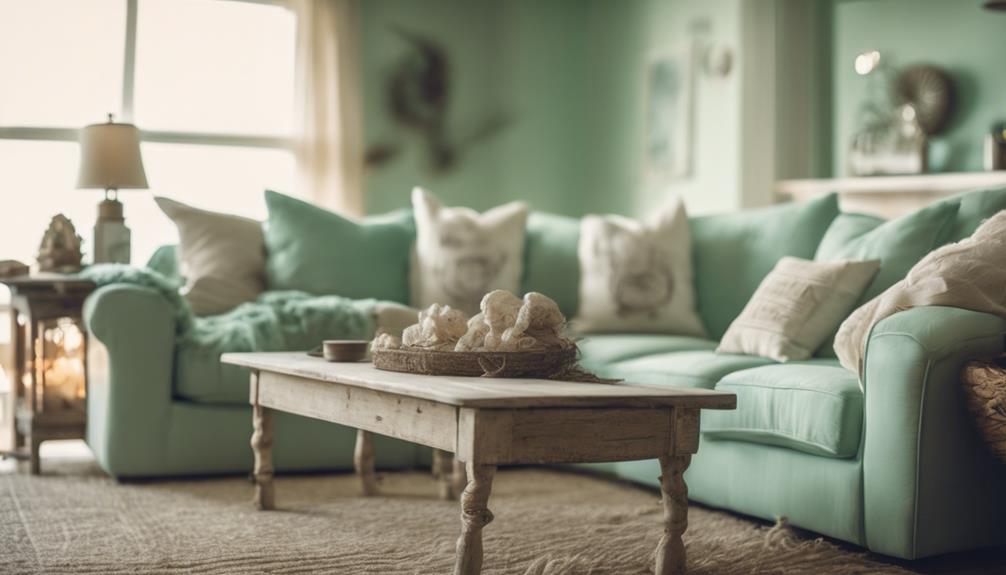
As we explore thrifty beach house decor inspiration, we'll focus on three key elements that can instantly evoke the feeling of a coastal retreat in our living rooms.
We'll examine how a thoughtful coastal color palette can set the tone for a calming atmosphere, and how a beachy textile mix can add depth and visual interest to our space.
Coastal Color Palette
Incorporating a coastal color palette into our living room decor is a thrifty way to evoke the feeling of a beach house without breaking the bank. By choosing a palette that incorporates shades of blues, greens, whites, and sandy tones, we can create a beachy vibe in our living room without overspending.
We can utilize pastel shades like soft blues and seafoam greens to create a soothing and calming atmosphere, perfect for a relaxing living space. Adding pops of vibrant colors like coral or turquoise can liven up the space and evoke a beachy feel without breaking the budget.
To provide a clean canvas for our coastal decor elements to stand out, we can choose neutral base colors like white or beige. Experimenting with different textures and materials in our chosen color palette can add depth and visual interest to our beach-themed living room on a budget.
Beachy Textile Mix
We can further cultivate the coastal vibe in our living room by mixing and matching different beach-inspired textiles. This can add depth, texture, and visual interest to our space without breaking the bank. By doing so, we can create a thrifty beach house decor that exudes a charming and inviting atmosphere.
Here are some ideas to get us started:
- Mix and match striped rugs, nautical throw pillows, and sea-inspired curtains for a budget-friendly beachy look.
- Incorporate textured fabrics like jute, linen, and cotton in neutral tones to add depth and warmth to our beach themed living room.
- Opt for thrifted or discounted coastal textiles like woven blankets, embroidered cushions, and seashell-patterned fabrics to achieve a charming beach house vibe without breaking the bank.
- Layer different textures and patterns, like a sisal rug with a palm leaf print throw, to create a cozy and inviting coastal atmosphere in our living space.
- Utilize versatile textiles like lightweight throws, canvas slipcovers, and sheer curtains to effortlessly switch our living room into a casual and relaxed beach themed retreat.
Seashell Decor Accents
With a few simple and affordable tweaks, we can bring the beachy vibe into our living room by incorporating seashell decor accents that evoke a sense of tranquility and connection to the ocean.
Thrift stores and beachcombing are great sources for collecting seashells, which can be used in various ways to add a coastal touch to our decor.
We can fill glass jars with an assortment of shells, create a beautiful wreath, or adorn a mirror with them.
Displaying seashells in shadow boxes or on trays is another great way to showcase our finds and add a natural, calming element to our beach-themed living room decor.
Budget Beach Themed Furniture
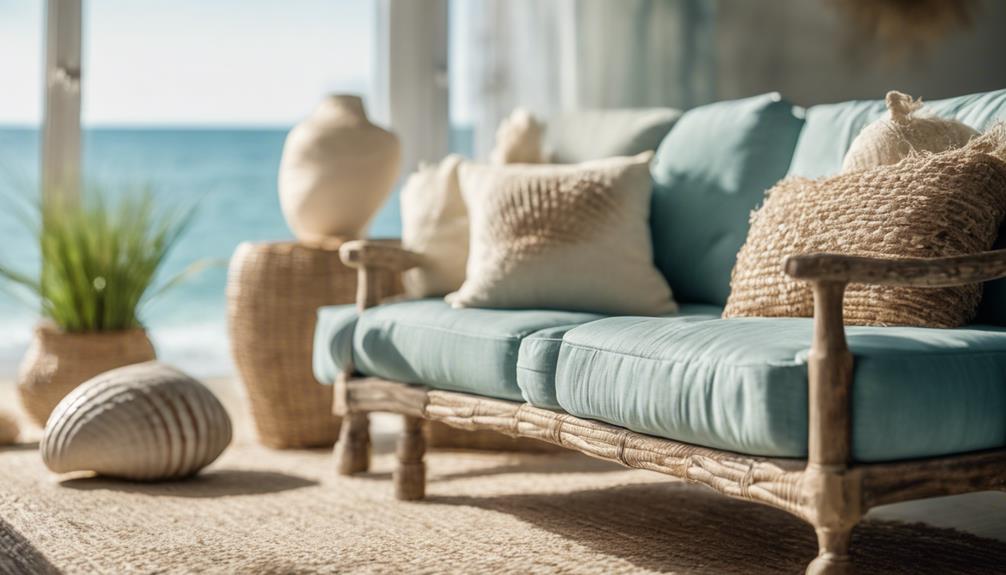
As we explore budget-friendly options for our beach-themed living room, we're excited to discover unique and affordable furniture pieces that evoke the coastal vibe.
Our focus turns to statement-making furniture, such as Coastal Chic Sofas, Driftwood Coffee Tables, and Seashell Accent Chairs, that can transform our space without breaking the bank.
Coastal Chic Sofas
When it comes to creating a coastal chic living room on a budget, finding the perfect sofa is essential, and fortunately, there are many affordable options that can bring the beachy vibe into our homes. We're not limited to a specific style or design, as there are many budget-friendly beach themed sofas available in various styles, such as sectionals, loveseats, and sleeper sofas.
To create a cohesive coastal look, consider the following features:
- Slipcovers in light colors like white or beige for a beachy feel
- Sofas with coastal elements like rattan accents, nautical stripes, or seashell prints
- Durable and easy-to-clean fabrics like cotton or linen blends to withstand sandy feet and salty air
- Versatile sofa designs that can easily shift between casual coastal gatherings and cozy movie nights by the beach
- Affordable options that fit our budget, without compromising on style and comfort
Driftwood Coffee Tables
We can bring a touch of the coast into our living room without breaking the bank by incorporating driftwood coffee tables, a budget-friendly beach themed furniture piece that adds a rustic charm to our space.
Made from reclaimed driftwood, these unique tables bring a sense of the ocean's edge into our homes. With their natural textures and colors, they complement a beach themed living room aesthetic perfectly. Plus, they come in various sizes and styles, making them suitable for different living room layouts.
What's more, we can either DIY our own driftwood coffee table or purchase one affordably from online retailers or thrift stores. This budget-friendly option allows us to achieve a coastal vibe without draining our wallets.
Seashell Accent Chairs
Add a coastal twist to your living room decor with seashell accent chairs, a budget-friendly beach themed furniture option that brings a touch of the ocean into your home. We're excited to share how these affordable chairs can elevate your beach-themed living room without breaking the bank.
Here are some key benefits to take into account:
- Seashell accent chairs can be found for under $300, making them an affordable way to incorporate beach-themed furniture into your living room.
- These chairs often feature seashell motifs or coastal-inspired patterns, adding a beachy vibe to your space.
- You can choose from various styles, including upholstered options and wicker or rattan designs.
- Pair seashell accent chairs with neutral tones and coastal decor accessories for a cohesive beach-themed look.
- They're a great way to add a touch of the ocean into your home without committing to a full-on beach theme.
Small Space Coastal Design Tips
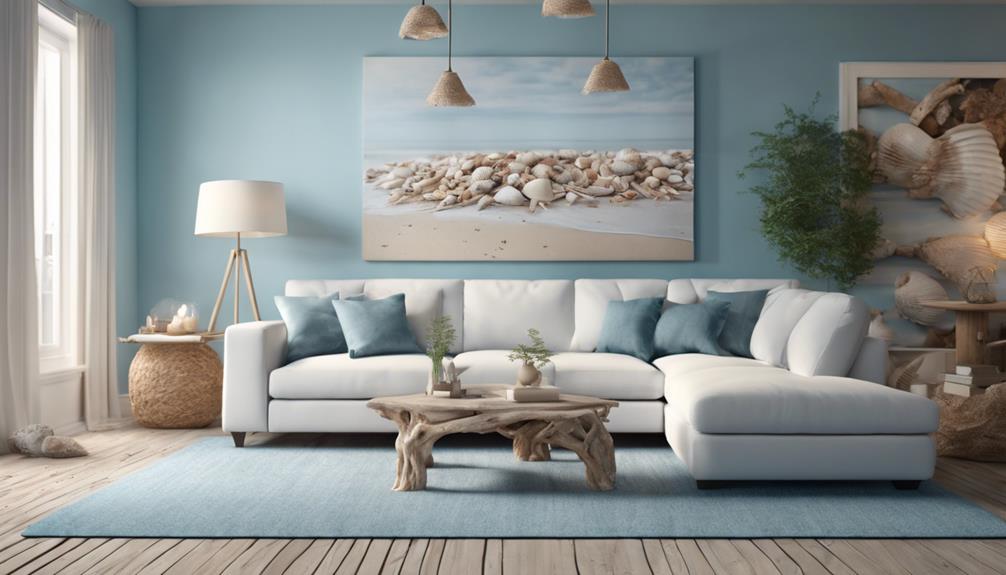
As we work with small coastal living rooms, we need to get creative to make the most of the available space. One of the most effective ways to do this is by opting for multipurpose furniture pieces that serve more than one purpose. This not only saves space but also helps to create a sense of flow and openness in the room.
Additionally, we can use a light and airy color palette with pops of blues and greens to evoke a coastal vibe without overwhelming the senses. Incorporating natural elements like wood and rattan can also bring a beachy feel to the space. To add some visual interest, we can experiment with pastel shades and coastal-themed decor to create a soft and inviting atmosphere.
DIY Beach Decor Projects
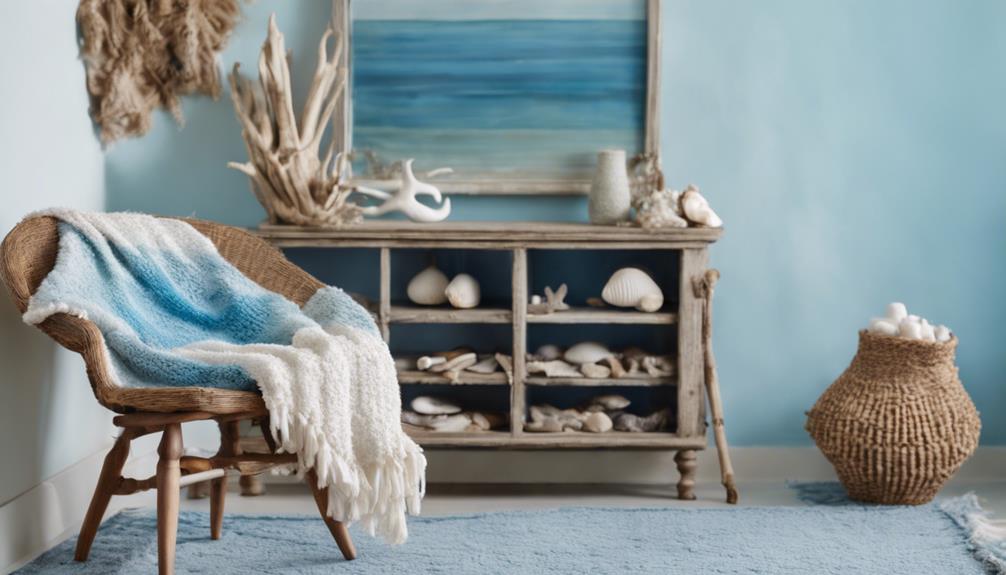
By incorporating DIY beach decor projects into our design plan, we can infuse our coastal living room with unique, personalized touches that reflect our love for the ocean. Not only do DIY projects save us money, but they also allow us to add a personal touch to our space.
Here are some DIY beach decor project ideas to get us started:
- Create beach-themed wall art using shells, driftwood, and beach glass
- Upcycle bottles with specialty spray paint and add netting to transform them into beachy decor pieces
- Repurpose light fixtures into faux nautical antiques for a cost-effective way to add coastal charm to our living room
- Craft a beachy wreath with free beach treasures like seashells and beach glass to enhance our home's entrance
- Use beach treasures to create one-of-a-kind decor pieces that reflect our personal style and love for the ocean
Coastal Color Schemes on a Budget
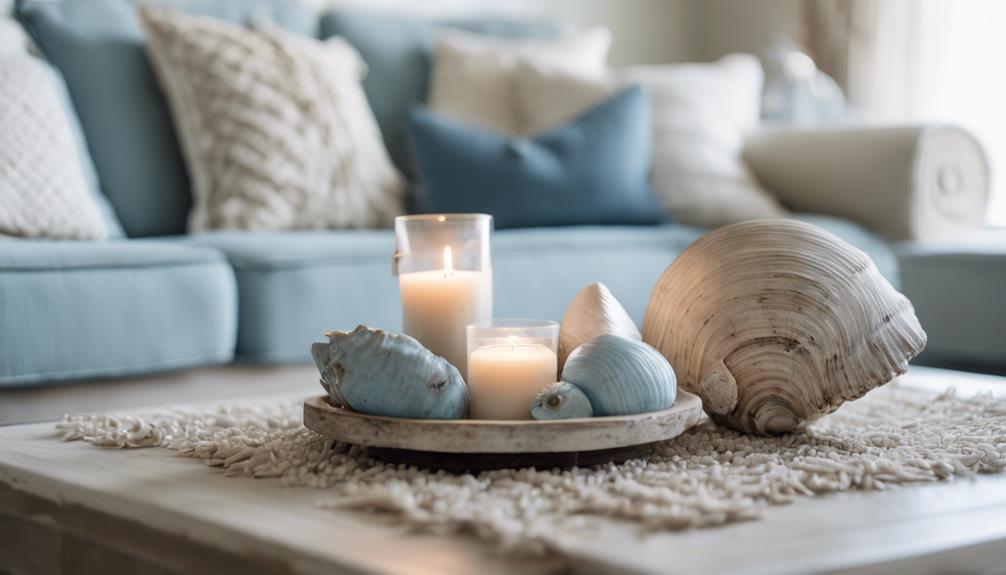
We can evoke the serene ambiance of the coast in our living room without overspending by selecting a thoughtful color scheme that incorporates calming hues reminiscent of the ocean and sky. By incorporating light and airy colors like whites, blues, and greens, we can create a soothing coastal ambiance without breaking the bank.
| Color | Description | Budget-Friendly Tip |
|---|---|---|
| Soft Blues | Reminiscent of a clear sky or calm ocean | Use throw pillows or blankets in soft blues to add a pop of color |
| Sandy Neutrals | Evokes the feeling of warm sand between your toes | Paint a single accent wall in a sandy neutral to create a focal point |
| Minty Greens | Brings to mind the freshness of sea spray | Add a minty green rug to tie together coastal-inspired decor |
Inexpensive Nautical Decor Ideas
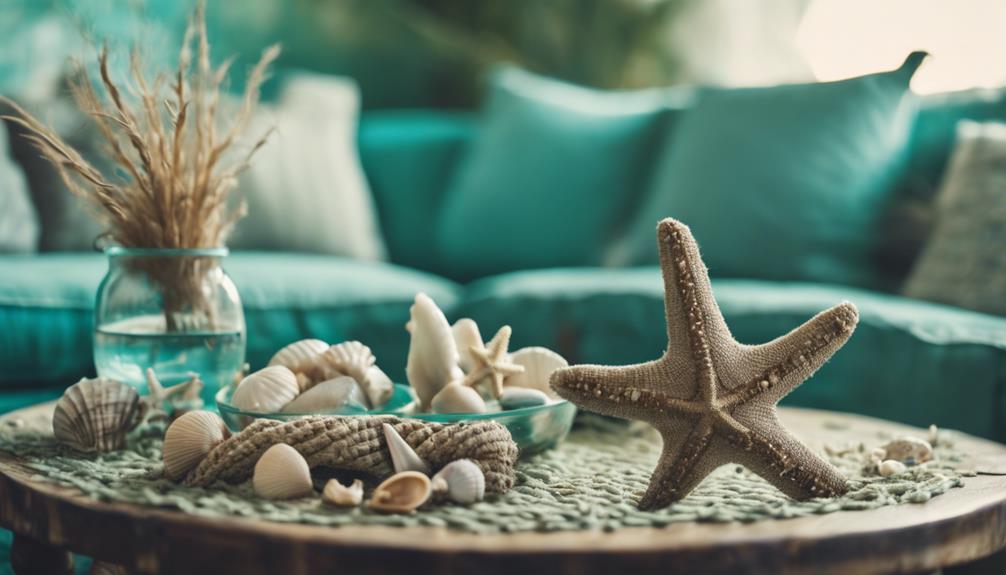
To create a beach-themed living room on a budget, we're incorporating nautical elements that evoke the feeling of the coast without breaking the bank. By doing so, we can achieve a coastal vibe without overspending.
Here are some inexpensive nautical decor ideas to get you started:
- Incorporate ropes, anchors, and boat accessories to add a touch of the sea
- Use a navy blue and white color scheme with striped patterns to evoke a coastal feel
- Display seashells, driftwood, and beach glass in glass jars or vases as affordable nautical decor accents
- DIY coastal artwork with beach-inspired motifs like waves, shells, or sailboats to add a personalized touch
- Opt for thrifted or second-hand nautical items like vintage maps, compasses, or ship wheels to enhance the beach theme economically
Frequently Asked Questions
How to Make Your Living Room Look Beachy?
As we envision a tranquil coastal escape, we ask ourselves, 'How can we make our living room look beachy?'
We imagine the warmth of the sun on our skin, the sound of waves crashing, and the smell of salty air.
To recreate this ambiance, we can incorporate light and airy colors, nautical elements, and natural textures like wicker and rattan.
How Do I Make My Room a Beach Theme?
We want to transform our room into a beachy oasis, but where do we start?
To make our room a beach theme, we'll focus on evoking the calming, natural atmosphere of the coast.
We'll select a soothing color palette, incorporate natural materials, and add coastal decor elements like seashells, driftwood, and beach-inspired artwork.
How to Decorate a Living Room Cheaply?
We're all about decorating on a dime, and did you know that 75% of homeowners prioritize budget-friendly decor options?
When it comes to decorating a living room cheaply, we swear by thrift stores and DIY projects. Repurpose old furniture, create your own artwork, and scour dollar stores for unique decor hacks.
With a little creativity, we can transform our spaces without breaking the bank.
How to Decorate Your House Like a Beach House?
We're interested in transforming our home into a beach-inspired oasis. To achieve this, we'll focus on incorporating calming hues like whites, blues, and greens, reminiscent of the ocean and sky.
We'll also incorporate natural materials, nautical touches, and beach-themed artwork to evoke the seaside feel. By doing so, we'll create a relaxing atmosphere that transports us to the coast, without breaking the bank.
Conclusion
As we've explored, transforming your living room into a beachy oasis doesn't have to break the bank. By incorporating budget-friendly coastal accents, affordable lighting ideas, and thrifty decor inspiration, you can create a serene and inviting space that transports you to the coast.
Think of it as collecting seashells on a beach walk – each element, no matter how small, contributes to a beautiful, harmonious whole. With a little creativity and resourcefulness, you can craft a coastal retreat that's as relaxing as a seaside escape.
- About the Author
- Latest Posts
Introducing Ron, the home decor aficionado at ByRetreat, whose passion for creating beautiful and inviting spaces is at the heart of his work. With his deep knowledge of home decor and his innate sense of style, Ron brings a wealth of expertise and a keen eye for detail to the ByRetreat team.
Ron’s love for home decor goes beyond aesthetics; he understands that our surroundings play a significant role in our overall well-being and productivity. With this in mind, Ron is dedicated to transforming remote workspaces into havens of comfort, functionality, and beauty.
-

 Vetted2 days ago
15 Best Printers of 2024: Top Picks and Expert Reviews
-
 Vetted4 days ago
15 Best Tile Sealers for Long-Lasting Protection and Shine
-

 Vetted1 week ago
15 Best Smelling Floor Cleaners That Will Leave Your Home Fresh and Inviting
-

 Vetted6 days ago
14 Best Power Scrubbers for Showers That Will Transform Your Cleaning Routine
-

 Mardi Gras Decoration21 hours ago
What Do the Symbols of Mardi Gras Mean?
-

 Appliances4 days ago
5 Best Energy-Efficient Stainless Steel Fridges 2023
-

 Vetted4 weeks ago
Best Mop for Sparkling Clean Floors in 2024
-

 Vetted4 days ago
Best Essential Oil Brand: Top Picks for 2024


