Decor
How to Create a Great Weathered Wood Finish
Harness the secrets of achieving a stunning weathered wood finish by mastering the art of stain absorption, texture, and distressing techniques.
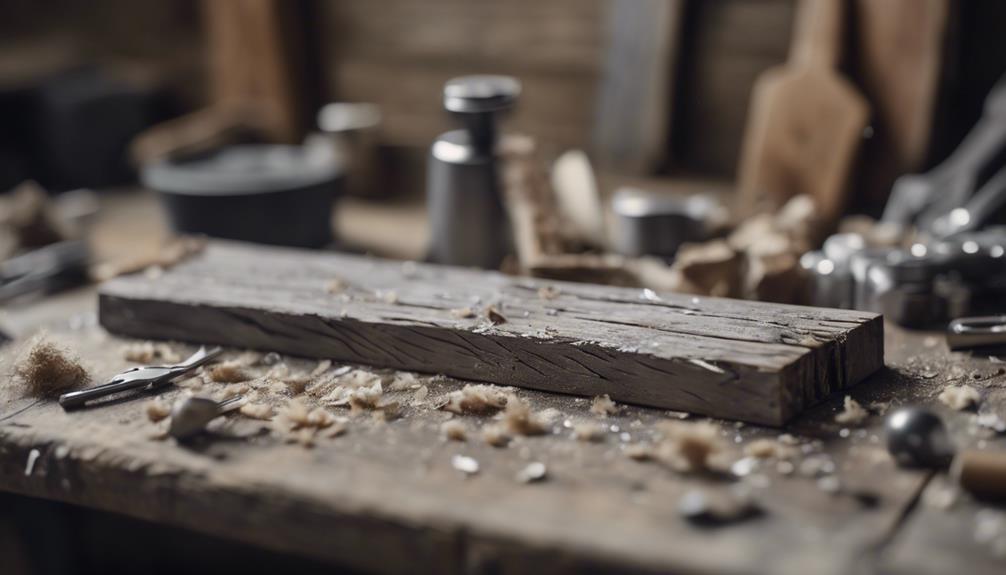
We begin our journey to craft a weathered wood finish by selecting the right wood species, understanding how different types absorb stain, and embracing the unique textures and patterns that will enhance our final product. From softwoods like pine to hardwoods like oak, each species affects the stain's absorption and desired weathered effect. By mixing the perfect stain recipe, preparing the wood surface, and applying the stain in small sections, we can achieve a rich, dark tone. As we distress the wood for authenticity and seal the finish for durability, we're one step closer to creating a stunning weathered wood finish – and there's more to explore to get it just right.
Key Takeaways
• Choose the right wood species, such as softwoods for distressing or hardwoods for durability, to achieve the desired weathered look.
• Mix and apply stain correctly, considering factors like wood type and stain ratio, to achieve a rich, dark base tone.
• Properly prepare and distress the wood surface, using techniques like sanding and scraping, to create an authentic worn appearance.
• Experiment with stain mixtures and application techniques to achieve a unique, weathered gray tone that suits your desired aesthetic.
• Seal the finish with a clear topcoat and commit to regular maintenance to protect and preserve the weathered wood finish.
Choosing the Right Wood Species
When it comes to creating a weathered wood finish, we need to start with the right foundation: selecting the perfect wood species that will respond well to distressing and weathering techniques.
We've learned that softwoods like pine, spruce, or cedar are ideal for easier distressing and weathering, while hardwoods such as oak, maple, or cherry provide a more durable and long-lasting finish.
If we're going for an authentic weathered look with character, we might consider using reclaimed or salvaged wood. The wood species we choose will also affect how it absorbs stains and finishes, so we need to select one that complements our desired weathered effect.
For enhanced texture and visual interest, we look for wood with prominent grain patterns. By choosing the right wood species, we're setting ourselves up for success in achieving that perfect weathered wood finish.
We can't wait to see how our selection responds to our staining and distressing techniques, and how it ultimately contributes to our desired weathered look.
Mixing the Perfect Stain Recipe

We're now ready to mix the perfect stain recipe, an essential step in achieving our desired weathered wood finish. To get started, let's explore the ideal combination of ingredients. As we experiment with ratios, we'll discover the perfect blend of wood stain colors to achieve a weathered look.
| Ingredient | Ratio | Description |
|---|---|---|
| Dark Walnut stain | 1 part | Provides a rich, dark base tone |
| White Dove paint | 1 part | Adds a soft, creamy contrast |
| Water | Variable | Adjust to desired intensity |
| Experiment | – | Try different ratios for unique results |
Remember to mix the stain recipe thoroughly to ensure even application and consistent color. Before applying the stain to the entire surface, test it on a small area of wood to gauge the final color. This important step will help us avoid any unexpected results. By following these guidelines, we'll be well on our way to creating a beautifully weathered wood finish that adds character to any project.
Preparing the Wood for Staining
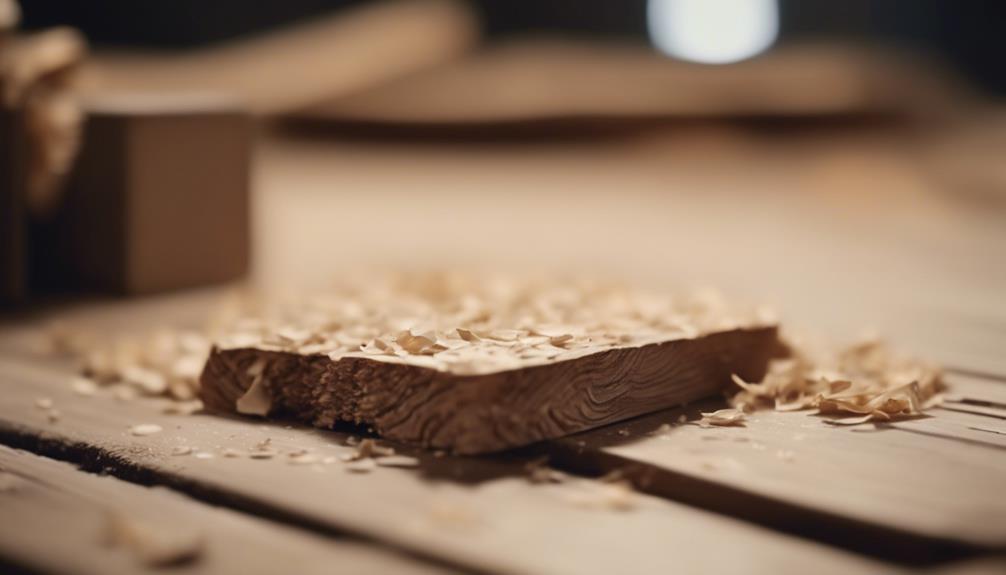
As we progress with preparing our wood for staining, we'll want to tackle a few essential steps to guarantee a smooth, even finish.
First, we'll need to sand the wood surface to remove any imperfections and create a clean slate for our stain.
Sand the Wood Surface
We start by sanding the wood surface with 80 or 150 grit sandpaper to establish a smooth and even base for staining. This is an essential step in achieving a professional and authentic weathered wood finish. As we sand, we make sure to work in the direction of the wood grain to avoid scratches and preserve the natural texture of the wood. We also remove any existing finish or paint to guarantee proper absorption of the stain for a weathered look.
| Sanding Tip | Purpose |
|---|---|
| Sand with 80 or 150 grit | Create a smooth base for staining |
| Sand in the direction of the grain | Avoid scratches and maintain natural texture |
| Lightly distress the wood | Create a worn and aged appearance |
Clean the Wood Thoroughly
After sanding, we clean the wood surface thoroughly to remove any dirt, dust, or debris that could affect the staining process. This important step guarantees a smooth and even wood finish.
We use a damp cloth or a soft-bristled brush to scrub the wood, making sure to eliminate any residues or contaminants that might interfere with the staining process. It's necessary to allow the wood to dry completely before proceeding, as any moisture can impact the stain's absorption and, ultimately, the final weathered wood finish.
Proper cleaning and preparing the wood surface is crucial for achieving a professional-looking weathered wood finish. Sanding and cleaning work hand-in-hand to create a smooth, even surface that's ready for staining.
Applying the Weathered Wood Stain
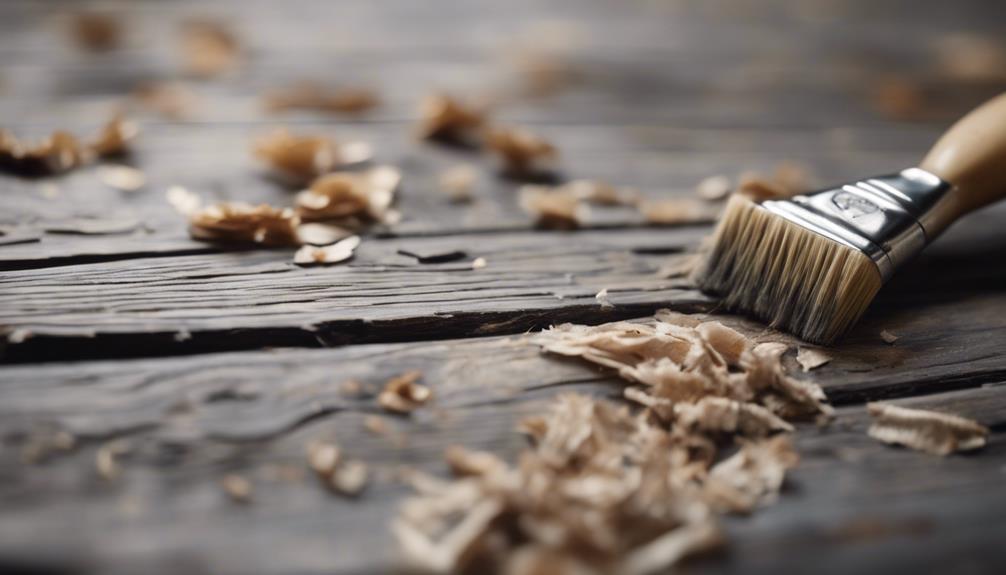
With our DIY weathered wood stain mixture in hand, we start the application process, carefully selecting the right tool for the job – a brush, foam brush, or rag – to achieve the desired color depth and richness. We choose the tool that will give us the most control over the stain application, guaranteeing an even coat and avoiding any streaks or blotches.
Here are the key steps to apply the stain:
- Apply the stain: Using our chosen tool, we apply the DIY weathered wood stain mixture to the wood surface, working in small sections to maintain even coverage.
- Layer the stain: To achieve a deeper, richer color, we layer the stain, allowing each layer to dry before applying the next. This enhances the dimension of the wood grain while preserving its natural beauty.
- Seal the finish: Once we're satisfied with the color, we seal the weathered wood finish with a poly-acrylic coating to protect it from the elements and ensure its longevity.
Achieving the Desired Gray Tone

By mixing dark walnut stain with white paint, we can create a range of gray tones that evoke the weathered beauty of aged wood. To achieve the perfect weathered gray, we adjust the ratio of stain to paint, experimenting with lighter or darker shades. We apply the mixture in long strokes, rubbing it in with a staining rag to create a convincingly weathered look.
When working with different wood types, we're mindful that each absorbs the stain mixture uniquely. For instance, oak tends to darken the mixture, while pine lightens it. By understanding how the wood reacts, we can fine-tune our stain mixture to achieve the desired tone.
As we perfect our weathered gray tone, we seal the finish with a clear topcoat, ensuring durability and a polished appearance. With patience and practice, we can master the art of achieving a beautiful, weathered gray finish that adds character to any wooden surface.
Distressing the Wood for Authenticity
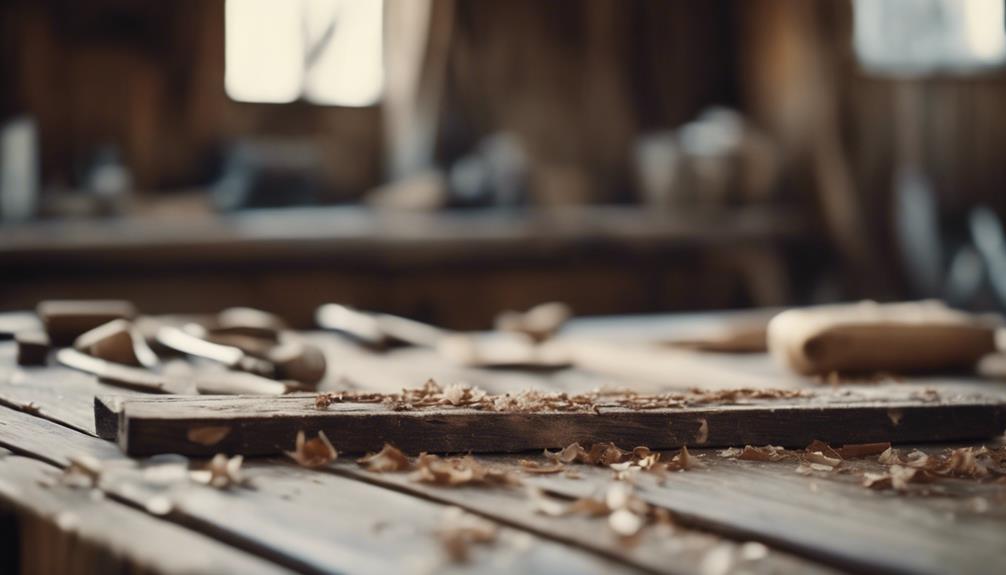
As we move forward in creating a weathered wood finish, we'll explore the process of distressing the wood to achieve an authentic, aged look. By intentionally introducing imperfections like dents, scratches, and wear marks, we can mimic the natural weathering process that occurs over time.
Now, let's examine the techniques involved in scraping the surface away and aging wood naturally.
Scraping the Surface Away
We scrape away the wood's surface to reveal the imperfections that will give our piece its authentic, weathered look. By distressing the wood, we can create a worn appearance that adds character to the final product. To achieve this, we use various tools and techniques to scrape, scratch, and dent the wood.
Here are some methods we use to distress the wood:
- Sandpaper: We use 80 or 150 grit sandpaper to lightly sand the wood, creating a worn appearance.
- Chains and hammers: We use these tools to create dents and dings, adding to the wood's distressed look.
- Nails and scrapers: We use these to scrape away the wood's surface, revealing the imperfections beneath.
Aging Wood Naturally
To elevate our weathered wood finish, we'll focus on aging the wood naturally, building on the imperfections we've already revealed by scraping away the surface.
Distressing the wood is crucial for achieving an authentic weathered look. We'll use techniques like sanding, denting, and scraping to create realistic wear and tear on the wood surface. By utilizing tools such as chains, hammers, or nails, we can create dings and dents that add character to our wood finish.
Hand sanding with coarse grit sandpaper can also mimic natural wear and tear, giving our wood finish the appearance of being aged over time. Distressing the wood before staining or painting is vital to enhancing the overall weathered appearance.
Experimenting with different distressing techniques can add depth and character to our wood finish, transforming it into a cherished antique. By combining these techniques, we can create a weathered wood finish that's both authentic and unique.
Sealing the Finish for Durability
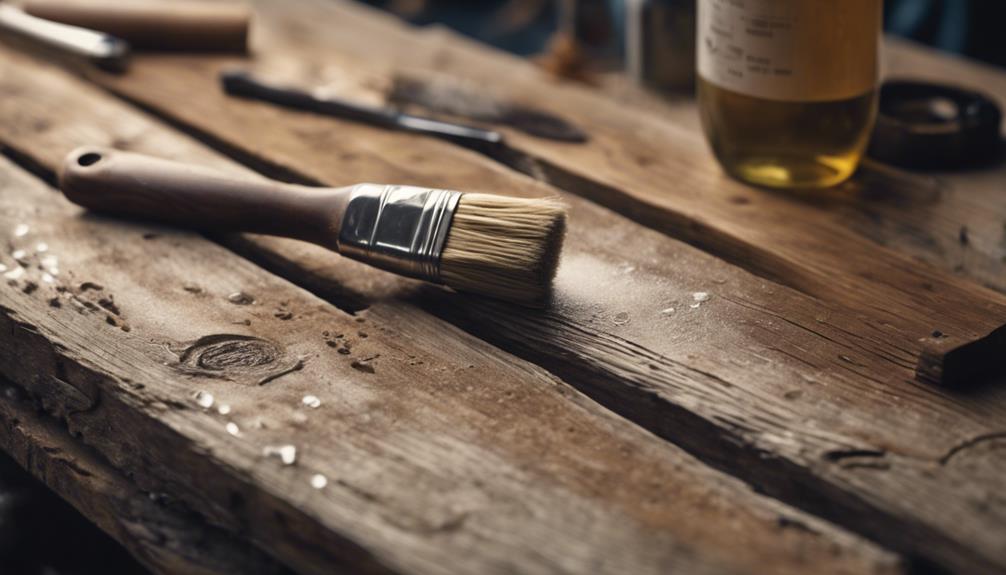
After allowing our weathered wood finish to fully cure, we apply a clear topcoat to seal in the distressed effect and guarantee its durability. This essential step ensures our hard work isn't undone by wear and tear.
We opt for a Polyacrylic clear topcoat, which enhances the appearance of the weathered wood while providing a protective barrier. Here are three key benefits of sealing our weathered wood finish:
- Durability: A clear topcoat adds an extra layer of protection, shielding the wood from scratches and fading.
- Enhanced appearance: The clear topcoat smooths out the wood's surface, giving it a refined look that showcases the distressed effect.
- Easy maintenance: With a sealed finish, cleaning and upkeep become a breeze, guaranteeing our weathered wood remains beautiful for years to come.
Tips for Maintenance and Care

By sealing our weathered wood finish, we've guaranteed its durability, but now it's up to us to maintain its beauty and extend its lifespan.
To do so, we'll need to commit to regular maintenance and care. First, we'll dust and clean our weathered wood furniture with a soft cloth to prevent dirt and debris from building up. Avoid using harsh chemicals or abrasive cleaners that can damage the finish. Instead, apply a protective sealant or wax to maintain the weathered appearance and protect the wood from moisture and stains.
When placing objects on our weathered wood surface, use furniture coasters or felt pads to prevent scratches and dents. Additionally, we'll keep our weathered wood furniture away from direct sunlight and extreme temperatures to prevent fading and warping over time.
Frequently Asked Questions
How to Create a Weathered Wood Finish?
We often wonder how to create a weathered wood finish, as it adds a touch of rustic charm to any piece. To achieve this look, we need to understand the process behind it.
It's not just about slapping on some stain and calling it a day. Rather, it involves careful preparation, layering, and distressing to create a genuinely weathered appearance.
How to Make Wood Look Grey and Aged?
We envision a weathered wooden beam, worn by time and the elements, its once-rich hue now muted and grey. To achieve this look, we combine Dark Walnut stain with white paint, creating a unique grey wash effect.
What Finish to Use on Weathered Wood?
When it comes to finishing weathered wood, we consider a clear topcoat essential. We opt for a Polyacrylic clear coat to seal and protect the wood, providing durability and a smooth finish.
This final step enhances the appearance of the weathered wood and prevents damage over time. By buffing the surface with steel wool after application, we achieve an even smoother finish.
How to Create a Distressed Finish on Wood?
We start by lightly sanding the wood surface with 80 or 150 grit sandpaper to create a distressed look.
Then, we wrap sandpaper around the wood piece for a more natural appearance.
To add character, we use tools like chains, hammers, or nails to create dents and dings.
Next, we apply a dark glaze over the distressed areas to enhance the weathered look.
Conclusion
With our weathered wood finish now complete, we've captured the essence of time itself – the subtle cracks, the muted tones, the story of years lived.
We've coaxed the wood into revealing its secrets, its rugged beauty now on full display. The result is nothing short of mesmerizing, a proof of our patience and dedication.
As we step back to admire our handiwork, we're left wondering: what other hidden gems can we extract from the humblest of materials?
- About the Author
- Latest Posts
Introducing Ron, the home decor aficionado at ByRetreat, whose passion for creating beautiful and inviting spaces is at the heart of his work. With his deep knowledge of home decor and his innate sense of style, Ron brings a wealth of expertise and a keen eye for detail to the ByRetreat team.
Ron’s love for home decor goes beyond aesthetics; he understands that our surroundings play a significant role in our overall well-being and productivity. With this in mind, Ron is dedicated to transforming remote workspaces into havens of comfort, functionality, and beauty.
Decor
Top 5 Plastic Chairs for Your Patio
Get ready to elevate your patio with the best plastic chairs – stylish, durable, and perfect for outdoor relaxation.
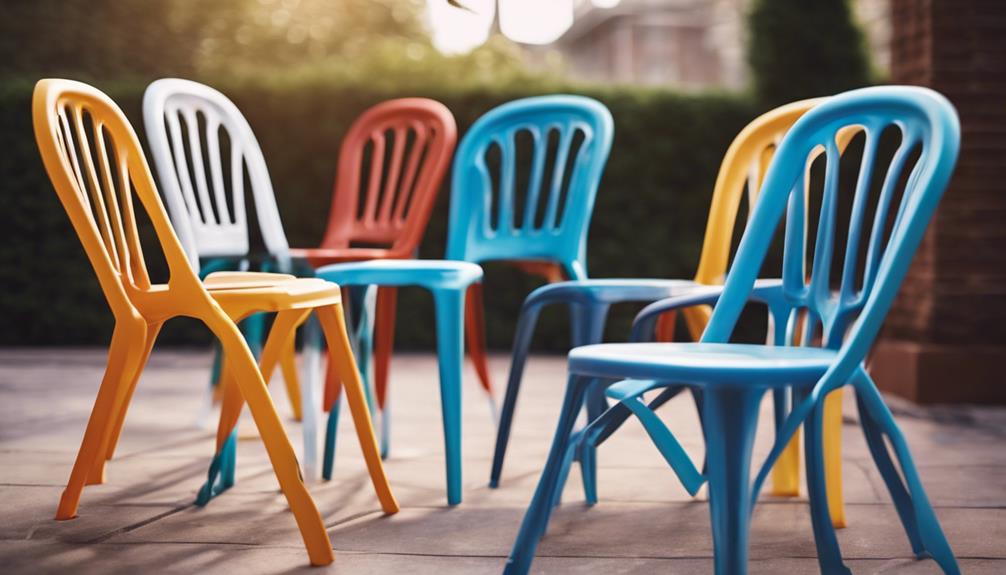
Finally, when it comes to plastic chairs for your patio, we recommend considering Adirondack-style chairs crafted from durable polypropylene resin for a chic and weather-resistant option. Stackable chairs offer a modern design, ideal for small spaces with convenient storage solutions. Folding chairs, also made from polypropylene resin, provide easy cleaning and compact storage when not in use. For a touch of relaxation, rocking chairs come in various styles, such as the Outdoor Presidential Rocking Plastic Chair and the Yacht Club Rocking Chair made from marine grade materials. To conclude, dining plastic chairs designed with weather-resistant properties and a minimalistic look enhance outdoor dining areas.
Key Takeaways
- Adirondack Style Plastic Chairs: Stylish, durable, and weather-resistant for outdoor comfort.
- Stackable Plastic Patio Chairs: Modern design, lightweight, and space-saving for small outdoor spaces.
- Folding Plastic Outdoor Chairs: Durable resin, easy to clean, and convenient folding feature.
- Rocking Plastic Chairs for Patios: Various styles with high ratings for relaxation outdoors.
- Dining Plastic Chairs for Outdoors: Weather-resistant, chic design, and ideal for outdoor dining spaces.
Adirondack Style Plastic Chairs
Adirondack style plastic chairs provide a stylish and durable seating option for your patio. Constructed from polypropylene resin, these chairs are designed to withstand outdoor conditions, ensuring longevity and weather resistance. Their modern design adds an elegant touch to any outdoor space, featuring a chic and minimalistic look that complements various patio styles.
These chairs aren't only low-maintenance but also boast a range of practical features. With contoured seats for enhanced comfort, they offer a relaxing seating experience for extended periods. Additionally, their scratch-resistant, UV-resistant, and splinter-free properties make them a hassle-free choice for outdoor furniture.
Available in a variety of colors and designs, including intricate cut-out patterns and unique weaves, Adirondack style plastic chairs allow for personalization to suit your patio decor. Overall, these chairs blend functionality with style, making them a versatile and attractive addition to your outdoor seating area.
Stackable Plastic Patio Chairs
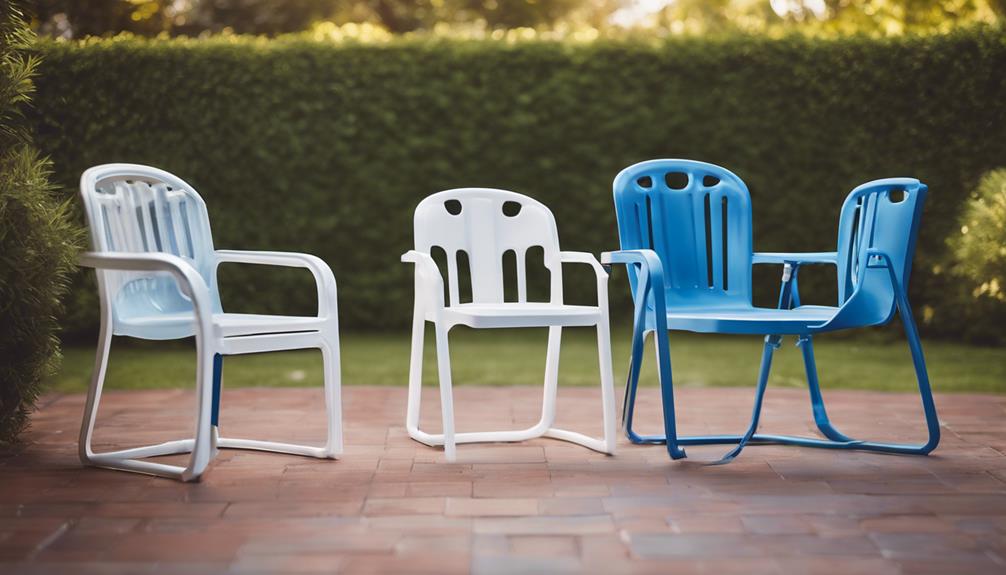
Stackable plastic patio chairs provide a practical seating solution for outdoor spaces, offering convenient storage and space-saving benefits. These chairs are designed to be easily stacked and stored when not in use, making them ideal for small outdoor areas. Their lightweight yet durable construction makes them perfect for outdoor gatherings and events. Some stackable plastic chairs feature a sleek and modern design, adding a touch of style to your patio decor. With a variety of colors and styles available, stackable plastic patio chairs cater to different preferences and outdoor decor themes.
| Features | Description |
|---|---|
| Design | Modern and sleek |
| Material | Durable and lightweight |
| Storage | Space-saving and convenient |
When looking for versatile seating options that offer both functionality and style, stackable plastic patio chairs are a great choice for enhancing your outdoor living space.
Folding Plastic Outdoor Chairs

Folding plastic outdoor chairs offer a practical seating solution for outdoor spaces, providing assurance in storage and portability when not in use. Constructed from durable polypropylene resin, these chairs guarantee longevity and weather resistance, making them ideal for withstanding outdoor elements. Their modern and chic design adds a stylish touch to any patio or garden setting.
These outdoor dining chairs are easy to clean with mild soap and water, simplifying maintenance and upkeep. Their convenient folding feature allows for compact storage when not in use, maximizing space efficiency. Available in various dimensions and colors, folding plastic outdoor chairs cater to different preferences and styles, offering versatility in design options.
Whether you're looking for a Folding Adirondack Chair, Patio Rocking Chair, or Porch Rocking Chair, these folding plastic chairs combine practicality with aesthetic appeal, making them a popular choice for outdoor seating solutions.
Rocking Plastic Chairs for Patios

We've gathered reviews on various rocking plastic chairs for patios, highlighting their exceptional quality and popularity among customers.
The Outdoor Presidential Rocking Plastic Chair, made from recycled plastic and designed as a perfect addition to any front porch, has received an impressive 236 reviews with an average rating of 4.8. Customers praise its high quality and durability, making it an ideal choice for outdoor rocking.
Another outstanding contender, the Shaker Porch Rocking Chair Set, has garnered 15 reviews, all commending its excellent quality and comfort.
The Yacht Club Rocking Chair, crafted from marine grade materials, boasts 94 reviews with an average rating of 4.7, making it a sought-after choice for those seeking a premium porch rocker.
The Outdoor Rocking Plastic Chair, tailored for the ultimate dining experience on the patio, has received 27 positive reviews, emphasizing its exceptional quality and design.
Lastly, the Anette Rocking Chair has impressed 87 reviewers with its outstanding quality and comfort, earning an average rating of 4.8.
Dining Plastic Chairs for Outdoors
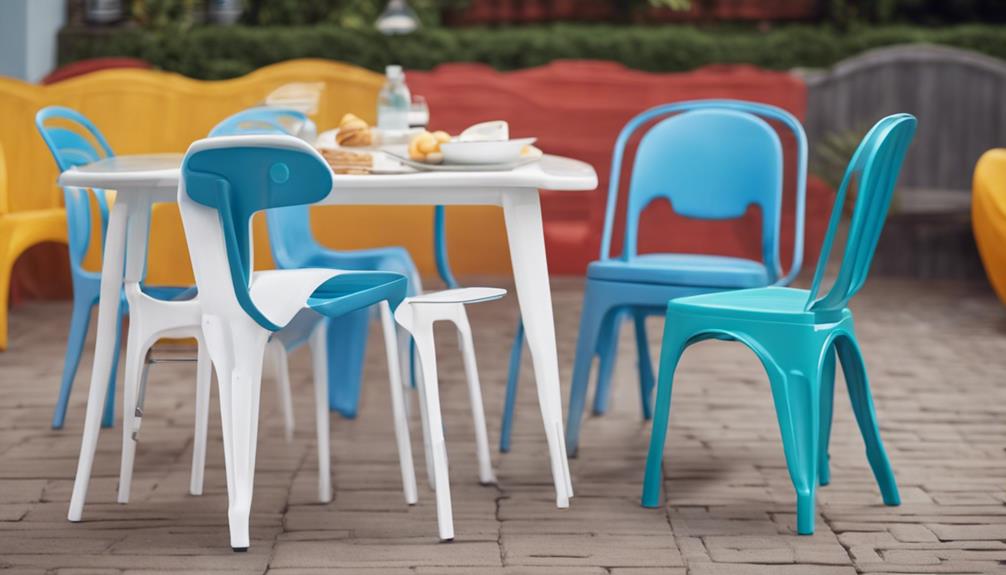
Let's now explore the appeal of dining plastic chairs designed for outdoor use, focusing on their durability, weather resistance, modern design, color options, and easy maintenance.
- Polypropylene resin material guarantees durability and longevity for outdoor dining plastic chairs.
- Weather-resistant properties repel water and withstand sunlight, making maintenance easy.
- Modern design with a chic, minimalistic look for a stylish outdoor dining experience.
- Available in multiple color options to suit different outdoor decor styles.
When considering outdoor furniture, dining chairs made of plastic, such as the renowned POLYWOOD furniture, offer a practical and stylish solution.
These chairs are designed to withstand various weather conditions, making them ideal for patio settings.
The all-weather feature ensures that they can be left outside without worry, and their modern design adds a touch of elegance to any outdoor space.
Additionally, the easy-to-clean nature of these plastic chairs simplifies maintenance, allowing you to enjoy your outdoor gatherings without the hassle of extensive upkeep.
Frequently Asked Questions
Which Brand Is Best for Plastic Chairs?
When considering plastic chairs, POLYWOOD stands out as a top choice due to its reputation for durability and weather resistance.
Made in the USA, POLYWOOD chairs offer a wide selection of styles, colors, and designs to suit various preferences.
Customers appreciate the longevity and quality of these chairs, which come with warranties for added peace of mind.
With scratch-resistant, UV-resistant, and commercial-grade plastic, POLYWOOD remains a popular brand for outdoor furniture.
What Is the Best Plastic Material for Outdoor Furniture?
When selecting the best plastic material for outdoor furniture, polypropylene resin stands out for its exceptional durability and weather-resistant properties. This material is scratch-resistant, UV resistant, and resistant to splintering, cracking, chipping, and rotting.
Its low maintenance requirements, including no need for painting, staining, or waterproofing, make it a popular choice for outdoor settings. Polypropylene resin is renowned for its commercial-grade quality and ability to withstand environmental stresses, repel water, and resist sunlight for long-lasting use outdoors.
What Is the Most Durable Material for Outdoor Patio Furniture?
Polypropylene resin is the most durable material for outdoor patio furniture. It boasts exceptional weather-resistant properties, a scratch-resistant surface, and UV resistance, ensuring longevity. This material resists splintering, cracking, chipping, and rotting, making it ideal for outdoor use.
Moreover, its minimal maintenance requirements, easy cleaning with mild soap and water, and commercial-grade components all contribute to its durability and excellent condition over time.
What Is the Best Material for Plastic Chairs?
When considering the best material for plastic chairs, polypropylene resin stands out due to its exceptional durability, scratch resistance, and UV resistance.
These chairs are crafted using high-quality, weather-resistant components, ensuring longevity and minimal maintenance requirements.
Commercial-grade plastic utilized in their construction is known for its resistance to splintering, cracking, chipping, and rotting.
Additionally, these poly plastic chairs don't need painting, staining, or waterproofing, saving time and effort on upkeep.
Conclusion
To wrap up, when choosing plastic chairs for your patio, it's important to take into account factors such as style, stackability, portability, comfort, and functionality.
Just like a well-oiled machine, these top 5 plastic chairs are designed to withstand the elements and provide a durable seating solution for your outdoor space.
Make your patio a comfortable and inviting oasis with one of these versatile plastic chairs.
- About the Author
- Latest Posts
Introducing Ron, the home decor aficionado at ByRetreat, whose passion for creating beautiful and inviting spaces is at the heart of his work. With his deep knowledge of home decor and his innate sense of style, Ron brings a wealth of expertise and a keen eye for detail to the ByRetreat team.
Ron’s love for home decor goes beyond aesthetics; he understands that our surroundings play a significant role in our overall well-being and productivity. With this in mind, Ron is dedicated to transforming remote workspaces into havens of comfort, functionality, and beauty.
Decor
How to Make a Bird Nest in 3 Easy Steps
Wondering how to create a cozy bird nest in just three steps? Dive into this guide for expert tips and techniques.

To make a bird nest in three easy steps, gather Spanish moss, twigs, scissors, a glue gun, and artificial eggs. First, construct the outer nest using twigs, birch bark, and moss for insulation and camouflage. Guarantee sturdy materials are used for protection. Next, line the nest with soft feathers for comfort, temperature regulation, and cushioning of eggs. Mimic nesting behaviors to create a cozy environment for eggs and hatchlings. For more tips on creating the perfect bird nest, explore techniques for blending materials and selecting the right textures.
Key Takeaways
- Gather materials like Spanish moss, twigs, and artificial eggs.
- Construct the nest using sturdy twigs, birch bark, and moss for insulation.
- Line the inner nest with soft feathers, fuzz, and pine needles for comfort.
- Enhance the nest's appearance with artificial eggs and decorative elements.
- Mimic nesting behaviors by selecting materials, arranging them, and creating a safe space.
Gathering Materials for the Nest
To make a bird nest, we first need to gather materials such as Spanish moss, twigs, scissors, and a glue gun. Spanish moss or sheet moss can provide a soft and cozy foundation for the nest, while twigs or small branches are essential for creating the structure. Scissors or gardening shears come in handy for cutting and shaping the materials to the desired size. A glue gun is often used to secure the Spanish moss, twigs, and other components in place during the nest-making process, ensuring stability.
In addition to the basic materials, optional decorations like artificial eggs can be added to enhance the nest's appearance. These decorations can bring a touch of realism and charm to the finished bird nest.
Constructing the Outer Nest Structure

Constructing the outer nest structure involves selecting sturdy materials like twigs, birch bark, and moss. These materials are essential for creating a robust foundation that provides insulation and protection for the inner nest. Birds meticulously weave these elements together to form a secure outer shell that shields the inner nest and its occupants. It is important to choose materials that blend with the environment to camouflage the nest from potential predators.
| Sturdy Materials | Usage | Importance |
|---|---|---|
| Twigs | Forming the structure | Provide structural support |
| Birch Bark | Outer layer | Offers protection |
| Moss | Insulation material | Helps regulate temperature |
Lining the Inner Nest for Comfort

Selecting soft materials like feathers, fuzz, and pine needles is essential for lining the inner nest to provide comfort and insulation for bird eggs and hatchlings.
The inner nest lining plays a vital role in regulating temperature and creating a cozy environment within bird nests. Birds meticulously choose and arrange these materials to guarantee a safe and nurturing space for their offspring.
By using soft materials, such as feathers and fuzz, the inner nest lining helps cushion fragile eggs and provides a warm, insulated space for hatchlings to thrive. This cozy environment not only protects the eggs from damage but also contributes to the overall well-being and survival of the hatchlings.
The careful selection and arrangement of materials within the inner nest showcase the intricate nesting behavior of birds and highlight the importance of creating a comfortable and secure environment for their young.
Frequently Asked Questions
How to Make a Simple Bird Nest?
To make a simple bird nest, gather natural materials like twigs, grass, and moss. Shape these materials by hand into a nest-like structure.
Add soft linings such as feathers or fuzz for comfort. Guarantee the nest is well-hidden and secure to protect the eggs or young birds.
How Do Birds Make Nests for Kids?
When birds make nests for kids to observe, they carefully select materials like twigs, leaves, and feathers. Using their beaks and feet, they expertly weave these components into a sturdy structure. These nests serve as secure homes for laying eggs and nurturing chicks.
How Do You Make a Bird Nest at School?
To create a bird nest at school, we recommend gathering natural materials like twigs, grass, and leaves to mimic the environment where birds build nests. Students can use their creativity and imagination to construct unique nests, learning about the importance of these structures in providing shelter and protection for birds and their offspring.
Guidance on securing materials with glue or string helps form the nest structure, integrating lessons on nature, wildlife, and environmental awareness.
How to Make a Bird Nest for a Baby Bird?
When making a bird nest for a baby bird, it's important to replicate its natural habitat for comfort and safety. Utilize soft materials like feathers or fur to provide warmth and line the nest adequately.
Make sure the nest is appropriately sized to create a cozy environment. Position it in a secure location, away from predators and disturbances.
Regularly monitor the baby bird to guarantee its health and well-being. A carefully crafted nest is essential for the bird's development and safety.
Conclusion
To sum up, creating a bird nest is a delicate process that requires attention to detail and patience. Like skilled architects, we gather materials, construct the outer structure, and line the inner nest with care.
By following these steps, we can provide a safe and comfortable home for our feathered friends. So, grab your supplies and let's get building!
Remember, a well-crafted nest isn't just a shelter, but a masterpiece of nature's design.
- About the Author
- Latest Posts
Introducing Ron, the home decor aficionado at ByRetreat, whose passion for creating beautiful and inviting spaces is at the heart of his work. With his deep knowledge of home decor and his innate sense of style, Ron brings a wealth of expertise and a keen eye for detail to the ByRetreat team.
Ron’s love for home decor goes beyond aesthetics; he understands that our surroundings play a significant role in our overall well-being and productivity. With this in mind, Ron is dedicated to transforming remote workspaces into havens of comfort, functionality, and beauty.
Decor
5 Stunning Topiary Decoration Ideas for Your Home
Add a touch of elegance to your home with these topiary decoration ideas that effortlessly elevate your decor and bring sophistication to any space.
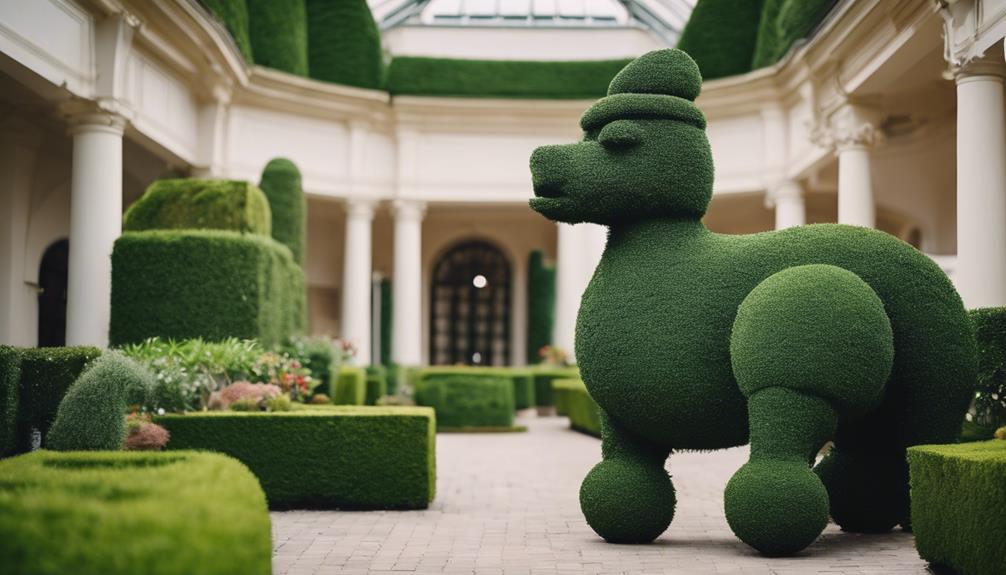
Looking to spruce up your home with some greenery? Consider these topiary decoration ideas for a touch of elegance. The Grapevine Topiary Lamp combines coziness with innovative design. Vibrant Boxwood Centerpieces add pops of color and versatility. Festive Pumpkin Topiaries bring charm, perfect for Thanksgiving. Rustic Burlap Creations mix vintage materials with charm. Moss Topiaries offer an earthy and organic appeal, creating a calming ambiance. These ideas effortlessly elevate your home decor with sophistication and charm.
Key Takeaways
- Grapevine Topiary Lamp for cozy elegance.
- Vibrant Boxwood Centerpiece for colorful versatility.
- Festive Pumpkin Topiary for seasonal charm.
- Rustic Burlap Creation for vintage uniqueness.
- Moss Topiary Elegance for organic serenity.
Grapevine Topiary Lamp
When creating a cozy ambiance in a living space, consider incorporating a Grapevine Topiary Lamp for a unique touch of elegance and functionality. This innovative design focuses on the branch structure of topiaries while doubling as a lamp, providing a creative twist on traditional decor. The Grapevine Topiary Lamp offers a one-of-a-kind look, blending the natural beauty of grapevines with the practicality of lighting. Its originality shines through, making it a standout piece in any room.
The intricate branch structure of the Grapevine Topiary Lamp not only adds visual interest but also serves as a focal point, drawing attention to its unique design. The combination of lights woven within the grapevines creates a captivating display, perfect for enhancing the ambiance of a space.
Whether used as a decorative accent or as a functional lighting source, the Grapevine Topiary Lamp adds a touch of sophistication and originality to any home decor scheme.
Vibrant Boxwood Centerpiece
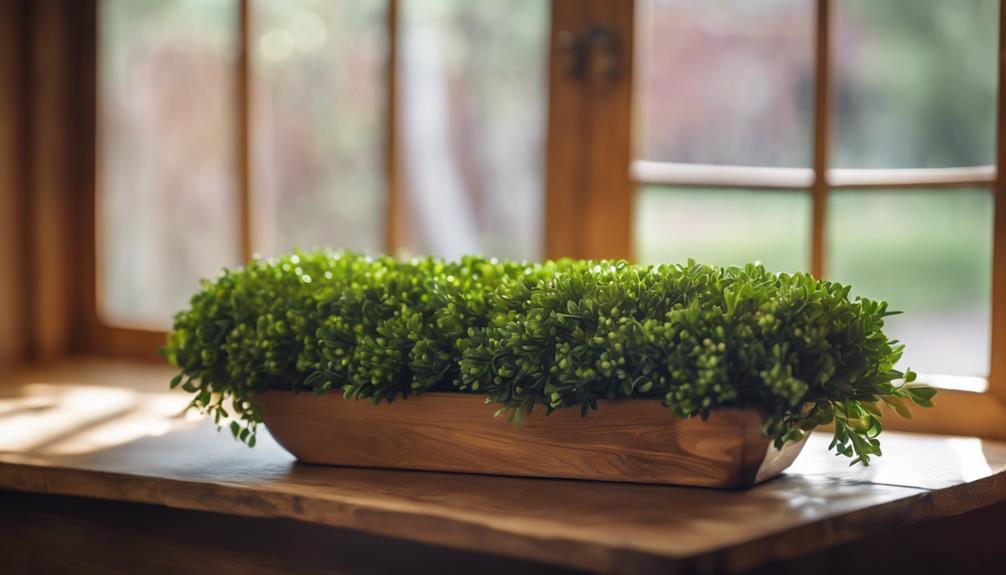
Boxwood topiaries, whether in live or artificial form, are a popular choice for creating vibrant centerpieces that add a pop of color to various room designs. These versatile decorations are perfect for sprucing up a coffee table or any other surface in need of a stylish focal point.
To enhance their aesthetic appeal, consider placing boxwood topiaries in rustic clay pots to add a touch of earthiness to your decor. Decorating with topiaries allows you to bring a bit of the outdoors inside, creating a fresh and elegant atmosphere in your living space.
Step-by-step guides are available to help you create stunning boxwood centerpieces that perfectly complement your room's color scheme and style. Whether you prefer a more traditional look or something modern and chic, boxwood topiaries can be tailored to suit your taste.
Festive Pumpkin Topiary

For a charming and festive touch to your seasonal decor, consider incorporating vibrant pumpkin topiaries. These topiaries, featuring white pumpkins and autumn colors, are perfect for Thanksgiving decor. They serve as excellent focal points on mantels or as centerpieces for holiday gatherings, adding warmth and charm to your home during the fall season.
DIY artificial pumpkin topiaries offer a creative and festive touch to your home decor, allowing for easy customization with different sizes and colors of pumpkins. Whether you prefer a traditional look with classic orange pumpkins or a more modern approach with white pumpkins, these topiaries are versatile and easy to adapt to your personal style.
Rustic Burlap Creation

Crafting rustic burlap topiaries allows for a unique and charming addition to your home decor. Here are some ideas to get you started:
- Visit Flea Markets: Scout flea markets for vintage burlap materials to give your topiaries a rustic feel.
- Use Beautiful Boxwood: Combine burlap with beautiful boxwood plants for a fresh green look that will stand out in any room.
- Create a Collection of Topiaries: Make a collection of burlap topiaries in varying sizes and shapes to create visual interest and depth in your decor.
- Personalize Your Designs: Customize your burlap topiaries to match your existing decor style by adding embellishments like ribbons or beads.
These steps will guide you through the process of creating stunning burlap topiaries that bring a touch of nature and creativity into your home.
Moss Topiary Elegance

Enhance your home decor with the natural and earthy elegance of moss topiaries. These unique decorations offer an organic aesthetic that brings a touch of nature indoors. Moss topiaries provide a bushy appearance, adding texture and depth to any room. Finished with a matching ribbon, they exude a cohesive and polished look, perfect for complementing the color scheme of your home.
Here is a table showcasing some key features of moss topiaries:
| Feature | Description |
|---|---|
| Aesthetic Appeal | Offers an earthy and organic vibe to home decor |
| Texture | Provides a bushy appearance with a natural feel |
| Color Palette | Complements the predominant colors in a room |
| Finishing Touch | Can be adorned with a matching ribbon for a cohesive look |
| Atmosphere | Creates a serene and calming ambiance in any space |
When considering a Home Tour, you will love the look that moss topiaries bring to your living space. You will be able to find these elegant decorations at various home decor stores, especially if you are looking for pieces that offer an organic and natural touch. Many interior designers especially love incorporating moss topiaries into their designs for the serene atmosphere they create.
Frequently Asked Questions
Are Topiaries Still in Style?
Topiaries remain a timeless decor choice, blending elegance and sophistication effortlessly. Their enduring popularity transcends trends, making them a classic staple in both traditional and modern design schemes.
The versatility of topiaries allows for various styling options to cater to diverse preferences. With their ability to add greenery and charm to any space, topiaries continue to be a favored choice for those seeking a touch of refined beauty in their homes.
How to Decorate With Topiary Balls?
When decorating with topiary balls, we must consider placement and styling. These versatile decor items can be displayed both indoors and outdoors, adding elegance to any space.
Whether hung from ceilings, placed in pots, or arranged on mantels, their various sizes cater to different design needs. Made from real plants like boxwood or artificial materials such as plastic or silk, topiary balls offer a sophisticated touch to any home.
What Makes a Good Topiary?
When evaluating a topiary, several factors contribute to its quality. A well-structured frame with defined shapes is crucial for a topiary's aesthetic appeal and longevity.
Utilizing high-quality materials, such as preserved boxwood or artificial foliage, guarantees durability and a realistic appearance.
The ideal topiary should complement the room's aesthetic and color scheme, providing versatility for styling in various locations within the home.
Unique features like lights or uncommon materials can add an original touch to home decor.
How Do You Make an Indoor Topiary?
When making an indoor topiary, select a suitable plant like rosemary, ivy, or boxwood for the topiary form. Use a wire frame or topiary form filled with sphagnum moss to shape the plant.
Regular pruning and shaping are essential to maintain the desired form indoors. Consider artificial topiaries for low-maintenance decor options.
Indoor topiaries bring elegance and greenery to any room in your home.
Conclusion
To sum up, these stunning topiary decoration ideas are sure to add a touch of elegance and charm to any home. From the Grapevine Topiary Lamp to the Festive Pumpkin Topiary, there's a unique creation for every style and taste.
So why not bring a little bit of nature indoors and transform your living space with these beautiful and eye-catching topiary decorations? Your home will become a botanical wonderland that will leave your guests in awe.
- About the Author
- Latest Posts
Introducing Ron, the home decor aficionado at ByRetreat, whose passion for creating beautiful and inviting spaces is at the heart of his work. With his deep knowledge of home decor and his innate sense of style, Ron brings a wealth of expertise and a keen eye for detail to the ByRetreat team.
Ron’s love for home decor goes beyond aesthetics; he understands that our surroundings play a significant role in our overall well-being and productivity. With this in mind, Ron is dedicated to transforming remote workspaces into havens of comfort, functionality, and beauty.
-

 Vetted3 weeks ago
15 Best Contact Paper for Kitchen Cabinets to Elevate Your Home Decor
-

 Vetted6 days ago
15 Best Poe Cameras for Home Security – Reviews & Buying Guide
-

 Vetted3 weeks ago
15 Best Leather Restorer Products to Revive Your Furniture and Accessories
-

 Vetted4 weeks ago
15 Best Leg Massagers to Relieve Tension and Improve Circulation – Ultimate Guide
-

 Vetted2 weeks ago
15 Best Drain Snakes to Unclog Your Pipes Like a Pro
-

 Vetted4 weeks ago
15 Best Lawn Games for Adults to Elevate Your Outdoor Gatherings
-

 Vetted3 weeks ago
14 Best Stationery Brands for Your Next Writing Adventure
-

 Beginners Guides1 week ago
Swinger Porch Light Color


