Appliances
How Do You Match a Ceiling Fan?
2025
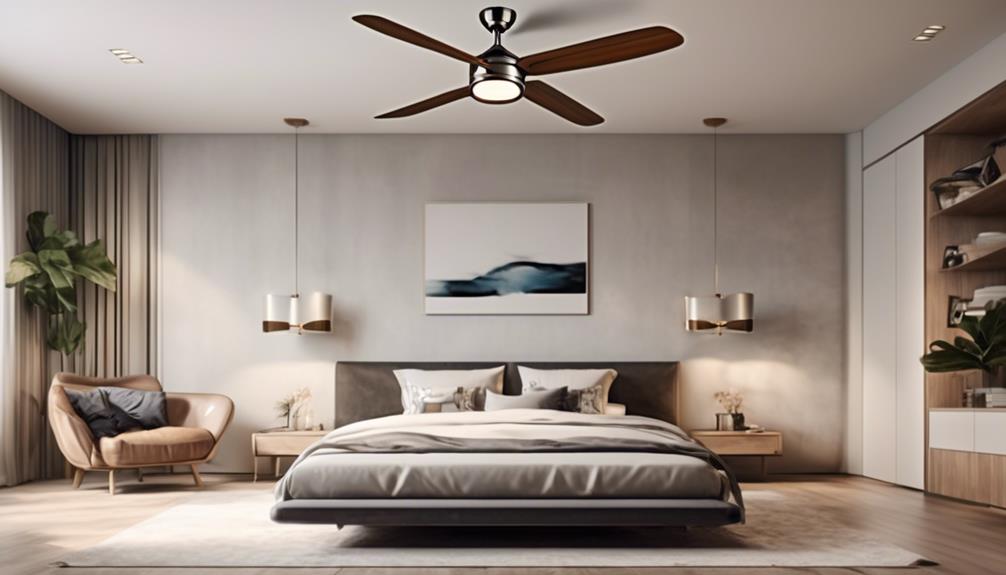
In the process of selecting a suitable ceiling fan, various elements need to be taken into account. Evaluating the size of the room and the height of the ceiling, taking into account the necessity for airflow, and figuring out the appropriate fan size along with the extent of the blades are critical actions in this procedure.
Additionally, you'll need to choose between indoor and outdoor ceiling fans, explore different styles and designs, and select the right finish for the fan. Considering additional features like remote control or reversible blades is also crucial.
Once you've made these decisions, determining the installation method and finalizing your choice based on budget and warranty considerations will complete the process.
Matching a ceiling fan may seem daunting, but with careful consideration and these guidelines, you can find the perfect fit for your space.
Key Takeaways
- The size of the room, including the length, width, and height, determines the appropriate fan size and blade span.
- Assess the airflow requirements of the room based on its size, shape, and intended use to determine the necessary CFM rating of the fan.
- Consider the room layout and furniture placement to ensure unobstructed airflow throughout the space.
- Take into account the ceiling height when selecting a fan, and choose a suitable mounting option based on the ceiling height and slope.
Assess Room Dimensions and Ceiling Height
When assessing room dimensions and ceiling height for matching a ceiling fan, it's crucial to gather accurate measurements to ensure a proper fit and optimal performance. Assessing room dimensions involves measuring the length, width, and height of the room. These measurements will help determine the appropriate size of the fan to create a balanced airflow. The size of the room is a key factor in selecting a fan with the right blade span. For larger rooms, a fan with a larger blade span is recommended to effectively circulate air. On the other hand, smaller rooms require fans with smaller blade spans to avoid overpowering the space.
Ceiling height is another important consideration when selecting a ceiling fan. The ideal height for a ceiling fan is 8 to 9 feet from the floor to the fan blades. This ensures proper air circulation without the risk of the fan being too low and causing injuries or obstructing movement in the room. For ceilings higher than 9 feet, the use of downrods can lower the fan to the appropriate height. Downrods allow for flexibility in adjusting the fan's height to maintain optimal performance.
Consider the Airflow Requirements
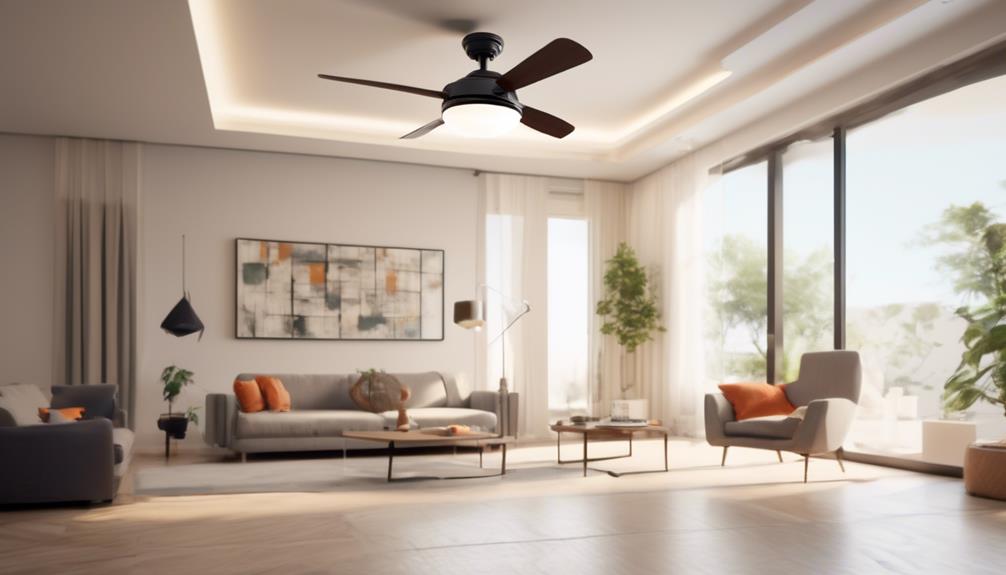
When considering the airflow requirements for a ceiling fan, there are a few points to keep in mind.
First, you need to assess the airflow capacity of the fan, which is typically measured in cubic feet per minute (CFM). This capacity should be sufficient to circulate the air in the room effectively.
Additionally, it's important to consider the size and layout of the room, as larger or oddly shaped rooms may require fans with higher CFM ratings to ensure adequate airflow.
Airflow Capacity Considerations
To ensure optimal airflow capacity for your ceiling fan, it's crucial to consider the specific requirements of the space in which it will be installed. By conducting an airflow capacity analysis, you can determine the fan's ability to circulate air effectively. Here are three key factors to consider:
- Room Size: The size of the room plays a significant role in determining the required airflow capacity. Larger rooms typically require fans with higher airflow capacity to ensure proper air circulation.
- Ceiling Height: The height of the ceiling affects the fan's ability to distribute air. For taller ceilings, fans with higher airflow capacity are necessary to overcome the distance and deliver adequate airflow to the living space.
- Room Function: The intended use of the room is another essential consideration. Rooms with high occupancy or heat-generating equipment may require fans with greater airflow capacity to maintain a comfortable environment.
Room Size and Layout
How does the size and layout of a room impact the airflow requirements for a ceiling fan?
When considering the room size and layout, it's essential to assess the air circulation needs to ensure optimal performance of the ceiling fan.
The dimensions of the room play a crucial role in determining the size of the fan needed. A larger room will require a fan with a greater airflow capacity to effectively circulate the air.
Additionally, the layout of the room, including any obstacles or furniture placement, can affect the airflow patterns. It's important to position the fan in a location that allows for unobstructed airflow throughout the room.
Determine the Fan Size and Blade Span
When determining the fan size and blade span for a ceiling fan, there are several important points to consider.
First, the size of the room will dictate the appropriate fan size, as larger rooms require fans with greater airflow capacity.
Additionally, the blade span of the fan is crucial in determining the airflow efficiency, with longer blades generally providing better circulation.
Lastly, it's essential to take into account the ceiling height, as certain fan sizes and blade spans may not be suitable for low ceilings.
Fan Size and Room
Determining the appropriate fan size and blade span is crucial for ensuring optimal air circulation in a room. When considering the fan size and room, there are several factors to take into account:
- Assessing fan placement: Before determining the size of the fan, it's important to assess the placement of the fan in the room. Consider the layout, furniture arrangement, and any obstacles that may affect the airflow.
- Determining optimal fan height: The height at which the fan is installed can greatly impact its effectiveness. A general rule of thumb is to hang the fan at least 7 feet above the floor for safety and optimal air circulation.
- Matching fan size to room dimensions: The size of the fan should be proportional to the room dimensions. A larger room will require a larger fan with a larger blade span to effectively circulate the air. Conversely, a smaller room will require a smaller fan.
Blade Span and Airflow
Assessing the appropriate blade span is essential for determining the optimal fan size and achieving efficient airflow in a room. The blade span refers to the diameter of the fan when the blades are fully extended. It directly affects the amount of air that the fan can move and the overall comfort level in the room.
A larger blade span typically means greater airflow, but it's important to consider the room size and ceiling height when selecting the blade span.
Additionally, the blade material can also impact the fan's performance. Blades made from materials such as wood or composite tend to be quieter and more efficient compared to metal blades.
It's crucial to choose a fan with the right blade span and material to ensure proper airflow and minimize energy consumption.
Ceiling Height Considerations
To accurately determine the appropriate size and blade span for a ceiling fan, it's crucial to consider the height of the room's ceiling. Ceiling height plays a significant role in the effectiveness and efficiency of a ceiling fan's performance.
Here are three important considerations for ceiling height when it comes to ceiling fan placement and installation:
- Optimal Mounting Height: For standard 8-foot ceilings, a flush mount or low-profile ceiling fan is recommended to ensure the blades are at least 7 feet above the floor. For higher ceilings, a downrod can be used to lower the fan to the appropriate height for optimal air circulation.
- Safety Clearance: It's essential to maintain a safe distance between the ceiling fan blades and any obstructions such as light fixtures or beams. A minimum clearance of 18 inches is typically recommended to prevent accidents and ensure smooth operation.
- Sloped Ceiling Adaptability: If your ceiling has a slope, make sure to choose a ceiling fan that's compatible with sloped ceilings. This will ensure proper installation and maximize the fan's performance.
Choose Between Indoor and Outdoor Ceiling Fans

When choosing between indoor and outdoor ceiling fans, we must consider the specific environment and requirements for each space. Assessing the fan location is crucial in determining whether an indoor or outdoor fan is the right choice.
Indoor fans are designed for controlled environments and aren't built to withstand the elements. On the other hand, outdoor fans are specifically designed to withstand various outdoor conditions such as rain, humidity, and extreme temperatures.
One important factor to consider is the durability of outdoor fans. These fans are constructed with materials that are resistant to rust and corrosion. They're also designed to be water-resistant, ensuring they can withstand rain and humidity without damage. Additionally, outdoor fans have special coatings that protect them from UV rays, preventing discoloration and fading over time.
It is essential to choose an outdoor fan that's UL listed for damp or wet locations, depending on the specific outdoor environment. Damp-rated fans are suitable for covered outdoor areas that aren't directly exposed to rain. Wet-rated fans, on the other hand, are designed for open outdoor spaces where they may come into direct contact with rain.
Explore Different Fan Styles and Designs
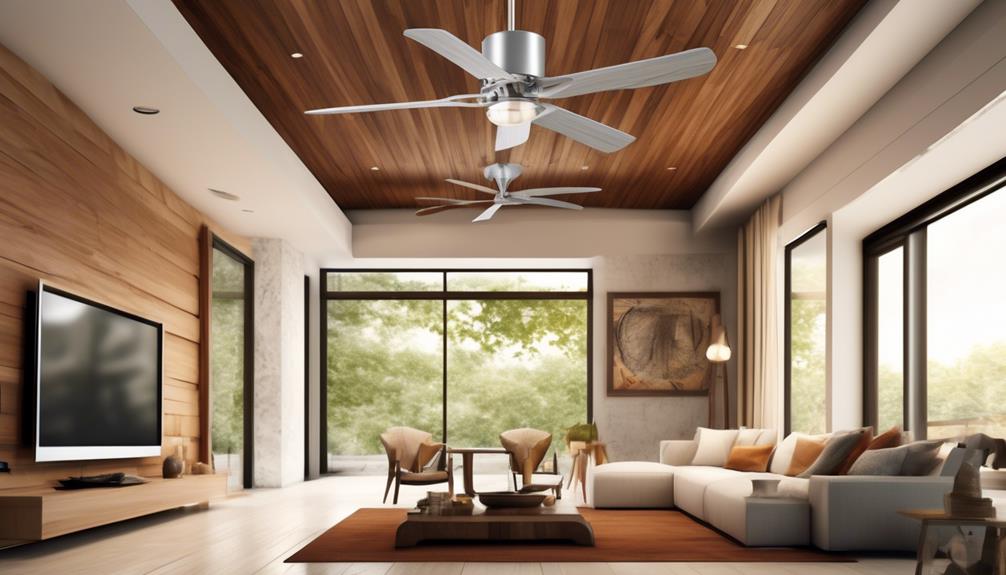
When it comes to exploring different fan styles and designs, there are a variety of options to choose from.
Popular fan styles include traditional, contemporary, and rustic, each offering a unique aesthetic to complement your home decor.
Additionally, there are fans with unique designs such as those inspired by nature, vintage styles, or even modern art.
Taking the time to explore these different styles and designs will help you find a ceiling fan that not only matches your needs but also adds a touch of personality to your space.
Popular Fan Styles
We will now explore different fan styles and designs, focusing on popular choices among consumers.
When it comes to popular fan styles, there are three options that stand out:
- Contemporary: This style features sleek lines and minimalist designs, making it a favorite among those who prefer a modern aesthetic. Contemporary fans often come in popular finishes like brushed nickel or matte black, adding a touch of sophistication to any room.
- Traditional: For those who prefer a more classic look, traditional fan styles are a popular choice. These fans often feature ornate details, such as decorative blades or intricate motor housings. Popular finishes for traditional fans include antique brass and oil-rubbed bronze, adding a timeless elegance to the space.
- Energy Efficient: With sustainability becoming increasingly important, energy efficient fan models are gaining popularity. These fans are designed to consume less energy while still providing effective airflow. They often come with features like LED lights and DC motors, making them a practical and eco-friendly choice.
Unique Fan Designs
Moving on from popular fan styles, let's now explore the realm of unique fan designs, showcasing a variety of innovative and distinct options to suit different tastes and preferences.
When it comes to unique fan designs, the possibilities are endless. From sleek and modern designs to vintage-inspired and artistic options, there's a fan for every style and aesthetic.
One popular trend in unique fan designs is the incorporation of energy-efficient options. These fans not only provide excellent performance but also help reduce energy consumption and lower electricity bills.
Some energy-efficient options include DC motor fans, which are significantly more efficient than traditional AC motor fans, and fans with integrated LED lights, which provide both lighting and cooling in one stylish package.
With unique fan designs, you can create a statement piece while also making a conscious choice towards sustainability.
Consider the Fan's Energy Efficiency
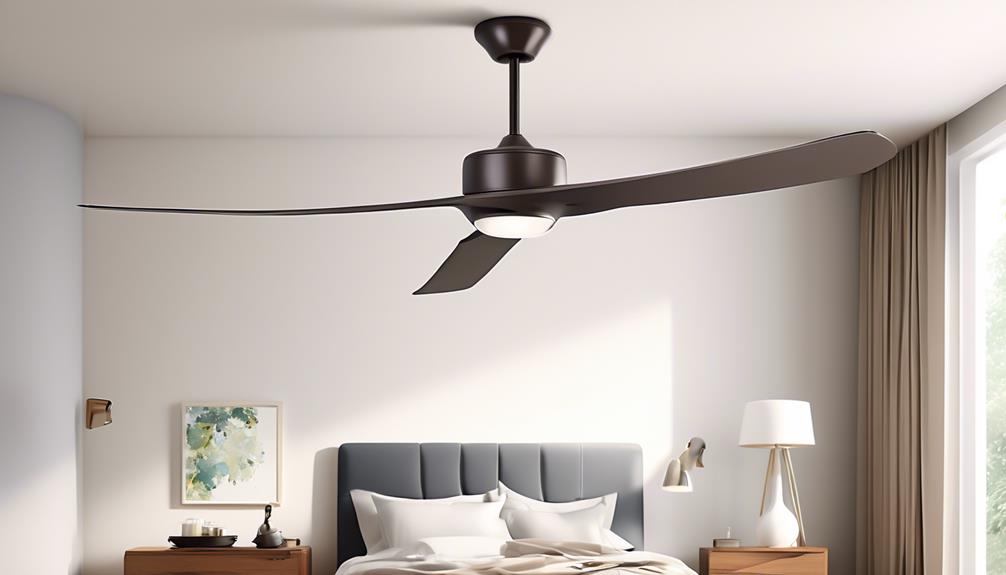
To ensure optimal energy efficiency, it's important to carefully consider the fan's energy consumption. Here are three key factors to keep in mind when evaluating a ceiling fan's energy efficiency:
- Motor Efficiency: The motor is the heart of the fan and plays a significant role in its energy consumption. Look for fans with motors that are specifically designed to be energy efficient. High-quality motors are typically equipped with advanced technologies, such as energy-saving DC motors or efficient AC motors. These motors not only consume less electricity but also operate quietly and have a longer lifespan.
- Blade Design: The design and shape of the fan blades can greatly impact its energy efficiency. Look for blades that are aerodynamically optimized to maximize airflow while minimizing energy consumption. Fan blades with a steeper pitch, larger surface area, and efficient airfoil shape can move more air using less energy. Additionally, consider the number of blades – fewer blades generally require less energy to operate.
- Energy Star Certification: Energy Star certified ceiling fans meet strict energy efficiency guidelines set by the Environmental Protection Agency (EPA). Choosing an Energy Star certified fan ensures that you're selecting a highly energy-efficient option. These fans not only provide significant energy efficiency benefits but also offer substantial cost savings over their lifespan.
Select the Appropriate Fan Motor Type
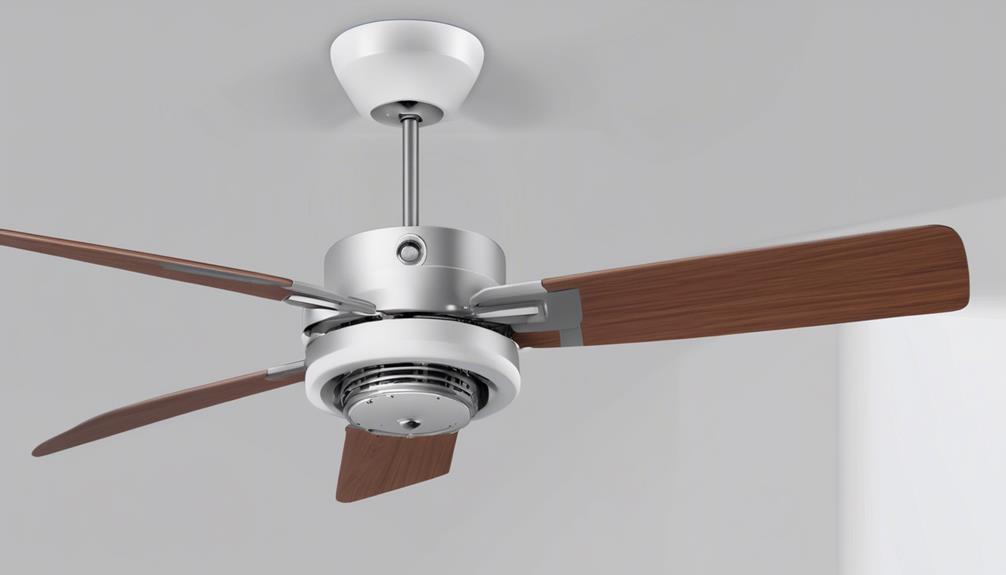
After carefully considering the fan's energy efficiency, the next step is to select the appropriate fan motor type. The fan motor is the heart of the ceiling fan and plays a crucial role in determining its performance and energy efficiency. When choosing a fan motor, it's important to assess its power and evaluate its energy efficiency.
To assess motor power, you need to consider the size of the room where the fan will be installed. A larger room will require a motor with more power to effectively circulate the air. The motor power is typically measured in terms of horsepower (HP) or watts (W), with higher values indicating a more powerful motor.
In addition to motor power, it's crucial to evaluate the energy efficiency of the fan motor. Look for motors that are labeled as Energy Star certified, as these have been tested and proven to meet strict energy efficiency guidelines. Energy-efficient motors not only consume less electricity but also generate less heat, resulting in lower energy bills.
Furthermore, consider the motor's construction and design. Look for motors with high-quality materials and advanced technologies that ensure smooth and quiet operation. A well-designed motor will also have better heat dissipation and durability, contributing to its overall efficiency and longevity.
Decide on the Number of Fan Blades
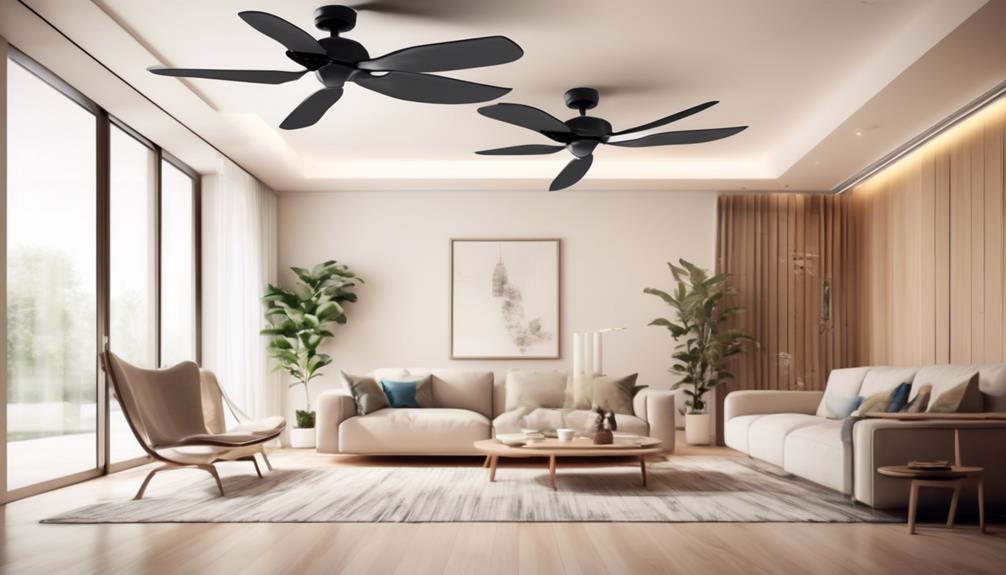
When deciding on the number of fan blades, it's important to consider factors that affect the fan's performance and airflow efficiency. Assessing airflow and considering aesthetics are two key considerations when selecting the number of fan blades.
- Optimal Airflow: The number of fan blades directly impacts the amount of airflow generated by the fan. A higher number of blades generally creates a more turbulent airflow, resulting in increased air circulation. However, too many blades can also create excessive drag, reducing the overall efficiency of the fan. It's crucial to strike a balance between the number of blades and the desired airflow.
- Noise Level: The number of fan blades can also influence the noise level produced by the fan. Fans with a greater number of blades tend to operate more quietly compared to those with fewer blades. This can be attributed to the higher number of blades evenly distributing the airflow, minimizing noise caused by turbulence.
- Aesthetics: The number of fan blades also plays a role in the overall appearance of the fan. Fans with a higher number of blades often have a more traditional and classic look, while those with fewer blades tend to have a sleeker and more modern appearance. Consider the aesthetic style of your space and choose a fan with the appropriate number of blades to complement the overall design.
Evaluate the Noise Level of the Fan
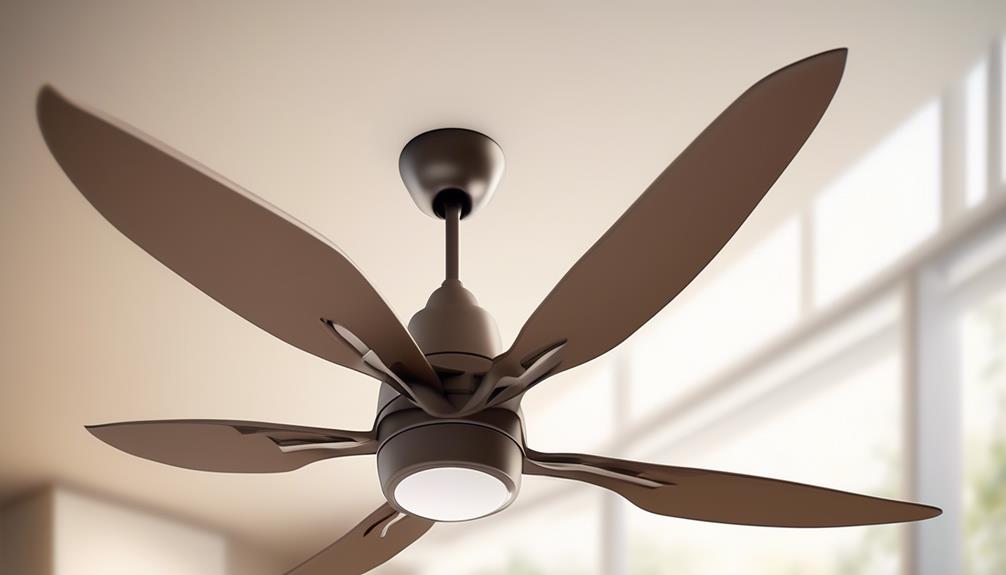
When evaluating the noise level of a ceiling fan, there are a few key points to consider.
Firstly, it's important to assess the noise level of the fan, as it can greatly impact the comfort and tranquility of a room.
Additionally, comparing the noise levels of different fans can help in selecting a model that meets your specific noise preferences.
Noise Level Assessment
To assess the noise level of the fan, we'll measure and evaluate the sound produced during operation.
Here are three important factors to consider when evaluating the noise level of a ceiling fan:
- Room Layout: The size and layout of the room can affect how the fan noise is perceived. For example, a fan installed in a small, enclosed space may seem louder than the same fan installed in a larger, open area. It's important to consider the acoustics of the room when assessing the noise level.
- Energy Efficiency: The energy efficiency of the fan can also impact its noise level. Fans with higher energy efficiency tend to operate more quietly. Look for fans that are ENERGY STAR certified, as they meet strict energy efficiency guidelines and are designed to operate quietly.
- Noise Rating: Pay attention to the noise rating of the fan, usually measured in decibels (dB). Fans with lower noise ratings produce less sound and are generally quieter. Look for fans with noise ratings below 40 dB for a quieter operation.
Fan Noise Comparison
We will compare the noise levels of different ceiling fans to determine their relative quietness and help you find the most suitable option for your needs. Fan noise reduction is an important factor to consider when choosing a ceiling fan, especially if you want a peaceful and quiet environment. To provide a comparative analysis of fan noise levels, we have created a table below that showcases the noise level ratings of three popular ceiling fans. The noise levels are measured in decibels (dB), with a lower value indicating a quieter fan. This table will assist you in making an informed decision based on the noise level preferences you desire.
| Ceiling Fan | Noise Level (dB) |
|---|---|
| Fan A | 40 dB |
| Fan B | 45 dB |
| Fan C | 38 dB |
Determine the Optimal Fan Control Options
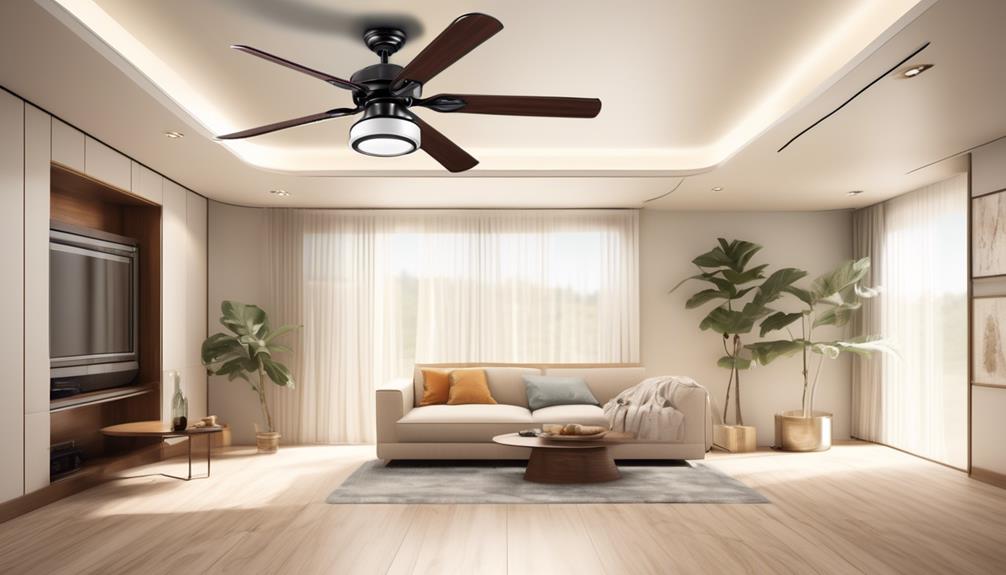
For optimal control options, consider using a combination of fan speed settings, remote control functionality, and smart home integration. These features not only enhance convenience and comfort but also provide greater control over your ceiling fan.
Here are three key aspects to consider:
- Fan Speed Settings: Choose a fan that offers multiple speed settings to cater to your specific cooling needs. Assessing energy consumption is crucial, as higher speed settings tend to consume more energy. Opt for a fan with energy-efficient speed options to minimize electricity usage while maintaining optimal airflow.
- Remote Control Functionality: Remote control functionality allows you to effortlessly adjust the fan speed, direction, and lighting without having to physically reach for a wall switch. This feature is particularly useful when you want to make quick adjustments or control multiple fans in different areas of your home.
- Smart Home Integration: Consider integrating your ceiling fan with a smart home system for seamless control through voice commands or smartphone apps. Smart fans can be programmed to operate based on your preferences, schedule, and even weather conditions. This advanced integration not only adds convenience but also allows for energy-saving automation and increases the overall aesthetic appeal of your space.
Consider the Lighting Options for the Fan
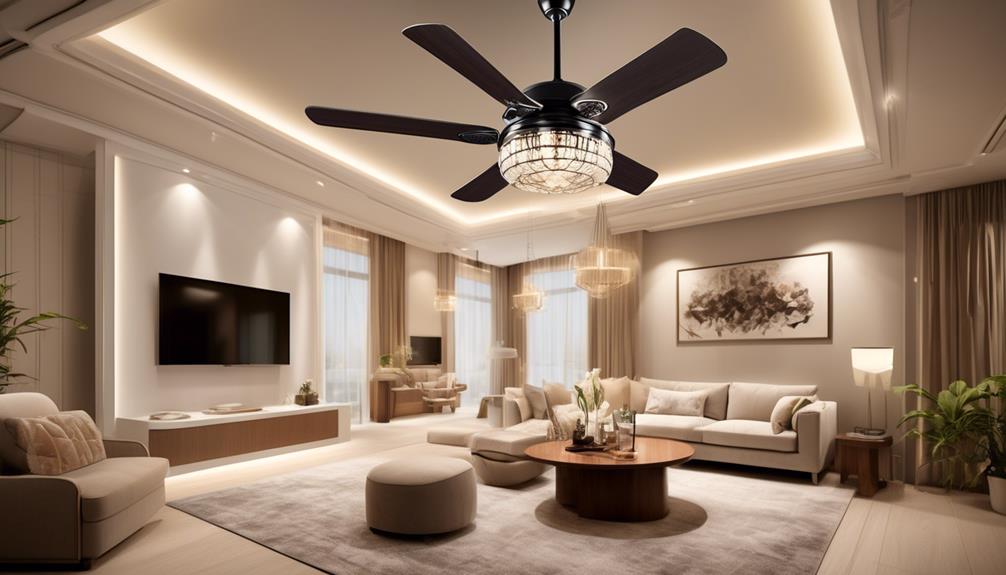
Consider the available lighting options when selecting a ceiling fan. The lighting options for ceiling fans can greatly enhance the functionality and aesthetics of a room. When it comes to lighting, there are several factors to consider, including the type of lighting, the number of bulbs, and the energy efficiency of the fixtures.
To help you make an informed decision, we have provided a table below outlining the different lighting options commonly found in ceiling fans:
| Lighting Option | Description | Energy Efficiency |
|---|---|---|
| Integrated Light Kit | These ceiling fans come with a built-in light fixture, offering a seamless and cohesive look. | Varies depending on the type of bulbs used. LED bulbs are highly energy-efficient. |
| Bowl Light Kit | Bowl light kits are mounted below the fan, providing a diffused and ambient lighting effect. | Varies depending on the type of bulbs used. LED bulbs are highly energy-efficient. |
| Spotlight Kit | Spotlight kits feature adjustable lights that can be directed to specific areas of the room, allowing for task lighting. | Varies depending on the type of bulbs used. LED bulbs are highly energy-efficient. |
| No Light Kit | Some ceiling fans are designed without a light kit for those who prefer a minimalist look or already have sufficient lighting in the room. | N/A |
When choosing a lighting option for your ceiling fan, it is important to consider the energy efficiency of the fixtures. Opt for LED bulbs, as they consume significantly less energy and have a longer lifespan compared to traditional incandescent bulbs. Additionally, consider the brightness and color temperature of the bulbs to ensure they suit your specific lighting needs.
Choose the Right Finish for the Fan
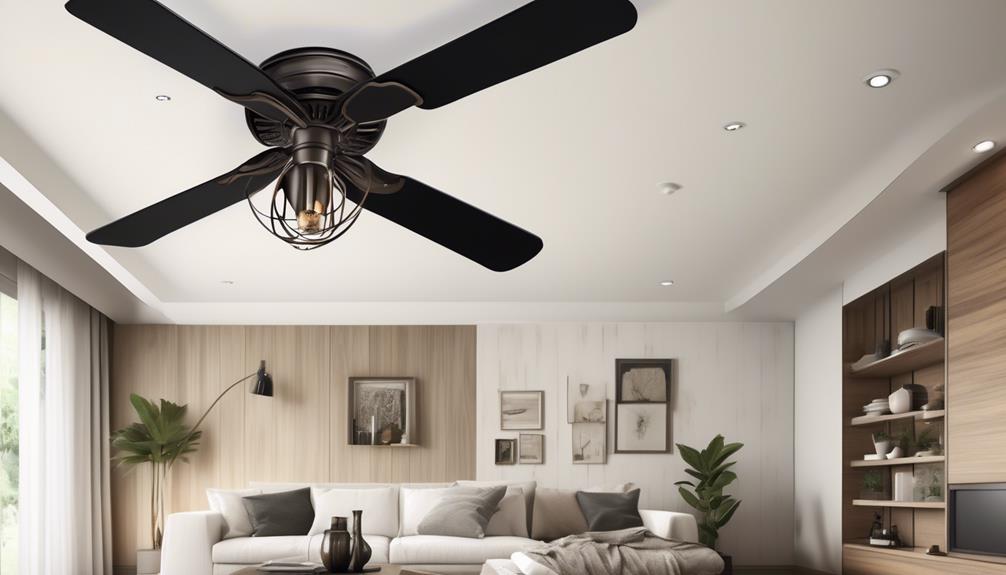
To ensure the best match for your ceiling fan, carefully consider the appropriate finish for the fan. The finish of a ceiling fan plays a crucial role in its overall appearance and how well it blends with your existing décor.
Here are three essential considerations when selecting the right finish for your ceiling fan:
- Match the existing finishes: Take a close look at the finishes of your other fixtures and furniture in the room where the fan will be installed. Choose a fan finish that complements or matches the existing finishes. This will create a cohesive and harmonious look in the space.
- Consider the room's style: The style of the room should also influence your decision. For a modern or contemporary space, sleek and minimalistic finishes like brushed nickel or chrome can work well. Traditional or rustic rooms may benefit from finishes like oil-rubbed bronze or aged brass.
- Consider maintenance and durability: Different finishes require different maintenance levels. Some finishes, like stainless steel or matte black, are more resistant to fingerprints and smudges, making them easier to clean and maintain. Additionally, consider the durability of the finish. Choose a high-quality finish that can withstand regular use and maintain its appearance for years to come.
Consider Additional Features, Such as Remote Control or Reversible Blades
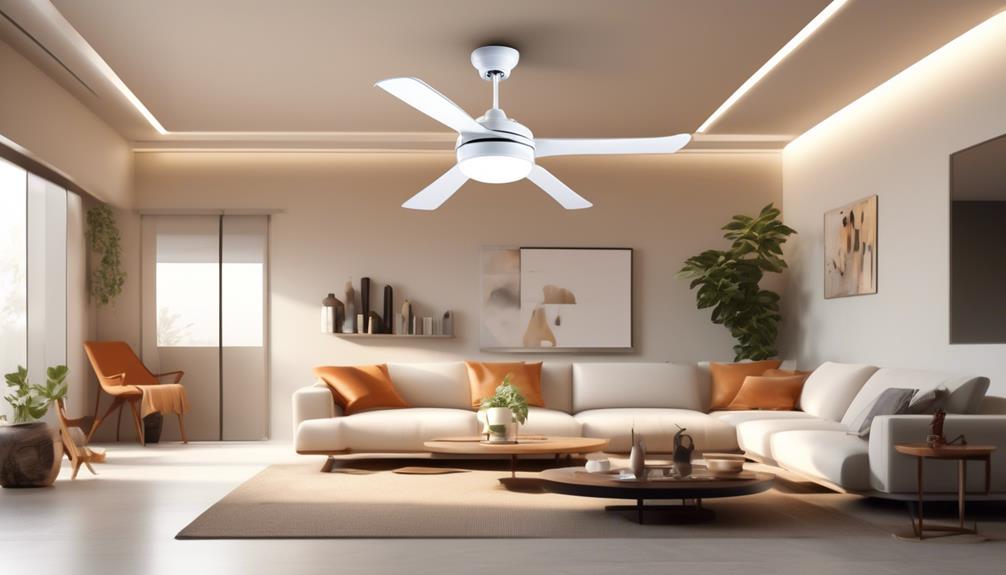
We can explore additional features for your ceiling fan, such as remote control or reversible blades, to enhance its functionality and convenience. Incorporating a remote control into your ceiling fan allows you to conveniently adjust the fan's speed, direction, and lighting without having to get up from your seat. With just a press of a button, you can easily customize your comfort level and create the ideal atmosphere in your space.
Additionally, opting for a ceiling fan with reversible blades offers several advantages. During the summer months, you can set the blades to rotate counterclockwise, creating a cooling breeze that helps lower the room temperature. In the winter, you can reverse the blade direction to clockwise, which helps to circulate warm air that rises to the ceiling and pushes it back down into the room, providing better heat distribution and increasing energy efficiency.
To summarize the benefits of remote control and reversible blades, we have created a table below:
| Remote Control Benefits | Reversible Blade Advantages |
|---|---|
| Convenient adjustment of fan speed, direction, and lighting | Cooling breeze during summer months |
| Customizable comfort level and atmosphere | Better heat distribution in winter |
| No need to get up from your seat | Increased energy efficiency |
Determine the Installation Method for the Ceiling Fan
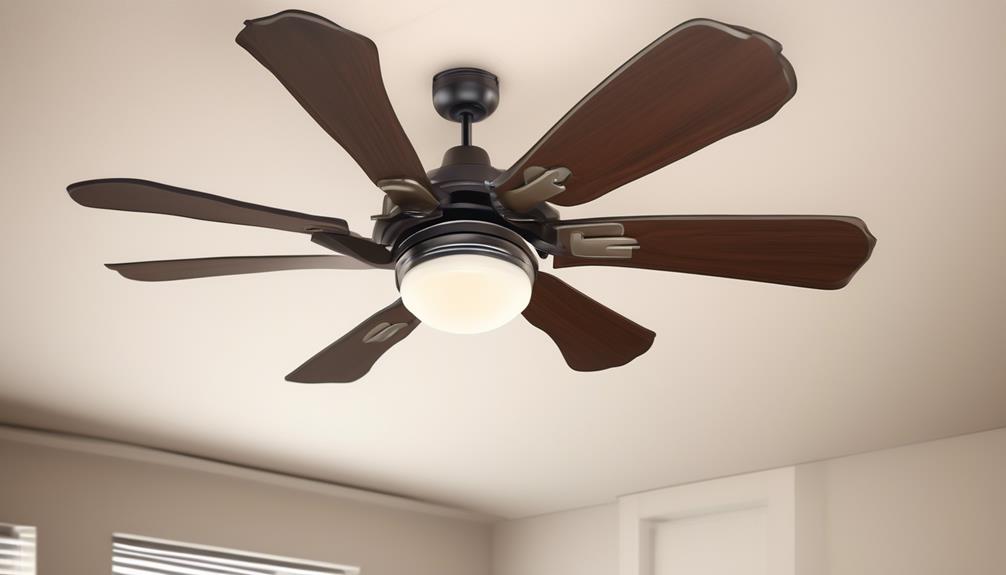
Determining the installation method for your ceiling fan involves carefully considering the structural requirements and electrical connections in your space. To ensure a successful installation, here are three key factors to consider:
- Structural Support: Before installing a ceiling fan, it's crucial to determine if your ceiling can support the weight and movement of the fan. Ceiling fans can be heavy, especially those with additional features like lights or larger blade spans. Make sure to locate a sturdy ceiling joist or use a ceiling fan-rated support brace for added stability.
- Electrical Connections: Proper electrical connections are essential for the safe and efficient operation of your ceiling fan. Ensure that your electrical circuit can handle the fan's power requirements by checking the amperage rating. It's also important to have a suitable wall switch or remote control system in place to control the fan's speed and lighting options.
- Airflow Requirements: Consider the airflow requirements of your space when choosing a fan installation method. If you have a high ceiling, you may need to use a downrod to lower the fan closer to the desired airflow level. Conversely, for low ceilings, a flush-mount installation method is more suitable to maximize headroom.
Finalize Your Decision Based on Budget and Warranty Considerations
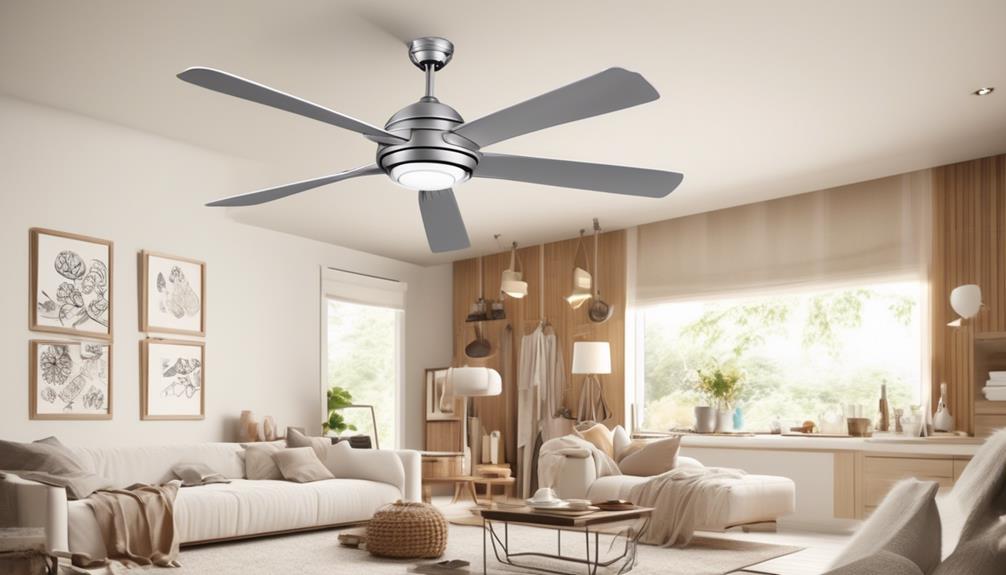
After carefully considering the structural requirements and electrical connections for your ceiling fan installation, it's essential to finalize your decision based on budget and warranty considerations.
Taking budget considerations into account ensures that you choose a ceiling fan that not only meets your needs but also fits within your financial constraints. Ceiling fans come in a wide range of prices, so it's important to establish a budget before beginning your search. Consider factors such as the size of the room, the features you desire, and the quality of the materials. Higher-priced fans often offer more advanced features, such as remote controls, adjustable speeds, and reversible motor functions. However, it's important to strike a balance between price and functionality to ensure that you get the most value for your money.
Another crucial aspect to consider is the warranty options provided by the manufacturer. A warranty not only protects your investment but also gives you peace of mind knowing that you're covered in the event of any unexpected issues. Look for a ceiling fan that offers a comprehensive warranty, covering both the motor and other components. Additionally, pay attention to the length of the warranty as longer warranties generally indicate a higher level of confidence in the product's quality.
Can Matching a Ceiling Fan Help Cover a Hole in a Light Fixture in the Ceiling?
Yes, matching a ceiling fan can help in covering a hole in fixture. By choosing a fan that is the same size as the existing light fixture, the hole can be effectively hidden. This can be a simple and cost-effective solution to addressing the issue of a hole in the ceiling.
Frequently Asked Questions
Can I Install a Ceiling Fan in a Bathroom or Other High-Moisture Areas?
Yes, you can install a ceiling fan in a bathroom or other high-moisture areas.
Ceiling fan safety and proper ventilation are crucial factors to consider in these spaces.
It's important to choose a ceiling fan that's specifically designed for damp or wet locations.
These fans are built with materials and features that can withstand the moisture and humidity present in bathrooms or other high-moisture areas.
Proper ventilation is essential to prevent damage and ensure the longevity of your ceiling fan.
Are There Any Regulations or Safety Guidelines for Installing a Ceiling Fan?
When it comes to installing a ceiling fan, it's important to follow regulations and safety guidelines to ensure proper installation and optimal safety.
Ceiling fan installation tips and best practices for ceiling fan safety should be adhered to, as they provide the necessary guidance for a successful installation.
How Do I Determine the Appropriate Height to Hang the Fan From the Ceiling?
To determine the appropriate height to hang the fan from the ceiling, we need to consider a few factors.
First, measure the height of your ceiling to ensure you have enough clearance for the fan blades.
Next, consider the room size and choose an appropriate fan size that will effectively circulate air.
Lastly, follow the manufacturer's guidelines for installation, as they may provide specific recommendations for fan height.
Are There Any Specific Maintenance Requirements for Ceiling Fans?
Ceiling fan maintenance is essential for optimal performance and longevity. Regular cleaning is necessary to prevent dust buildup and maintain proper airflow.
Additionally, checking the fan's balancing and tightening any loose screws is crucial to prevent wobbling. It's also important to inspect the fan blades for any signs of damage or wear.
Addressing these common problems promptly can help ensure your ceiling fan functions efficiently and lasts for years to come.
Can I Install a Ceiling Fan on a Sloped or Vaulted Ceiling?
When installing ceiling fans on low ceilings or sloped/vaulted ceilings, it's important to choose the right size fan for your space.
Measure the height of your ceiling to determine the appropriate fan size.
For low ceilings, opt for a hugger or flush mount fan to ensure proper clearance.
For sloped/vaulted ceilings, select a fan with an angled mounting kit to accommodate the slope.
Proper installation and sizing will ensure optimal airflow and functionality of your ceiling fan.
Conclusion
After assessing room dimensions, airflow requirements, and design preferences, choosing the right ceiling fan becomes an important decision.
Interestingly, a study conducted by Energy Star found that using a ceiling fan in conjunction with an air conditioner can save up to 30% on cooling costs.
Taking into account factors like size, style, and installation method, selecting the perfect ceiling fan can greatly enhance both comfort and energy efficiency in any space.
- About the Author
- Latest Posts
Introducing Ron, the home decor aficionado at ByRetreat, whose passion for creating beautiful and inviting spaces is at the heart of his work. With his deep knowledge of home decor and his innate sense of style, Ron brings a wealth of expertise and a keen eye for detail to the ByRetreat team.
Ron’s love for home decor goes beyond aesthetics; he understands that our surroundings play a significant role in our overall well-being and productivity. With this in mind, Ron is dedicated to transforming remote workspaces into havens of comfort, functionality, and beauty.
Garage Door Opener
Reset Your Liftmaster Garage Door Opener After Power Outage: 3 Easy Steps
Unravel the secrets to effortlessly resetting your Liftmaster garage door opener after a power outage in just three easy steps.

Let’s address the task of resetting your Liftmaster garage door opener after a power outage with three simple steps. Power outages can disrupt your opener’s programming, but don’t worry, resetting it is possible.
Curious to discover the secrets to regaining control of your garage door opener effortlessly? Stay tuned as we unravel the simple yet effective methods to restore your opener's functionality post-power disruption.
Key Takeaways
- Disconnect the opener, use the emergency release cord, and reattach after power outage for proper functioning.
- Test the opener post-reset to ensure remote and smart device controls work correctly.
- Follow reset steps efficiently to avoid unexpected door openings and maintain garage door functionality.
- Consider preventive measures like backup power sources and regular maintenance to prevent future outages and ensure smooth operation.
Power Outage Impact on Opener
During power outages, Liftmaster garage door openers may lose their settings, requiring manual reconnection for proper functionality. When a power outage occurs, the Liftmaster opener relies on electricity to operate and may disconnect, affecting the garage door's automatic functions.
To address this, it's essential to disconnect the opener from the door manually. Start by locating the emergency release cord, typically hanging from the opener rail. Pull down on the cord to disconnect the opener from the door, enabling manual operation.
After the power is restored, reconnect the opener by guiding the door back into place and pulling the emergency release cord towards the motor. This action will engage the opener back with the door.
Following these proper steps ensures that the Liftmaster garage door opener resumes its normal functioning after a power outage. By promptly addressing the impact of power outages, you can maintain smooth operation of your garage door system.
Resetting the Garage Door Opener

After addressing the impact of a power outage on a Liftmaster garage door opener, the next crucial step is resetting the opener to restore its functionality efficiently.
To Reset Your Garage Door opener, begin by disconnecting it from the door by unplugging it. Then, locate the emergency release cord and pull it to manually open the garage door fully. Ensure the door is closed manually once power is restored before attempting to close it using the opener again. If necessary, reattach the garage door trolley to the opener to guarantee proper operation.
This process is essential in Garage Door Repair to ensure that the opener is synchronized with the door. By following these steps, you can successfully reset your garage door opener after a power outage, allowing you to regain control over your garage door's functionality promptly.
Testing the Reset Opener
To confirm the successful reset of your Liftmaster garage door opener, press the remote-control button and observe the garage door's response. After resetting, pressing the remote-control button shouldn't result in the garage door opening unexpectedly.
It's essential to check that any smart devices previously linked to the opener are also unable to open the garage door post-reset. This step in testing the reset opener ensures that the reprogramming process was effective.
If the garage door still opens unexpectedly after the reset, consult the owner's manual for troubleshooting steps specific to your make and model. Additionally, consider reaching out to a professional for further assistance if needed.
Frequently Asked Questions
How Do I Reset My Liftmaster Garage Door After Power Outage?
When power goes out, we disengage the opener from the door by pulling the emergency release cord. After manually closing the door, we're ready for reconnection.
Once power is restored, we press the button on the opener to close the door. If necessary, we manually reattach the trolley to the carriage for proper functionality.
These steps ensure a safe and effective reset of our Liftmaster garage door opener after a power outage.
How Do I Reset My Liftmaster Garage Door Opener?
When resetting your Liftmaster garage door opener, find the 'Learn' button on the motor unit. Hold down this button for about 6 seconds until the adjacent LED light goes off. This action erases all stored remote-control and keyless entry codes.
Following the reset, reprogram your remotes and keypads to reconnect with the opener. By completing these steps, you can restore your Liftmaster garage door opener's functionality after a power outage.
How Do I Manually Reset My Garage Door Opener?
When manually resetting a garage door opener, we first locate the emergency release cord and disconnect the opener from the door.
Then, we manually operate the door to the desired position.
After power is restored, we re-engage the opener by pulling the release cord towards the door.
It's crucial to ensure the door is fully closed before reconnecting it to the opener for automatic operation.
How Do I Restore the Power to My Garage Door?
When power goes out, restoring it to your garage door is crucial.
Simply plug the opener back in and ensure the door is fully closed using the manual release cord. Then press the opener button to automatically close it.
Check if the trolley needs reattaching to the opener carriage.
Following these steps will help re-engage your Liftmaster garage door opener after a power outage, ensuring your door operates smoothly.
Conclusion
In conclusion, resetting your Liftmaster garage door opener after a power outage is as simple as pressing and holding the Learn button for 6 seconds.
Like a symphony conductor resetting the tempo after a brief interruption, this process ensures that your opener is back in perfect harmony.
Don't forget to also relink any smart devices for a seamless operation.
Follow these steps to keep your garage door opener running smoothly.
- About the Author
- Latest Posts
Introducing Ron, the home decor aficionado at ByRetreat, whose passion for creating beautiful and inviting spaces is at the heart of his work. With his deep knowledge of home decor and his innate sense of style, Ron brings a wealth of expertise and a keen eye for detail to the ByRetreat team.
Ron’s love for home decor goes beyond aesthetics; he understands that our surroundings play a significant role in our overall well-being and productivity. With this in mind, Ron is dedicated to transforming remote workspaces into havens of comfort, functionality, and beauty.
Garage Door Opener
7 Steps to Reset Your Car Garage Door Opener
Hop on the path to garage door opener harmony with 7 essential steps that will transform your frustrating moments into seamless entries.

Picture yourself heading home after a tiring day, only to discover that your garage door opener is misbehaving like a defiant child. We’ve all experienced this frustration at some point. But don’t worry, we have the perfect solution for you.
In this discussion, we'll unravel the mystery behind resetting your car garage door opener in 7 simple steps, ensuring smooth operation and peace of mind every time you arrive home. So, let's get started on this journey to garage door opener enlightenment.
Key Takeaways
- Locate and press the Reset Button on the Garage Door Opener.
- Test the functionality of the remote control after resetting.
- Reprogram remote codes and check batteries for optimal performance.
- Follow troubleshooting tips to ensure smooth operation of your garage door opener.
Locate the Reset Button on Your Opener
To locate the reset button on your garage door opener, first, inspect the motor unit inside the garage for a button labeled 'LEARN' or 'HOME.' This button is crucial for resetting your opener and reprogramming it.
When you find the reset button, press and hold it to initiate the reset process. By doing this, you clear out old codes and unlink any remote devices that were previously connected to the opener.
Resetting your garage door opener is fundamental for ensuring proper functionality and security. After resetting, remember to re-pair each remote with the opener manually to establish a secure and efficient connection. This process allows for a fresh start, enabling you to program your remotes and keypads effectively.
With the reset button located and pressed, you're one step closer to a smoothly operating garage door opener.
Power Off the Garage Door Opener

Before proceeding with the reset process, ensure the garage door opener is powered off by unplugging it from the outlet.
Safety is paramount when dealing with electricity, so make certain there's no power flowing to the garage door opener during the reset. Disconnecting the power source is a critical initial step before attempting to reset the car garage door opener.
It's essential to verify that the garage door opener is completely powered down before moving forward with any reset actions. By ensuring the opener isn't connected to any power sources, you reduce the risk of accidents while performing the reset process.
Reset the Remote Control
Let's ensure your remote control is functioning optimally by following these steps:
- Check the batteries
- Reprogram the codes
- Test its functionality
These steps are crucial in resetting your car garage door opener and maintaining smooth operation.
Check Remote Batteries
Ensure that the remote control batteries are fully powered before proceeding with the reset of your car garage door opener. Weak or dead batteries can cause the remote to malfunction, hindering proper resetting.
To confirm battery power, check the LED indicator on the remote control; a dim or non-existent LED suggests low battery levels. Replace with new batteries, ensuring correct polarity, to guarantee successful reprogramming.
Adequate battery power is crucial for the remote to effectively transmit signals to the opener. By maintaining optimal battery levels, you ensure that the garage door opens seamlessly when you press the button on your remote control.
Reprogram Remote Codes
To reset the remote control for your car garage door opener, locate the LEARN button on the garage door opener unit. Press the LEARN button once to enter programming mode, indicated by the LED light.
Follow the specific instructions for your remote control to enter a new code or PIN. The LED light on the remote control will blink or flash to confirm successful programming.
Finally, test the newly programmed button on the remote to ensure it opens the garage door successfully.
- Press the Learn button
- LED light indicates programming mode
- Enter a new code or PIN
- Remote control LED confirms successful programming
- Test the remote for functionality
Test Remote Functionality
When testing the remote functionality of your car garage door opener, press the programmed button on the remote control to ensure proper communication with the garage door opener.
Check for the LED light on the remote control to blink or flash, indicating it's transmitting a signal.
Verify that the garage door responds by either opening or closing when the button is pressed.
If the garage door doesn't react, troubleshoot by reprogramming the remote control to sync it with the garage door opener. This step is crucial to guarantee that the remote control effectively triggers the garage door's mechanism.
Reprogram the Keypad

Under the keypad cover, you'll find the reset button to reprogram the keypad for your car garage door opener. To ensure smooth functionality, follow these steps to reprogram the keypad:
- Create a Personal Code: Input a new 4-digit code and press Enter to establish a personal access code.
- Set a Temporary Code: Follow the keypad instructions to set up a temporary 4-digit code for limited access situations.
- Follow Instructions: Adhere to the instructions provided under the cover to reset the keypad effectively.
- Save Codes: Finalize the setup process by pressing Enter to save the new codes, ensuring they're properly stored for future use.
- Test Functionality: After reprogramming, test the keypad to verify that the changes have been successfully implemented.
Program Your Car's Opener Button

Let's now address the process of programming your car's opener button and explore troubleshooting tips.
This step involves locating the module above the rearview mirror and erasing system data by pressing specific buttons. Once these initial steps are completed, you can proceed to program the button and ensure smooth garage door operation.
Button Programming Process
To begin programming your car's opener button, locate the garage door opener module above the rearview mirror and press and hold the outside buttons on the module for 30 seconds to erase system data. Once this is complete, follow these steps to program your garage door opener button in your car:
- Press the LEARN button on the opener unit.
- Press the button in the car panel to program.
- Use the remote control by pressing the program button on both the remote and car panel button.
- Ensure you hear two clicks to confirm successful programming of the car's opener button.
Troubleshooting Tips
When troubleshooting issues with your car's opener button programming, ensure all steps have been followed correctly to avoid potential programming errors.
For newer model vehicles, start by resetting the garage door opener by pressing the outside buttons on the module above the rearview mirror for 30 seconds.
Then, locate the Learn button on the garage door opener unit and press it to initiate the programming steps. Next, press the button on the car's panel until you hear 2 clicks, indicating successful programming.
Use the remote to further program by pressing the program button on both the remote and the car panel button. Remember to pay attention to the indicator light and release the Learn button promptly to complete the programming process accurately.
Test the Garage Door Opener

To verify proper functionality, press the programmed button on the remote control to test if the garage door opens. Make sure to pay attention to the following key points:
- LED Light: Check that the LED light on the remote control blinks or flashes when testing the garage door opener.
- Audible Cues: Listen for any audible cues from the garage door opener when testing the remote control operation.
- Smooth Operation: Confirm that the garage door opens smoothly and without any unusual sounds during the test.
- Multiple Controls: Repeat the testing process with multiple remote controls to ensure all are functioning correctly.
Testing the garage door opener is crucial to ensuring it operates as expected. By following these steps and checking for the mentioned indicators, you can ensure that your garage door opener is working efficiently and effectively.
Adjust Opener Settings if Necessary

If the garage door opener requires adjustments, accessing the control panel in the car above the rearview mirror allows for modification of settings like door opening height and closing speed. Using the control panel buttons, you can adjust these settings based on your preferences for a more personalized experience with your modern garage door opener.
It's crucial to follow the manufacturer's instructions to ensure proper adjustments tailored to your specific model. After making the necessary changes, be sure to save them by pressing the designated button on the control panel. To guarantee that the modifications meet your expectations, it's essential to test the operation of the garage door opener.
Frequently Asked Questions
How Do I Reprogram My Garage Door Opener in My Car?
To reprogram the garage door opener in our car, we erase system data by holding the outside buttons on the module for 30 seconds. Then, we press the LEARN button on the opener unit to start programming.
To finalize, press the button in the car panel until you hear 2 clicks for successful programming. Use the remote to program further by pressing the program button on both the remote and the car panel button.
How Do I Reset My Automatic Garage Door Opener?
When resetting an automatic garage door opener, locate the reset button and hold it for at least 6 seconds to clear old codes. Be careful of the door's movement during this process. Use a ladder if necessary to reach the reset button.
After resetting, reprogram your remote controls and keypad for smooth operation. Following these steps ensures your garage door opener works effectively and safely.
How Do I Clear My Garage Door Opener in My Car?
To clear your car garage door opener, press and hold the outside buttons on the module for 30 seconds to erase system data.
Then, press the LEARN button on the opener unit to start reprogramming.
Sync the opener with your vehicle by pressing the designated button on the car panel until hearing 2 clicks.
Finalize the programming by pressing the program button on both the remote and car panel button.
How Do I Reset My Garage Buttons on My Car?
When resetting the garage buttons on our car, we first locate the opener module above the rearview mirror.
Erase system data by holding the outside buttons for 30 seconds.
Then, press the LEARN button on the opener unit and program it by pressing the button on the car panel.
Finally, use the remote control to program it by pressing the program button on both devices.
Listen for two confirming clicks to ensure successful programming.
Conclusion
In conclusion, resetting your car garage door opener is like tuning a musical instrument – it requires precision and attention to detail.
By following the 7 simple steps outlined in this article, you can ensure that your garage door opener is functioning properly and securely.
Remember to test the programming and make any necessary adjustments to settings for smooth operation.
With a little effort, your garage door opener will be back in harmony with your daily routine.
- About the Author
- Latest Posts
Introducing Ron, the home decor aficionado at ByRetreat, whose passion for creating beautiful and inviting spaces is at the heart of his work. With his deep knowledge of home decor and his innate sense of style, Ron brings a wealth of expertise and a keen eye for detail to the ByRetreat team.
Ron’s love for home decor goes beyond aesthetics; he understands that our surroundings play a significant role in our overall well-being and productivity. With this in mind, Ron is dedicated to transforming remote workspaces into havens of comfort, functionality, and beauty.
Garage Door Opener
How to Stop My Chamberlain Garage Door Opener From Beeping Every 30 Seconds
Hungry for a quiet garage? Discover how to silence the beeping on your Chamberlain opener every 30 seconds.

Have you ever wondered how to stop the constant beeping from your Chamberlain garage door opener every 30 seconds? It can be quite annoying, but don’t worry, there are practical solutions we can implement to fix this problem and bring tranquility back to your garage.
By exploring common reasons for the beeping, checking the battery status, resetting the opener, adjusting settings and sensors, and potentially reaching out to Chamberlain support, we can work towards a solution that eliminates the bothersome noise and ensures your opener functions smoothly.
Key Takeaways
- Low battery backup is a common cause of beeping every 30 seconds.
- Solid red LED indicates a completely drained battery that needs replacement.
- Resetting the garage door opener can help troubleshoot and stop the beeping.
- Regular maintenance of sensors and settings prevents beeping issues.
Common Reasons for Beeping
When troubleshooting a beeping Chamberlain garage door opener, understanding the common reasons for the beeping is essential in identifying the issue efficiently.
One prevalent cause of the beeping is a low battery backup. The beeping every 30 seconds serves as a warning signal for this specific issue. Accompanying this alert, a flashing orange light indicates the low battery backup status.
If the LED light on the opener is solid red, it signifies that the battery backup is completely drained. To address this, replacing the battery is necessary to stop the beeping. It's crucial to promptly attend to this matter to prevent the beeping from persisting every 30 seconds.
Check Battery Status

Checking the LED light on the garage door opener is crucial to determine the battery status. When you observe a solid red LED light, it signals a dead battery. This red light, accompanied by beeping every 30 seconds, indicates the urgent need for a battery replacement to address the issue effectively.
Additionally, a flashing orange light on the LED screen signifies low battery power and serves as a warning for an impending battery replacement requirement. By monitoring the LED light colors on your garage door opener, you gain valuable insights into the battery status, enabling you to take proactive steps to prevent the continuous beeping interruptions.
Understanding and responding promptly to these LED indicators play a vital role in maintaining the smooth operation of your garage door system. Remember, being attentive to these LED signals can help you avoid unnecessary disruptions and ensure that your garage door opener functions optimally.
Resetting the Garage Door Opener
To address persistent beeping with your Chamberlain garage door opener, resetting the device can often resolve the issue. Follow these steps to reset your garage door opener:
| Step | Instructions |
|---|---|
| 1 | Locate the 'Learn' button on the garage opener. |
| 2 | Press and hold the 'Learn' button for about 6 seconds until the LED blinks. |
| 3 | Release the button and wait for the LED light to turn off and then back on. |
| 4 | Test the opener by using the remote control to check if the beeping has stopped. |
| 5 | If the beeping persists, check the battery backup or contact Chamberlain support. |
Resetting the garage door opener is a straightforward process that can often eliminate the beeping sound. By following these instructions, you can quickly troubleshoot and resolve the issue. Remember, if the beeping continues, it may be necessary to investigate the battery backup or seek assistance from Chamberlain customer support.
Adjusting Settings and Sensors

Adjust sensor settings on your Chamberlain garage door opener to ensure proper alignment and prevent beeping. Proper alignment of the sensors is crucial for the smooth operation of your garage door opener. Here are some steps to help you adjust settings and sensors effectively:
- Check Alignment: Verify if the sensors are facing each other directly. Misalignment can trigger beeping issues.
- Adjust Sensor Position: Ensure the sensors aren't obstructed and are aligned correctly. Minor adjustments can make a significant difference.
- Clear Obstructions: Remove any debris or objects that might be blocking the sensor's line of sight. Even small items can disrupt the sensor's functionality.
- Regular Maintenance: Periodically inspect and maintain the sensor alignment to prevent beeping problems. This proactive approach can help you avoid interruptions in your garage door opener's operation.
Contacting Chamberlain Support
When reaching out to Chamberlain Support for assistance with beeping garage door openers, it is advisable to have your model number and a brief description of the issue ready. Contacting Chamberlain support can provide valuable insights and solutions to resolve the beeping concern promptly. Whether it's an annoying beep every 30 seconds or a persistent beeping issue, Chamberlain's knowledgeable customer service team is equipped to help. You can reach Chamberlain support at 1-800-528-9131 for technical support, troubleshooting guidance, and warranty assistance related to your Chamberlain garage door opener.
Chamberlain Support Contact Information
| Contact Method | Phone Number | Availability |
|---|---|---|
| Phone | 1-800-528-9131 | 24/7 |
| support@chamberlain.com | Mon-Fri, 8am-6pm CST | |
| Online Chat | Available on Website | Mon-Sun, 24/7 |
Frequently Asked Questions
Why Is My Chamberlain Garage Door Opener Beeping Every 30 Seconds?
We've noticed that your Chamberlain garage door opener beeps every 30 seconds due to a low battery backup status. This is indicated by a flashing orange light.
When the battery is completely drained, a solid red light appears, leading to the continuous beeping.
Promptly replacing the battery backup will stop the beeping and ensure your Chamberlain garage door opener functions correctly.
How Do I Stop My Chamberlain Battery From Beeping?
Sure thing!
To stop the Chamberlain battery from beeping, we need to address the root cause. Check the LED light on the garage door opener. A solid red light means the battery is dead and requires replacement.
Unplugging the opener and removing the battery can temporarily silence the beeping. However, replacing the battery backup promptly is crucial for proper operation and to permanently eliminate the beeping sound.
How Do I Stop My Garage Door From Beeping?
To stop the beeping on your garage door opener, check if it has a low battery backup power. If so, replace the battery to resolve the issue. It's important to address this promptly to prevent further disruptions.
A solid red LED light indicates a completely drained battery, while a flashing orange LED light means the battery level is low. By replacing the battery, you can stop the beeping and ensure smooth operation of your garage door opener.
Why Does My Liftmaster Beep Every 30 Seconds?
We hear the beeping every 30 seconds because the Liftmaster garage door opener is alerting us to a low battery backup status. This warning is crucial for maintaining the functionality of the system.
When the battery is completely drained, a solid red LED light will indicate this. The beeping is a helpful reminder to replace the backup battery promptly to ensure continued operation of the garage door opener.
Conclusion
In conclusion, we've successfully addressed the issue of the Chamberlain garage door opener beeping every 30 seconds. By following the steps outlined, including checking the battery, resetting the opener, and adjusting settings and sensors, we were able to resolve the problem effectively.
Remember, when in doubt, it's always best to reach out to Chamberlain support for further assistance. Keep calm and garage door on!
- About the Author
- Latest Posts
Introducing Ron, the home decor aficionado at ByRetreat, whose passion for creating beautiful and inviting spaces is at the heart of his work. With his deep knowledge of home decor and his innate sense of style, Ron brings a wealth of expertise and a keen eye for detail to the ByRetreat team.
Ron’s love for home decor goes beyond aesthetics; he understands that our surroundings play a significant role in our overall well-being and productivity. With this in mind, Ron is dedicated to transforming remote workspaces into havens of comfort, functionality, and beauty.
-

 Decor3 days ago
Maximalist Decor Explained: Embrace More Style
-

 Vetted3 weeks ago
15 Best Drip Irrigation Systems to Keep Your Garden Thriving
-

 Vetted1 week ago
15 Best Foot Massagers for Neuropathy to Soothe Your Feet and Relieve Discomfort
-

 Vetted2 weeks ago
15 Best Sports Laundry Detergents for Keeping Your Activewear Fresh and Clean
-

 Vetted2 weeks ago
15 Best Tall Toilets for Seniors That Combine Comfort and Safety
-

 Vetted3 weeks ago
15 Best Dish Scrubbers to Keep Your Kitchen Sparkling Clean
-

 Decor3 weeks ago
What Is Eclectic Home Decor
-

 Decor1 week ago
Where the Wild Things Are Nursery Decor


