Appliances
How Do I Stop My Ceiling Fan From Making Noise?
2025
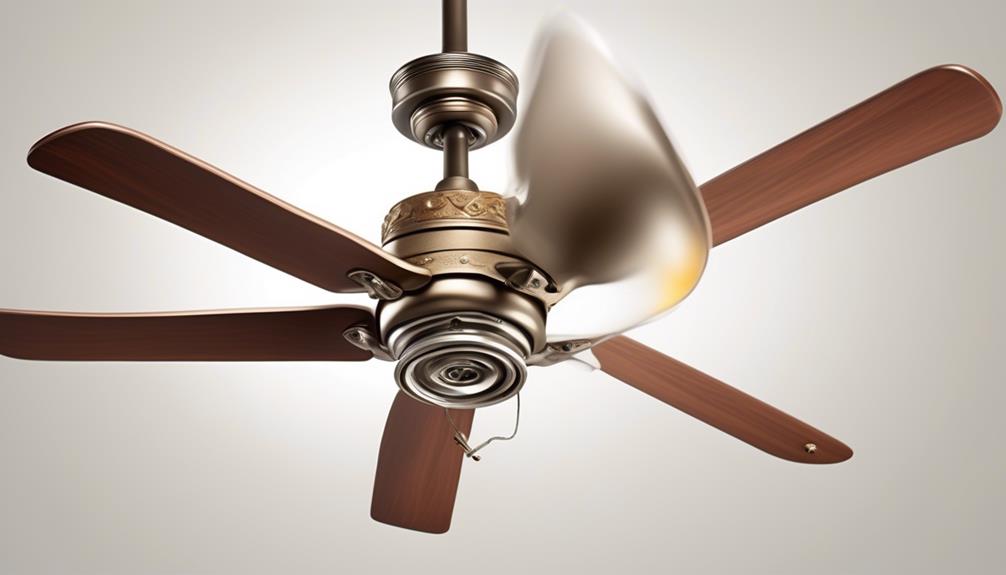
Have you ever been irritated by the sound of a ceiling fan that sounds like a flock of singing birds? If that’s the case, you’re certainly not by yourself. A good number of us have experienced the aggravation of a loud ceiling fan disturbing our tranquil surroundings. However, don’t worry; we possess the answers to assist you in restoring peace and quiet to your area.
In this guide, we will explore various steps to silence your fan and restore tranquility to your home. From identifying the source of the noise to tightening loose screws and lubricating the motor, we will cover all the necessary techniques to eliminate those irritating sounds.
So, let's dive in and discover how to stop your ceiling fan from making noise once and for all.
Key Takeaways
- Cleaning the blades and housing regularly can help remove debris and dust that may be causing the noise.
- Tightening loose screws and connections, including those on the blades, motor mounts, canopy, and pull chain, can help eliminate noise.
- Lubricating the fan motor and components with the appropriate oil can reduce friction and noise.
- Balancing the fan blades using a balancing kit or adjusting their position can ensure smooth operation and minimize noise.
Identify the Source of the Noise
To pinpoint the cause of the noise, we must carefully examine the components of the ceiling fan. Troubleshooting tips can help us identify and resolve common fan problems.
Firstly, let's check the blades. Ensure they're clean and free from any debris that may cause imbalance and noise. Use a soft cloth or brush to gently wipe away dust and dirt.
Next, inspect the motor. Loose or worn-out motor mounts can result in vibrations and noise. Tighten any loose screws and replace any worn-out mounts. Lubricating the motor bearings can also reduce friction and noise.
Moving on, let's examine the fan's canopy. Loose screws or brackets can create rattling sounds. Tighten all screws and brackets to secure the canopy. Additionally, check the pull chain and switches. Faulty or damaged switches can cause buzzing or humming noises. Replace any faulty components as needed.
Lastly, let's address the remote control or wall control. Check the batteries in the remote control and replace them if necessary. Ensure the control is properly programmed and functioning correctly.
Tighten Loose Screws and Connections
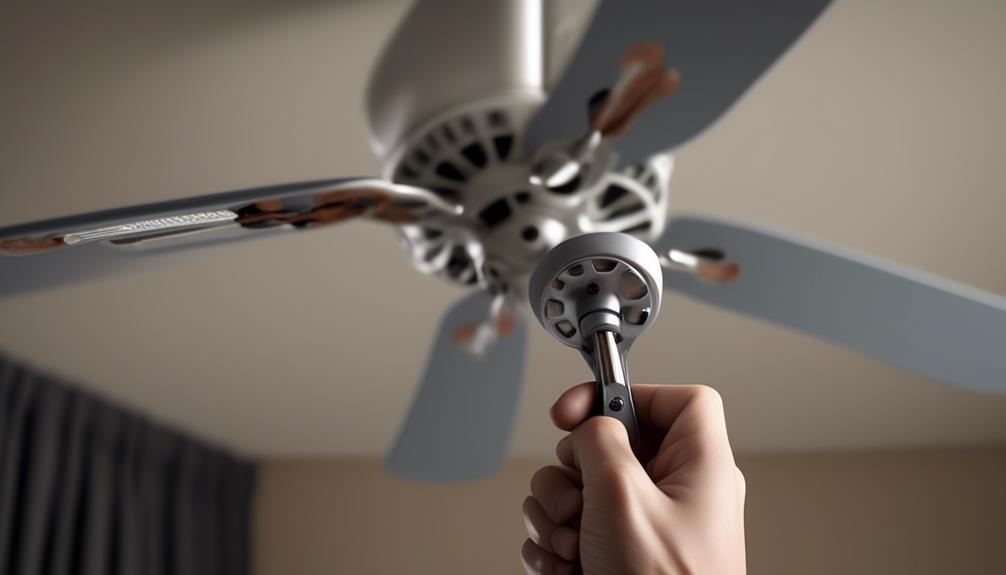
We can address the issue of loose screws and connections by tightening them securely to eliminate any potential sources of noise. Properly securing the screws and connections is crucial for ensuring the smooth and quiet operation of your ceiling fan.
Here are five important things to consider when tightening loose screws and connections:
- Use a screwdriver or wrench appropriate for the size of the screws and connections.
- Carefully inspect each screw and connection to identify any signs of wear or damage that may require replacement.
- Apply gentle but firm pressure when tightening the screws and connections to avoid stripping or damaging the threads.
- Check all the screws and connections throughout the fan, including those attaching the blades, motor housing, and ceiling bracket.
- Consider using a silencing mechanism, such as rubber washers or foam pads, between the screws and the parts they secure to reduce vibrations and noise.
Lubricate the Fan Motor and Components
Regular lubrication of the fan motor and components is essential for maintaining optimal performance and minimizing noise. Fan maintenance is crucial to ensure that your ceiling fan operates smoothly and quietly. Over time, the motor and moving parts can become dry and start making noise. By lubricating the fan motor and components, you can reduce friction, prevent excessive wear, and keep your fan running quietly.
To lubricate the fan motor, start by turning off the power to the fan. Locate the oil hole on the motor and use a few drops of lubricating oil specifically designed for ceiling fans. Be careful not to over-lubricate, as this can cause the oil to drip onto other parts of the fan. Additionally, lubricate any other moving parts such as the bearings, pulleys, and fan blades.
When selecting a lubricant, choose one that's specifically formulated for ceiling fans. Avoid using WD-40 or other general-purpose lubricants, as they may not provide adequate lubrication and can attract dust and debris, leading to further issues.
Regularly lubricating your fan motor and components as part of your fan maintenance routine will help keep your ceiling fan running smoothly and quietly, enhancing your overall comfort and enjoyment. By incorporating these noise reduction techniques, you can ensure that your ceiling fan remains a quiet and efficient addition to your home.
Balance the Fan Blades
Let's talk about balancing the fan blades to address ceiling fan noise.
When the blades are misaligned, it can cause wobbling and create unnecessary noise.
Additionally, uneven weight distribution can also contribute to the noise issue.
Blade Alignment
To balance the fan blades, consider using a balancing kit or adjusting the position of each blade. Blade misalignment and improper blade angle can cause your ceiling fan to make noise. Here are some steps you can take to align the fan blades properly:
- Start by turning off the fan and allowing it to come to a complete stop.
- Use a ladder or step stool to access the fan blades safely.
- Use a balancing kit, which typically includes adhesive weights, to correct any imbalances.
- Attach the adhesive weights to the top side of the blades, one at a time, and observe if the fan operates smoothly.
- If necessary, adjust the position of each blade by gently bending it until it's aligned properly.
Weight Distribution
After ensuring the proper alignment of the fan blades, the next step is to focus on the weight distribution to balance the fan and eliminate any noise.
Proper weight distribution is crucial for fan stability and smooth operation. To achieve this, start by inspecting each blade for any signs of damage or imbalance. If there are any issues, you can use a blade balancing kit to add or remove weight as needed.
Simply attach the weights to the lighter side of the blade until it's evenly balanced. Once the weight distribution is corrected, test the fan to see if the noise has been eliminated.
Clean the Fan Blades and Housing
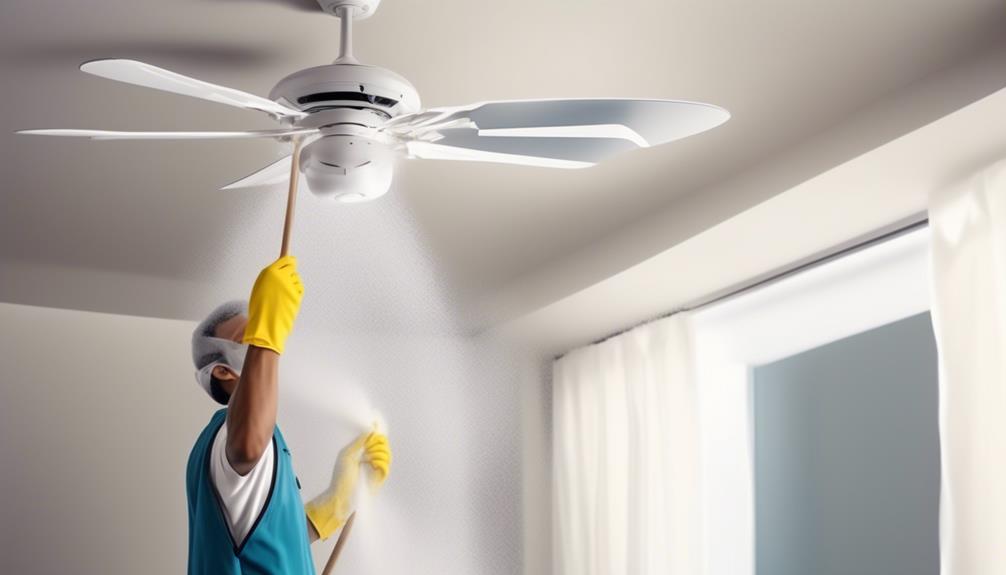
First, we need to address the issue of dusty fan blades, as this can cause unnecessary noise when the fan is turned on. Cleaning the blades regularly can help eliminate this problem.
Additionally, a wobbly fan can also contribute to the noise issue, so it's important to fix any imbalance in the blades to ensure smooth operation.
Lastly, lubricating the moving parts of the fan can reduce friction and noise, making for a quieter fan overall.
Dusty Blades Cause Noise
Dusty blades are a common cause of noise in ceiling fans, so it's important to regularly clean both the fan blades and housing. When dust and debris accumulate on the blades, it can disrupt the smooth rotation, resulting in annoying noises.
Here are some cleaning techniques and prevention methods to keep your ceiling fan blades dust-free:
- Use a soft, damp cloth to wipe down the blades, removing any dust or dirt.
- For stubborn dirt or grime, mix a mild detergent with water and gently scrub the blades.
- Avoid using harsh chemicals or abrasive materials that could damage the fan blades.
Regularly vacuum the fan housing to prevent dust buildup.
Consider using a fan blade cover or dust repellent spray to minimize dust accumulation.
Wobbly Fan Needs Fixing
To fix a wobbly fan, start by cleaning the fan blades and housing.
A wobbly ceiling fan can be annoying and potentially dangerous if left unfixed. Cleaning the fan blades and housing is the first step in troubleshooting a noisy fan. Over time, dust and dirt can accumulate on the blades and inside the housing, causing the fan to become unbalanced and wobble.
To clean the fan, turn off the power and carefully remove the blades. Use a soft cloth or brush to gently wipe away any dirt or debris. Additionally, clean the housing by using a vacuum or compressed air to remove any dust or buildup.
Once everything is clean, reattach the blades and turn the power back on. This simple maintenance step can help eliminate the wobbling and noise, ensuring that your ceiling fan operates smoothly and quietly.
Lubricate Moving Parts
We can ensure the smooth operation of the ceiling fan by lubricating its moving parts and cleaning the fan blades and housing.
Here are five important steps to follow in order to properly lubricate your ceiling fan:
- Turn off the fan: Before you begin any maintenance work, make sure to turn off the fan completely to avoid any accidents.
- Remove the fan blades: Carefully remove the fan blades from the motor housing to gain access to the moving parts.
- Clean the blades and housing: Use a mild detergent and warm water to clean the blades and housing, removing any dust or debris that may have accumulated over time.
- Lubricate the motor: Apply a small amount of lubricating oil to the motor's bearings, ensuring smooth rotation.
- Reassemble the fan: Once the lubrication is complete, reattach the fan blades to the motor housing and secure them tightly.
Replace Worn-Out or Damaged Parts
If any parts of the ceiling fan are worn-out or damaged, we can easily replace them to restore its functionality and eliminate any noise. When it comes to repairing vs. replacing, it's important to consider the extent of the damage and the cost-effectiveness of each option. In some cases, a simple repair may be sufficient, but if the parts are severely damaged or outdated, replacement might be the better choice.
Regular maintenance is key to preventing wear and tear on your ceiling fan. Here are a few maintenance tips to keep in mind. First, make sure to clean the fan regularly to remove any dust or debris that may accumulate on the moving parts. This will help prevent unnecessary strain and potential damage. Additionally, check the fan's balance and tighten any loose screws or bolts. A balanced fan will operate more smoothly and quietly.
When it comes to replacing worn-out or damaged parts, it's important to find the right replacements that are compatible with your specific fan model. Consult the fan's manual or contact the manufacturer for guidance. Remember to turn off the power before starting any repairs or replacements to ensure safety.
Consider Professional Assistance if Needed
After considering the extent of the damage and the cost-effectiveness of repairing or replacing worn-out or damaged parts, it may be necessary to seek professional assistance for resolving the ceiling fan noise. While there are several DIY solutions that can be attempted to fix the issue, sometimes the problem is more complex and requires the expertise of a professional.
Here are some factors to consider when deciding whether to call a professional:
- Complexity of the issue: If the noise persists even after attempting DIY solutions, it could indicate a more intricate problem that requires specialized knowledge and tools to fix.
- Safety concerns: Working with electrical components can be dangerous, especially if you aren't experienced in handling them. Calling a professional ensures that the repair is done safely and reduces the risk of accidents.
- Warranty: If your ceiling fan is still under warranty, attempting repairs yourself might void the warranty. It's best to consult a professional to avoid any potential complications.
- Time and effort: Fixing a noisy ceiling fan can be time-consuming and may require troubleshooting skills. Hiring a professional saves you the hassle of spending hours trying to diagnose and fix the problem.
- Long-term cost-effectiveness: While it may seem more cost-effective to attempt DIY repairs, it's important to consider the long-term benefits of hiring a professional. They can provide a comprehensive solution that ensures the issue doesn't recur, saving you from potential future expenses.
Frequently Asked Questions
Can I Use Any Type of Lubricant on My Ceiling Fan Motor and Components?
We've found that using WD-40 on ceiling fan motor parts can be effective in reducing noise. However, it's important to note that not all types of lubricants are suitable for this purpose.
If you're looking for alternatives, there are other methods you can try to reduce noise, such as tightening loose screws or balancing the fan blades.
Regular maintenance and cleaning can also help keep your fan running smoothly and quietly.
How Often Should I Clean My Fan Blades and Housing?
Cleaning the fan blades and housing regularly is an essential part of ceiling fan maintenance. It helps to prevent dust and dirt buildup, which can affect the fan's performance and contribute to noise issues.
Regular cleaning also ensures better air quality and improves the overall efficiency of the fan. We recommend cleaning the fan blades and housing at least once every few months to keep your ceiling fan running smoothly and quietly.
What Are Some Common Signs of Worn-Out or Damaged Parts in a Ceiling Fan?
When it comes to ceiling fan maintenance, it's important to be aware of common signs that indicate worn-out or damaged parts. By recognizing these signs, we can troubleshoot and address any issues before they escalate.
Some indicators to look out for include wobbling or shaking, grinding or squeaking noises, and reduced airflow. These signs may suggest problems with the motor, bearings, or blades.
Regularly inspecting and maintaining your ceiling fan can help prevent further damage and ensure optimal performance.
Are There Any Specific Tools I Need to Balance My Fan Blades?
When it comes to blade balancing techniques and troubleshooting motor issues, there are a few specific tools that we recommend.
One essential tool is a balancing kit, which typically includes a balancing clip and adhesive weights. This allows you to adjust the weight distribution of the fan blades to reduce noise and vibrations.
Additionally, a multimeter is useful for testing the motor's electrical connections and voltage.
These tools can help you maintain a quiet and efficient ceiling fan.
How Much Does Professional Assistance Typically Cost for Fixing a Noisy Ceiling Fan?
When it comes to fixing a noisy ceiling fan, the cost of professional assistance can vary depending on the complexity of the issue. However, before considering hiring a professional, there are some cost-effective tips for reducing fan noise at home.
These include tightening loose screws, lubricating the motor, and cleaning the blades. By addressing these DIY repairs, you may be able to alleviate the noise and save some money in the process.
– What are Some Effective Ways to Quiet a Noisy Ceiling Fan?
Dealing with ceiling fan noise factors? Try tightening the screws and ensuring the fan blades are balanced. Lubricating the motor and checking for loose parts can also help. If the problem persists, consider investing in a noise-reducing fan blade or seeking professional help to diagnose and fix the issue.
Conclusion
In conclusion, by following these steps, we can put an end to the noisy dance of our ceiling fans.
With a little tightening, lubrication, and cleaning, we can restore peace and serenity to our living spaces.
Remember, a quiet fan is like a gentle breeze, soothing and calming our souls.
So let's bid farewell to the clatter and embrace the tranquility that awaits us.
- About the Author
- Latest Posts
Introducing Ron, the home decor aficionado at ByRetreat, whose passion for creating beautiful and inviting spaces is at the heart of his work. With his deep knowledge of home decor and his innate sense of style, Ron brings a wealth of expertise and a keen eye for detail to the ByRetreat team.
Ron’s love for home decor goes beyond aesthetics; he understands that our surroundings play a significant role in our overall well-being and productivity. With this in mind, Ron is dedicated to transforming remote workspaces into havens of comfort, functionality, and beauty.
Garage Door Opener
10 Viper Garage Door Opener Models to Consider
Uncover a diverse array of Viper garage door opener models, each offering unique features and capabilities that cater to specific needs – find the perfect match for your home!
When delving into the world of Viper garage door opener models, there are plenty of choices to consider, each designed to meet specific needs and preferences.
Among these offerings, the Viper X90 emerges as a formidable contender, boasting a robust 1000 Newtons of power suitable for managing carriage house and weighty wooden doors.
However, the allure of the Viper X50 with Marantec's EOS technology beckons those in pursuit of a harmonious blend of potency and serenity in operation.
The landscape of Viper garage door openers is rich with possibilities, promising a blend of reliability and functionality for residential settings.
Key Takeaways
- Cutting-edge security features with encryption protocols and motion detection sensors for comprehensive protection.
- Smart technology integration for remote monitoring and control, including voice assistant compatibility.
- Powerful 1.25 HP motor and customizable settings for optimized performance and durability.
- High-speed operation with smooth, quiet functionality and customization options for individual preferences.
Viper X50: Advanced Security Features
The Viper X50 model showcases a range of cutting-edge security features designed to provide users with unparalleled peace of mind. As a top-of-the-line garage door opener, the Viper X50 integrates advanced security technologies to ensure the safety of your home and belongings. With features like rolling code technology and encryption protocols, the Viper X50 offers protection against unauthorized access attempts, giving you the freedom to enjoy your daily activities without worrying about intrusions.
Moreover, the Viper X50 is equipped with innovative security sensors that can detect any obstructions in the door's path, preventing accidents and ensuring the safety of your family and pets. Additionally, the self-diagnostic systems included in the Viper X50 constantly monitor the opener's performance, alerting you to any potential issues before they escalate, thus providing a reliable and hassle-free user experience.
Viper X75: Smart Technology Integration
We're excited to highlight the smart technology integration in the Viper X75 garage door opener. This model offers seamless compatibility with smart home systems, enhancing convenience and control.
With advanced security features and real-time notifications, the Viper X75 ensures a high level of protection for your garage.
Smart Home Compatibility
With its seamless integration with popular smart home platforms, the Viper X75 garage door opener offers advanced smart technology integration for enhanced convenience and security. The Viper X75 can be easily connected to Apple HomeKit and Google Assistant, allowing users to control and monitor their garage door remotely. By utilizing the ismartgate app on your smartphone, you can conveniently operate your garage door from anywhere. Real-time notifications keep you informed about the garage door's activity, while virtual keys enable secure access management. This compatibility with various smart home ecosystems enhances the overall smart home experience, providing users with a convenient and secure way to interact with their garage door.
| Smart Home Compatibility | Benefits |
|---|---|
| Seamless integration | Enhanced convenience |
| Voice control | Automation features |
| Remote monitoring | Real-time notifications |
| Virtual keys | Secure access management |
| Popular smart home platforms | Convenient and secure operation |
Enhanced Security Features
Building upon the smart home compatibility of the Viper X75 garage door opener, its enhanced security features leverage smart technology to provide users with advanced control and monitoring capabilities for optimal safety and peace of mind.
The Viper X75 stands out due to its ability to allow remote monitoring and control of the garage door through a smartphone, providing convenience and security. Real-time notifications on door activity add an extra layer of security, keeping users informed about any unexpected events.
Moreover, the virtual key access management feature enables controlled entry for trusted individuals, enhancing overall garage security. Lastly, the integration with voice assistants offers hands-free operation, ensuring seamless and secure access to the garage.
Viper Pro 2000: Heavy-Duty Performance
The Viper Pro 2000 model showcases unparalleled heavy-duty performance engineered for reliability and robust functionality. With 1200 Newtons of power, it effortlessly handles large and heavy garage doors, making it a top choice for those seeking strength and durability in a garage opener.
The super quiet DC motor ensures smooth and silent operation, a crucial feature for those who value a peaceful environment. Additionally, the Viper Pro 2000 comes equipped with high-quality accessories and offers a long warranty, providing peace of mind and assurance of a lasting investment.
Its self-diagnostic systems further enhance its appeal by swiftly identifying and addressing any potential issues, ensuring continuous reliable performance. For those in need of a dependable garage door opener that delivers on power, quietness, and longevity, the Viper Pro 2000 stands out as a solid option that prioritizes heavy-duty performance without compromising on quality.
Viper Elite: High-Speed Operation

Enhancing garage door functionality with rapid speed, Viper Elite delivers unparalleled performance for swift access to your garage. This high-speed operation model is designed to cater to the needs of those seeking quick and efficient entry into their garages.
Here are some key points to consider:
- Efficiency: Viper Elite is equipped with a powerful motor that ensures efficient performance, allowing you to open and close your garage door swiftly.
- Reliability: Designed for speed and reliability, Viper Elite is an ideal choice for busy households where quick access is essential.
- Smooth Operation: Enjoy a smooth and fast garage door operation with Viper Elite, providing convenience and ease of use.
- Durability: Viper Elite combines speed with durability, ensuring a top-notch experience every time you use your garage door.
With Viper Elite, you can experience liberation through its high-speed operation, making it a valuable addition to any home seeking efficient and swift garage access.
Viper Stealth: Ultra-Quiet Functionality
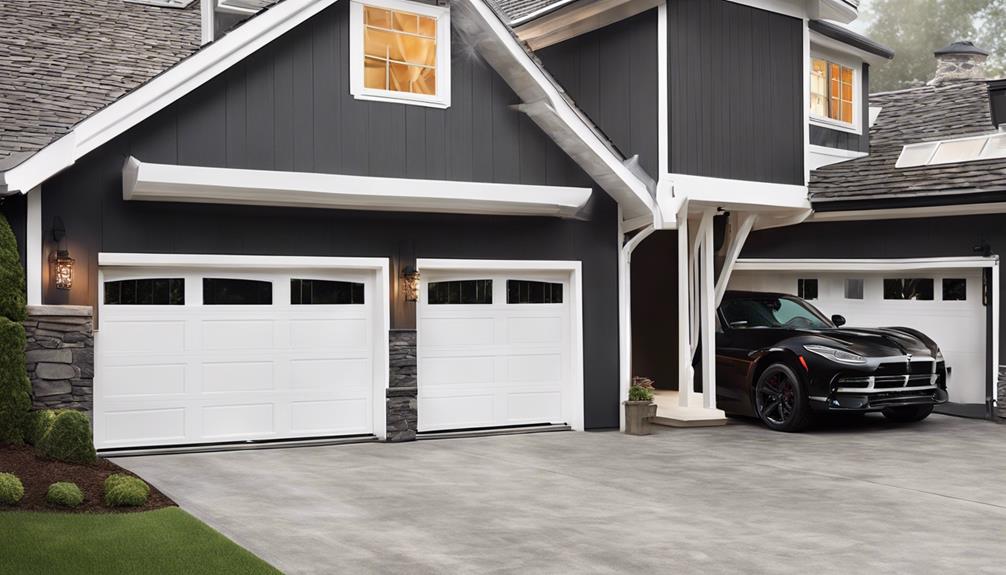
The Viper Stealth model showcases our cutting-edge Stealth Technology, which prioritizes a noise-free operation for a tranquil garage environment.
By incorporating specialized noise reduction features, this model ensures minimal disturbance during door operation.
Our focus on performance and durability guarantees a reliable and long-lasting garage door opener solution.
Stealth Technology Overview
Utilizing cutting-edge Stealth technology, Viper Garage Door Opener models deliver unparalleled ultra-quiet functionality for a seamless and serene garage door operation experience. This innovative technology ensures minimal noise disruption, making it ideal for those seeking a tranquil environment.
Here are four key points regarding Viper's Stealth technology:
- Precision Operation: The Stealth technology operates with precision and efficiency, guaranteeing a peaceful atmosphere.
- Vibration Reduction: By minimizing vibrations and sound, Viper's Stealth technology is specifically designed for quiet residential settings.
- Discreet Performance: Enjoy a discreet and smooth garage door opening and closing process with Viper's Stealth technology.
- Serene Environment: Viper's Stealth technology creates a serene garage space, perfect for those who value tranquility.
Noise Reduction Features
Implementing cutting-edge noise reduction technology, Viper Stealth models excel in delivering an exceptionally quiet garage door operation experience. Through the utilization of advanced soundproofing technology, these models effectively minimize disruptive noises typically associated with garage door systems.
The specialized insulation and design of Viper Stealth ensure a serene environment by significantly reducing operational sounds. This feature makes Viper Stealth an optimal choice for households where noise control is a top priority.
Performance and Durability
Enhancing garage door performance and durability, the Viper Stealth model showcases ultra-quiet functionality with sound levels reaching as low as 55 decibels. This advanced garage door opener is designed to deliver a seamless user experience while ensuring longevity and reliability.
Here are four key features of the Viper Stealth model:
- Powerful Motor: The Viper Stealth is equipped with a robust 1.25 HP motor for smooth and efficient door operation.
- Durable Belt Drive: Featuring a steel-reinforced belt drive system, the Viper Stealth is built to last, offering long-term reliability.
- High Lifting Capacity: With a lifting force of up to 750 pounds, the Viper Stealth can easily handle heavy garage doors.
- Enhanced Lifespan: The soft start and stop technology of the Viper Stealth reduces wear and tear on the door, extending its overall lifespan.
Viper Max: Enhanced Durability
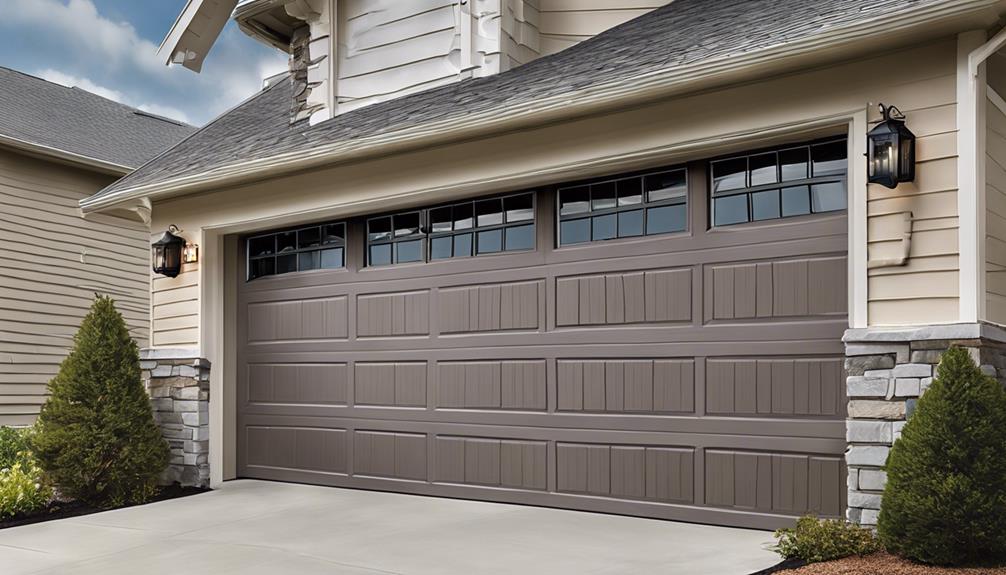
The Viper Max model stands out for its exceptional durability, ensuring long-lasting performance in various demanding conditions. This model is designed with heavy-duty components that can withstand frequent use and harsh environments, making it ideal for carriage house and heavy wood garage doors. The advanced technology integrated into the Viper Max ensures smooth and quiet door operation, providing a reliable and convenient user experience. With maximum strength and reliability, this model offers peace of mind and enhanced security for your property.
| Viper Max Model Features | |
|---|---|
| Enhanced Durability | Long-lasting Performance |
| Heavy-Duty Components | Reliable Operation |
| Advanced Technology | Maximum Strength |
Viper Flex: Customizable Settings
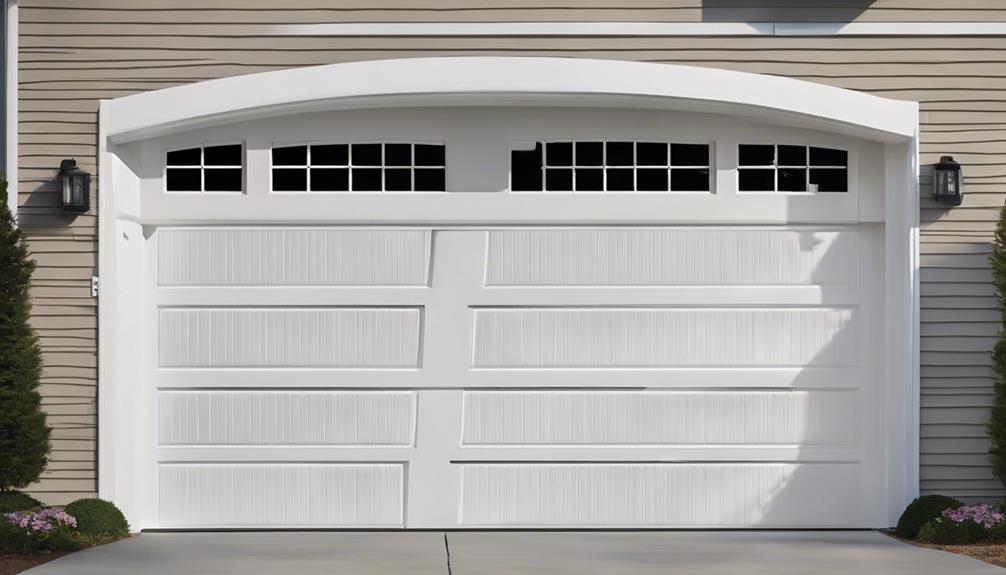
With Viper Flex, users can customize a range of settings to optimize their garage door opener's performance.
From adjusting speed and force to fine-tuning delay settings, the system offers tailored configurations for individual preferences.
This level of customization empowers users to personalize their garage door operation for enhanced functionality.
Customizable Remote Functions
When customizing the Viper Flex remote settings, users gain the ability to fine-tune speed, force levels, and even program additional features for tailored garage door operation. Here are four customizable remote functions that enhance the Viper Flex experience:
- Adjust speed and force levels to match specific garage door requirements.
- Personalize remote settings for a tailored operation that suits individual needs.
- Program Viper Flex to control additional features such as lighting or security systems.
- Fine-tune remote functions for optimal performance and enhanced user experience.
With Viper Flex, users have the freedom to customize their garage door opener to meet their exact preferences, providing a liberating and efficient solution for garage door operation.
User-Friendly Configuration Options
Transitioning from discussing customizable remote functions, users can effortlessly navigate the user-friendly configuration options of the Viper Flex garage door opener. This allows for seamless customization and control of various settings. With Viper Flex, users have the freedom to adjust door opening speed, force sensitivity, and lighting preferences according to their needs.
The convenience extends to features like setting auto-close timings and activating vacation mode for enhanced security and ease of use. Moreover, Viper Flex simplifies access control by enabling the programming of multiple remotes and keypads.
Integration with smart home platforms streamlines automation, offering users liberation through effortless management of their garage door system. Additionally, the self-diagnostic capabilities of Viper Flex empower users to troubleshoot and resolve issues efficiently, ensuring smooth operation.
Viper Secure Plus: Reliable Security
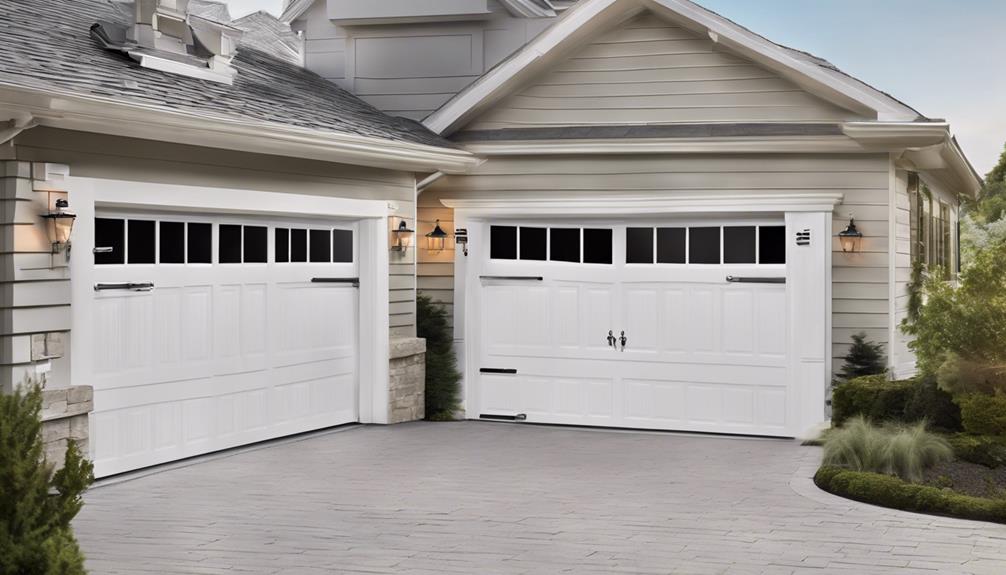
Viper Secure Plus enhances garage security with its advanced features, ensuring robust protection for your property. This model is designed to provide top-notch security measures, making it a reliable choice for those seeking peace of mind regarding their garage's safety.
Here are some key features of the Viper Secure Plus:
- Rolling Code Technology: Prevents unauthorized access by changing the access code each time the remote control is used, making it nearly impossible for hackers to intercept and duplicate the code.
- Robust Encryption System: Ensures secure communication between devices, safeguarding your garage against potential cyber threats.
- Motion Detection Sensors: Instantly alerts you of any suspicious activity near your garage, allowing you to take necessary actions promptly.
- Peace of Mind: With its comprehensive security measures, Viper Secure Plus offers a reliable solution to protect your home and belongings from intruders.
Viper Smart Connect: Remote Access Capability
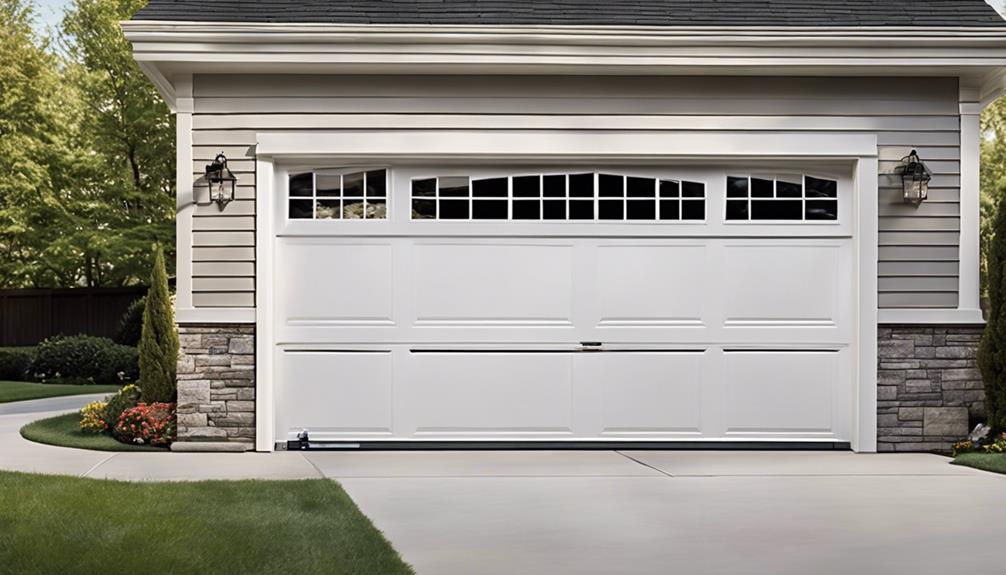
With Viper Smart Connect, users gain the ability to remotely access their garage door opener system, allowing for convenient control and monitoring from any location using a smartphone. This feature provides the freedom to check and operate your garage door even when you're away from home.
Real-time notifications keep you informed about the status and activity of your garage door, ensuring peace of mind and security. Additionally, Viper Smart Connect lets you easily grant virtual keys to trusted individuals for access, making it ideal for family members, friends, or service providers.
The integration with voice assistants further enhances the user experience by offering hands-free control capabilities. This remote access capability not only adds convenience to your daily routine but also gives you the flexibility to manage your garage door opener system efficiently.
Experience the liberation of controlling your garage door opener system from anywhere with Viper Smart Connect.
Viper Premium: Top-of-the-Line Features
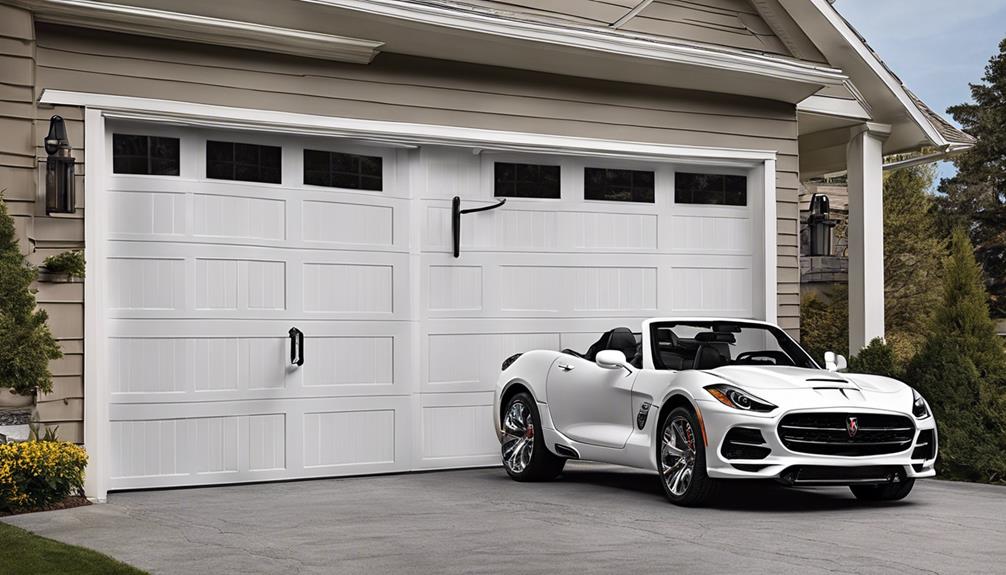
Featuring an unparalleled 1000 Newtons of power, Viper Premium models excel as the strongest residential garage door operator systems available on the market. These operators are specifically designed for carriage house and heavy wood doors, ensuring reliable performance even with the heaviest of doors. The inclusion of incredibly quiet DC motors guarantees smooth and silent operation, offering a seamless garage door experience. Additionally, Viper Premium models come with the longest warranties in the industry, providing users with peace of mind and a testament to the durability of the product.
Here are four top-of-the-line features of the Viper Premium models:
- Strongest Power: 1000 Newtons of unparalleled power for reliable operation.
- Designed for Heavy Doors: Specifically crafted for carriage house and heavy wood doors.
- Quiet Operation: Incredibly quiet DC motors ensure noiseless functionality.
- Longest Warranties: Industry-leading warranties for peace of mind and product durability.
Frequently Asked Questions
How Do I Know What Garage Door Opener to Buy?
We understand how overwhelming it can be to choose a garage door opener.
Start by assessing your door's weight and size to determine the necessary power. Look for features like quiet DC motors and long warranties.
Consider accessories such as remotes and keyless entry. Research different brands and models to find one that fits your needs.
Don't hesitate to seek expert advice for a smooth purchase.
How Much Horsepower Do I Need for a 2 Car Garage Door?
We recommend a minimum of ½ horsepower for a standard 2 car garage door. However, larger or heavier doors may require ¾ or 1 horsepower for sufficient lifting power. Factors like door size, weight, and material play a role in determining the appropriate horsepower.
High lift or vertical lift doors may need even higher horsepower openers to handle the load. Consulting with a professional installer is key to assessing your specific needs accurately.
How Do I Know What Garage Door Remote Is Compatible?
When determining compatibility for a garage door remote, locate the learn button on the opener unit to identify the compatible remote type. Universal remotes offer versatility across various opener brands. Confirm frequency and programming requirements for a seamless match.
Review user manuals or consult customer support for detailed insights. These steps ensure the remote aligns perfectly with your garage door opener system.
Should I Get a 1 2 or 3 4 Hp Garage Door Opener?
We must consider the size and weight of our garage door before deciding on the horsepower of the opener. For single doors, a 1/2 HP is sufficient, while heavier or double doors benefit from a 3/4 HP model.
1/2 HP is common for standard doors, offering smooth operation. 3/4 HP provides more power for larger doors.
Evaluating our door's needs ensures we choose the right HP for optimal performance and durability.
Conclusion
In conclusion, when it comes to choosing a garage door opener, Viper offers a range of models to suit various needs. From advanced security features to high-speed operation and ultra-quiet functionality, Viper has you covered.
Just like a well-oiled machine, Viper garage door openers provide the power and reliability needed to keep your home secure and accessible. Make the smart choice with Viper for top-of-the-line performance.
- About the Author
- Latest Posts
Introducing Ron, the home decor aficionado at ByRetreat, whose passion for creating beautiful and inviting spaces is at the heart of his work. With his deep knowledge of home decor and his innate sense of style, Ron brings a wealth of expertise and a keen eye for detail to the ByRetreat team.
Ron’s love for home decor goes beyond aesthetics; he understands that our surroundings play a significant role in our overall well-being and productivity. With this in mind, Ron is dedicated to transforming remote workspaces into havens of comfort, functionality, and beauty.
Garage Door Opener
Top 5 Odyssey 1000 Garage Door Opener Manuals
Start your journey into the world of Odyssey 1000 Garage Door Opener Manuals with these essential resources that will transform your garage door maintenance routine.
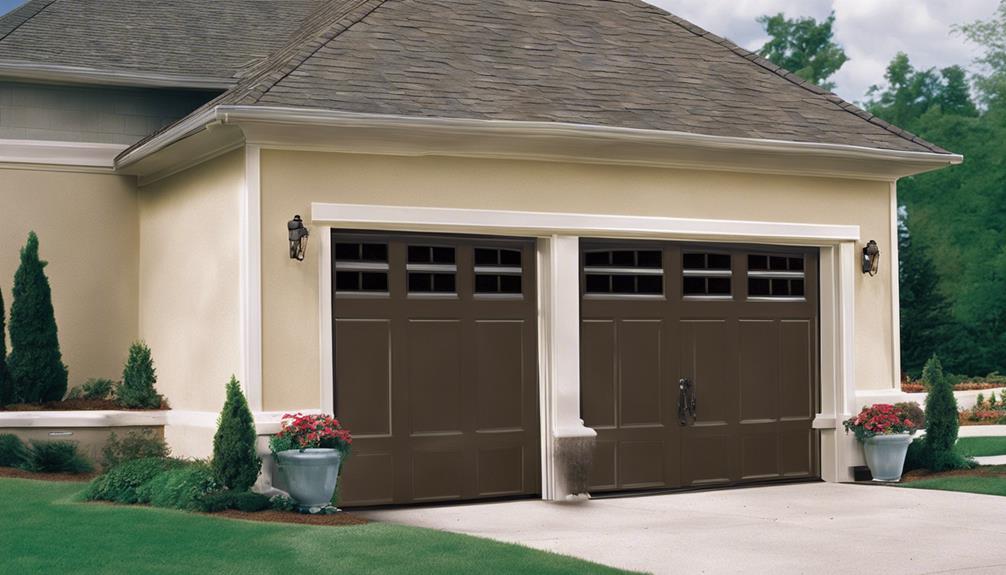
When it comes to navigating the world of Odyssey 1000 Garage Door Opener Manuals, we've uncovered the top five resources that can make all the difference in your garage door maintenance routine.
These manuals are not just your regular guides; they are indispensable tools providing insights into the intricate workings of your garage door system.
Stay tuned to discover the essential tips and tricks that could revolutionize the way you interact with your garage door opener, ensuring a seamless experience every time you engage with it.
Key Takeaways
- Detailed installation instructions for easy setup and maintenance.
- Comprehensive troubleshooting guide for quick issue resolution.
- Emphasis on safety precautions and testing for secure operation.
- Clear programming instructions for remote controls and power unit.
Genie Odyssey 1000 Manual
In the Genie Odyssey 1000 manual, we guide you through the detailed installation process for your garage door opener. To begin, ensure all components are included and follow the step-by-step instructions provided. Start by assembling the rail and installing the header bracket before attaching the power head unit. Press and hold the programming button to set the limits and force levels, allowing for smooth operation of the garage door opener. Safety is paramount, so make sure to test the auto-reverse feature after installation to prevent any accidents.
Additionally, the manual offers troubleshooting tips for common issues that may arise during the operation of the garage door opener. It's crucial to follow the safety precautions and warnings outlined in the manual to ensure safe usage. Programming instructions for remote controls are clearly explained, simplifying the process for users. Lastly, warranty information and maintenance tips are provided for easy reference, allowing for efficient upkeep of the garage door opener.
Chamberlain Odyssey 1000 Manual
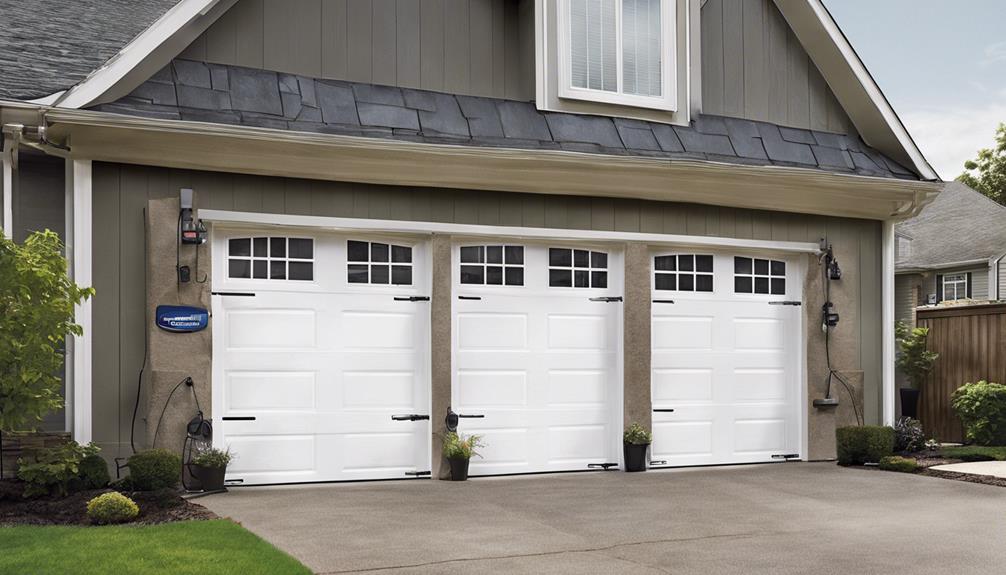
Exploring the Chamberlain Odyssey 1000 Manual reveals comprehensive installation instructions for setting up your garage door opener efficiently. The manual not only guides you through the setup process but also provides essential information to maintain and troubleshoot the opener effectively.
Here are some key aspects highlighted in the Chamberlain Odyssey 1000 Manual:
- Detailed Installation Instructions: The manual offers step-by-step guidance on how to install your Odyssey 1000 Garage Door Opener correctly, ensuring a smooth setup process.
- Maintenance Schedule: It includes a comprehensive maintenance schedule to keep your garage door opener in optimal condition, prolonging its lifespan.
- Troubleshooting Guide: The manual equips users with a troubleshooting guide to help diagnose and resolve common issues that may arise when operating the opener, empowering you to address problems swiftly.
Overhead Door Odyssey 1000 Manual
Upon reviewing the Chamberlain Odyssey 1000 Manual, the Overhead Door Odyssey® 1000 model manual continues to provide detailed instructions for installing and maintaining the garage door opener efficiently. It includes a comprehensive maintenance schedule to ensure optimal performance and longevity of the system.
The manual features a troubleshooting guide to help users diagnose and resolve common issues that may arise with the Odyssey® 1000 opener. Safety precautions and warnings are clearly outlined to promote safe operation of the garage door system, prioritizing user security.
Additionally, the manual offers guidance on programming remote controls and adjusting settings for personalized use, enhancing user convenience. Instructions for connecting to the electrical outlet are also provided, ensuring a smooth setup process.
LiftMaster Odyssey 1000 Manual
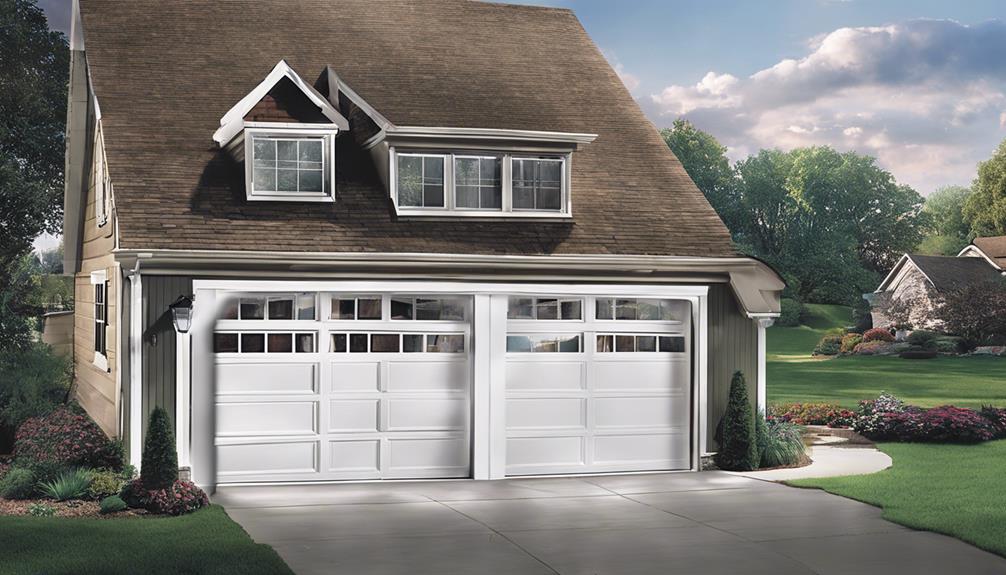
The LiftMaster Odyssey 1000 manual provides users with detailed instructions for installing and setting up their garage door opener efficiently. This manual is a valuable resource for individuals looking to set up their garage door opener without any hassle. Here are some key points highlighted in the manual:
- The site uses: The manual directs users to the specific site where they can find additional resources and support for their LiftMaster Odyssey 1000 garage door opener.
- Make sure: Users are advised to double-check all connections and settings to ensure proper installation and functioning of the garage door opener.
- Press and release: The manual guides users on the correct procedure for programming remote controls and keypads, emphasizing the importance of pressing and releasing buttons as instructed for successful programming.
Following these guidelines outlined in the LiftMaster Odyssey 1000 manual will help users effectively install, set up, and program their garage door opener for optimal performance and convenience.
Craftsman Odyssey 1000 Manual
After familiarizing ourselves with the LiftMaster Odyssey 1000 manual, let's now shift our focus to the Craftsman Odyssey 1000 Manual. This manual provides detailed installation instructions, ensuring a smooth setup for the garage door opener.
It also features a comprehensive maintenance schedule to keep the Odyssey 1000 performing optimally. The troubleshooting guide included assists in identifying and resolving common issues that may arise. Safety precautions and warnings are clearly outlined, emphasizing the importance of safe operation.
Additionally, the manual offers guidance on programming remote controls for convenient access to the opener. One essential step highlighted in the manual is to plug the unit into a power source before proceeding with any installation or maintenance tasks. Users are also reminded to ensure the carriage is engaged properly for the opener to function correctly.
The Craftsman Odyssey 1000 Manual proves to be a valuable resource for maximizing the performance and longevity of your garage door opener.
Frequently Asked Questions
How Do I Program My Odyssey 1000 Garage Door Opener?
To program your Odyssey 1000 garage door opener, follow these steps:
- Find the 'Learn' button on the powerhead.
- Press and release 'Learn'.
- Press and hold the remote button you want to program.
- Wait for the lights to flash, indicating successful programming.
- Repeat the process for each remote or keypad.
- Test to confirm all are programmed.
This process is straightforward and guarantees a hassle-free setup.
What Model Number Is the Odyssey 1000?
The model number for the Odyssey 1000 garage door opener is 7030H. It's a belt drive residential opener with a 1 horsepower lifting force.
Our model is praised for its quiet and smooth performance. It's also compatible with Overhead Door CodeDodger remotes.
Is Odyssey a Good Garage Door Opener?
Absolutely, the Odyssey 1000 garage door opener is a fantastic choice. Its robust 140V DC motor ensures smooth and quiet operation, perfect for residential use.
Advanced features like the CodeDodger access security system provide peace of mind against unauthorized entry.
With a lifting force of up to 1,000 lbs and safety features like the Safe-T-Beam system, the Odyssey 1000 prioritizes both performance and safety, making it a top-notch garage door opener.
What Frequency Is the Odyssey 1000 Garage Door Opener?
The Odyssey 1000 garage door opener operates on a 315 MHz frequency, ensuring reliable and secure signal transmission. This frequency minimizes interference from other devices, maintaining smooth operation.
Understanding this frequency is essential for programming remotes effectively.
Conclusion
In conclusion, the top 5 Odyssey 1000 garage door opener manuals offer invaluable guidance for owners. From programming to troubleshooting, these manuals provide essential information for safe and efficient operation.
Remember to refer to these resources for maintenance tips and issue resolution to enhance your garage door opener experience. With these manuals in hand, you'll be on your way to smooth and secure garage door operation.
- About the Author
- Latest Posts
Introducing Ron, the home decor aficionado at ByRetreat, whose passion for creating beautiful and inviting spaces is at the heart of his work. With his deep knowledge of home decor and his innate sense of style, Ron brings a wealth of expertise and a keen eye for detail to the ByRetreat team.
Ron’s love for home decor goes beyond aesthetics; he understands that our surroundings play a significant role in our overall well-being and productivity. With this in mind, Ron is dedicated to transforming remote workspaces into havens of comfort, functionality, and beauty.
Garage Door Opener
7 Steps to Wire Your Garage Door Opener Safely
Illuminate the key to a secure garage door opener installation by mastering the intricate art of wiring – discover the crucial step you can't afford to overlook!
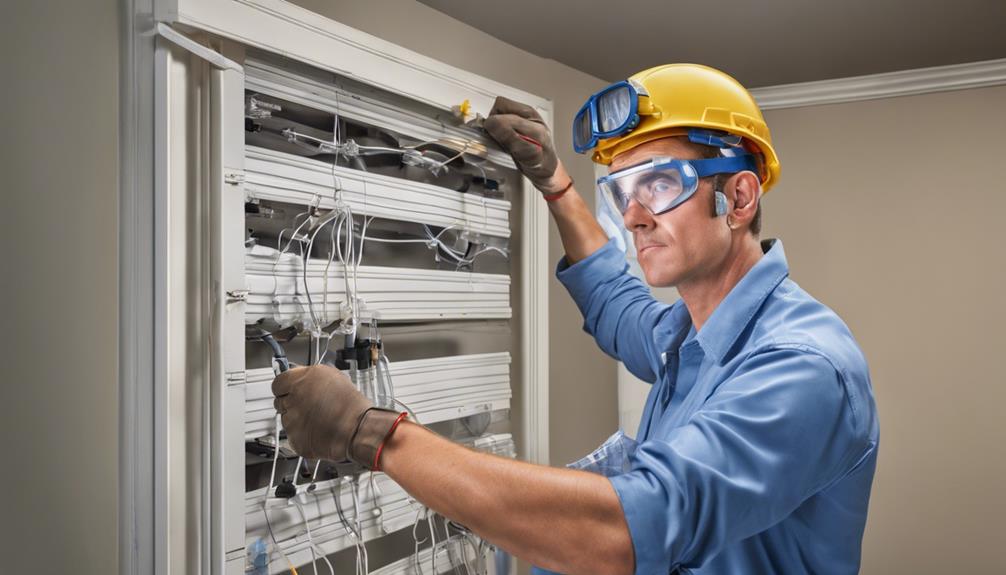
When it comes to the proper functioning of your garage door opener, the wiring process is crucial in guaranteeing its safety and efficiency. By beginning with thorough preparation and compatibility checks, we establish a solid foundation for a successful installation.
Each subsequent action, from assembling components to incorporating safety features, contributes to a reliable setup. However, one crucial step often overlooked can make or break the entire process.
By paying close attention to the intricacies of wiring types and configurations, you'll pave the way for a seamless and secure garage door opener system that guarantees peace of mind.
Key Takeaways
- Prioritize safety measures and preparation to wire your garage door opener securely.
- Connect power sources and wiring correctly with dedicated circuits and proper grounding.
- Program remotes and perform safety checks to ensure the opener functions safely.
- Conduct final testing, adjustments, and maintenance for optimal garage door opener safety.
Gather Required Tools and Materials
To wire your garage door opener safely, we need to first gather the essential tools and materials required for the installation process. Following the installation instructions meticulously is crucial for a successful setup. Tools such as wire strippers, wire nuts, electrical tape, and a voltage tester are indispensable. The voltage tester ensures that the power is off before beginning any work, preventing any electrical mishaps.
When selecting wire nuts, make sure they're the appropriate size for the wires being connected to guarantee a secure connection. Using the correct gauge of wire, like 18 or 20 AWG, is essential for the efficient functioning of the garage door opener. Additionally, having materials such as Cat5 cable, bell wire, or thermostat wire on hand is vital for wiring the opener correctly.
Prepare the workspace by having a ladder or step stool available to access the ceiling area where the opener will be connected to power and wiring, ensuring a safe and effective installation process.
Turn Off Power to the Garage
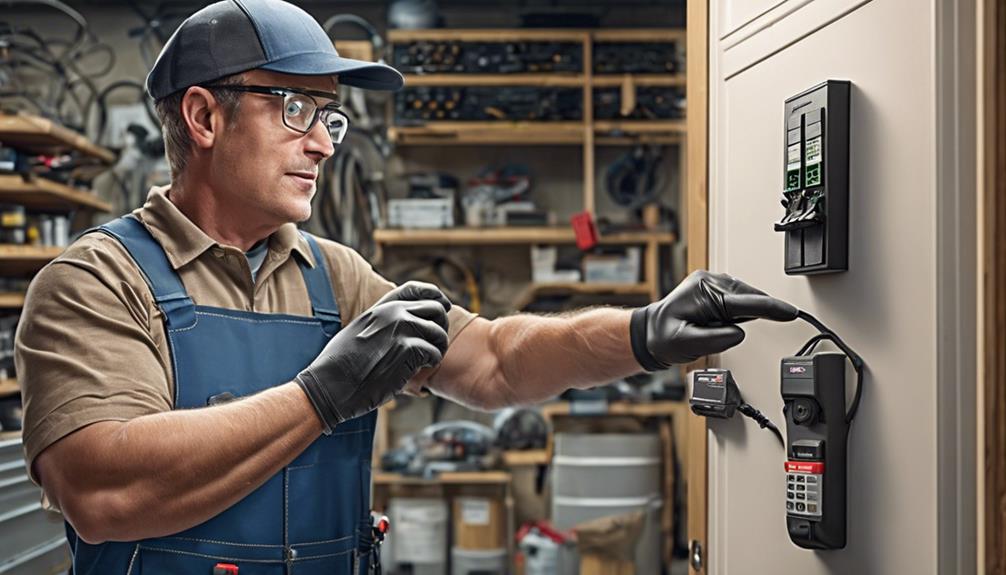
Before commencing any wiring tasks, it's imperative to ensure that the power to the garage has been switched off at the circuit breaker. Failure to do so can result in electric shock or damage to the garage door opener components.
To safely turn off the power to the garage, follow these steps:
- Locate the main circuit breaker for the garage and switch it to the 'off' position.
- Use a voltage tester to double-check and confirm that the power is indeed off before proceeding with any work.
- Avoid taking any shortcuts or risks when dealing with electrical power in the garage.
- Remember, safety should always be the top priority when working with power sources in the garage.
Identify and Connect Power Source
When identifying and connecting the power source for your garage door opener, locate the nearest 110-volt AC outlet for optimal functionality. This power source is crucial for the installation of the power unit, ensuring seamless operation of your garage door.
It's advisable to use a dedicated 20-amp GFCI circuit to protect the new operator and guarantee safety during operation. Proper grounding and adherence to electrical safety measures are paramount to prevent any mishaps.
Additionally, consider implementing a surge protector, especially in lightning-prone areas, to safeguard the electronics of your garage door opener. To enhance reliability, utilize two separate low-voltage wiring circuits for redundancy in powering the garage door opener.
Connect Control Wires to Opener
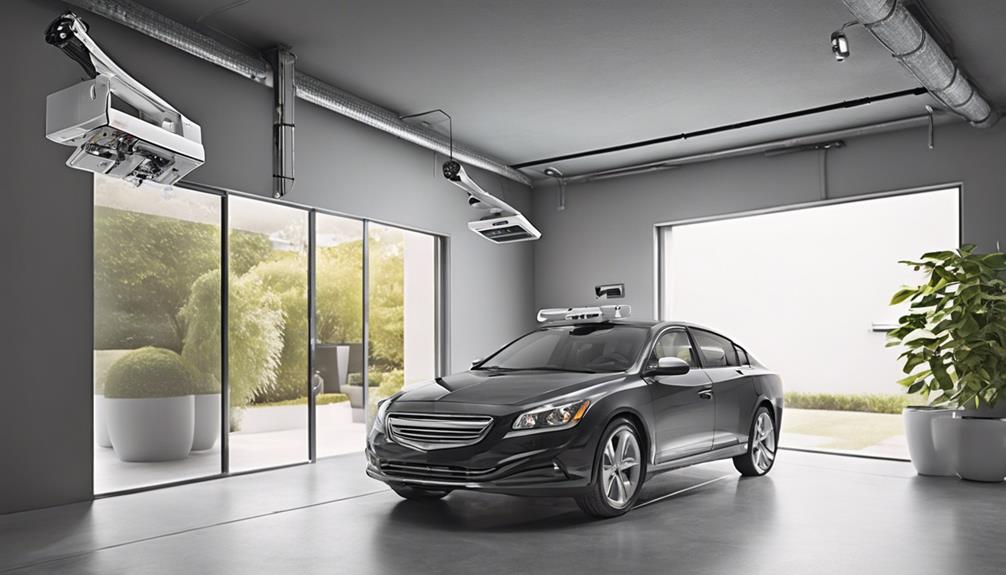
When connecting control wires to your garage door opener, it's crucial to check the compatibility of the wires being used.
Securely fasten the wires to the designated terminals on the opener, following the wiring diagram provided by the manufacturer.
Lastly, remember to test the control wires post-installation to ensure the opener functions correctly.
Check Wire Compatibility
To ensure proper installation, it's crucial to verify the compatibility of the control wires with the garage door opener specifications. When checking wire compatibility, consider the following:
- Voltage and Gauge Requirements: Ensure the control wires meet the voltage and gauge specifications set by the manufacturer.
- Shielding or Insulation: Determine if the control wires need to be shielded or insulated for safety purposes.
- Connection to Terminals: Connect the control wires to the designated terminals on the garage door opener according to the manufacturer's instructions.
- Testing Connections: After connecting the wires, test them to confirm that the garage door opener functions correctly.
Secure Wire Connections
Securing wire connections to the garage door opener involves meticulously fastening the control wires using appropriate screws or connectors as specified by the manufacturer. It's crucial to install 22 gauge or better wires and follow the manufacturer's instructions to ensure proper polarity and prevent damage.
Double-check the wire connections to avoid short circuits or garage door opener malfunctions. Securely fasten the wires to the terminals, following the wiring diagram provided in the opener's manual for correct placement.
Test Control Wire
After securely fastening the wire connections to the garage door opener, the next step is to test the control wire for continuity and proper connections using a multimeter. To ensure a safe and effective installation, follow these steps:
- Use a multimeter to check for continuity in the control wire.
- Confirm that the control wires are correctly connected to the designated terminals on the garage door opener.
- Refer to the wiring diagram provided by the manufacturer for accurate wire placement.
- Secure the control wire connections with wire nuts or soldering to guarantee a reliable setup.
Testing the control wire is crucial in ensuring the proper functioning and safety of your garage door opener.
Secure and Organize Wiring
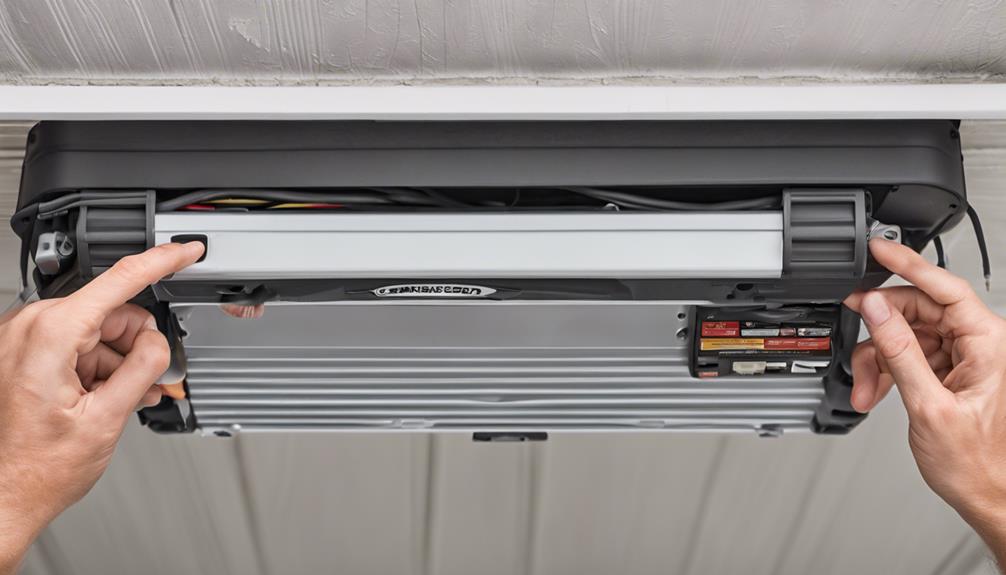
For optimal safety and functionality, we consistently secure and organize the wiring along the garage door opener rail using cable ties or clips. By attaching the wiring to the mounting bracket or the wall above the door, we ensure that it remains safely out of the way of moving parts and potential pinch points.
Utilizing wire loom or conduit adds an extra layer of protection, guarding the wiring against exposure to elements or accidental damage. Labeling each wire with its corresponding function is crucial for easy identification and future troubleshooting.
It's imperative to check all connections to guarantee they're tight and secure, minimizing the risk of electrical hazards or malfunctions. Properly securing and organizing the wiring not only enhances safety but also contributes to the overall efficiency and longevity of the garage door opener system.
Test the Garage Door Opener
Let's begin by emphasizing the importance of checking the safety sensors, testing the remote functionality, and verifying the auto-reverse feature of your garage door opener.
These steps are crucial in ensuring the smooth and safe operation of your garage door system.
Regularly testing these features can help prevent accidents and keep your garage secure.
Check Safety Sensors
How do you ensure the safety sensors of your garage door opener are functioning optimally? Proper maintenance and testing of these sensors are essential for safe operation. Here are some steps to check your safety sensors effectively:
- Verify Alignment: Ensure the sensors are properly aligned to detect obstacles accurately.
- Test Functionality: Place an object in the door's path during closure to confirm the sensors trigger the reversal mechanism.
- Clean Sensors: Keep the sensors clean from dust or debris that could obstruct their operation.
- Regular Inspections: Regularly inspect and test the sensors to guarantee they're in good working condition.
Regular attention to these safety sensors will help prevent accidents and maintain the security of your garage door system.
Test Remote Functionality
To ensure the proper functioning of your garage door opener, it is crucial to test the remote functionality by syncing it with the opener and confirming smooth operation. Follow the instructions provided by the manufacturer for programming the remote. Press the learn/programming button on the opener and the corresponding button on the remote simultaneously. Listen for a clicking sound, indicating successful programming. Test the remote by opening and closing the garage door. Ensure the remote operates the door smoothly and consistently. Use the table below to keep track of the programming process.
| Step | Description |
|---|---|
| Press Learn Button | Press the learn/programming button on the opener. |
| Sync Remote Button | Simultaneously press the corresponding button on the remote. |
| Listen for Clicking Sound | Listen for a clicking sound to confirm successful programming of the remote. |
Verify Auto-Reverse Feature
To verify the auto-reverse feature of your garage door opener, conduct a test by placing an object, such as a roll of paper towels, in the path of the closing door. This test is crucial for ensuring the safety of your garage door system. Here are some key points to consider:
- The garage door should reverse immediately upon contact with the object to ensure safety.
- This feature is designed to prevent accidents and injuries by stopping and reversing the door if it encounters an obstruction.
- Remember to test the auto-reverse feature periodically to ensure it's functioning correctly.
- If the garage door opener fails the auto-reverse test, troubleshoot the issue promptly to avoid safety hazards.
Regularly testing the auto-reverse feature is essential for maintaining a safe garage environment.
Perform Safety Checks and Final Adjustments
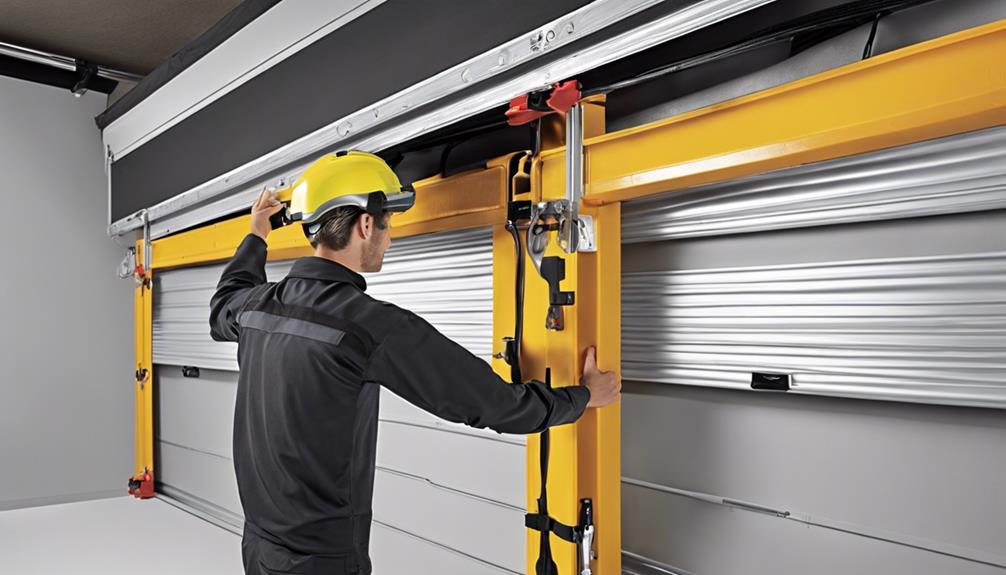
Upon completing the wiring connections, the next crucial step is to verify the functionality of safety sensors and ensure they're aligned correctly and responsive.
Secure all wiring connections to prevent any potential electrical hazards. Test the safety sensors meticulously, adjusting their alignment as necessary to guarantee they detect obstacles and respond promptly.
Double-check all wiring connections to confirm accuracy, following the manufacturer's guidelines meticulously to ensure proper installation. Adjust the force sensitivity settings to guarantee that the garage door opener stops and reverses immediately upon detecting an obstruction.
Before considering the installation complete, conduct a final test of the garage door opener to ensure seamless operation and validate all safety features. Remember, safety is paramount when dealing with garage door openers, so thorough checks and adjustments are vital to prevent accidents and ensure the system functions as intended.
Frequently Asked Questions
How Do You Wire a Garage Door Safety Sensor?
When wiring a garage door safety sensor, we ensure proper installation of both sending and receiving units is essential.
Align the units correctly for the infrared beam to function effectively.
Connect the wires following the manufacturer's instructions meticulously.
Testing the sensors after installation is crucial to confirm correct wiring and functionality.
Regular maintenance and inspection of the sensors are necessary to guarantee safe garage door operation.
How Many Wires Do You Need for a Garage Door Opener?
We typically need a 2-wire bell wire for basic garage door opener functionality. Additional features like safety sensors and remote controls might require more wiring like Cat5 cable.
Using 18-2 thermostat wire or alarm cables is also common. In some setups, twisted pair wire can be handy. It's crucial to select the right wire type and gauge that align with the specific requirements of your garage door opener system.
Is It Safe to Install Your Own Garage Door Opener?
Yes, installing your own garage door opener can be safe if done correctly. Following manufacturer's instructions and having basic electrical knowledge are crucial. Improper wiring can pose safety hazards and void warranties, so caution is essential.
Understanding wiring diagrams and using the right tools are key for a successful installation. When in doubt about wiring or electrical work, it's wise to consult a professional for safety and proper functioning.
Can You Hardwire a Garage Door Opener?
Yes, we can hardwire a garage door opener. It involves connecting it directly to a power source without using a plug. This method provides a more secure and reliable power connection compared to using a standard electrical outlet.
It's essential to follow the manufacturer's instructions carefully to ensure safety and proper functionality. Hardwiring can eliminate the need for an electrical outlet near the motor unit, making for a more streamlined and permanent installation.
Conclusion
In the intricate dance of wiring a garage door opener, we must be the conductor orchestrating each step with precision and care. Like a skilled musician, we must harmonize the components, ensuring the safety and efficiency of the system.
By following the steps outlined, we can create a symphony of functionality that will open the doors to convenience and security in our everyday lives.
- About the Author
- Latest Posts
Introducing Ron, the home decor aficionado at ByRetreat, whose passion for creating beautiful and inviting spaces is at the heart of his work. With his deep knowledge of home decor and his innate sense of style, Ron brings a wealth of expertise and a keen eye for detail to the ByRetreat team.
Ron’s love for home decor goes beyond aesthetics; he understands that our surroundings play a significant role in our overall well-being and productivity. With this in mind, Ron is dedicated to transforming remote workspaces into havens of comfort, functionality, and beauty.
-

 Vetted4 days ago
15 Best Drip Irrigation Systems to Keep Your Garden Thriving
-

 Vetted4 hours ago
15 Best Dish Scrubbers to Keep Your Kitchen Sparkling Clean
-

 Beginners Guides2 weeks ago
Designing Your Retreat Center – Essential Tips
-

 Vetted2 weeks ago
15 Best Tile Adhesives for Outdoor Use – Top Picks for Durable and Weather-Resistant Installations
-

 Beginners Guides2 weeks ago
Are Retreats Profitable
-

 Decor3 hours ago
What Is Eclectic Home Decor
-

 Vetted2 weeks ago
15 Creative Ways to Cover Up Popcorn Ceilings and Transform Your Space
-

 Vetted2 weeks ago
15 Best Playroom Storage Solutions to Keep Your Kids' Space Organized and Fun


