
To replace a GFCI outlet safely, turn off the circuit breaker and use a voltage tester to confirm the power is off. Carefully remove the old outlet, noting and labeling the wiring connections. Connect the new GFCI by attaching hot, neutral, and ground wires to the correct terminals, then secure everything tightly. Turn the breaker back on and test the new outlet to make sure it works properly. For detailed steps, continue with the full process to stay safe and correct.
Key Takeaways
- Always shut off power at the circuit breaker and verify no voltage before working on the outlet.
- Use insulated tools and wear safety gear to prevent electrical shocks and injuries.
- Label wiring connections during removal to ensure correct reinstallation and maintain proper grounding.
- Secure all wiring connections tightly, ensuring no exposed wires before mounting the GFCI.
- Test the GFCI after installation to confirm it trips and resets correctly, ensuring safe operation.
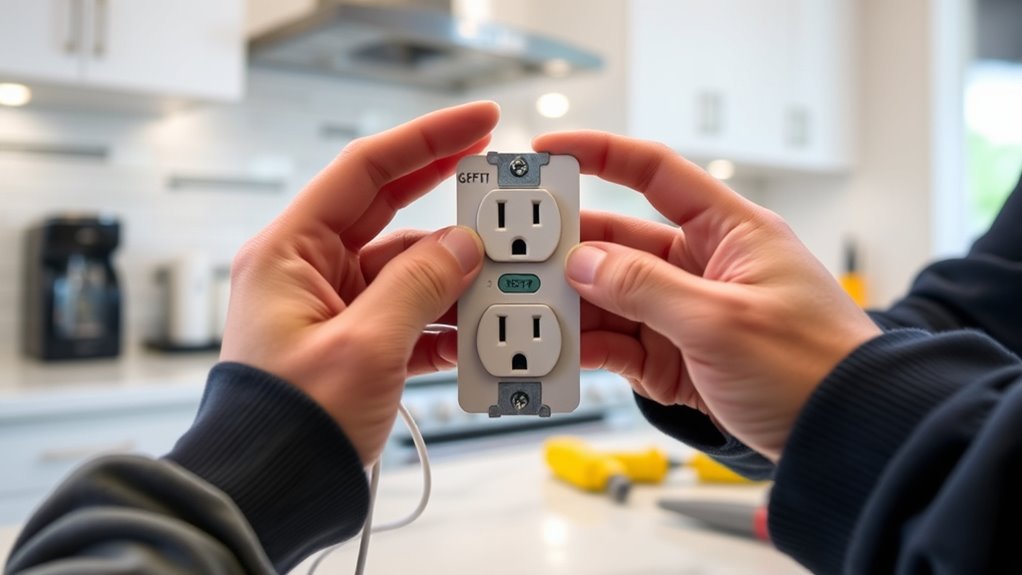
Gather Your Tools and Safety Gear
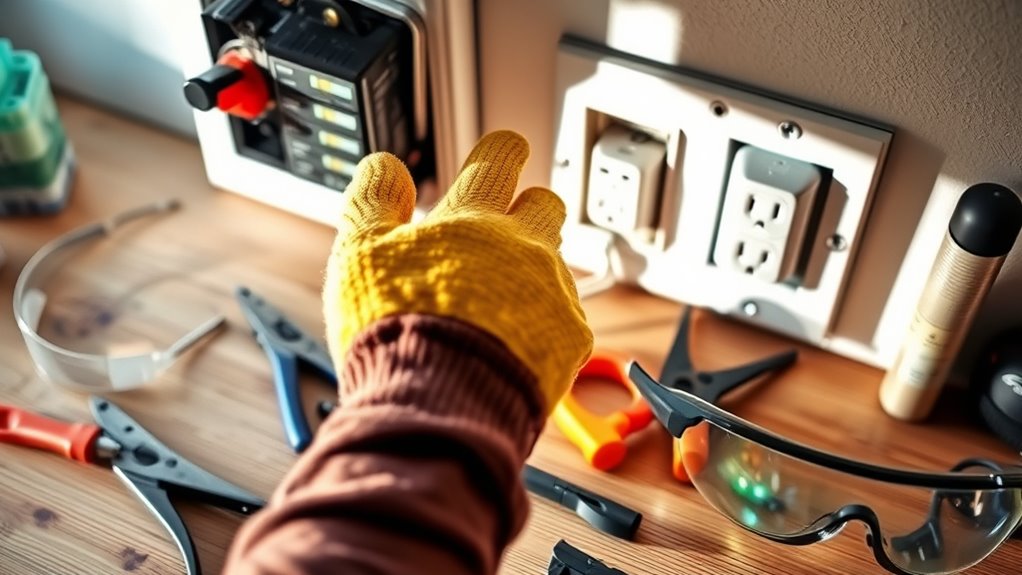
Before you begin replacing a GFCI outlet, it’s essential to gather all the necessary tools and safety gear. You’ll need a screwdriver, wire strippers, and possibly a voltage tester to guarantee safety. Safety gear like insulated gloves and safety glasses protect you from electrical shocks. Familiarize yourself with local electrical codes, which specify proper wiring and grounding practices that influence GFCI lifespan. Making sure your tools are in good condition helps maintain safety standards and prevents damage to the outlet or wiring. Double-check that you have all parts, including a compatible GFCI outlet. Being prepared minimizes risks and streamlines the replacement process, ensuring you comply with electrical codes and prolong the GFCI’s lifespan. Proper preparation is key to a safe and effective replacement, especially considering the benefits of proper installation that ensure safety and durability.
Turn Off Power at the Circuit Breaker
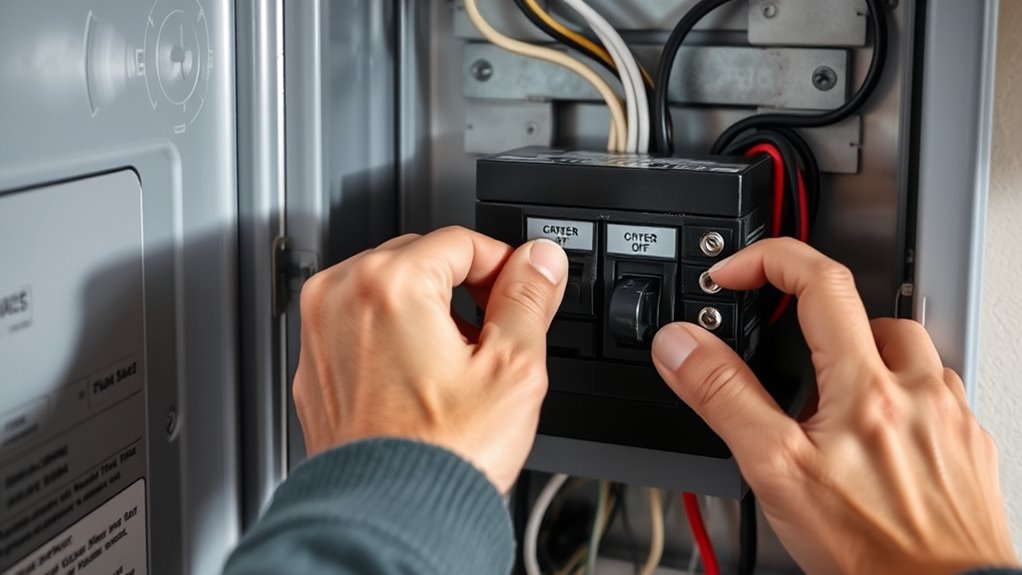
Turning off the power at the circuit breaker is a crucial step to guarantee safety when replacing a GFCI outlet. Before starting, locate the correct circuit breaker that controls the outlet’s circuit, considering grounding requirements and outlet placement. Switching off the breaker prevents electrical shock and ensures you can work safely. Check the breaker’s position—usually, in the “off” position—to confirm power is cut. Remember, grounding is essential for safety and proper operation, so avoid working on outlets without proper grounding. Once the breaker is off, it’s a good idea to label it if necessary, especially if multiple circuits are in the panel. This step minimizes risks and sets a safe foundation for the rest of your GFCI replacement process. Ensuring proper grounding and following safety protocols helps prevent electrical hazards during the installation.
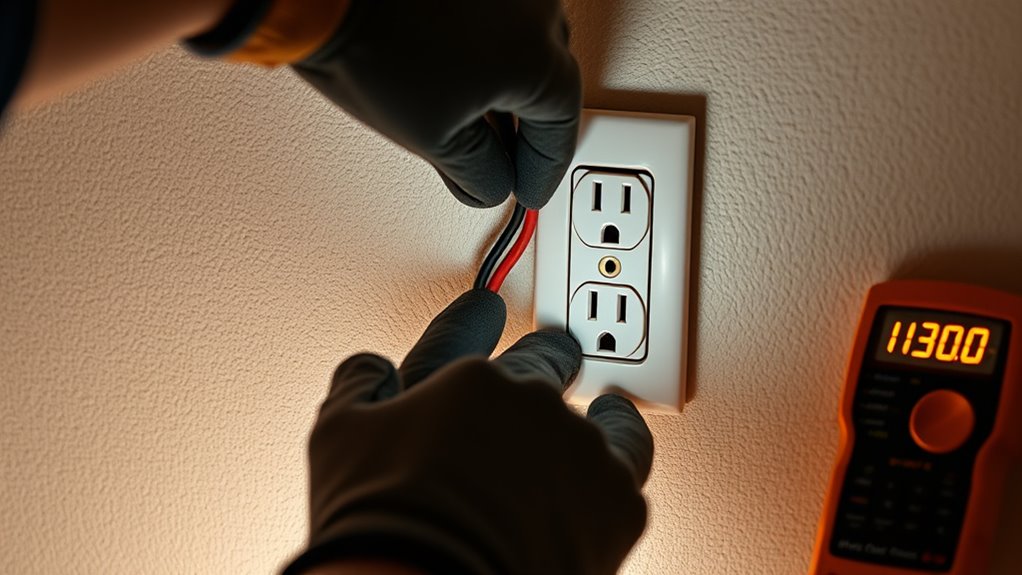
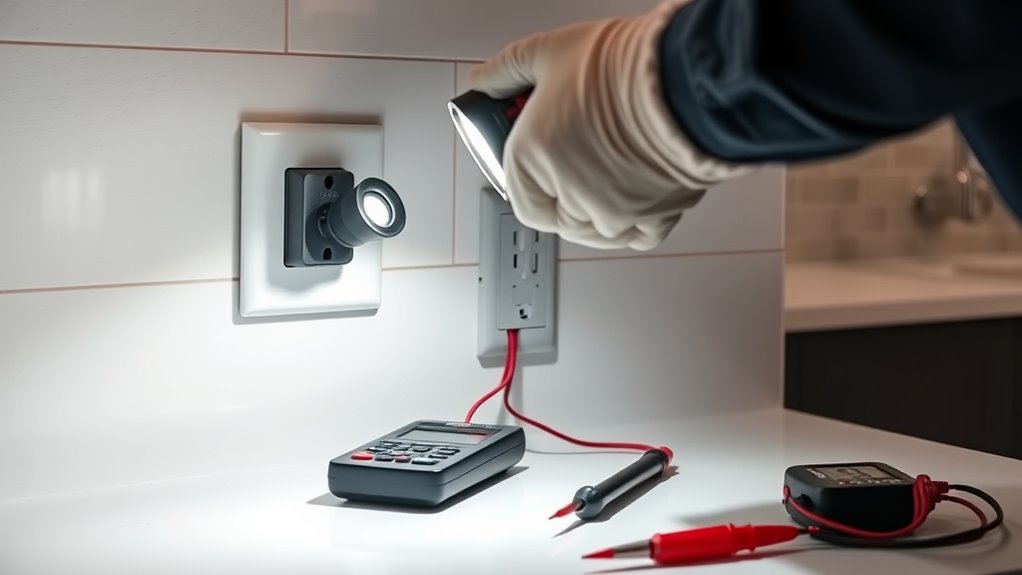
Confirm Power Is off Using a Voltage Tester
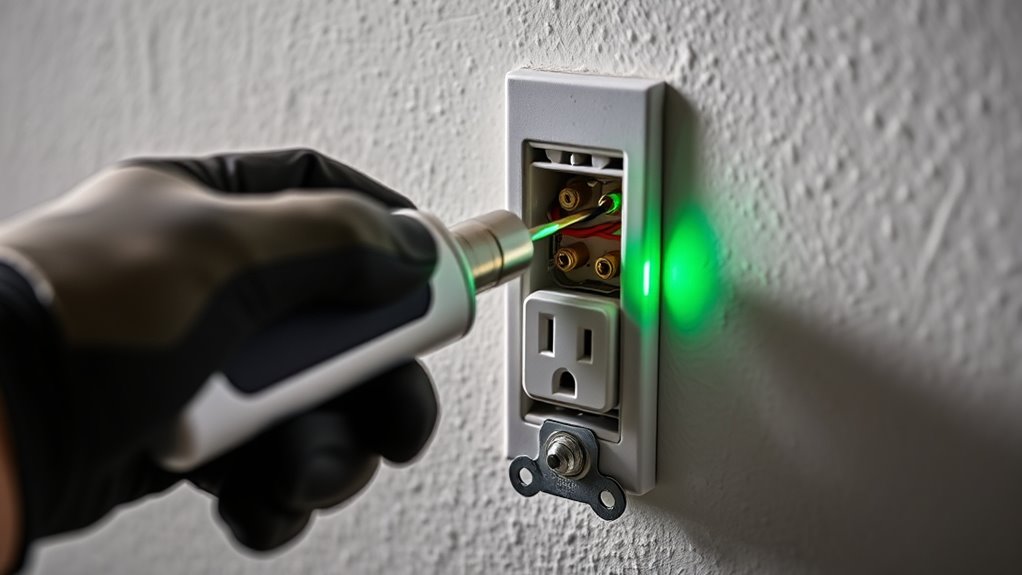
Using a voltage tester is an essential step to guarantee the power is truly off before handling the GFCI outlet. Proper voltage verification guarantees you’re safe from electrical shock. Before testing, make sure your tester is properly calibrated according to the manufacturer’s instructions. Turn the tester on and check it on an outlet that you know is live to confirm it’s working correctly. Once calibrated, carefully place the tester’s probes on the GFCI outlet’s terminals or wires. If the tester shows no voltage, you can confidently proceed. If it indicates power, recheck the circuit breaker and ensure you’ve turned off the correct breaker. Confirming the absence of voltage with a properly calibrated tester is a critical safety step in replacing your GFCI outlet. Utilizing a professional-grade tester can further ensure accurate readings and safety during the process.
Remove the Old GFCI Outlet Carefully
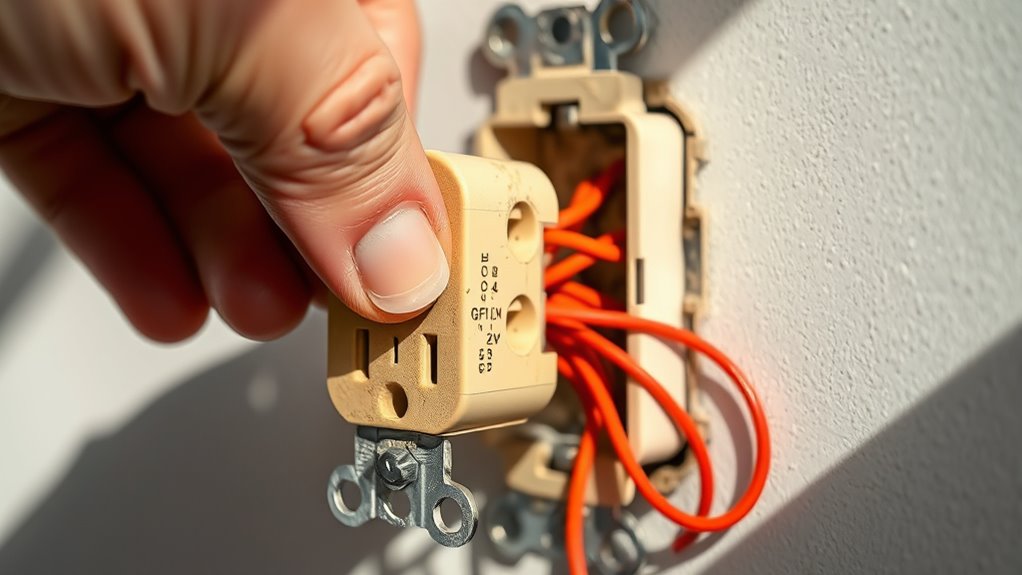
Before removing the old GFCI outlet, make sure the power is turned off. Then, carefully remove the cover plate to access the wiring. Taking these steps guarantees a safe and smooth removal process. It’s also helpful to understand how AI detectors analyze content, which can be useful for ensuring your work remains original and authentic.
Turn Off Power
To safely remove the old GFCI outlet, you must first disconnect the power supply. Always turn off the circuit breaker controlling the outlet to prevent electrical shock. Confirm power is off with a tester before proceeding. Remember, proper grounding techniques guarantee safety and proper outlet placement. Additionally, ensuring the outlet has the correct color accuracy can prevent potential issues with wiring identification.
Remove Cover Plate
With the power turned off and confirmed safe, you can now remove the cover plate protecting the GFCI outlet. Carefully unscrew the decorative cover, taking care not to damage any surrounding wall or outlet design. Many cover plates are designed to be simple to remove, but some may be tight or have decorative features that require gentle handling. Once the screws are removed, gently pull the cover away from the wall, exposing the outlet behind it. This step ensures you have clear access to disconnect the existing GFCI and prepare for the new installation. Removing the cover plate carefully helps prevent damage to the outlet or wall, maintaining a clean, professional look for when you install the new GFCI outlet. Proper handling of the cover plate also reduces the risk of damaging wall surfaces or fixtures during the process.
Identify and Label the Wiring Connections
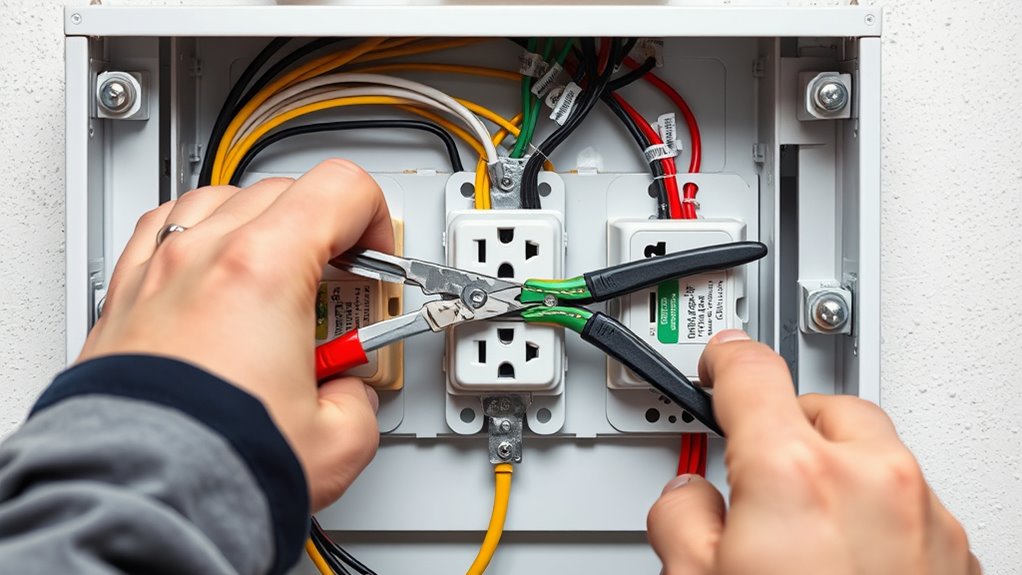
When you’re ready to replace a GFCI outlet, the first step is to identify and label the wiring connections. Carefully examine how the wires are connected, noting the color coding—typically, black or red for hot, white for neutral, and green or bare for ground. Take photos or create a simple wiring diagram to keep track of each connection. Label each wire with tape or markers to guarantee you remember where everything goes. This step helps prevent mistakes during reinstallation and promotes safety. By clearly identifying and labeling your wiring, you minimize confusion and errors later. Remember, understanding the wiring connections is vital for a safe and successful GFCI replacement. Incorporating somatic awareness into your process can also help you stay present and attentive during the task, reducing the chance of mistakes.
Connect the New GFCI Outlet Correctly
Before connecting the new GFCI outlet, make sure the power is turned off to avoid shock. Identify the line and load wires so you connect them correctly, following the outlet’s instructions. Then, securely attach the wires to their proper terminals to guarantee safe operation. Understanding relationship patterns can help you recognize potential issues with your wiring setup.
Turn Off Power
Always remember to turn off the power at the circuit breaker before working on your GFCI outlet. This step is essential for your safety and to prevent electrical shock. Confirm the power is off using a voltage tester before proceeding. When turning off the breaker, consider the grounding requirements and outlet placement to guarantee proper installation later. Proper grounding is fundamental for safety and code compliance, so verify that the circuit breaker controls the correct circuit. If your outlet is in a damp or outdoor location, use a GFCI that’s rated for such conditions. Never work on an energized outlet, as this can cause serious injury. Turning off the power is the first and most critical step to safely replacing your GFCI outlet. Additionally, understanding the importance of electrical safety can help prevent accidents and ensure a successful installation.
Identify Line and Load
To connect your new GFCI outlet correctly, you need to identify the line and load wires. Color coding helps here: the incoming power wires are usually black or red (hot), and white (neutral), while the load wires also follow similar color patterns but connect downstream devices. Refer to wiring diagrams for clarity, as these provide visual guidance on wire placement. The line wires supply power from the breaker, and the load wires carry power to other outlets or devices. Ensuring you accurately distinguish these wires prevents improper wiring, which could compromise safety. Use a voltage tester to confirm which wires are live before proceeding, and carefully note their locations. Properly identifying line and load wires is essential before connecting your GFCI to ensure it functions correctly and safely. Additionally, understanding the industrial juice manufacturing process can help you recognize how proper procedures ensure your safety during electrical work.
Properly Connect Wires
After identifying the line and load wires, you can begin connecting your GFCI outlet. Make sure the outlet placement allows easy access and follows local electrical codes. When connecting the wires, attach the hot (black or red) wire to the brass terminal and the neutral (white) wire to the silver terminal. If grounding is required, connect the grounding wire (bare or green) to the green grounding screw on the GFCI. Confirm the grounding requirements are met for safety. Tighten all connections securely to prevent arcing or loose contacts. Double-check that no wires are exposed and that the wiring is correct before installing the outlet cover. Properly connecting wires ensures your GFCI functions correctly and remains compliant with electrical standards.
Secure the Outlet and Check Wiring
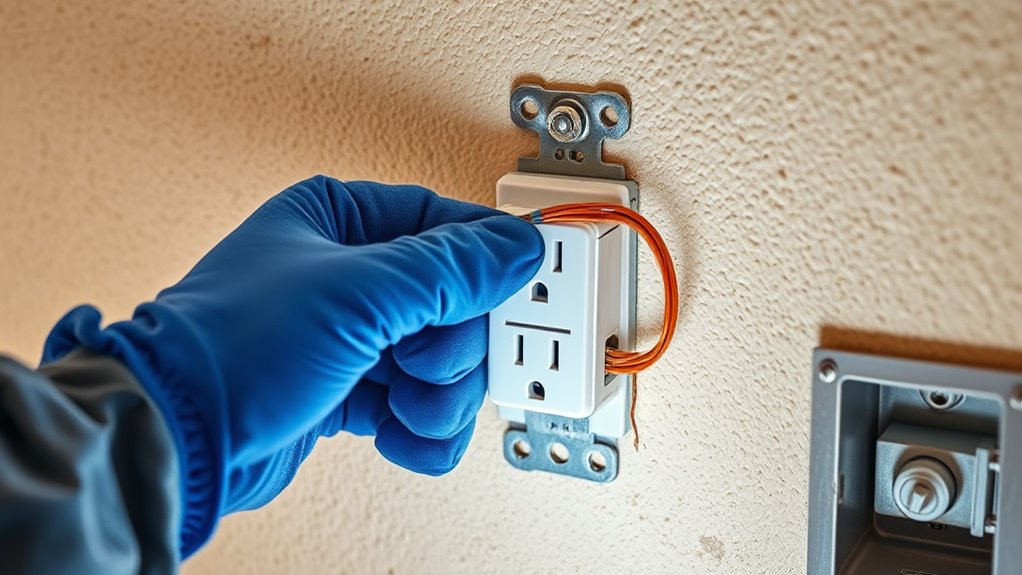
Before securing the outlet, double-check that the power is turned off at the breaker to prevent any risk of shock. Verify your wiring matches the outlet’s compatibility requirements and follow proper grounding procedures to avoid future issues. Carefully tuck the wires into the electrical box, making sure there’s no pinching or loose connections. Confirm that the grounding wire is securely attached to the grounding terminal on the GFCI and that all wires are properly connected according to the manufacturer’s instructions. Double-check that the hot, neutral, and ground wires are correctly attached to their corresponding terminals. Properly securing the outlet ensures stability and safety, reducing the chance of loose connections that could cause electrical problems later.
Restore Power and Test the Outlet
Once you’ve securely connected the wiring and mounted the GFCI outlet, it’s time to restore power and verify that everything works correctly. First, locate your circuit breaker panel and flip the breaker back on to restore power to the outlet. Before testing, use a voltage tester to guarantee there’s power running to the outlet. Carefully insert the tester into the sockets; if it lights up or registers voltage, power is restored. Next, press the test button on the GFCI to confirm it trips and cuts power. Then, press the reset button to restore power. Confirm that the outlet is functioning properly by plugging in a device or using the voltage tester again. This process guarantees your GFCI is installed correctly and functioning safely.
Final Safety Checks and Troubleshooting
To guarantee your GFCI outlet is installed correctly and operates safely, you should perform final safety checks and troubleshoot any issues that arise. First, verify that the grounding requirements are met, ensuring the outlet is properly grounded to prevent electrical shocks. Check that the outlet is securely mounted and that no wires are loose or exposed. Test the GFCI functionality by pressing the reset and test buttons, confirming it trips and resets correctly. Be aware of historical code updates, which may specify specific grounding or wiring standards; adhering to these ensures compliance and safety. If the outlet doesn’t function properly or if you notice any wiring issues, turn off power and troubleshoot before restoring power. Proper checks help prevent hazards and guarantee safe operation.
Frequently Asked Questions
Can I Replace a GFCI Outlet Without Turning off the Circuit Breaker?
You shouldn’t replace a GFCI outlet without turning off the circuit breaker because electrical safety is vital. Working on live outlets poses a risk of electric shock. Before replacing, make sure the outlet is compatible with your home’s wiring and circuit type. Always cut power first, use insulated tools, and double-check that the circuit is off. This approach keeps you safe and ensures proper installation, preventing potential electrical hazards.
What Should I Do if the New Outlet Doesn’t Work After Installation?
If your new GFCI outlet doesn’t work after installation, start troubleshooting power first by checking if the circuit breaker is on. Confirm your outlet is compatible with your wiring and that all connections are secure. Turn off the power before inspecting connections. If it still doesn’t work, test the outlet with a voltage tester, and consider replacing it if necessary. Proper troubleshooting helps ensure your outlet functions safely and correctly.
Are There Specific GFCI Outlets for Outdoor or Wet Locations?
Think of GFCI outlets as brave explorers suited for different terrains. For outdoor or wet locations, you need one with weatherproof covers and outdoor ratings, like a sturdy shield protecting a castle. These specialized GFCIs resist moisture and harsh weather, ensuring safety. Always check for outdoor ratings and use weatherproof covers, so your outlet remains protected and functional, just like a fortress standing strong against the elements.
How Often Should GFCI Outlets Be Tested or Replaced?
You should test your GFCI outlets at least once a month to guarantee electrical safety. If they trip frequently or stop functioning properly, it’s time to replace them, as their outlet lifespan varies but generally lasts 10-15 years. Regular testing helps prevent electrical hazards and guarantees your outlets protect you effectively. Don’t ignore signs of wear or malfunction; timely replacement keeps your home safe and maintains peak electrical safety.
Is It Safe to Replace a GFCI Outlet if I Have Limited Electrical Knowledge?
You shouldn’t bite off more than you can chew when it comes to electrical safety and DIY repair. Replacing a GFCI outlet isn’t a job for beginners, as it involves handling live wires and electrical circuits. If your knowledge is limited, it’s best to call a professional. Trying it yourself could lead to hazards or damage. When in doubt, leave it to the experts to keep your home safe.
Conclusion
Now that you’ve replaced your GFCI outlet, you’re like a electrician with a steady hand, ensuring safety flows smoothly through your home. Double-check all connections, restore the power, and test your new outlet. If everything works correctly, you’ve just added a shield of security, protecting against shocks like a fortress. Remember, safety is the key—don’t rush, and enjoy the peace of mind knowing your electrical system is now safer and sound.