
If you're looking for a simplified guide to the LiftMaster garage door opener wiring diagram, you're in the right place. Start by ensuring the power is disconnected for safety. Familiarize yourself with key components: the motor connections, power supply, control switches, and safety sensors. Connect the red and white wires to their respective terminals. After setting up, reconnect the power and test the system. If you encounter problems, check the power supply and sensor alignment. Regular maintenance adds to the opener's lifespan, so you'll want to stay informed about the best practices that keep everything running smoothly.
Key Takeaways
- Identify and understand key components like motors, power supply, and control switches in the wiring diagram for effective installation.
- Follow the step-by-step installation process, ensuring correct wire connections to the motor and terminals for proper functionality.
- Install safety sensors correctly, as they play a crucial role in preventing accidents during operation.
- Regularly inspect and maintain wiring and components to ensure long-term reliability and safety of the garage door opener.
- Use troubleshooting tips to address common issues, ensuring alignment of safety sensors and checking power connections for unresponsive systems.

OCCHI Smart Garage Door Opener with Camera, Smart Garage Control, Security+ 2.0 Compatible, Detects Open/Close Status, Support Yellow&Purple Button, 2.4Ghz WiFi, No Monthly Fee, Compatible with Alexa
🏠【Remote Control Anywhere】Monitor and control your garage door in real-time. You can also ask Alexa to open/close your...
As an affiliate, we earn on qualifying purchases.
Overview of LiftMaster Openers
When you're considering a garage door opener, LiftMaster offers a range of models that cater to both residential and commercial needs.
These openers come packed with features like remote access, safety sensors to prevent accidents, and battery backup systems for those unexpected power outages.
You'll appreciate how many LiftMaster garage door openers are compatible with smart home systems, allowing you to control your door from your mobile device.
Installation is straightforward, requiring basic electrical knowledge and adherence to manufacturer guidelines for a secure setup.
With a LiftMaster garage door opener, you're not just investing in convenience; you're enhancing the safety and accessibility of your property.
Explore the options to find the perfect fit for your unique requirements.

myQ Smart Garage Security Camera – 1080p HD Video, Night Vision, Motion Detection, Magnetic, Wi-Fi, Two-Way Audio, Smartphone Control
Security for Garage: The ultimate smart camera designed for your garage, giving you the power to see and...
As an affiliate, we earn on qualifying purchases.
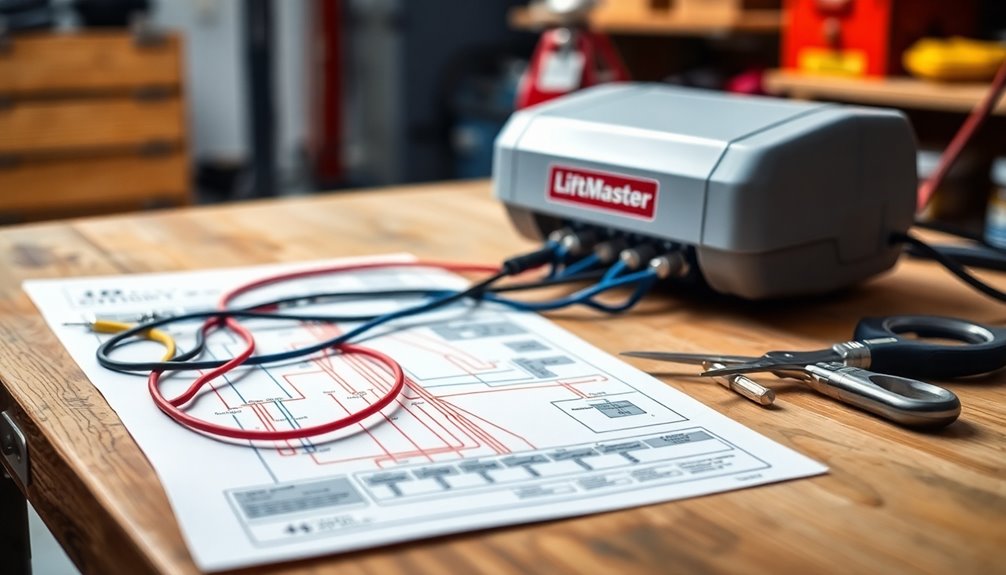
Understanding Wiring Diagram Components

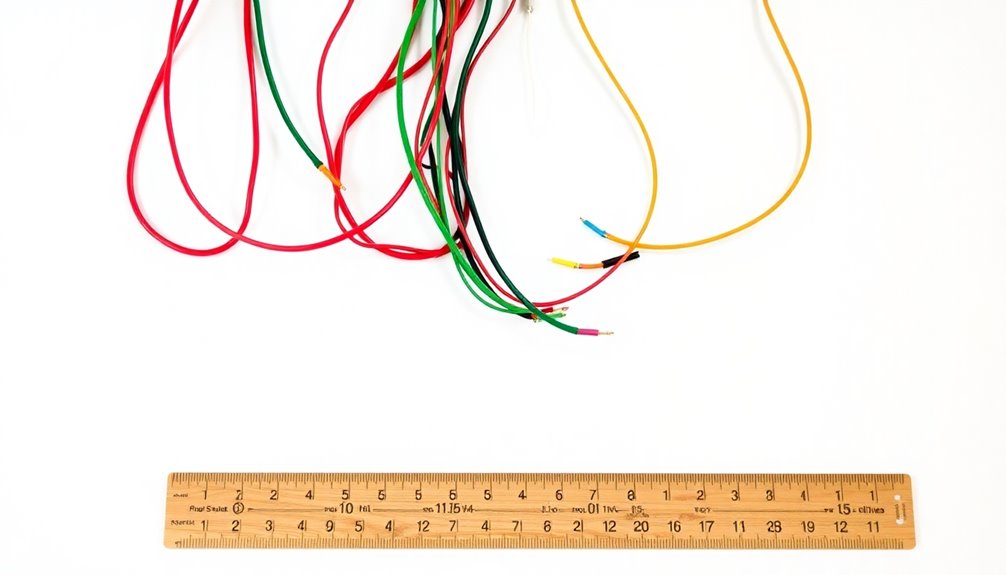
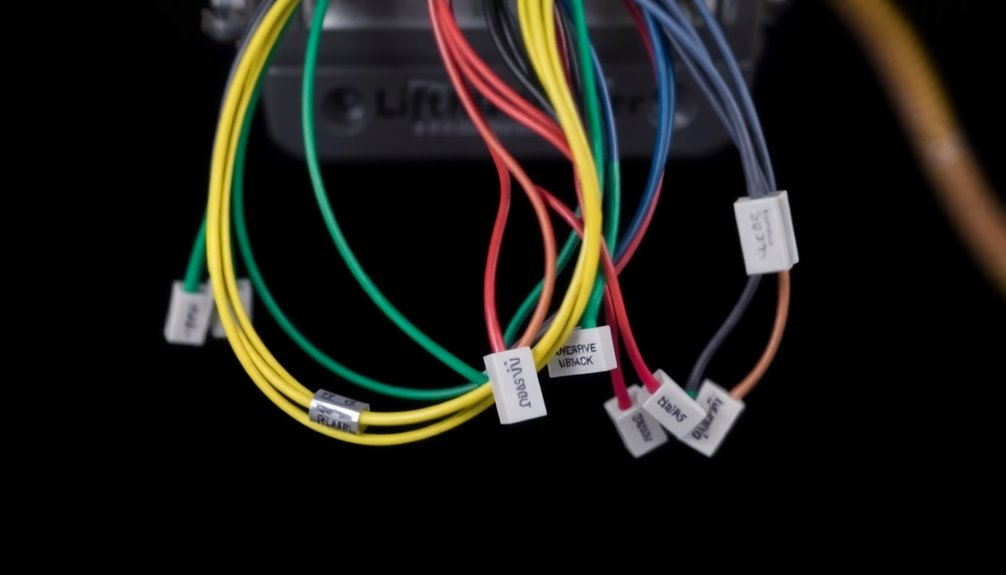
Understanding the components of a wiring diagram is essential for anyone installing a LiftMaster garage door opener. Familiarizing yourself with the diagram helps guarantee proper connections and safe operation. Key components include motor connections, power supply, control switches, and safety sensors. The red wires typically indicate power, while white wires often represent neutral connections.
| Component | Function |
|---|---|
| Motor Connections | Operate the garage door |
| Power Supply | Provides electricity |
| Control Switches | Activate door opening/closing |
| Safety Sensors | Detect obstacles and reverse door motion |
| Limit Switches | Set opening and closing door positions |

Chamberlain B6753T Smart Garage Door Opener, Video Streaming & Advanced Corner LED Lighting-myQ Smartphone Controlled-Ultra Quiet, Strong Belt Drive & MAX Lifting Power
Built-in camera: 130⁰ wide angle camera lets you see and hear what’s happening in your garage through the...
As an affiliate, we earn on qualifying purchases.
Step-by-Step Installation Process
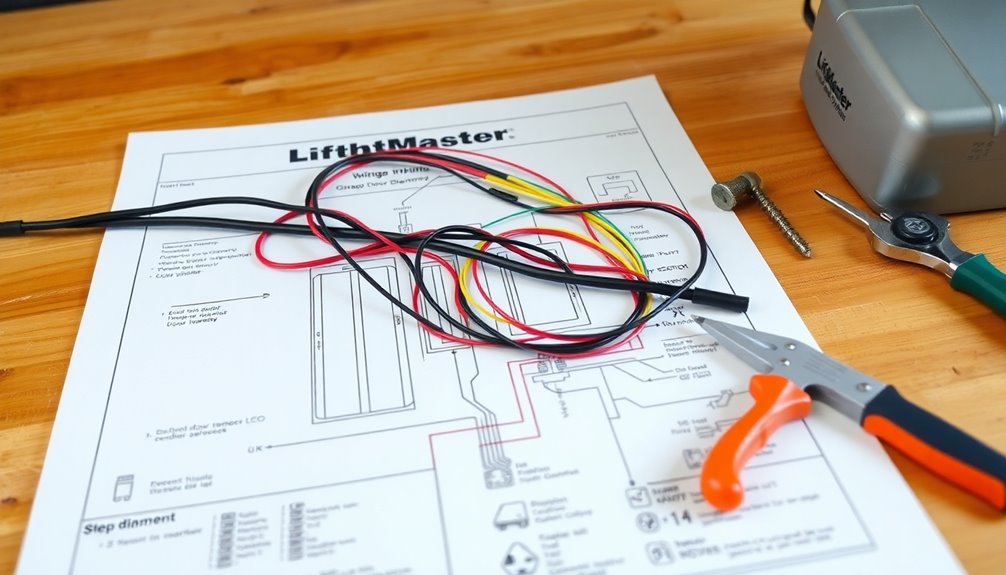
With a solid grasp of the wiring diagram components, you're ready to tackle the installation process for your LiftMaster garage door opener. Follow these steps to guarantee a smooth setup:
- Disconnect the power to the garage door opener for safety.
- Assemble the opener's rail and motor unit as per the manufacturer's instructions, then mount it securely to the ceiling.
- Connect the red and white wires from the Garadget to the corresponding terminals on the LiftMaster opener's control panel, guaranteeing proper wire insertion.
Next, install safety sensors at the bottom of the door tracks, making sure they're aligned and unobstructed.
Finally, reconnect the power and test the system to monitor the door's operation, adjusting the travel limits as needed.

CHAMBERLAIN myQ Smart Garage HD Camera & Smart Garage Hub Bundle- Wi-Fi & Bluetooth- Smartphone Controlled - Two Way Talk - Works with Key by Amazon in-Garage Delivery, White
Bundle includes myQ Smart garage camera, smart garage control and a door sensor
As an affiliate, we earn on qualifying purchases.
Common Troubleshooting Tips

Troubleshooting your garage door opener can feel challenging, but knowing common issues can simplify the process.
If your opener's unresponsive, check the power supply and connections; verify the circuit's functioning properly.
Misaligned safety sensors may cause the door to reverse before fully closing, so make certain they're aligned and clear of obstructions.
For noisy operation, lubricate moving parts and tighten loose hardware.
If the remote doesn't work, replace the batteries and reprogram it to confirm it's synced.
Finally, if your door only opens or closes partially, adjust the travel limits on the opener.
Next time you face an issue, these tips will help you resolve it quickly and easily.
Maintenance and Safety Practices
Maintaining your garage door opener not only enhances its performance but also guarantees your safety during operation.
Moving forward, make these practices a priority:
- Inspect Wiring: Regularly check all wiring for wear or damage to prevent short circuits and ascertain safe operation.
- Clean Safety Sensors: Monthly cleaning removes dust and debris, preventing operational issues and ensuring reliable functionality.
- Lubricate Moving Parts: Every six months, lubricate hinges and rollers to reduce friction and extend the lifespan of your opener.
Additionally, test the functionality of safety sensors and remote controls consistently, replacing batteries when necessary.
Always remember to disconnect power before any DIY repairs to avoid electrical hazards.
These simple steps will keep your garage door opener functioning safely and effectively. Furthermore, regular maintenance can enhance performance by preventing potential issues before they arise.
Frequently Asked Questions
What Is the Yellow Wire on My Liftmaster Garage Door Opener?
The yellow wire on your LiftMaster garage door opener connects to the safety sensors at the bottom of the door tracks.
These sensors are essential for ensuring safety, as they prevent the door from closing if something's in the way.
If that wire's damaged or disconnected, your opener mightn't function properly, which could lead to safety issues.
Always check your specific model's wiring diagram for accurate details on the yellow wire connection.
How Many Wires Are Needed for a Garage Door Opener?
You'll typically need at least two wires for your garage door opener to connect it to the wall control button.
If you're adding safety sensors, you'll require an additional two wires for each sensor, totaling four wires.
If you're integrating smart devices or using models with battery backup, you might need even more wiring.
Always check your specific model's instructions to verify you've got the right number and type of wires for your setup.
What Liftmaster Model Do I Have?
To find out what LiftMaster model you have, check the label on the back of the motor unit.
It usually lists the model and serial number. You can also look for a color-coded sticker that highlights features.
If you've got the user manual handy, it's another great source for your model number.
If the label's missing, don't hesitate to contact LiftMaster support for help identifying your unit based on its features.
How Are Garage Door Sensors Wired?
When wiring garage door sensors, you'll connect the black wire from each sensor to the black terminal on the opener and the white wire to the white terminal.
Make certain to install the sensors at the bottom of the door tracks, aligned directly across from each other.
Strip the wires and secure them tightly to prevent signal interruptions.
Regularly clean the sensor lenses to keep the infrared beam clear and guarantee reliable performance.
Conclusion
Now that you've navigated the ins and outs of your LiftMaster garage door opener's wiring, you're almost there. But wait—before you close that door, remember to double-check your connections and test the system. What if you encounter a hiccup? Don't worry, you've got those troubleshooting tips at your fingertips. With a little maintenance and safety in mind, you'll be ready to enjoy smooth, reliable access to your garage. So, what are you waiting for? Get started!