
To flush your water heater safely, first turn off the power or gas and let it cool down. Attach a garden hose to the drain valve and open a hot water tap nearby. Open the drain valve to let the water and sediment out, then close the valve and refill the tank. Once full, turn the power or gas back on and check for proper operation. If you’d like step-by-step instructions, continue to explore simple tips for success.
Key Takeaways
- Turn off the water heater and let it cool before starting to prevent burns.
- Attach a garden hose to the drain valve and open a hot water tap elsewhere to avoid vacuum.
- Open the drain valve and let sediment drain until water runs clear, then close the valve.
- Refill the tank completely with cold water, ensuring all air bubbles are expelled before restarting.
- Turn the power or gas back on, check for leaks, and confirm the heater operates correctly.
Flushing a water heater is an essential maintenance task that helps keep your appliance running efficiently and extends its lifespan. Over time, sediment buildup accumulates at the bottom of your tank, which can insulate the heating elements from the water, reducing efficiency and potentially causing overheating. This sediment isn’t just a nuisance; it can cause your water heater to work harder, increasing energy consumption and shortening its lifespan. Additionally, sediment accumulation can lead to inconsistent water temperature, making your hot water less reliable and affecting your comfort.
Regular flushing prevents sediment buildup, improves efficiency, and extends your water heater’s lifespan.
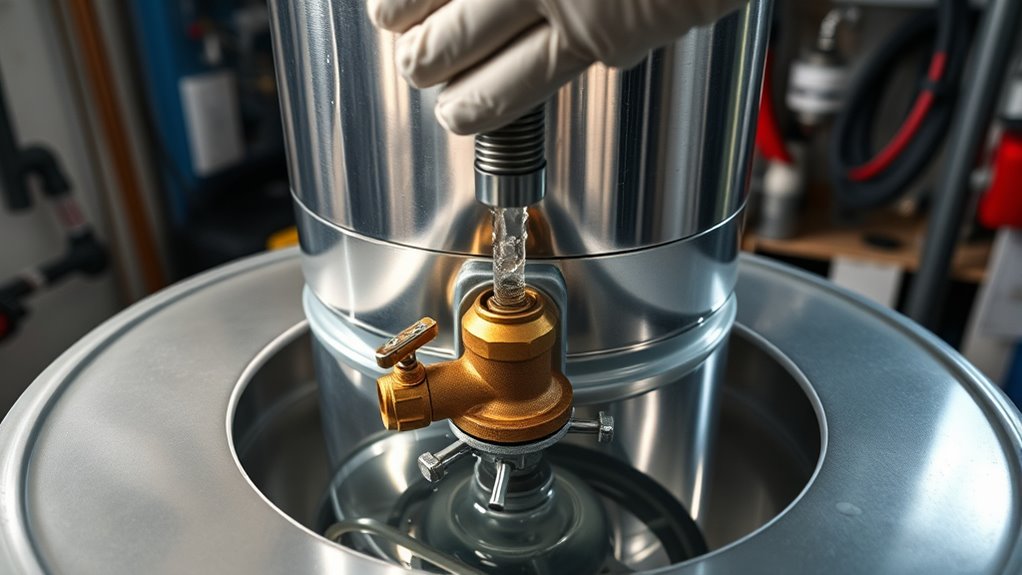
To start, turn off your water heater and let it cool down to prevent burns. If you have a gas heater, set the thermostat to the pilot or off position; for electric models, switch off the power at the circuit breaker. Once the unit is safe to approach, attach a garden hose to the drain valve at the bottom of the tank. Place the other end of the hose in a suitable drain or outside area to avoid flooding. Opening the drain valve will start the process, but before doing so, make sure you open a hot water tap somewhere in your house. This helps prevent a vacuum and allows water to flow smoothly out of the tank.
As water begins to drain, you might notice sediment and mineral deposits coming out with it. This is normal, especially if your water has a high mineral content. Keep the drain open until the water runs clear, which indicates most of the sediment has been flushed out. If your water heater has a sediment buildup that’s particularly stubborn, you can repeat the process or use a descaling solution designed for water heaters. Once the tank is thoroughly drained and flushed, close the drain valve, remove the hose, and refill the tank with cold water, ensuring all air bubbles escape. Turn the power or gas back on once the tank is full.
Regular flushing helps prevent sediment from settling at the bottom, which maintains a reliable hot water supply and improves efficiency. It’s a simple task that can save you money on energy bills and extend your water heater’s life. Remember, doing this at least once a year, or more often if you notice reduced hot water performance or increased sediment in your water, keeps your system running smoothly. Proper maintenance not only ensures reliable hot water but also protects your investment in the long run.
Frequently Asked Questions
How Often Should I Flush My Water Heater?
You should flush your water heater once a year to prevent sediment buildup, which can hinder efficiency and shorten its lifespan. Regular flushing helps remove mineral deposits that accumulate over time, ensuring your unit runs smoothly. If you notice reduced hot water or strange noises, consider flushing more often. Maintaining a yearly schedule keeps your water heater in good shape, extends its lifespan, and maintains peak performance.
Can I Flush the Heater Without Turning off the Power?
No, you shouldn’t flush the heater without turning off the power because it risks power safety and potential heater damage. Turning off the power completely guarantees no electrical hazards occur during the process. Always shut off the breaker or disconnect the power source, wait for the heater to cool, and then proceed with flushing. This step protects you from electrical shock and keeps your water heater functioning properly.
What Tools Are Needed for Flushing a Water Heater?
To flush your water heater, you’ll need basic plumbing maintenance tools like a garden hose, adjustable wrench, and a bucket. You might also use a screwdriver if you need to open access panels. Regular flushing helps maintain your water heater’s efficiency and extends its lifespan. Make sure to turn off the power and cold water supply before starting, ensuring a safe and effective maintenance process.
Is It Safe to Flush a Tankless Water Heater?
Think of your tankless water heater as a delicate garden needing careful pruning. Yes, it’s safe to flush, but only if you follow your maintenance schedule and consider water quality. Regular flushing prevents mineral buildup and extends its life. Always turn off the power and water supply first, then flush according to manufacturer instructions. Proper maintenance keeps your heater running smoothly, ensuring hot water flows like a well-tended garden.
How Do I Dispose of the Sediment Removed?
You should dispose of the sediment responsibly by placing it in a sealed bag or container and discarding it with your regular trash. Avoid pouring sediment down drains or onto the ground to minimize environmental impact. Proper sediment disposal helps protect local waterways and prevents pollution. Always check local regulations, as some areas may have specific guidelines for disposing of mineral or sediment waste, ensuring you stay environmentally conscious.
Conclusion
By flushing your water heater, you’re clearing out the stubborn sediments that cling like unwanted weeds, allowing your appliance to breathe easy and perform at its best. Imagine your water heater as a well-tuned instrument, singing smoothly again. With this simple maintenance, you’re giving it a fresh start—like watering a garden after a storm—so it can serve you reliably, hot and ready, for years to come. Keep it clean, keep it flowing smoothly.