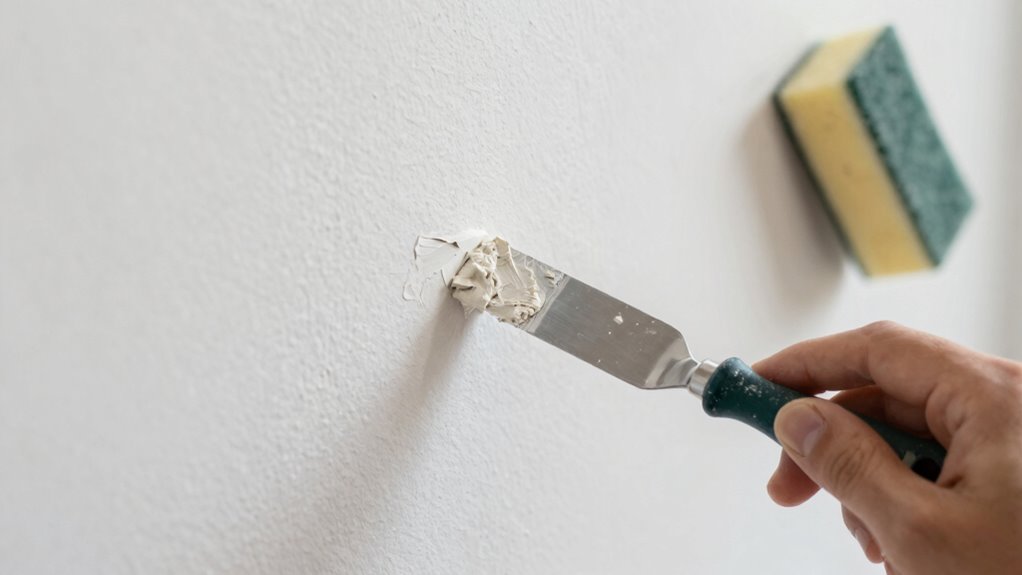

To fix minor wall dents before painting, first clean the area with a damp cloth and let it dry completely. Fill the dent with spackle or joint compound using a putty knife, smoothly feathering the edges. Once dry, gently sand the surface and carefully recreate the original texture if your wall has one. Properly blending and matching the pattern will help guarantee a seamless repair. If you want to learn how to get perfect results, keep exploring the best techniques and tips.
Key Takeaways
- Clean the dented area thoroughly and allow it to dry before repairing.
- Fill the dent with spackle or joint compound, overfilling slightly for smooth sanding.
- Sand the dried compound gently with fine-grit sandpaper to create a smooth surface.
- Recreate the wall’s texture to seamlessly blend the repair with the surrounding wall.
- Ensure proper ventilation and safety measures during sanding and painting preparation.
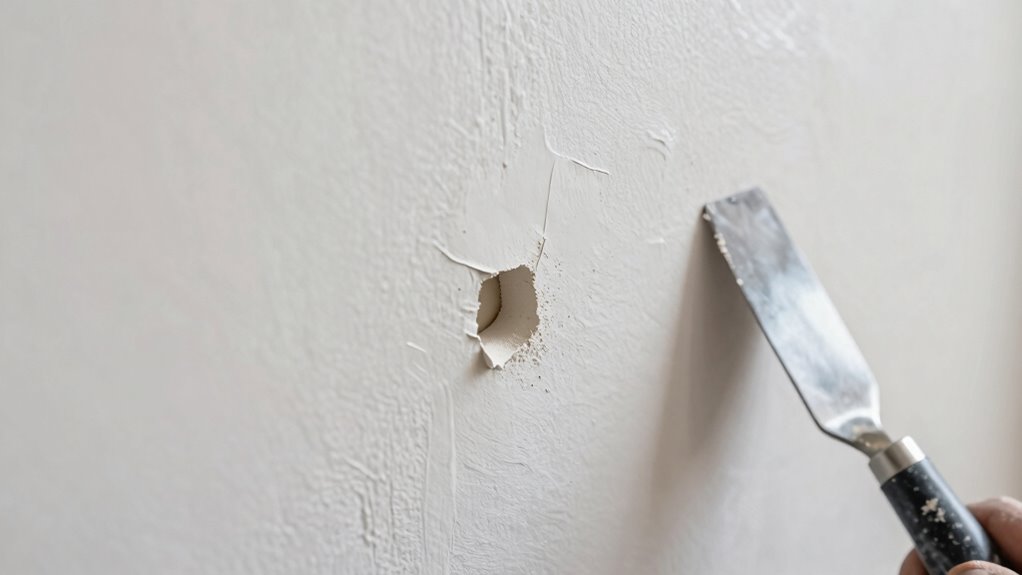
Minor wall dents can be unsightly, but fixing them before painting is a straightforward process. When you notice small dings or depressions in your wall, it’s best to address them early to guarantee a smooth, professional-looking finish. If your walls feature decorative wall textures, you might worry about disrupting the pattern, but with the right approach, you can repair dents without ruining the design. Preventing future wall dents starts with being mindful of how you move furniture or handle objects around your space. Using proper wall dent prevention techniques, like cushioning sharp edges or installing protective bumpers, can save you time and effort down the line.
To start, you need to clean the dented area. Wipe away dust or debris with a damp cloth, and let it dry completely. Next, apply a small amount of spackle or joint compound directly into the dent. Use a putty knife to press it firmly and smooth it out, making sure the compound slightly overfills the dent to allow for sanding later. If your wall has decorative textures, take extra care to match the pattern by lightly feathering the edges of the compound so it blends seamlessly once sanded. It’s also helpful to understand how air quality can impact your indoor environment during repair work, especially if you’re sanding or using chemical spackle. Additionally, ensuring proper ventilation can help reduce dust and fumes, making the process safer and more comfortable.
Once the compound has dried according to the manufacturer’s instructions, usually a few hours or overnight, gently sand the area with fine-grit sandpaper. Be careful not to sand too aggressively, especially if your wall has intricate textures. For textured walls, you may need to recreate the pattern after filling the dent. You can do this by lightly stippling or brushing the surface with a sponge or a textured roller, depending on the original finish. This step ensures your repair is invisible and maintains the aesthetic integrity of your decorative wall textures. Furthermore, understanding caffeine science can help you stay alert and focused during detailed repair work if you find yourself working for extended periods. Moreover, being mindful of proper ventilation during sanding and painting can improve your indoor air quality and safety during the process.
As an affiliate, we earn on qualifying purchases.
Frequently Asked Questions
Can I Use Household Items to Fix Wall Dents?
Yes, you can use household items as alternative solutions for fixing wall dents. Household remedies like toothpaste mixed with a little water or baking soda paste can fill small dents temporarily. You might also try using a warm iron with a damp cloth to smooth out minor imperfections. These quick fixes are handy for minor dents, but for a smoother finish, consider using spackle or joint compound for a more permanent repair.
How Long Should I Wait After Applying Filler Before Painting?
Imagine you’re about to paint, but your filler’s still wet. Typically, you should wait at least 24 hours for filler drying time before painting. Wall dent causes, like accidental bumps, can vary, but patience guarantees a smooth finish. If you rush, the filler might not bond properly, leading to cracks. Check that the filler is dry, firm, and smooth to the touch, then proceed with painting for the best results.
What Type of Primer Is Best for Repaired Areas?
For repaired areas, choose a high-quality, stain-blocking primer that promotes excellent repair adhesion. A primer specifically designed for repairs guarantees the patch blends seamlessly with the surrounding wall and sticks well. Look for a primer labeled for use on patched or repaired surfaces, as it provides better adhesion and prevents peeling or cracking later. Applying the right primer helps achieve a smooth, durable finish and enhances the overall look of your painted wall.
Are Power Sanders Suitable for Smoothing Wall Dents?
Power sanders are perfect for smoothing wall dents, much like a chef uses a fine grater to achieve a perfect zest. You should use power sanding carefully to avoid over-sanding, which can create uneven surfaces. These tools efficiently remove excess drywall compound, leaving your wall ready for painting. Just remember, gentle pressure and consistent motion will give you the best results in wall smoothing without damaging the drywall.
How Do I Prevent Dents From Appearing Again?
To prevent wall dents from appearing again, you should handle your walls carefully during everyday activities, avoiding impact with furniture or doors. Use wall dent prevention techniques like placing bumpers on furniture and avoiding hanging heavy objects without proper anchors. During painting touch-ups, make sure you repair dents promptly and use quality tools. Regularly inspect your walls for minor damage, and address issues early to maintain a smooth, dent-free surface.
Conclusion
So there you have it—your foolproof guide to banishing those pesky wall dents before painting. Because nothing says “professional finish” like a wall that’s smooth enough to serve as a mirror. Now, armed with a putty knife and a little patience, you’re basically a DIY drywall wizard. Just remember: if all else fails, you can always pretend those dents are intentional design features—who needs perfection anyway? Happy painting!