
To achieve a DIY drywall patch that blends perfectly, start by thoroughly preparing the damaged area—clean, sand, and trim rough edges. Use a matching patch material, secure it tightly, and apply thin layers of joint compound, feathering out the edges. Once dry, sand smoothly, prime, and carefully paint, blending with the existing wall’s texture and color. If you want seamless results, continue exploring step-by-step techniques for a flawless finish.
Key Takeaways
- Properly prepare the surface by cleaning, sanding, and feathering edges for seamless blending.
- Use matching patch material and shape it slightly larger with rounded edges for better integration.
- Apply thin, even coats of joint compound, pressing drywall tape into seams to prevent bubbles.
- Feather joint compound edges outward and sand between coats for a smooth, invisible transition.
- Finish with primer and color-matched paint, blending edges carefully to match surrounding wall texture.
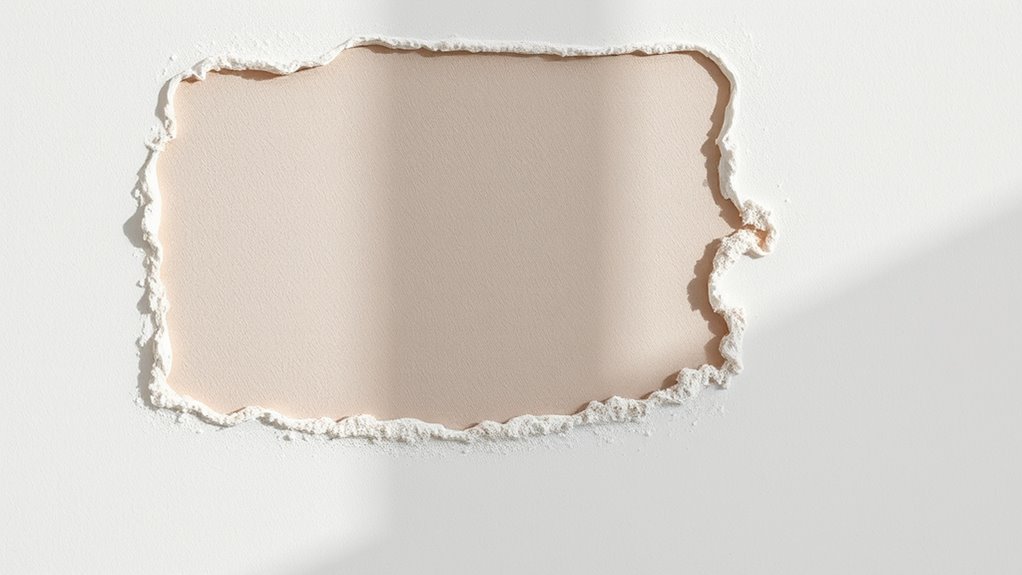
Assessing the Damage and Gathering Supplies

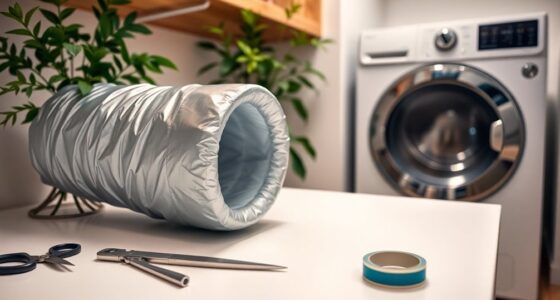
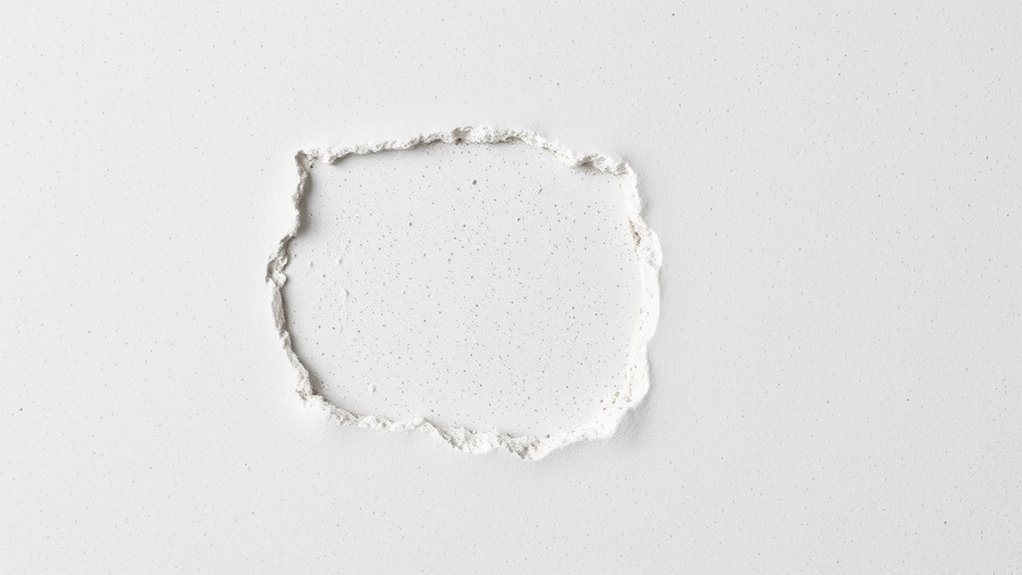
Before you begin repairing your drywall, it’s important to carefully evaluate the damage to determine the best approach. Start by examining the area thoroughly to identify whether the damage is a small hole, a large crack, or extensive water damage. Assessing damage helps you decide if you can patch it yourself or need professional help. Once you’ve evaluated the extent of the damage, gather supplies like joint compound, drywall patch, sandpaper, a putty knife, and a utility knife. Make sure you have everything on hand before starting, so you don’t waste time searching for tools mid-project. Properly assessing the damage and gathering the right supplies set the foundation for a smooth repair process and a seamless finish. Additionally, understanding the proper repair techniques can help you avoid common mistakes and ensure your patch blends perfectly with the existing wall.
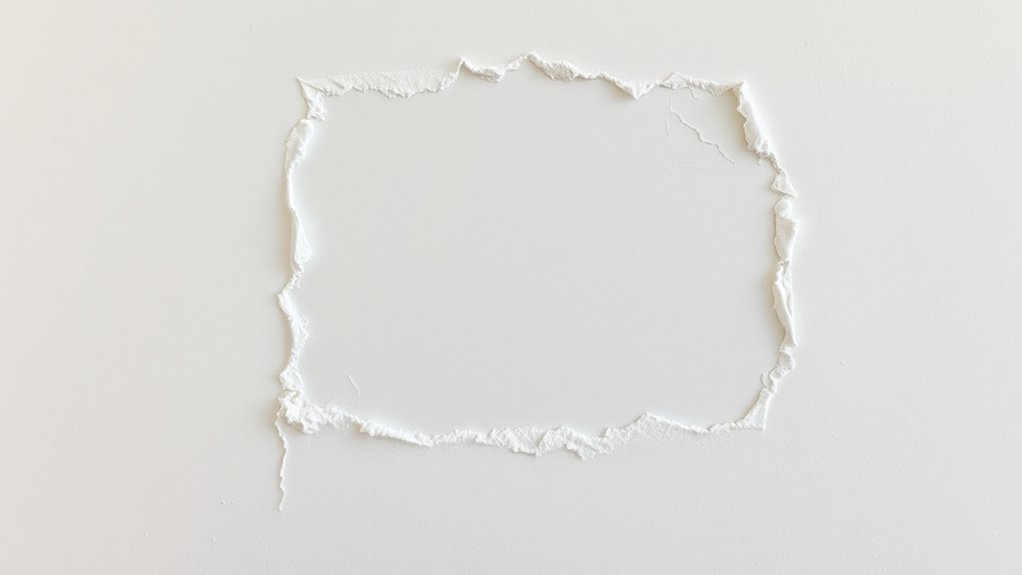
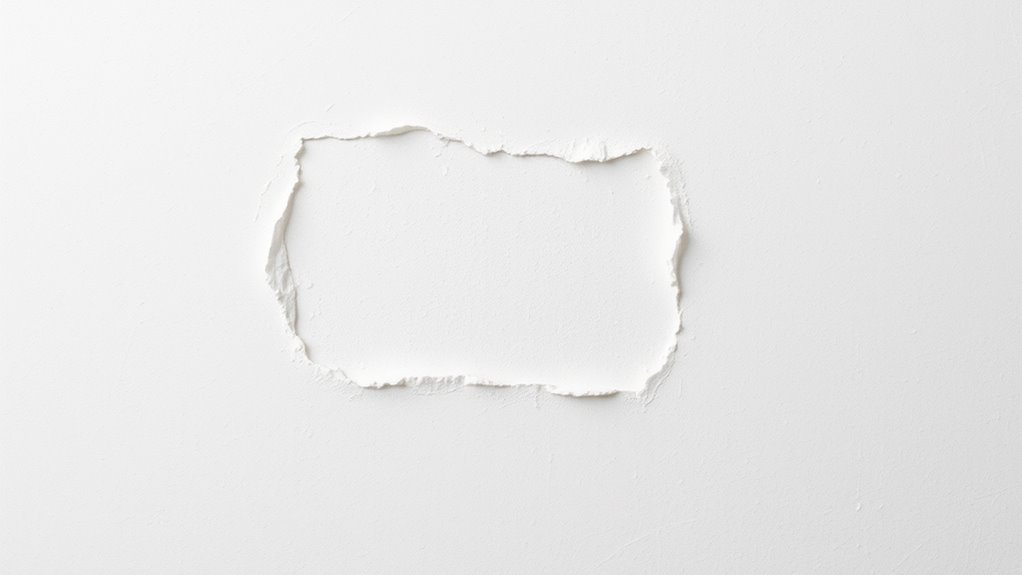
Preparing the Damaged Area for Repair

Once you’ve assessed the damage and gathered your supplies, the next step is to prepare the damaged area for repair. Start by cleaning the area thoroughly, removing loose debris and dust to ensure good adhesion. Next, use a utility knife to carefully trim away any jagged or damaged drywall edges, creating a clean, smooth surface. Then, lightly sand the area to even out the wall texture and remove any remaining rough spots. This step is essential for blending the new patch seamlessly with the existing wall. Pay close attention to matching the wall texture during sanding, so the repaired area doesn’t stand out. Finally, wipe the area clean with a damp cloth to remove dust, preparing it perfectly for applying the patch and matching the paint.
Cutting and Shaping Your Patch Material

To get started, choose the right drywall patch material that matches your wall. Measure the damaged area carefully to guarantee a precise fit. Then, shape your patch accurately so it seamlessly blends with the surrounding wall. Additionally, ensuring your workspace is clean and free of debris (home maintenance) can facilitate smoother repair work.
Selecting the Right Material
Choosing the right patch material is essential for a seamless repair, and it all starts with selecting a material that matches your wall type. Proper material selection guarantees your patch blends well and lasts. Start by identifying your drywall type—whether it’s standard gypsum, moisture-resistant, or fire-rated. Next, visualize your options:
- Thin joint compound for minor cracks and small holes
- Drywall panels for larger repairs
- Fiber-reinforced patches for added strength in high-traffic areas
- Automation technology in manufacturing can help produce more precise patches for complex surfaces.
Measuring the Damage Area
Before cutting or shaping your patch material, carefully measure the damaged area to guarantee a precise fit. Accurate measuring ensures you don’t cut too large or small, which can affect the repair’s appearance. Take your time during damage assessment; note the length, width, and shape of the damaged section. Use a tape measure or straightedge to improve measuring accuracy, especially on irregular damage. Double-check your measurements before marking the drywall or patch material. Remember, precise measurements reduce the need for adjustments later and help the patch blend seamlessly. Proper damage assessment and careful measurement are essential for a professional-looking repair. Taking these steps now will save you time and frustration during the patching process. Additionally, understanding drywall repair techniques can enhance your overall results.
Shaping the Patch Precisely
After accurately measuring the damaged area, it’s time to shape your patch so it fits snugly. First, cut the patch slightly larger than the measured hole to allow for adjustments. Focus on corner shaping by rounding or beveling edges to match the drywall’s original profile. Next, pay close attention to edge detailing—smooth out rough edges with a sanding sponge or utility knife. To visualize:
- Trim the patch to size, ensuring it overlaps slightly.
- Round sharp corners to blend seamlessly with existing drywall.
- Sand edges carefully for a smooth transition.
- Remember that sound vibrations and frequencies can influence the way the patch integrates with the surrounding material, ensuring a more natural finish.
This precise shaping ensures the patch sits flush, making it easier to blend in seamlessly, and minimizes the need for extensive finishing. Proper corner shaping and edge detailing are key to a flawless repair.
Applying the Patch and Securing It Properly

Once you’ve prepared the patch and the surrounding wall area, it’s time to apply the patch securely in place. Use your taping techniques to ensure the edges blend seamlessly with the existing drywall. Secure the patch with appropriate fasteners, like drywall screws, making sure they sit flush but don’t damage the surface. Proper securing fasteners prevent movement and create a stable base for finishing. As you work, keep your grip steady, avoiding over-tightening, which can crack the drywall. Here’s a quick emotional guide to the process:
| Confidence Boost | Frustration Avoided | Satisfaction Achieved |
|---|---|---|
| Precise taping techniques | Secure fasteners properly | Flawless finish ahead |
| No gaps or overlaps | No shifting or cracks | Seamless repair starts here |
| Confidence in your work | No need to redo | Perfectly blended patch |
| Satisfaction of a job well done | Confidence for next steps | Enjoy your flawless wall |
Additionally, understanding the importance of proper fastener placement can significantly enhance the durability of your drywall repair.
Sanding and Smoothing for a Seamless Finish
To achieve a smooth, professional-looking drywall repair, sanding and smoothing are essential steps that follow securing the patch. You’ll want to carefully sand the area to blend the patch with the existing wall, focusing on texture matching and paint blending. A protective styling benefit of proper sanding is that it prevents damage to the surrounding wall surface. 1. Start with a fine-grit sanding sponge or paper to gently smooth out uneven edges. 2. Feather the edges outward to eliminate visible seams. 3. Use a sanding block to refine the surface, ensuring it’s flush with the surrounding wall.
This process removes ridges and imperfections, creating a seamless transition. Proper sanding ensures your patch will disappear once painted, resulting in a flawless finish that matches the wall’s original texture and color.
Priming and Painting to Match Your Wall
Priming and painting are essential steps to guarantee your drywall patch blends seamlessly with the rest of the wall. To achieve a perfect match, focus on color matching by testing paint shades on a hidden area first. Once you’re satisfied, use a primer that’s compatible with both the patch and wall surface to confirm even absorption. When applying paint, employ finish techniques like blending the edges and feathering the brush strokes outward to minimize visible lines. Use a high-quality brush or roller for smooth application, and apply multiple thin coats if needed. Allow each coat to dry thoroughly before adding the next. Proper priming and precise painting are key to making your patch virtually invisible and restoring your wall’s flawless appearance. Additionally, selecting the right paint finish can help the patched area better match the surrounding wall texture and sheen.
Tips for Achieving Invisible Repairs
To make your drywall repair truly invisible, start with proper surface preparation by cleaning and lightly sanding the area. Apply your mud smoothly and evenly to create a seamless surface, then finish and blend carefully to match the surrounding wall. Paying attention to these steps will help your repair disappear completely.
Proper Surface Preparation
Achieving a seamless drywall repair starts with proper surface preparation. First, ensure the damaged area is clean and free of dust, loose drywall, or debris. Use a utility knife to smooth rough edges and create a clean surface. Next, if you’re attaching new drywall or securing loose sections, install drywall anchors correctly, ensuring they’re flush with the wall. Finally, apply a thin layer of joint compound over the patched area and around the edges to fill gaps and smooth out imperfections. Let it dry completely before lightly sanding for a flat, even surface. Proper preparation guarantees the joint compound adheres well and blends seamlessly, making your repair invisible. Taking these steps minimizes bumps and prepares the surface for a flawless finish. Additionally, understanding local building codes and permits can help ensure your repair meets safety standards and avoids future issues.
Seamless Mud Application
Applying joint compound smoothly is key to making your drywall repair invisible. Start by using a putty knife or trowel to spread a thin layer over the seam, ensuring you press the drywall tape firmly into the wet compound. This helps embed the tape securely and prevents bubbles or wrinkles. Feather the edges of the joint compound outward, gradually reducing thickness as you move away from the seam. Use light, even strokes to avoid creating ridges or ridges that will show through subsequent coats. Allow each layer of joint compound to dry completely before applying the next, and sand lightly between coats for a smooth finish. With patience and precision, your drywall tape and joint compound work together to create an invisible repair.
Finishing and Blending
Once the final coat of joint compound has dried, carefully inspect the repair area for any imperfections. To achieve an invisible finish, focus on texture matching and paint blending. Start by:
- Lightly sanding the patched area with fine-grit sandpaper until smooth and flush with the surrounding wall. Sanding helps smooth out the surface and prepares it for primer.
- Applying a thin, even layer of primer to ensure consistent paint adhesion and color.
- Using a small brush or roller to blend the paint into the existing wall, matching the original texture as closely as possible.
Pay close attention to the way the surface feels and looks. Blending the paint seamlessly and matching the texture will make your repair virtually invisible, leaving your wall flawless.
Frequently Asked Questions
How Long Does the Entire Drywall Patching Process Typically Take?
The drywall patching process usually takes a few hours to a day, depending on the size of the repair. You’ll start by prepping the area, applying the patch, and letting it dry, which can take several hours. Then, you sand the surface, match the drywall texture, and paint to blend seamlessly with the existing wall. Allow time for each layer to dry for the best, most professional-looking results.
Can I Use Alternative Materials for Small Repairs?
When considering small repairs, you might wonder if alternative materials can work. Yes, you can use options like joint compound, spackle, or even homemade mixtures for minor patches. These materials are often easier to apply and dry quickly. Just guarantee they’re suitable for your wall type and the size of the damage. Using the right alternative materials makes small repairs more manageable and cost-effective, with good results.
What Safety Precautions Should I Follow During Drywall Repair?
When repairing drywall, you should prioritize safety by wearing personal protective equipment like goggles and masks to avoid dust and debris inhalation. Guarantee good workspace ventilation to prevent dust buildup and maintain air quality. Keep your workspace clear of obstacles to avoid accidents. Always follow safety guidelines, use tools properly, and handle materials carefully. Taking these precautions helps protect you and makes your drywall repair process safer and more efficient.
How Do I Handle Unexpected Damage During Patching?
When handling unexpected damage during patching, you should carefully assess the new issues and determine if additional repairs are needed. For repairing textured walls, match the texture before sanding or painting. Use a small brush or sponge to blend the new patch with the existing finish, and test paint matches on a hidden area first. This way, you guarantee your repair seamlessly integrates with the surrounding wall, maintaining a consistent look.
Is It Necessary to Remove Existing Paint Before Patching?
When patching drywall, you don’t always need to remove existing paint, but proper paint preparation and surface cleaning are essential. If the paint is peeling or loose, scrape it off first. For smooth patches, clean the surface thoroughly to remove dust, oils, or dirt. This guarantees the patch adheres well and blends seamlessly. In most cases, a light sanding and cleaning are enough before applying the patch for a flawless finish.
Conclusion
By following these simple steps, you can repair your drywall seamlessly and make the patch almost invisible. With patience and attention to detail, your wall will look as good as new. Remember, isn’t the satisfaction of a flawless finish worth the effort? Trust your skills, take your time, and enjoy the process of turning a small repair into a satisfying DIY victory. Your walls deserve that perfect, undetectable finish.